Bright & Shiny

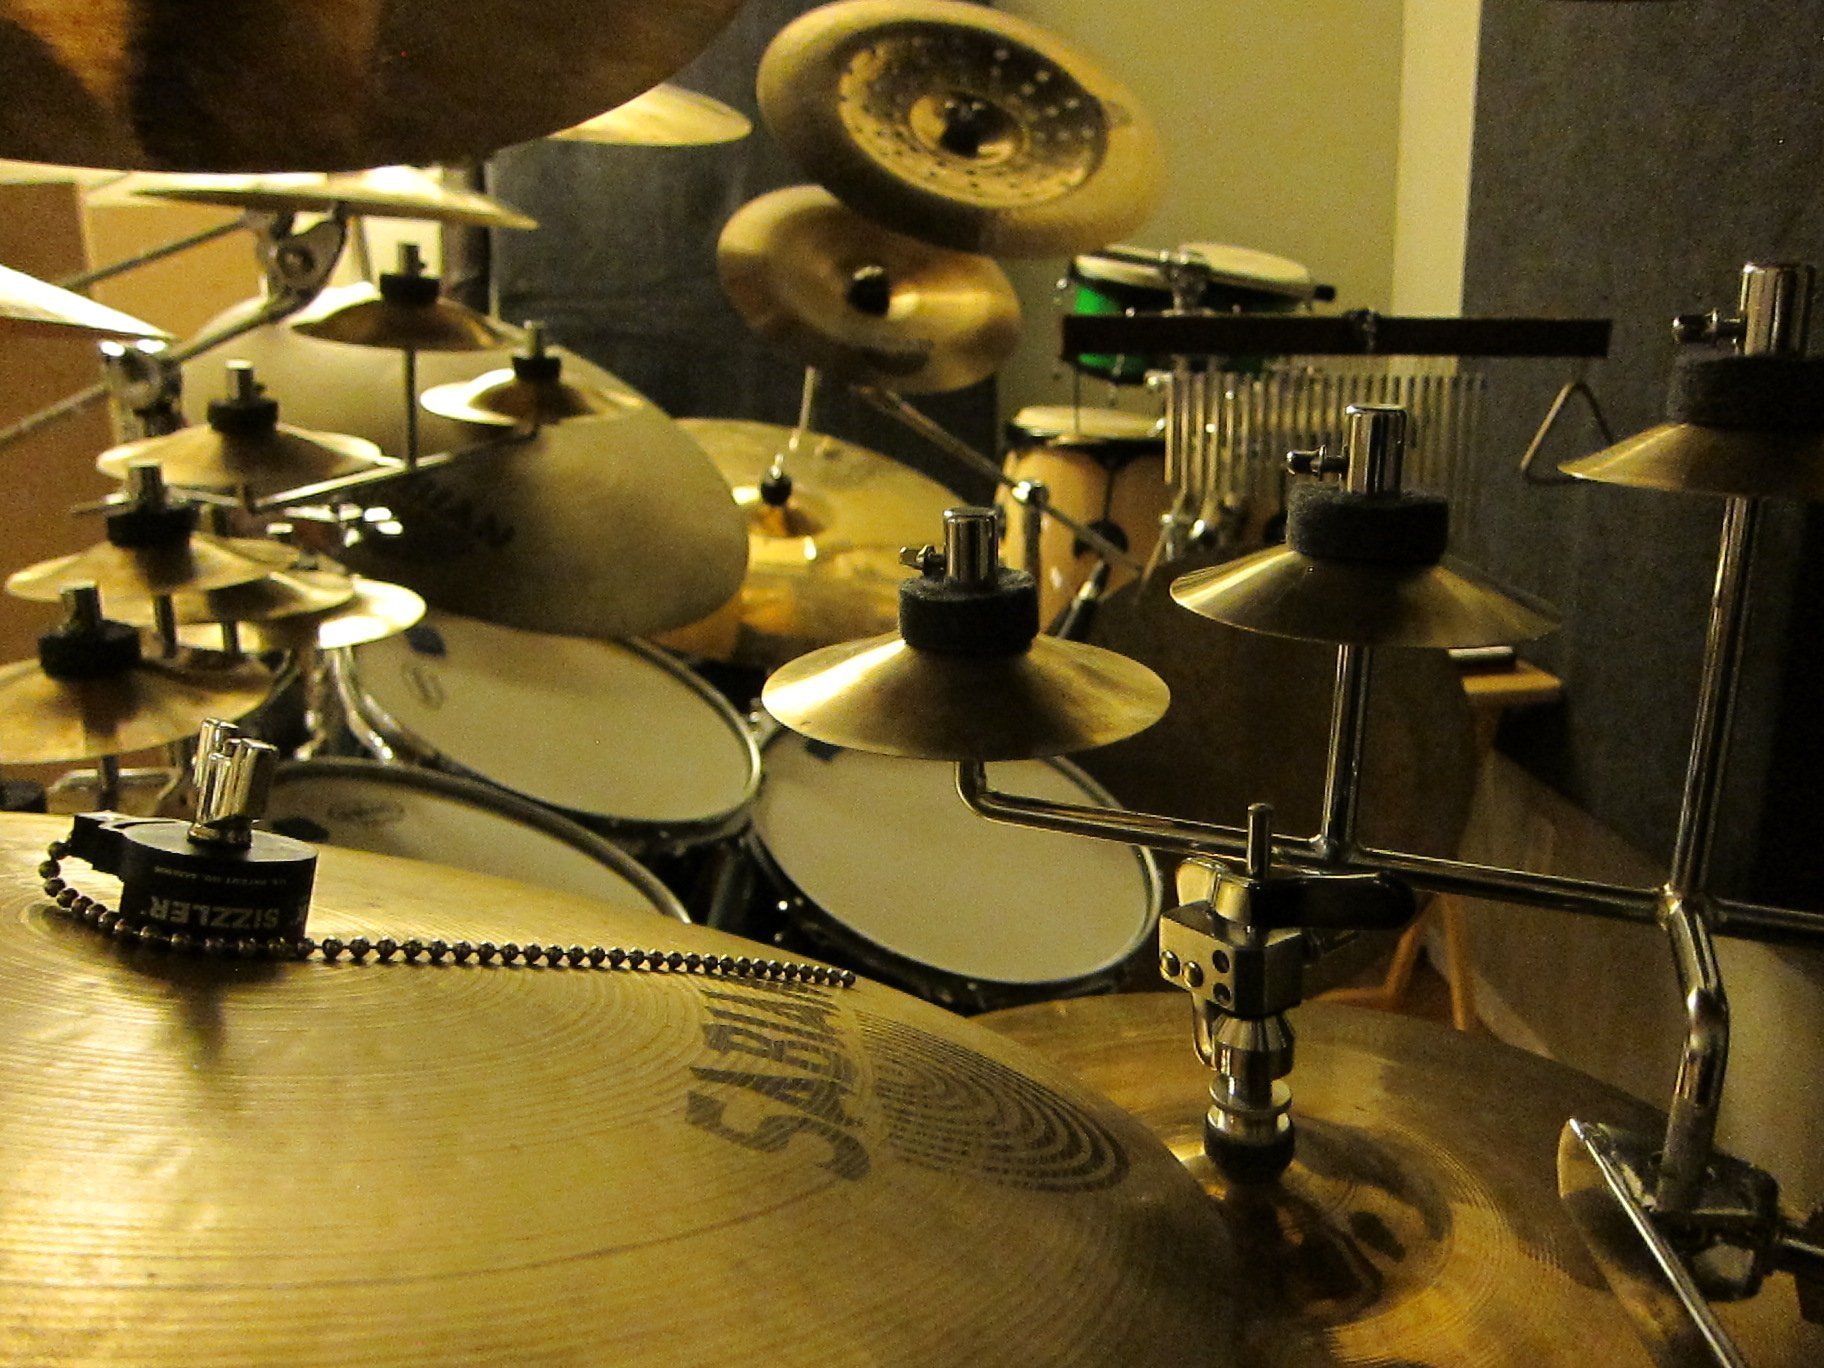
A few years back I started recording an album with the local band Bright & Shiny. It appears that the album is now on Production Hell and may never see the light of day.

I was given temporary tracks to record along to. This was helpful but frustrating at the same time since the main songwriter likes to play “free-time” with fluctuating tempos. As the drummer, being the one who is in charge of the tempo, I was concerned with this. I have spent my life trying to have a more consistent tempo and now I’m having to fight that. That being said, I tried to get the tempo to be more consistent while allowing the songs to have the varying feel that the songwriter was after.

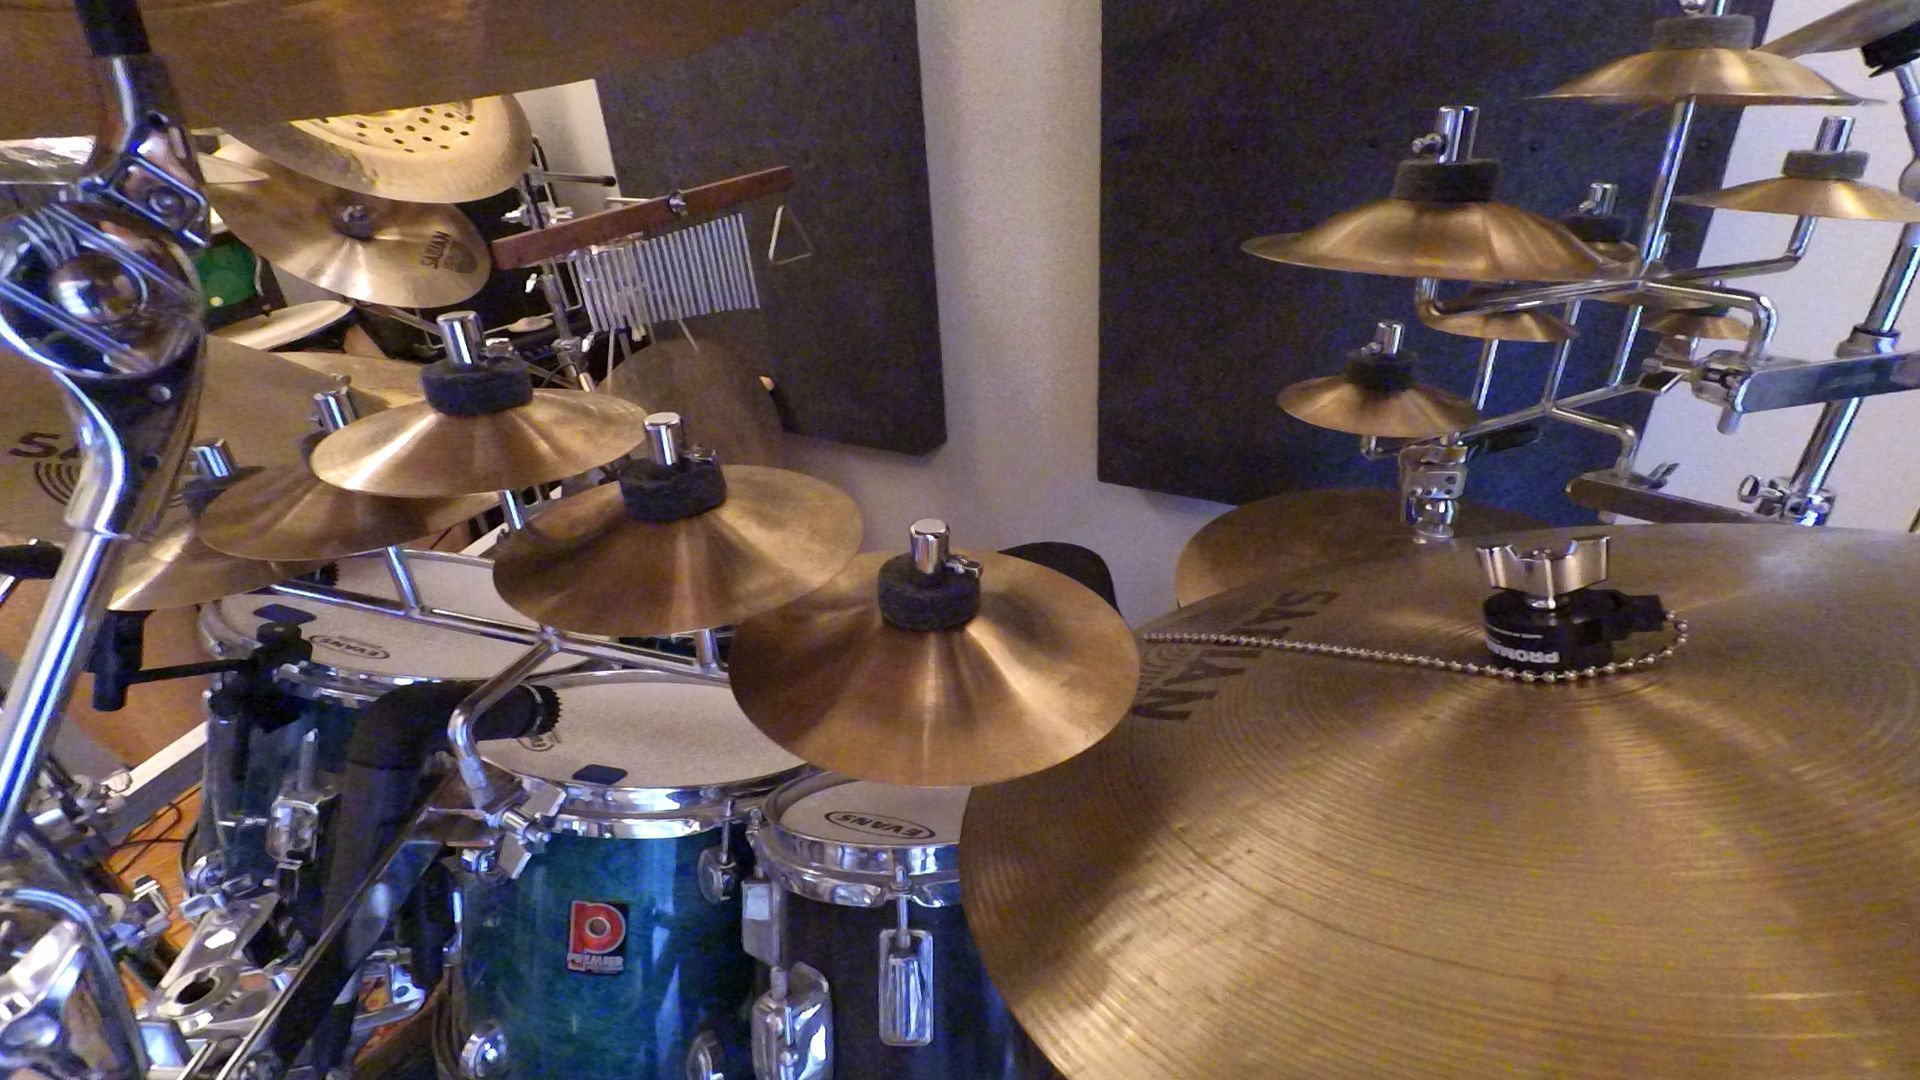
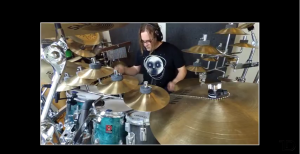
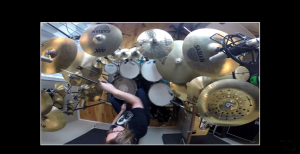
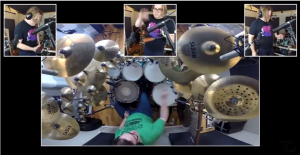
Since these songs may never see the light of day, I decided to share the video performances here in hopes that it might generate enough interest in this project to get it finished. I was working on videos that show the main drum performance along with little pop-up videos of the backing percussion. Sadly, I only got this far with the first song, but this is why there is a black border around the videos.

I’ll present each song along with some notes on each one. Keep in mind that the tracks I’m playing along to are not the finished performance from the rest of the band.

Soothsayer

This is one of my favorites. As such, it’s the one that I got the furthest with. This song is inspired by the character of Lodz from the HBO show Carnivàle.

I created a tempo map for this song. The first half is played loosely to a click in that the beginning of the chorus speeds up a bit then slows down towards the end so it lines back up on the click as the next section starts. Once the song changes about halfway through, the tempo goes all over the place, speeding up then slowing down, then speeding up again with no rhyme or reason, never getting back on the original click. I had to do my best to keep it sounding smooth and intentional.

The Places We Must Go

I really like this one and I would love to hear how it would have ended up. I had some pretty big plans for this one, percussion-wise.

Crooked Tree

I got a chance to dust off my brushes for this song. I have since done a lot more brushwork so I cringe a little bit when I look back at this video. Still, I think it sounds pretty good.

Christopher and Anna

The backing vocals are missing from this scratch track so there are some awkward pauses here and there.

Fallen Trenchcoat

This song starts out pretty mellow but builds in dynamics towards the end. If memory serves, this song is about three-ways.

Don’t Take My Meds Away

They pulled a fast one with this and added an extra section after I had finished my recording. I had to splice in a previous take of different section at the end when it starts to fade out.

Genesis Story

This was the first song I recorded for Bright & Shiny. I was really fighting the tempo on this one and I chose to keep it tight with the click. As a result, it doesn’t flow very well. What I should have done was what I ended up doing with the rest of the songs which is meet in the middle, acting as a bridge between a tight click and the loose “sloppy” sound of the wavering tempo.

I like the chorus because I get to play a driving Charlie Watts beat like the one he plays in Midnight Rambler in the faster section.

Your Face Is Upside-Down

I tried to take a different approach with the beat for this song. To match the title I turned the beat upside-down by swapping the kick and snare parts during the verses.

The End Holding Your Hand

There are some rather tasty double-bass triplets at the ending buildup in this song.

This Waiting

There are some decent driving beats in this song as well as some subtle hi-hat pedal work.

That’s all..

I would love to finish this project but it seems to have died. If anyone is interested in seeing this get finished, let me know and I’ll pass this along to those involved. Maybe we can generate enough interest to make it happen.

News – August 29th, 2017 – Recording and various other projects

A lot has happened in the past few weeks that has kept me from updating my blog.  I’ll try to summarize the important bits.


Recording for Bright & Shiny

I spent some time working on a few more tracks for Bright & Shiny as well as reworking a few older tracks that I wasn’t happy with.  I ended up re-recording a song that I was really struggling with since the timing is all over the map and I am playing along with pre-recorded tracks.  After recording the song sixteen times (no exaggeration) I finally came to the conclusion that I simply can’t release something to go along with this song that I would be proud of.  I spoke with the engineer and he said that they’re going to re-record the other parts with a click and get that to me so I can put down some decent drum tracks for it.


Slow-Motion video of new ride cymbal

I made a slow-motion video of my Sabian Vault ride cymbal that I featured a few weeks back.  This was mainly just a test to see what quality I can get out of my phone when filming at 120 frames-per-second.  Here’s the video that I shot:


Recording for The Map of Alice

I will be producing the recording of three tracks for The Map of Alice, the local gigging band that I play with each week.  I’ll be posting the progress here on this blog.  I will also be making a music video for at least one of the songs, possibly all of them.


Web site creation for The Map of Alice

The time that I haven’t been spending in the studio, playing live, or watching Twin Peaks, I have been spending on the new web site for The Map of Alice.  I’ll announce when it has gone live.


Studio desk plans

I’ve once again changed the plans for my studio desk.  My problem is that I only want to do this once so I’m being rather picky about how I put this together.  I don’t have anything finalized yet but I’m getting close.


Shop issues

Work in the shop has been minimal, at best.  I can’t even walk out there right now.  My main problem is that I have too much building material.  I’ve got piles of scrap lumber, cracked cymbals, metal stock, electrical components, and aquariums.  Yeah, that’s right.  There’s a big 55-gallon aquarium taking up a big chunk of space in my shop.  The kicker is that it isn’t even mine.  Now that the busy August month is pretty much over and the weather is (hopefully) going to start cooling off pretty soon, I’ll be able to focus on getting my shop into a usable state again and start cranking out some more build projects.


My daughter turned 18!

This actually took up a good chunk of my time.  My daughter, Audrey, turned 18.  We had a few get-togethers but mostly we’ve been trying to help her make the transition into adulthood.


That’s it.  I’m sure I’ve forgotten a few things but the point is, I’ve been busy.

News – August 2nd, 2017 – Apprehension Engine Electronics Prototype

I started putting together the electrical prototype for my version of the Apprehension Engine.  You can read about my plans for this project here.

This version is going to have two channels, each with its own reverb tank which will result in each channel having its own sound.  I started by gathering the necessary parts.  Here’s what I’m using:

RCA jacks

1/4″ Mono audio jacks

5.5 mm X 2.1 mm power jacks  (X2)

27 mm piezos

Reverb tank: Long decay

Reverb tank: Medium decay

Input amplifier

Output amplifier

Power supply: 12 VDC 2 Amp

Power supply: 5 VDC 2 Milliamp


The output amplifier has an volume potentiometer.  I want to have access to this while using the instrument but you’ll notice that there is also an 1/8″ jack right next to it on the board.  This is the input.  Unfortunately, I don’t want this sticking out the front of the instrument so I decided to remove the potentiometer so I can attach it with wires and locate the actual volume knob away from the board.


Looking at the underside of the board you’ll see that it should be easy to de-solder and remove the potentiometer.


The potentiometer has been successfully removed.


I’m temporarily securing the board to a surface by using screws and standoffs.


One of my favorite tricks when prototyping electronics is to use those $1.00 storage bins.  At first I decided to attach everything to the top of the lid.  I changed my mind later, which you’ll see.


I attached the standoffs to the board and used that to mark where I needed to drill holes in the lid for the board.


I drilled the holes then inserted the legs of the standoffs then secured them with nuts.


The input amplifier is a bit different.  It’s pretty small and doesn’t have holes for standoffs.  I also don’t necessarily need to access the potentiometer on this board as I expect to set-it-and-forget-it.


Looking at the underside shows a spot where there aren’t any traces so I decided to secure this board with sticky-backed velcro.


Both boards are secure and ready for some prototyping.


The board requires the installation of header pins.


Easy enough.


To attach the potentiometer to the output board, I attached some female headers to the board.  I started with some 5 pin sections.  I only need three of them but they’re double-spaced so I need to start with 5 and pull out the 2nd and 4th pin with needle-nosed pliers.


This results in 3-pin headers that I can solder to the board.


To hold the headers in place, I inserted the pins for the potentiometer in the headers and then I held the potentiometer to the board with some electrical tape just long enough to secure one of the pins.


After the pin was secure, I removed the tape….


…and soldered the remaining pins.


To make the plug that will insert into the headers, I started with a length of header pins.  Using a pair of snips, I made two five-pin sections.


I removed the 2nd and 4th pins just like I did on the female headers.


I made a cable out of 22 awg wire.  I normally try to do some sort of color scheme that makes sense so I decided to have the left most pin on each row connect to a green wire, and the other two pins to both connect to either a read or a black wire.  I started by cutting some lengths of wire.  Then I stripped the ends.


I soldered the wires to the pins.


Then I covered the bare connectors with heat-shrink tubing.


Both cables are attached.


Anyone who’s made their own instrument or mic cables can relate to this: always remember to put any sleeves on the wires BEFORE soldering the other ends on.


I soldered the wires to the potentiometer then applied the heat-shrink tubing.


Now I’ve got a volume knob that I can attach away from the board.  This may not work, however, as I explain later.


Each board will use its own power supply.  The output amp needs 12 VDC at 2 Amps while the input amp only needs 5 VDC ad 500 Milliamp.  I tried to find an easy way to get different connectors so I don’t accidentally connect the 12 VDC supply in the input amp and damage it, but it’s pretty hard to get the correct power supplies with the connectors that I wanted.  Until I come up with a better solution, this will have to do.


I soldered wires and applied heat-shrink tubing.


The wires for connecting the power jack to the output amplifier are pretty simple to attach.


To connect the power jack to the input amp board, I need to add a 2-pin connector.


The power cable connects to the two pins on the board.  I plugged in the power adapter but there isn’t an indicator on the input amp so I don’t know yet if I wired everything up correctly.


I plugged the power adapter in to the output amp and it all seems to be working.


Now it’s time to get some signals into and out of the prototype.  I’m hooking up four 1/4″ TS jacks, two for input and two for output.


I tinned the tabs on the 1/4″ jacks then attached both wires.


They each connect easily to the output amp.


To get the signal into the output amp, I am using an RCA to 1/8″ stereo adapter plugged into the input jack on the board.


I also found an older knob that I attached to the potentiometer which I thought looked a little better than the one I was using.


The signal both going out of the input amp and into the output amp will require RCA jacks.  I have a pair for each board.


I soldered the wires to the tabs on each jack.


I made four of these, with two of them having plugs for connecting to the header pins on the input amp.


The input amp now has power and a way to send a signal out to the reverb tanks.  Now I need to get a signal into it.


The input amp accepts a stereo signal but both channels share a common ground so I shortened the ground wire on one of the 1/4″ TS jacks so I could attach it to the ground tab on the other jack…


…which I did.


I then attached a three-hole plug to attach the input connectors to the input amp.


The input amp is now all wired up.


I am using two different reverb tanks.  According to their spec sheets, the shorter one actually has a longer decay than the longer one.  They both take a single audio signal in through an RCA jack and spit it out the other end through another RCA jack.


I used a standard stereo RCA cable to connect to the output jacks from the input amp.  I then connected each end to a separate reverb tank.


I then used another stereo RCA cable to connect the output from the reverb tanks to the input jacks of the output amp.


I then turned everything on and tested it out.


The good news is that it works and nothing exploded.  The bad news is that when I attached the wires from the output amp to the volume potentiometer, I basically made a little radio.  When the volume is maxed out, it has a pretty loud buzz.  As soon as I lower the volume, it starts to pick up radio stations.


I tried hooking up another identical amp but without the potentiometer removed and it sounds great.  I tried adding ferrites to the wires to see if that would help but it doesn’t.  I’m going to have to try something else.


To make it easier to test with, I relocated everything to the inside of another storage bin.

News – July 24th, 2017 – New Sabian Ride

This weekend I added a new cymbal to my setup.  It’s a Sabian Vault Custom Shop HH 22″ ride with a semi-lathed pattern on the top and a completely lathed underside.


I used it at our regular Sunday gig at McNallly’s Taproom (we play each Sunday from 3:00 – 5:00).  The band plays Gypsy Jazz so it was a good venue to try out this cymbal.  I added a Pro-Mark Sizzler to it to see how it would work and it performed admirably.  I typically use a 20″ Sabian Ed Thigpen Crystal Ride with the sizzler but this 22″ cymbal is my new favorite.  Tapping it with my brushes caused it to sizzle for quite a while and it didn’t get the annoying vibrato sizzle towards the end that other, thicker cymbals get.  It complimented the cut-down Wuhan cymbals well, although it made my LP Granite Blocks rather hard to reach.

The lathing and hand hammering make for a beautiful cymbal, but also of note is the pronounced bell.  I haven’t had a chance to use this at higher volumes yet but some preliminary tests show that the cymbal crashes well, and even though I’m not one who crashes their ride cymbals, I ended up crashing on it several times and I loved the sound.


I’ll post some video of the cymbal soon.  It’s got a nice satisfying wobble to it when you hit it and a nice, dry, smoky sound.


News – July 20th, 2017 – Studio Desk Plans

I think I may have settled on a final design for a recording studio desk.

This satisfies all of my requirements.

  1. It’s mobile.
  2. It doesn’t take up much space.
  3. It is self contained.
  4. It has amenities for both the studio engineer and the talent.


The plan is that it will be a desk that has all of the electrical and audio connections built in.  If you need to plug in an amp, the desk will have several electrical jacks.  Need to charge your phone while you record?  There are charging jacks for that as well.

There will be connections for power from the wall and ethernet into the desk, as well as a 5-port hub with ethernet jacks on both the front and back of the desk.


The construction of this might take some time since I haven’t decided if I want to make it out of cheaper plywood and cover it with laminate, or make it out of nicer wood and just stain it and add a few clear-coats.

What do you think?  Any suggestions?  What am I missing?

News – July 18th, 2017 – Apprehension Engine Build

Several months back I discovered a musical device called The Apprehension Engine.  It was created by Tony Duggin-Smith for Mark Korven who is a film composer who was looking for some new sounds to use when creating horror film scores.

I’ve knocked around the idea for a while and I’ve decided to build my own.  I have experience creating soundmakers of this type, and I also have experience wiring up electronics in instruments, but I’ve never combined the two to create something like this.

My approach is going to be slightly different, however.  I’m going to be outputting a stereo signal, with each signal bus going through its own reverb tank, each with a slightly different decay time.  I’m also going to be implementing several other noisemakers that I have worked with in the past.

I’ll be posting detailed project updates as it progresses and a complete walkthrough when it is complete.

Check out the link below for more information.

Sounds of the Nightmare Machine

Horror Musical Instrument – The Apprehension Engine


News – June 15th, 2017 – Performance video update

The recording for the upcoming album by Bright & Shiny is progressing well.  I have been playing around with the video for a few songs and although it isn’t finished, I decided to share an early version of one of the videos.

I’m playing around with the title sequence and cutting back and forth between different camera angles.  Although the drum performance is pretty much finalized, the rest of the song is not the finished version.  Also, none of this has been mixed and mastered.

A few interesting things to note with this song is the use of some of my “Rescued Cymbals”.  In addition to the small chime cymbals that I use in pretty much every song, I am also using two cut down Wuhan Lion (or China) cymbals which are positioned above my two main rack toms.  I’m also using a 12″ Glennie’s Garbage positioned above my hi-hat.  This is quickly becoming one of my favorite cymbals.

Enjoy…

News – June 5th, 2017 – Recording Progress

Recording Progress – Bright & Shiny

This weekend I managed to get time to record two more songs for Bright & Shiny.  The two songs are titled This Waiting and The End Holding Your Hand.

I was particularly happy to get The End Holding Your Hand recorded because of how I go about recording.  While I am working on a song, I listen to it repeatedly while I drive to-and-from work each day.  I use that time to write out different parts and memorize the structure of the song.

Unfortunately, I don’t get many opportunities to actually record since I need to get the family out of the house.  This means that I may sometimes end up listening to a song quite a bit before I get to actually record it.  In the case of this song, I listened to it repeatedly for over three weeks.  As you can imagine, I was pretty damn sick of it by the time I got around to actually laying down the tracks.

When I record, I also film.  I am working on videos of each song to compile into a mini documentary on the recording of the drums and percussion for this album.

I only have two more songs to record then I’ll be focusing on the auxiliary percussion.

Here are rough-cuts of the drum performance videos.  The drum tracks need to be mixed properly and the track I’m playing along with is only a temporary scratch track.  I’ll update them when I get a final mix of the songs.

This Waiting


The End Holding Your Hand


These drum tracks are a little more sparse than I typically prefer but that is intentional since I needed to leave space for auxiliary percussion.

Here’s an example of a song with finished percussion, although it isn’t a final mix.

Soothsayer

A drummer’s perspective

 Over the weekend I auditioned for a band.  It was a situation where I was brought in to replace an existing drummer so the songs were already structured and written out.

 I knew pretty quickly into the audition that it wasn’t going to work out.  Stylistically, I wasn’t a good fit.  But there was something else that I think was a bigger issue.

 Call me naive, but I assume that if someone wants me to join their musical project, they don’t just want someone to hold onto the sticks so they don’t fall to the ground.  They want to see what I personally bring to the table.  If you are asking me to audition you are in fact asking ME to audition.  You heard some samples of my work and liked what you heard.  You like the sensibilities and unique voicing I bring to my instrument.

 I was led to believe that the audition I went to was going to be like this.  I thought that it would be, in fact, like the majority of the auditions that I have participated in.  This was not to be the case.

 I’m going to make this easier for those of you that are auditioning someone to play in your musical project.  Here are some things to keep in mind.

  1. Everyone comes from a distinct and personal background.  What we’ve played and experienced in the past influences what we play in the future.  
  2. Our gear is as much a part of our voice as anything else.
  3. A player’s experience and tools combine to create the unique voice; THIS is what you are auditioning.

 The audition I went to was not ideal.  I met with the main songwriter and played on his kit.  Now, I’m a big cymbal player.  Not only do I love my cymbals but most of them I’ve modified myself to give me my own personal sound.  The kit I was playing on had some pretty bad sounding budget cymbals.  I’m talking Agazarian and some brass deal (I can’t remember if it was a Paiste or a Pearl).  The cymbals were an offense to the ears, which the guy I was auditioning for was quick to point out.  I had the foresight to bring some of my smaller cymbals with me which I was able to easily attach to his cymbal stands.  One of the first things he said was that he “knows what sounds good, and that my cymbals don’t sound good”.  Strike 1.

 We struggled with the first song.  He started by telling me where the fill in should go and exactly how it should sound.  Note-for-note.  A guitarist telling a drummer EXACTLY how to play each fill.  Strike 2.

 We started the second song.  It sounded nearly identical to the first.  Strike 3.

 I guess I’m just airing my frustration.  I assume that if you have heard samples of my work and want me to come in for an audition, you are interested in what I will bring to the music.

 In the end, I told him it wasn’t working and that I am not the drummer for him.  In an effort to make things easier for him to find a permanent drummer, I explained the problems I was having.  Why hold anything back?  It’s just going to make things more difficult in the end.


 What do you think?  Was I wrong?  What are some of your disappointing experiences with auditions?  Please share in the comments section below.

What I learned from Terry Bozzio

Last night I attended a concert by Terry Bozzio, the former drummer for Frank Zappa. It would normally take a lot for me to go to a 2-hour concert featuring only a drummer, but Terry is different.  His tunes are creative and detailed and he has excellent showmanship.  I really admire his playing but the main reason I went was because I have a passion for percussion gear so I couldn’t pass this up.

The show wasn’t a disappointment at all.  That’s not what I want to discuss, though…

img_8368
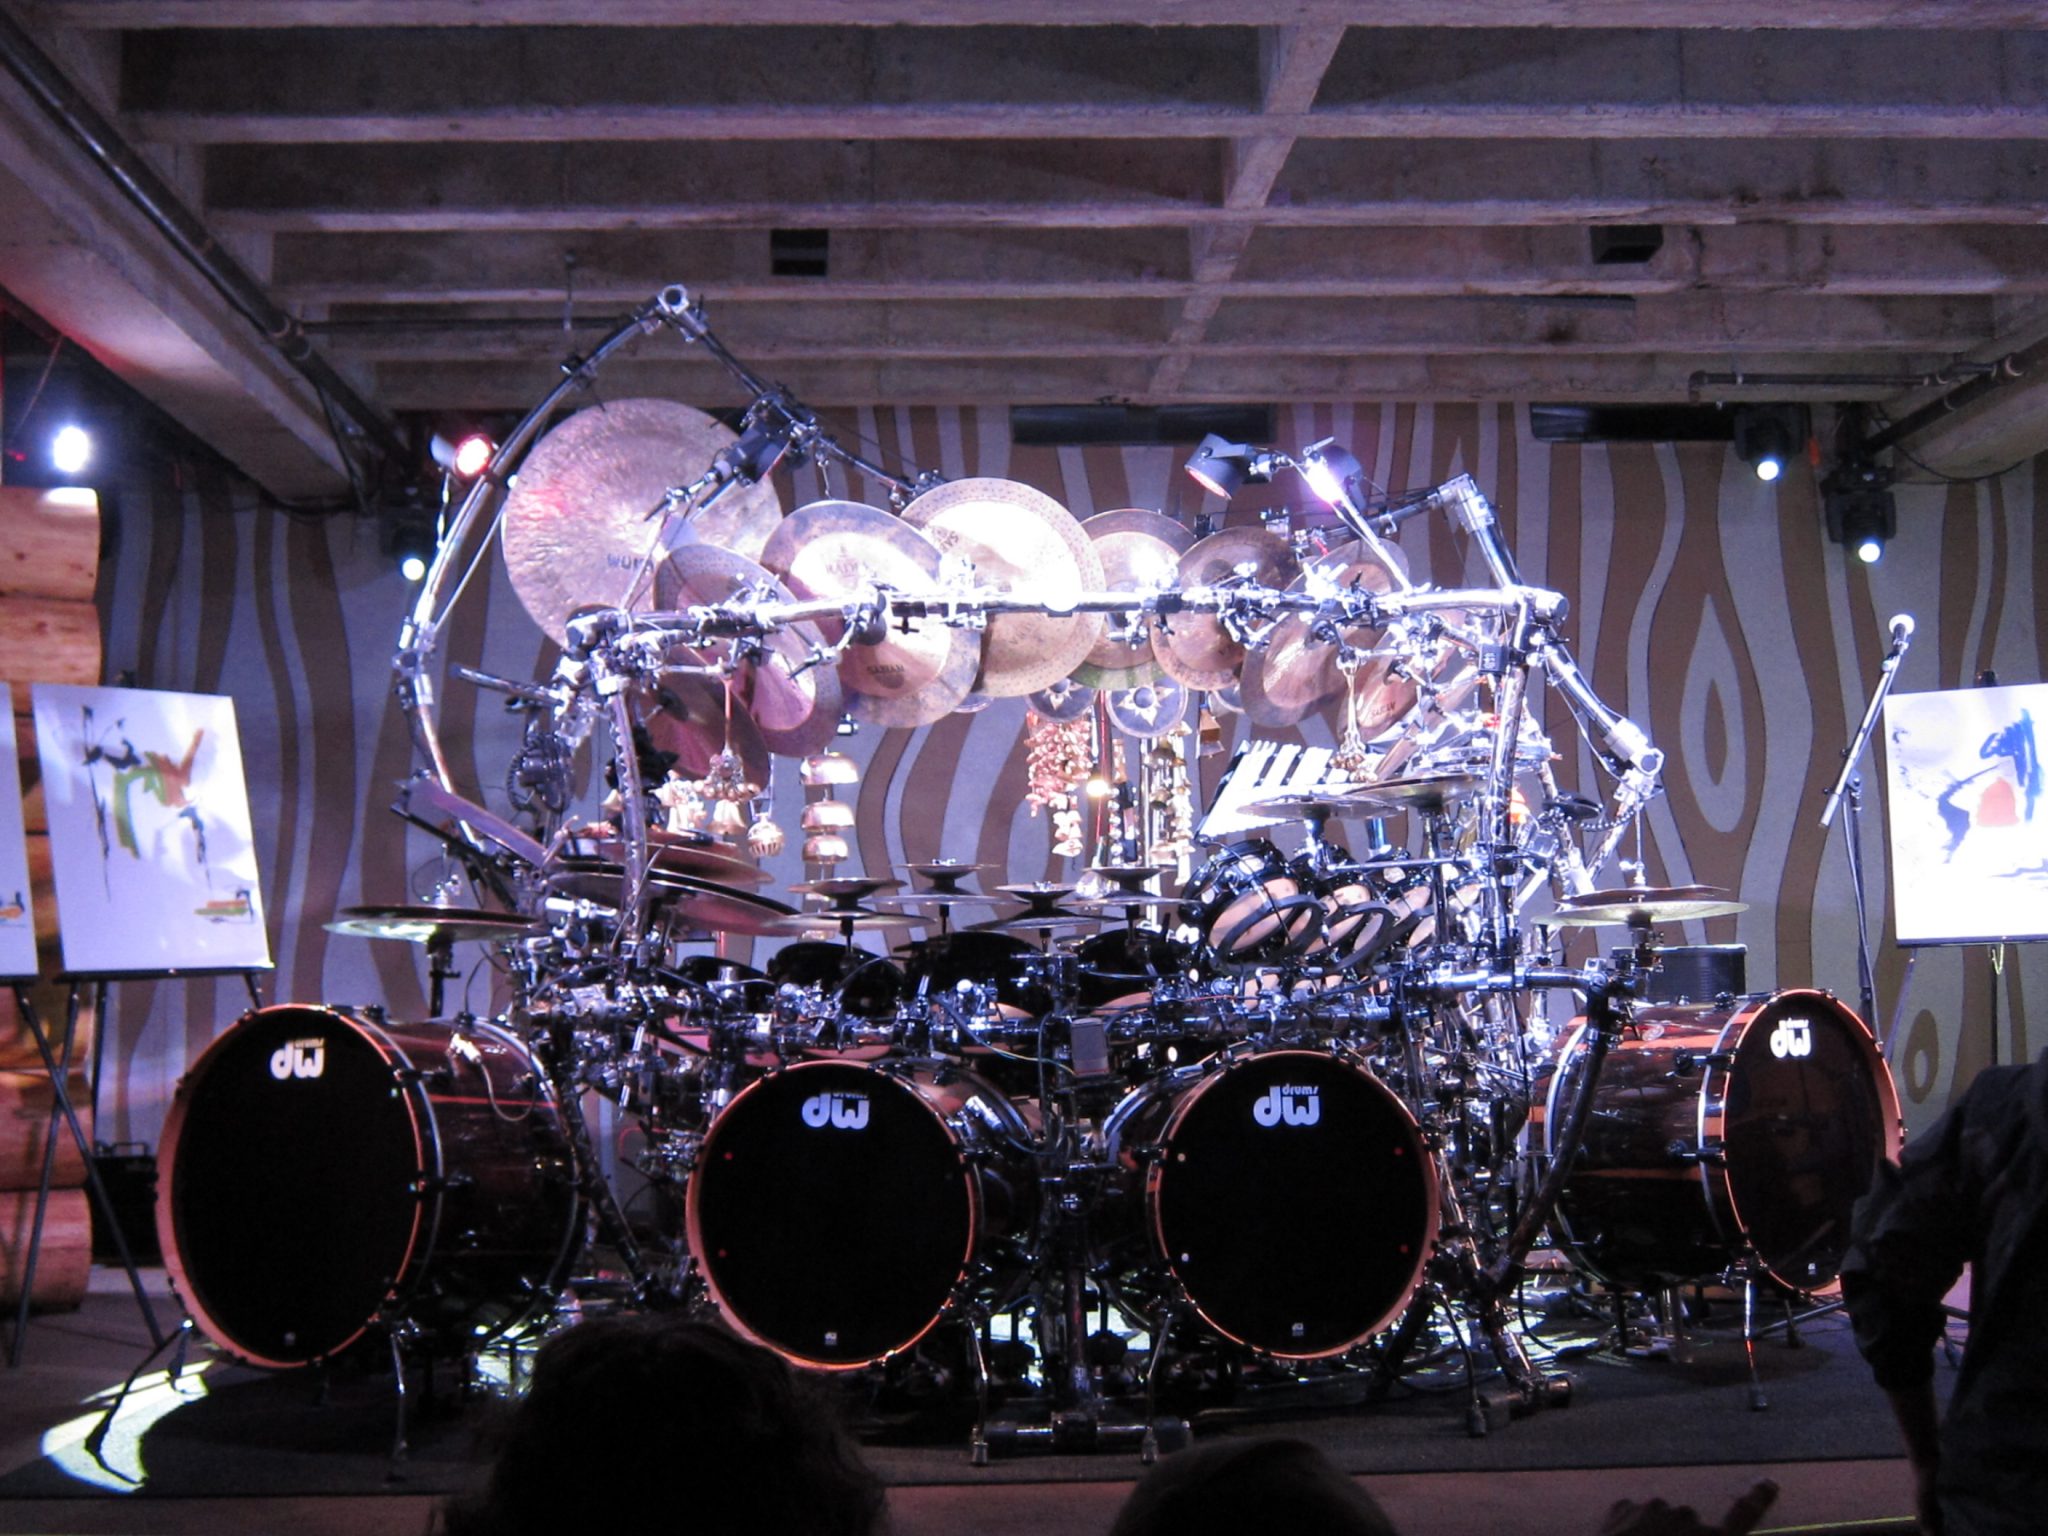
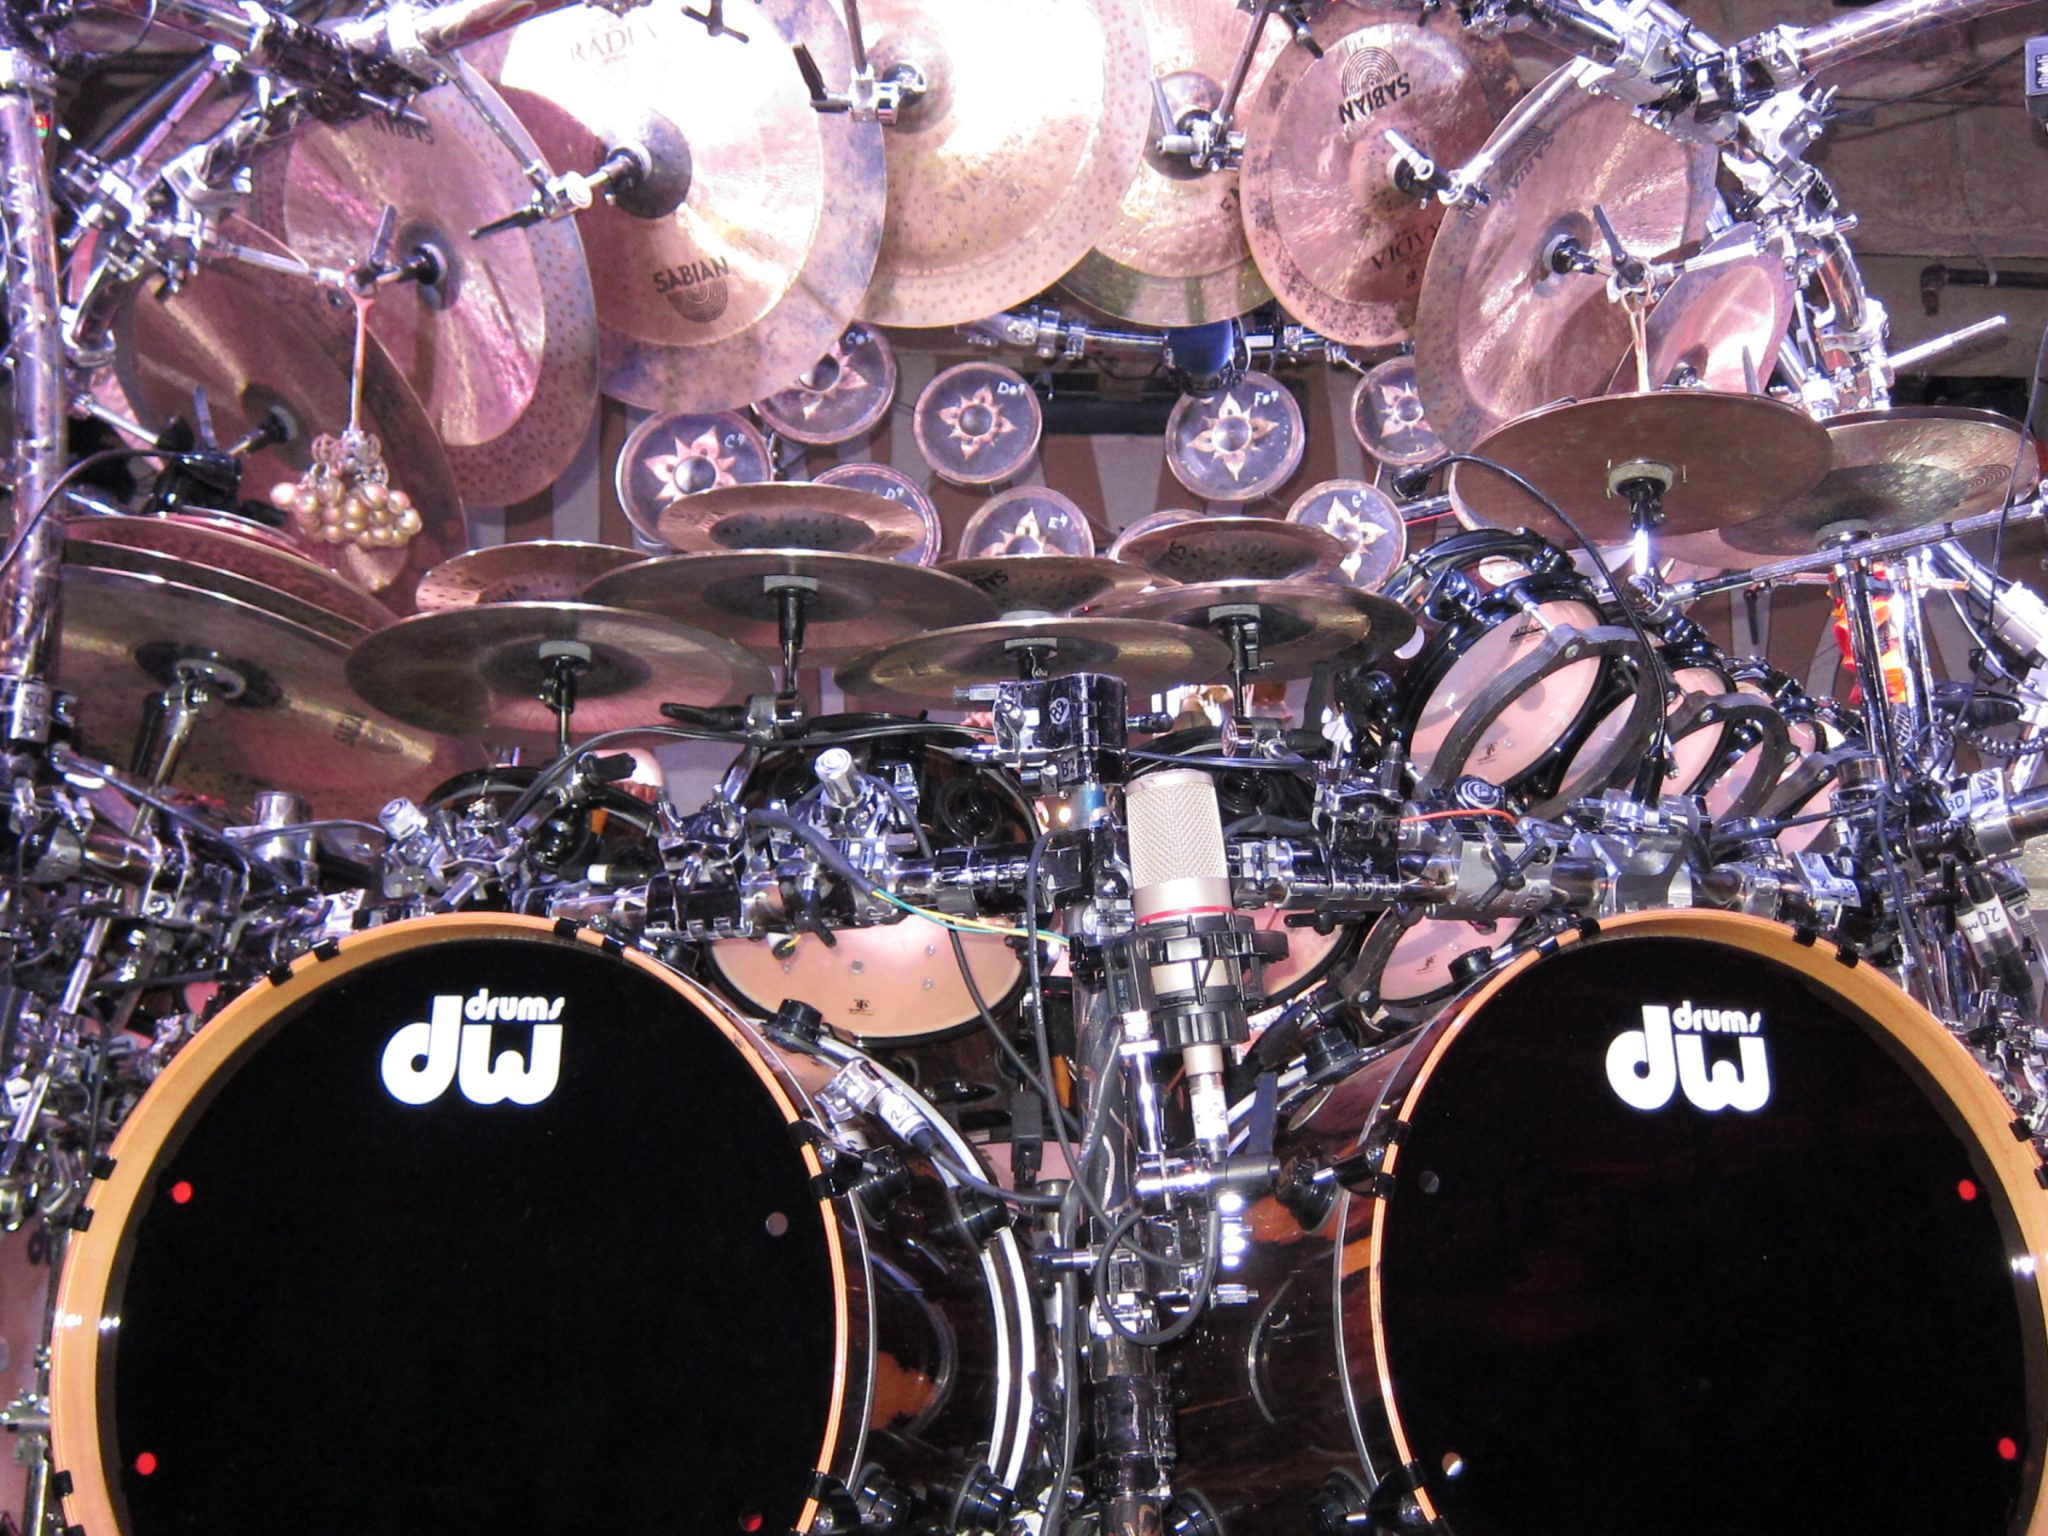
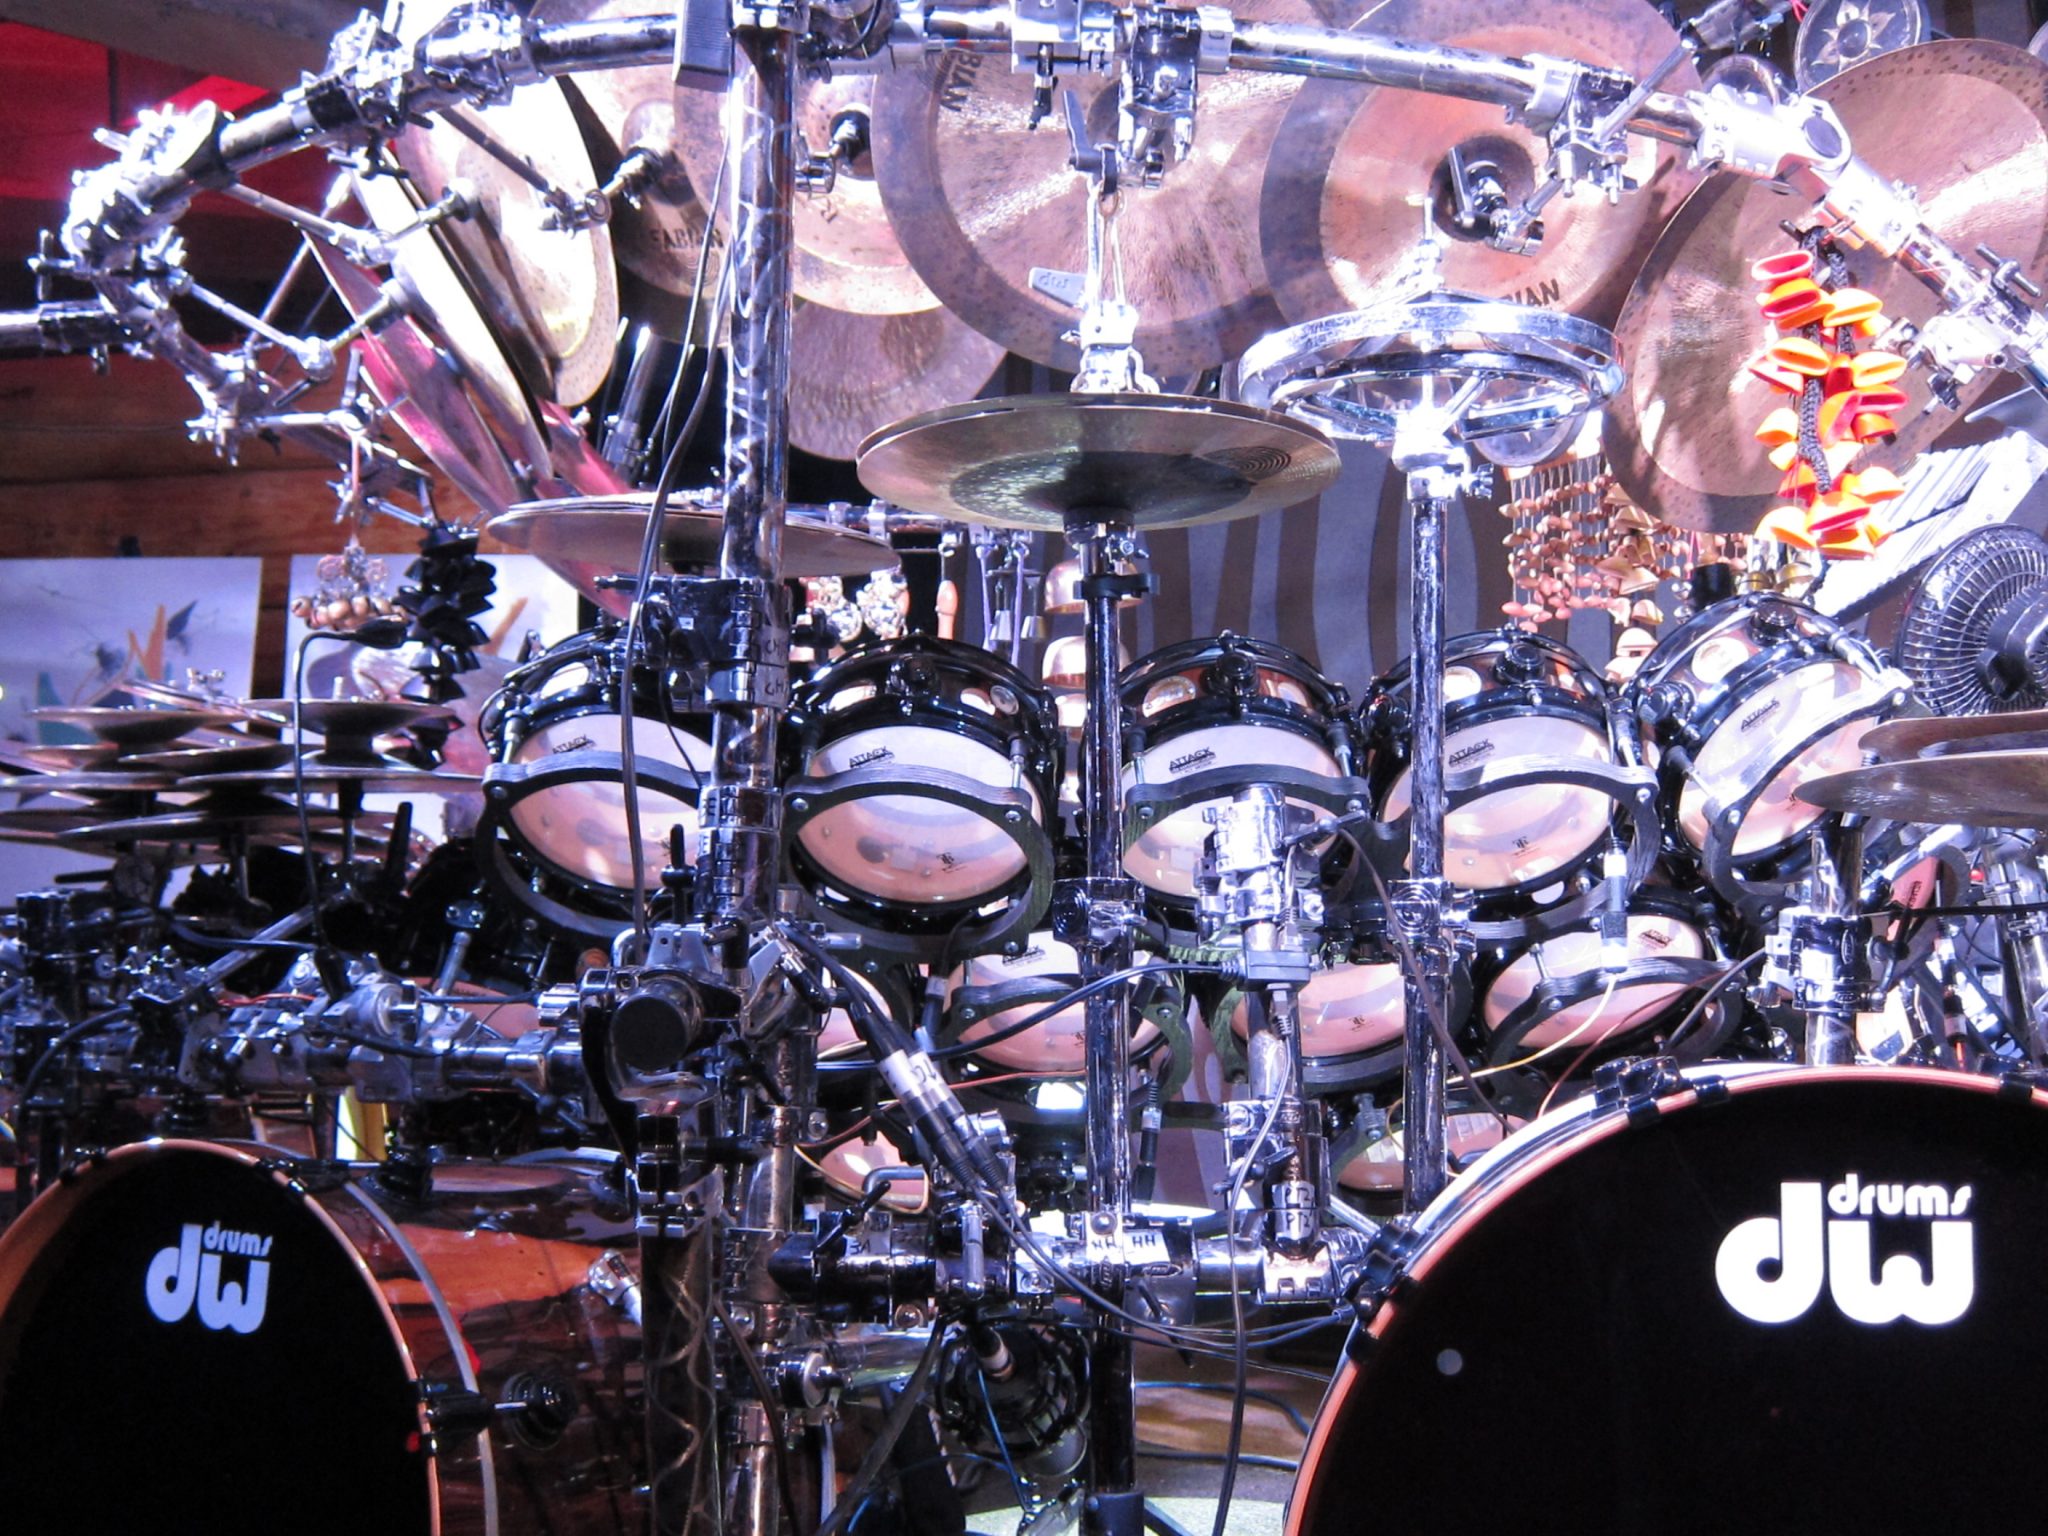
The audience was mostly made up of drummers.  I know this not because they were advertising the fact but rather because of how they responded during the show.  I looked around and I saw people not just enjoying the show but being sucked into it.  They weren’t just tapping their feet; they were emulating the difficult polyrhythms that we were hearing.  When Terry would cycle between his multitude of pedals, I would see necks craning in an attempt to see what he switched to.


At one point during the show, Terry dropped a stick.  We heard a muttered “bastard!” as he quickly grabbed another stick and kept on playing.  The audience’s response was to applaud, as if to say “Good save, sir”.  He made a mistake and he recovered nicely.  As a drummer friend of mine commented, “He’s human, after all”.

We were there to admire a respected drummer’s technique, his showmanship, and his gear.  We were there to learn.  To be inspired.  And we were.

I’ve been involved with different communities, including guitarists, bassists, woodworkers, artists, programmers, and actors.  From my experience, what sets the drumming community apart is the support and the lack of competition.  There will always be exceptions but in general I find that drummers admire each other.  We acknowledge that each drummer is different and skilled in certain areas.  We study their techniques.  A drum set is like a fingerprint; unique to each player.  As such, we’re curious about each others gear and setup.

img_8356
Every drummer I meet can do something that I can’t.  Therefore, every drummer is a teacher.  And in turn, every drummer is a student.


What do you think?  Feel free to share your comments below.