Progress on the Cymbal Cart
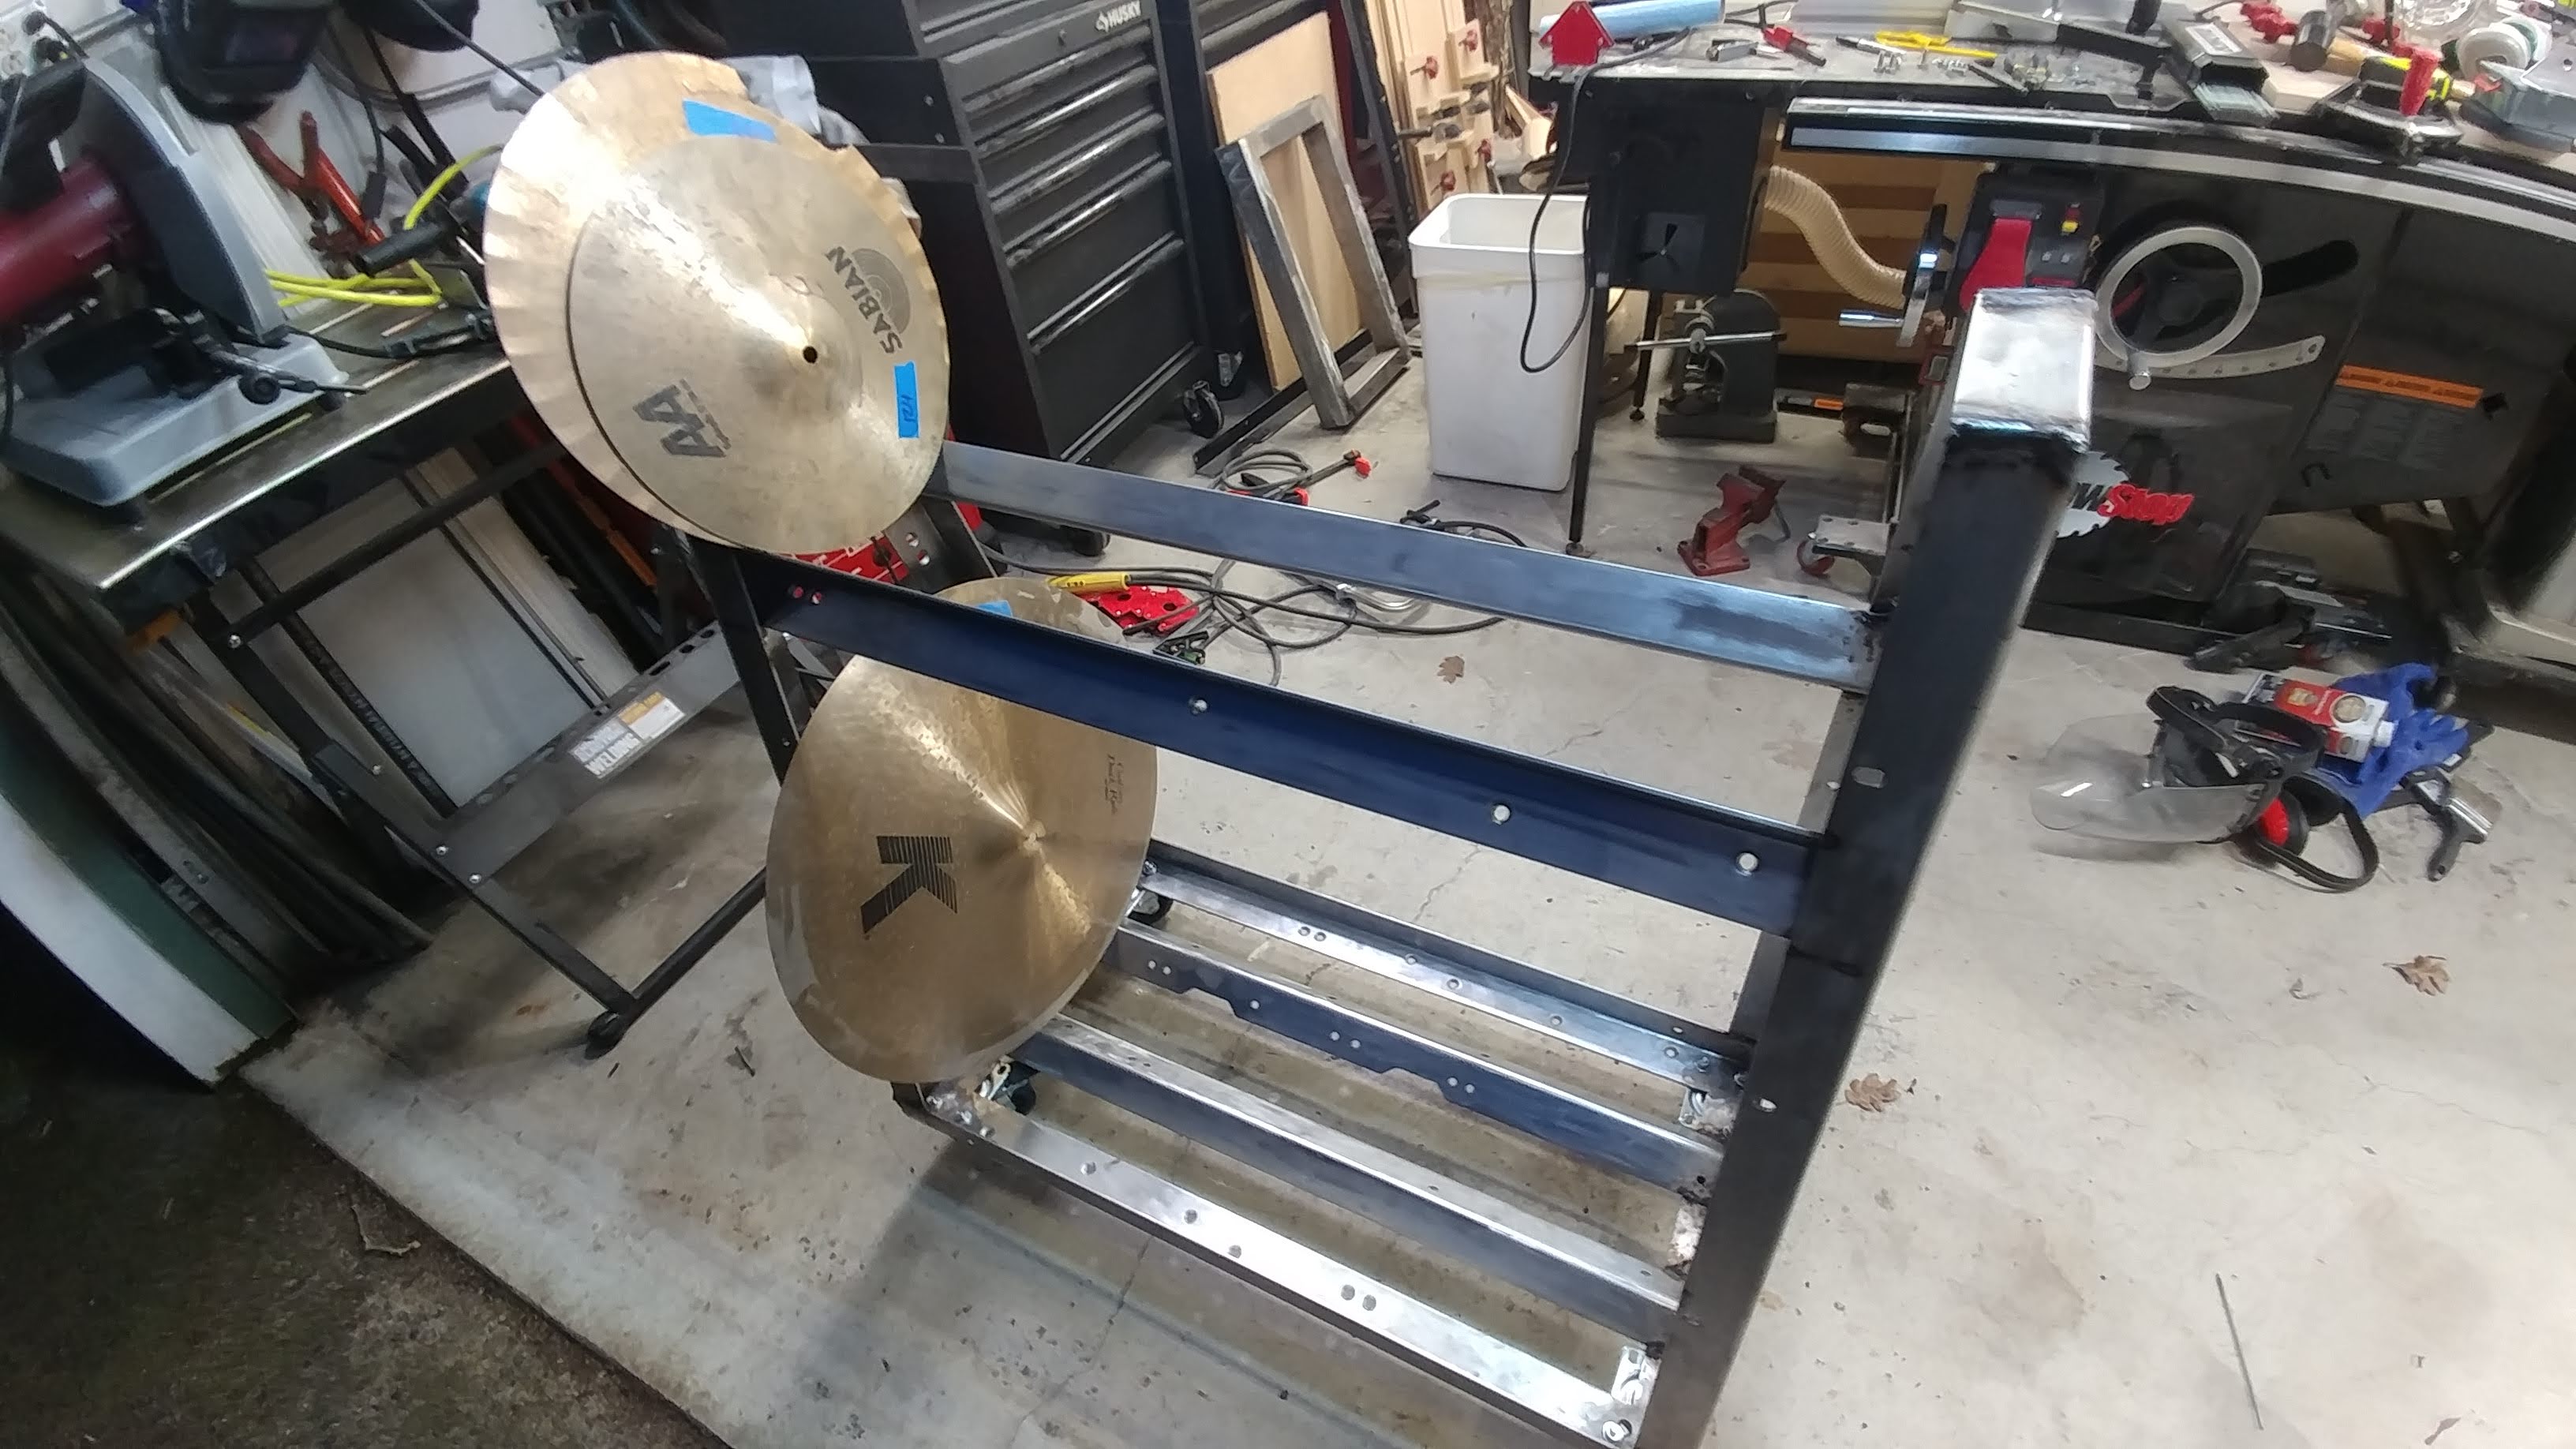
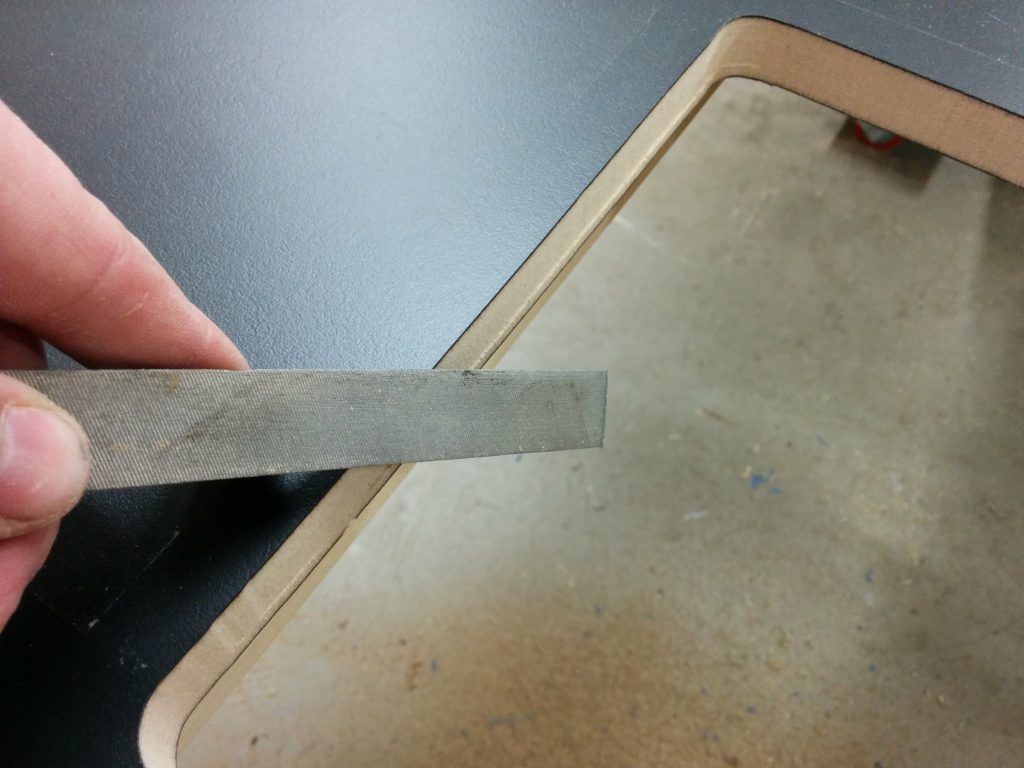
I got the cymbal cart all welded together. I just need to clean it up by grinding down the welds, protect the steel so it doesn’t rust, and attach some non-slip material to the bars so the cymbals don’t slide all over the place.
I should probably state that I really suck at welding, but projects like this are good practice and force me to get better.
Trying out some new products
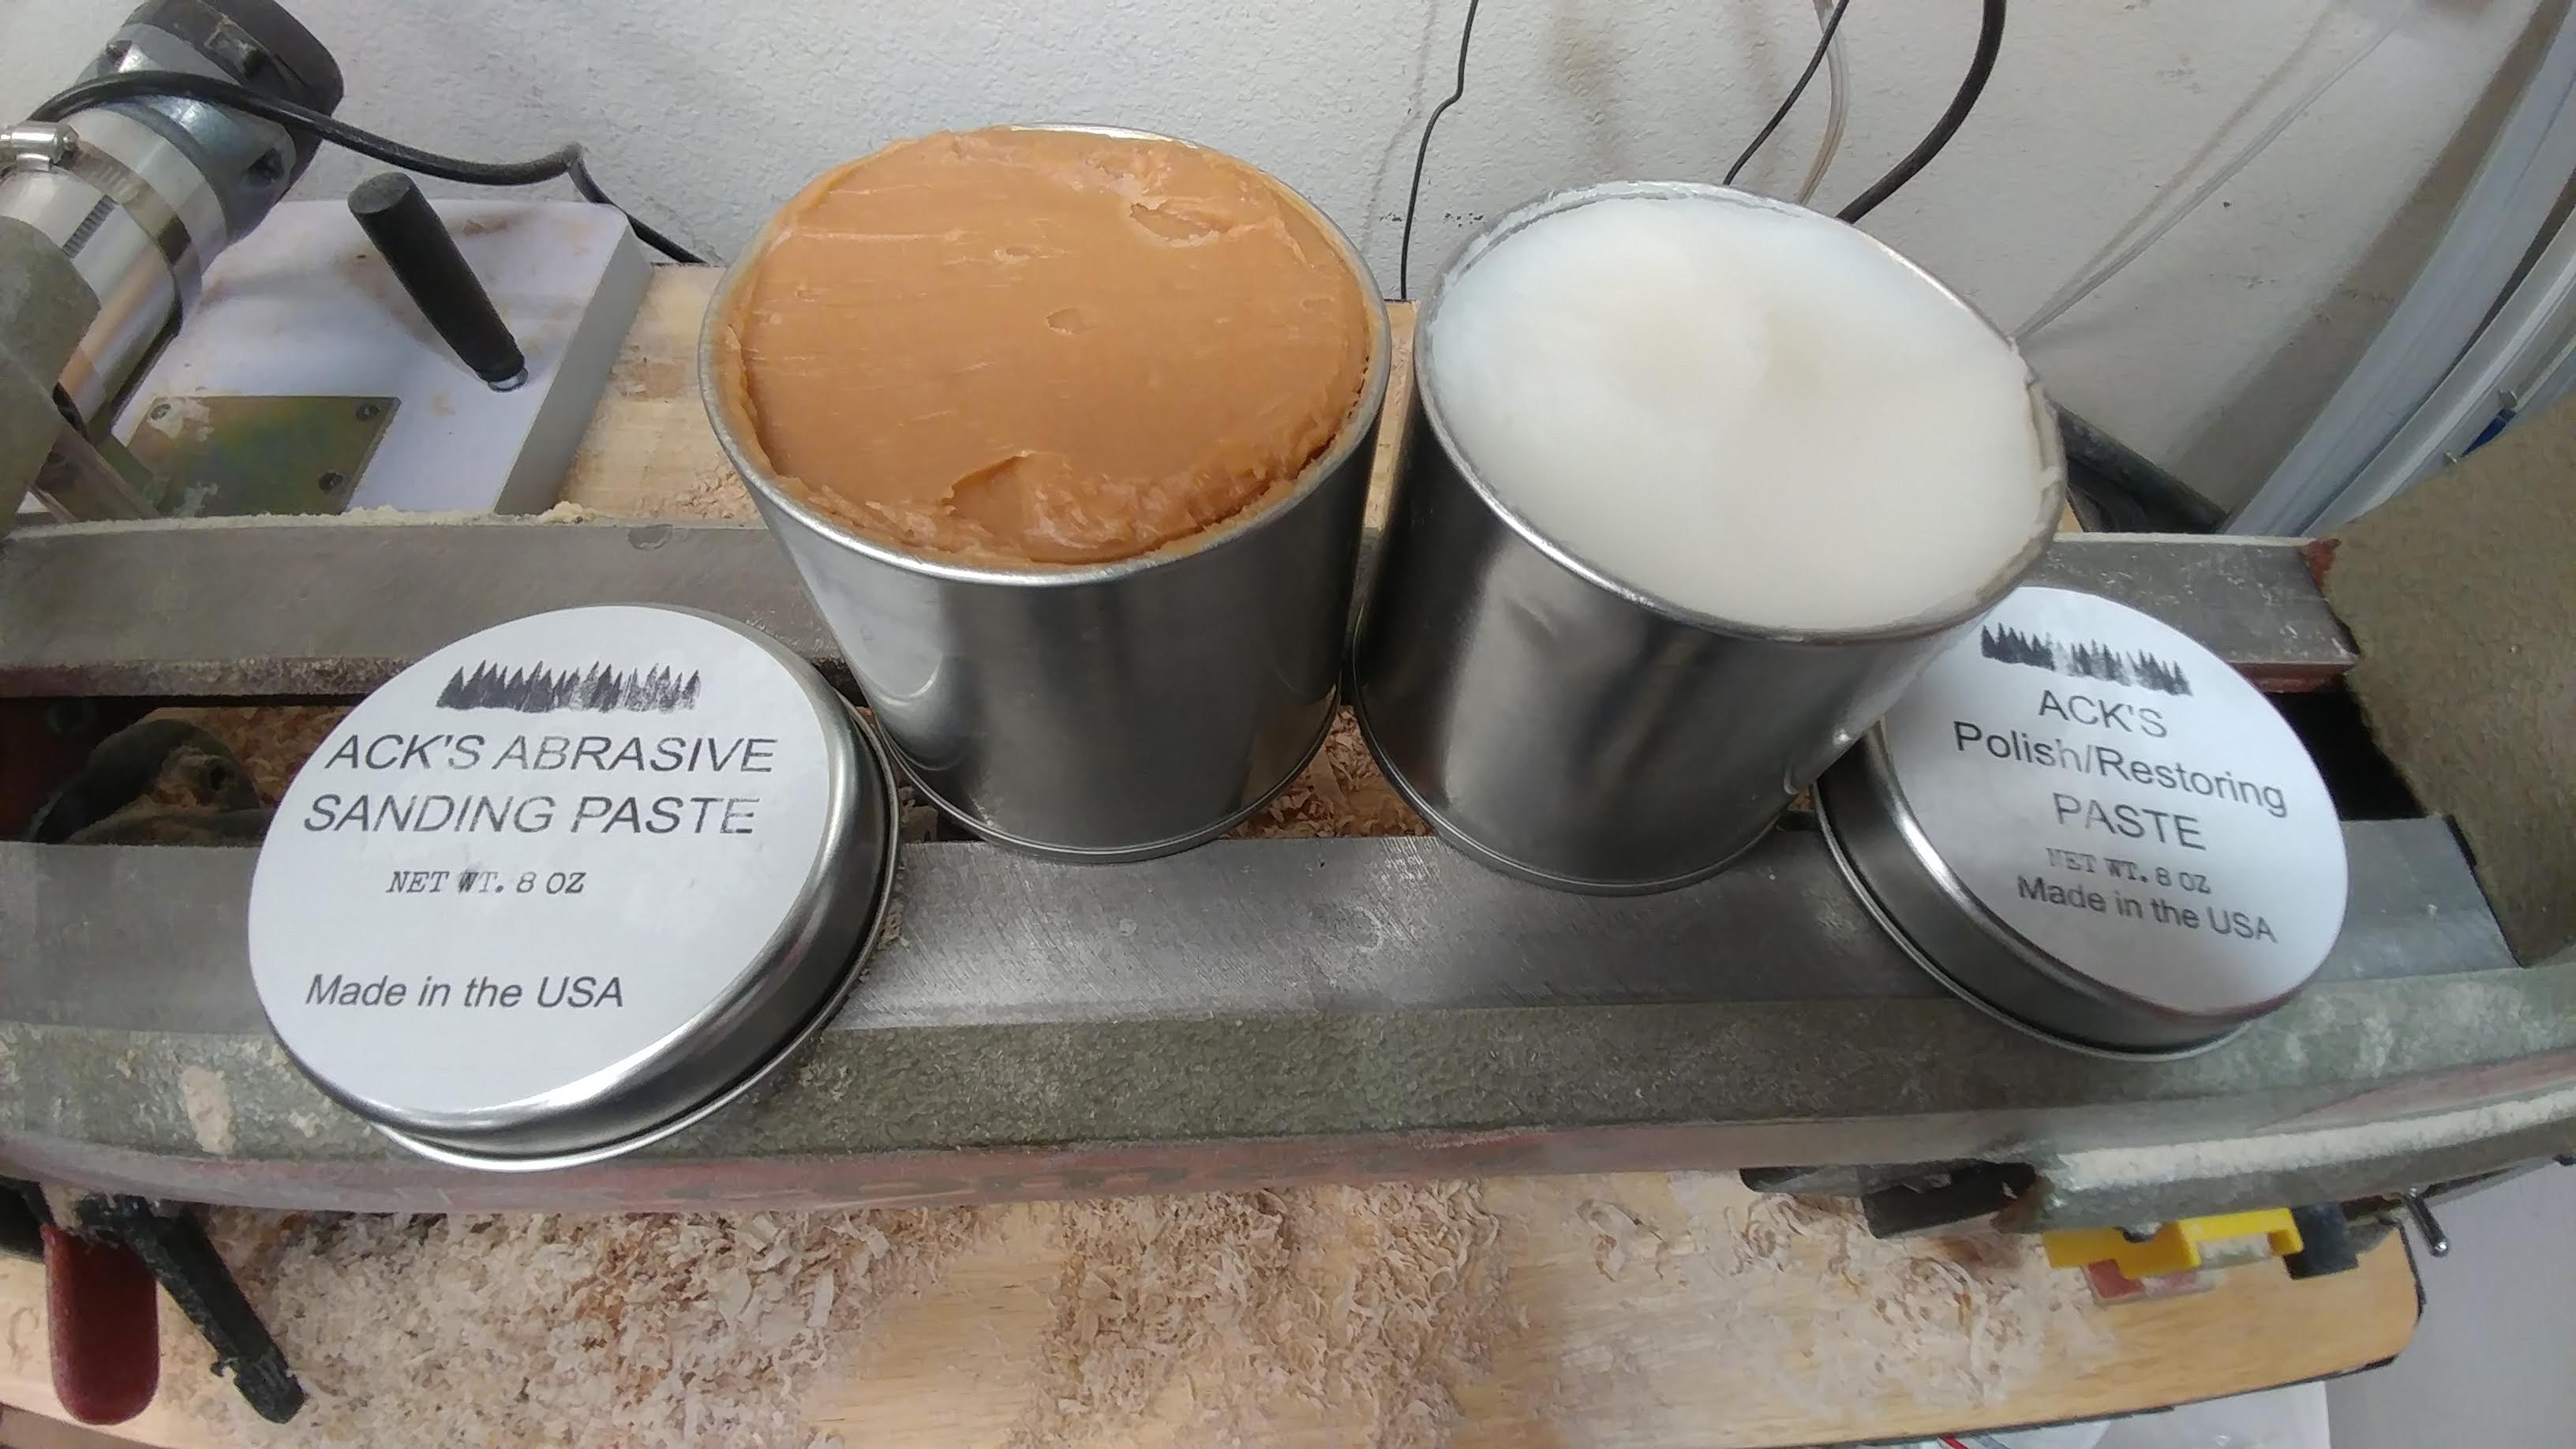
At the suggestion of Gord Rock, I am going to be trying some of Ack’s Abrasive Sanding Paste and Polish/Restoring Paste. From what I’ve seen online, it seems to work really well.
My shop is in disarray right now due to the cymbal cart project so I can’t do any woodturning for a few days. I’ll be sure to write up a review after I run it through its paces.
New Doc Martens!
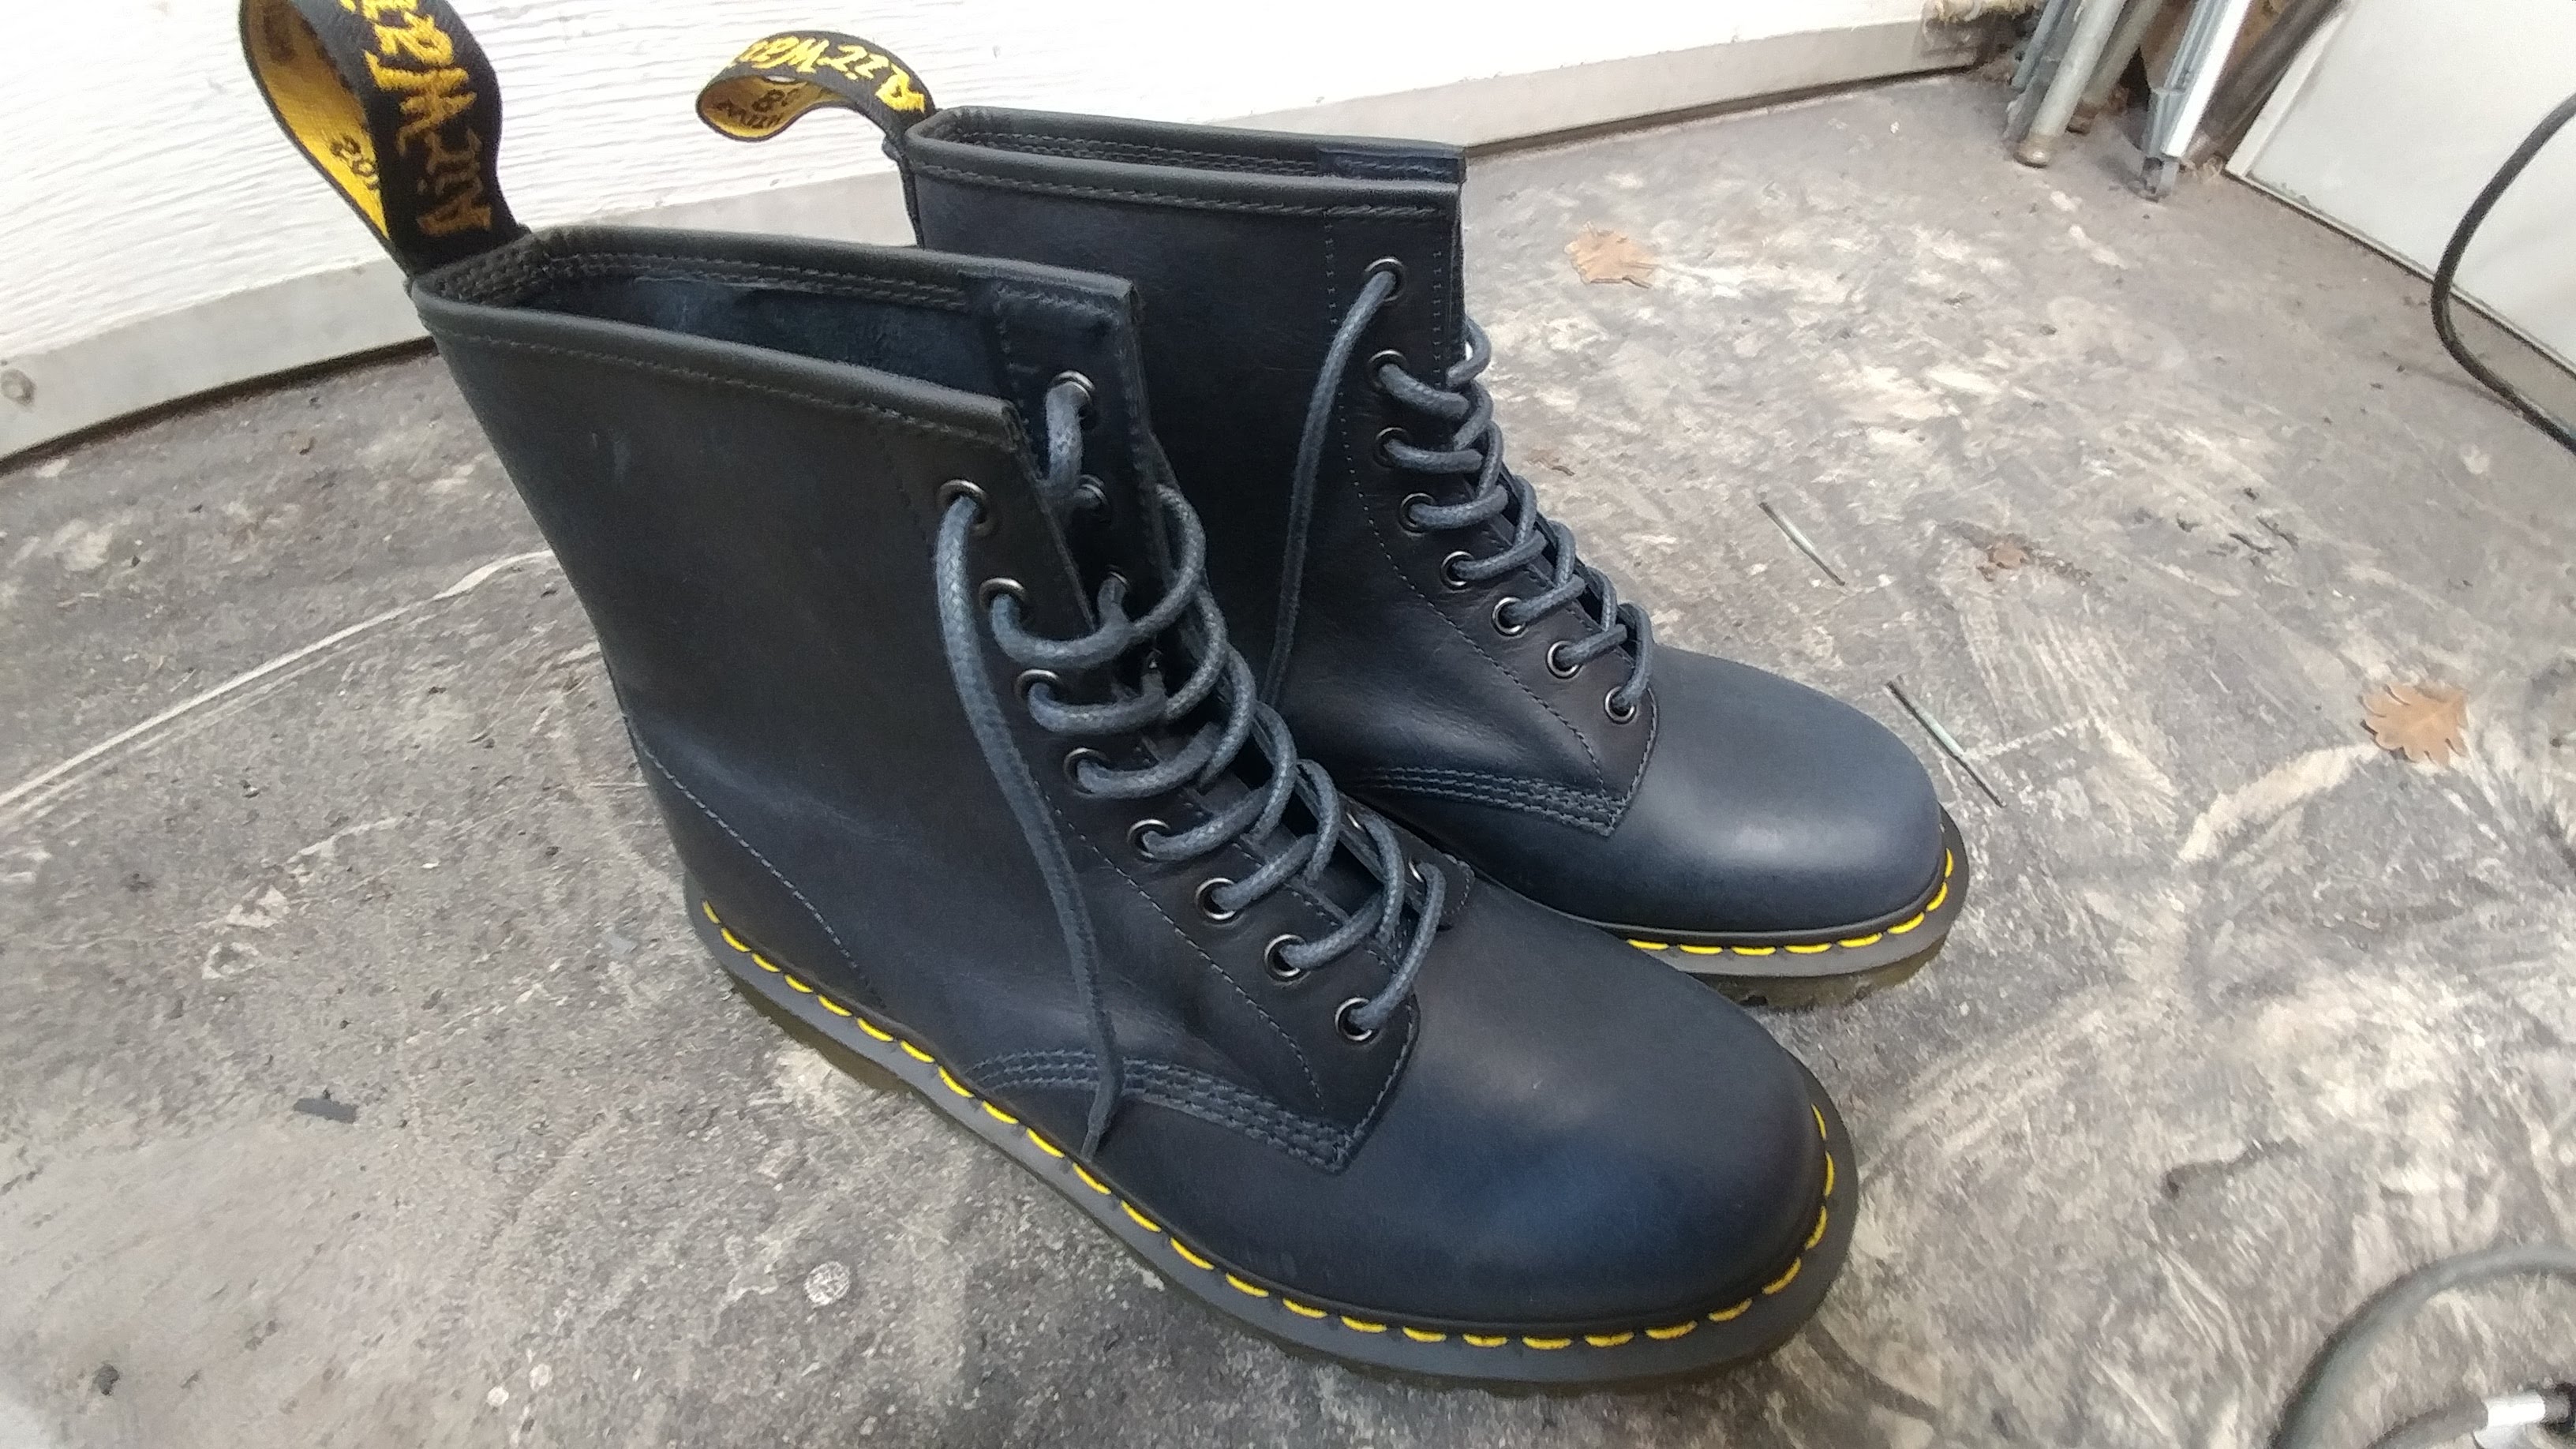
My black Docs have finally retired after two and a half years of constant abuse. I got a new pair of Navy Docs and for the very first time in my life a pair of Docs doesn’t need any breaking in. I’m used to spending a few months painfully wearing a new pair of Docs for a few hours a day until they are finally comfortable enough to wear all day. I put these on and they’re perfect right out of the box!
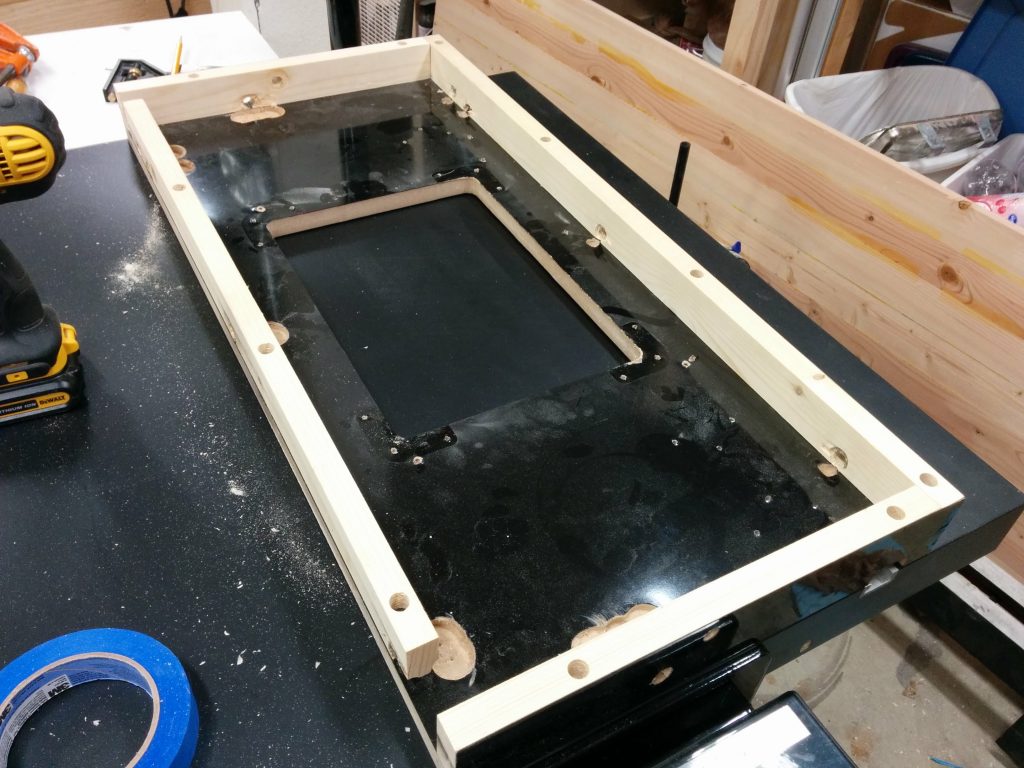
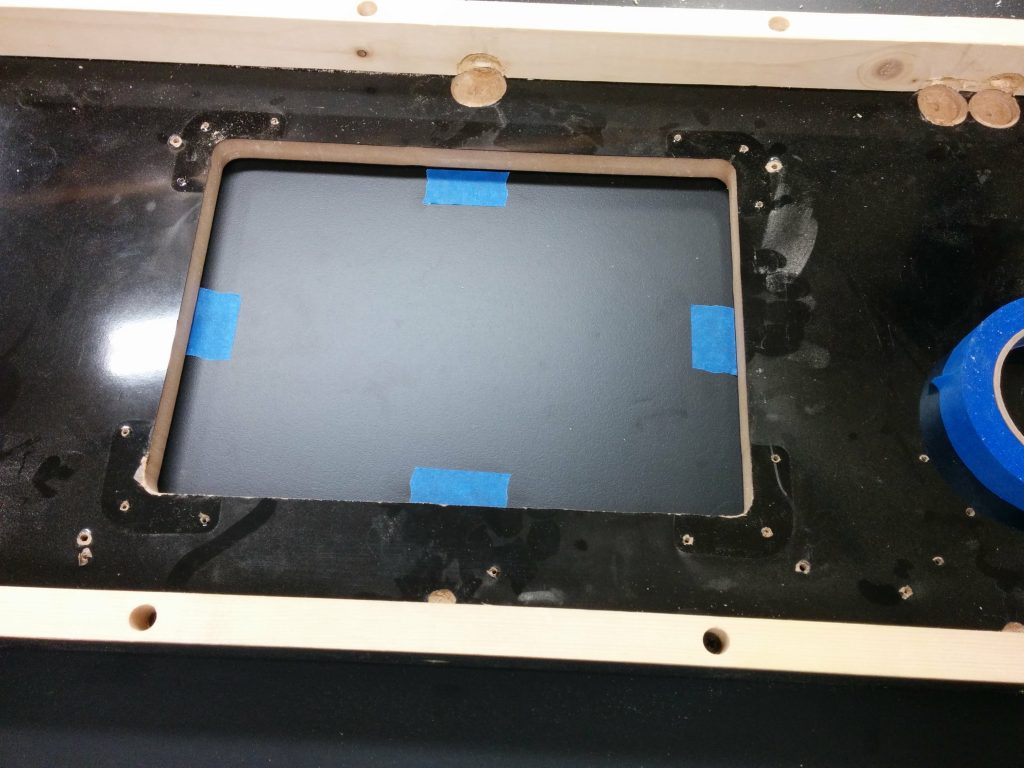
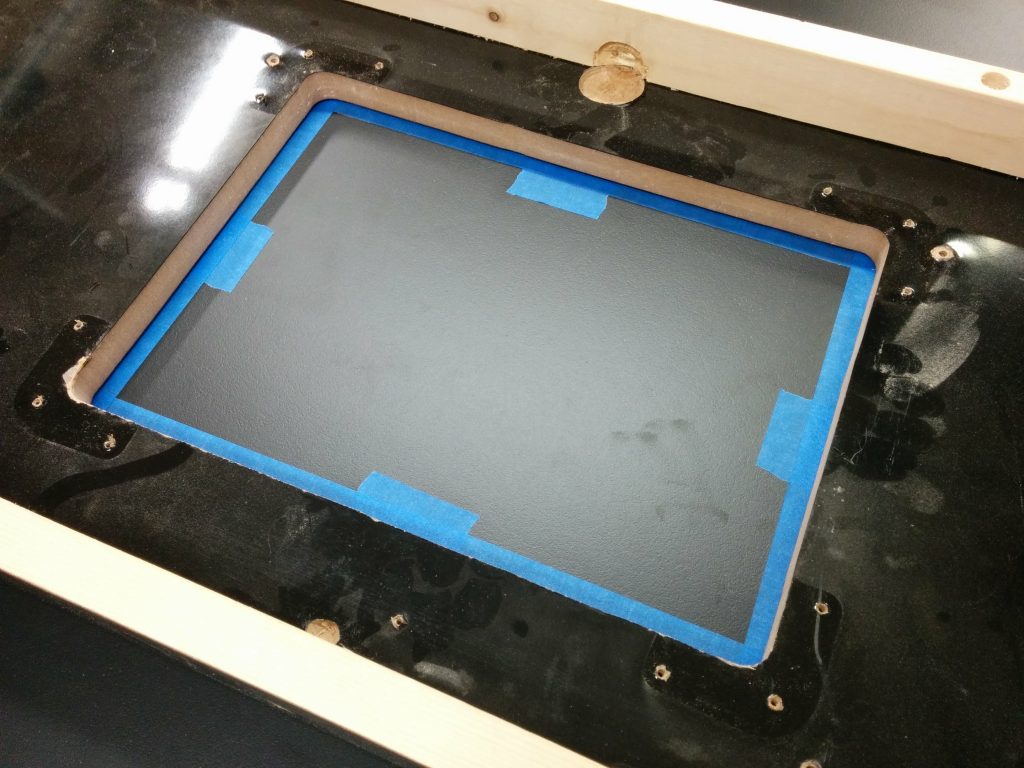
No More Studio Desk
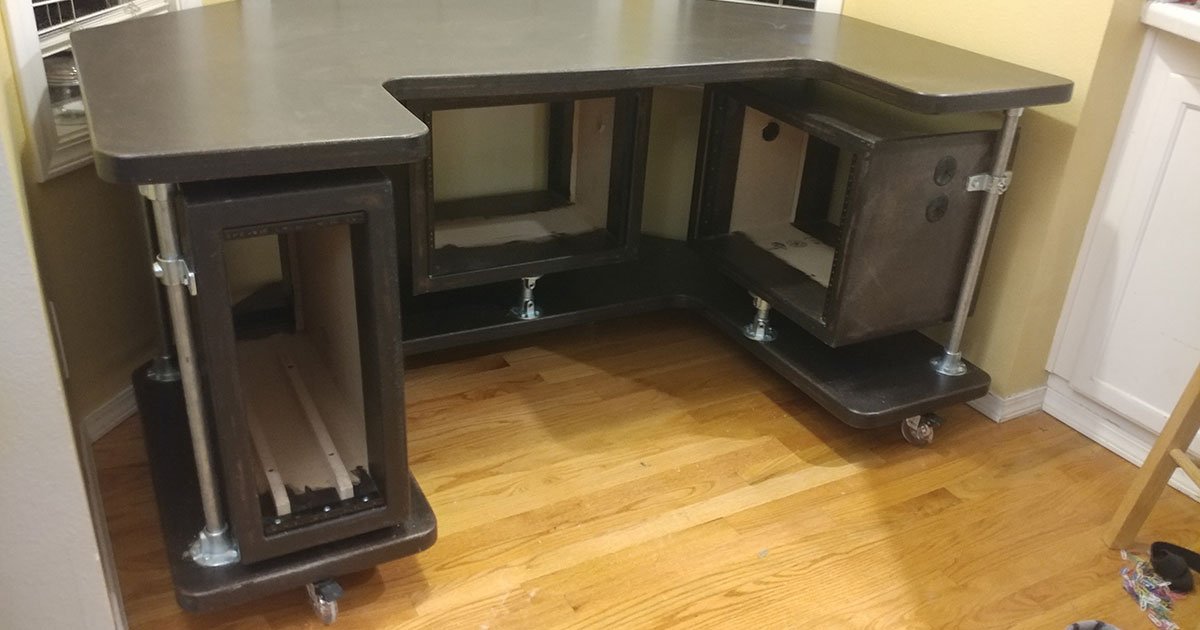
I have gotten rid of my studio desk after much debate. I really liked it but it was just too big and I didn’t end up using it the way I had hoped I would. I’m replacing it with a new desk with a separate rolling rack for all my gear. I’m looking to make something much more compact and portable. I’m still in the designing phase now but I’ll post some updates here soon.
If you aren’t familiar with my studio desk, below are the articles showing how I put it all together
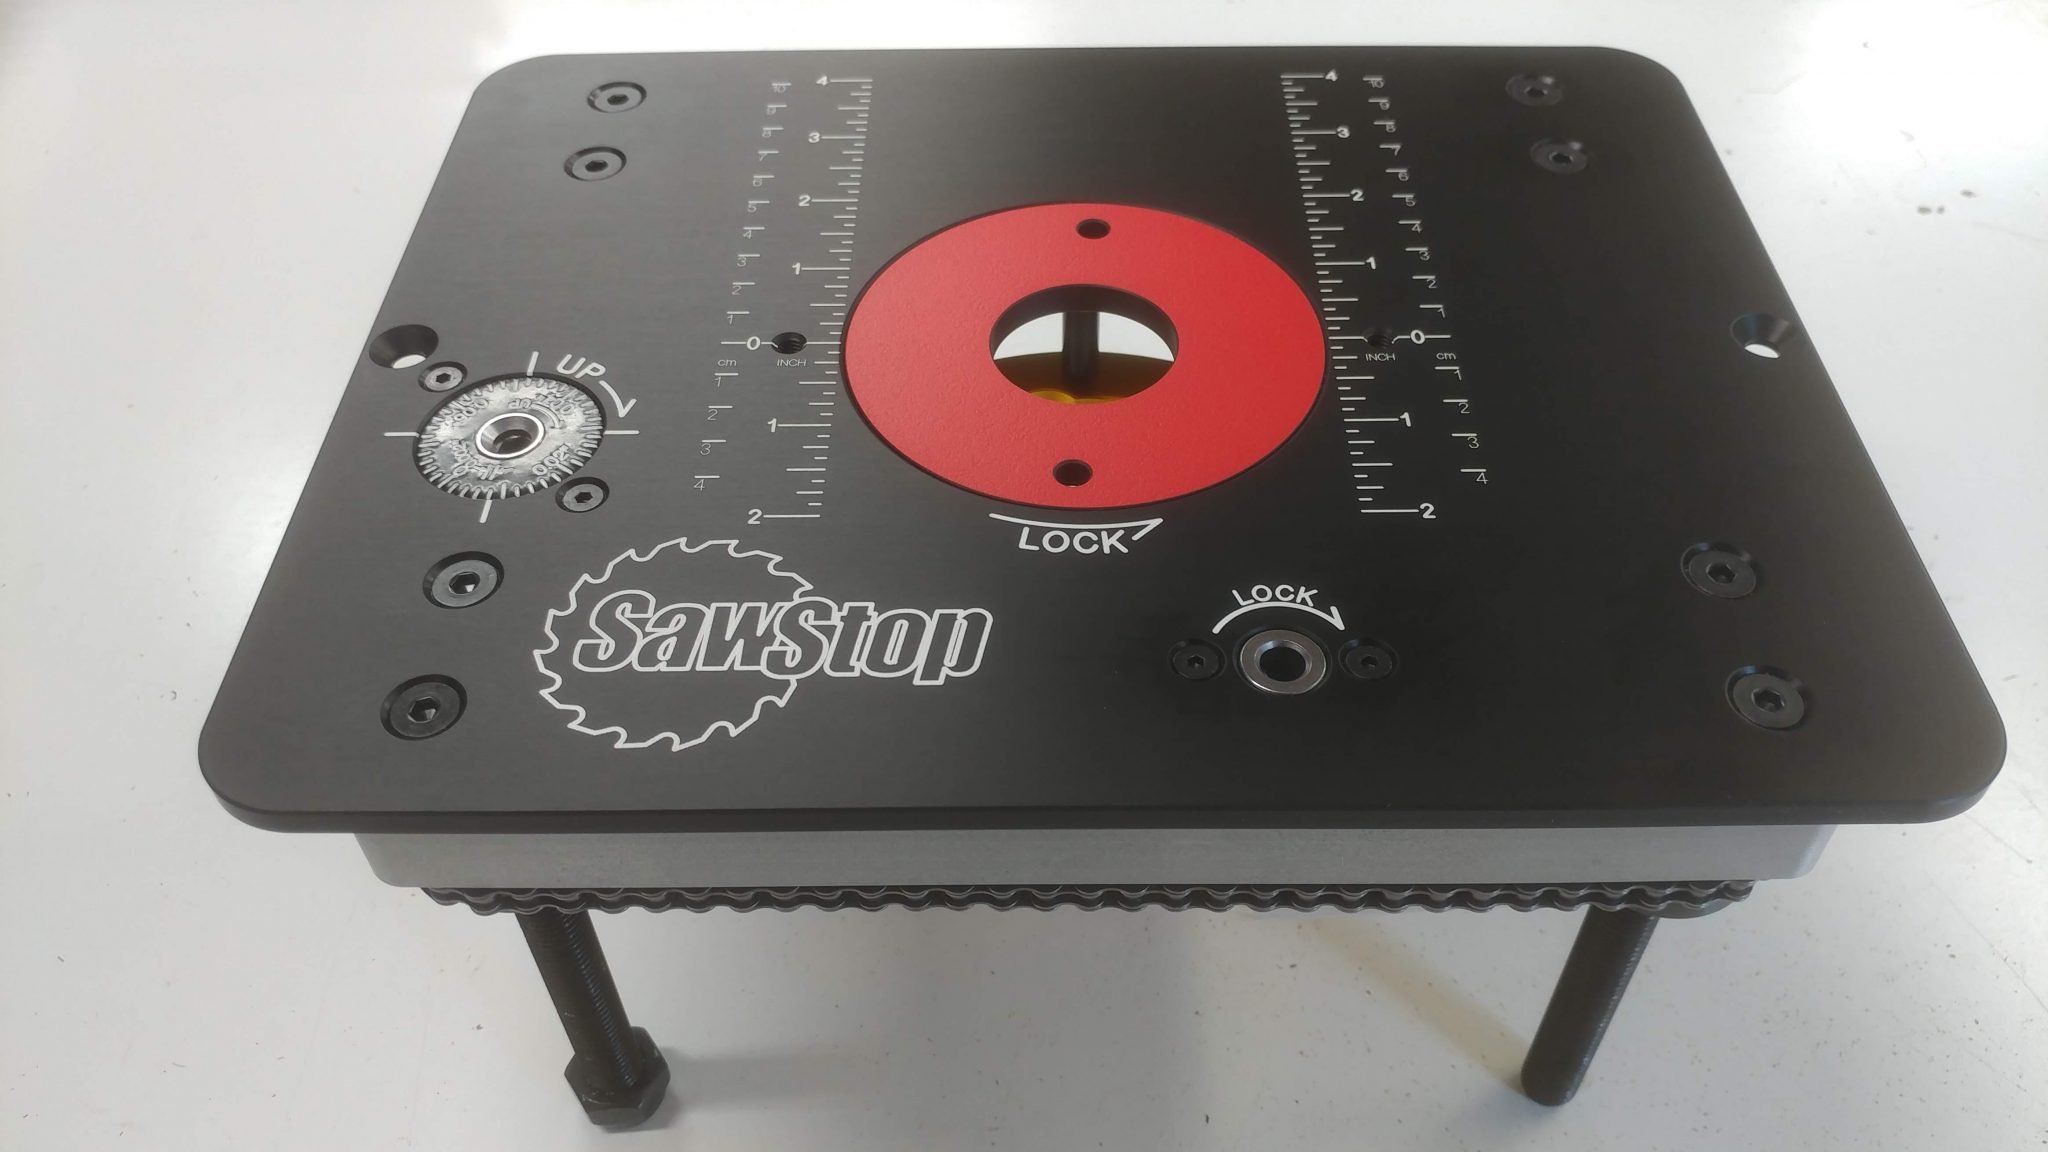
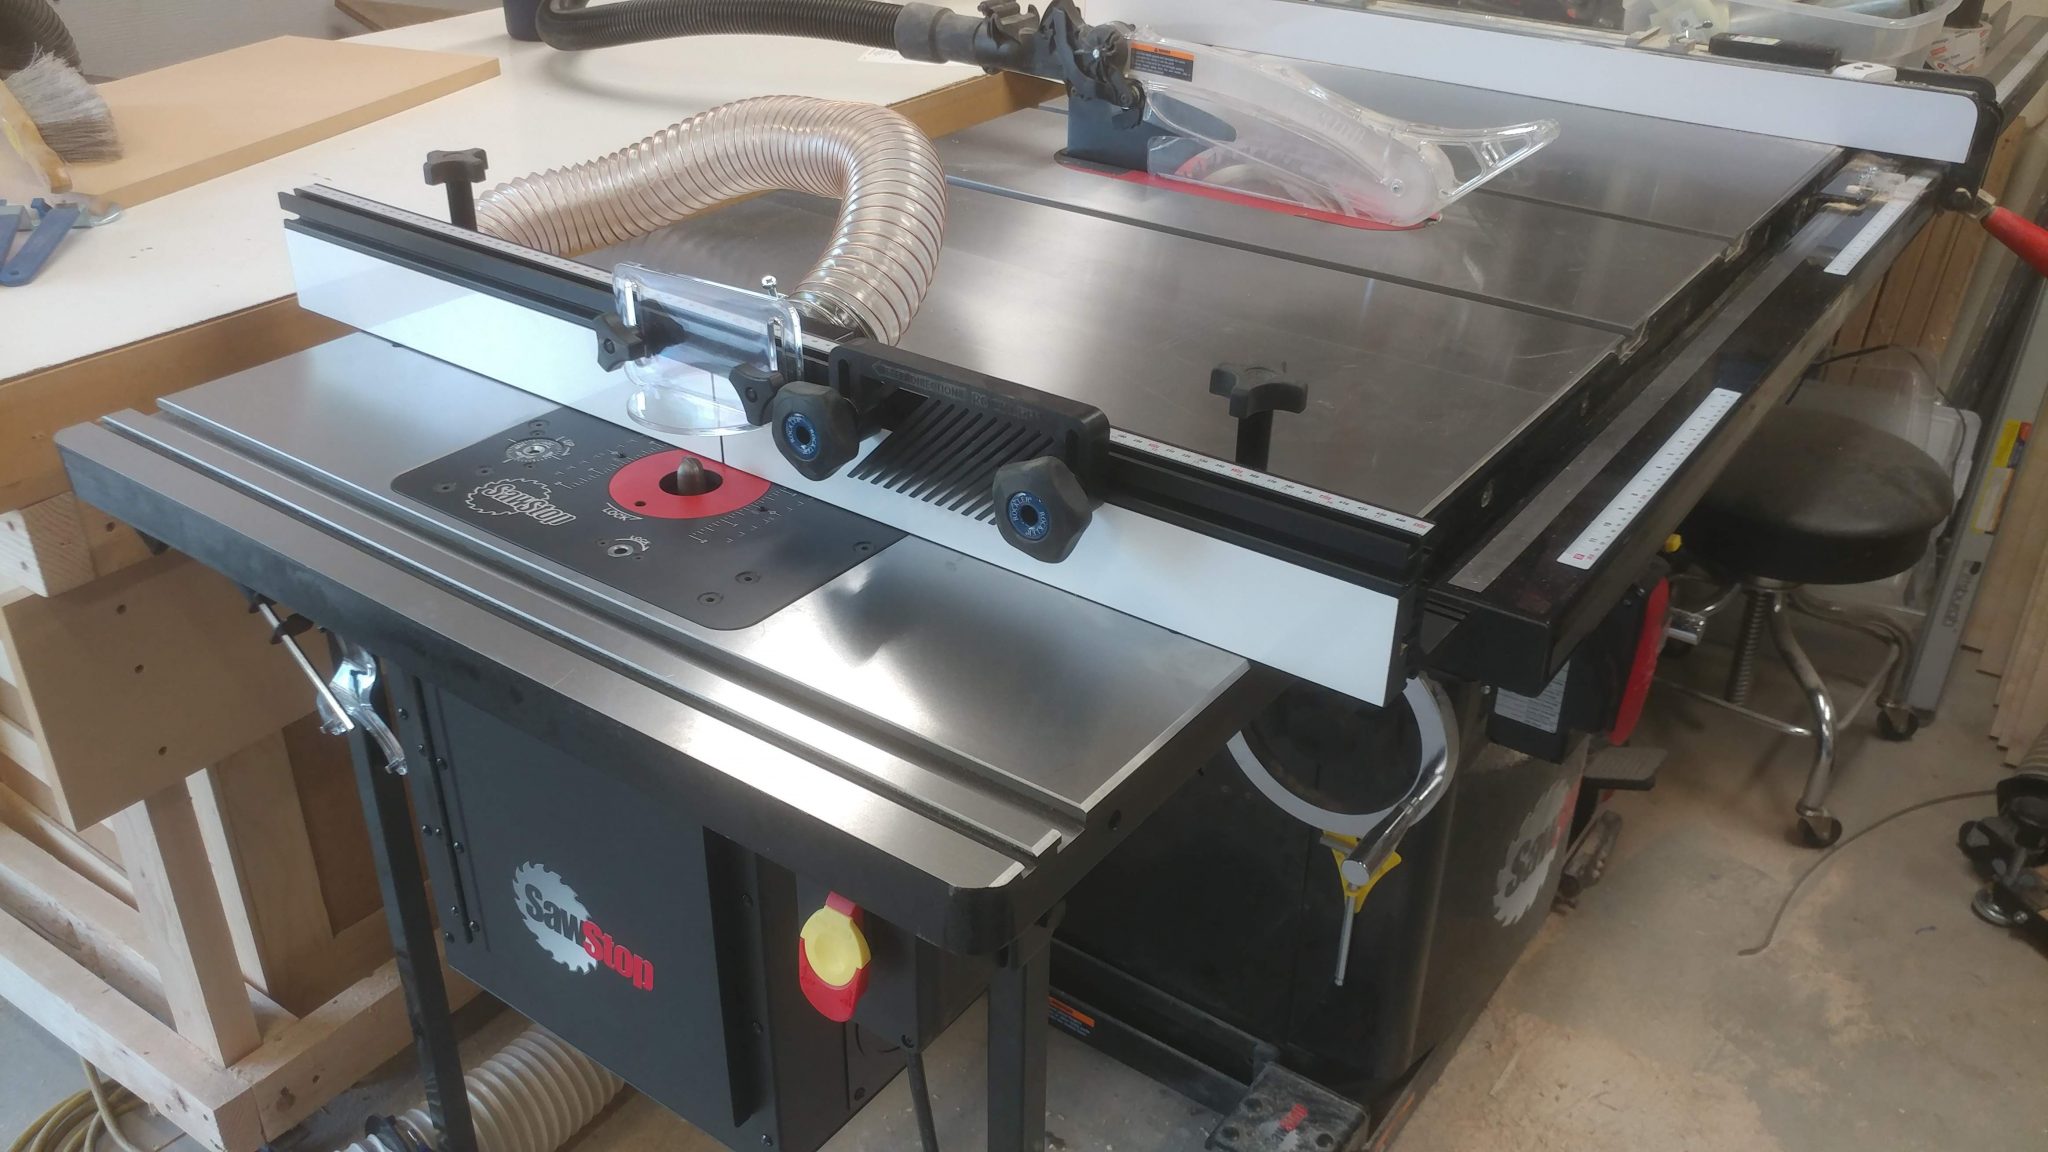
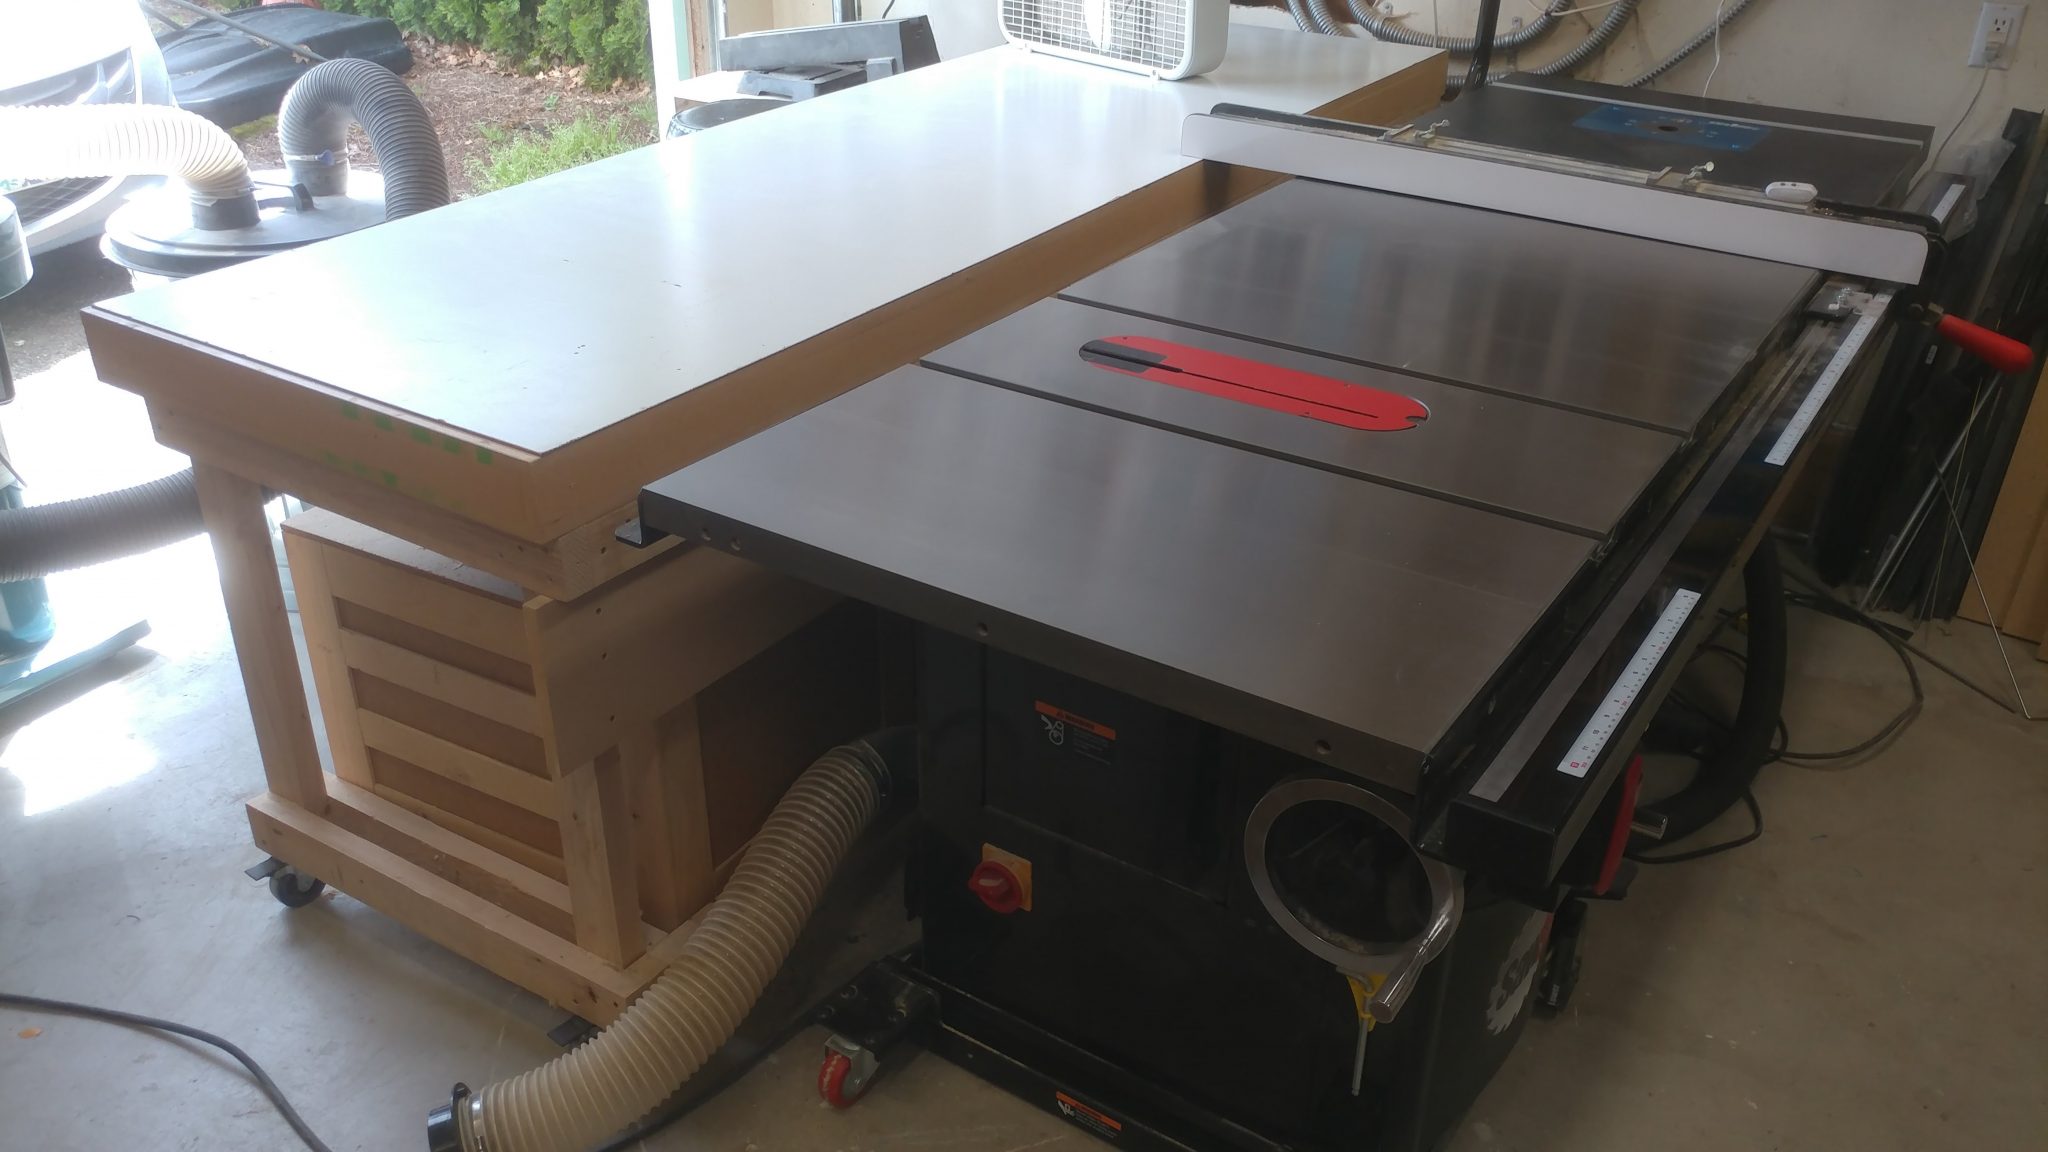
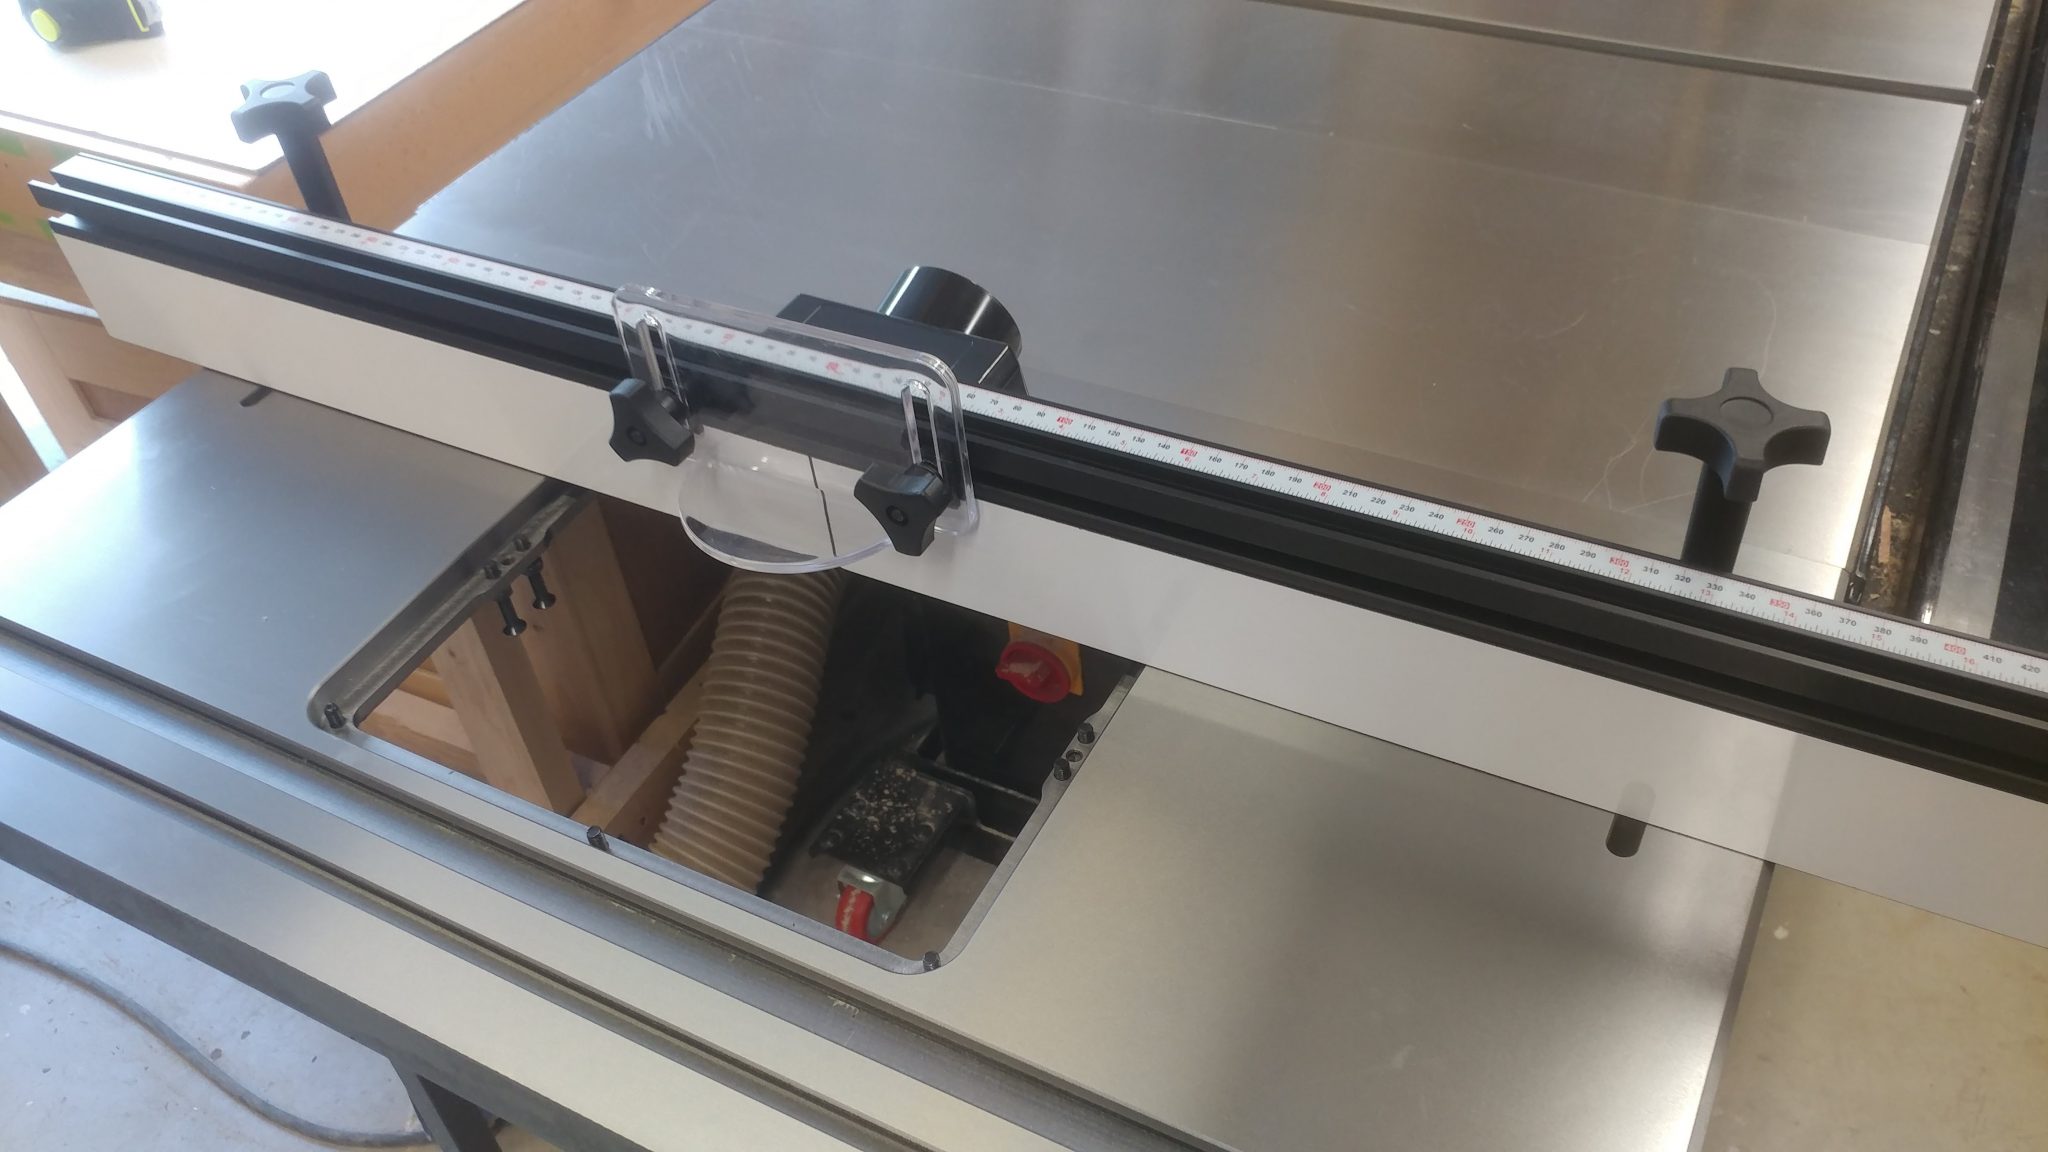
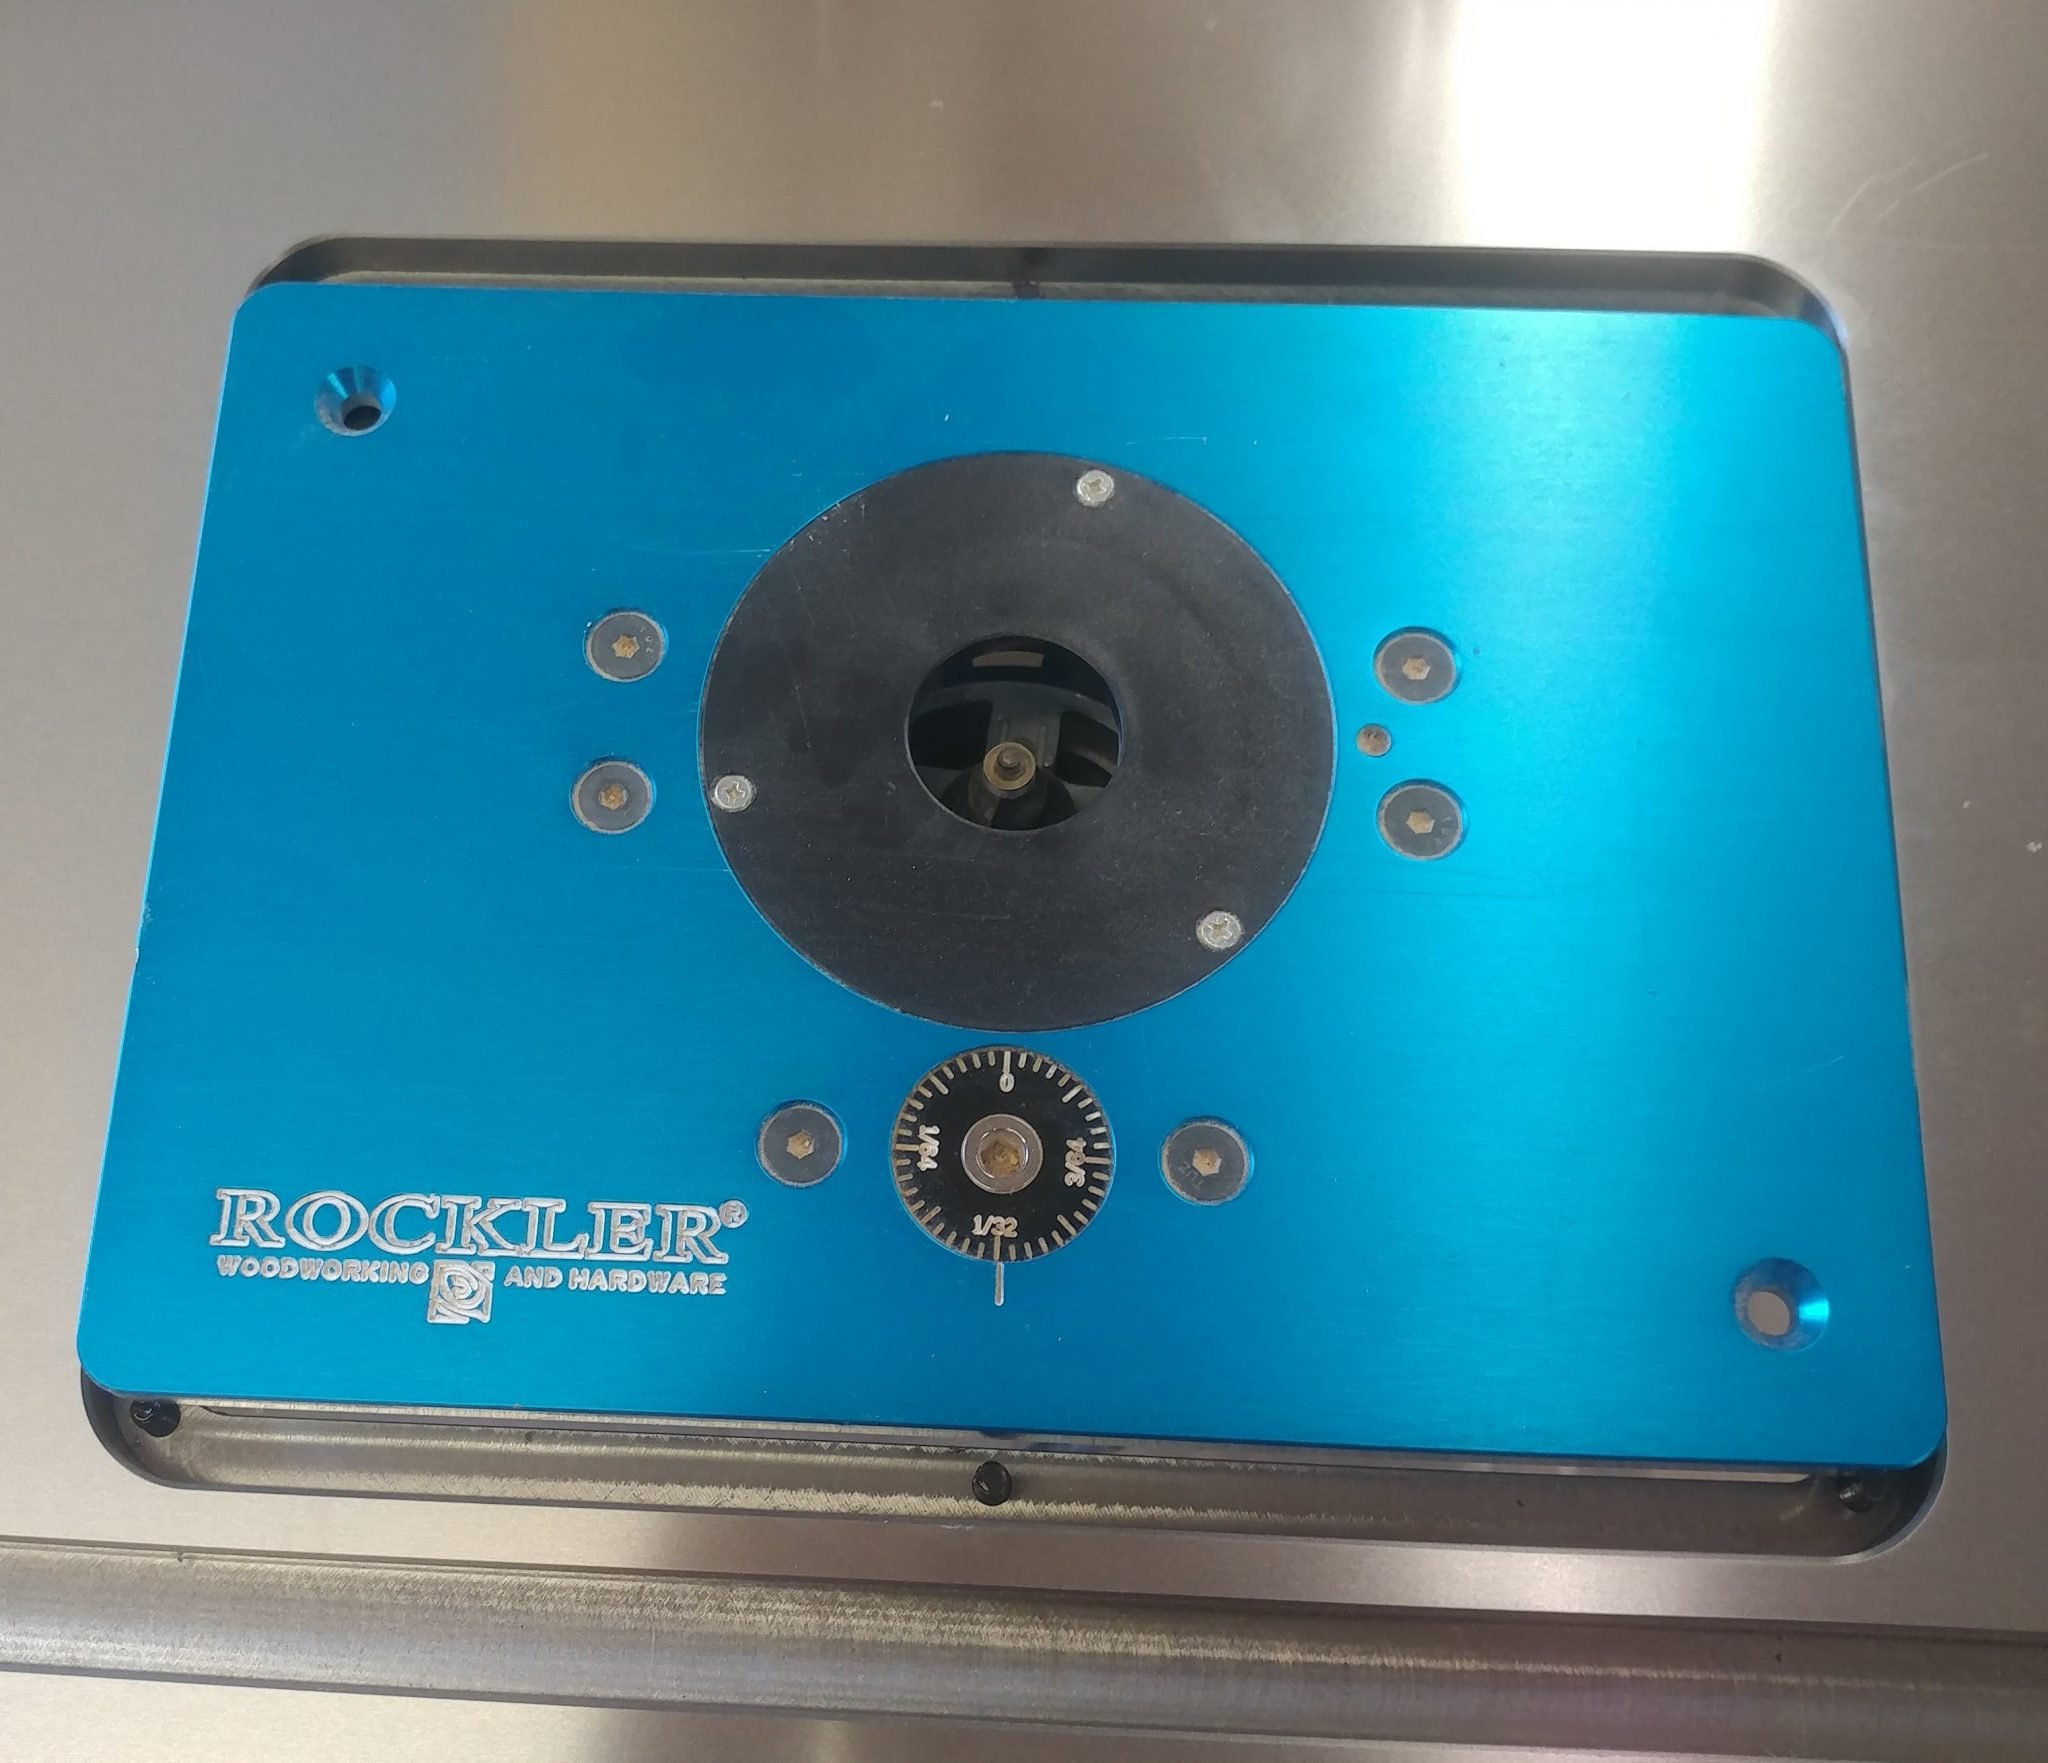
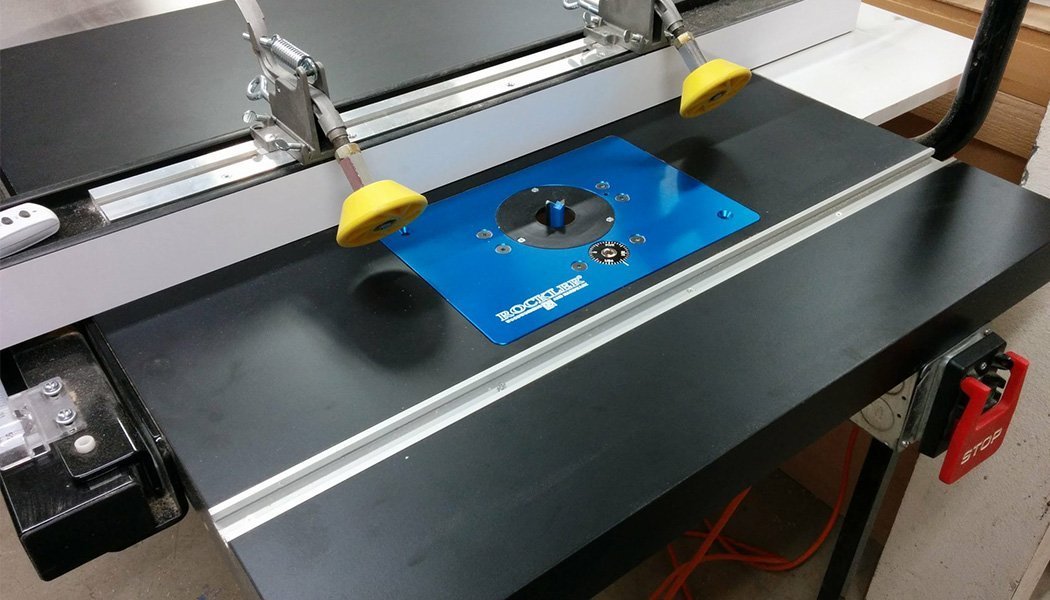
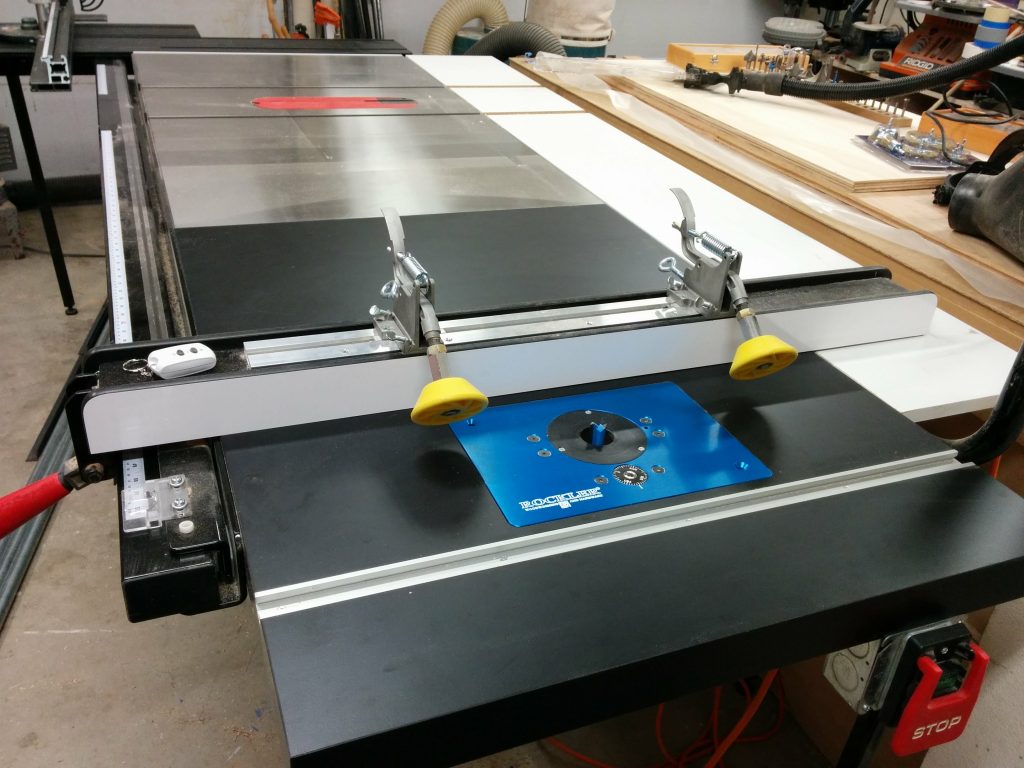
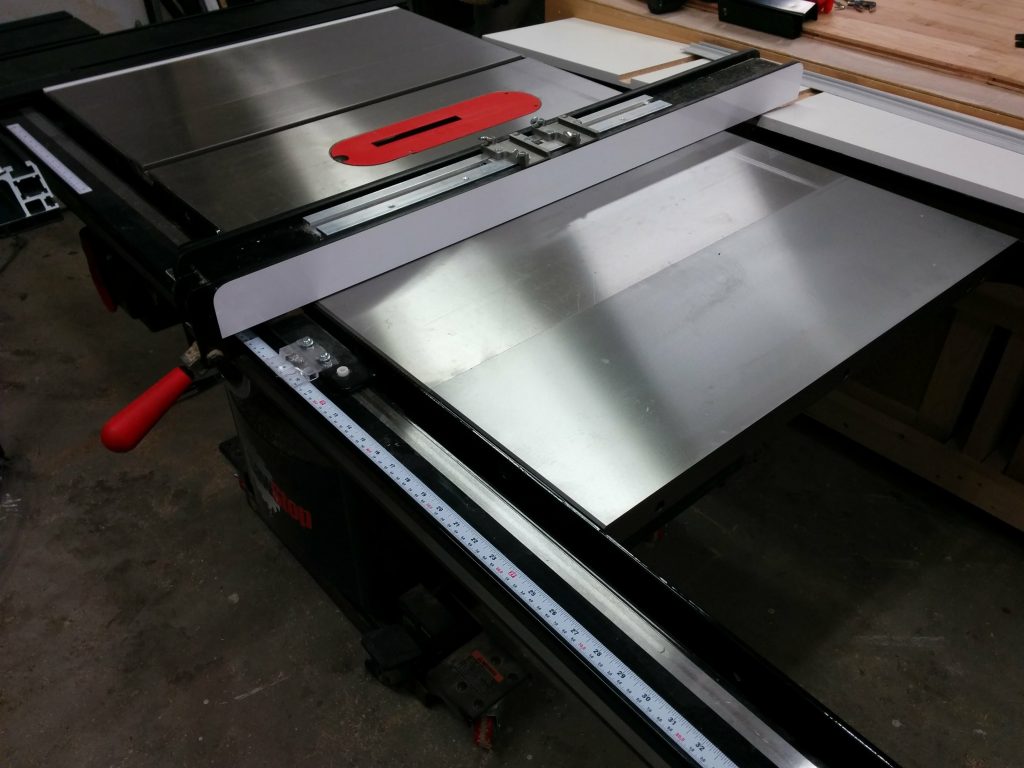
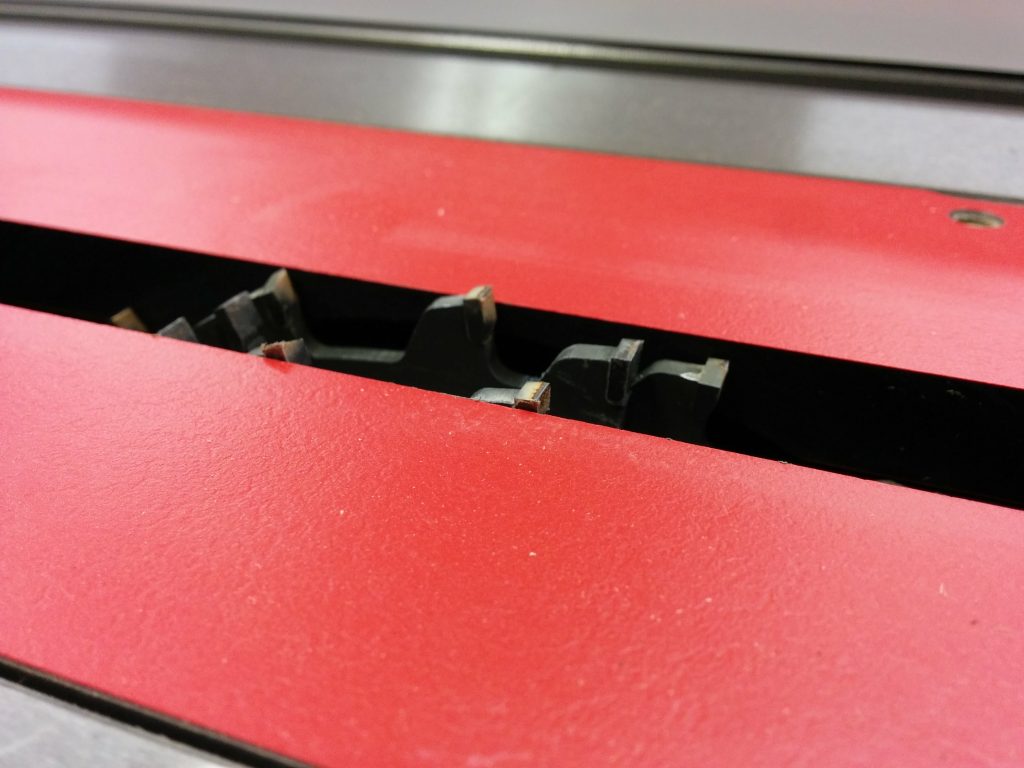
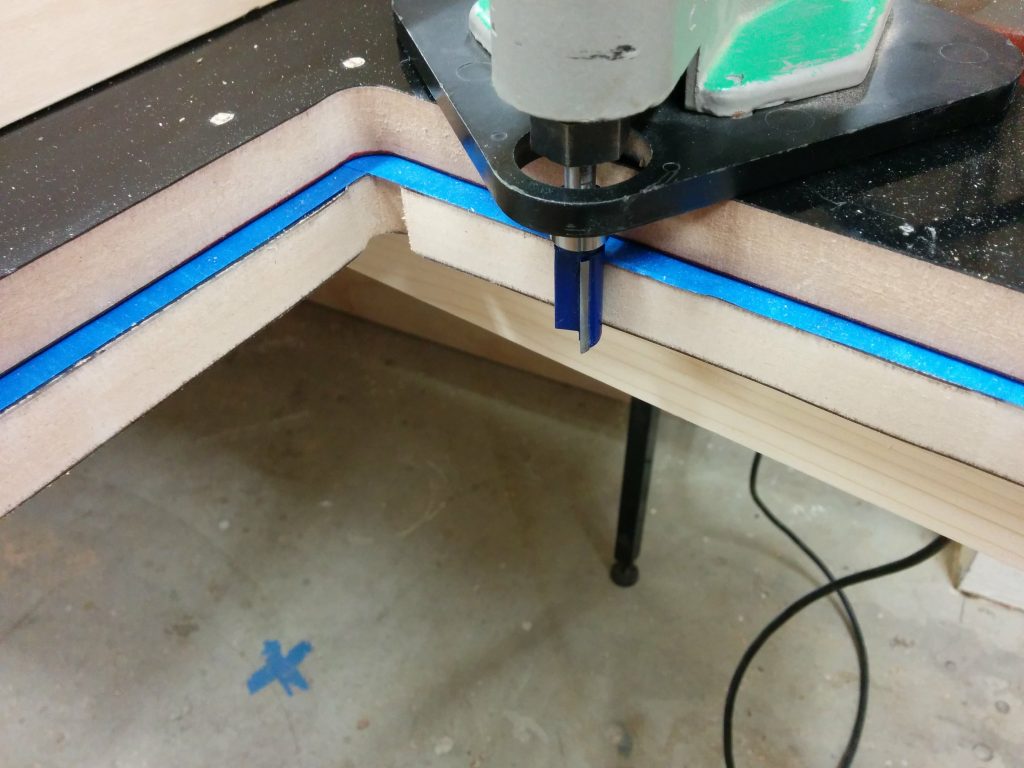
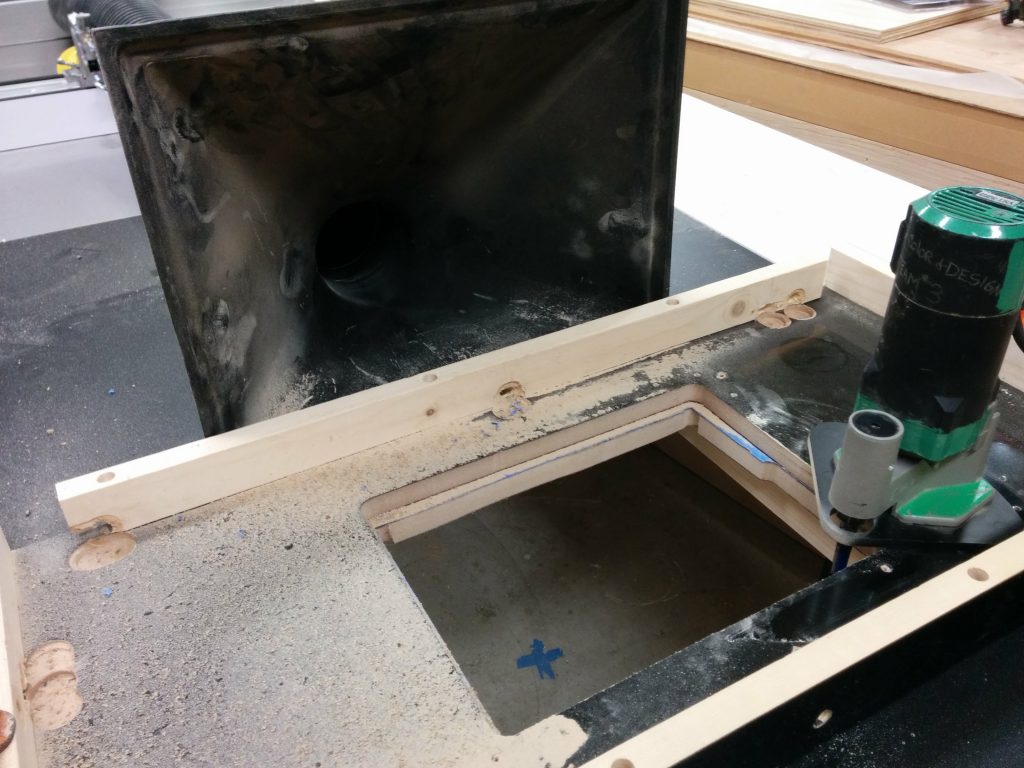
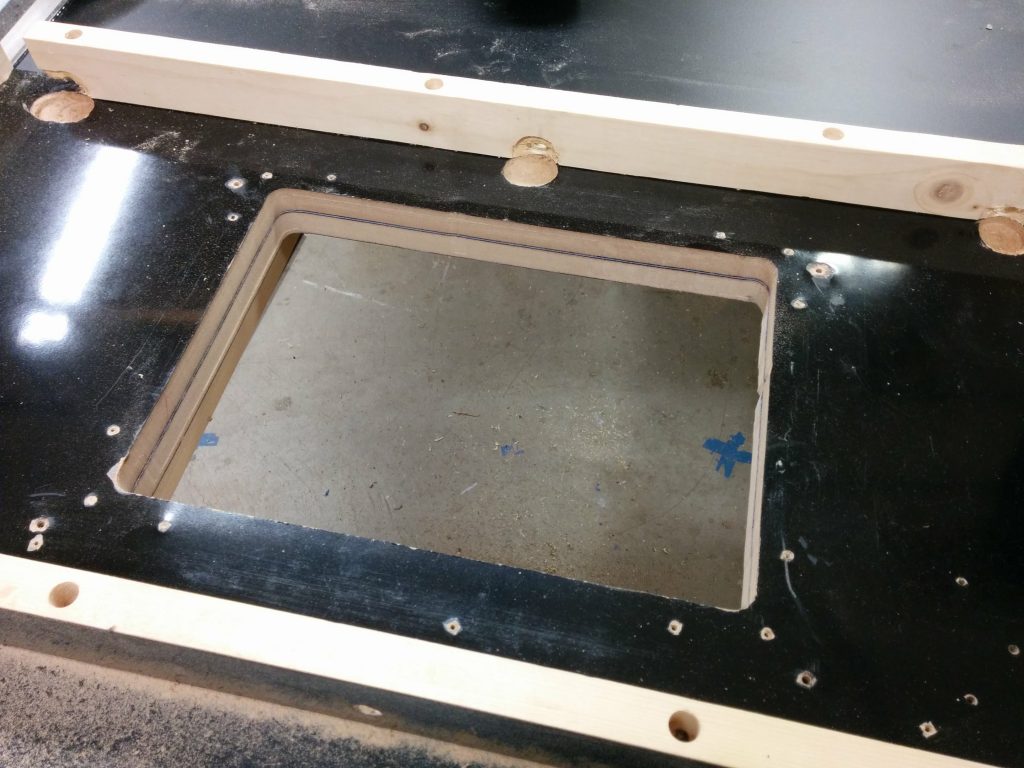
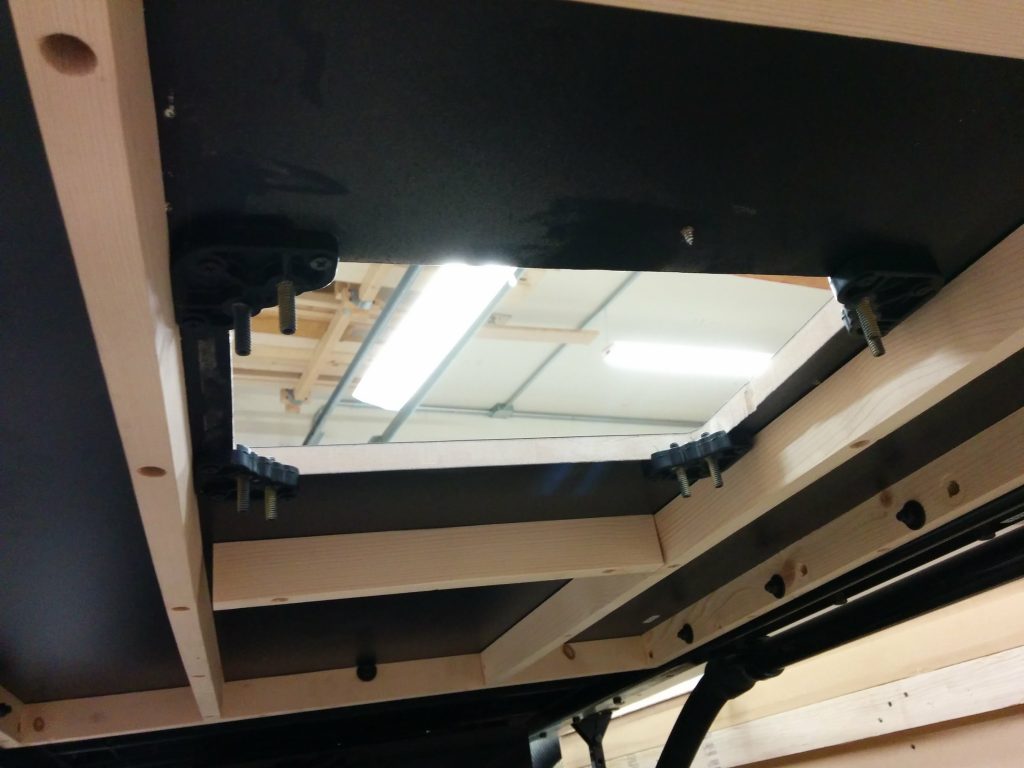
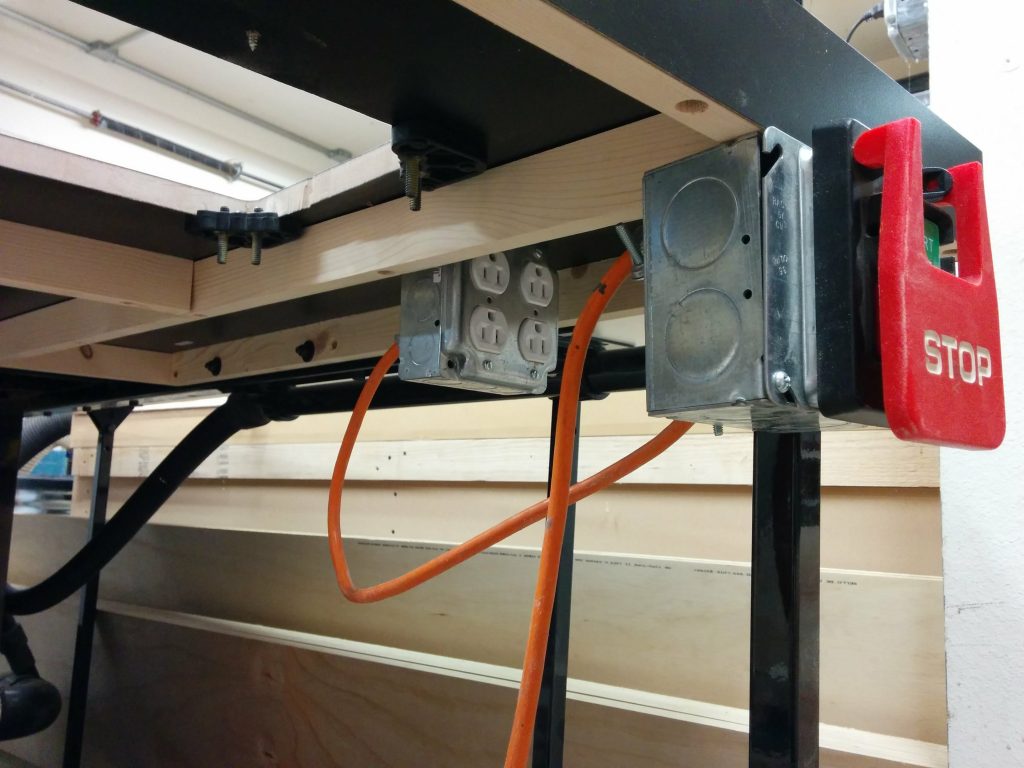
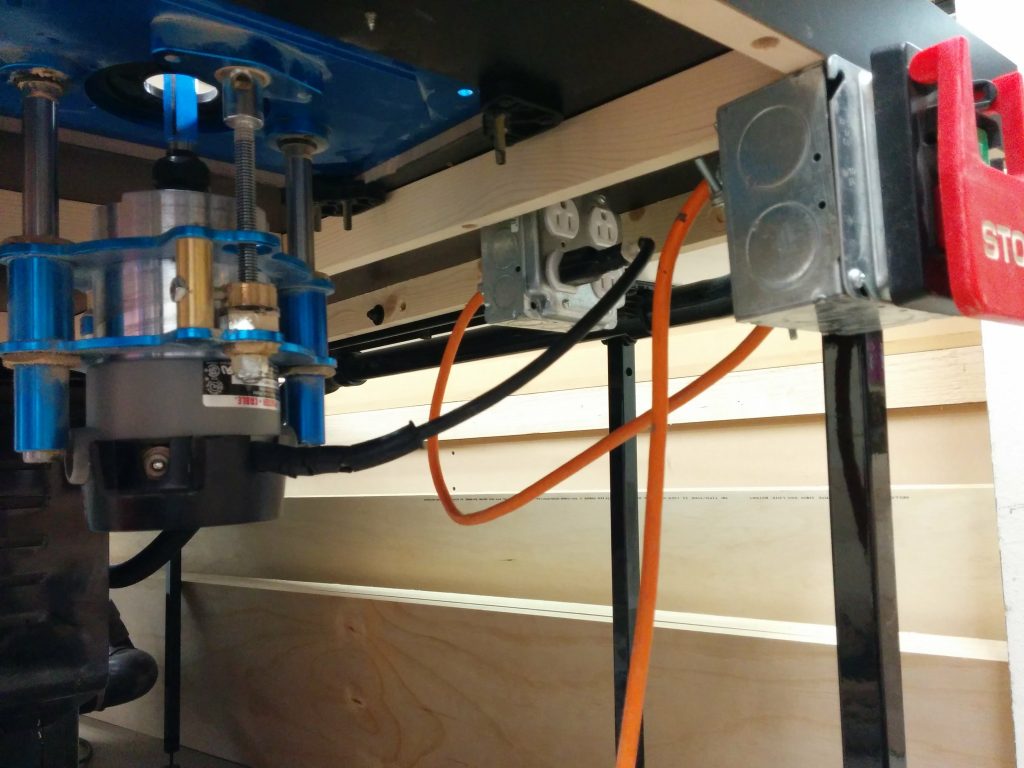
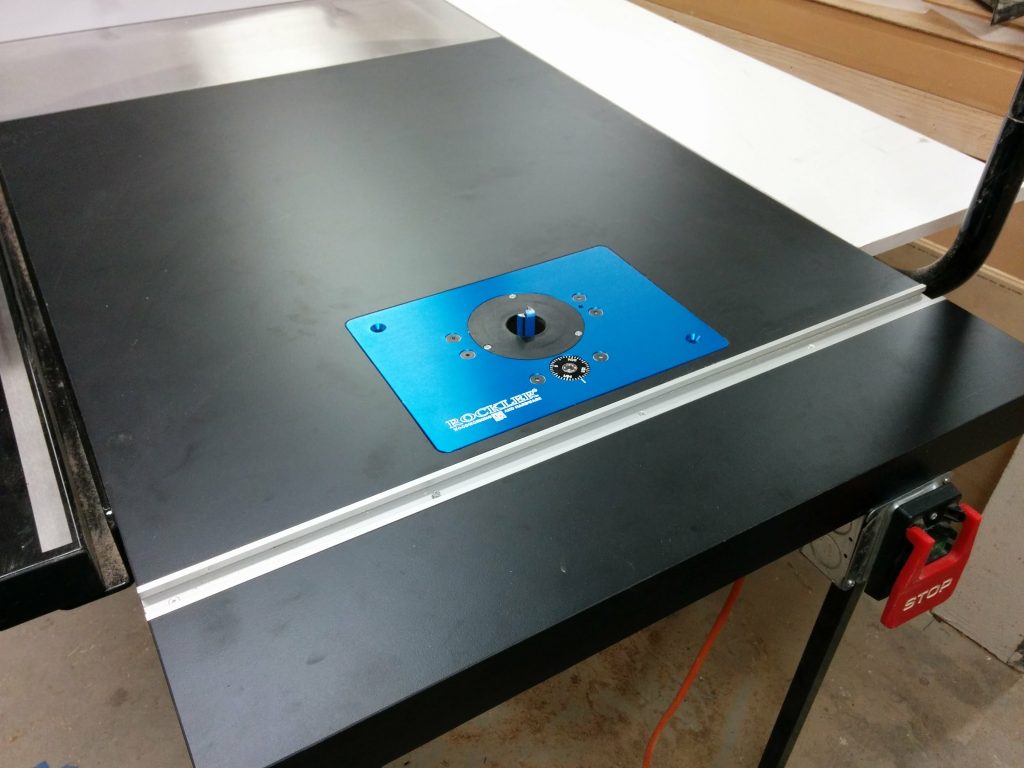
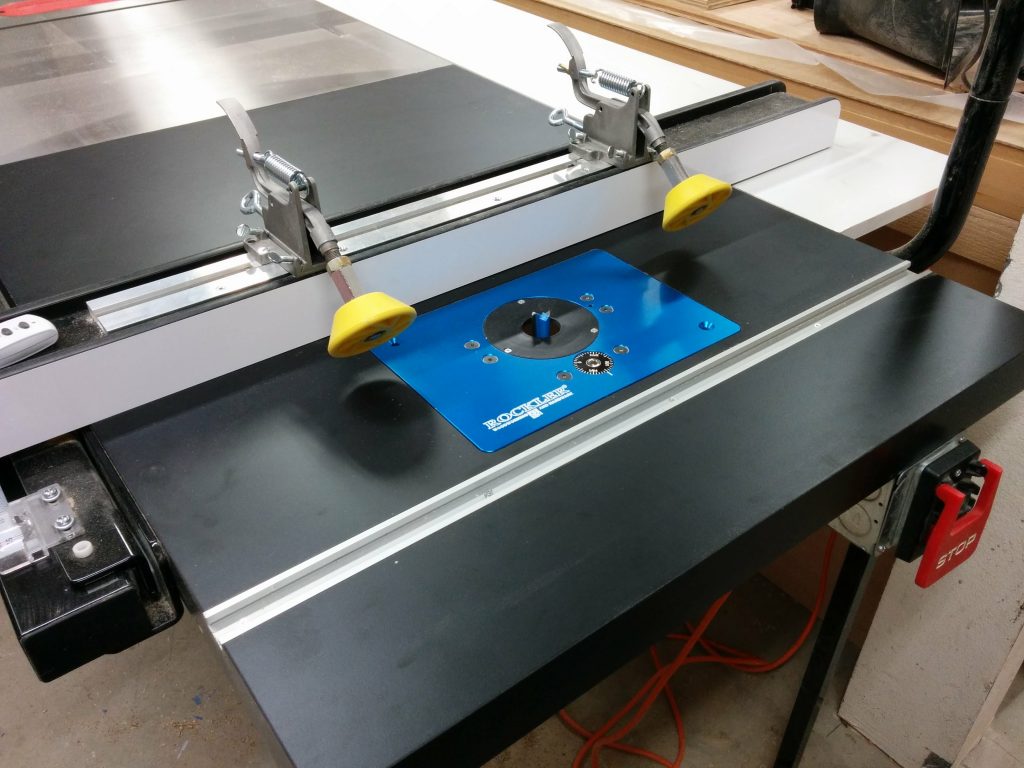
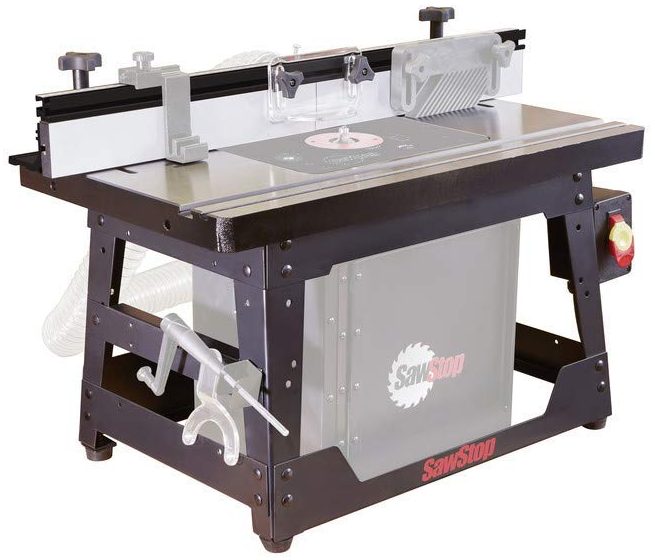
Router Table Article
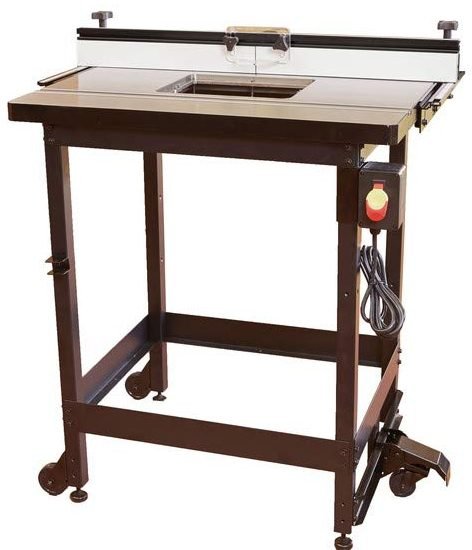
Due to the popularity of my Choosing a SawStop – Contractor Vs. Professional article, I have begun writing up an article that covers the SawStop router table options, including any incompatibilities you may run into. I hope to have this article out in the following week or two.