News – July 30th, 2019 – Teaching, Filming, and Turning

Teaching

I recently got to teach a class on Router basics. Other than it having to be rushed due to the time constraints, it went well. I’ll be converting the documentation for this class into a post on this website, much like I did with my Dado Information class.

I was also working on a beginning woodworking class for Skillshare but life got in the way and I wasn’t able to finish it before the deadline. While making the class, I realized that the subject matter was much too broad for the amount of time I had to put it together. I’m still going to put together some Skillshare classes but I’m going to have them be more focused and less broad.

Filming

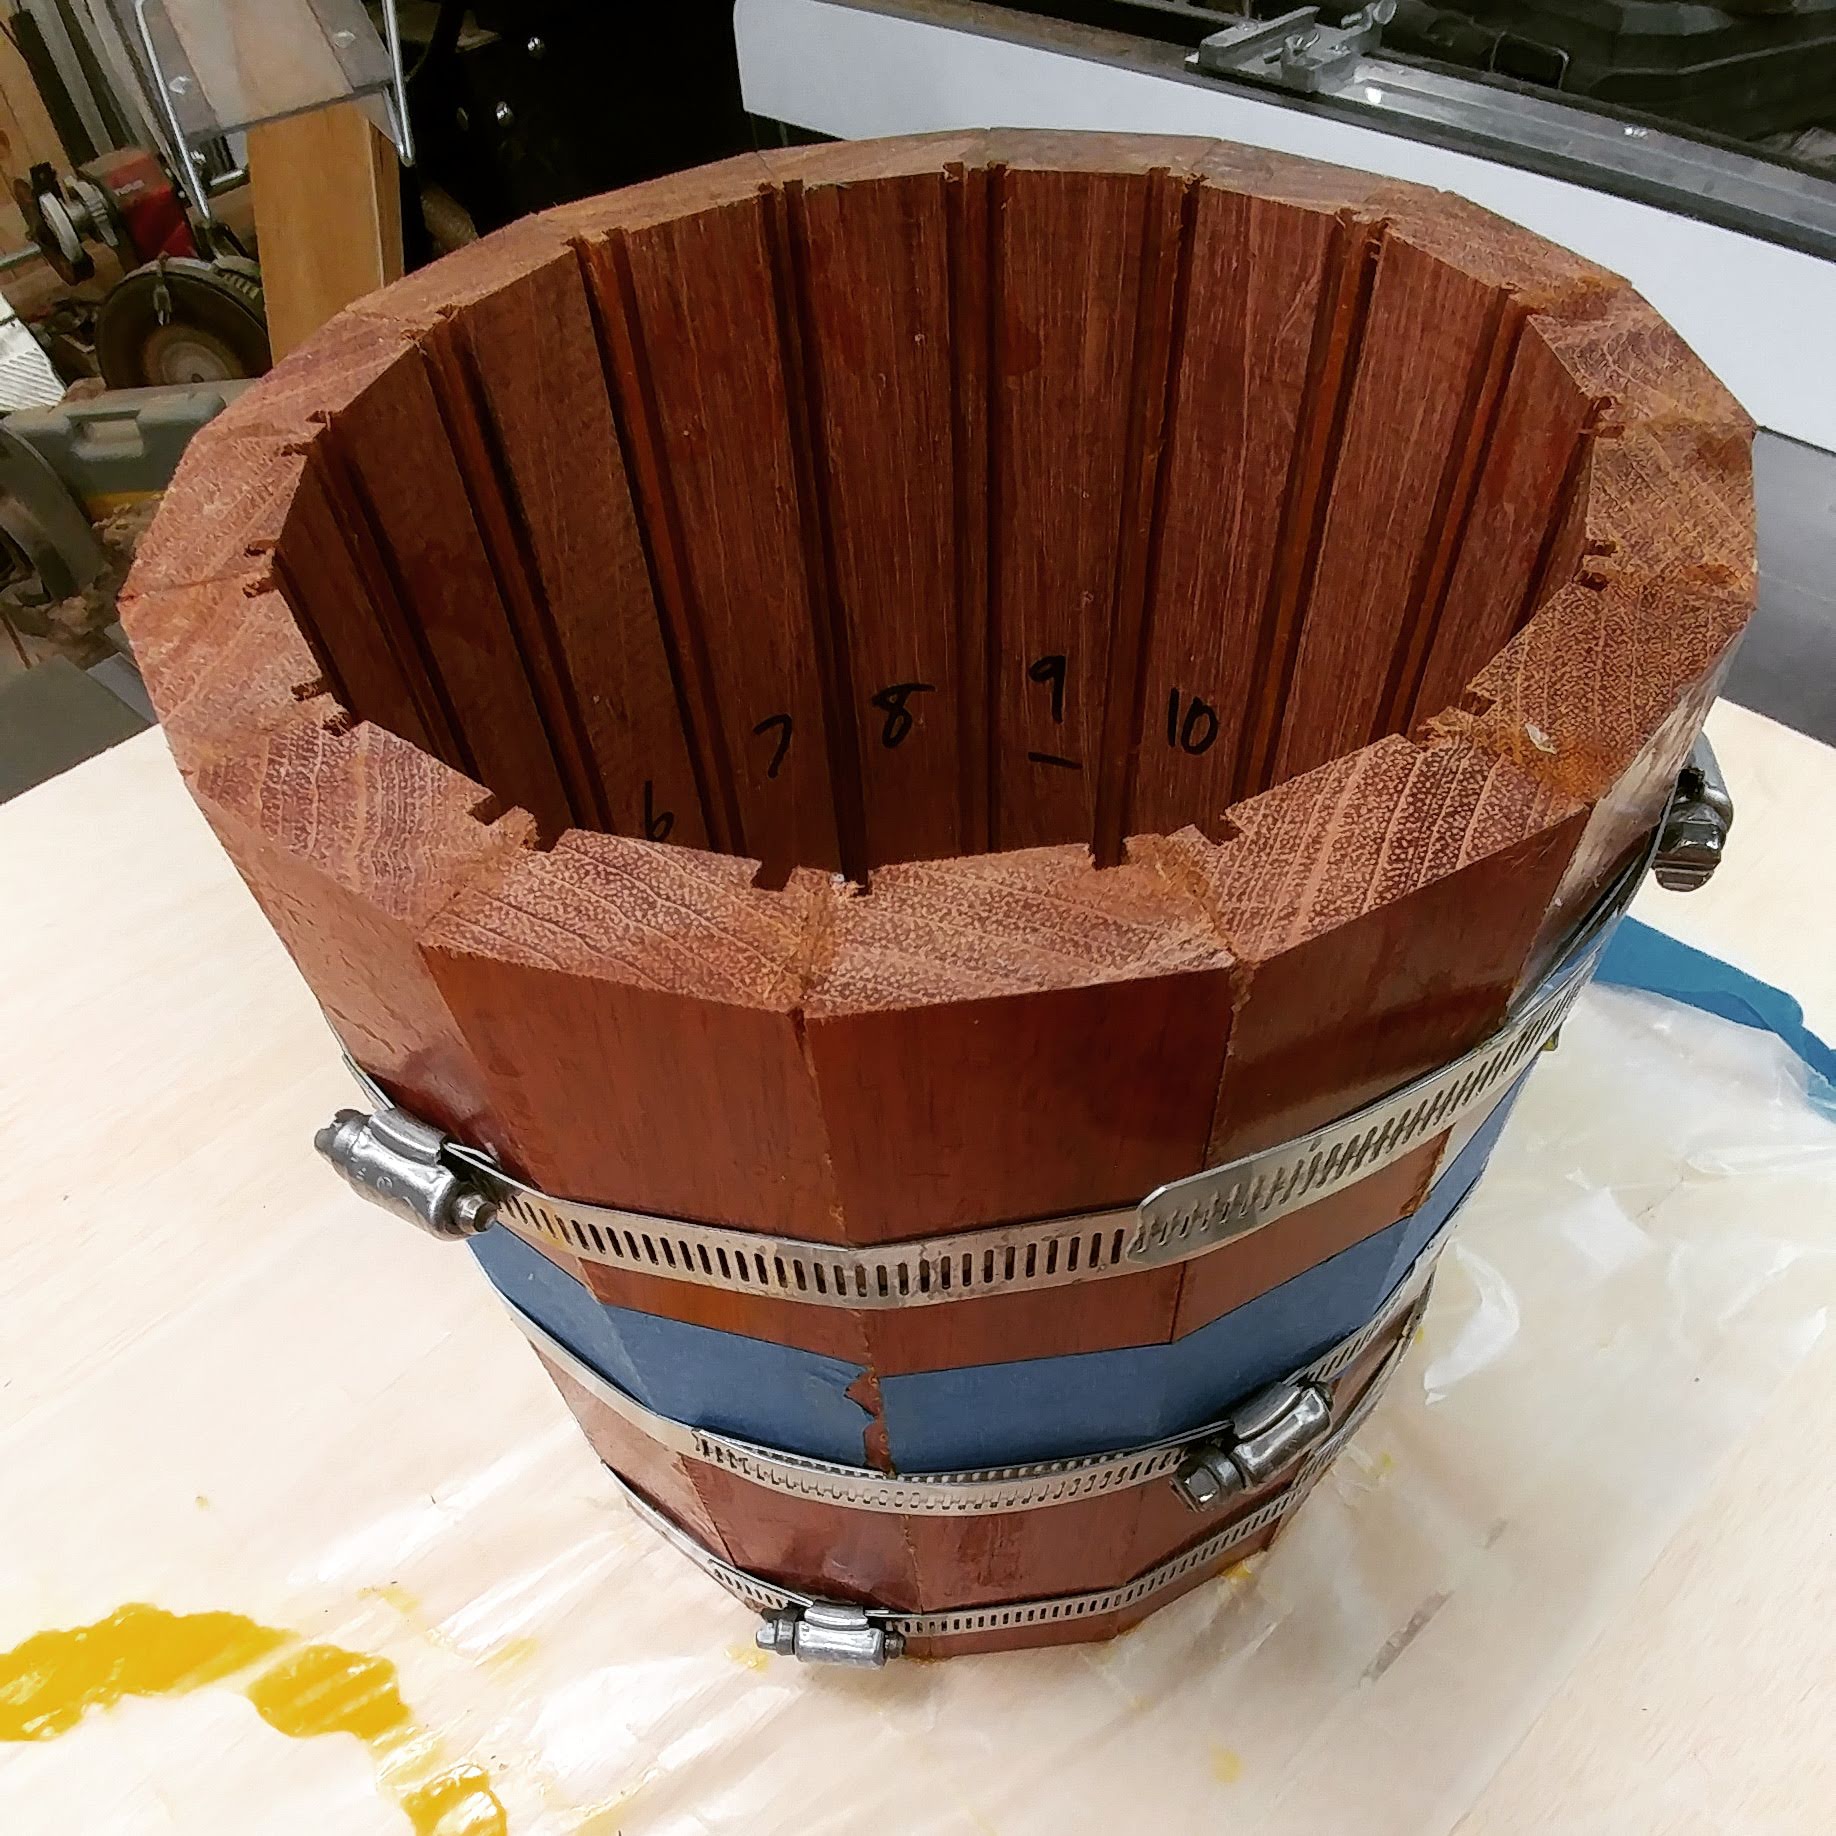
I’m working on a video that will walk through how I am making a small 8″ snare drum using stave construction. I filmed Day 1, which ended up covering everything up to the glue-up. As the glue was curing, I started editing the video. That’s where I discovered a pretty big problem.

Lets see if I can explain this…

My snare drum is going to consist of 16 staves. A circle, as you are aware, has 360 degrees. which divided by 16 is 22.5. This amount gets divided by two, since the staves will each have two sides, so each edge needs to have an 11.25 degree bevel.

Still with me?

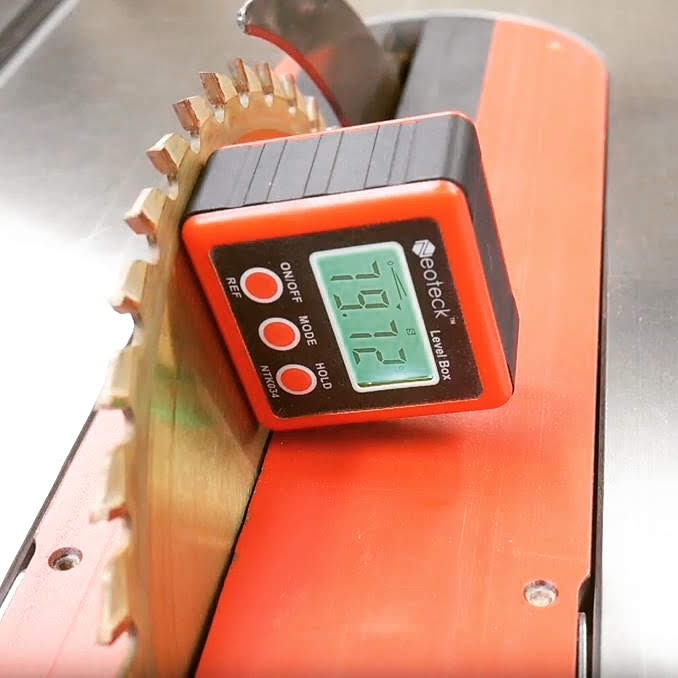
Now, I use a digital angle gauge. I first square it to the table, then attach it magnetically to the blade. When I do that, it changes from 0-degrees to 90-degrees. This means that when I angle the blade, I need to set it to 90-degrees minus 11.25 degrees. This comes to 78.75 degrees. I knew this, but for some stupid reason (probably because I was distracted with trying to get this on video) I accidentally set it to 79.75 degrees. This makes each edge of each stave one-degree off, which multiplied by 32 edges comes to a total of a 32 degree gap for the drum shell.

Of course, being an idiot I just assumed that the glue was making things too tight so I clamped it down and didn’t think much of how off my measurements were. I didn’t notice the actual problem and its cause until I was editing the video. By this point, the glue had pretty much cured so there wasn’t anything I could do about it.

It’s time to start from scratch, being a little more careful this time.

As a present for you, since you’ve been so patient with me sharing this story, I’ve decided to upload the edit of the video I shot. Keep in mind that it’s a very early update. I was leaving room for a voice-over in parts so some of the shots are too long since I was going to edit in the voice-over then cut as the video to work with the audio.
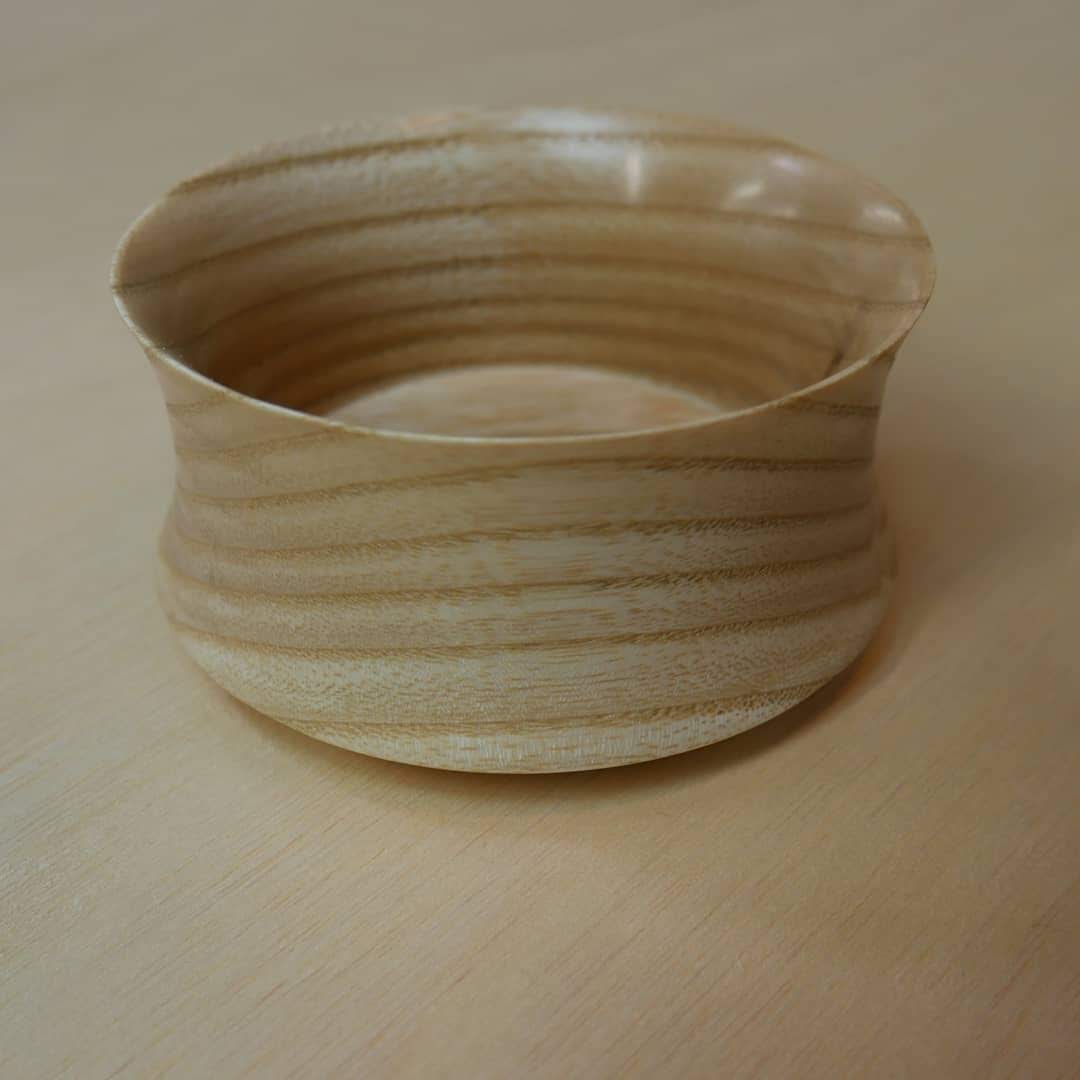
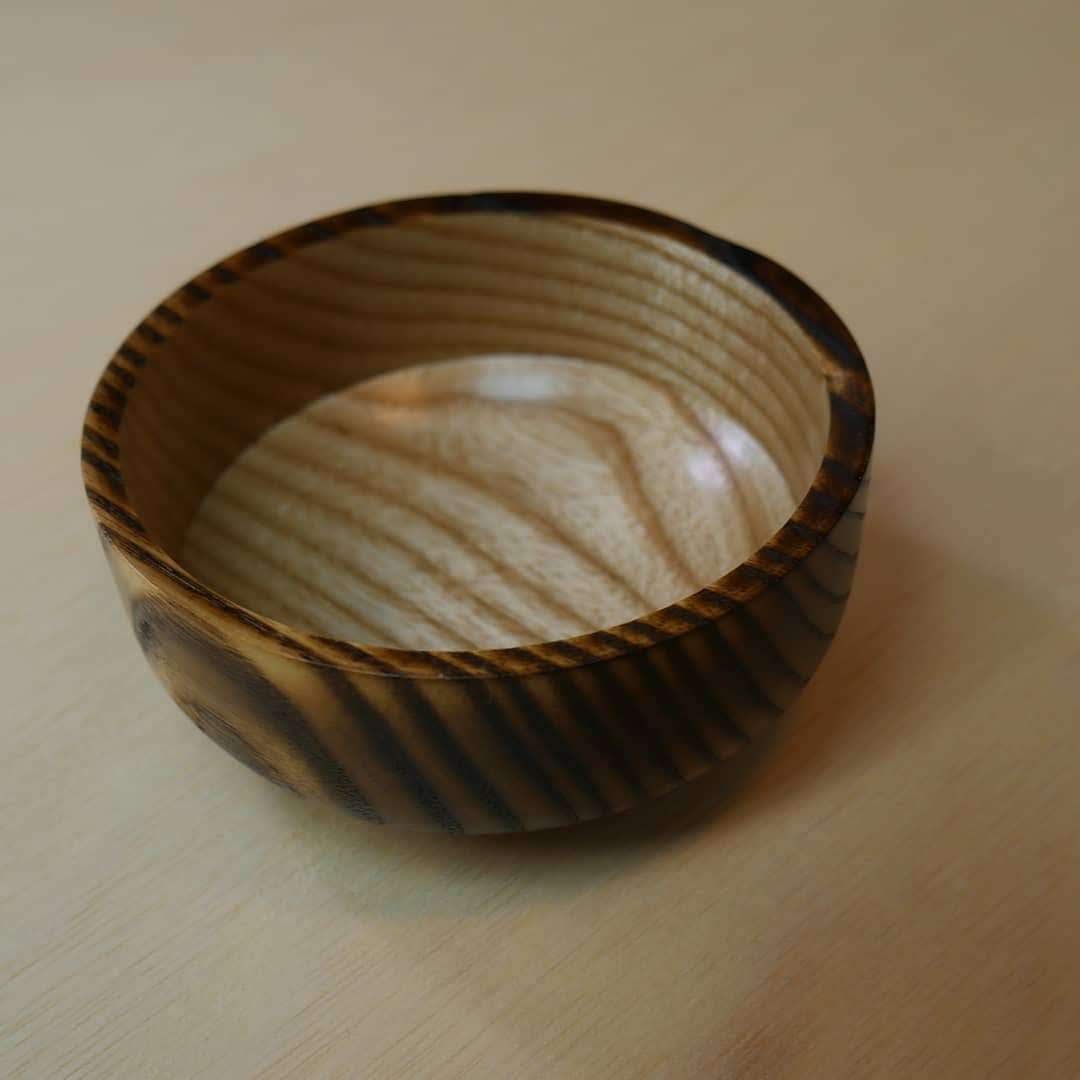
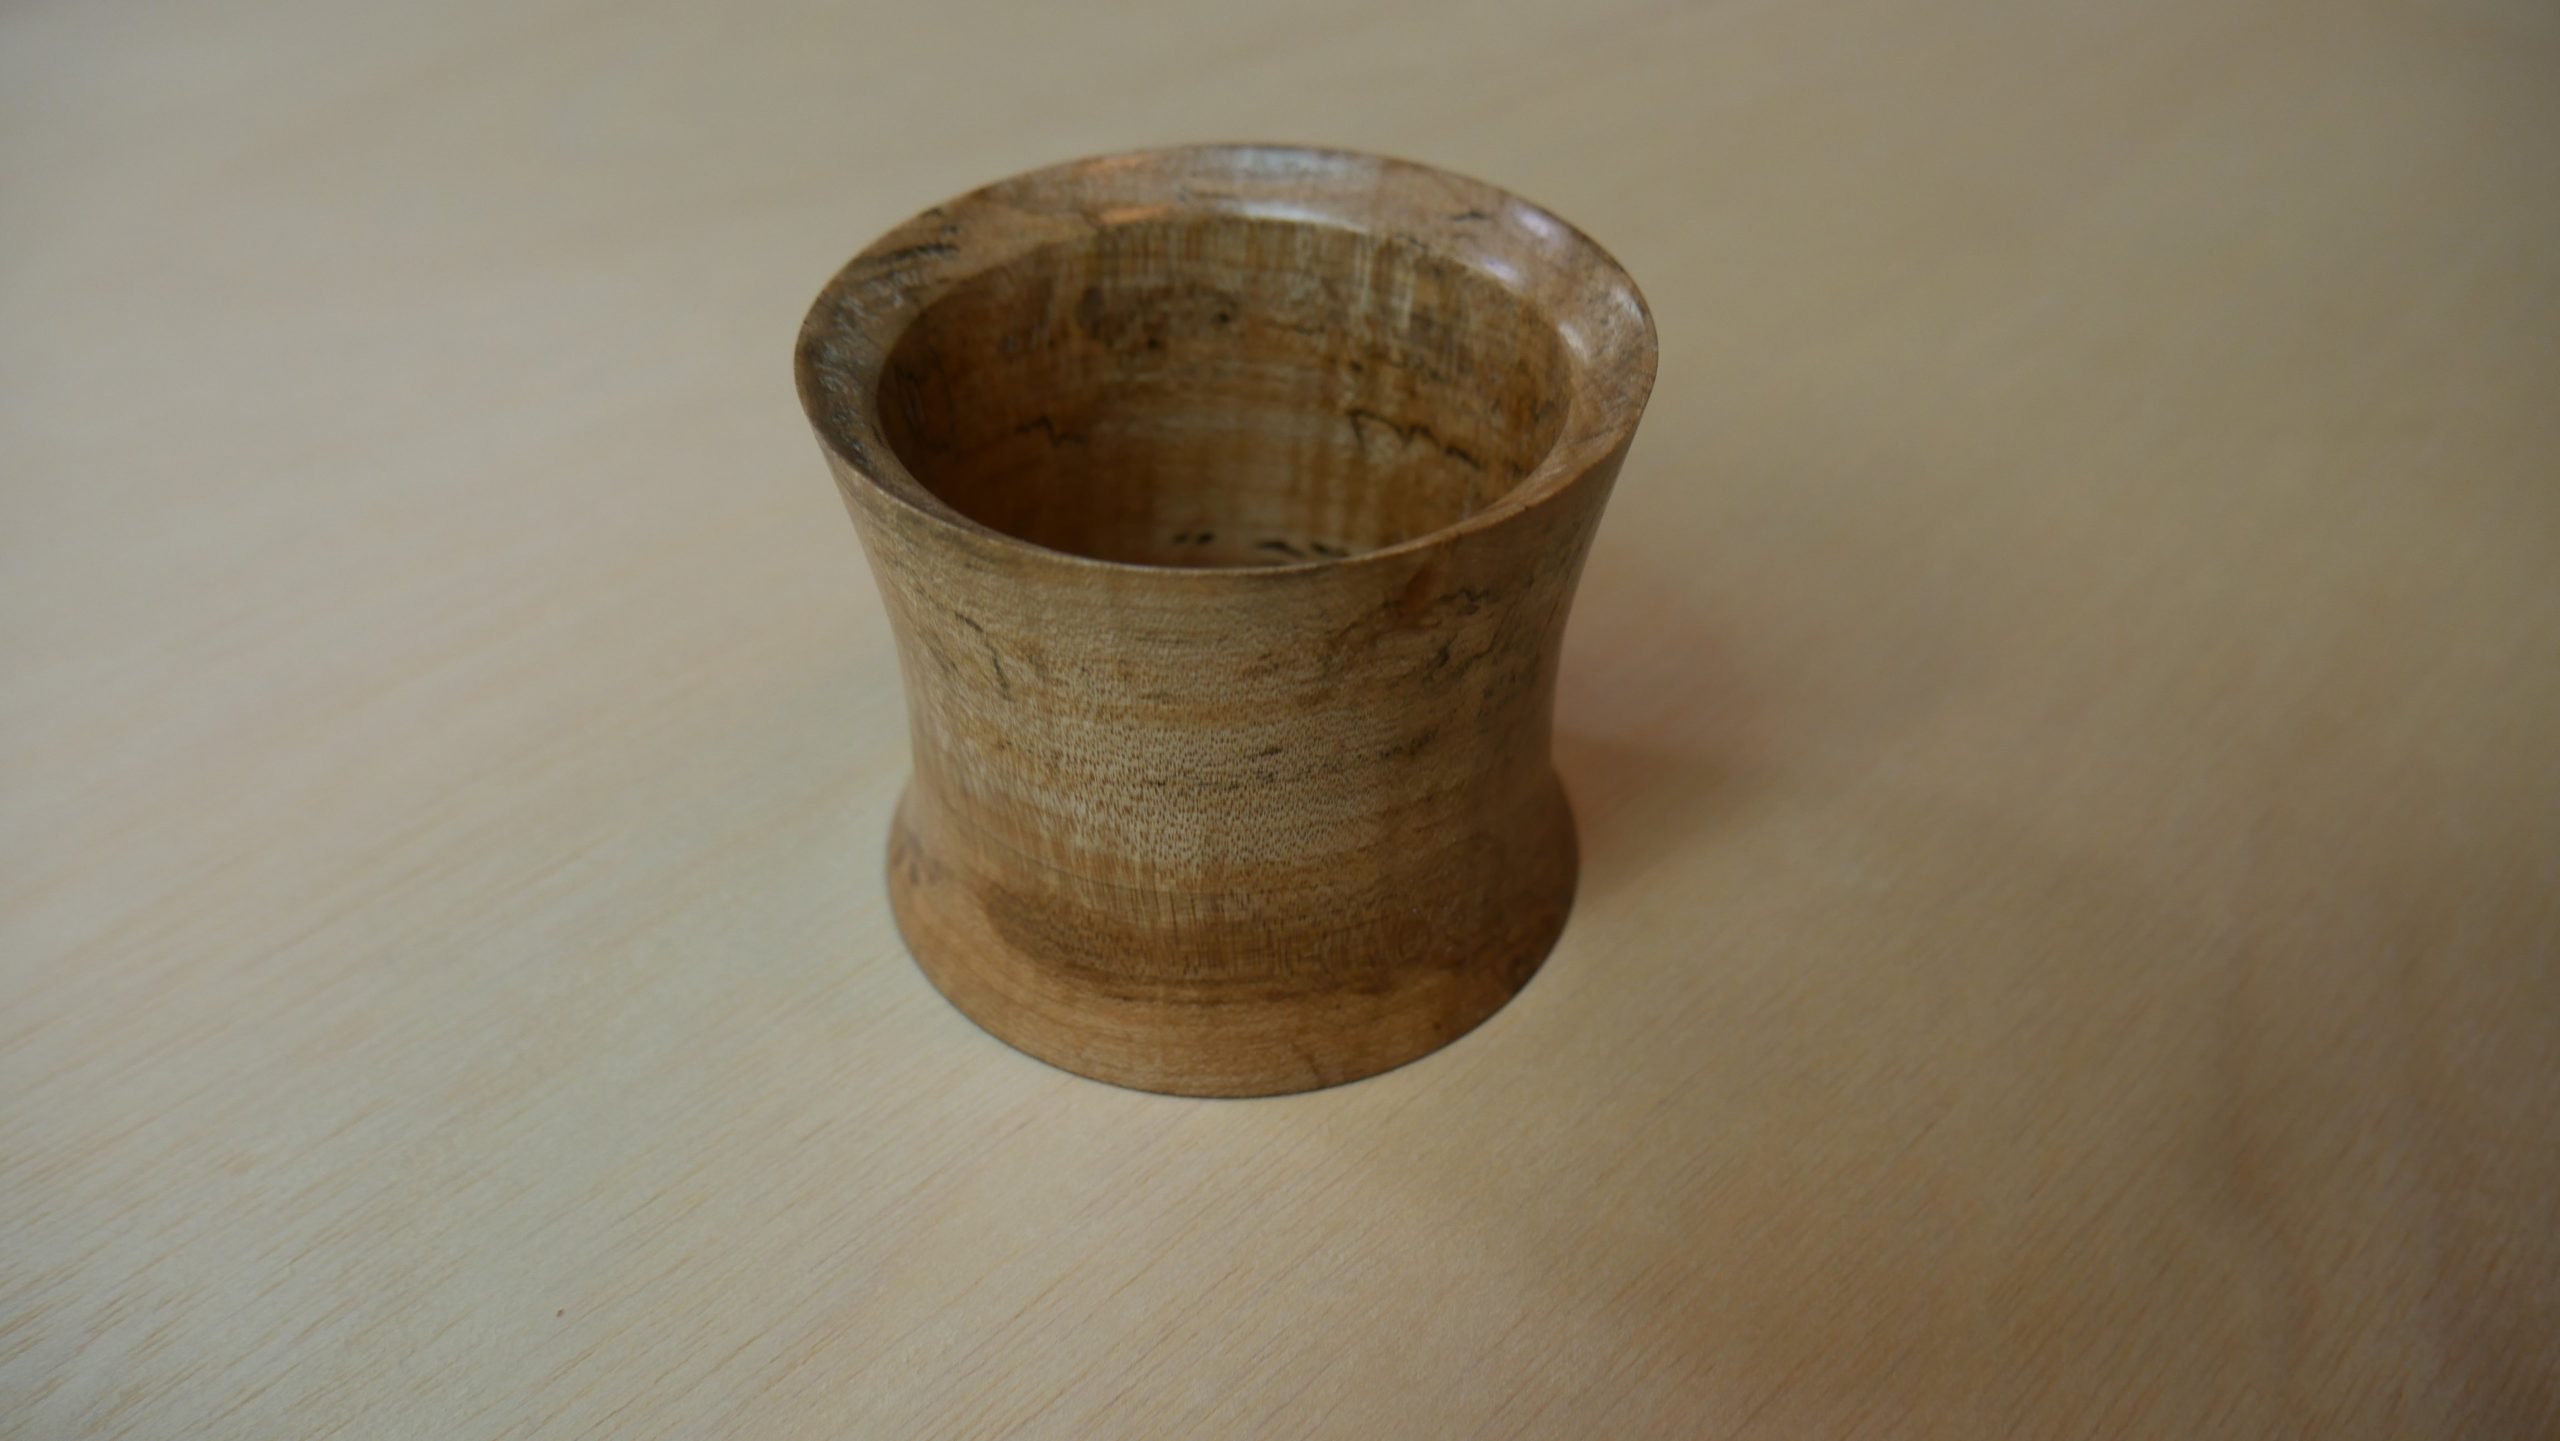
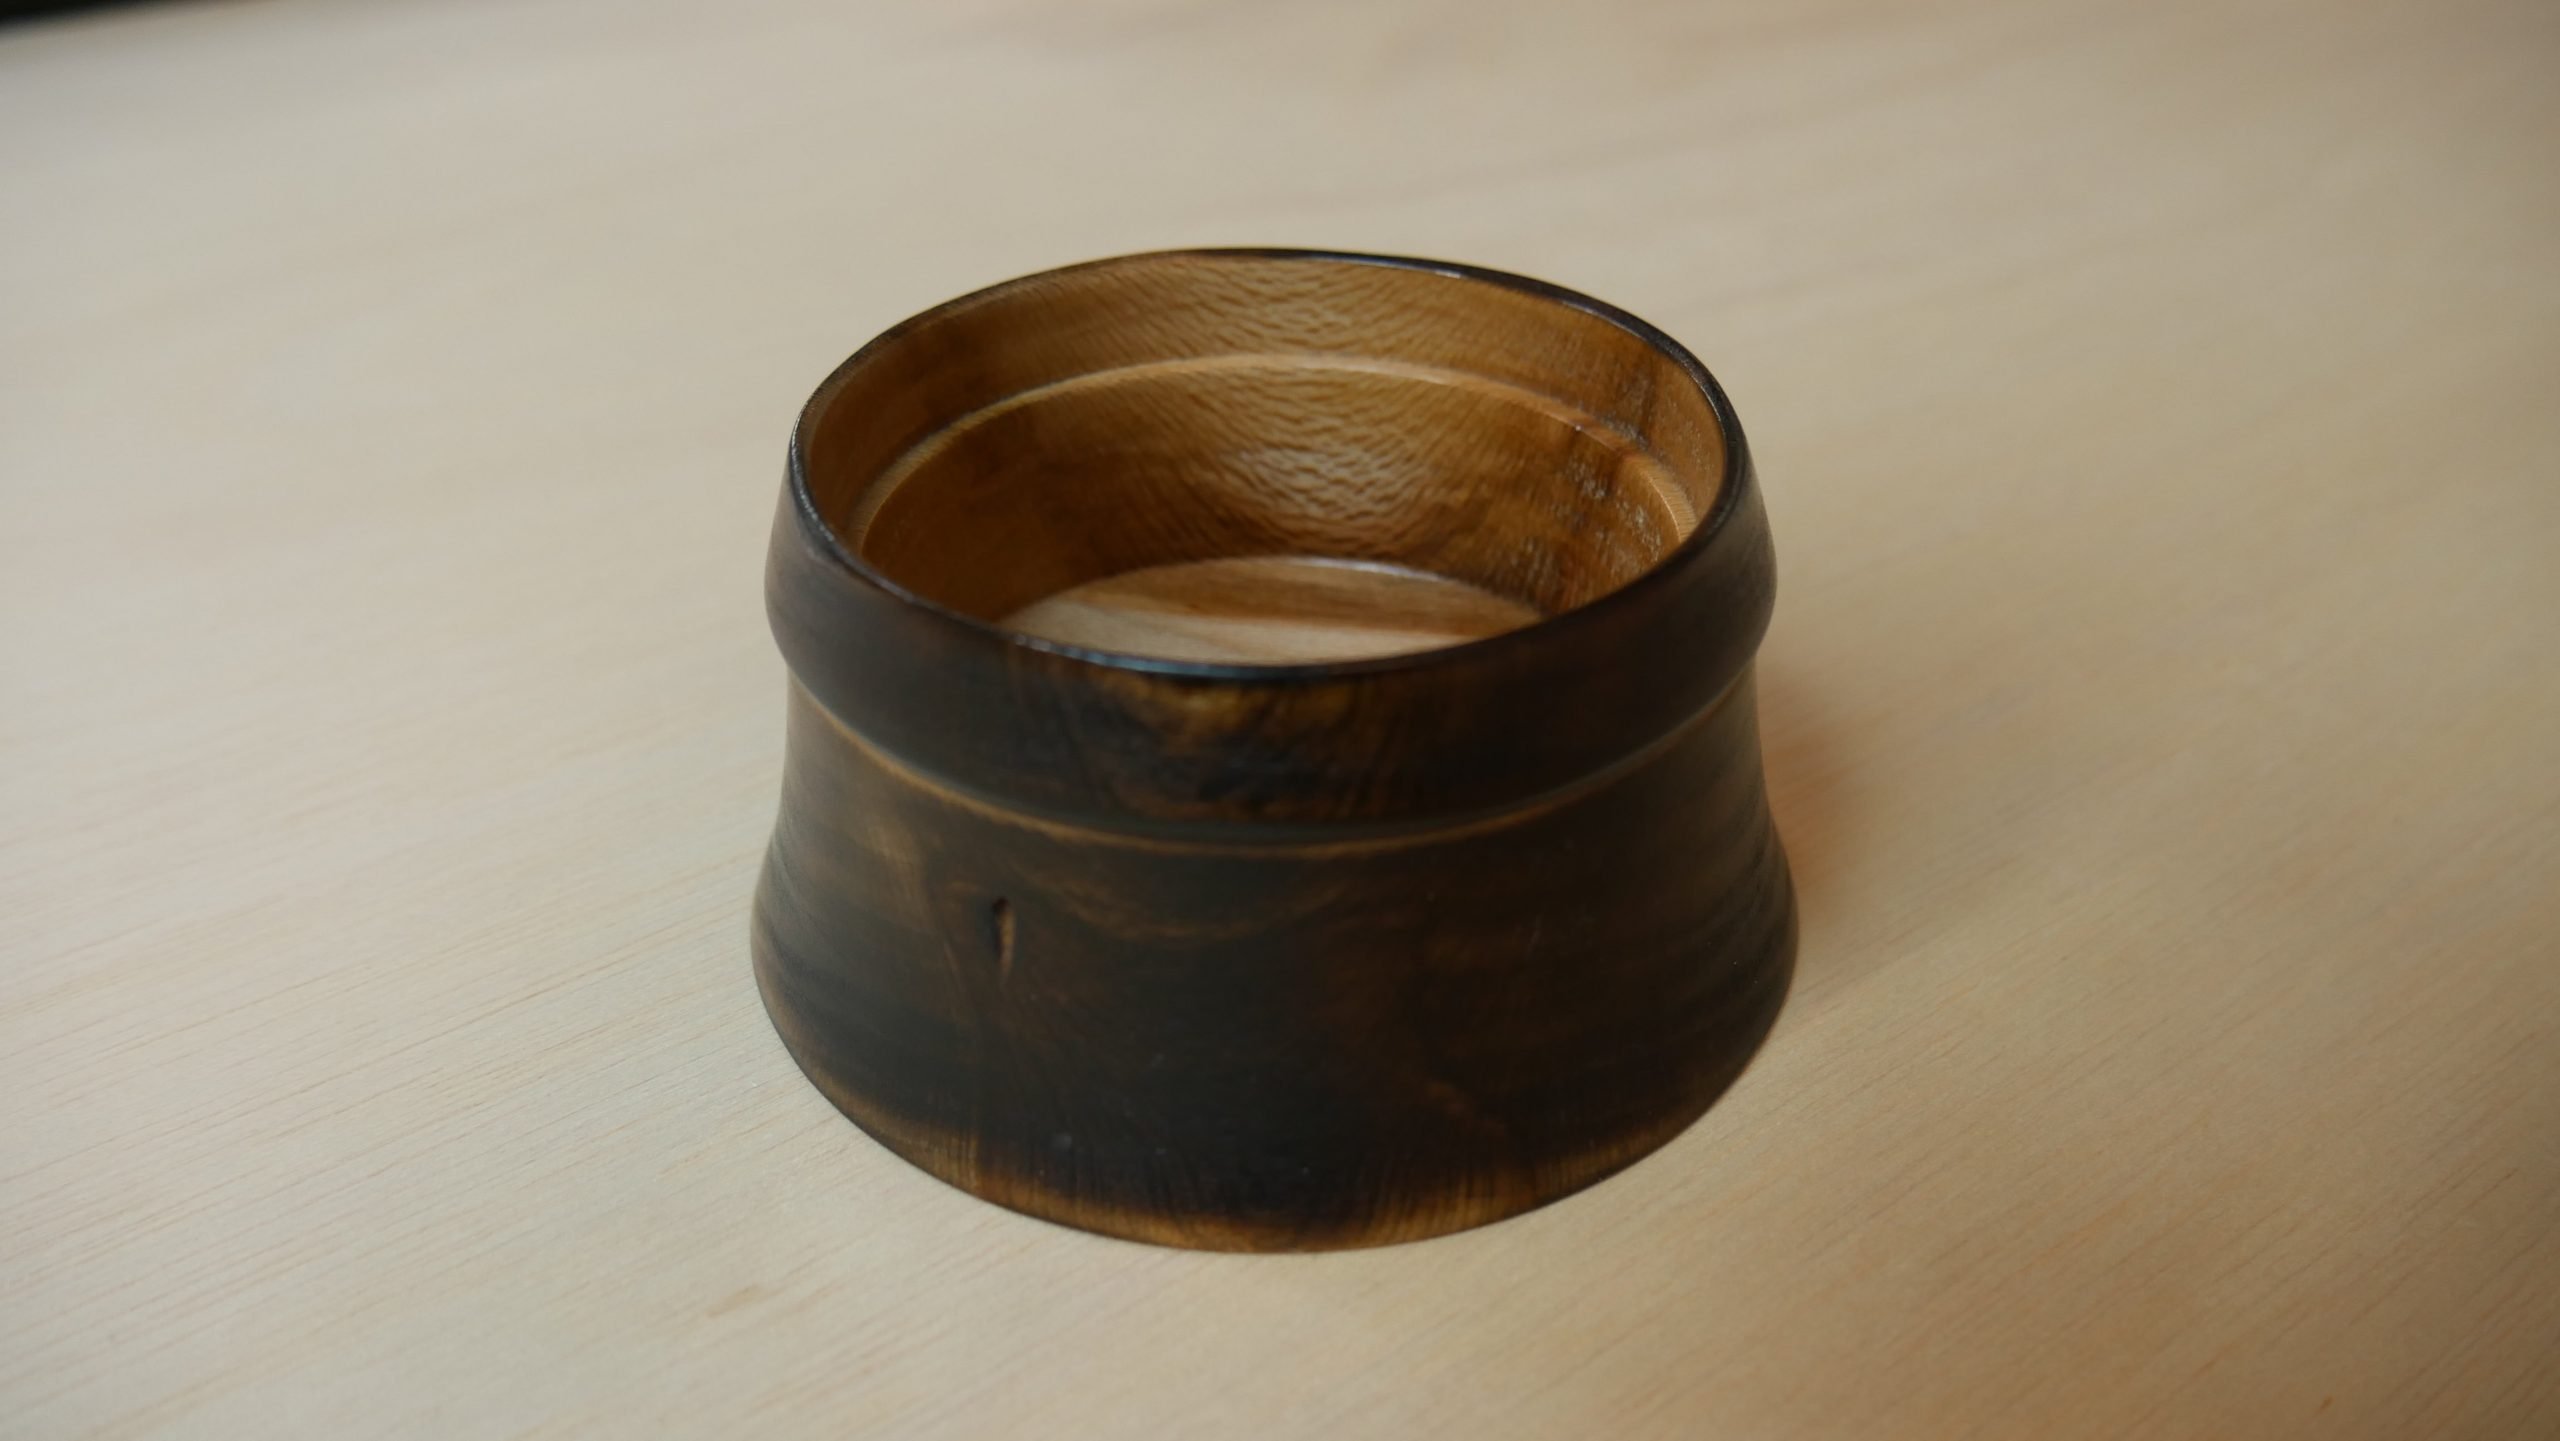
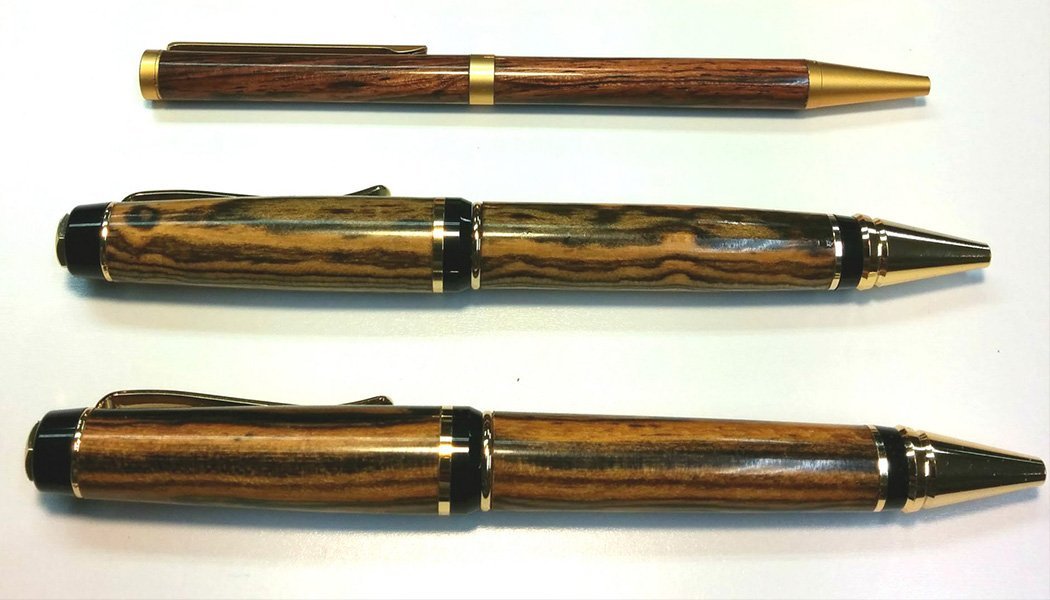
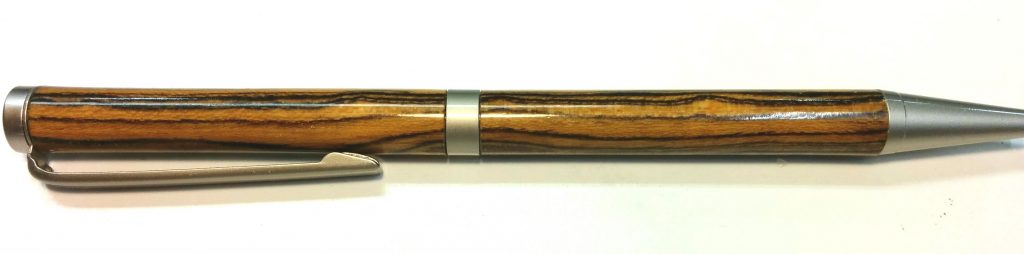
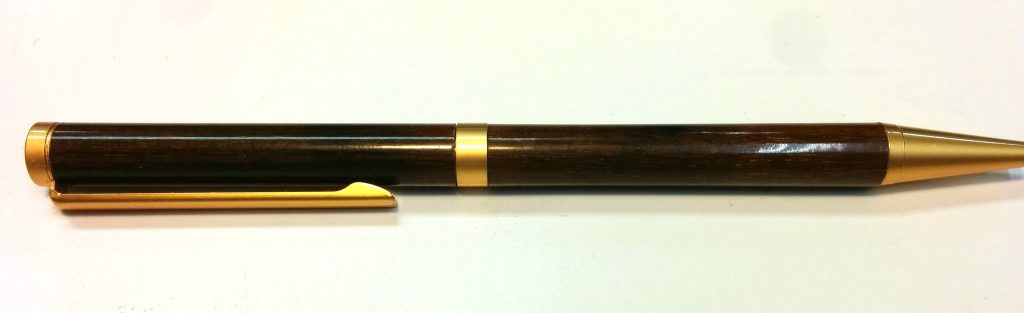
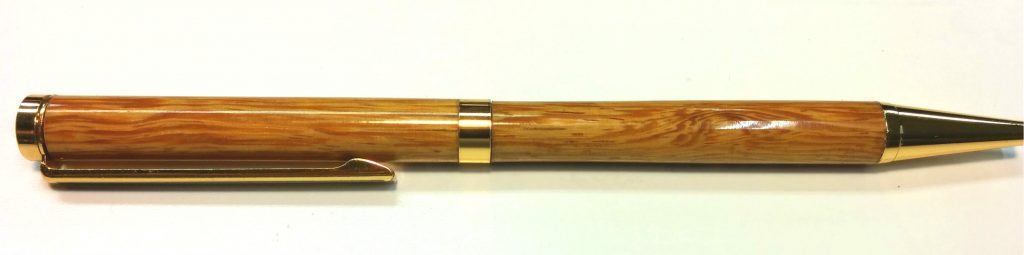
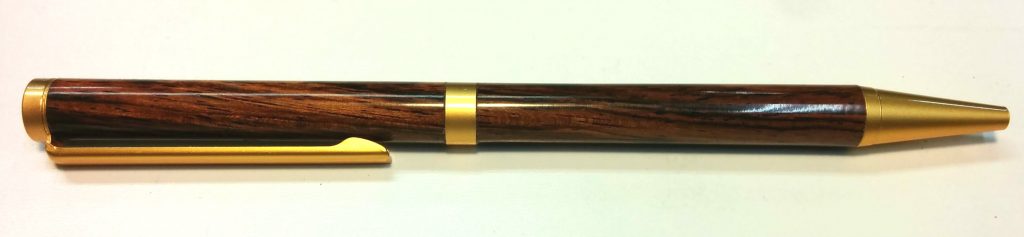
Turning

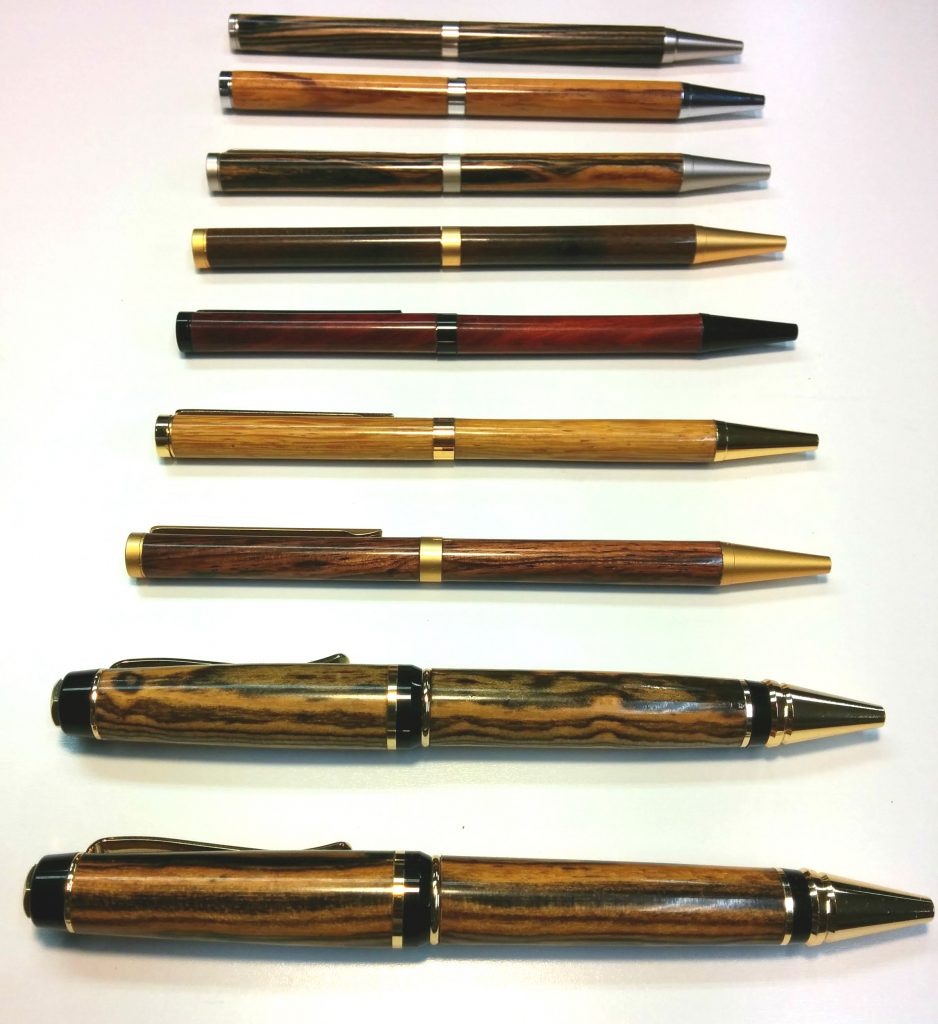
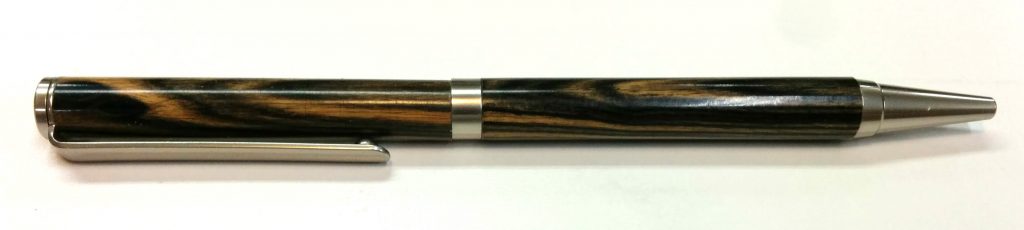
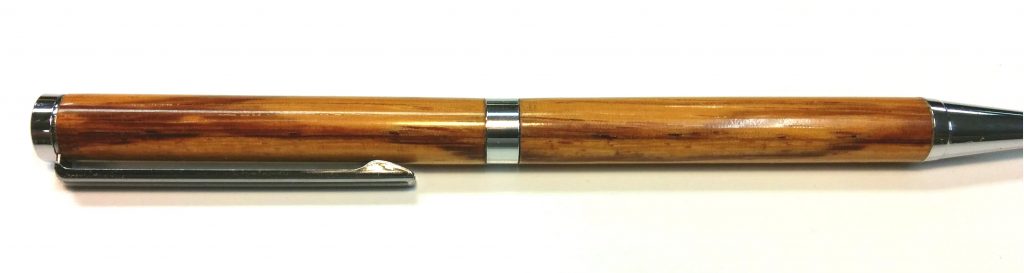
I’ve been doing a good amount of woodturning lately and I’ve been getting into bowl-making, which although I’ve been turning for years, I never really got into. Below are some examples of my turning experiments.

One downside to bowl-turning is that I really don’t have anything to do with these. I don’t have a desire to place decorative wooden bowls around my house and most of these don’t have a food-safe finish so they’re not really functional. This is why I wasn’t really interested in bowl-turning in the first place. I like that I’m learning some new techniques but I suspect that I won’t be making a whole lot more bowls.

News – December 13th, 2018 – Lots of Updates

New Welder

I traded in my Harbor Freight 110 volt welder for an old Forney 220 volt one.  It’s old, heavy, and almost too powerful.  I’m still getting the hang of it but so far I am really enjoying it and I’m looking forward to how this can help out with my projects.


New Lathe

I upgraded my Excelsior mini lathe to a Nova Comet II.  It’s a minor step up in quality and capabilities and will in no way be the last lathe I ever buy, but for the time being it will allow me to do things I couldn’t do before, such as fluting and turning 12″ diameter bowls and vessels.


Cymbal Rack

Using my new welder I am going to make a rolling cart for all of my cracked cymbals.  These cymbals are currently in five separate stacks in my shop taking up valuable space and causing a tripping hazard.  This rolling cart will allow me to get comfortable with my new welder and get these cymbals off the floor.  It will also be easier to sort through them when they are stored vertically on shelves rather than horizontally in stacks.

Now, you may ask “Why does he have so many cracked cymbals”?  Good question…


Getting my Cymbal Rescue going

For years I have been collecting cracked cymbals, usually buying them for cheap, then cutting them down to usable sizes and either incorporating them into my kit or donating them to schools or beginning drummers.  I refer to this as my Cymbal Rescue.

It’s time to get the operation into full(er) swing.  With a decent welder in my arsenal, I can make a cymbal lathe that will allow me to not only cut the cymbals down but make them thinner as well which is necessary for achieving certain sounds.


Other Minor Updates

I’m still working on some YouTube videos and I’m also developing my next book.  The shop is going through some major renovations and I’m just trying to get through the holidays in one piece.

I’m expecting to have some major updates early next year.

News – December 11th, 2017 – Teaching, last-minute performance, and woodturning

Sorry for the delays in my posts.  The holidays are always pretty hectic so I’ve been busy.

Teaching

Two weeks ago I was given the opportunity to teach a class for The Guild of Oregon Woodworkers on The Care and Feeding of Your SawStop.  The class went really well, with over 20 saw owners attending.  I got to do a hot dog demo in order to demonstrate how to remove an activated brake and blade from the saw.  I will be creating an article for this blog consisting of the documentation that I created for the class in the coming weeks.


Last-Minute Gig with Cody Weathers and The Men Your Mama Warned You About

It’s short notice but I have a gig on December 16th at The 45th Street Pub & Grill in Portland starting at 9:00.   I’ve been friends with Cody for a few years now but I’ve never played with these guys so it’ll be interesting.  Swing on by if you’re in the area.

Wedding Pens

A friend of the family is getting married in a few weeks and they requested that I make them pens from their birth woods, Ash and Hazel.  I’ve never turned either of these woods and I didn’t know what to expect.  To make things even more interesting, the hazel was still wet and was already starting to warp and twist.  From what they say, they only need the pens for the actual wedding ceremony so I just need them to last a few weeks.  This is good because the hazel pen seems to be cracking in a few places already.


Studio Desk Part 5

I’m still working on the articles for the studio desk.  It’s done and I’ve been using it for over a month but there are several things I want to change about it and a few components I decided to add to it so there is a bit of a delay in updating the articles.  I hope to have part 5 posted this week.


Pen-making on my lathe – Christmas 2016

For Christmas 2016, I decided to make some pens for my co-workers.

I remember when I first got started turning, and pen-making in particular, I would scour the web looking for different approaches and techniques from various wood-turners. I made a lot of expensive kindling in my attempt to learn to turn. Although I still have a lot to learn, I feel that I pretty much mastered the finish that I put on my pens.

In an effort to educate, I have roughly documented my technique below. This isn’t intended as a complete tutorial; more of an outline of my process. If this post generates enough interest, I will make a more detailed walk-through and an accompanying video. If you are interested in such a tutorial, please leave a comment at the end of this post.

I started by choosing a pen blank to go along with the kit.  I try to look for pen blanks that have a lot of character, although sometimes a flat walnut will look good with the correct hardware.

For this project, I used a storage caddy to hold the pen kits and blanks.  Seven of the nine kits are classic slimlines.  Two of them are Cigar pen kits from Woodcraft.

Pen kits and blanks organized.
Kits and blanks all organized.

For each kit I lay out the blank and the tubes.  I look for any markings in the wood that look interesting and focus there.  Of course, the outer grain is going to most likely be different from the inner grain, but a look at the end of the blank can help show what type of character the finished pen will have.

Pen blank marking tools.
Tools for marking pen blanks.

Using one of the pen tubes and a silver Sharpie, I make a mark just past the length of the first tube.  You’ll notice that the tube isn’t right up to the end of the pen blank.  I’m not going for precision in this step.  I just want to make sure that I have enough material for both tubes.

Marked at the end of the first tube.

I draw a line over the mark using a 6″ combination square.

Tracing a line on the pen blank.
Tracing a line where the blank will be cut.

Then I lay the other tube on the blank using the newly drawn line and make another mark.

Tracing a line where the blank will be cut.

One trick that I picked up is that I make an “X” over the first line.  This makes it easier to line up the wood grain once you put it on the lathe.  You’ll see what I mean later…

Marked an "X" through the first line.
Marked an “X” on the first line.

Here are the wood blanks all marked.

All of the pen blanks marked.

Once they’re marked, I take the wood blanks to the band saw and cut on the lines I made.  Here you can see them cut.  The X that I made is now split in two, making it much easier to match up the wood grain.

The blanks after being cut along the first line.

I drill the holes for the tubes on my lathe.  There are many ways to go about this but this is the method I prefer.

I try to stay consistent with how the blanks are lined up.  For example, you’ll notice in the following picture that the wood has half of the “X” facing me and on the right end.   After I finish drilling this piece I’ll put the other half in but I’ll make sure that the other half of the “X” is still facing me but this time it goes on the left end.

Mounted the pen blank on my lathe for drilling.

I drill out the blank being careful not to let the bit get too hot.  I also have dust collection going and although it doesn’t get all of the big shavings, it does get the fine dust.

Drilling the hole in the pen blanks.

All the holes drilled.

The holes are drilled.

Another trick I picked up is to sand the tubes before inserting.  I do this by wrapping a piece of 150 grit sanding strip around the tube and spinning it while pulling it through.  Just be careful not to use that piece of sandpaper for anything other than the tubes.

Sanding a texture onto the brass tube.

Now it’s time to glue the tubes in place.  I use a few cheap IKEA kids plates, which you’ll see later, while I’m making my pens.  I use one with a blue shop towel or just a plain paper towel over it.  This doesn’t necessarily protect the plate, but rather the plate keeps the blue towel from getting glued to the workbench.  For gluing the tubes in place, I use Titebond Medium cyanoacrylate glue.  I recently learned from another pen turner that he’s had problems with the chemicals in stabilized woods causing the cyanoacrylate to cure before getting the tube fully inserted.  This results in a wasted tube and possibly the pen blank.  Instead, he uses 5-minute epoxy.

Materials for gluing the tubes in place.

I put a coat of the cyanoacrylate glue on the sanded tube and use an insertion tool to push the tube into the wood.

Inserting the tube.
Inserting the tube.

I always try to have some extra material.  This gives me room to true up the edge but also helps the grain flow more smoothly by taking up the room that the center band takes up on the final pen.

Pen blank is longer than the tube.

Once I’ve allowed sufficient time for the glue on the tubes to cure, I mount each of the blocks in the lathe and use a pen mill to trim down the edges.  This ensures that the end of the finished pen section is nice and flat where it meets up with the pen hardware.

Mounted the blank on the lathe for milling.

Take your time with this.  I’ve had certain woods, such as zebrawood, use this as an opportunity to split.  You want to trim it down to the edge of the tube.  If you see any brass shavings coming off with the wood shavings, you’ve gone too far.  Not the end of the world, but still…calm down there, tiger.

Milling the edges of the blank.

Here you can see the edge of the brass tube showing.  This is what I look for.

When you can see the edge of the brass tube, you're done.
When you can see the edge of the brass tube, you’re done.

I could take this one down just a bit more but it isn’t necessary.

Close enough.
Close enough.

All the pieces are now ready to go on the lathe.

Done preparing the blanks.

I mount the blanks on the pen mandrel using the “X” that I drew before to line up the pieces.  I tend to turn my pens with the left side being the tip of the pen and the right being the end cap.  It doesn’t matter how you do this, but I prefer to stay consistent.  For slimline pens it doesn’t matter at all.

Mounted the blanks on the lathe.

I’m not going to go into detail how I turn them.  There are much better woodturners that you can learn that from.  The important thing is that I turn it down to where it’s almost the final diameter.

Turned it down to close to the final size and shape.

I sand it to it’s final diameter and shape using cloth-backed 150-grit sanding strips.  This is where having the dust collector on my lathe really comes in handy.

Sanding the pen blanks to their final diameter.

After sanding with 150-grit, I move on to 240, 320, 400 and finally 600.  After each grit, I always stop the lathe and sand it left-to-right, or “with the grain”.  This removes banding that can occur which is very visible since it goes across the grain of the wood.

Done sanding...for now.
Done sanding…for now.

Then I do a quick sanding with 0000 steel wool.  One very important step at this point is to wipe down the sanded blank with denatured alcohol.  This removes the extra sawdust while giving you a sneak peak at what the finish will do to the colors in the wood.  Also, this removes surface oil from certain wood species that may keep the finish from adhering to the wood.  If you skip this step with wood like Olivewood, you may find that the CA finish you apply will start to peel off at the edges almost immediately.

Wiped with denatured alcohol.

Here you can see one of the crappy IKEA plates that I put on my lathe for the remainder of the pen project.  This thing is beat to hell.  It is there to help protect the cast iron bed of the lathe.

Protecting the bed of my lathe.

To apply the finish you’re going to want a few things.  I use a thin CA glue and a spray activator.

Materials for the CA finish.

Additionally, I use a pair of nitrile gloves and an extra baggie that the pen kit came in.  This is another trick that I picked up.  I put the baggie over my first two fingers.  Then I hold little pieces of paper towel that I use to wipe on the thin CA glue.  When you apply CA glue, it gets pretty warm and can actually melt through the gloves.  I find that using the baggies over my fingers helps the gloves last longer.  Before doing this, I was typically changing my right glove with every coat of CA glue that I applied.

A little extra protection.

I will go into more detail on actually applying the CA glue in a later article.  This is a photo of a pen after 8 coats of thin CA glue have been applied.

8 coats of CA have been applied.

I then use a micro mesh sanding system to polish the CA glue.  I sand it down using 1,500, 1,800, 2,400, 3,200, 3,500, 4,000, 6,000, 8,000 and 12,000 grit sanding sponges.  I use the 1,500 grit sponge to do the bulk of the final shaping and smoothing.  Also, as with the dry sanding done before, I always stop the lathe after sanding with each sponge and sand the pen going with the grain as well.

Sanding with MicroMesh pads.

After sanding, it is ready to come off the lathe.

Ready to come off the lathe.

I lay out the pen blanks carefully so I don’t lose the orientation of each piece.  Otherwise, the “X” that I drew earlier would be for nothing.  I use a little scrap of 600-grit sandpaper to break the edges of the finish.

Careful not to lose the orientation.

I simply angle the pen blank and carefully rotate it on the sandpaper.  This removes the CA burr that has formed which if left in place can cause the finish to chip off when I press the pen together.

Breaking the edge a bit.

I have a beat up piece of scrap wood that I routed a few coves in so I can lay out the pieces without losing anything.

Careful not to loose the orientation.

I use my small arbor press and a few scrap pieces of leather to put the pen nib in place.

Pressing the nib in place.

Be careful not to put too much pressure on the pen and to guide the nib in straight.

Don’t go crazy here.

Then I turn it upside down and press the twist mechanism into the pen.  I push it in so the groove that is visible lines up with the top of the blank.  It’s best to err on the side of caution.  I usually press it in so it sits above the blank by a hair, then I insert the pen refill and twist it to see how the tip looks when fully extended.  I also make sure that when the pen is twisted closed, the tip doesn’t still stick out past the end of the nib.

A little bit of trial and error to get this right.

Then I grab the other half of the pen and attach the clip and end cap.  You want to be careful that you have the orientation right.  I also look for a part of the wood that had rather boring features and line up the clip there, although that can be adjusted after assembly.

Pressing in the cap and clip.

Then I’m done.

Here are some photos of the finished pens.

I hope that this was helpful. If you have any techniques or tricks to share, please leave them in the comments section below. Also, please consider signing up for my mailing list to be notified of future articles. I am also available on social media and can be reached at the links below.