News – March 6th, 2019 – Cymbal Cart, Lathe Bed Extension, and YouTube Videos

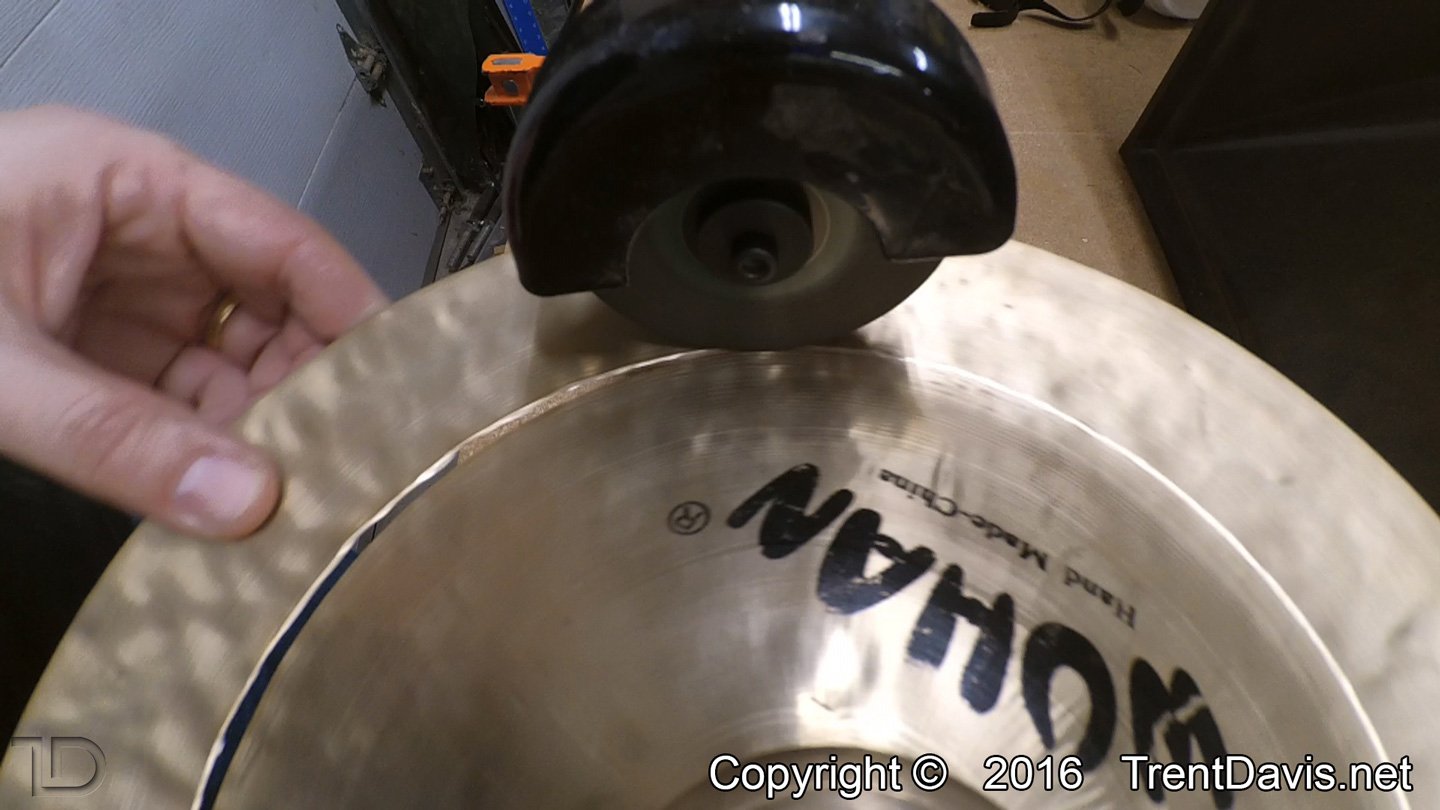
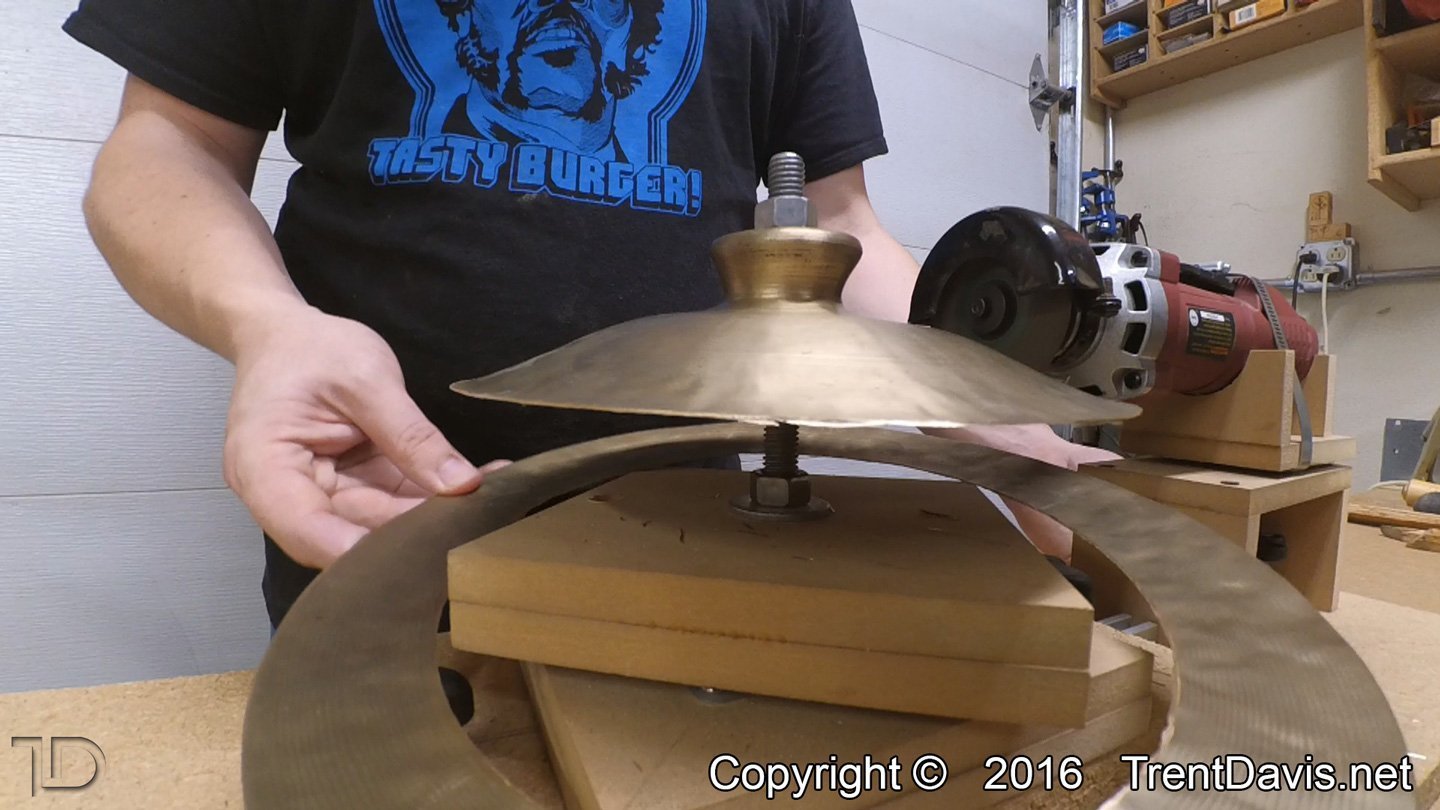
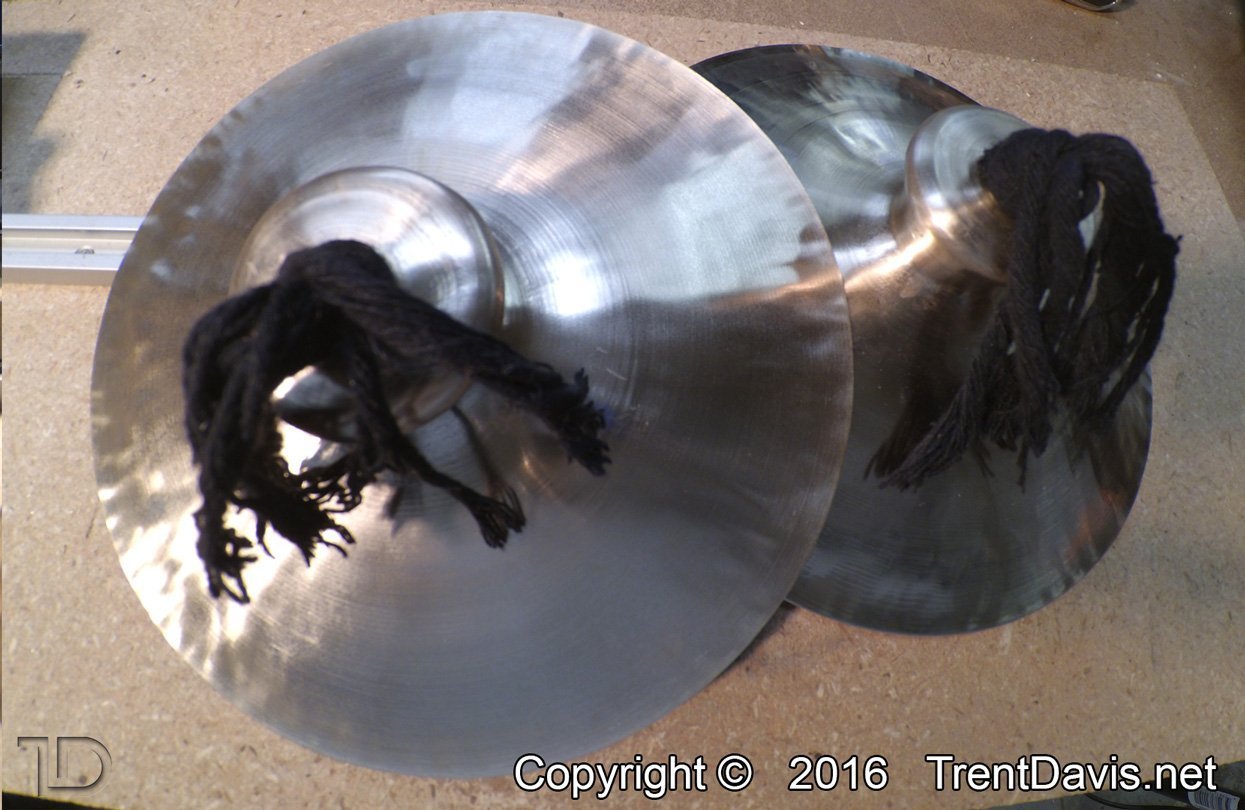
I finished the cymbal cart

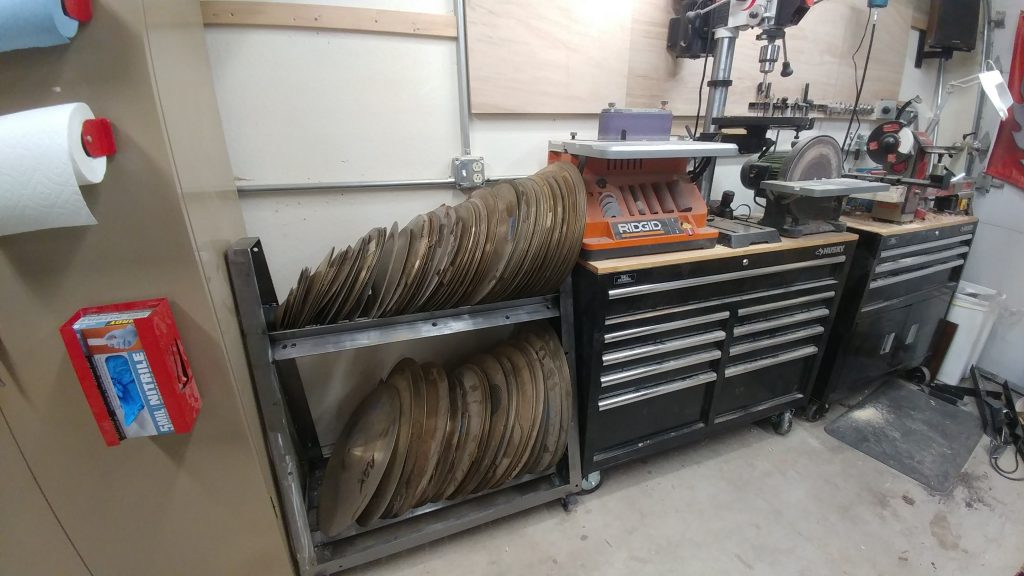
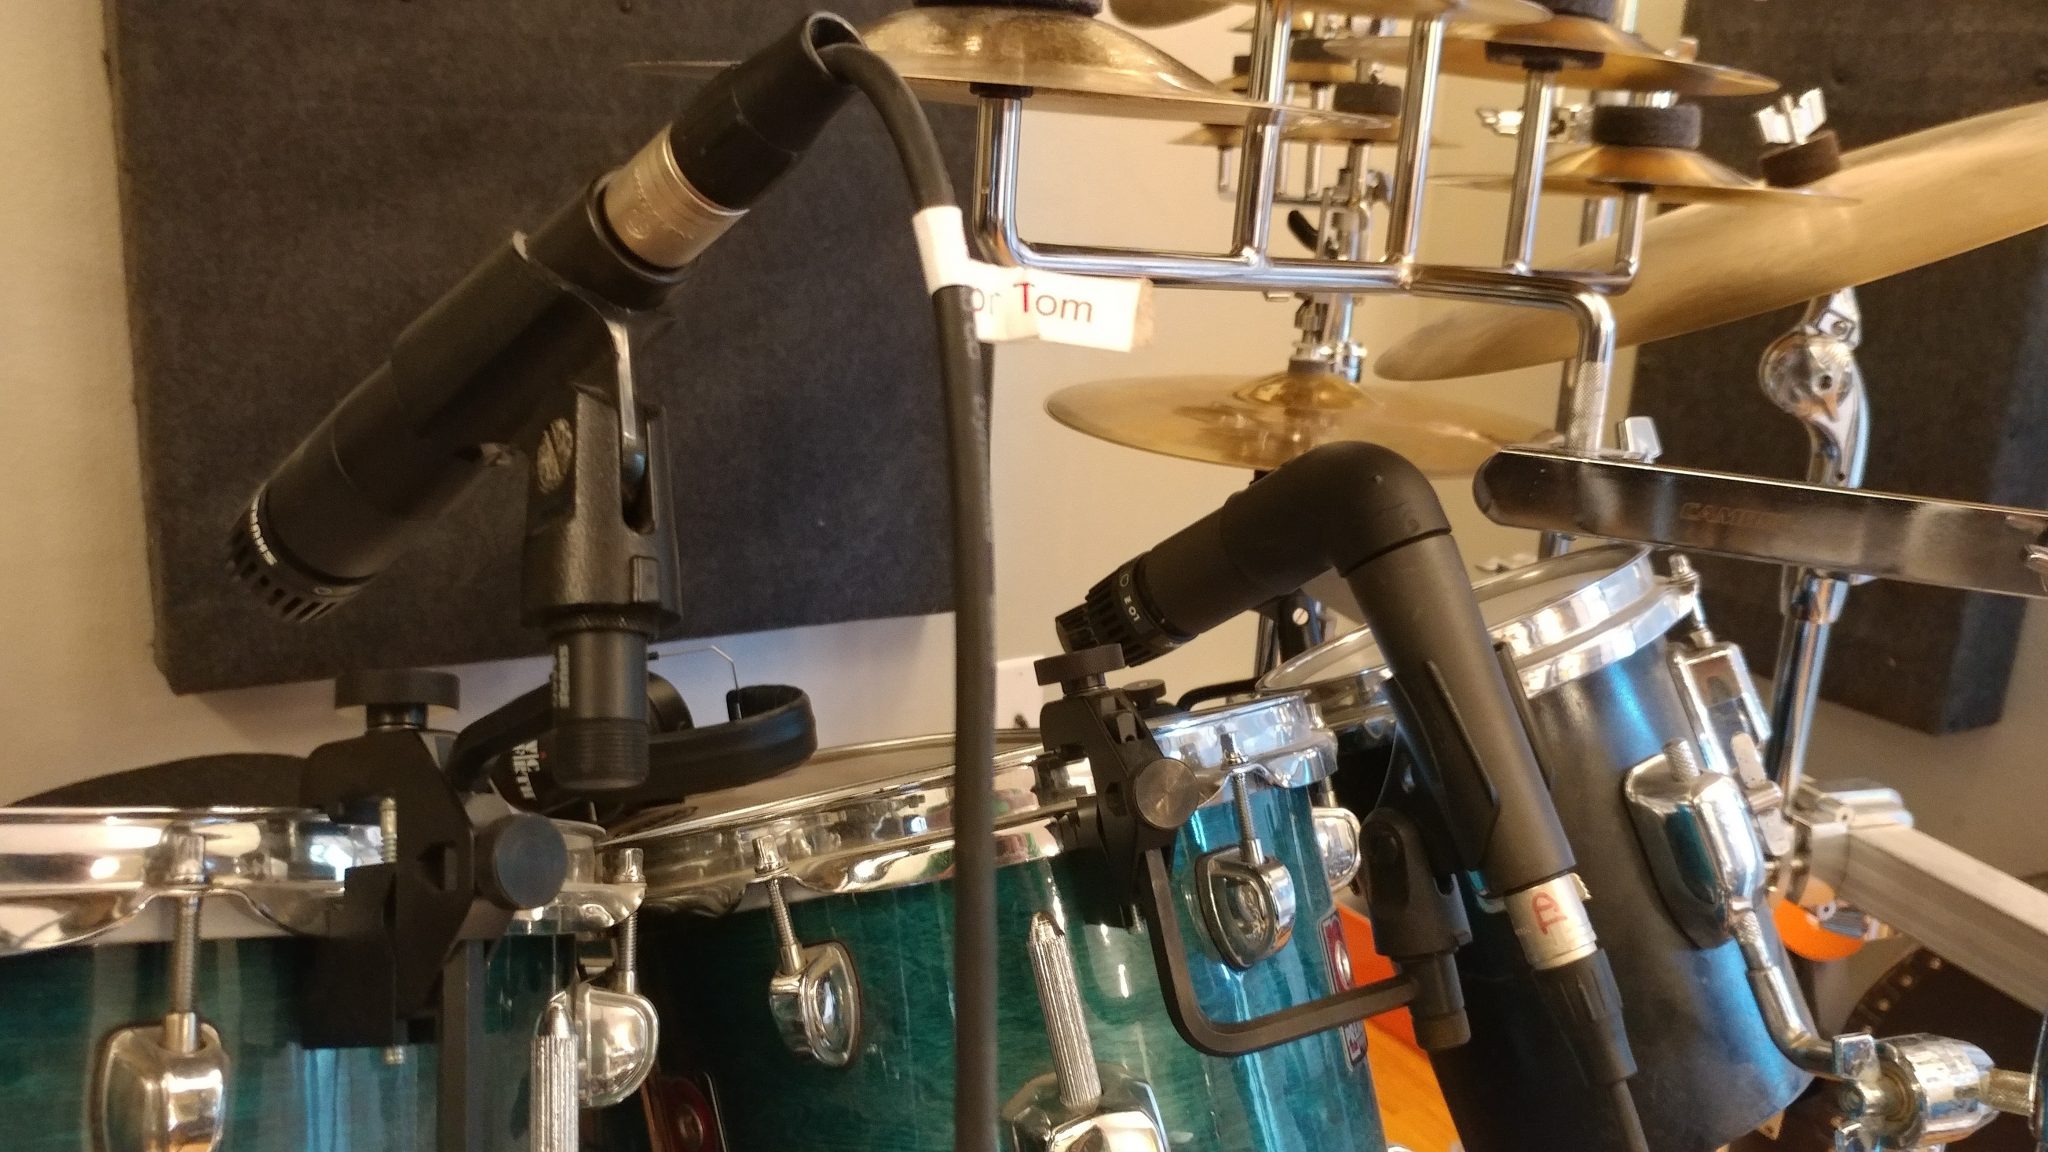
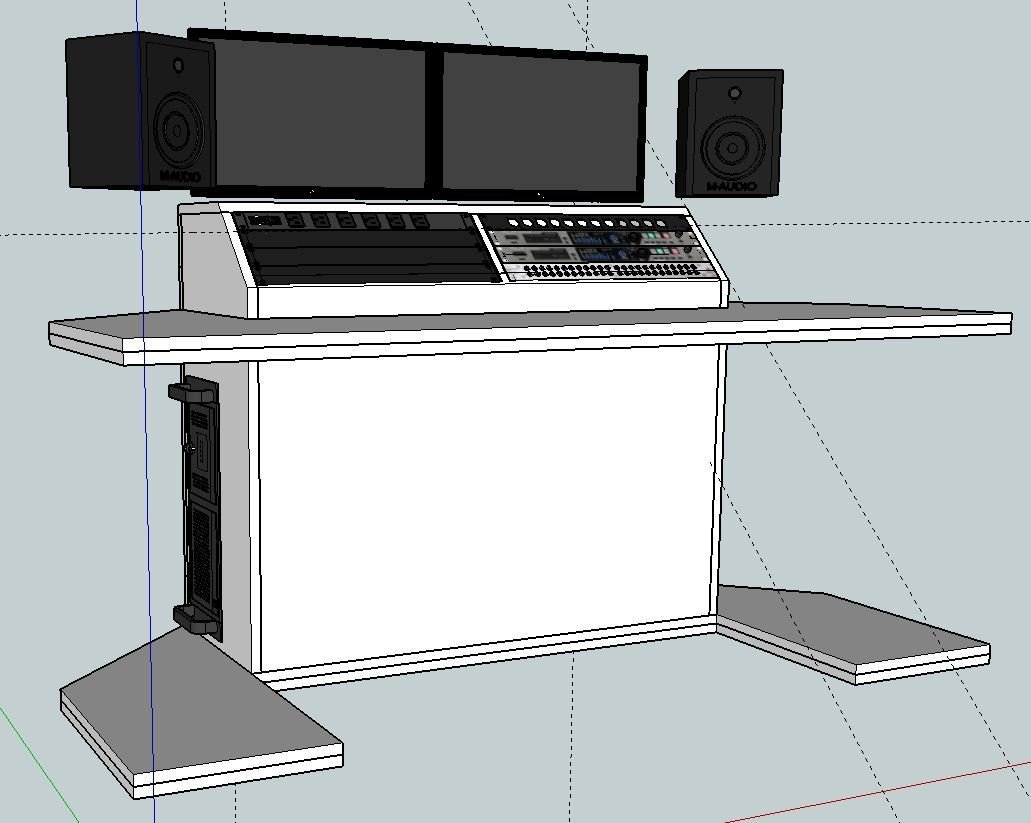
The cymbal cart is finally complete. It holds all of my cracked cymbals and has freed up a lot of floor space in my shop. This was a fun project and was great welding practice. I realized that I still have a long way to go until I can consider myself a good welder. This means that I have a lot of good things to learn. It’s pretty exciting, actually.

Lathe Bed Extension

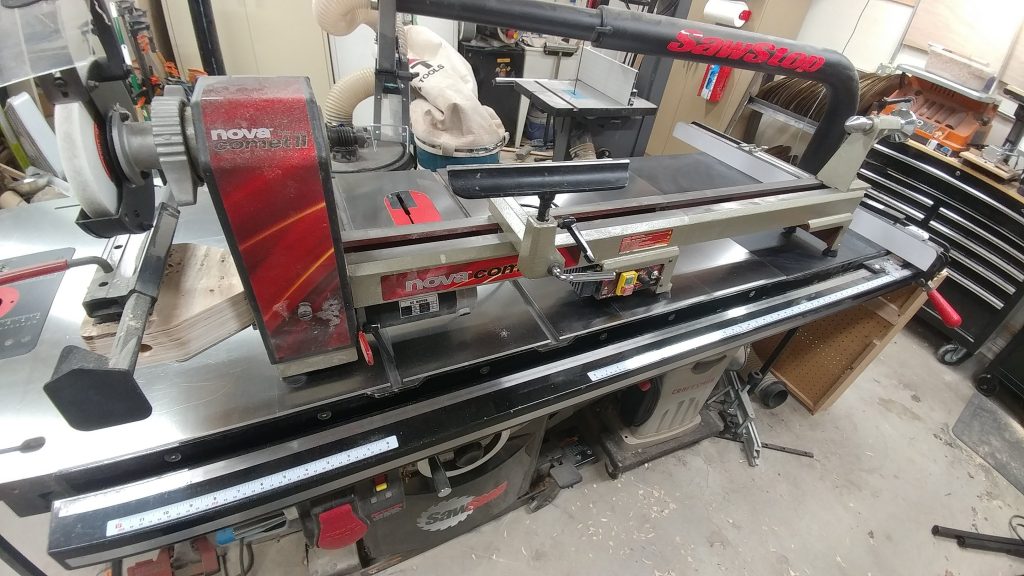
I just installed the bed extension for my Nova Comet II lathe. I can now turn something up to 41-1/4″ in length. I intend to make a number of rainsticks and tube toms with this configuration. The cool – and slightly ridiculous – thing is that I can add another bed extension if I want to. In fact, I can keep adding them as far as I want. I guess that would come in handy if I wanted to turn a telephone pole or an alphorn. You laugh but I just might make an alphorn.

New clips on YouTube

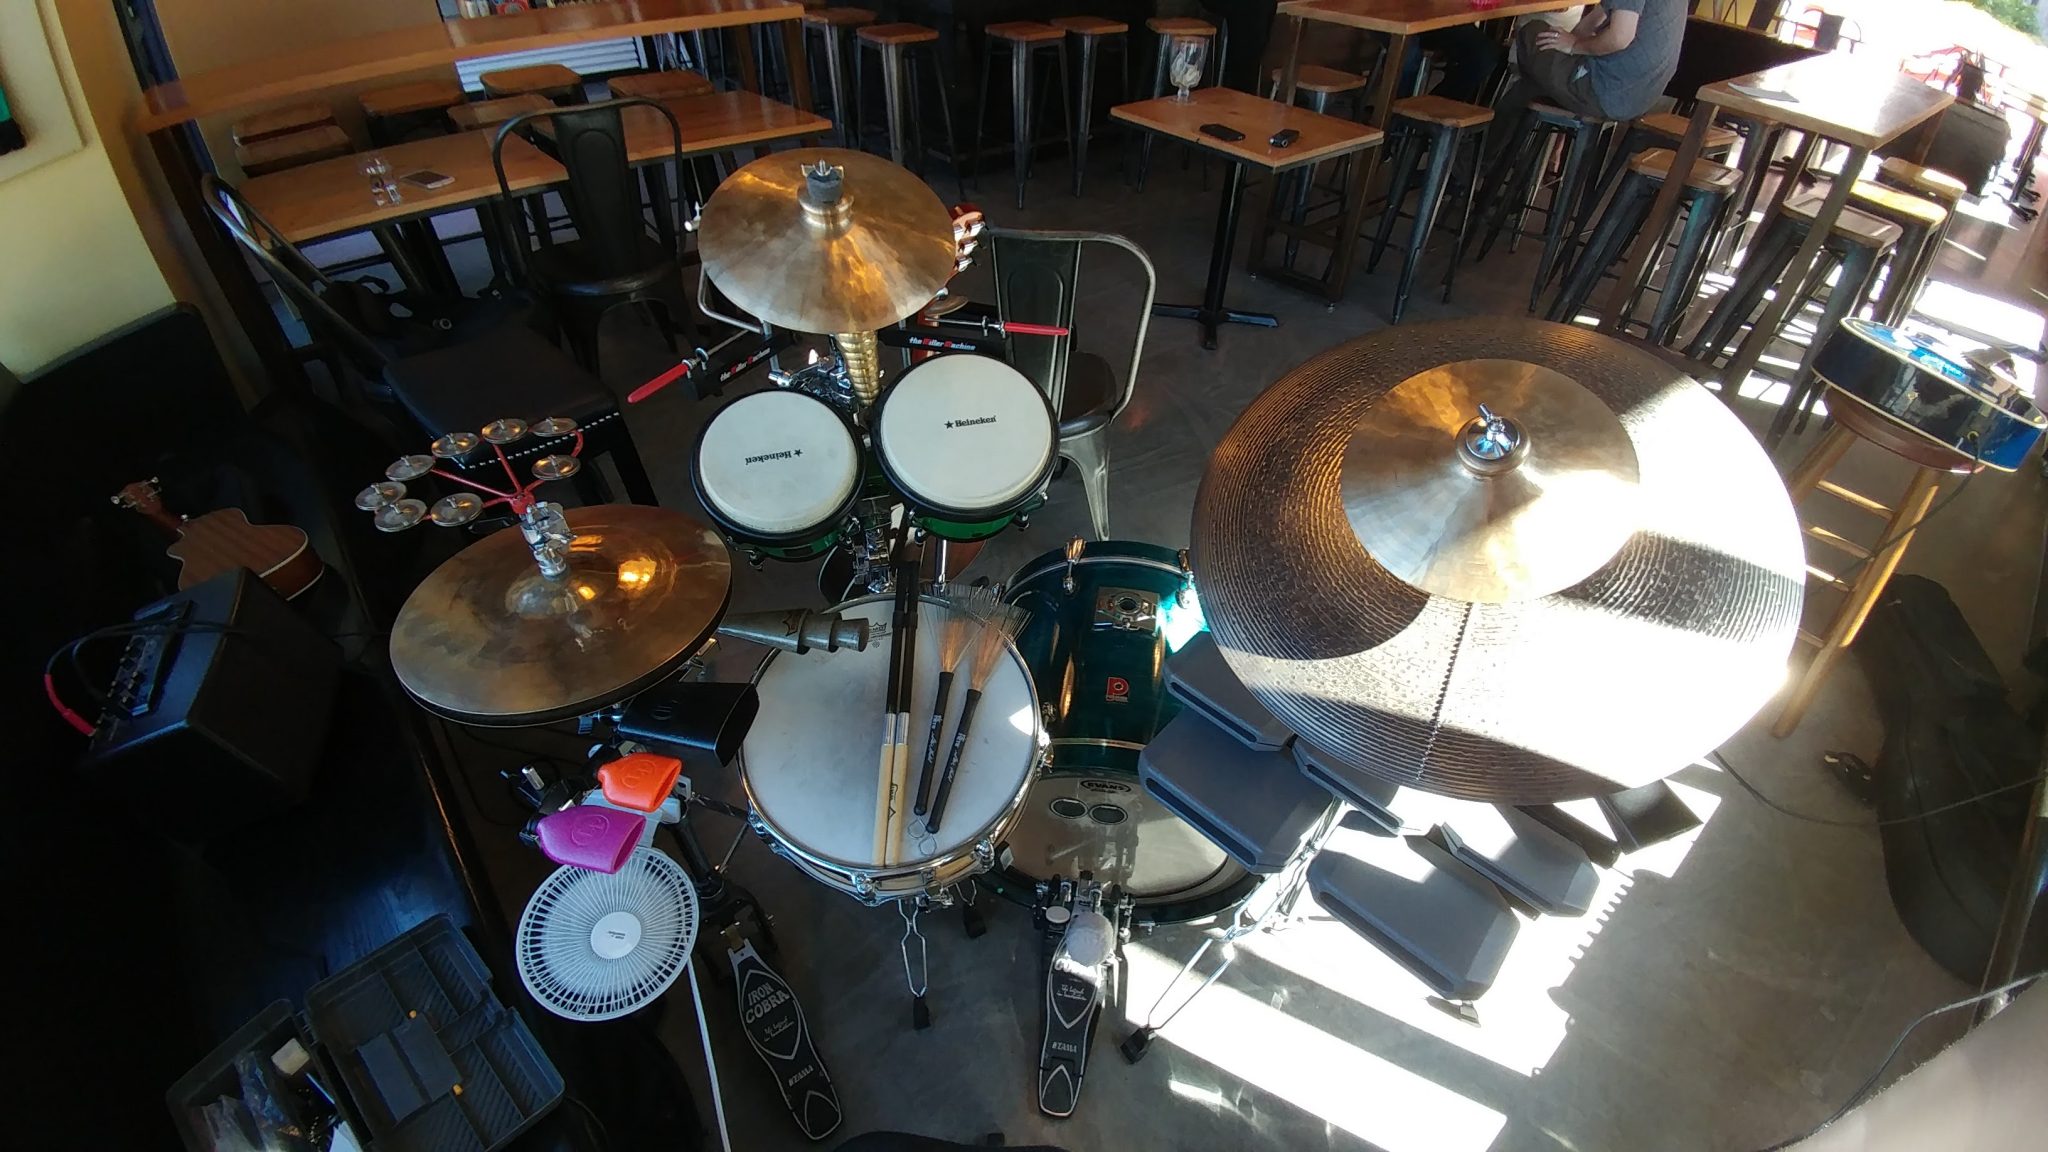
I got a good opportunity to record the other day but I didn’t have anything in particular that I needed to get recorded. Instead, I just played. I put down about 8 minutes straight of brushwork to use for the backing track for YouTube videos then I played a series of short beats for stinger music.

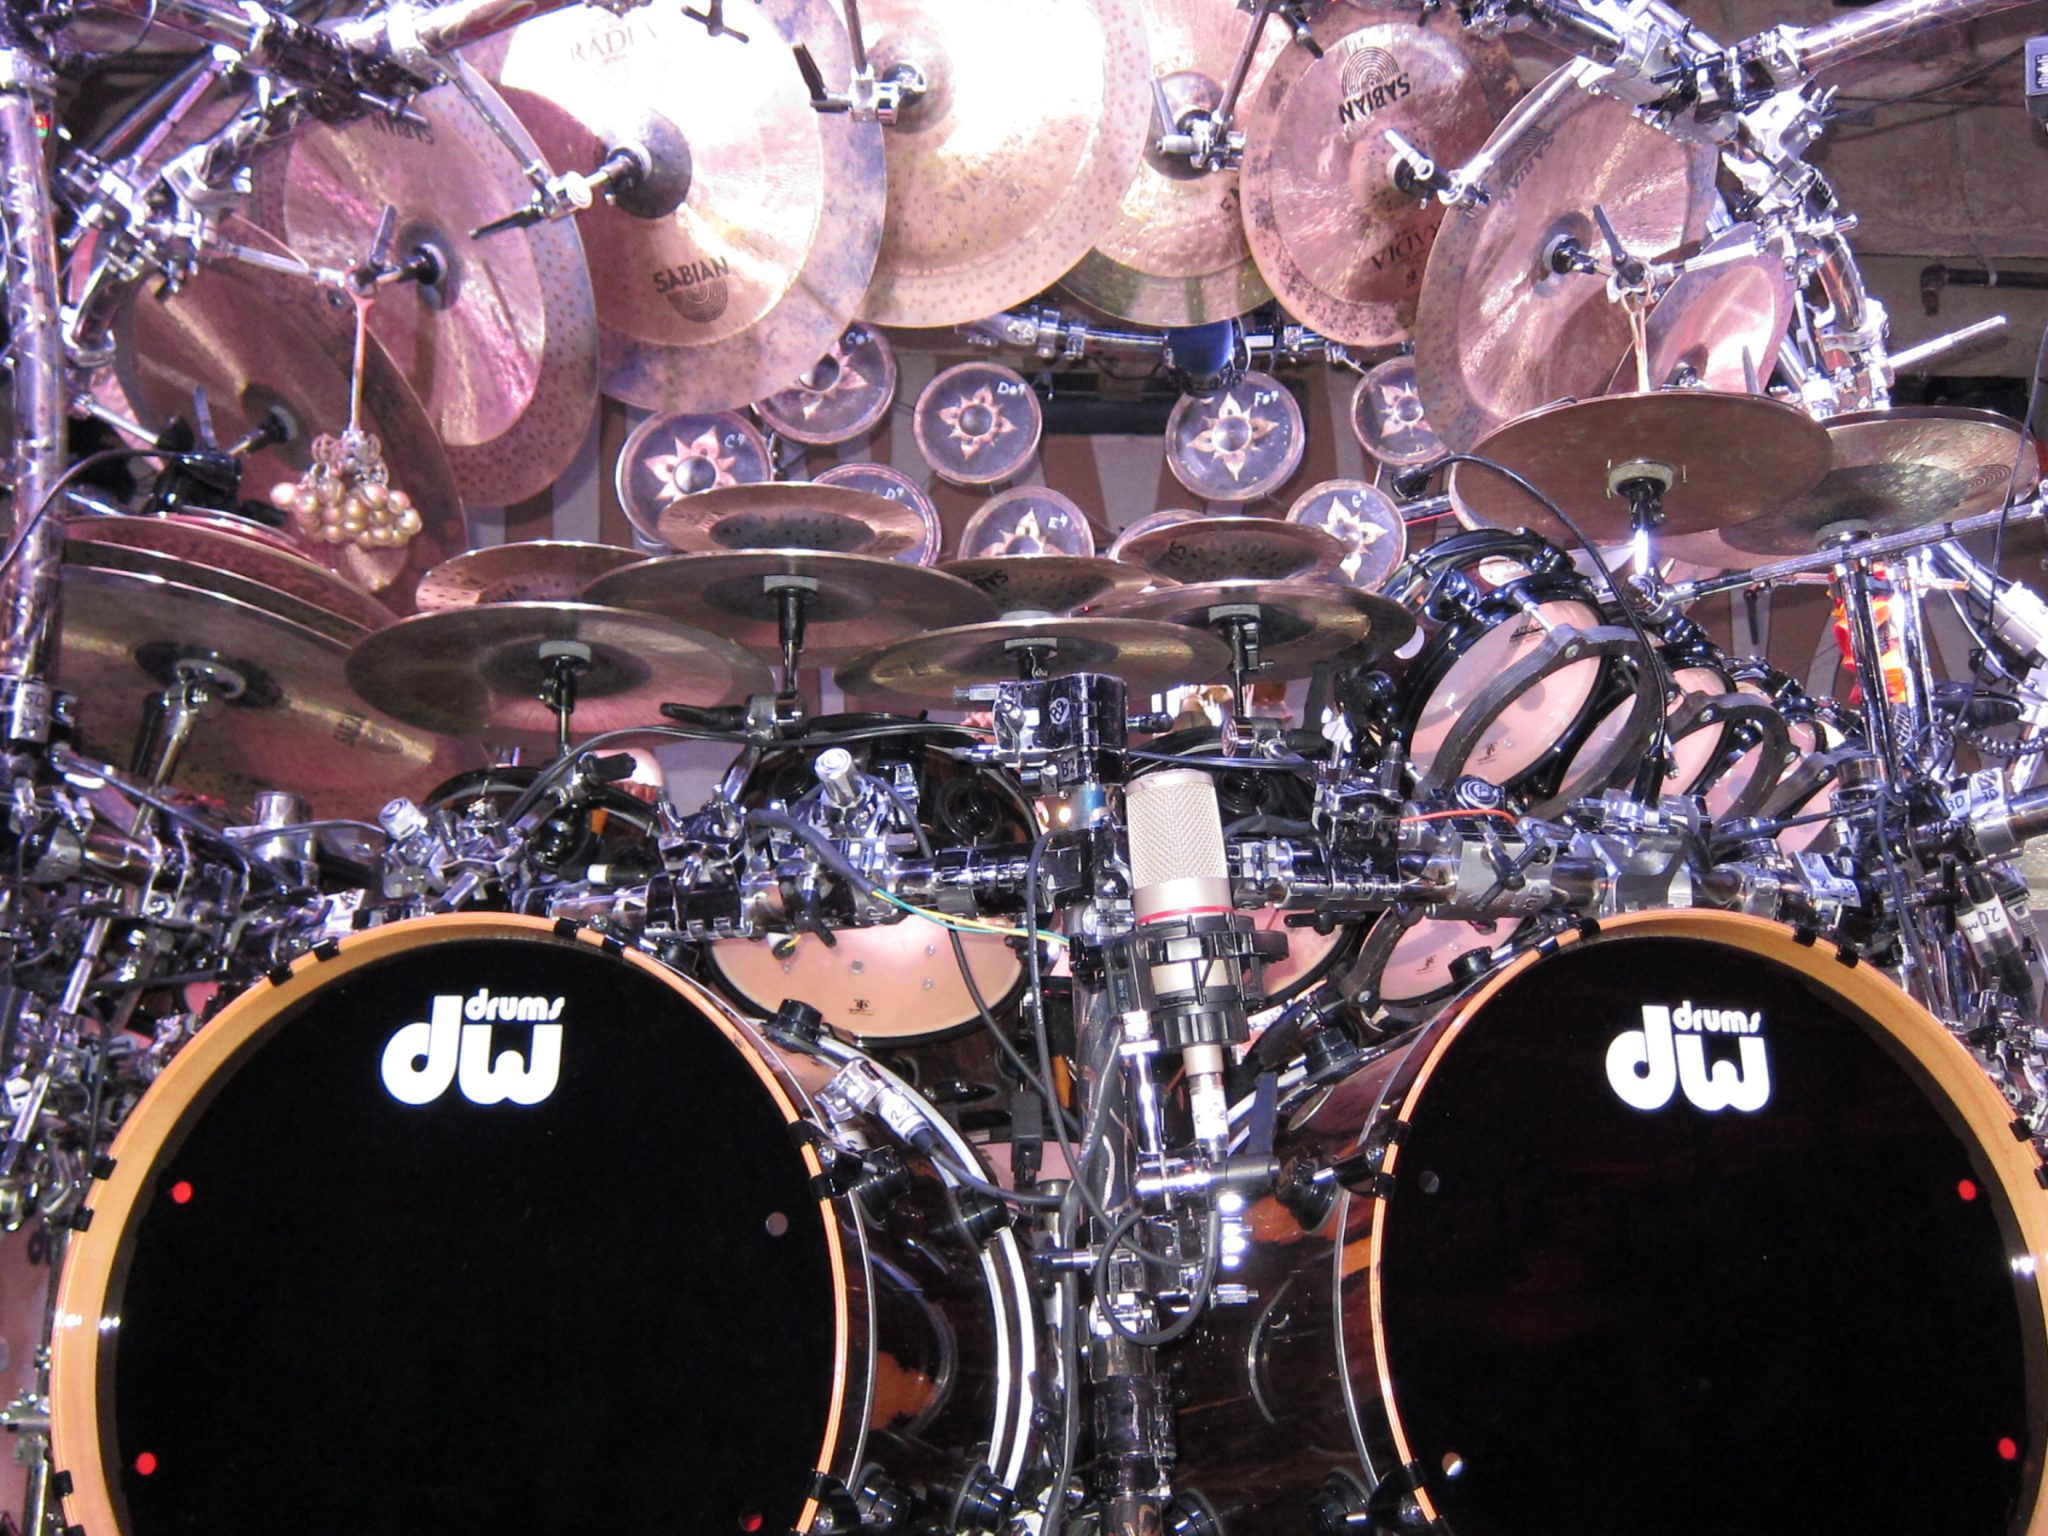
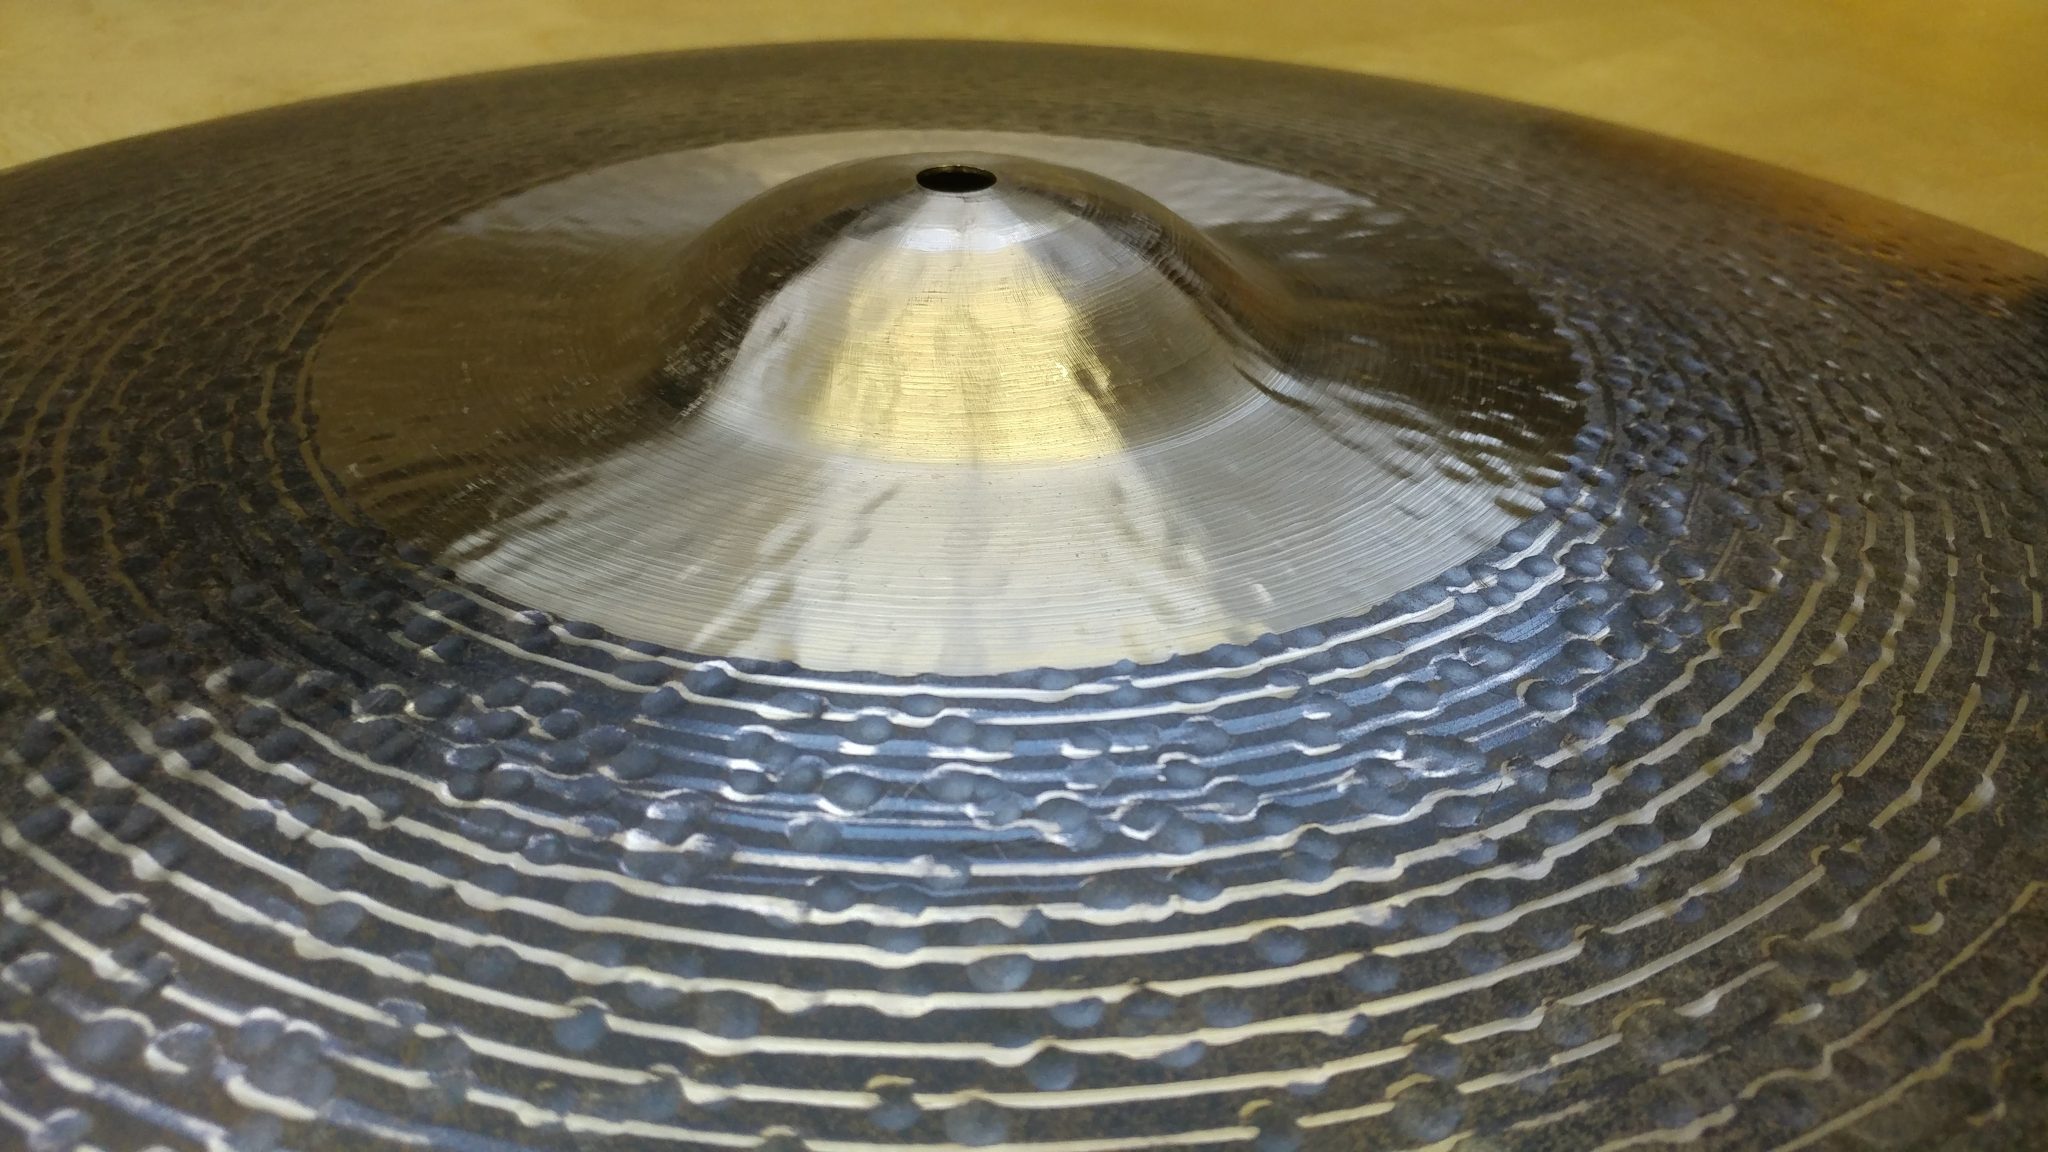
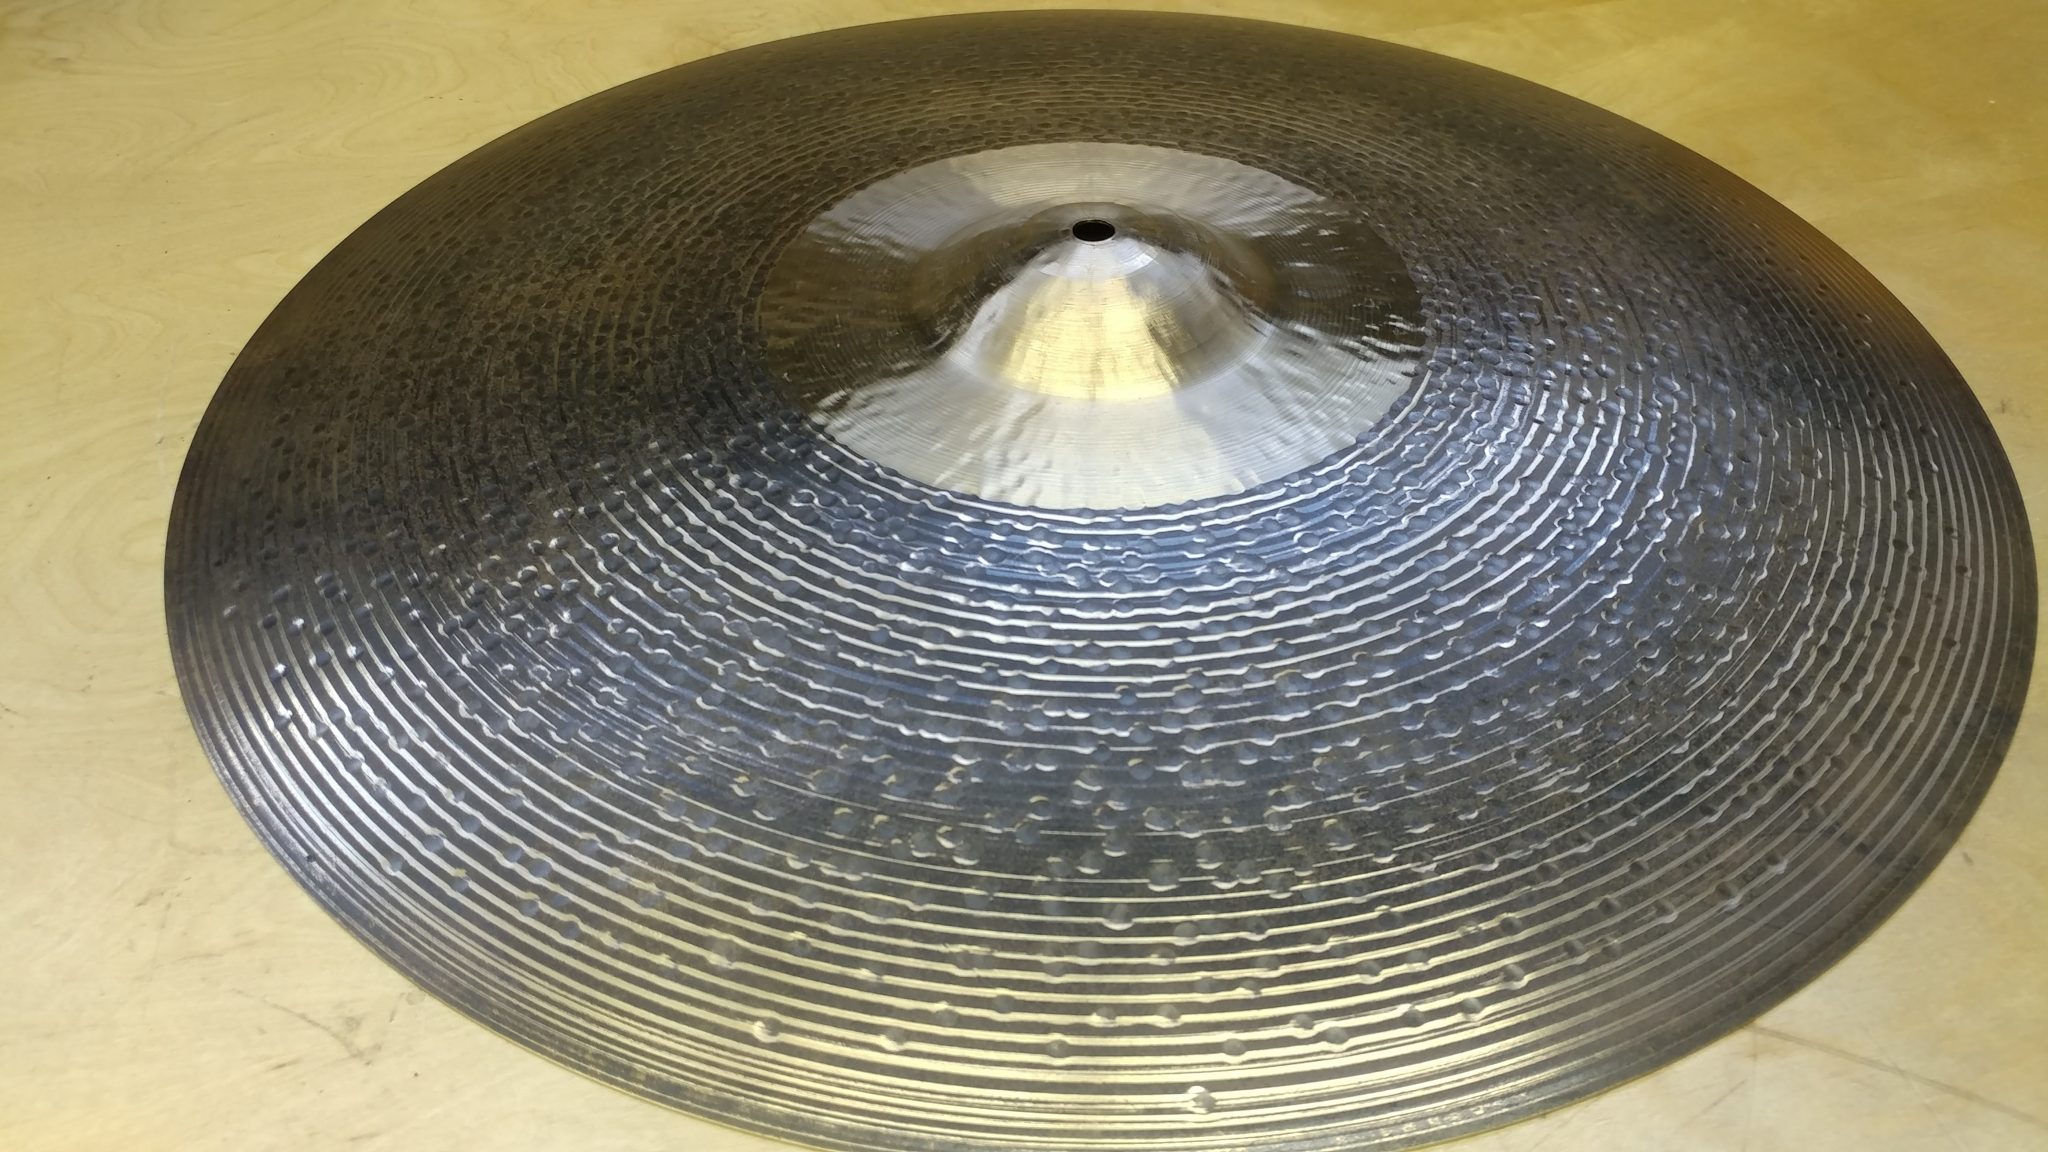
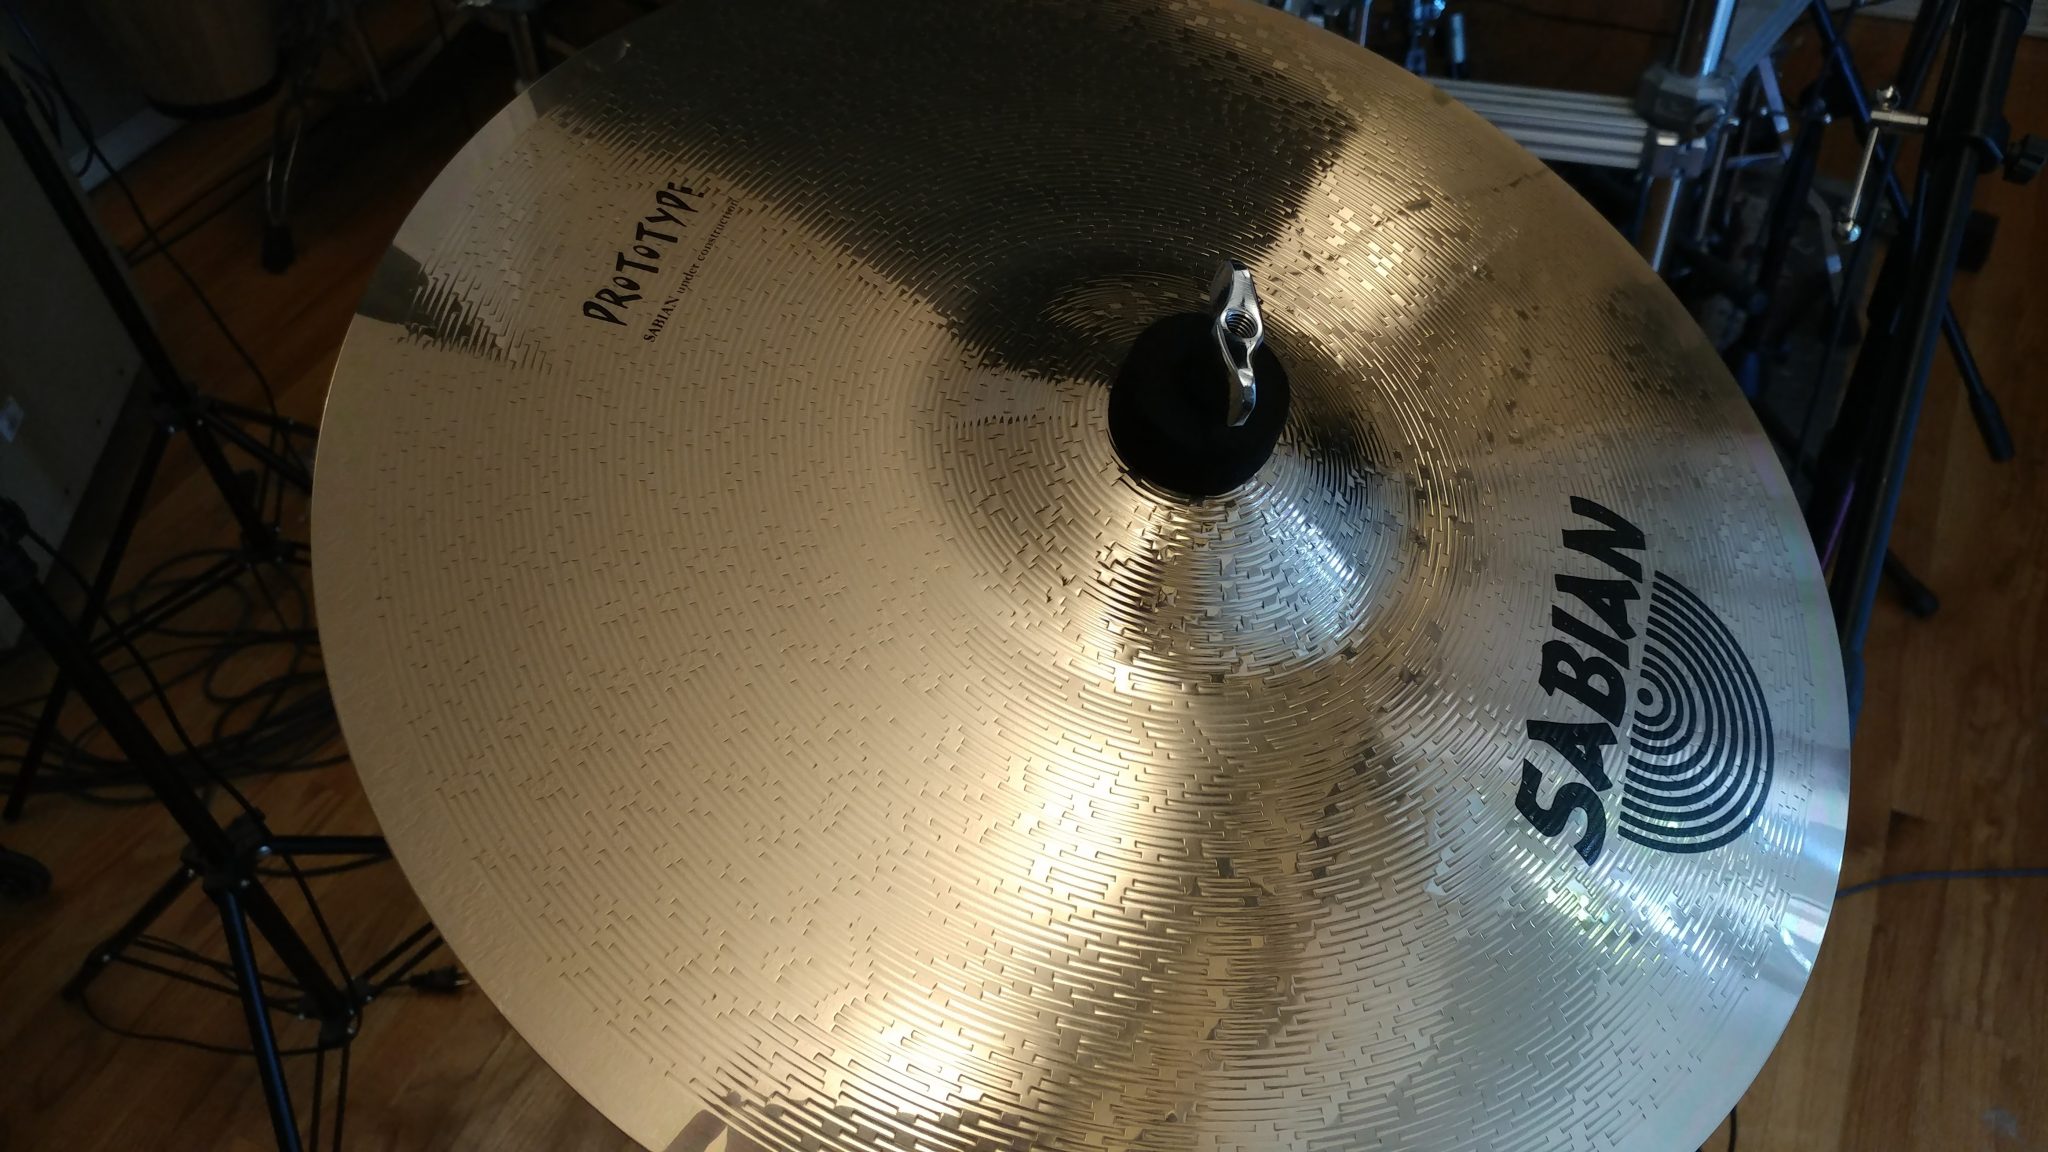
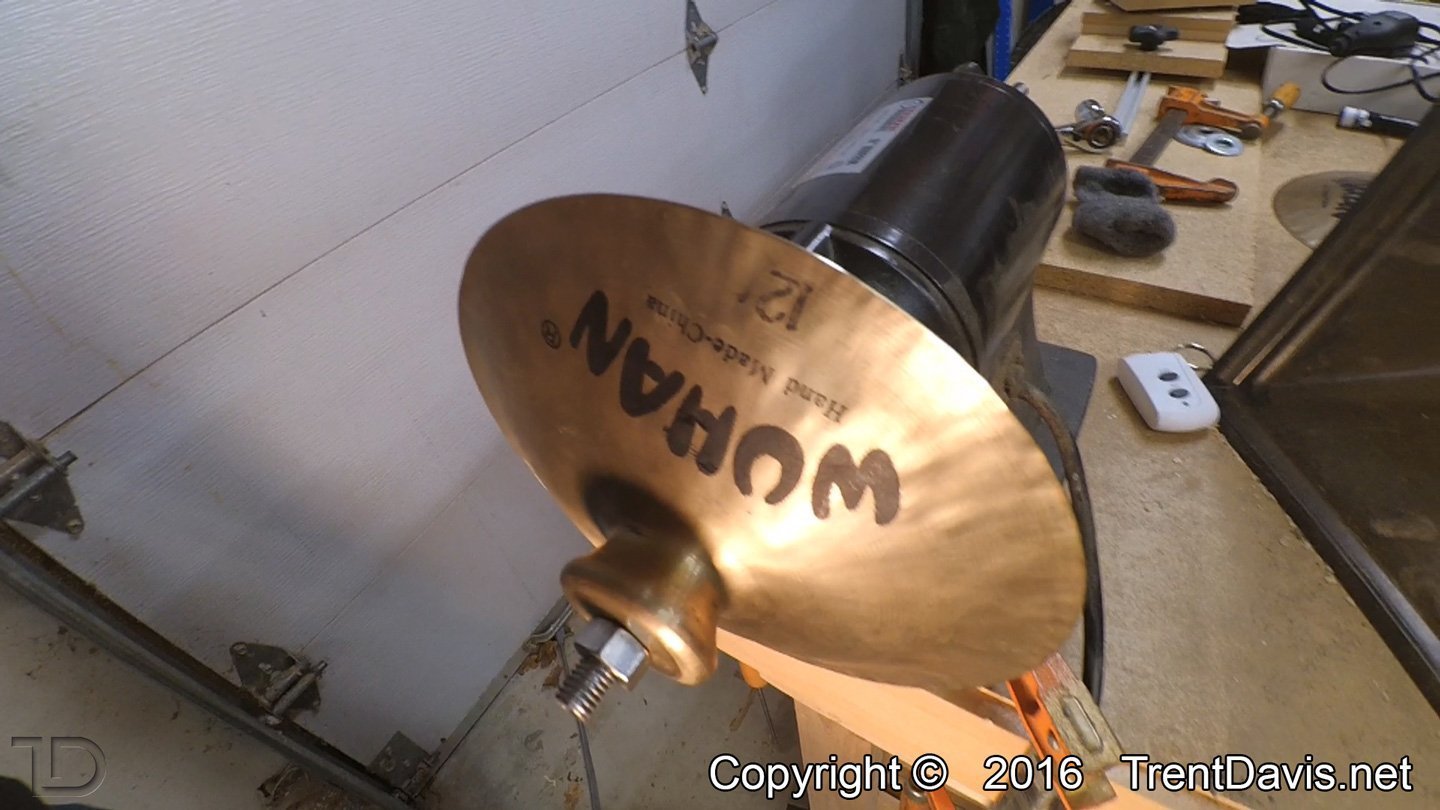
The video above is one stinger beat that I particularly liked because I got to play around with my chime cymbals a bit. If you’re interested in what a 12″ Sabian Glennie’s Garbage sounds like, that’s the last cymbal that I hit.

The next video is part of an eight-minute improv brush performance that I’m going to add bass guitar, keyboards, guitar, and percussion to. The end result will be an eight-minute background track for some of my YouTube videos that I’m working on.

News – November 2nd, 2017 – Wiring, teaching, and recording

I’ve been lax in posting news updates.  I’m going to try to be better about this.

Wiring

I’ve got the studio desk pretty much done, but I’m doing some additional wiring, such as adding a few electrical outlets to the desk itself.

I’m also making all new audio cables.  This includes 32 XLR cables for inside the desk, 16 XLR cables for the drum mics, dozens of 14″ TRS cables, and a 16-channel XLR snake.  I keep pushing this off since I’m not looking forward to that much soldering.  Tedious work while hunched over a workbench gets old really quick.  I’m going to do these in batches.


Shure SM57 Right-Angle Mod

I have several Shure SM57 microphones that I am going to perform the right-angle mod to.  I plan on documenting this thoroughly so anyone can do this.  In the following picture you can see the microphone on the right, which has the right-angle mod applied, is much more out of the way than the one on the left, which does not have the mod applied.

Teaching

On November 29th, I will be teaching a class for The Guild of Oregon Woodworkers on the care and feeding of a SawStop (the class isn’t advertised on their site yet).  It’s been a while since I taught a class so I’m really looking forward to this.  I’ll try to convert all the info into articles on my blog so if you are unable to make it to the class – due to previous commitments or the fact that you are thousands of miles away from Portland Oregon – you can still make use of the information.


Recording for Bright & Shiny

Recording is still going on for the album by Bright & Shiny.  It’s hard for me to get time to record, lately.  I only have the drum tracks to a few songs left, then I can proceed with the auxiliary percussion.  After that, I will begin posting videos of each song.


The Map of Alice

Sadly, I had to call it quits with The Map of Alice.  There were some personality conflicts and the visions for the project were just not lining up.  It was mostly fun while it lasted.

News – August 29th, 2017 – Recording and various other projects

A lot has happened in the past few weeks that has kept me from updating my blog.  I’ll try to summarize the important bits.


Recording for Bright & Shiny

I spent some time working on a few more tracks for Bright & Shiny as well as reworking a few older tracks that I wasn’t happy with.  I ended up re-recording a song that I was really struggling with since the timing is all over the map and I am playing along with pre-recorded tracks.  After recording the song sixteen times (no exaggeration) I finally came to the conclusion that I simply can’t release something to go along with this song that I would be proud of.  I spoke with the engineer and he said that they’re going to re-record the other parts with a click and get that to me so I can put down some decent drum tracks for it.


Slow-Motion video of new ride cymbal

I made a slow-motion video of my Sabian Vault ride cymbal that I featured a few weeks back.  This was mainly just a test to see what quality I can get out of my phone when filming at 120 frames-per-second.  Here’s the video that I shot:


Recording for The Map of Alice

I will be producing the recording of three tracks for The Map of Alice, the local gigging band that I play with each week.  I’ll be posting the progress here on this blog.  I will also be making a music video for at least one of the songs, possibly all of them.


Web site creation for The Map of Alice

The time that I haven’t been spending in the studio, playing live, or watching Twin Peaks, I have been spending on the new web site for The Map of Alice.  I’ll announce when it has gone live.


Studio desk plans

I’ve once again changed the plans for my studio desk.  My problem is that I only want to do this once so I’m being rather picky about how I put this together.  I don’t have anything finalized yet but I’m getting close.


Shop issues

Work in the shop has been minimal, at best.  I can’t even walk out there right now.  My main problem is that I have too much building material.  I’ve got piles of scrap lumber, cracked cymbals, metal stock, electrical components, and aquariums.  Yeah, that’s right.  There’s a big 55-gallon aquarium taking up a big chunk of space in my shop.  The kicker is that it isn’t even mine.  Now that the busy August month is pretty much over and the weather is (hopefully) going to start cooling off pretty soon, I’ll be able to focus on getting my shop into a usable state again and start cranking out some more build projects.


My daughter turned 18!

This actually took up a good chunk of my time.  My daughter, Audrey, turned 18.  We had a few get-togethers but mostly we’ve been trying to help her make the transition into adulthood.


That’s it.  I’m sure I’ve forgotten a few things but the point is, I’ve been busy.

News – July 24th, 2017 – New Sabian Ride

This weekend I added a new cymbal to my setup.  It’s a Sabian Vault Custom Shop HH 22″ ride with a semi-lathed pattern on the top and a completely lathed underside.


I used it at our regular Sunday gig at McNallly’s Taproom (we play each Sunday from 3:00 – 5:00).  The band plays Gypsy Jazz so it was a good venue to try out this cymbal.  I added a Pro-Mark Sizzler to it to see how it would work and it performed admirably.  I typically use a 20″ Sabian Ed Thigpen Crystal Ride with the sizzler but this 22″ cymbal is my new favorite.  Tapping it with my brushes caused it to sizzle for quite a while and it didn’t get the annoying vibrato sizzle towards the end that other, thicker cymbals get.  It complimented the cut-down Wuhan cymbals well, although it made my LP Granite Blocks rather hard to reach.

The lathing and hand hammering make for a beautiful cymbal, but also of note is the pronounced bell.  I haven’t had a chance to use this at higher volumes yet but some preliminary tests show that the cymbal crashes well, and even though I’m not one who crashes their ride cymbals, I ended up crashing on it several times and I loved the sound.


I’ll post some video of the cymbal soon.  It’s got a nice satisfying wobble to it when you hit it and a nice, dry, smoky sound.


News – June 15th, 2017 – Performance video update

The recording for the upcoming album by Bright & Shiny is progressing well.  I have been playing around with the video for a few songs and although it isn’t finished, I decided to share an early version of one of the videos.

I’m playing around with the title sequence and cutting back and forth between different camera angles.  Although the drum performance is pretty much finalized, the rest of the song is not the finished version.  Also, none of this has been mixed and mastered.

A few interesting things to note with this song is the use of some of my “Rescued Cymbals”.  In addition to the small chime cymbals that I use in pretty much every song, I am also using two cut down Wuhan Lion (or China) cymbals which are positioned above my two main rack toms.  I’m also using a 12″ Glennie’s Garbage positioned above my hi-hat.  This is quickly becoming one of my favorite cymbals.

Enjoy…

News – May 31st, 2017

 Sabian Meet The Masters 2017

My daughter Maisie and I went to the 2017 Sabian Meet The Masters event at Rhythm Traders in Portland, OR.  They had prototypes on display and for sale along with someone hammering cymbals as well as another Sabian employee operating the cymbal lathe.

The main reason I went was to find out a bit more about the turning tools they use with their cymbal lathes.  I was thrown off a bit since the YouTube videos I’ve seen shows what looks like high-speed steel scrapers being used but some of the videos from other cymbal junkies indicate that they use carbides.  It turns out that they use carbide scrapers that look like big popsicle sticks that simply insert into a big handle.  It appears that any carbide cutting tool will work and I plan on trying out this theory later this summer.

Another highlight was getting to meet Mark Love in person.  I’ve seen him in a lot of Sabian videos.  He seems to have one of the coolest jobs.

Maisie and I each picked up a cymbal and Maisie got herself a pair of Ringo Starr signature drumsticks.  She’s a pretty big Beatles fan, which is pretty cool for an 11-year old.

Sabian 10″ Prototype Cymbal

10" Prototype Cymbal

One of the prototype cymbals we picked up was a 10″ B8 conical doohickey.  Since it’s part of the Prototype line, it doesn’t really have a name, but I’ve seen it referred to as a Lamp Shade or just an FX cymbal.  It’s a conical B8 cymbal with a tight lathing pattern on the top and more of a “sanded” texture on the bottom.  There isn’t any hammering at all.  I’m normally not a fan of B8 cymbals but I decided to give this one a try since they didn’t have any of this style in B20.

Last night I got a chance to actually try it out and it actually seems to go well with my 12″ Glennie’s Garbage.  Below is a clip of one of the songs we’re working on.  You can hear the prototype at around 4 seconds and the 12″ Glennie’s Garbage cymbal at around 12 seconds for comparison.

As you can hear, the Glennie’s Garbage has considerably more sustain than the prototype, but that’s to be expected when you go from a 10″ to a 12″ cymbal.  They definitely sound like they belong in the same family.

I’ve seen these used before by Terry Bozzio. particularly in the All Cymbal Drum Set video where he takes two of the same size and tapes them together so they form a diamond.  He takes several of these in different sizes and uses them as “toms” in his all-cymbal drumset.  He does a pretty wicked roll around them starting at about 1:59.


Sabian 16″ Prototype Cymbal

16" Prototype Cymbal

My daughter Maisie picked up a prototype cymbal as well.  Like mine, it’s B8 and doesn’t have any hammering.  It also doesn’t have any lathing but instead has an almost “brick-like” pattern stamped into it.  It actually sounds pretty good for a B8 cymbal.  I haven’t heard it used in a musical setting yet, so it’s hard to make a final judgement.  She seems to really like it and that’s all that matters.


12" Wuhan "Lion" cymbals cut down to 8 1/4" hand cymbals.

Cutting down a pair of Wuhans

I was asked by a friend of mine to cut down her pair of 12″ Wuhan China (or “Lion” cymbals, as they call them) into a smaller set to use as hand cymbals.

Fig. 1 - One of the unaltered Wuhan "Lion" cymbals.
Fig. 1 – One of the unaltered Wuhan “Lion” cymbals.


There was one slight problem.  Years ago when I first got into repairing cymbals I took my own version of the Hippocratic oath where I swore to “do no harm” to a set of undamaged cymbals.  I was a little conflicted but I figured that since these cymbals aren’t for me and that the owner really wanted this to be done, I was okay to do this procedure.  Plus, she had been using these as a set of hand cymbals already and they sounded truly awful.  Therefore, I was only making improvements.  Much like adding rivets to a cymbal.

I started by putting both cymbals on my cutting jig and finding the best diameter to use.  I wanted to retain as much of the cymbal as I could but eliminate the flare.  Once a diameter was decided upon I started cutting.

Fig. 2 - The first cymbal on the cutting jig.
Fig. 2 – The first cymbal on the cutting jig.

Fig. 3 - Getting close to finishing the cut on the first cymbal.
Fig. 3 – Getting close to finishing the cut on the first cymbal.


The cutting went pretty smoothly although the imperfect nature of Wuhan cymbals tends to affect how balanced the cut-down cymbal is.  For example, the mounting hole was off-center on each cymbal which really caused a lot of warping and vibration.  You can see this in some of the pictures.

Fig. 4 - Just finished cutting down the second cymbal.
Fig. 4 – Just finished cutting down the second cymbal.


After they were cut down I mounted them on my buffing wheel and de-burred the edges.  My friend also wanted me to polish them and remove the logos.  This was more trouble than it usually is since these cymbals are so out of balance.  I used both a coarse and fine grained sanding sponge then finished up with 0000 steel wool.  I finished that up with a thin coat of polyurethane to protect them and they are ready to go.

Fig. 5 - Taking the coarse sanding block to the underside of the first cymbal.
Fig. 5 – Taking the coarse sanding block to the underside of the first cymbal.

Fig. 6 - Finishing up the underside of the first cymbal with some 0000 steel wool.
Fig. 6 – Finishing up the underside of the first cymbal with some 0000 steel wool.

Fig. 7 - The top of the first cymbal ready to be polished.
Fig. 7 – The top of the first cymbal ready to be polished.

Fig. 8 - Taking a coarse sanding block to the top of the first cymbal.
Fig. 8 – Taking a coarse sanding block to the top of the first cymbal.

Fig. 9 - Following up with a fine-grit sanding sponge.
Fig. 9 – Following up with a fine-grit sanding sponge.

Fig. 10 - All done after finishing up with some 0000 steel wool.
Fig. 10 – All done after finishing up with some 0000 steel wool.

Fig. 11 - Time to start cleaning up the second cymbal.
Fig. 11 – Time to start cleaning up the second cymbal.

Fig. 12 - Cleaning up the top of the second cymbal with a coarse-grit sanding sponge.
Fig. 12 – Cleaning up the top of the second cymbal with a coarse-grit sanding sponge.

Fig. 13 - the underside of the second cymbal. Before...
Fig. 13 – the underside of the second cymbal. Before…

Fig. 14 - ... and after.
Fig. 14 – … and after.

Fig. 15 - This is a shot of both cymbals. The one on the left is halfway through cleaning up the top. This was problematic due to the imbalance in that cymbal which is caused by the mounting hole being so far off-center.
Fig. 15 – This is a shot of both cymbals. The one on the left is halfway through cleaning up the top. This was problematic due to the imbalance in that cymbal which is caused by the mounting hole being so far off-center.

Fig. 16 - A close-up of the two cymbals. The one on the left has been polished up a bit. The one on the right only has the edge de-burred which actually polishes up the area around the edge a bit.
Fig. 16 – A close-up of the two cymbals. The one on the left has been polished up a bit. The one on the right only has the edge de-burred which actually polishes up the area around the edge a bit.


The finished product ended up being 8 1/4″ in diameter.  They look cool and they sound a lot better.

Fig. 17 - Top-down view of the finished product.
Fig. 17 – Top-down view of the finished product.

Fig. 18 - The finished product.
Fig. 18 – The finished product.


Let me know in the comment section below if this was helpful and if you have any questions.  Also, if you cut down your own cymbals, feel free to share your techniques.


What I learned from Terry Bozzio

Last night I attended a concert by Terry Bozzio, the former drummer for Frank Zappa. It would normally take a lot for me to go to a 2-hour concert featuring only a drummer, but Terry is different.  His tunes are creative and detailed and he has excellent showmanship.  I really admire his playing but the main reason I went was because I have a passion for percussion gear so I couldn’t pass this up.

The show wasn’t a disappointment at all.  That’s not what I want to discuss, though…

img_8368
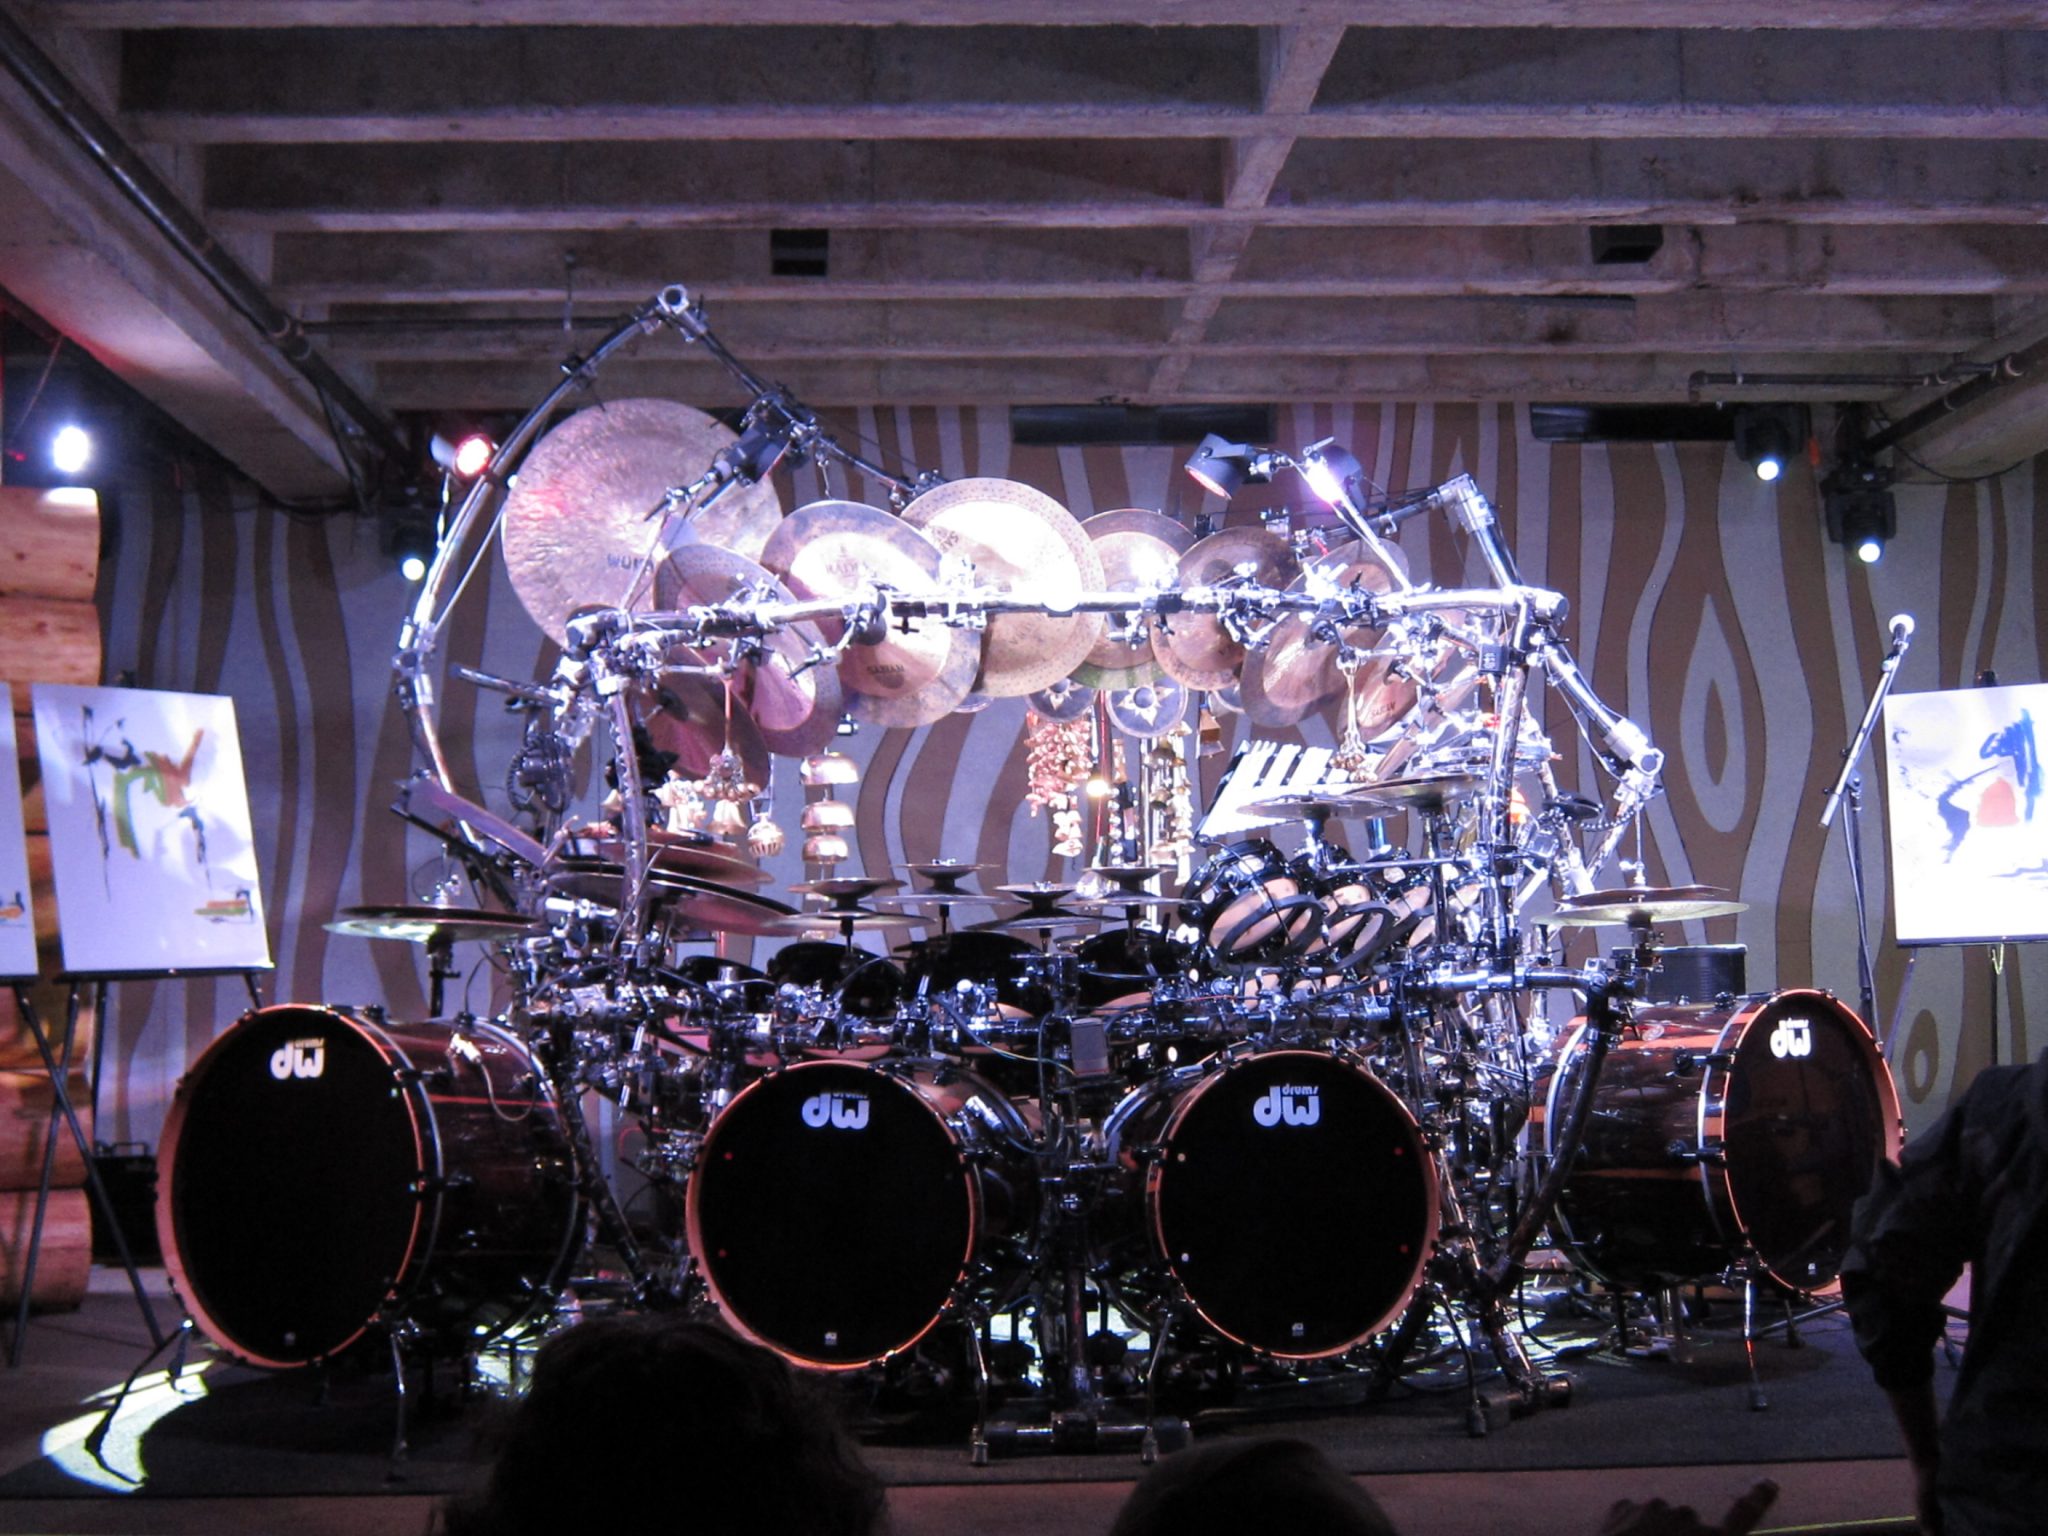
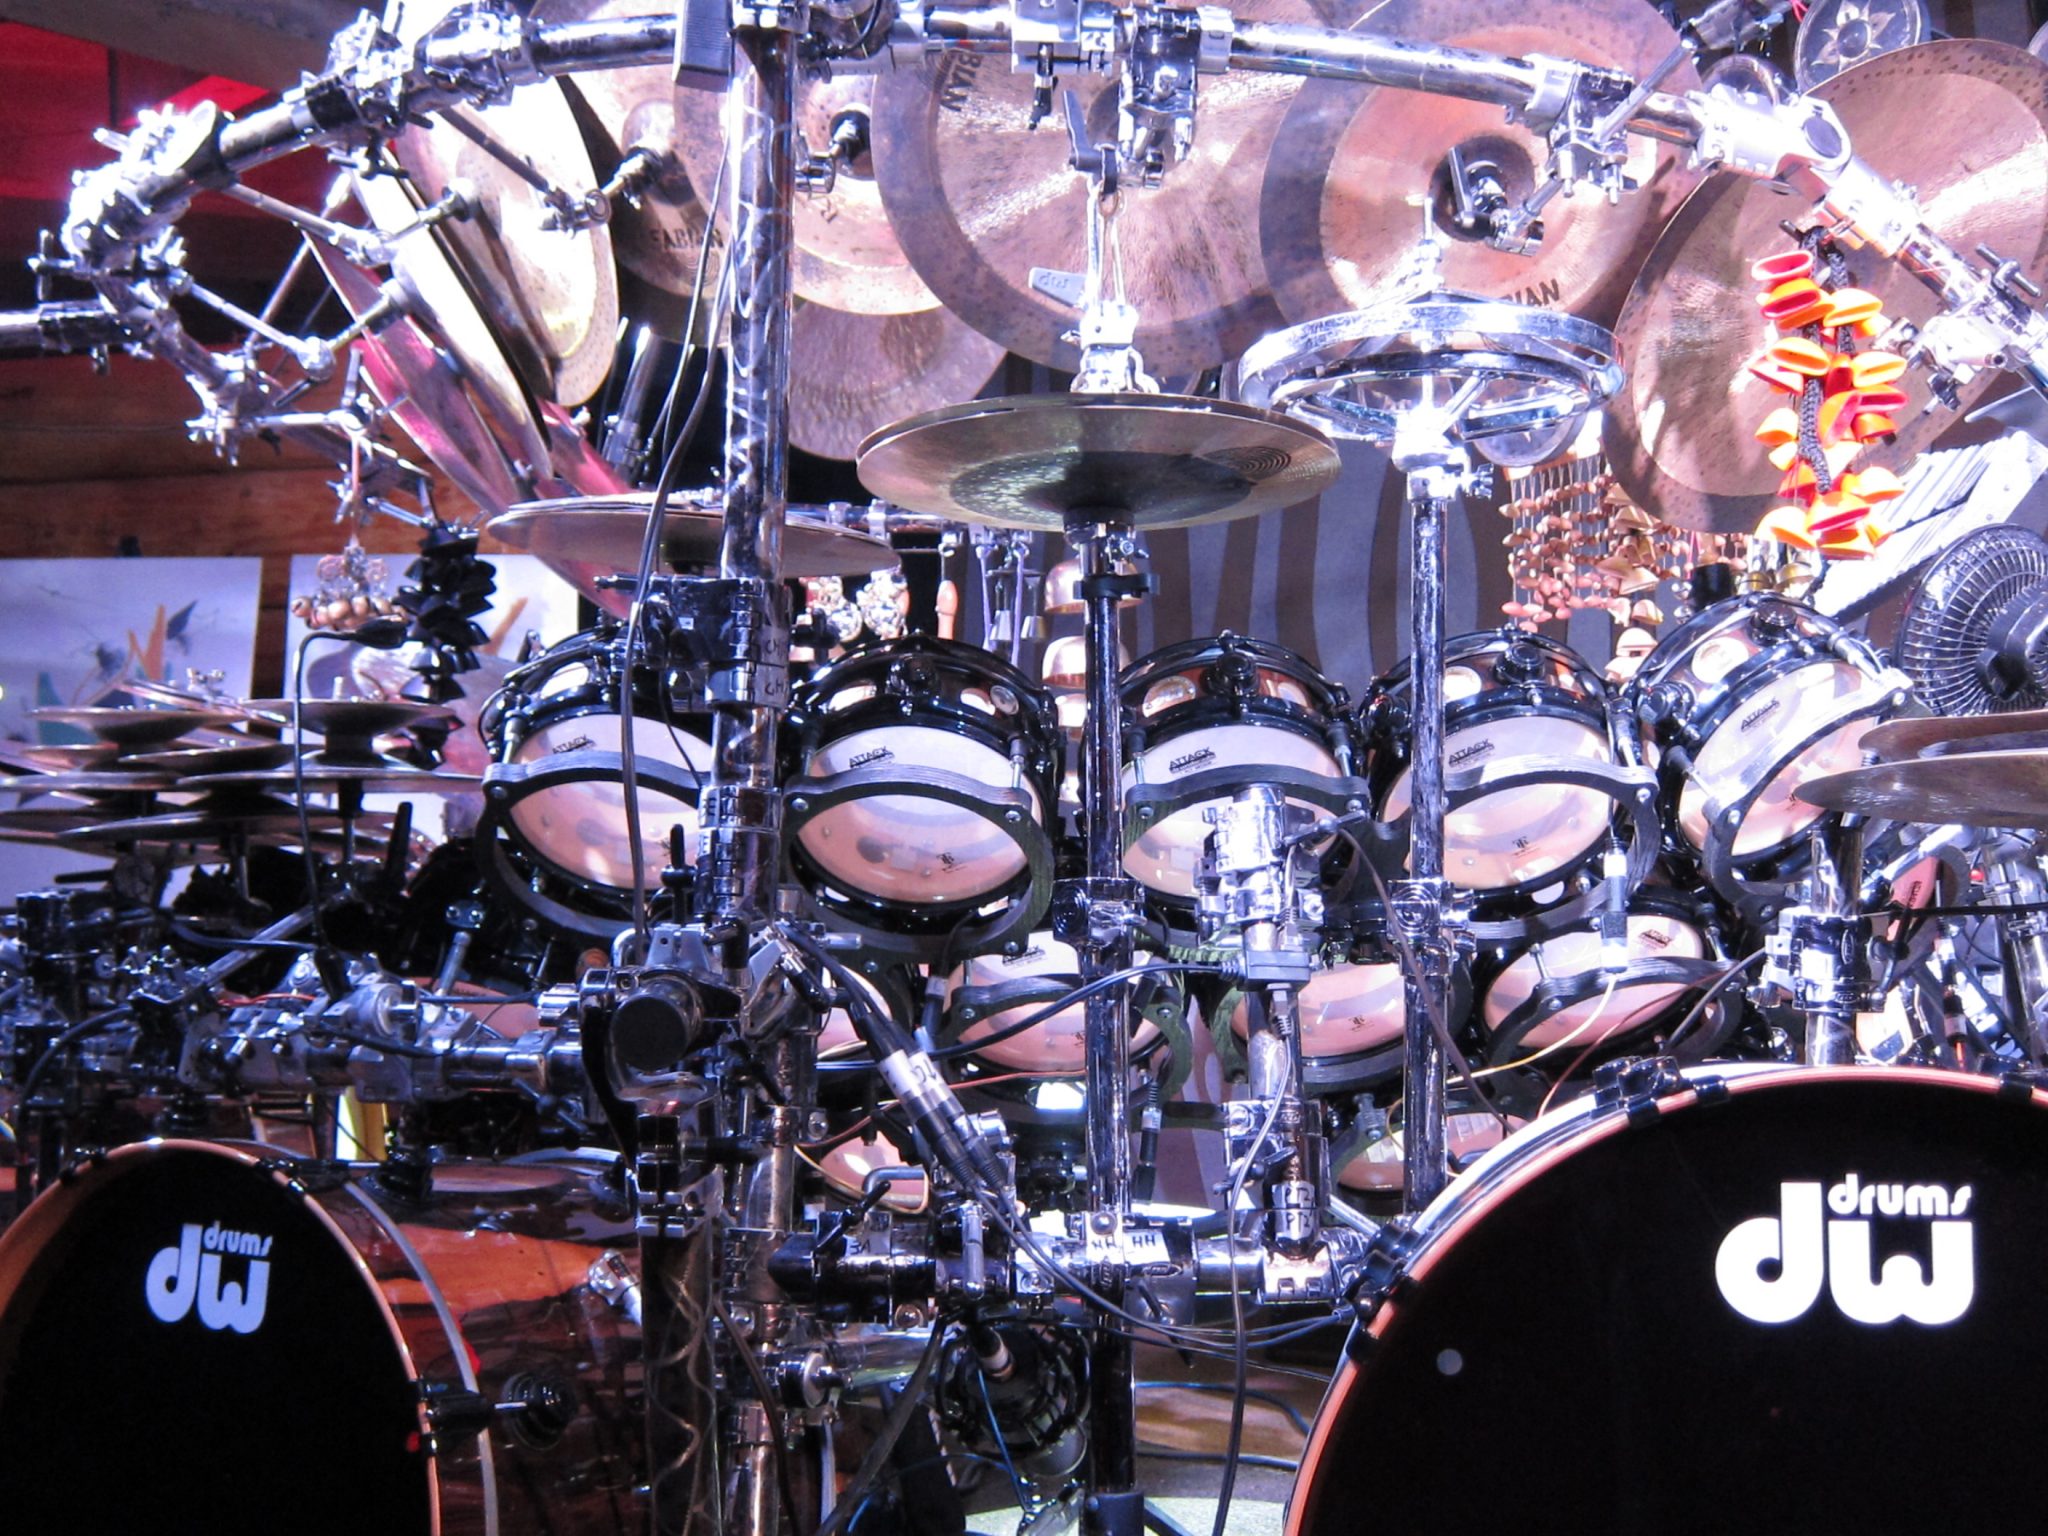
The audience was mostly made up of drummers.  I know this not because they were advertising the fact but rather because of how they responded during the show.  I looked around and I saw people not just enjoying the show but being sucked into it.  They weren’t just tapping their feet; they were emulating the difficult polyrhythms that we were hearing.  When Terry would cycle between his multitude of pedals, I would see necks craning in an attempt to see what he switched to.


At one point during the show, Terry dropped a stick.  We heard a muttered “bastard!” as he quickly grabbed another stick and kept on playing.  The audience’s response was to applaud, as if to say “Good save, sir”.  He made a mistake and he recovered nicely.  As a drummer friend of mine commented, “He’s human, after all”.

We were there to admire a respected drummer’s technique, his showmanship, and his gear.  We were there to learn.  To be inspired.  And we were.

I’ve been involved with different communities, including guitarists, bassists, woodworkers, artists, programmers, and actors.  From my experience, what sets the drumming community apart is the support and the lack of competition.  There will always be exceptions but in general I find that drummers admire each other.  We acknowledge that each drummer is different and skilled in certain areas.  We study their techniques.  A drum set is like a fingerprint; unique to each player.  As such, we’re curious about each others gear and setup.

img_8356
Every drummer I meet can do something that I can’t.  Therefore, every drummer is a teacher.  And in turn, every drummer is a student.


What do you think?  Feel free to share your comments below.

Every Time I Fall – Performance video

I recorded the drum tracks for Every Time I Fall, a song I’m working on with Jongwon Kim.


I have a somewhat peculiar way of recording.

I actually record the drum tracks a total of eight times, one after the other without any breaks in between.  Typically, the first two tracks are throw-aways.  I use them as a chance to warm up while also re-familiarizing myself with the structure of the song and the ideas that I wanted to incorporate into it.  The reason I like these takes to be recorded rather than just playing it a few times on my own is because I might spontaneously (or accidentally) play something that is just perfect for the song that I may not remember afterwards so it’s nice to have it documented.

I don’t actually expect to have a “keeper” take until the fifth or sixth time through the song.  Once I get these, I use them as my safety net.  Now I have two more takes where I can get crazy and try things that may not work but would be fun to at least attempt and listen to later.  These two takes are usually filled with screw-ups but every now and then I hear something that I really like and I will actually incorporate it into the song, either with editing or doing a few more takes.

On this particular song, I had gotten a keeper take by the fifth run-through.  The sixth and seventh were nice but didn’t really speak to me.  Then on the eighth take I just didn’t worry about anything and focused on just playing comfortably.  I wasn’t going for flashy.  It was just one of those moments where you realize you know the song well enough to play it without even thinking about it.  Actually, while I was doing this take, I believe I was thinking about a few metalworking projects I have planned.  In my subconscious I was just enjoying the song.  It was like background music that I was controlling.  This ended up being the take that I’m going to use for the final recording.

Anyway, here are a few videos.  I recorded the tracks in Ableton and didn’t do any real mixing or mastering other than the basic levels that I have set up for my drum recording template.  The first version includes the temporary guitar backing tracks.  The second version is only the drums.


Every Time I Fall (With backing tracks)

Every Time I Fall (Without backing tracks)

https://youtu.be/XfvmdlpETMM

Video Performance – Test

This is just a test of the over-the-head GoPro setup.  The audio was recorded in Ableton and edited into the video.

This was when we were auditioning a new keyboard player so it’s a pretty low-key performance.  I was also just getting over the flu so I didn’t have a lot of energy.  To top it all off, I was also breaking in a new pair of Doc Martens, which I normally really love to wear when I’m playing but which are rather unforgiving when they’re fairly new.

Only The Strong – 2016-10-06