Feel free to share this page with others…
- Introduction
- Communities
- Documents
- Articles
- Thin-Kerf Blades and Riving Knives
- Choosing a SawStop – Contractor Vs. Professional
- Protecting A Cast-Iron Tabletop
- Adding an Extra Cast-Iron Wing
- SawStop Brake Spacing Explained
- Dado information:
- Converting Extension Table into a Router Table
- Router Table Enclosure: Part 1 – Carcase
- Router Table Enclosure: Part 2 – Laminate
- Router Table Enclosure: Part 3 – Hardware and Electrical
- Parts
- Conclusion
Introduction
This is a list of helpful documentation and links to the cheapest places online for various SawStop consumables.
I will be regularly updating and adding to this list with the cheapest prices available online. I will always take the shipping cost into consideration.
If you have a suggestion for a link to add to this or if you find a cheaper place to buy something online, please leave it in the comments below.
Communities
SawStop Users’ Group

I started the SawStop Users’ Group so SawStop owners or prospective owners would have a place to go with their questions without having to resort to other communities like SawMillCreek and LumberJocks, where half the answers to their questions would be met with comments such as “That’s why I use a Delta/Powermatic.” while the other half may be well-intentioned yet not necessarily pointing them in the right direction.
Documents
The Care and Cleaning of a SawStop
https://www.trentdavis.net/wp-content/uploads/2019/01/The-Care-and-Cleaning-of-a-SawStop-Full.pdf

This is a handout I made for a class I taught at the Guild of Oregon Woodworkers that covered some basic maintenance and adjustments for your saw.
Articles
Thin-Kerf Blades and Riving Knives
https://www.trentdavis.net/wp/2019/10/23/thin-kerf-blades-and-riving-knives/
If you are using thin-kerf blades and are experiencing the wood binding on you when you use a riving knife, check out this article because a fix may be cheaper than you think.
Choosing a SawStop – Contractor Vs. Professional
https://www.trentdavis.net/wp/2019/01/18/choosing-a-sawstop-contractor-vs-professional/
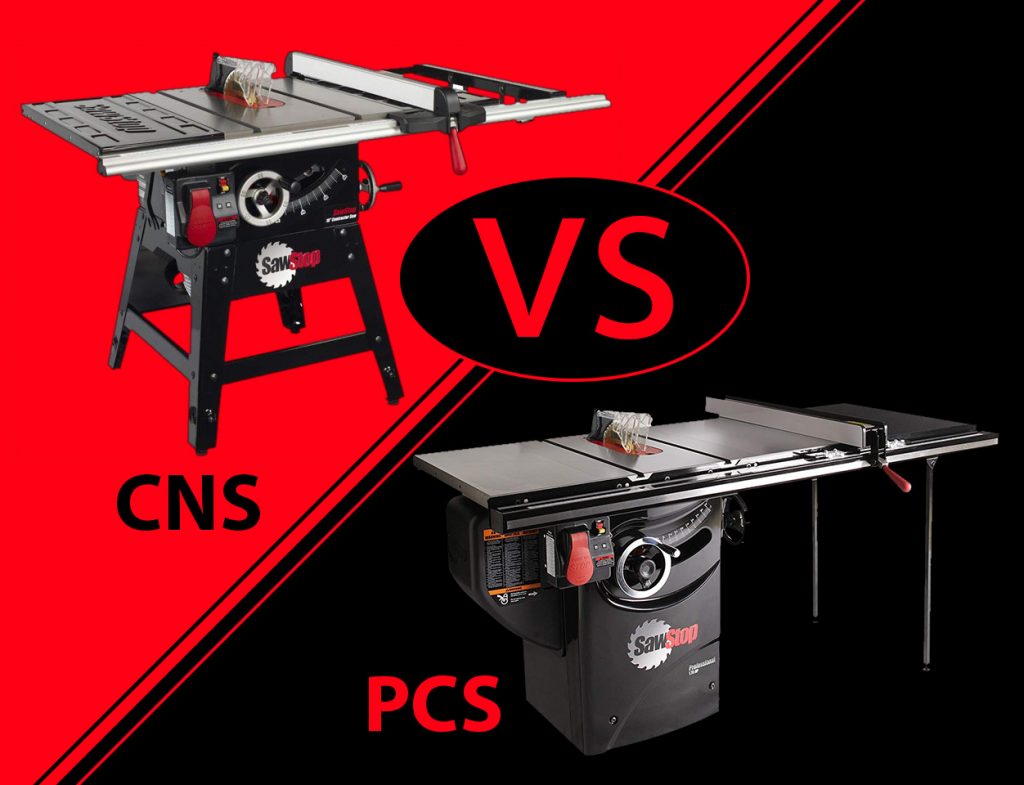
In this article I discuss the differences between the SawStop Contractor Saw and the Professional Saw.
Protecting A Cast-Iron Tabletop
https://www.trentdavis.net/2017/06/13/tool-maintenance-protecting-cast-iron-tabletop/

If you have rust forming on your cast-iron table top, or don’t, and want to keep it that way, check out this article. This works on all cast-iron tools, and is especially useful with jointers since it will make the table surface very slick.
Adding an Extra Cast-Iron Wing
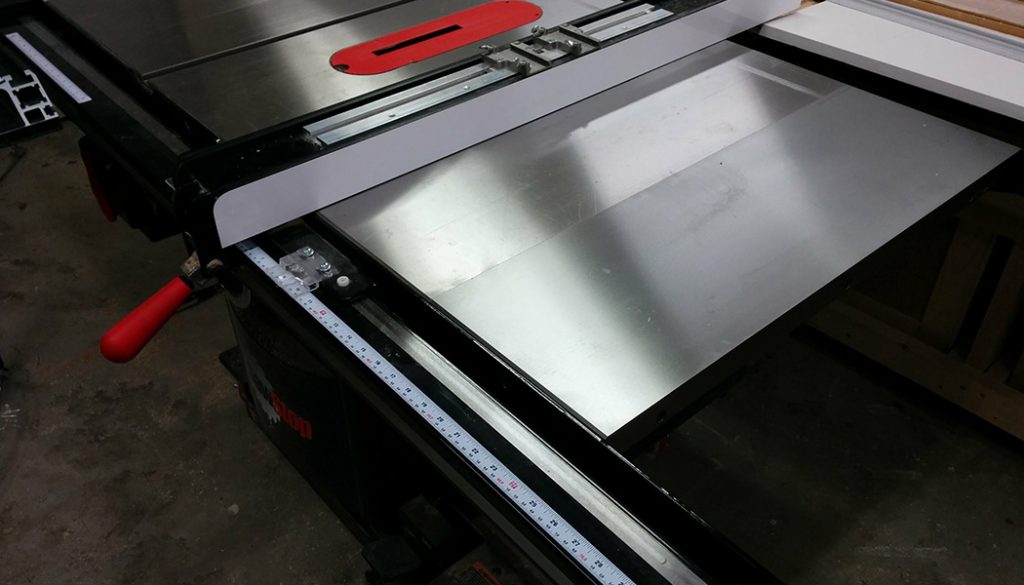
I get asked about this more frequently than you would think. Some people want to have an all-cast-iron table top. I didn’t do all cast-iron but I did decide to show what is involved in attaching an extra cast iron wing between the existing wing and the wooden extension table.
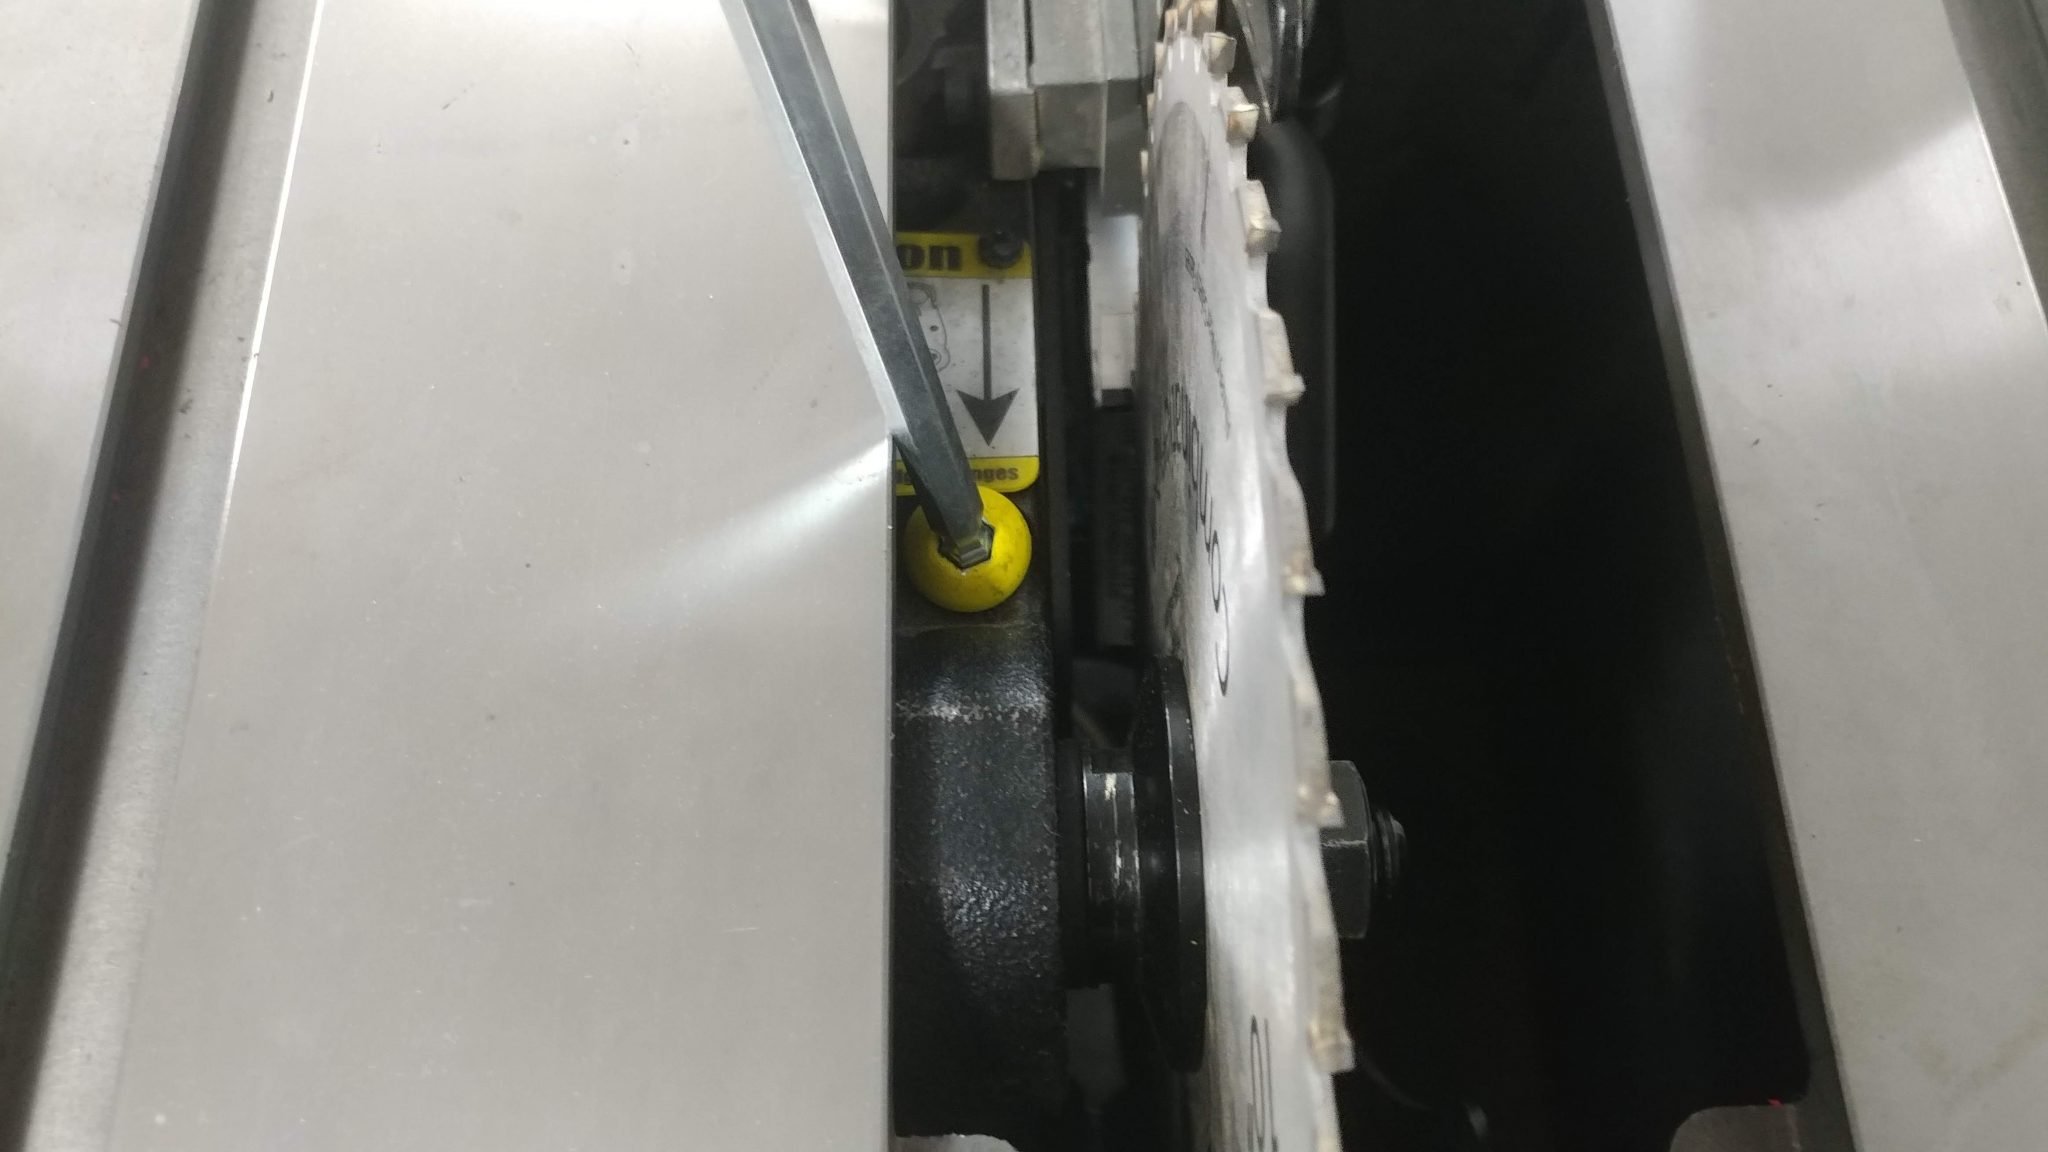
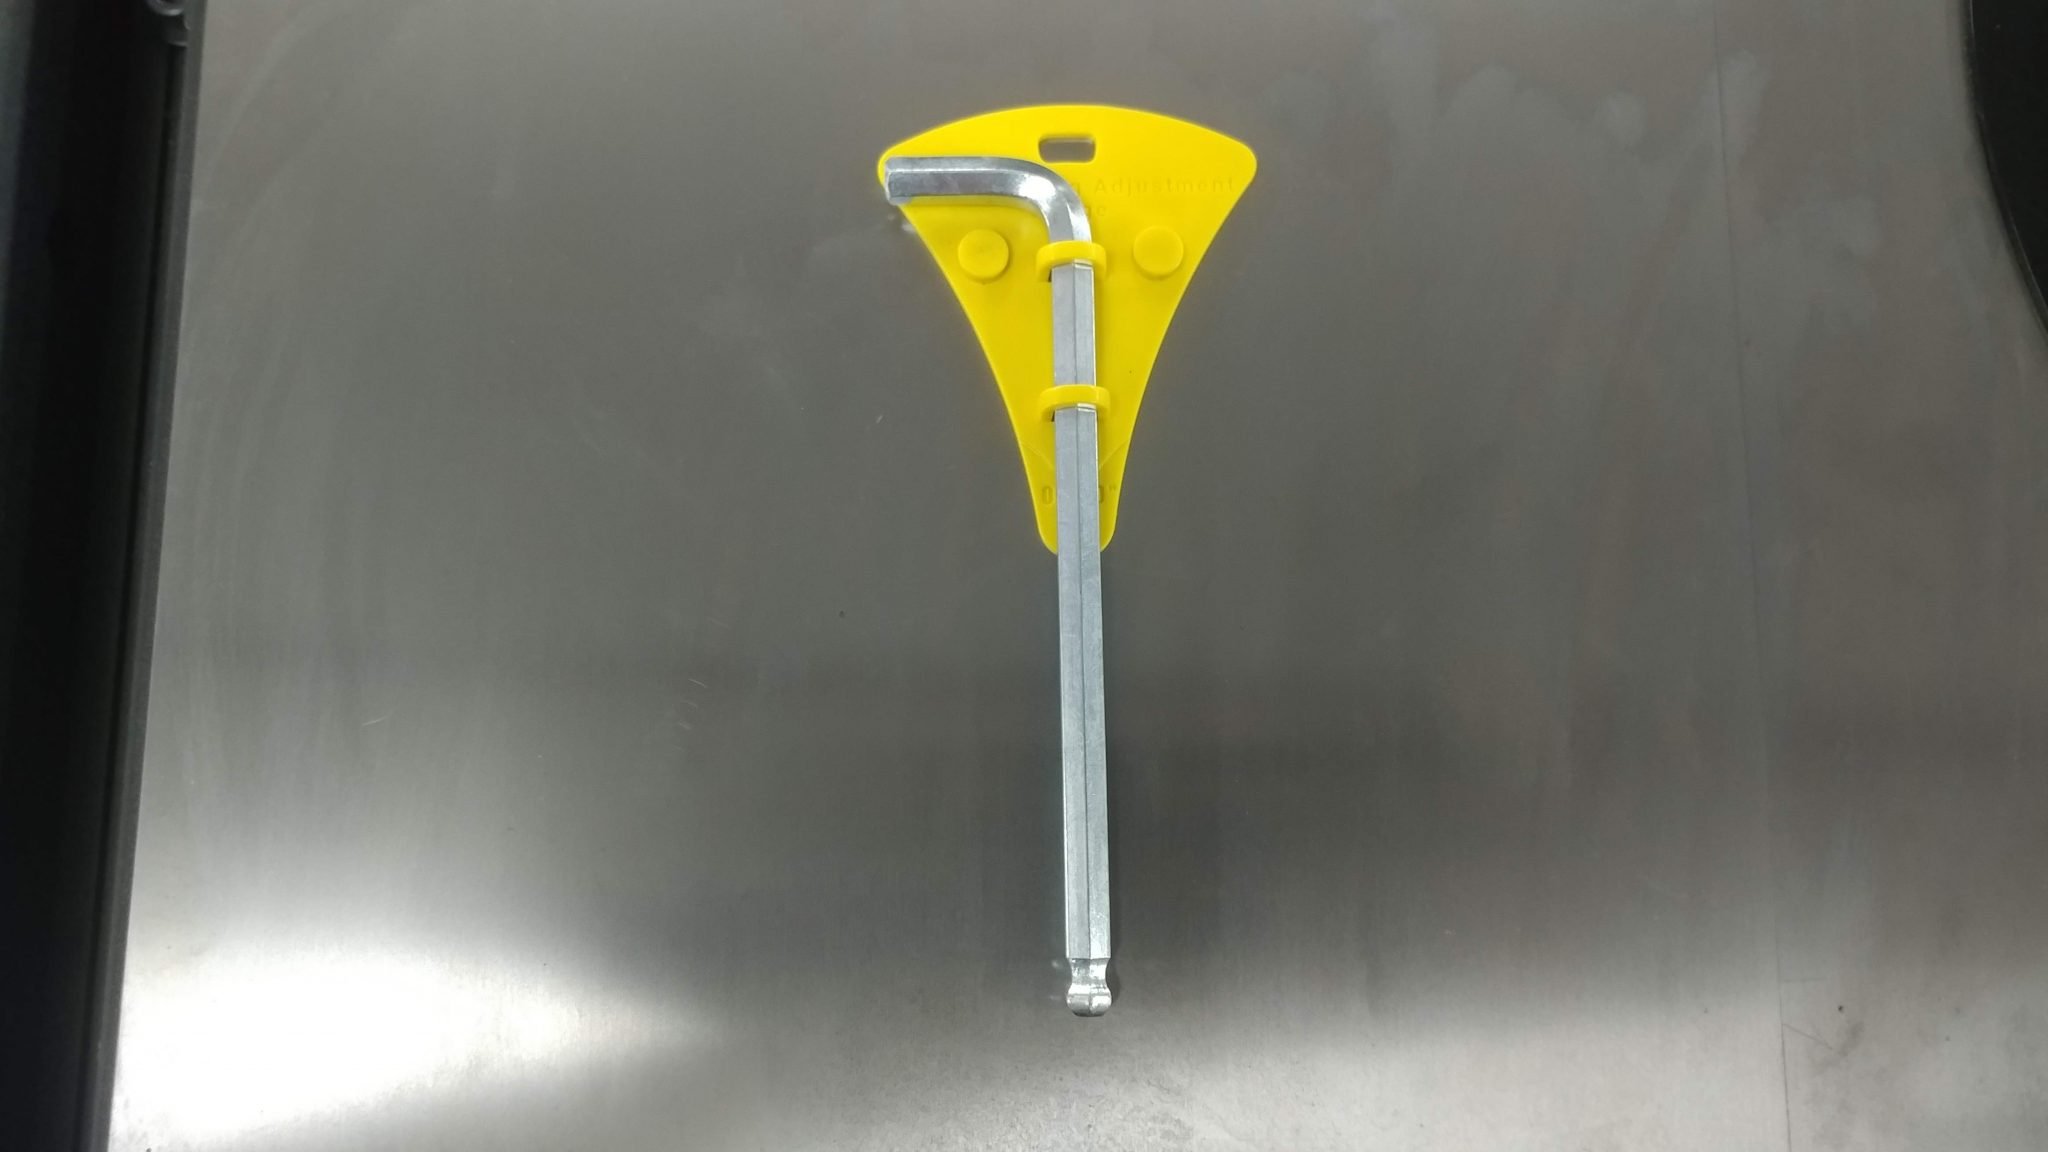
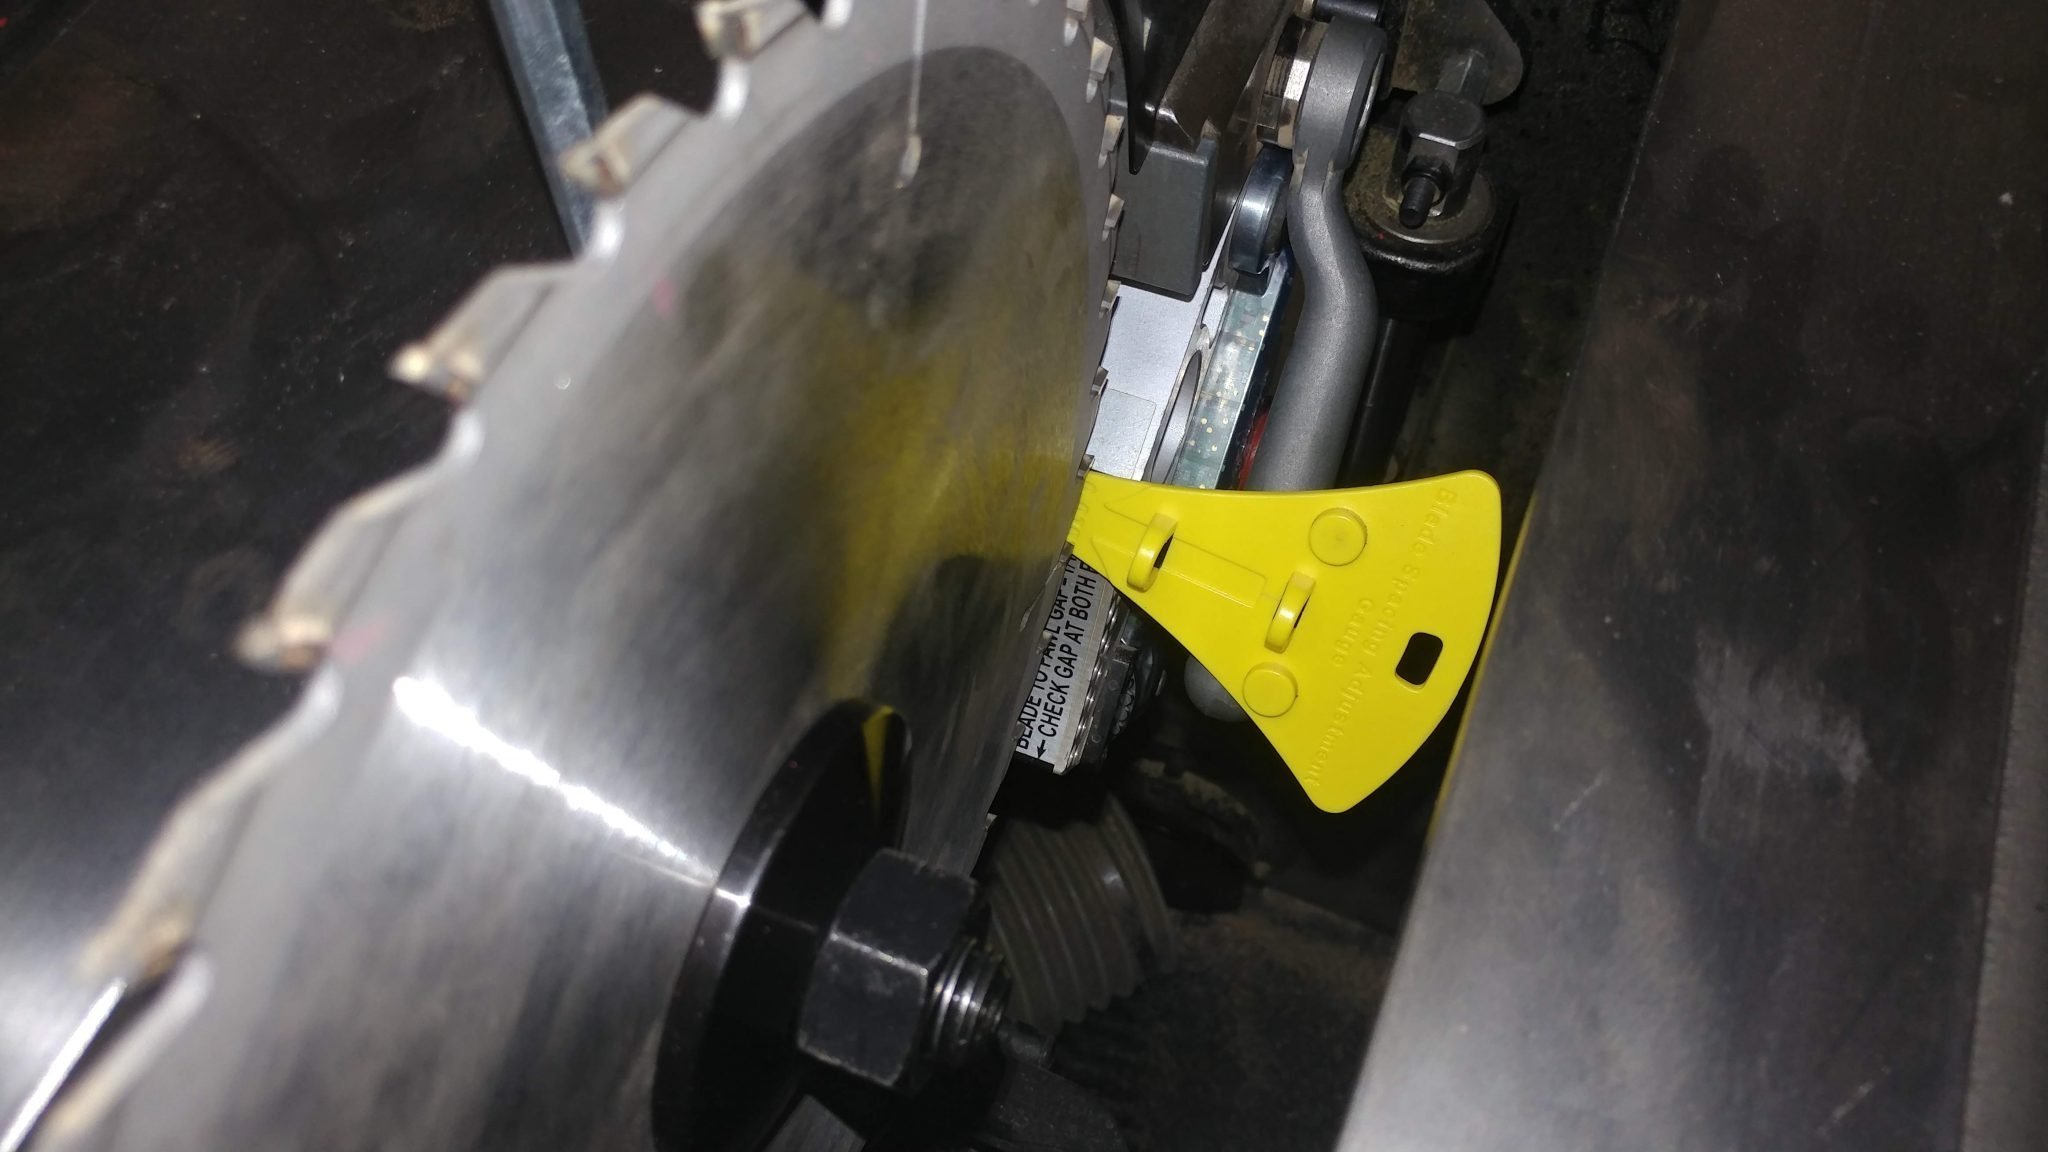
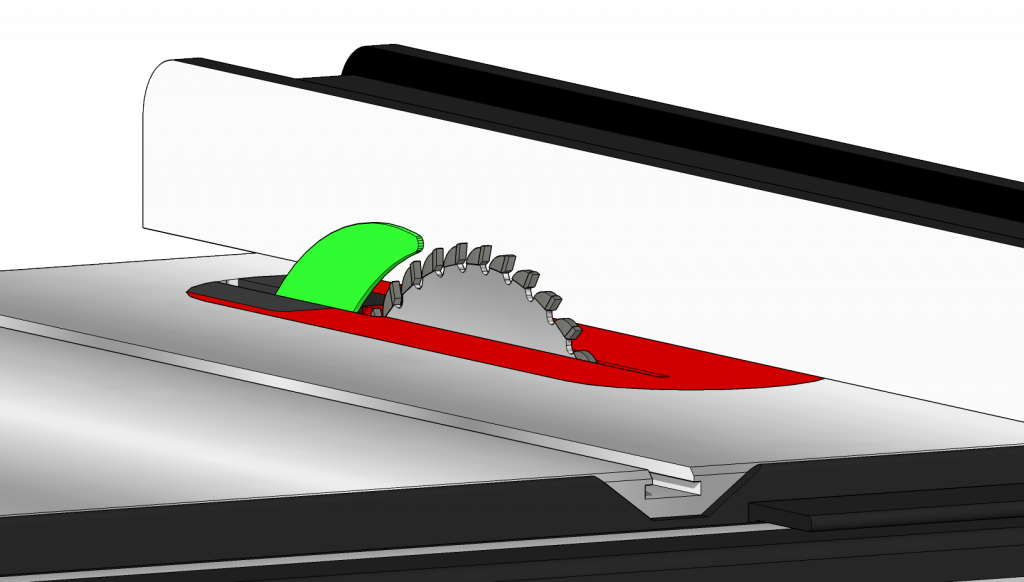
SawStop Brake Spacing Explained
https://www.trentdavis.net/2018/07/06/sawstop-brake-spacing-explained/
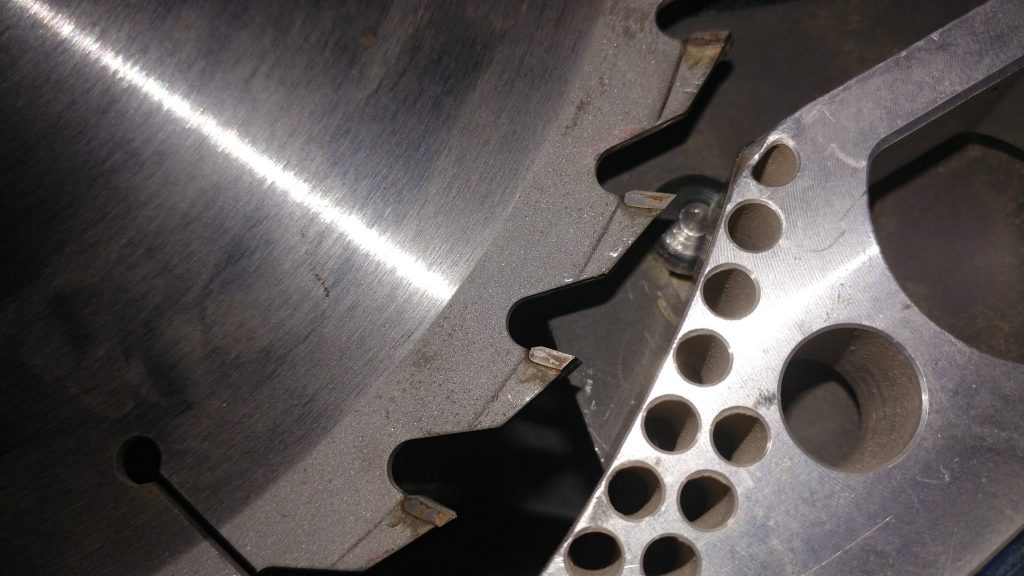
All the mysteries of SawStop brake spacing have been demystified and explained in this article.
Dado information:
https://www.trentdavis.net/2016/08/31/dado-information/
This covers all the basics on choosing and using a dado stack for use on a SawStop.
Converting Extension Table into a Router Table
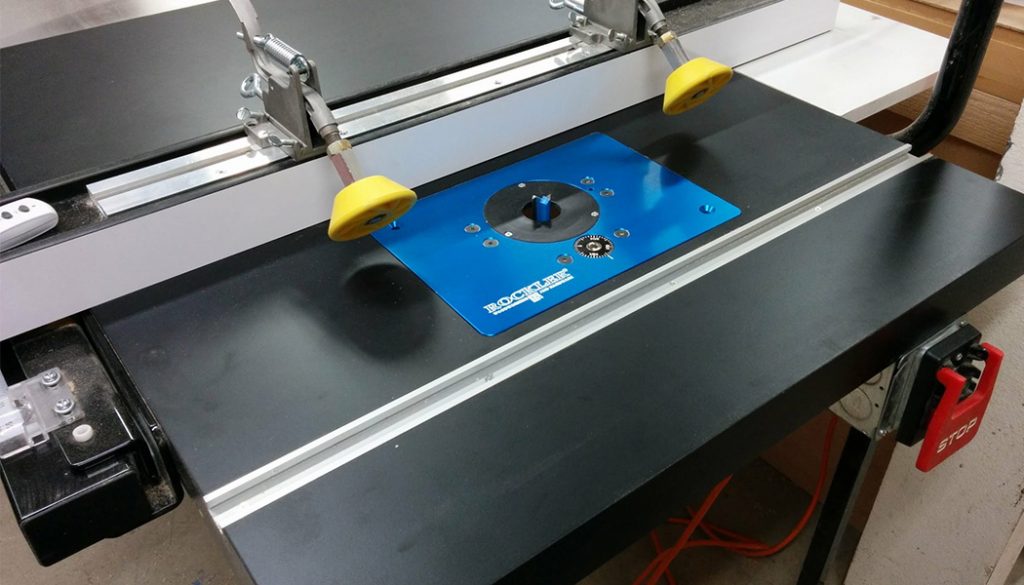
Here I discuss how I converted my wooden extension table into a router table. This is helpful if you aren’t ready or interested in installing a cast-iron router table.
Router Table Enclosure: Part 1 – Carcase
https://www.trentdavis.net/2017/04/07/table-saw-modification-router-table-enclosure-part-1/
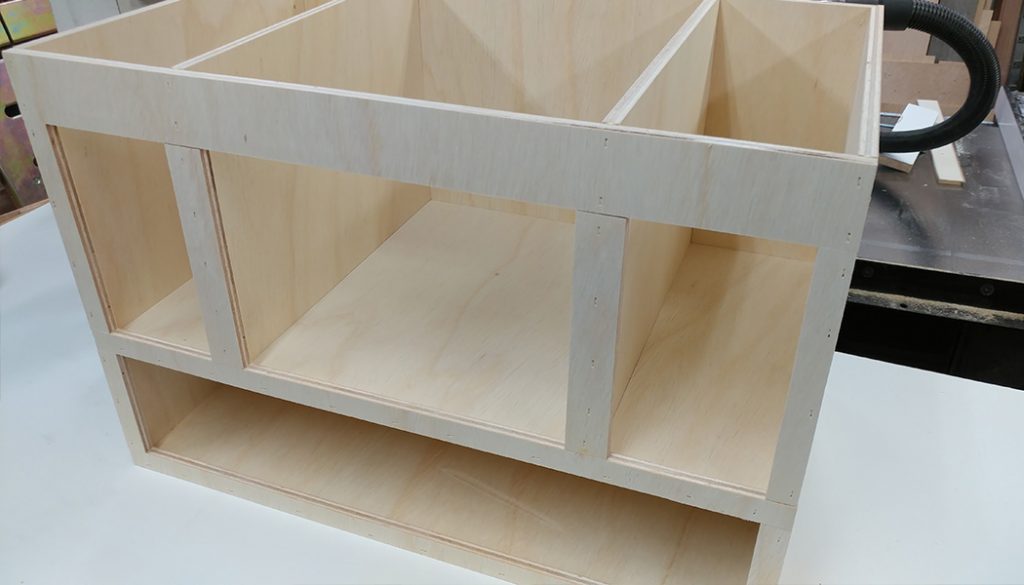
I started making an enclosure for my router. Here I discuss the construction of the main carcase.
Router Table Enclosure: Part 2 – Laminate
https://www.trentdavis.net/2017/04/14/table-saw-modification-router-table-enclosure-part-2-laminate/
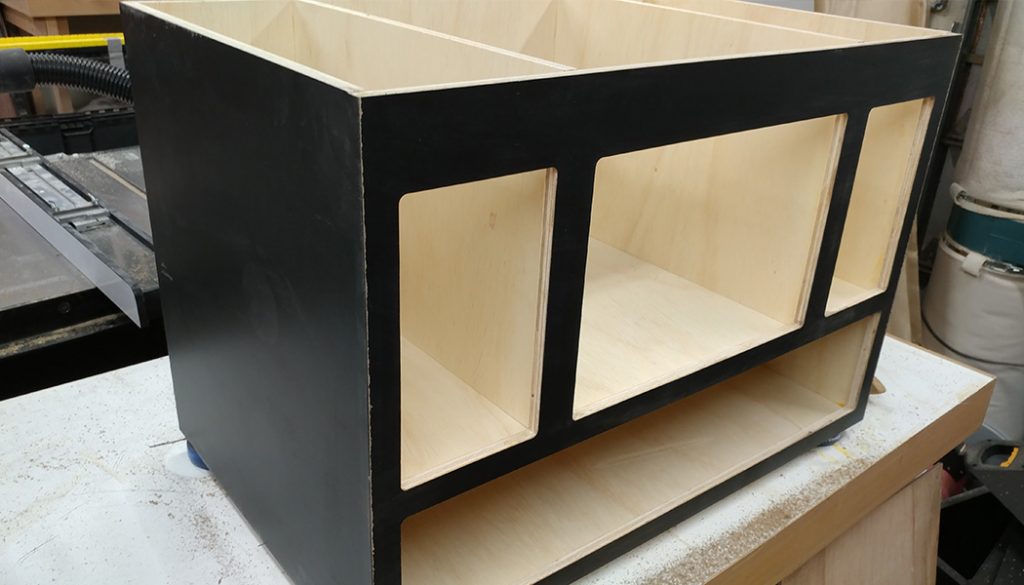
In Part 2 I discuss how I applied the laminate to the enclosure and drawers.
Router Table Enclosure: Part 3 – Hardware and Electrical
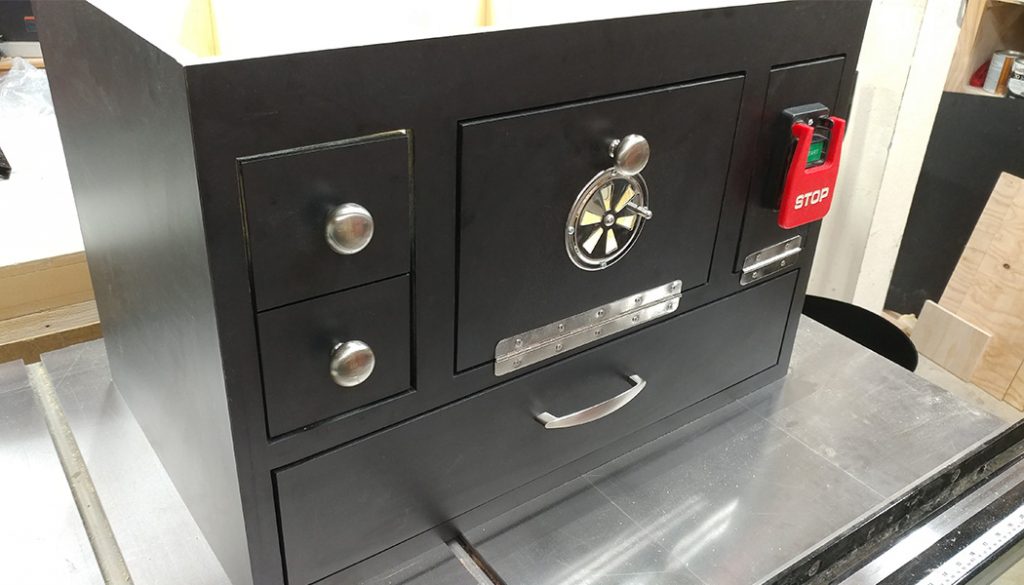
In Part 3 I apply the hardware and hook up the electrical then attach the enclosure to the router table.
Parts
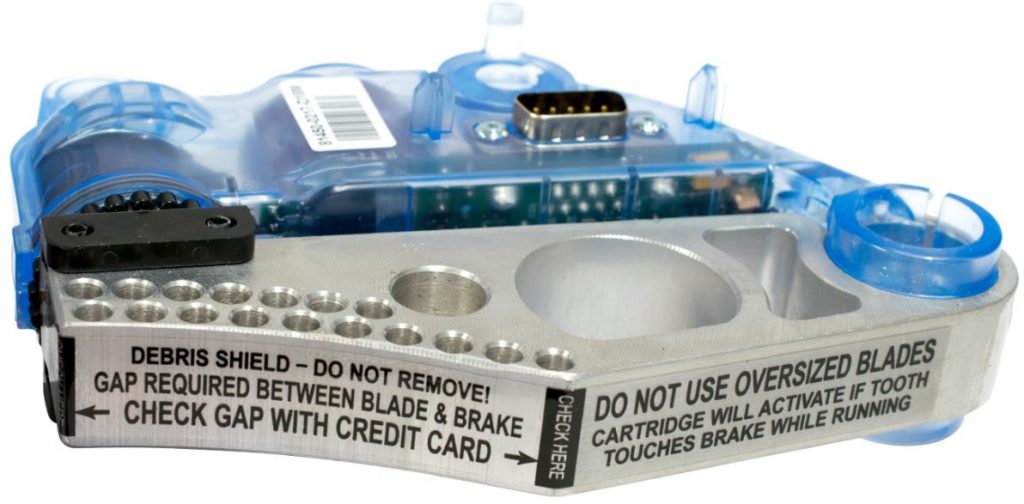
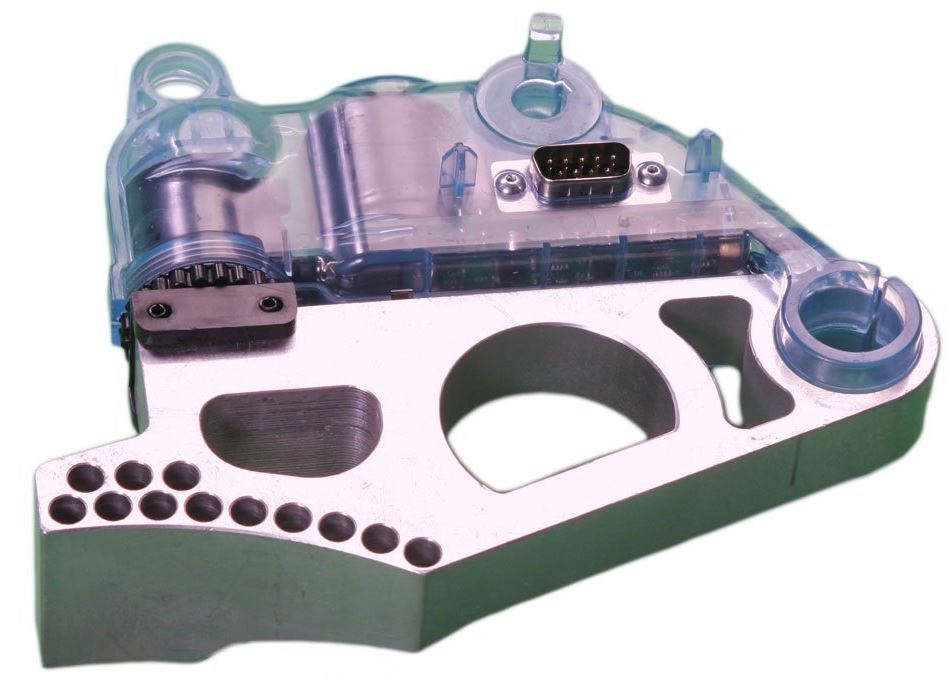
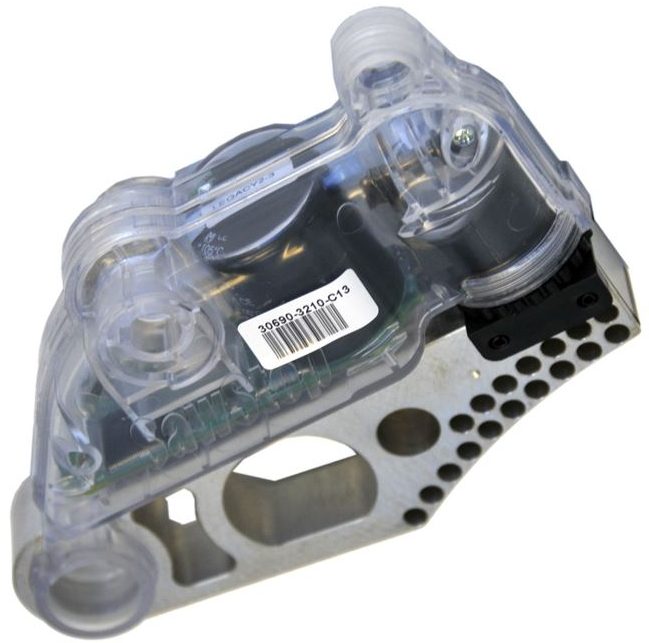
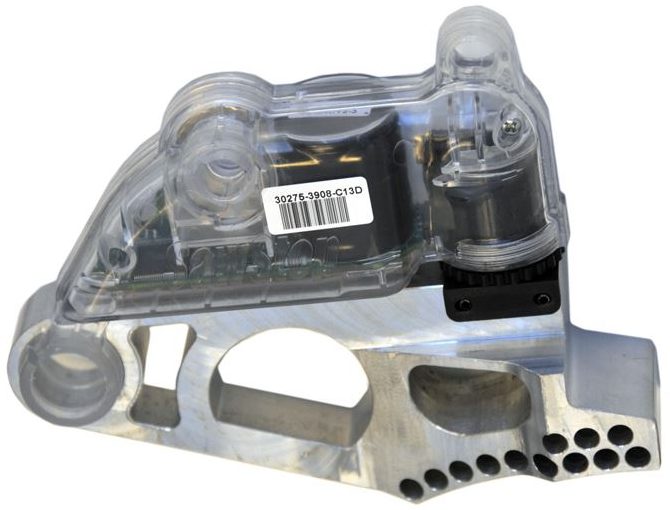
Brake Cartridges
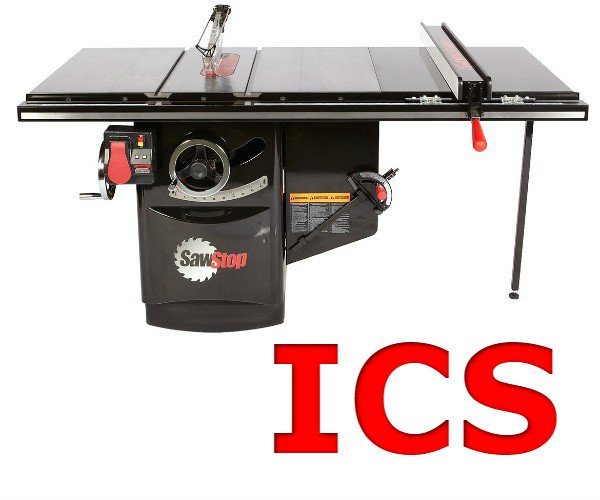
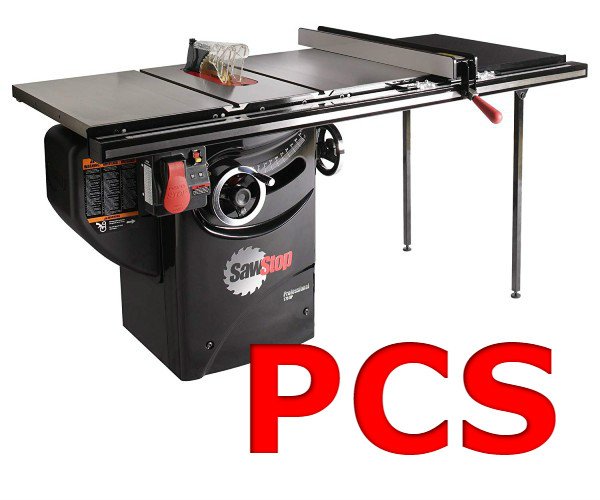
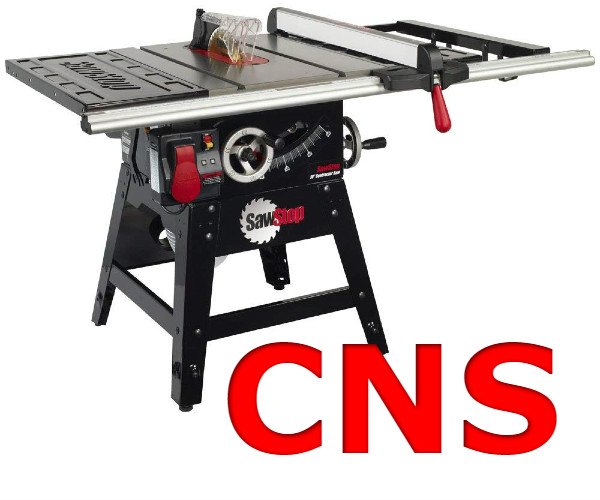
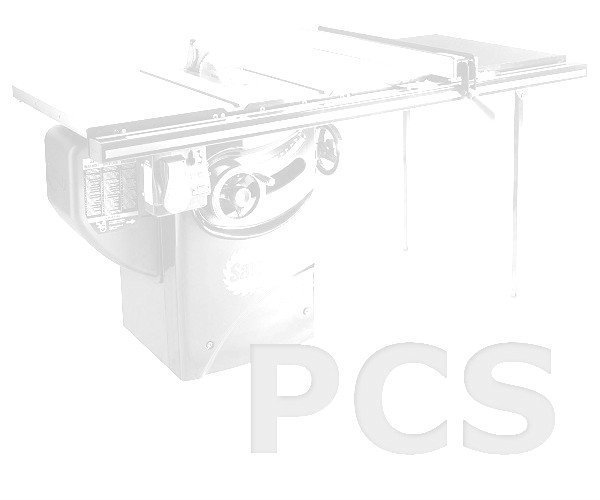
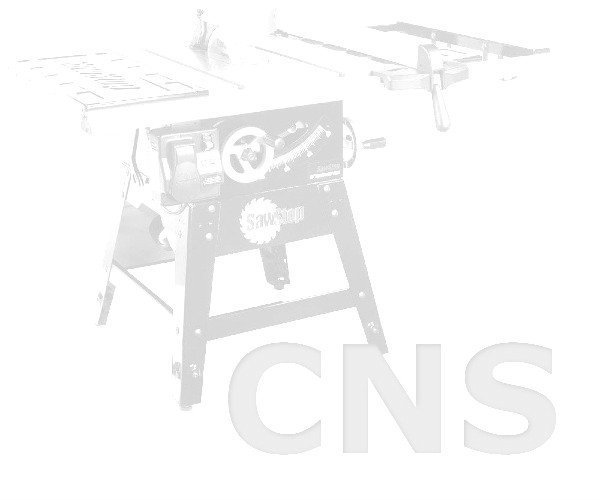
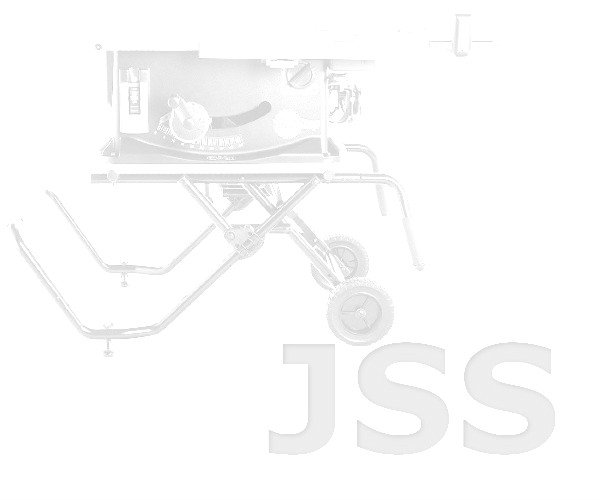
For ICS, PCS, CNS, and JSS model saws
The following two brake cartridges are for any saw that takes the blue brake cartridges.
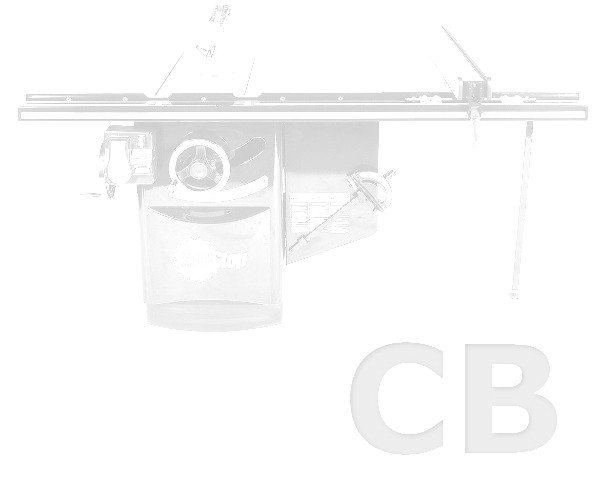 |  |  |  |  |
For CB model saws
The following two brake cartridges are only for any saw that takes the clear brake cartridges. If your saw was made after 2008 then it doesn’t take these brakes.
 |  |  |  |  |
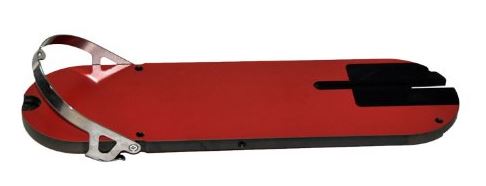
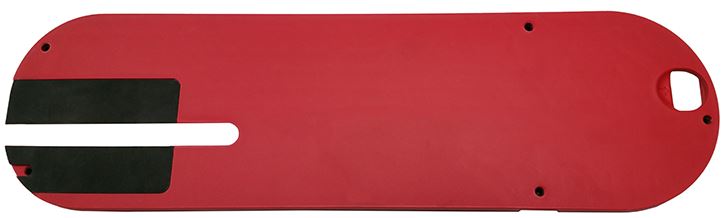
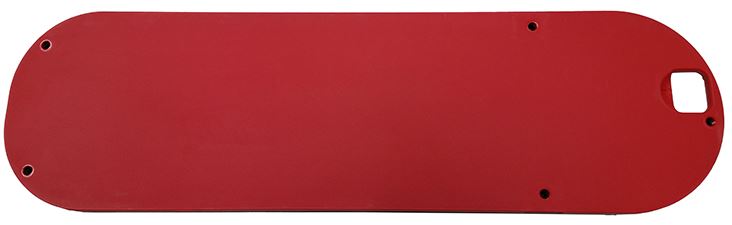
Zero-Clearance Inserts
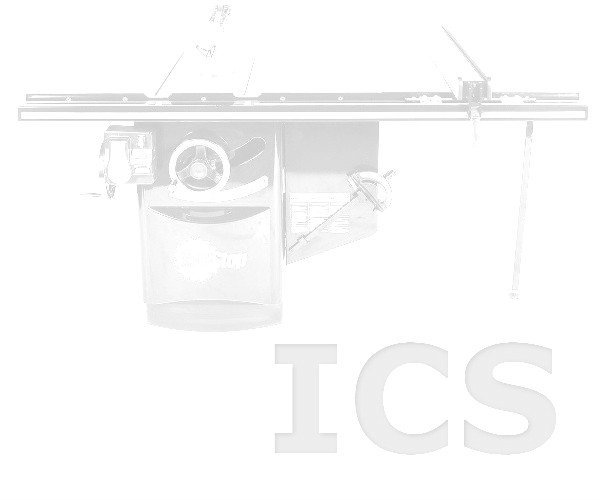
For ICS, PCS, CNS, and CB model saws
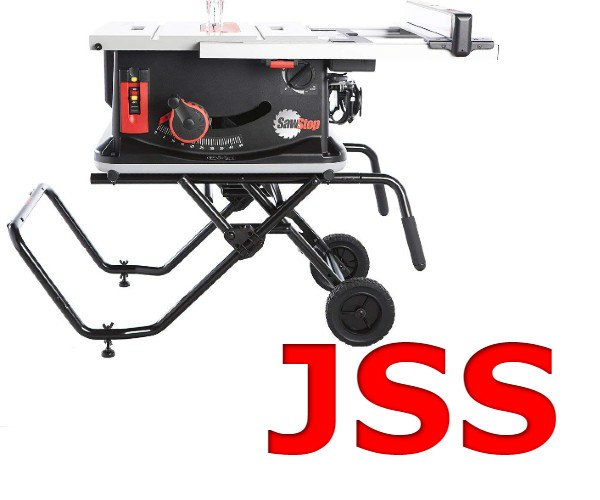
The following two zero-clearance inserts are only for any saw that has a cast-iron tabletop. This just means that it won’t work on the JobSite saw (JSS).
| | | | |
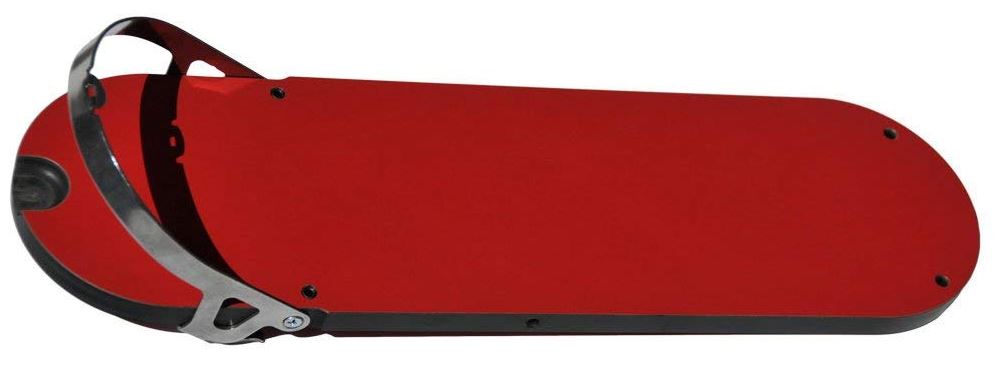
For JSS model saws (Legacy or Pro)
The following two zero-clearance inserts are only for the JobSite saw (JSS). They will not fit in any SawStop with a cast-iron tabletop.
| | | | |
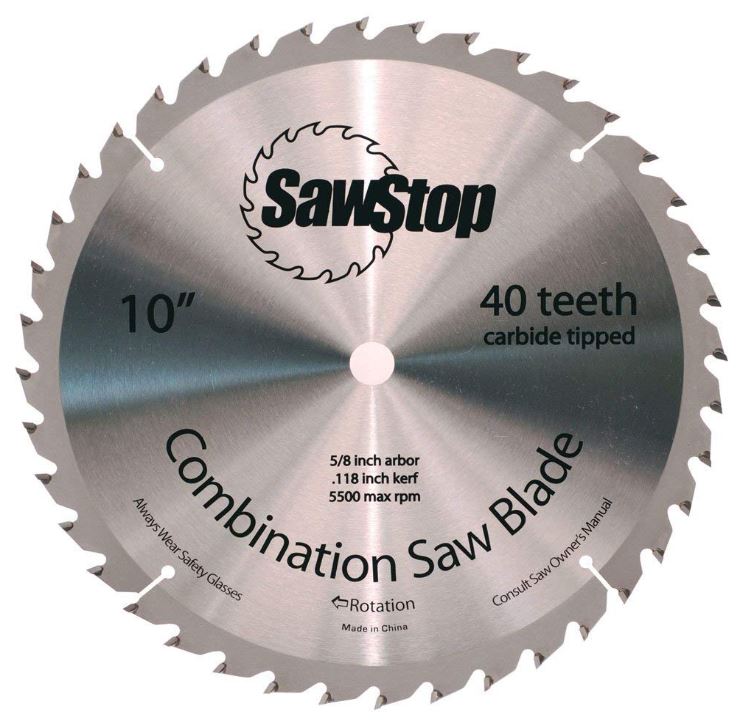
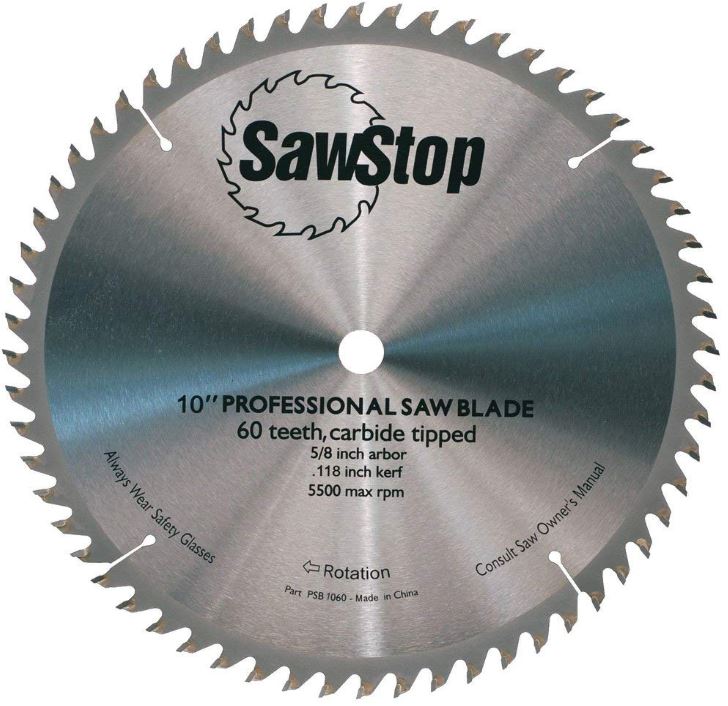
10″ Blades
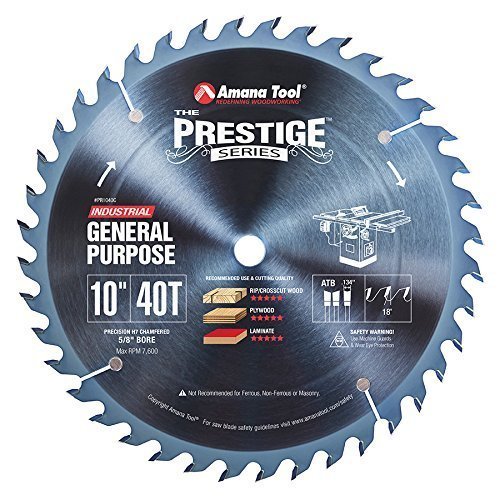
SawStop Standard Series
These are the standard blades, the 40-tooth is what comes on the JSS, CNS, and PCS. They’re pretty good quality but definitely not the best.
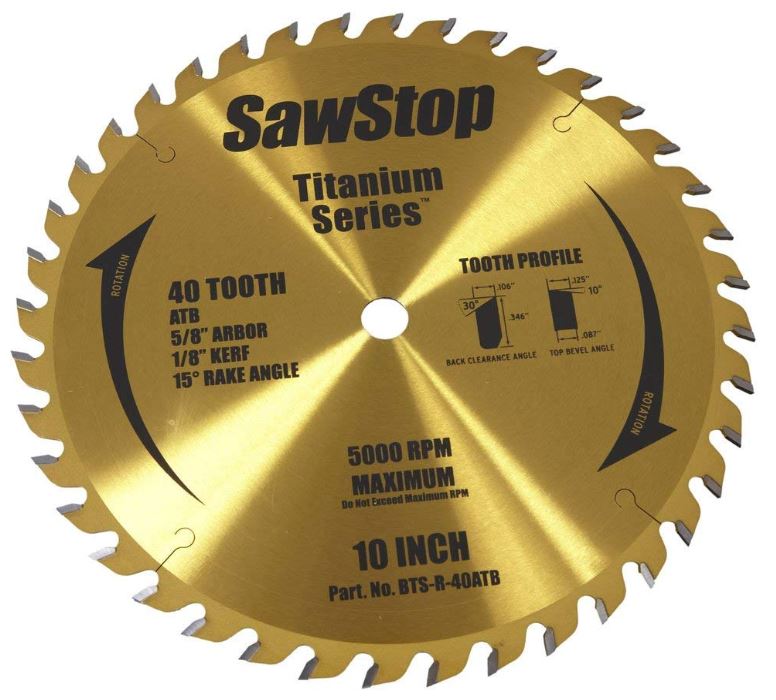
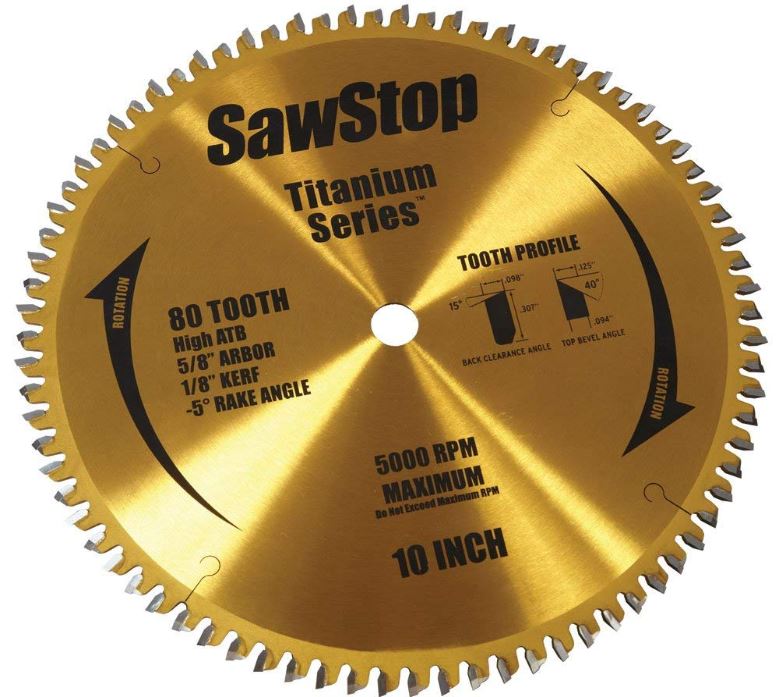
SawStop Titanium Series
The Titanium blades are a big step up in quality. I compare them favorably with the Forrest Woodworker II, although your mileage may vary. They have large carbides so the blade can be sharpened multiple times and the cuts I have gotten with them has been glue-ready every time.
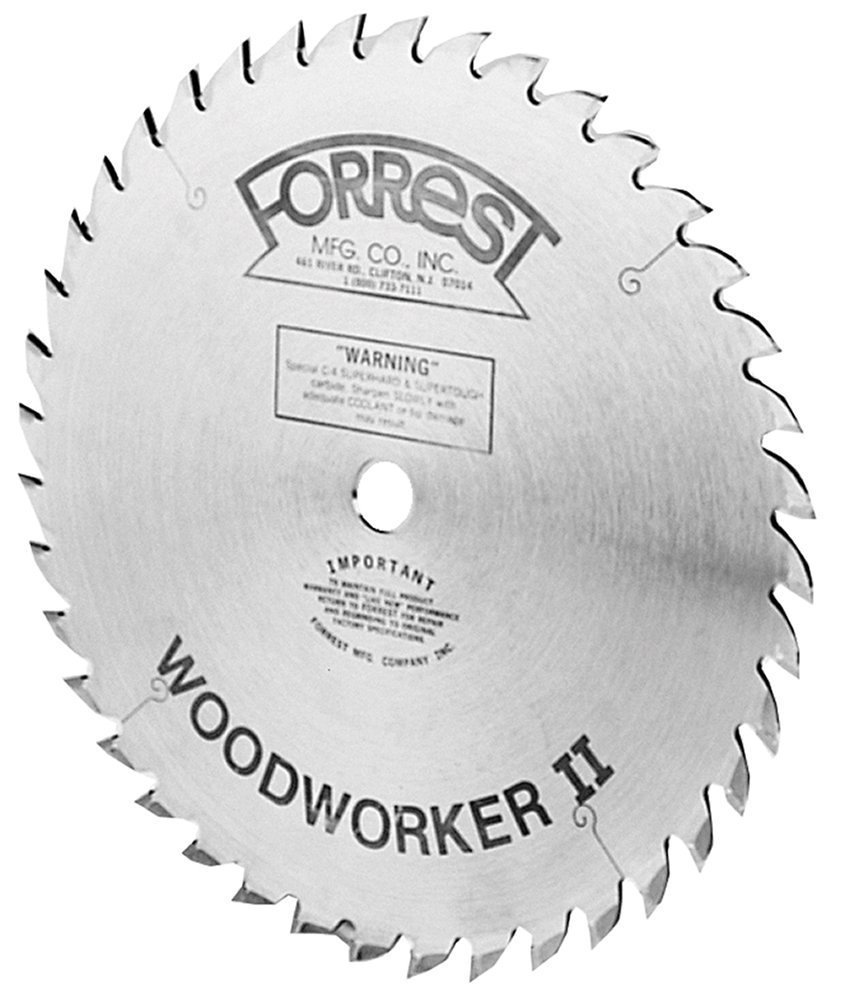
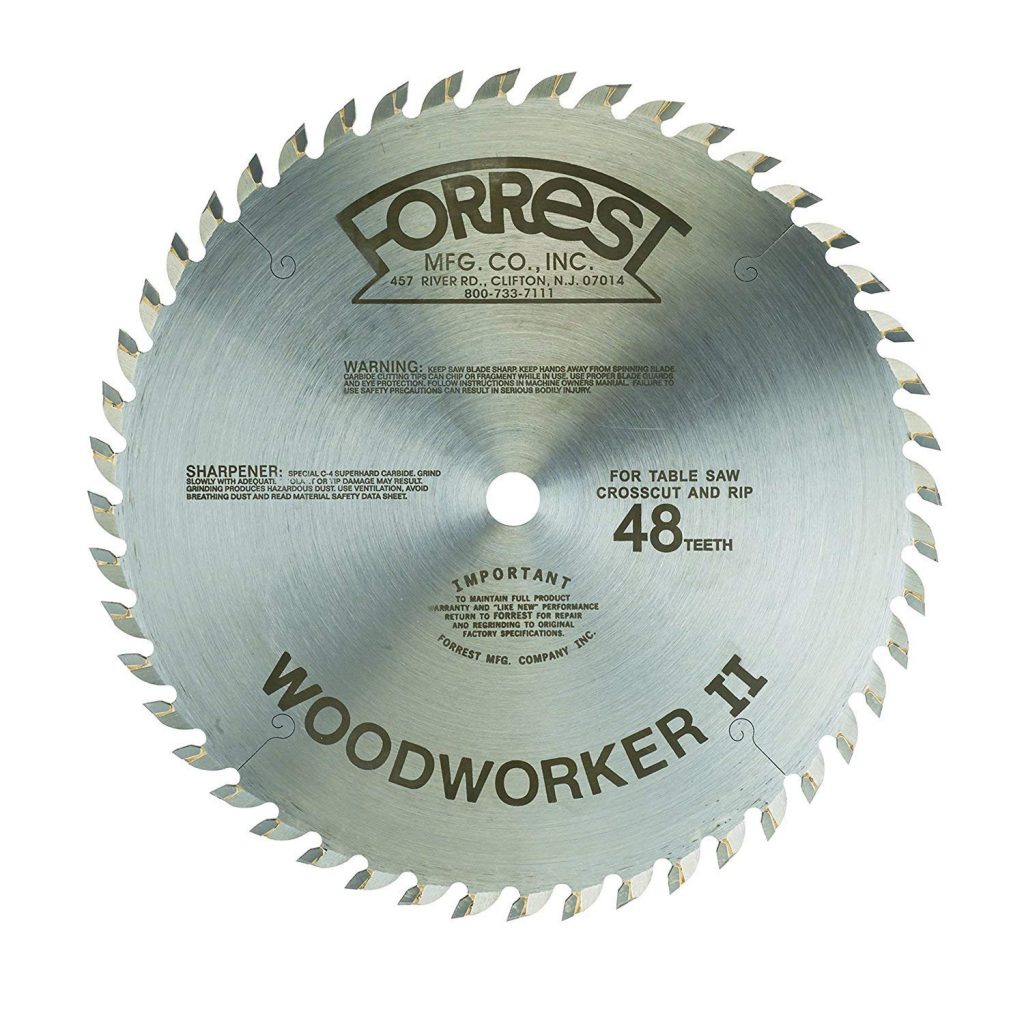
Forrest Woodworker II
This is the go-to standard blade for most high-end woodworking. You really can’t go wrong with these blades and they should last an insanely long time.

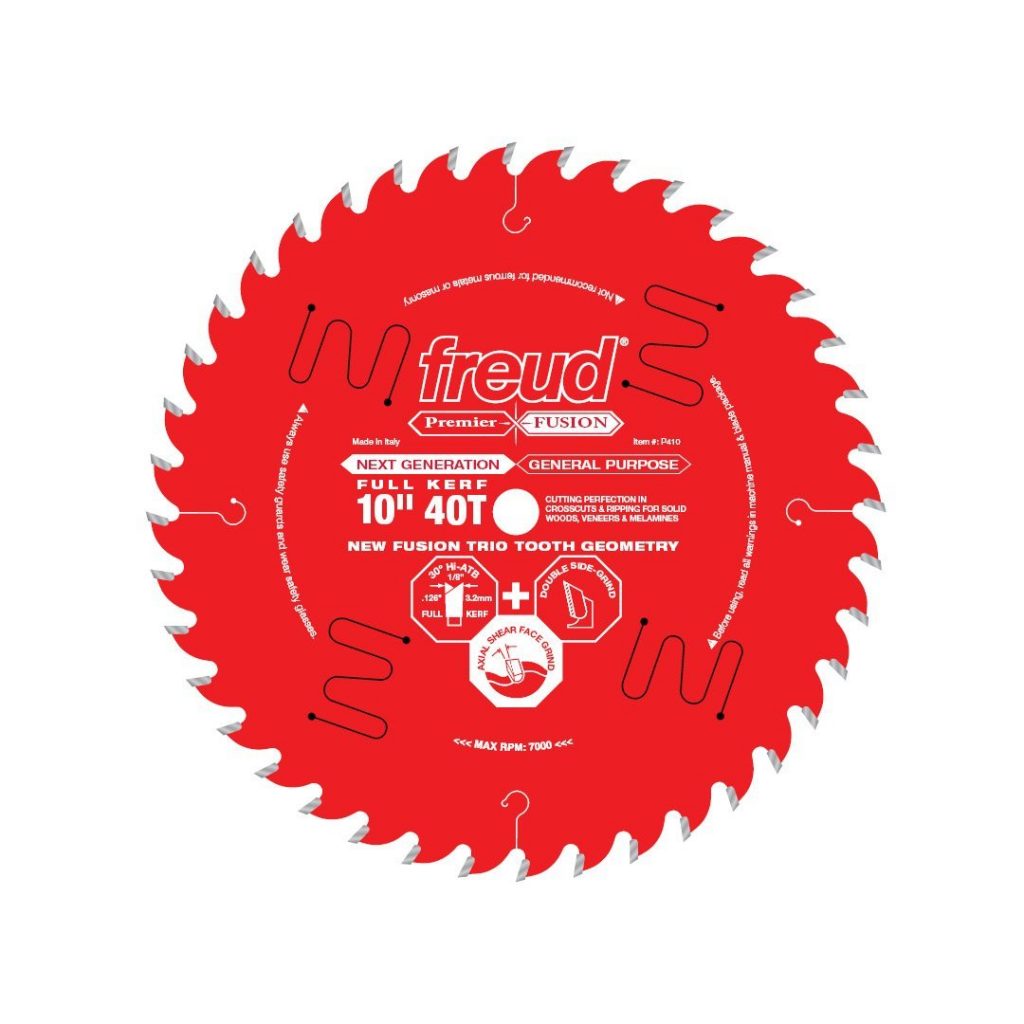
Freud
Freud is probably the most common blade manufacturer that I deal with. My opinion of them is that you are generally getting a better blade than you are paying for when you buy a Freud. I do, however, recommend staying away from the Diablo line by Freud. I also recommend not using a Freud blade that has anti-kickback shoulders.
A common question I get is whether or not the red coating on Freud blades will affect the safety mechanism on a SawStop saw. Red coated Freud blades work just fine on a SawStop.


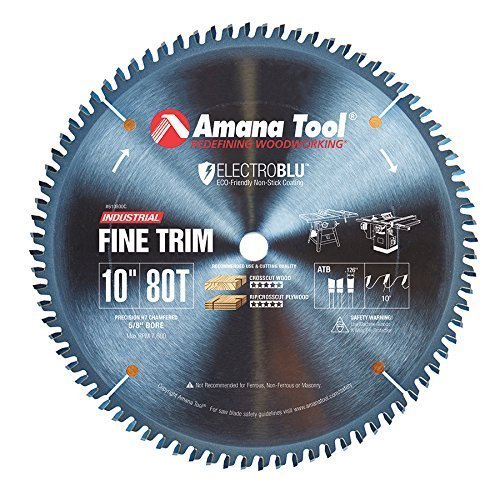
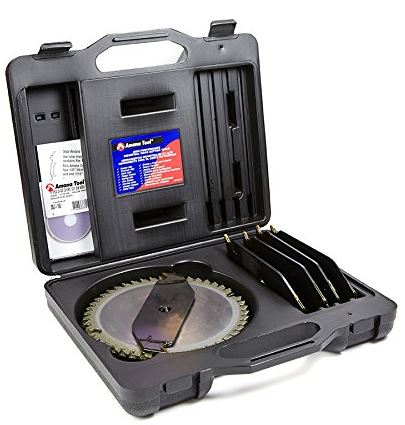
Amana
I like to think of Amana as the Subaru of blades, in that I don’t use them but I keep hearing of people who swear by them and won’t use anything else. I’ve held them a few times and I agree that they seem like very nicely made, well-balance blades.


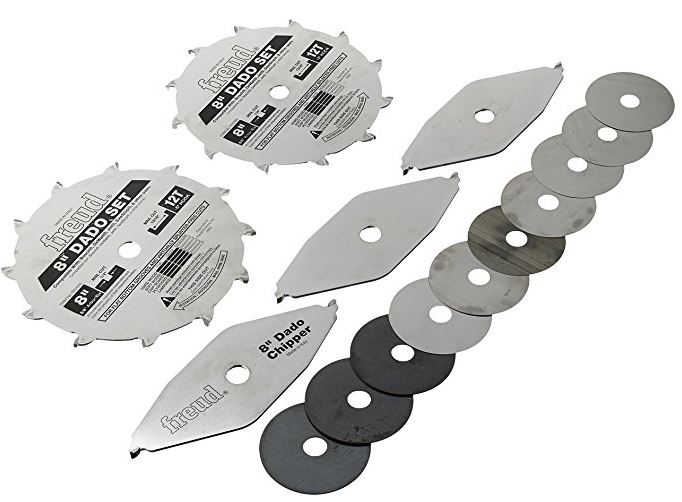
8″ Dado Stacks
The following dado stacks are all compatible with SawStop table saws, in that they are all ~8″ in diameter, have wing or plus-style chippers, and don’t have depth-limiting (anti-kickback) shoulders. My personal recommendation is the DeWalt DW7670, which is surprising since I’m not a fan of DeWalt’s 10″ blades.
SaqwStop 8″ Premium Dado Set
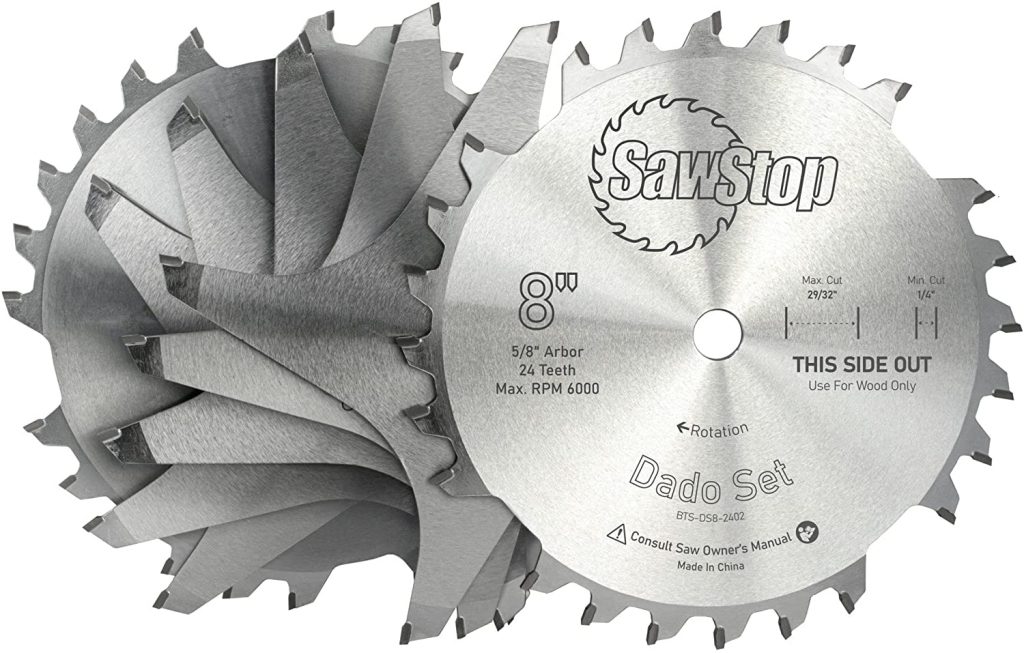
A newcomer to the game, Sawstop released their own dado stack that will work well on their saws.
It is an unusual configuration in that it comes with a 1/4″ chipper which allows the dado stack to be wider than the 13/16″ that SawStop recommends.
While one of the more expensive dado stacks on this list, it definitely is a quality set. I got to test them extensively and I was quite impressed. Not enough for me to sell my old DeWalt dado stack and run out and but this, but if I was in the market for a new stack and didn’t mind paying ~$300 for one, I would definitely consider this one.
DeWalt DW7670
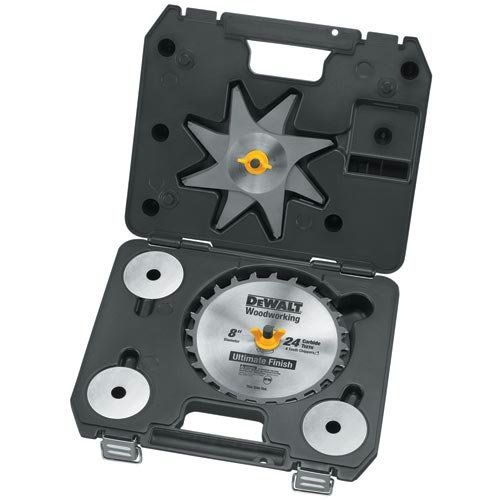
The DeWalt DW7670 is probably the best value in dado stacks. I very strongly suspect that they’re just re-branded Forrest Dado Kings. The cut-quality is phenomenal and they’re usually around 1/3 the price of the Forrest Dado King.
Side-note: once I switched to SawStop Titanium ten-inch blades and the DeWalt DW7670 dado stack, I have never needed to adjust the gap between the blade and brake. I have it set to the maximum clearance and it’s still close enough to work.
Important note: DeWalt has recently changed this dado stack and it now has a diameter of 8 1/8″. It should still work with a CNS, PCS, or ICS, but it’ll be a bit tight. I definitely wouldn’t recommend this to anyone with a JSS or JSS Pro.
Ridge Carbide 8″ Dado Master
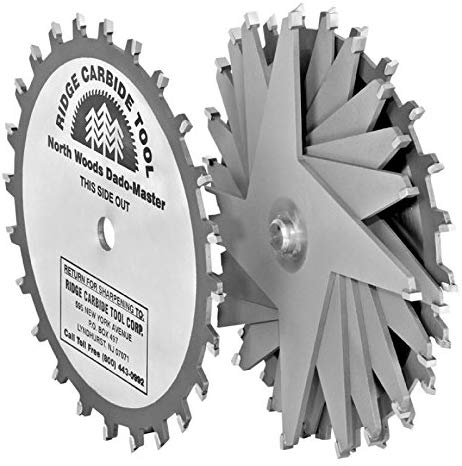
Ridge Carbide is one of the better blade manufacturers.
Their 8″ Dado Master meets the requirements for use on a SawStop without concern. Also, the cut quality tends to be great with all Ridge Carbide blades.
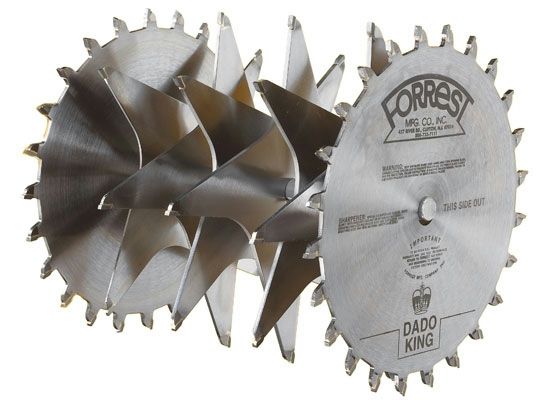
Forrest Dado King
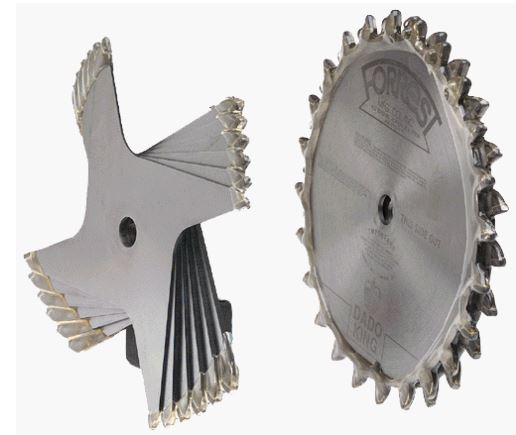
This is the Rolls Royce of dado stacks. At around $300 each, they’re a bit spendy for most home users, but if you make money with your woodworking and you do a good amount of dadoes then it’s a worthwhile investment.
Freud SD208S
Freud has a reputation for inconsistency in their blade diameters, especially in regards to their dado stacks.
The SD208 has been reworked and changed to the SD208S which is sized perfectly for a SawStop. Be sure the model number ends in an S, however.
Tenryu GMD-20340
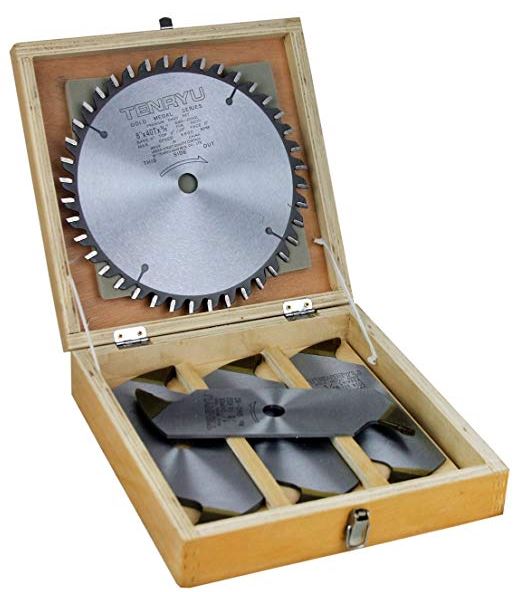
A lot of people swear by Tenryu blades. If you haven’t heard of them, I recommend you give them a look.
King Canada KSC-8000
https://federatedtool.com/king-8-dado-blade-set-ksc-8000/

I have never used a King Canada blade but they are on the official list of compatible dado stacks so I figured I would include them here.
Maintenance
Wheel Bearing Grease
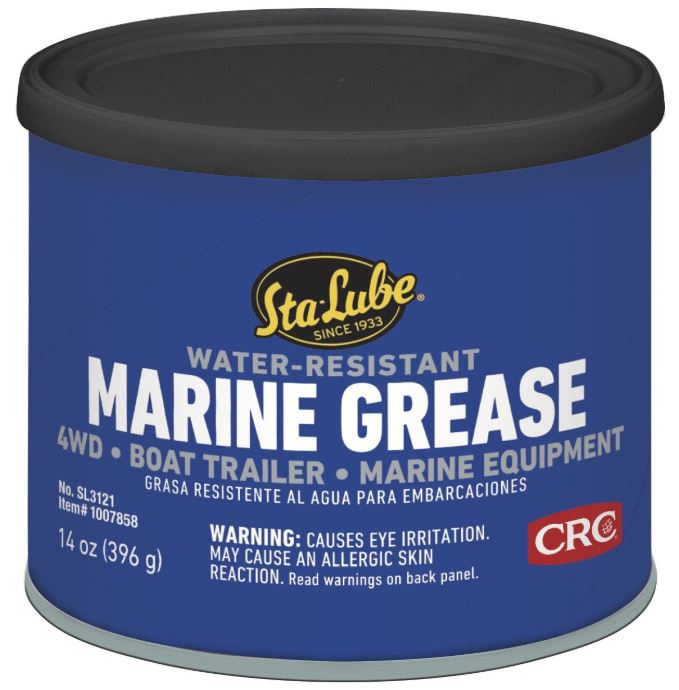
This is the recommended lubricant for the gears in a SawStop. Don’t be tempted to use a dry-lube as they are not made for heavy machinery. White lithium grease is a little better than dry-lube, but not by much.
White Lithium Grease
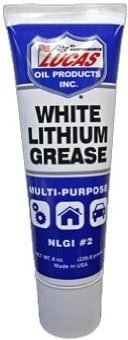
Although not recommended for lubricating the gears of a heavy tool, it will work if you don’t have any wheel bearing grease but it will need to be reapplied every few days.
Dry Teflon Lube
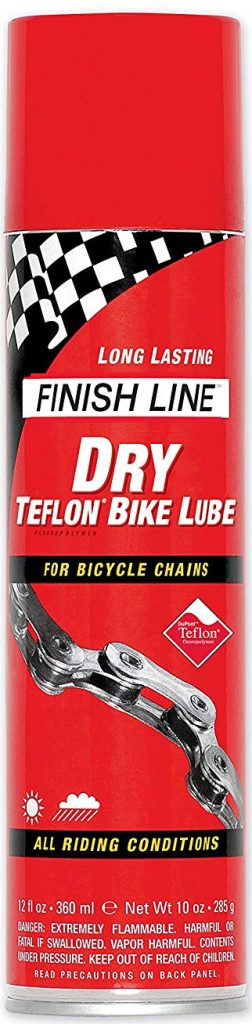
Definitely not recommended for lubricating the gears of your saw. However, it is handy when lubricating the fine threads and chains found in router lifts and other smaller tools.
Accessories
Hold-Downs
Featherboards do a good job holding the material against the fence but a better alternative may be using hold-downs. These are configured so they not only hold the material against the fence but also flat against the table.
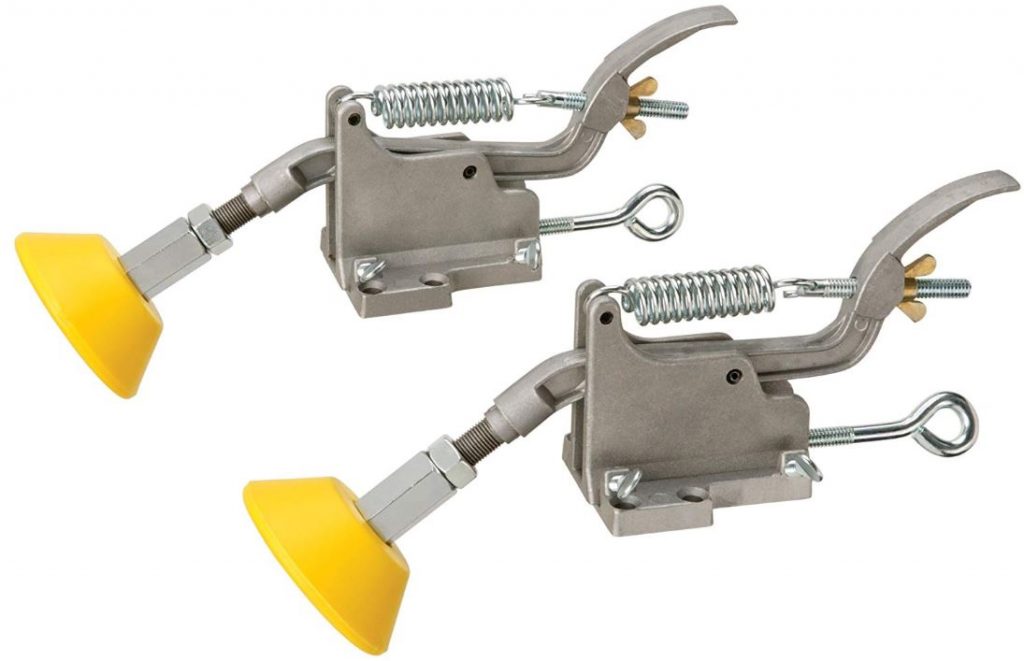
Board Buddies
Board Buddies are my preferred hold-down. They’ve been around for a long time and they work great when cutting sheet goods. They are a little bulky and may not be appropriate for every cut but they cost a lot less than some of the alternatives.
They are available in three different styles and the only real difference is which direction the wheels spin. The yellow version turns in a clockwise direction, and is the most common. This is what you would want to put on a table saw when the fence is to the right of the blade. The red version turns counter-clockwise and the green version turns freely in both directions.
Board Buddies:
This is what I use on my saw. I recommend getting the track listed below as it allows you to move the board buddies front to back if needed.
Board Buddies Track:

As stated above, this makes the Board Buddies more adjustable.
Jessum Clear Cut
Jessem makes their own hold-downs that are very popular. They’re also a lot more expensive, costing almost three times what the complete Board Buddies system costs. They do appear to be quality products, but the law of diminished returns keeps me from upgrading to these. They look better than the Board Buddies, but not three-times better.
Conclusion
There you have it. If you think that I missed something or if you found these parts cheaper elsewhere, please leave a comment below.
A Note About Affiliate Links
Some of the product links on this page are affiliate links. Any income earned through these links is donated to my fundraiser, which you can read more about at the following page: