Studio Desk – Part 4: Applying the Finish


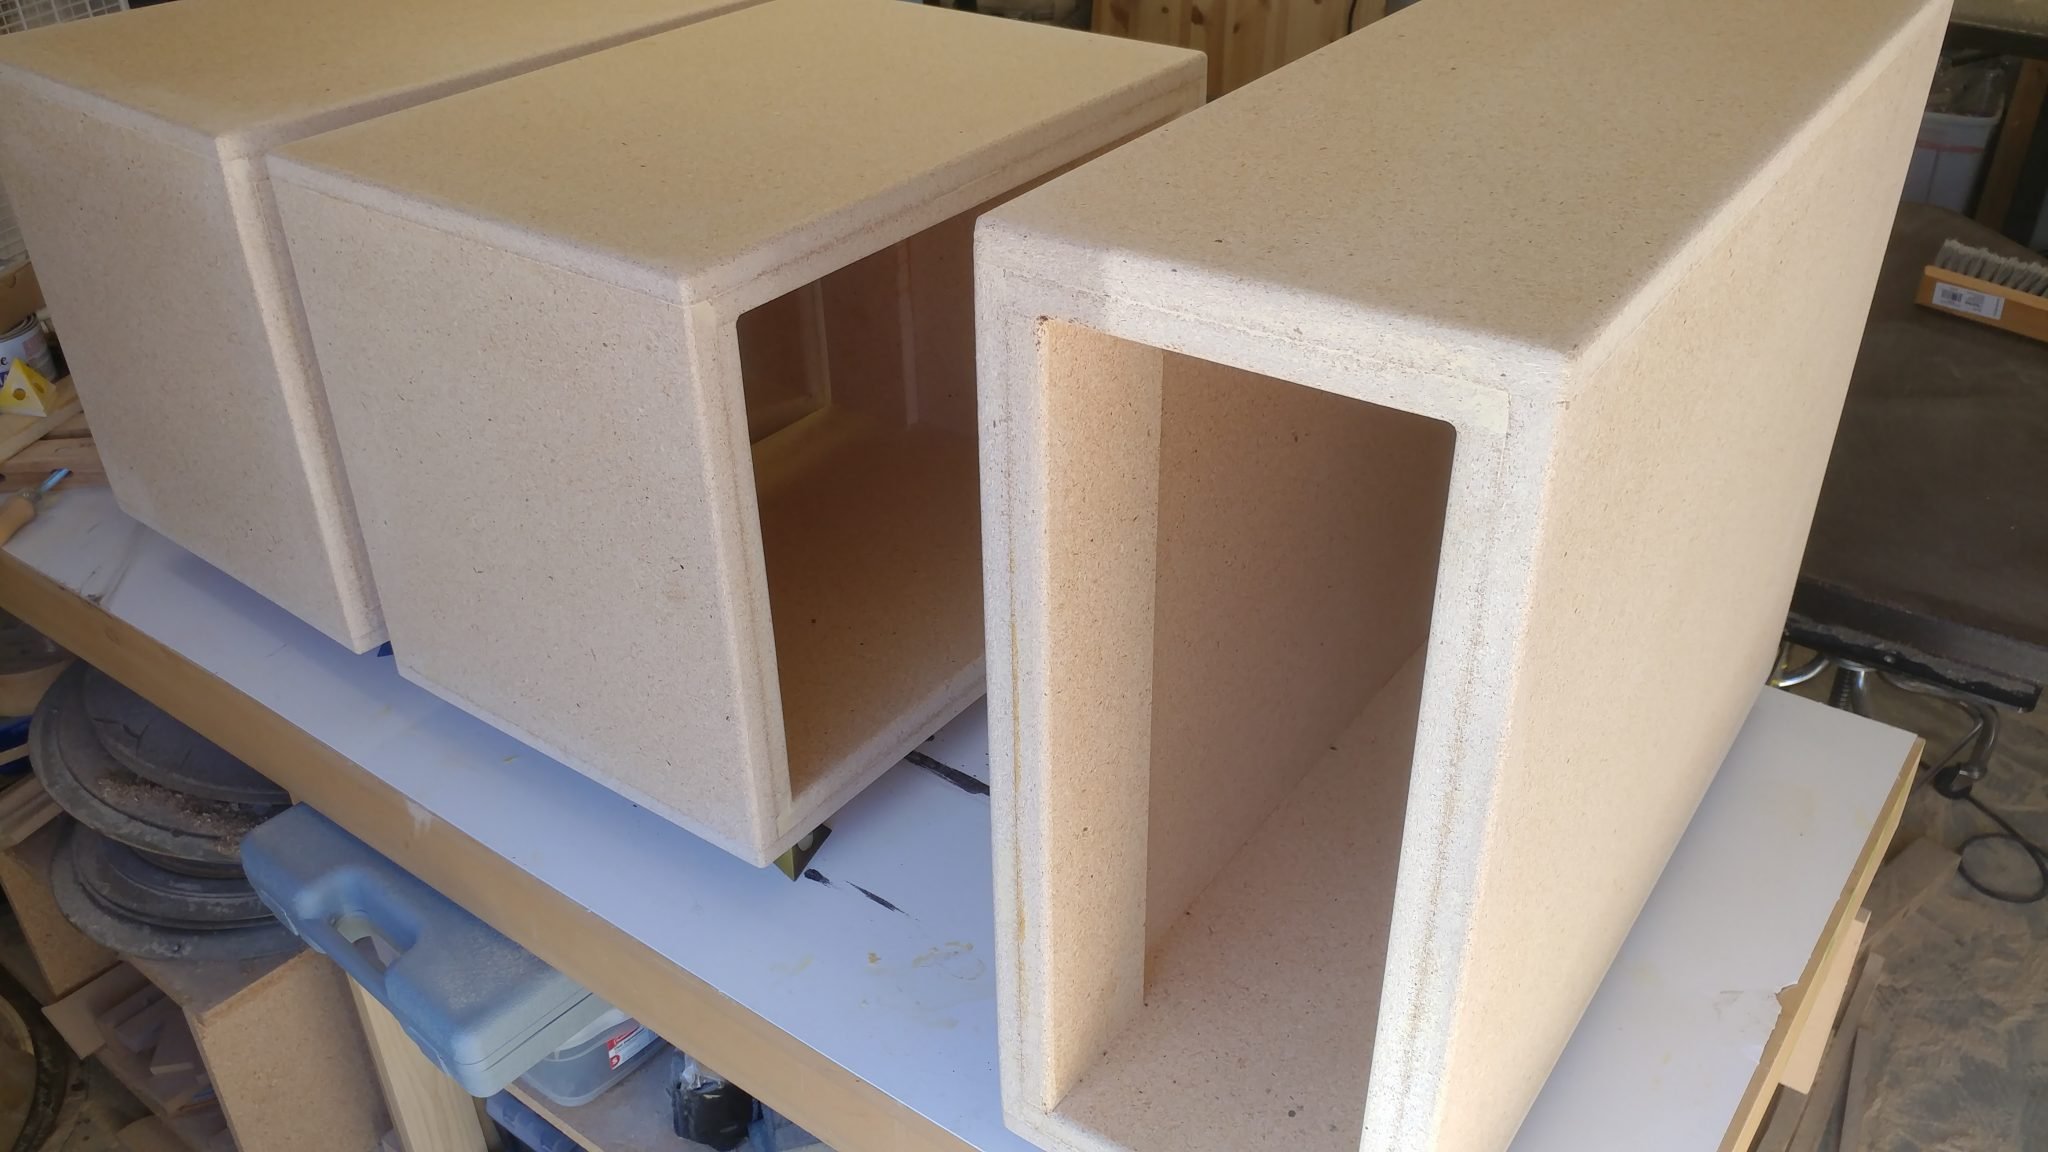
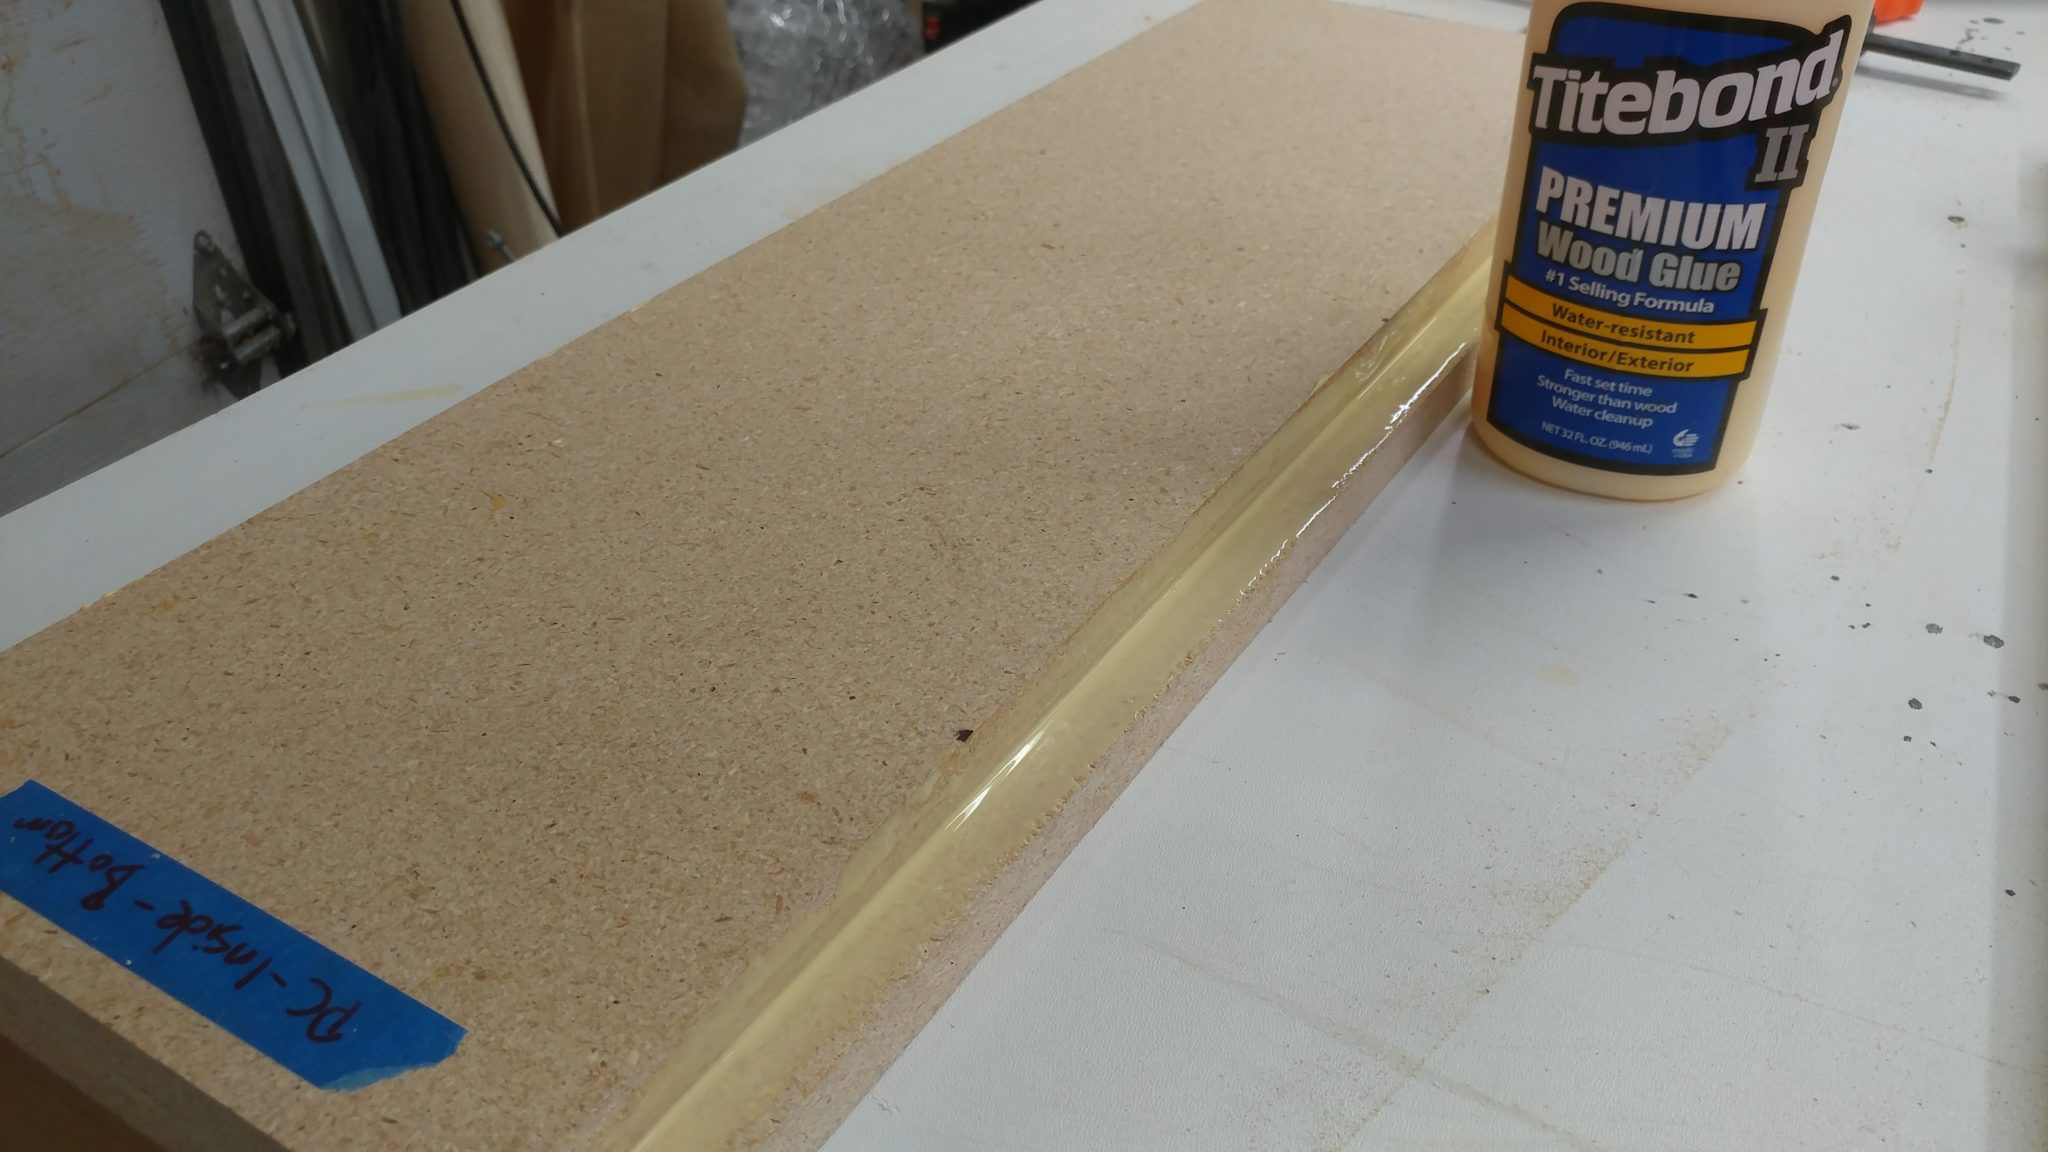
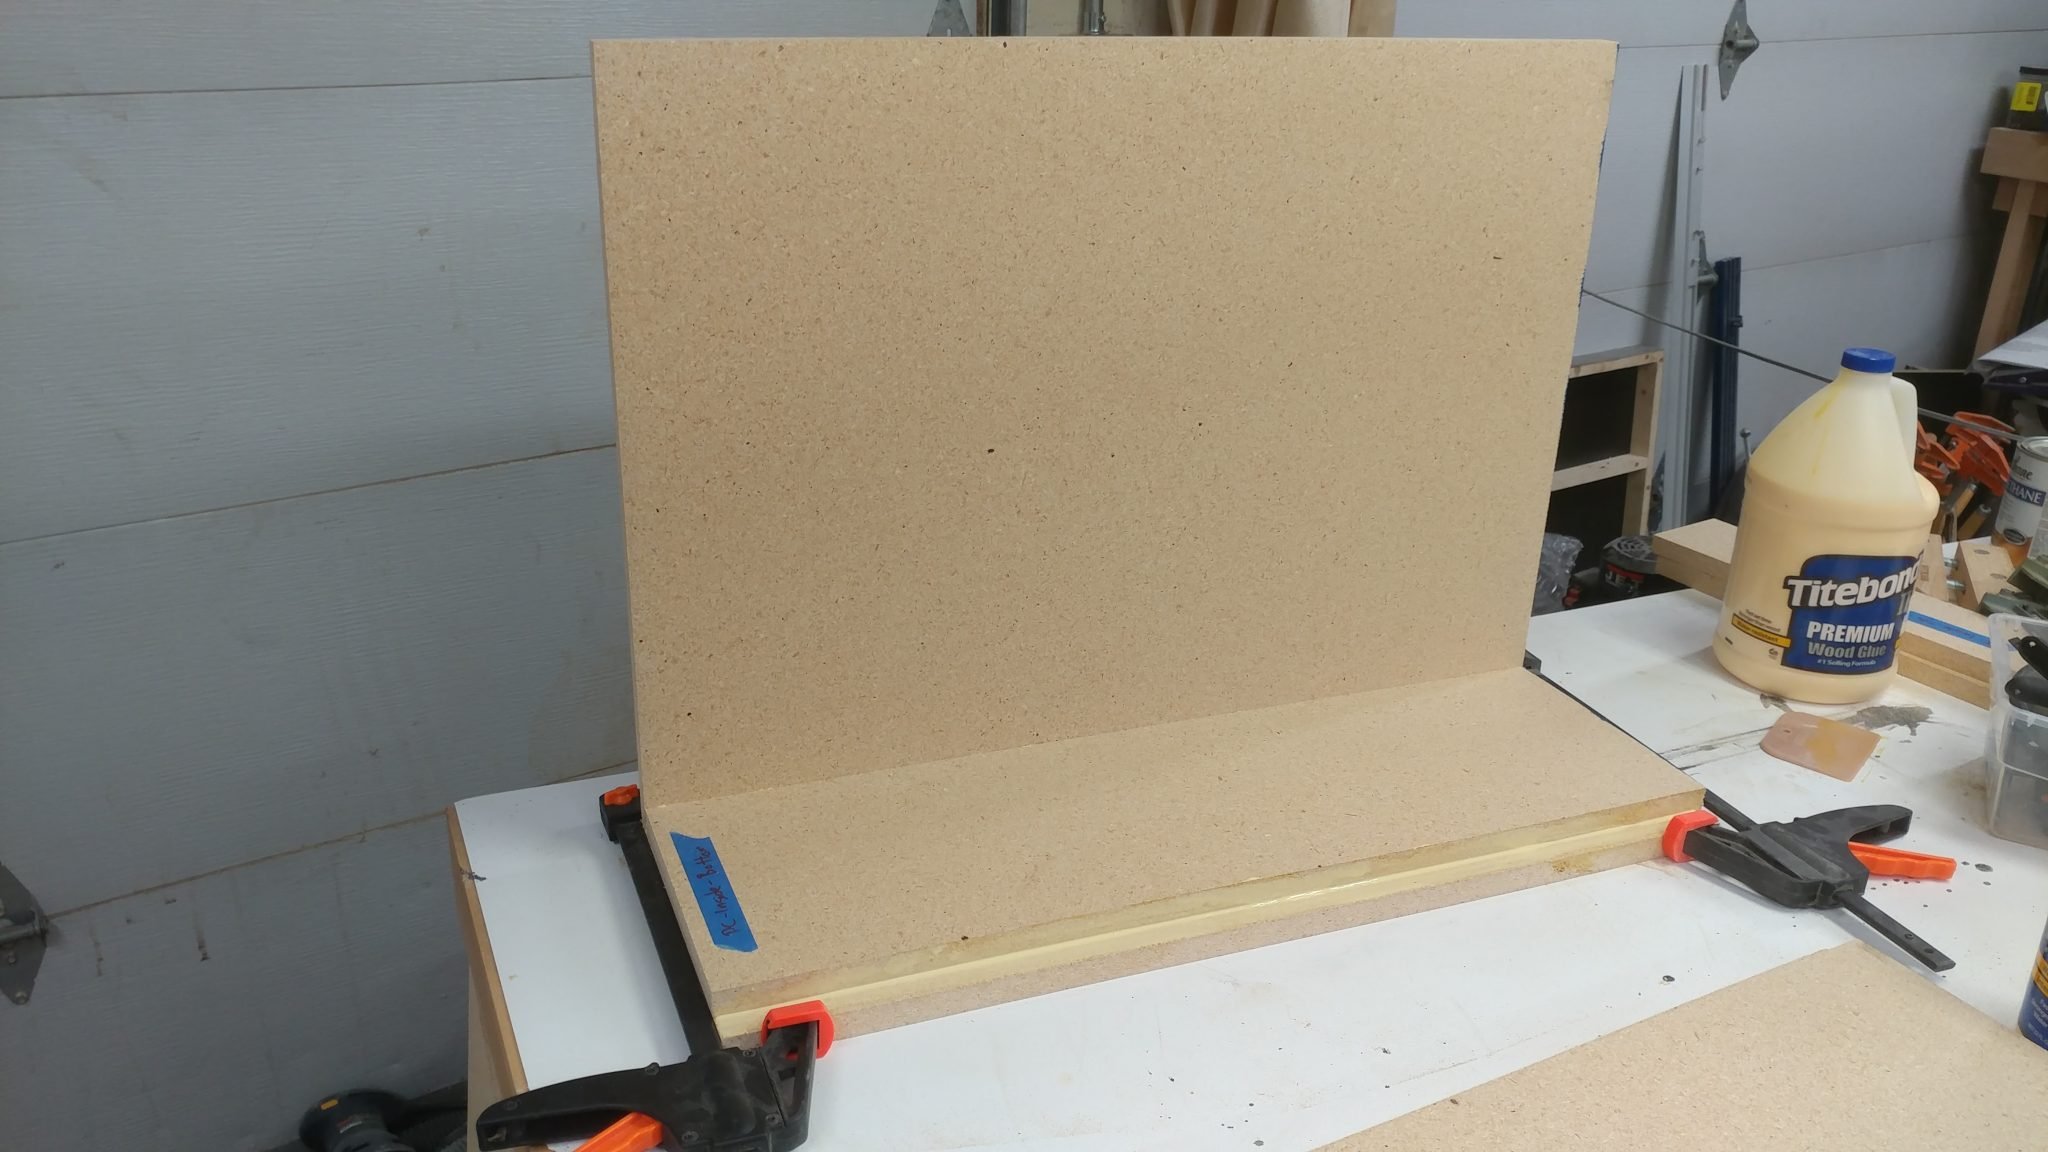
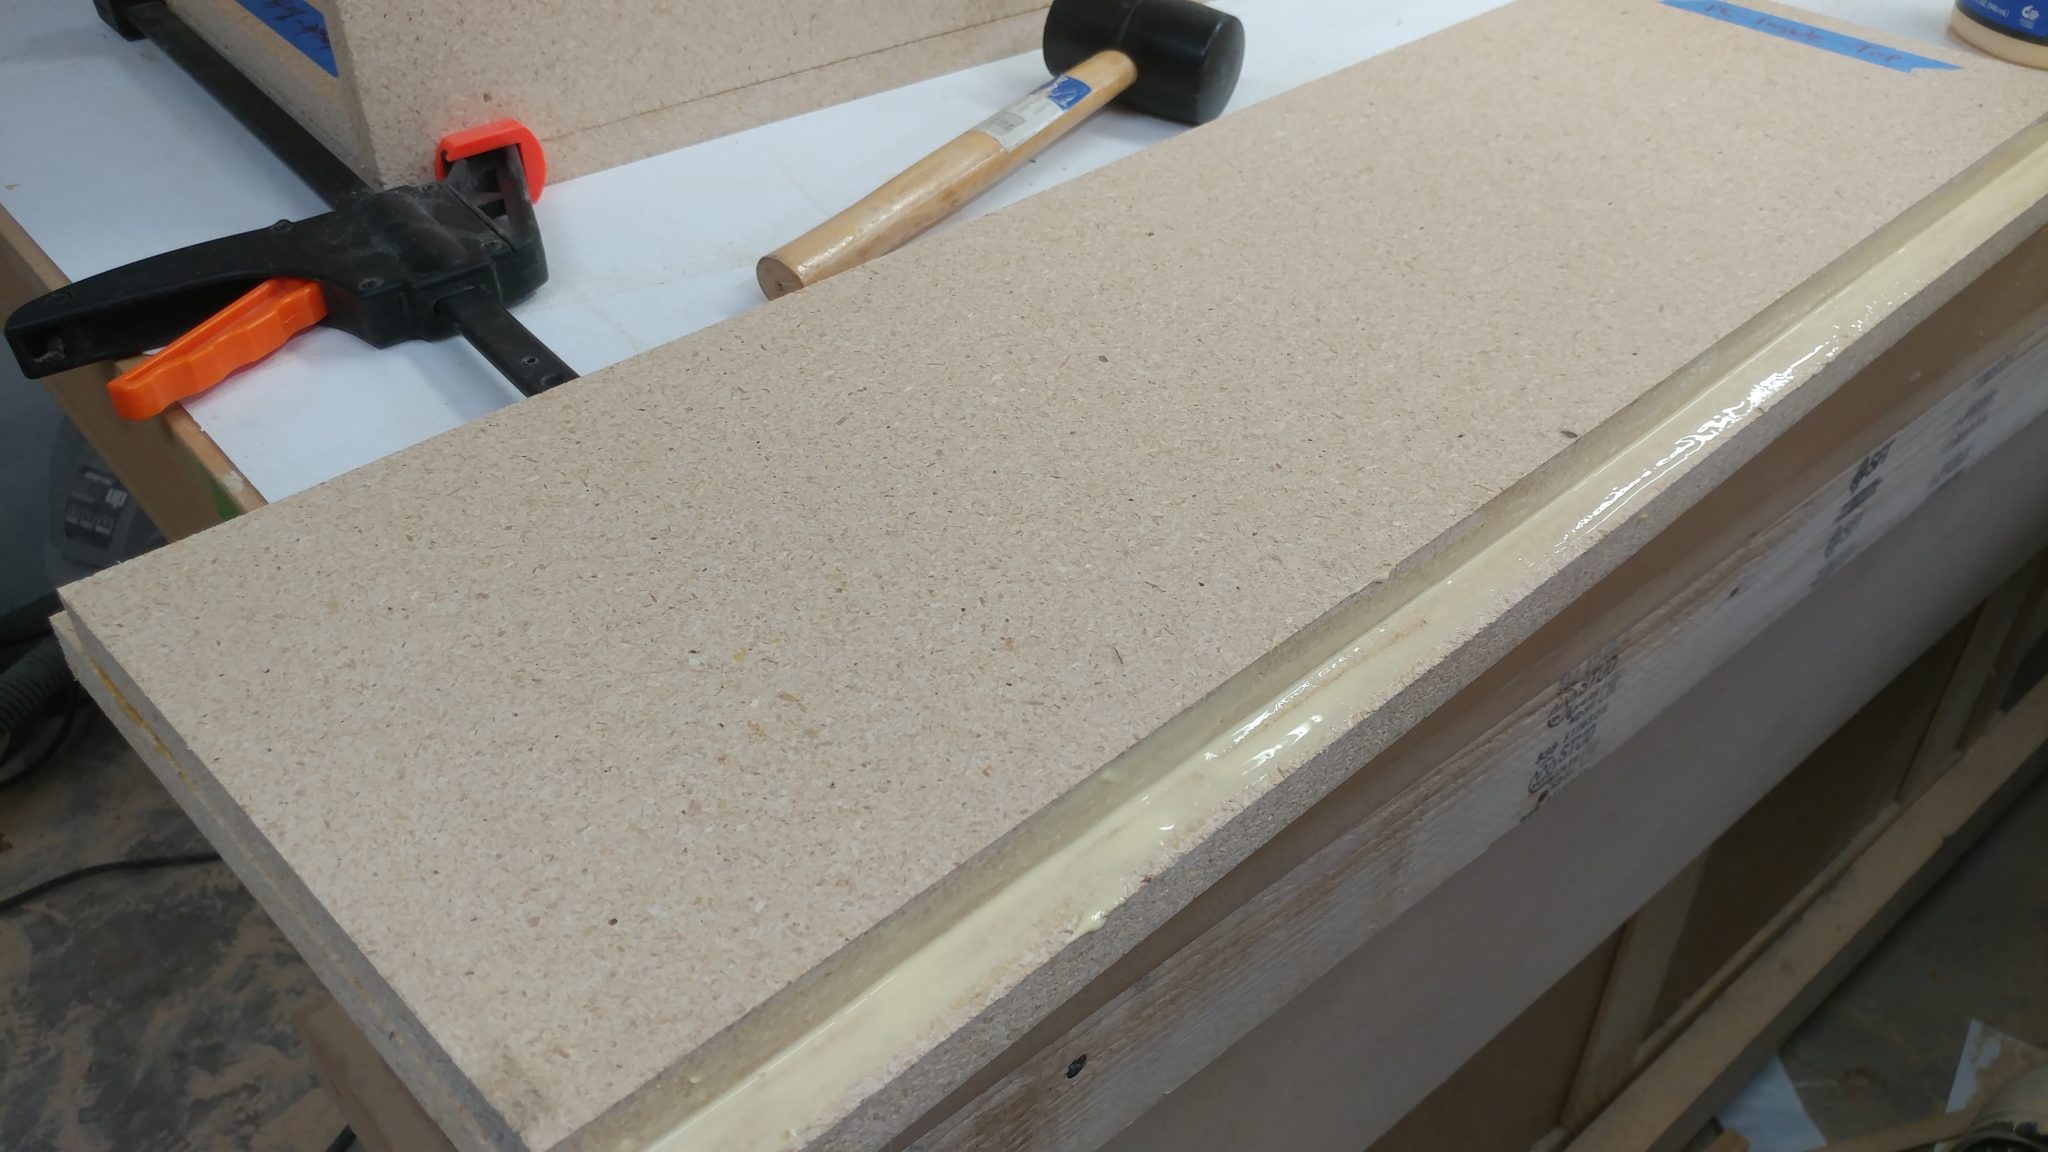
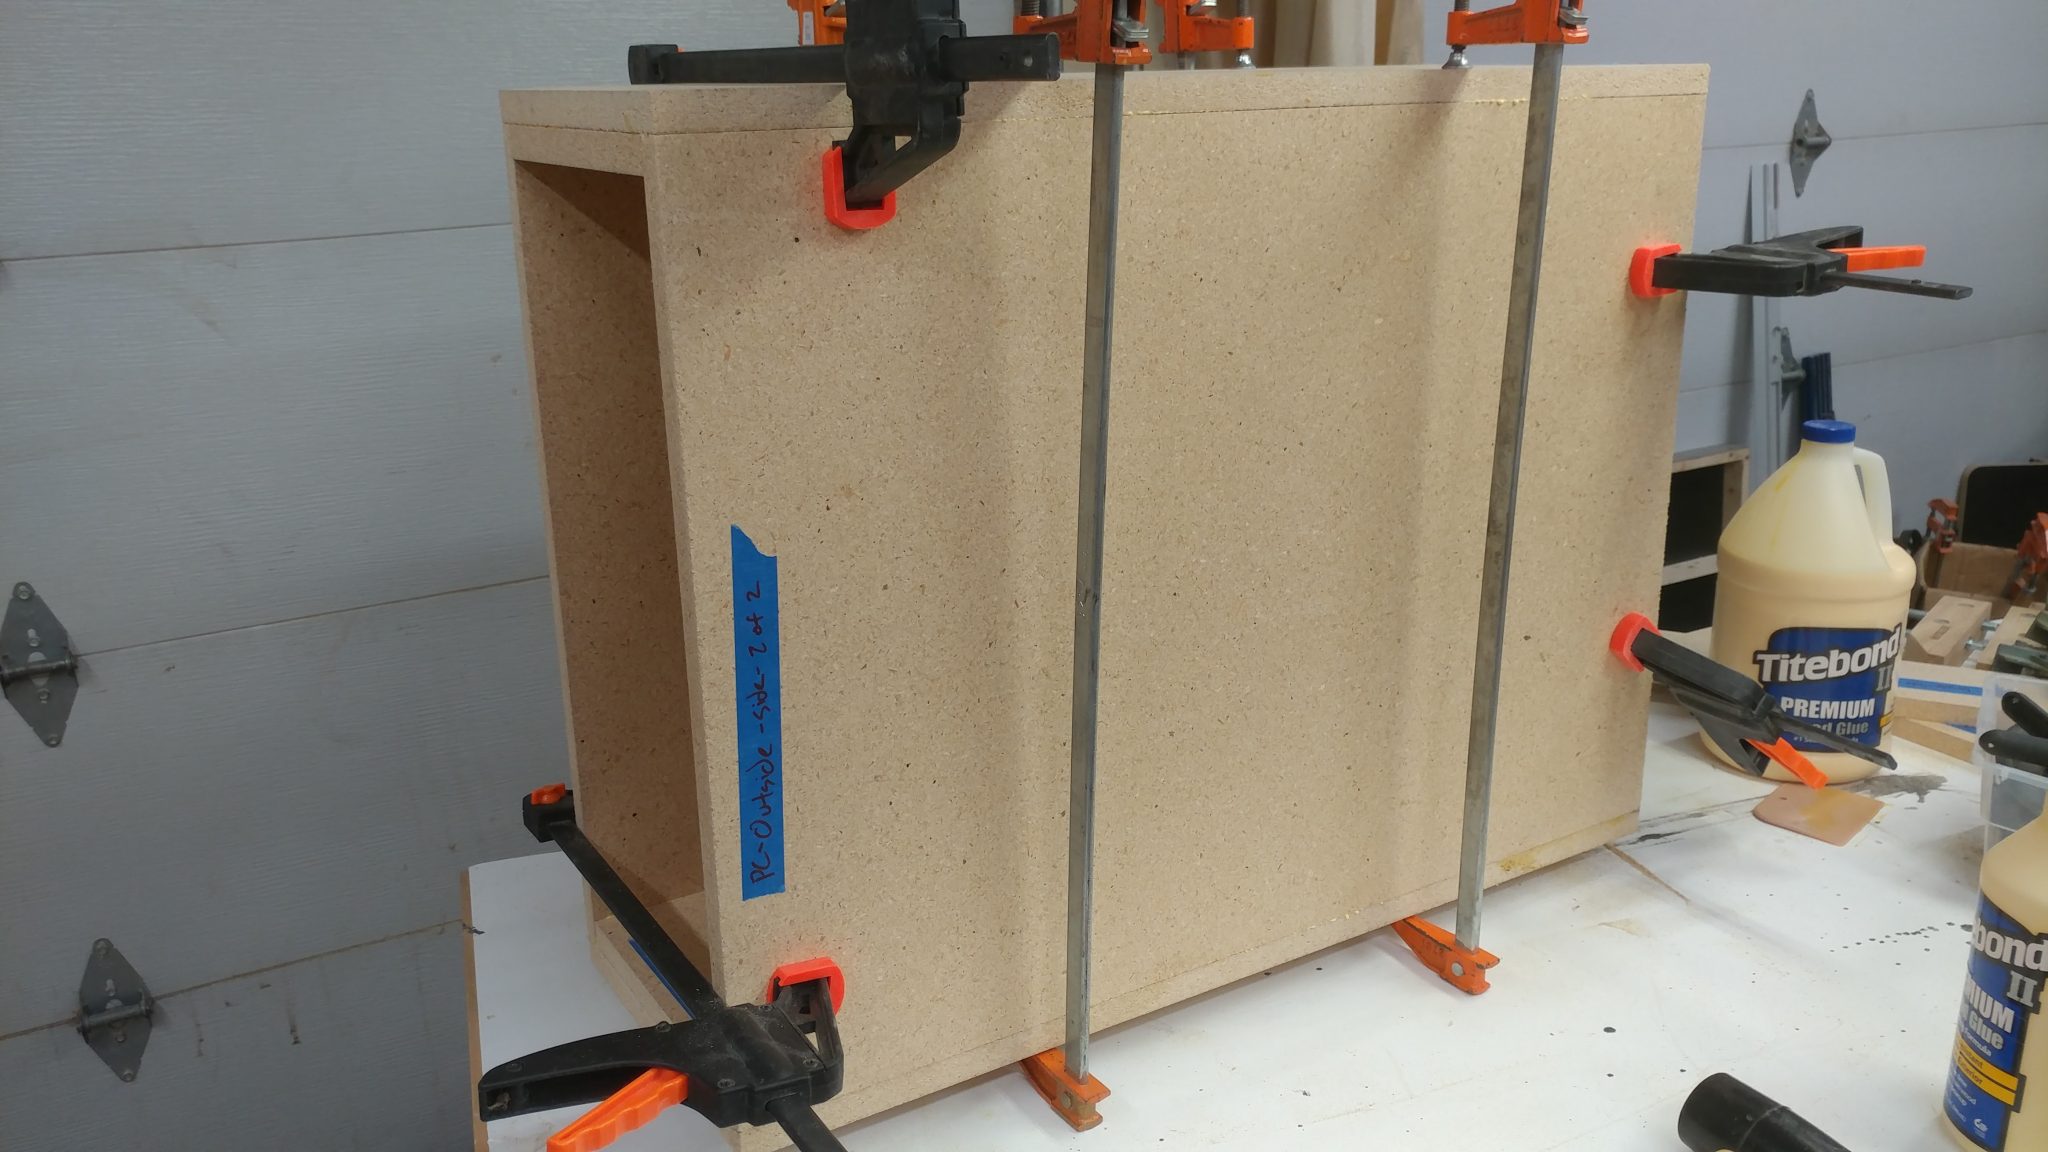
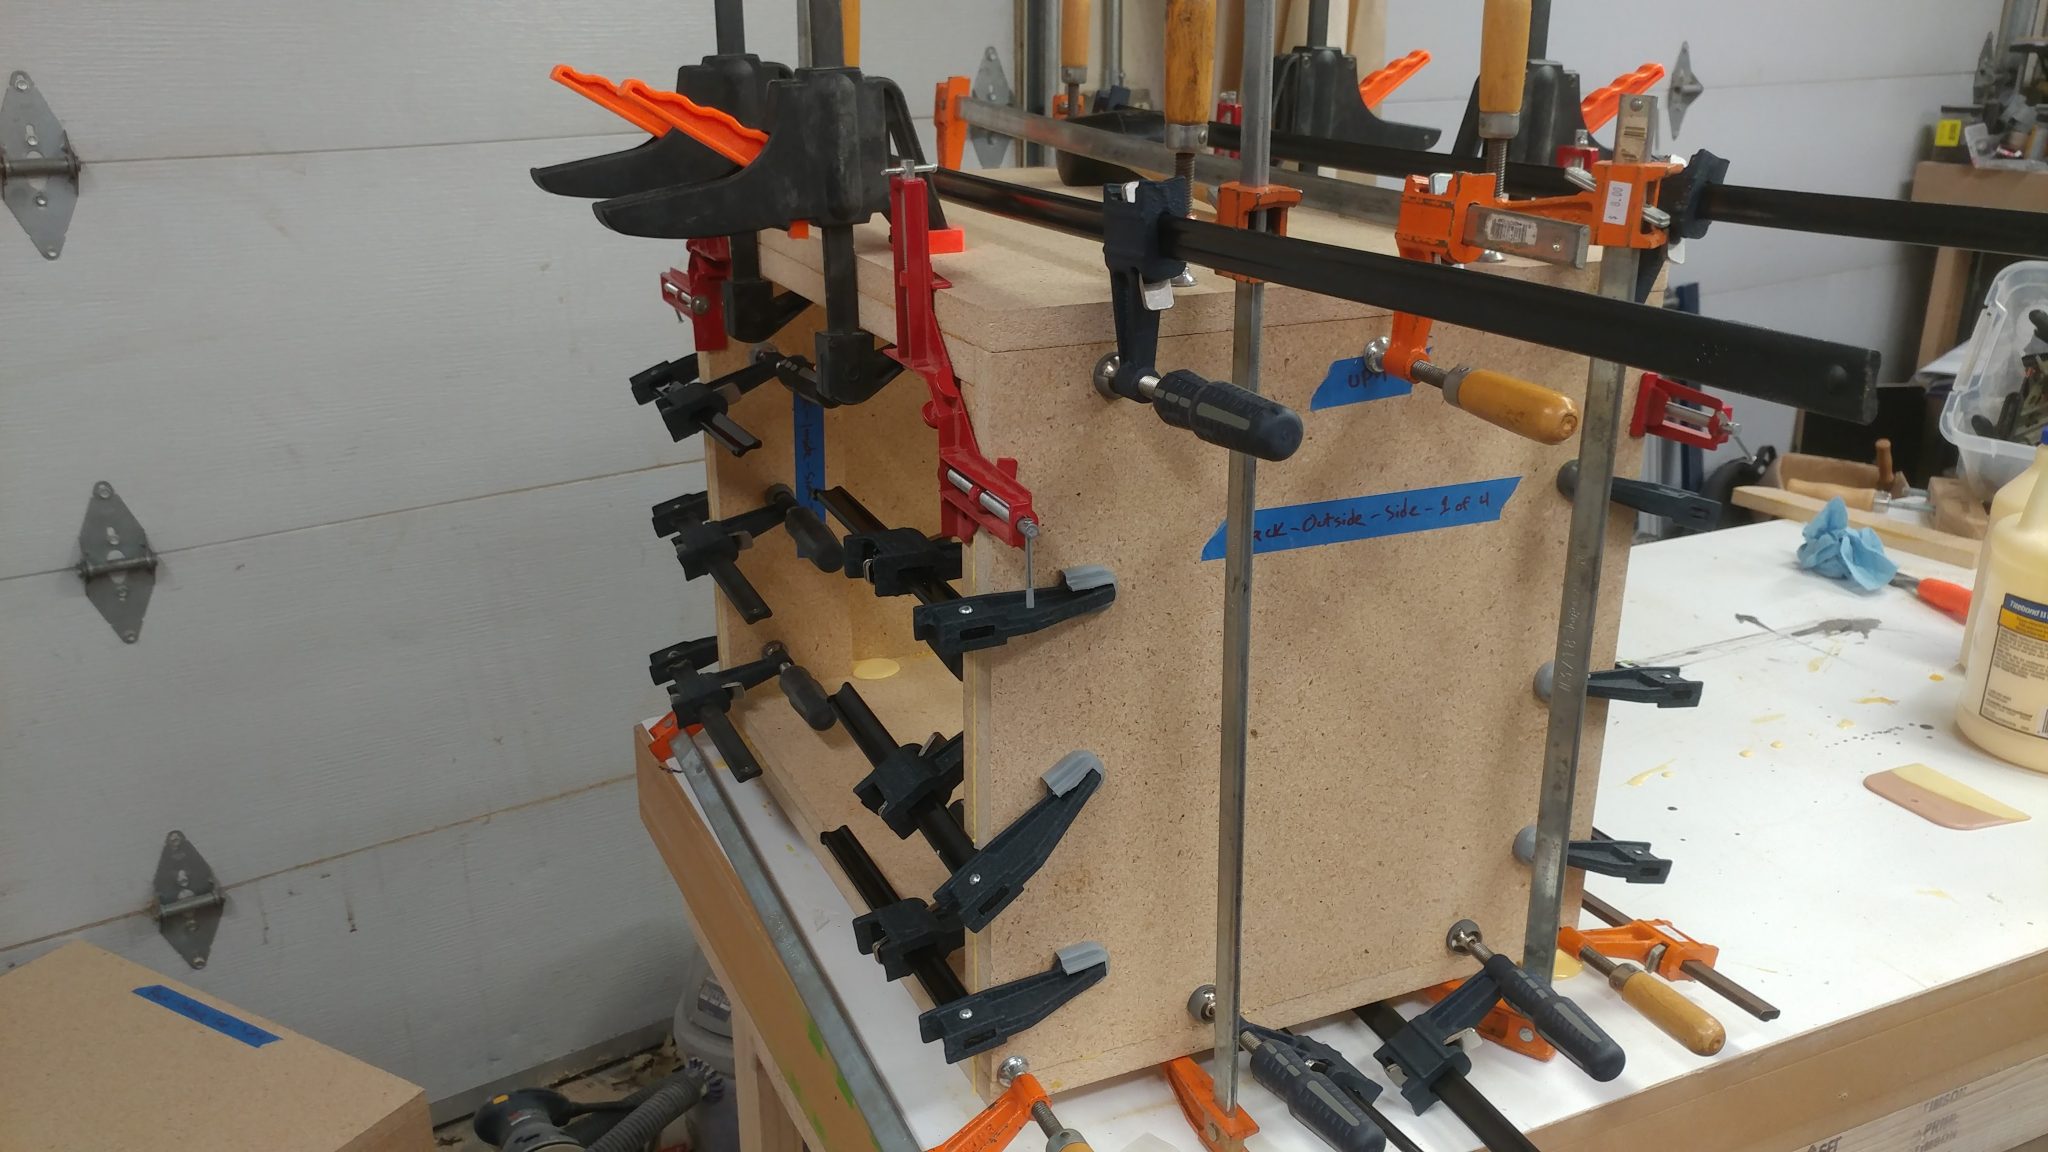
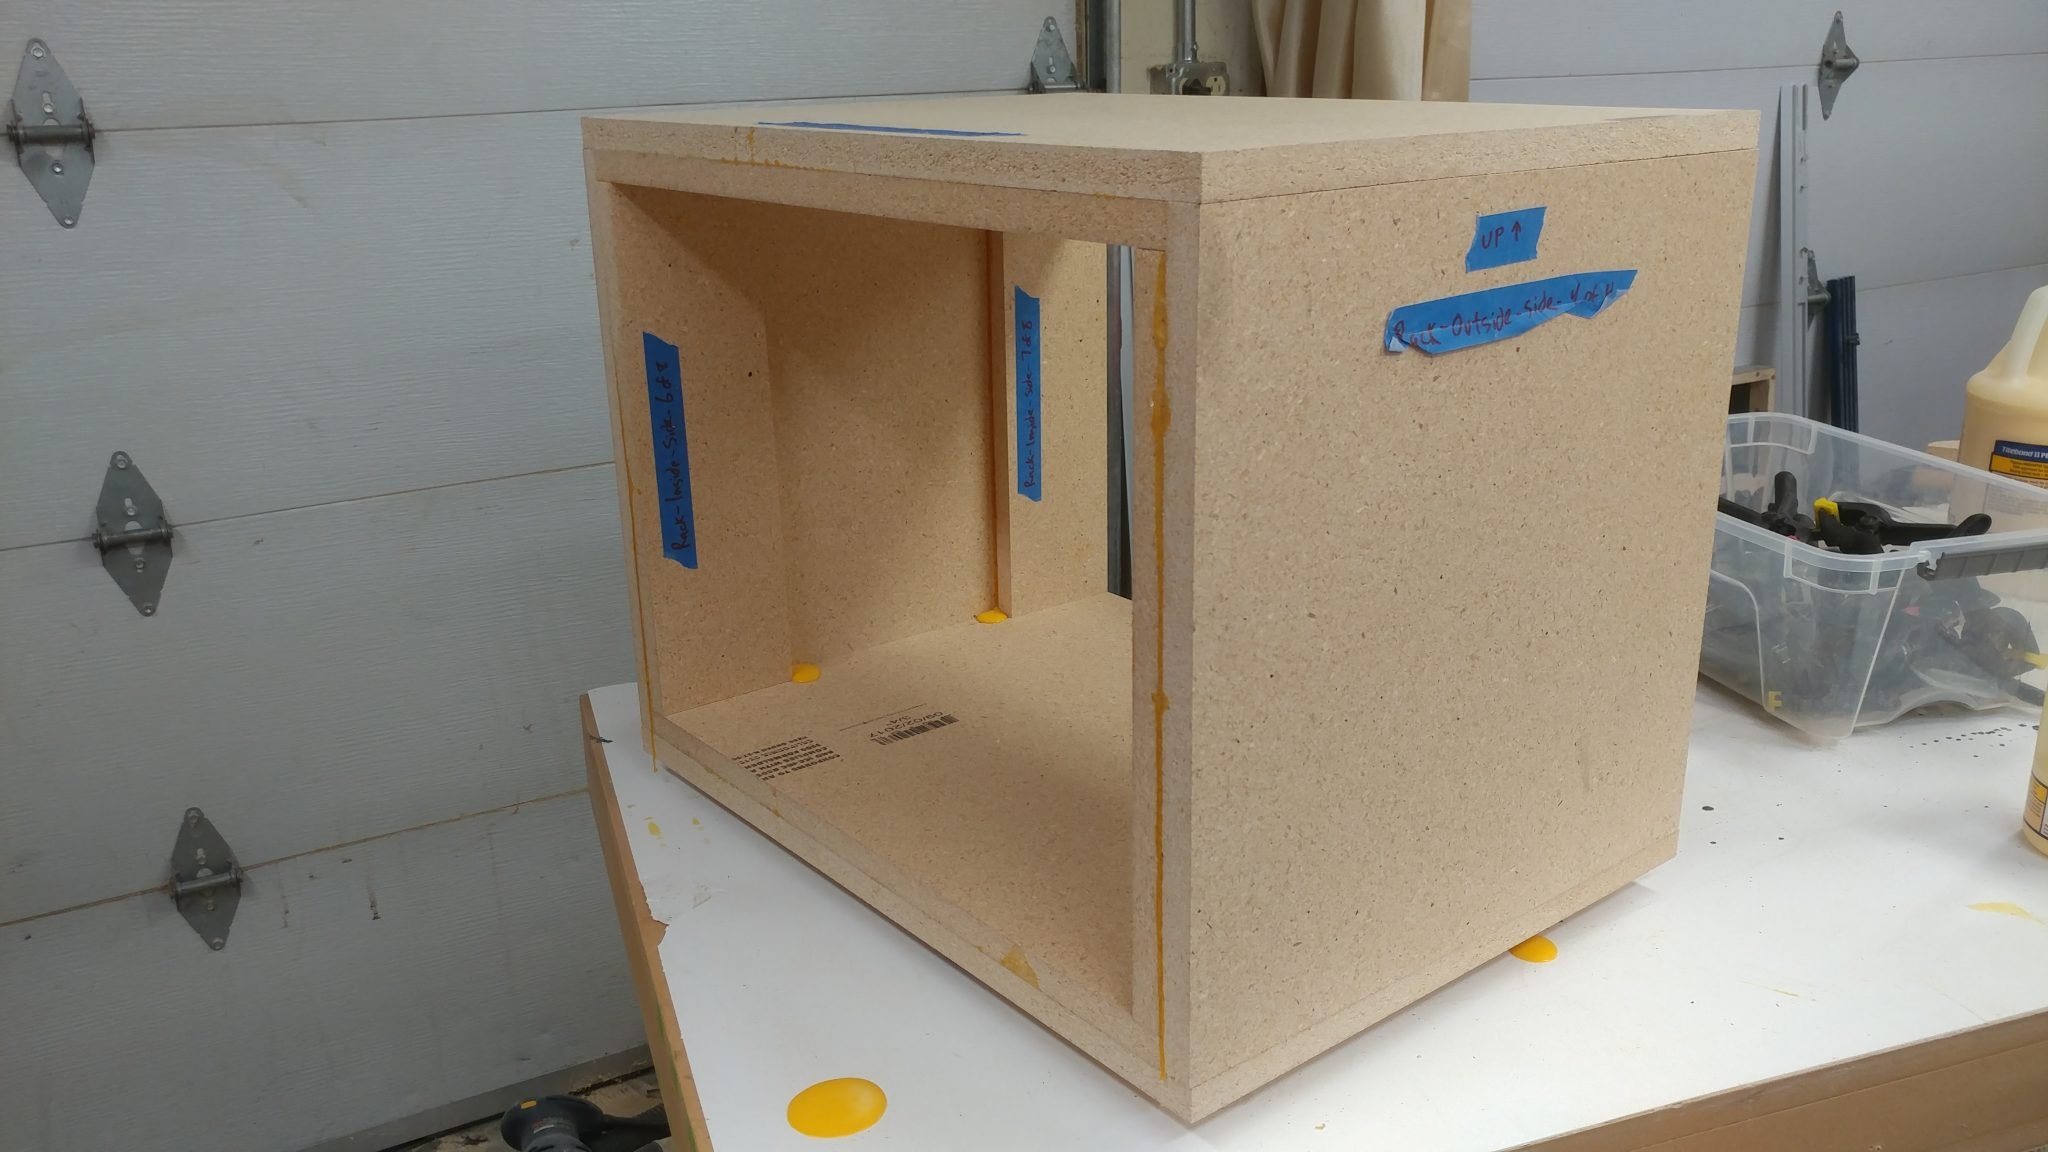
This is a continuation of Studio Desk – Part 3: Assembling the Racks


Now that the components are built, they’re ready to be stained and finished.

I was going for a specific look that I think worked but I’m having my doubts that I’ll be happy with it in the long run.  I was inspired by a piece that I saw at a restaurant a while ago.  They used plywood where I used particleboard but what I was drawn to was the feel of the piece.  The best way I could describe it was “too much poly with no sanding between coats”.  You couldn’t feel any wood grain through the finish but you could feel the brush marks.

I figured that for this piece, I might as well try to replicate that since I liked it so much.  I think I succeeded but now I’m not sure how much I like it.


Staining the wood

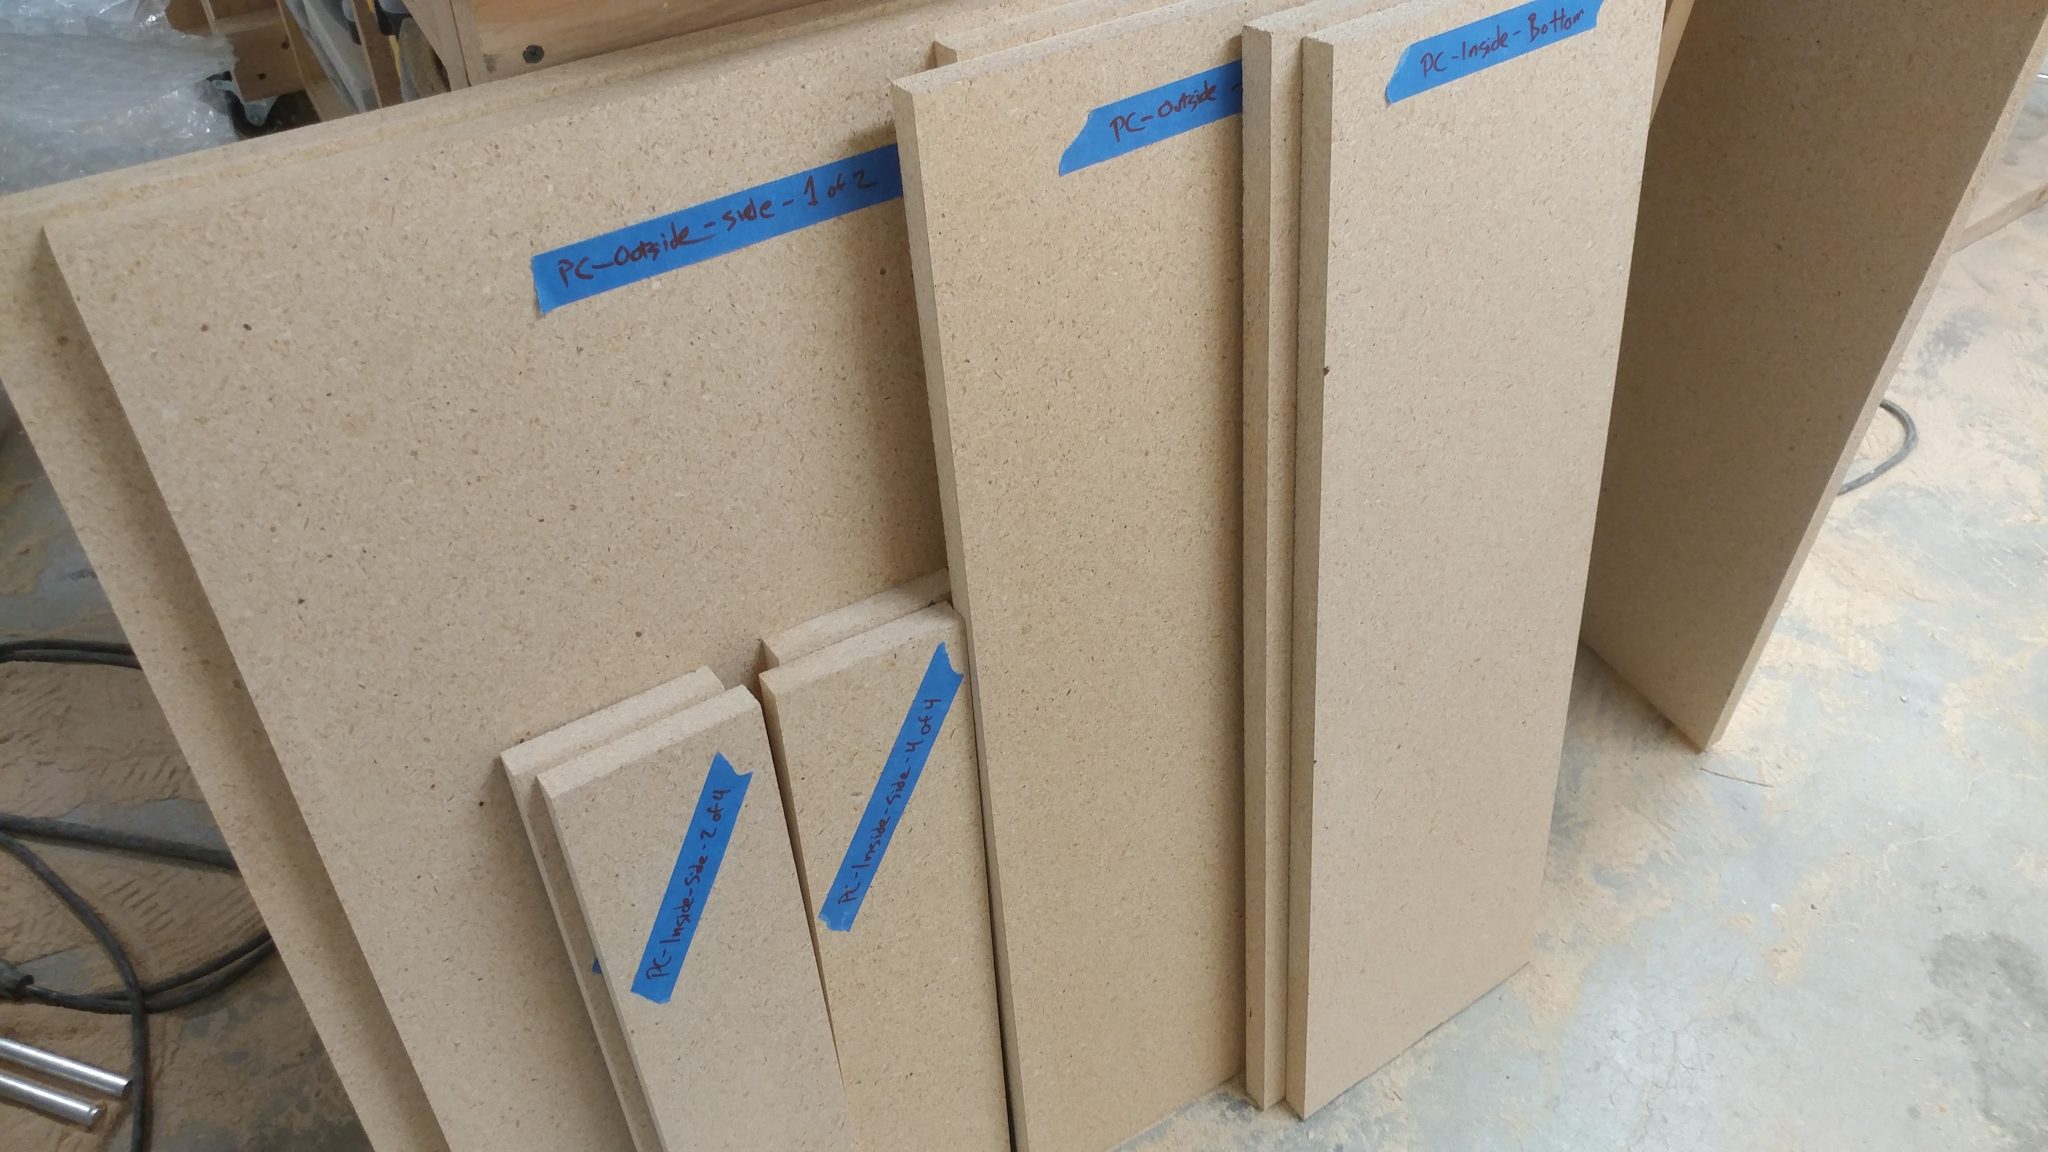
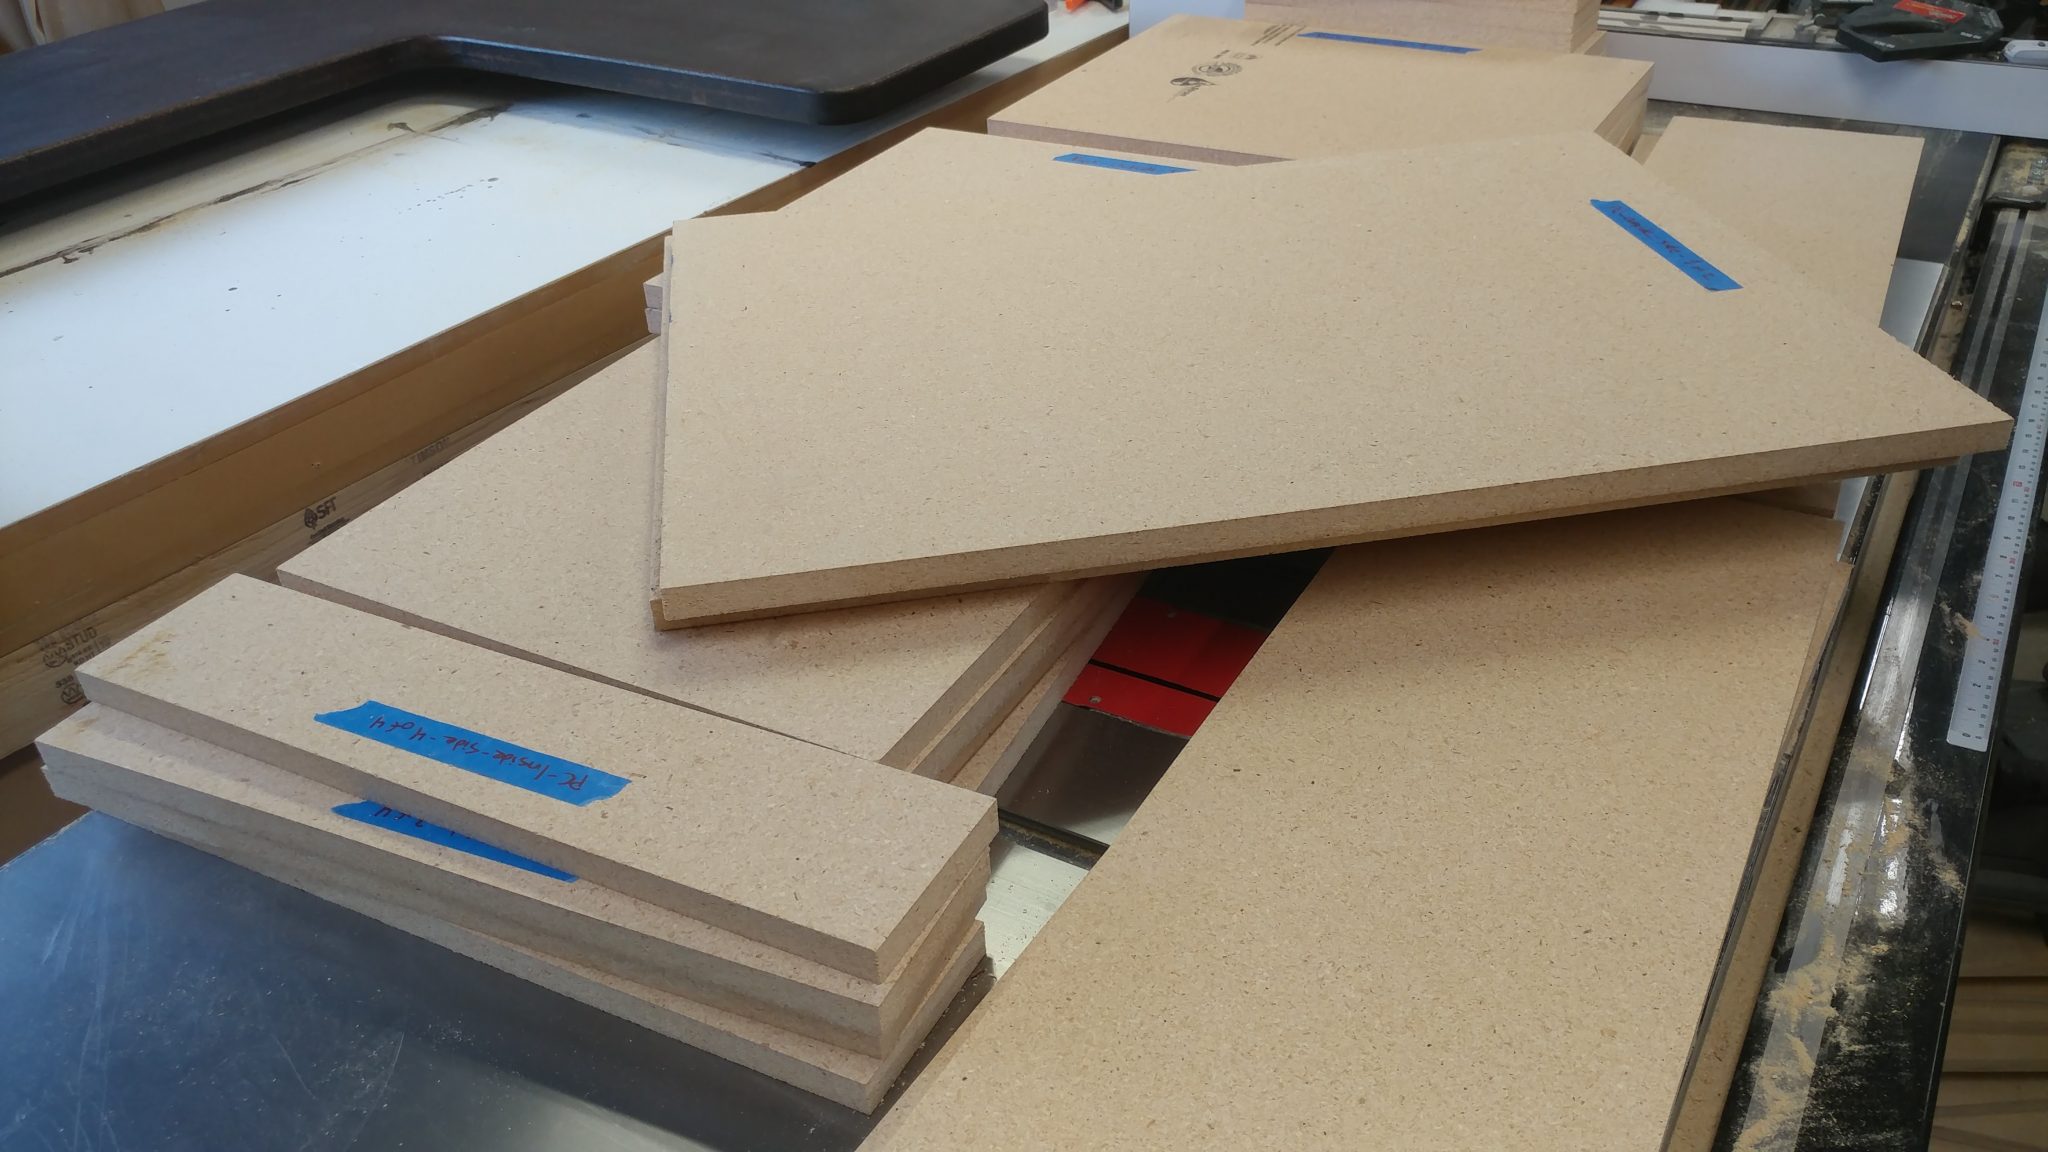
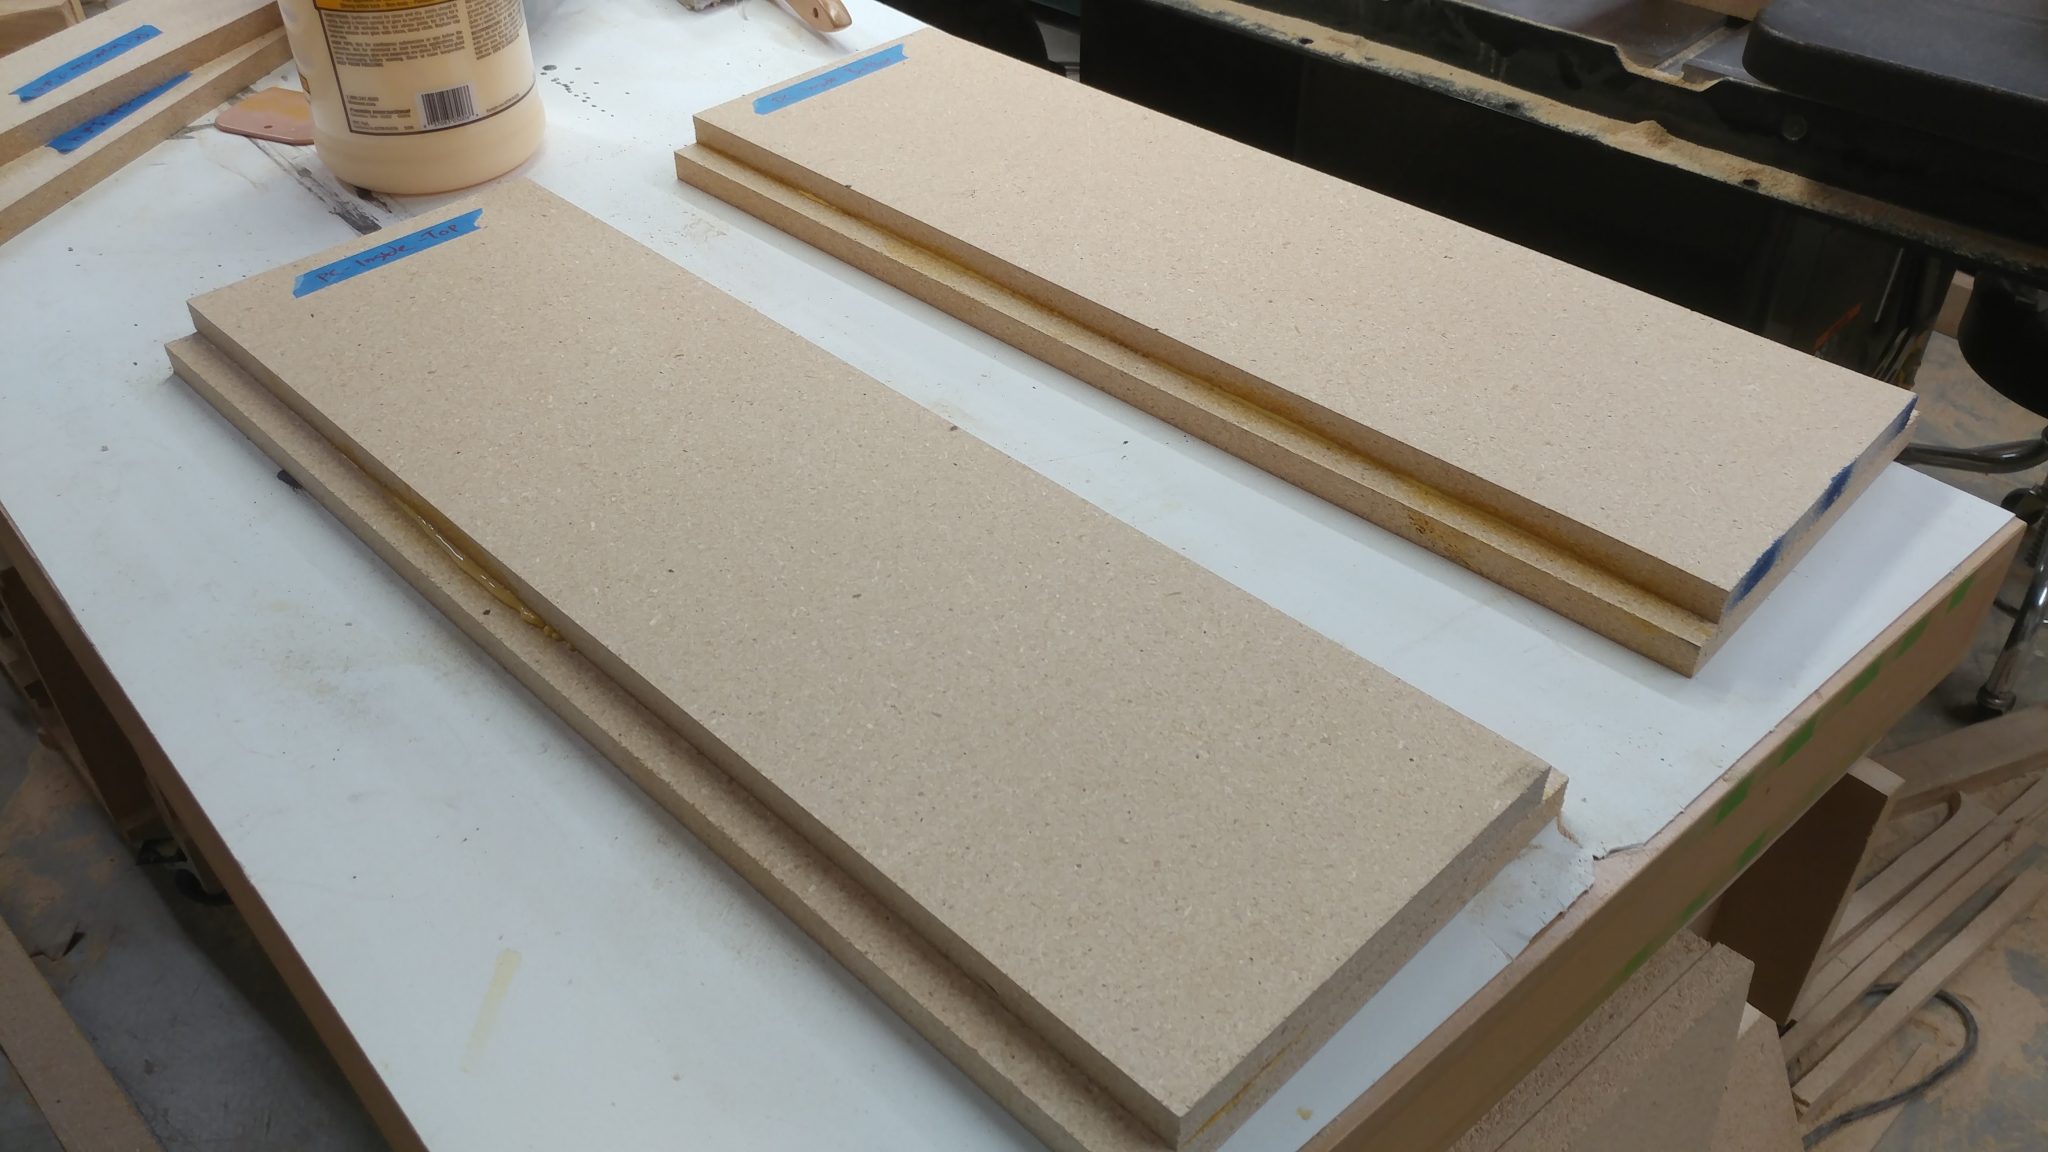
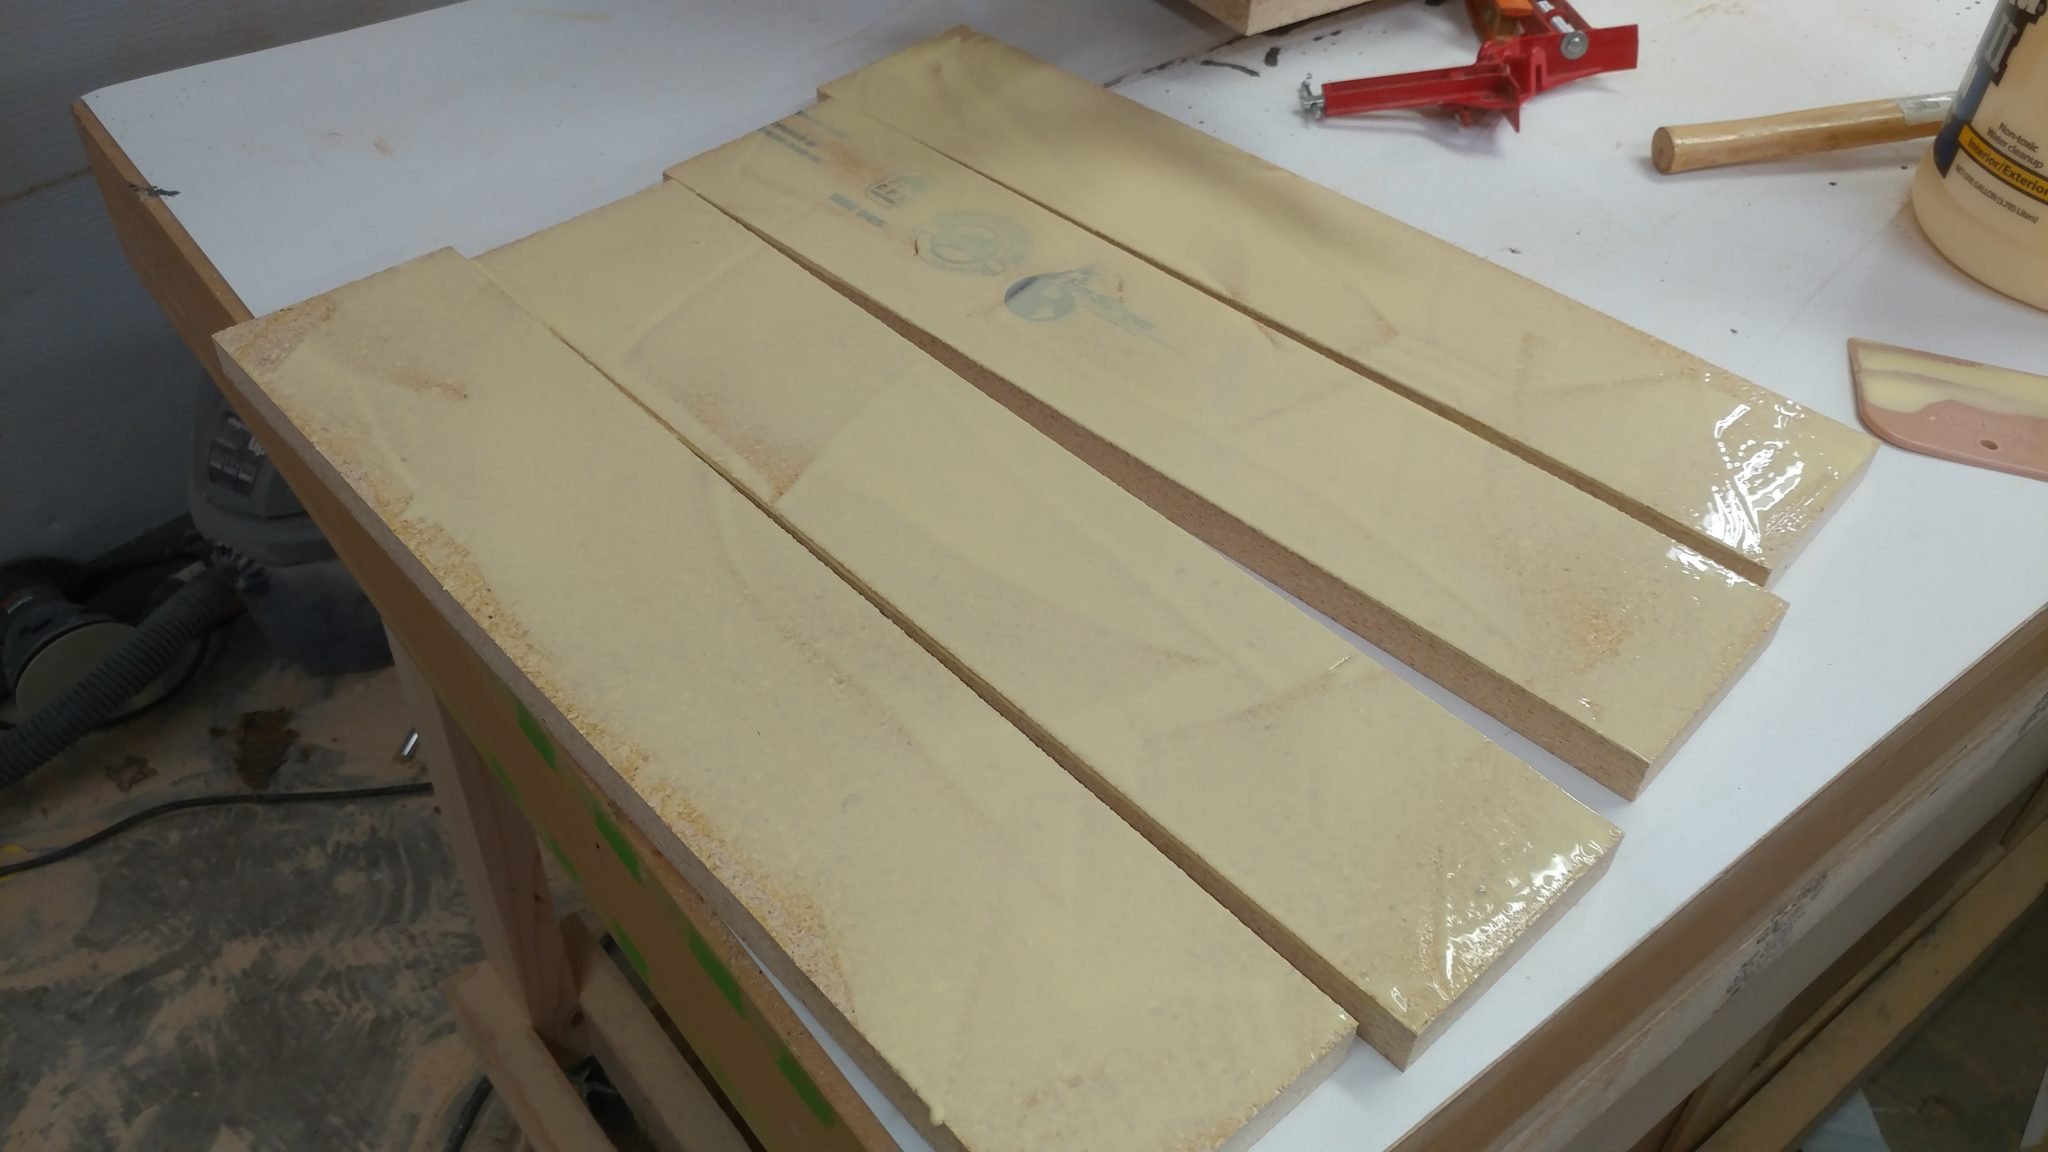
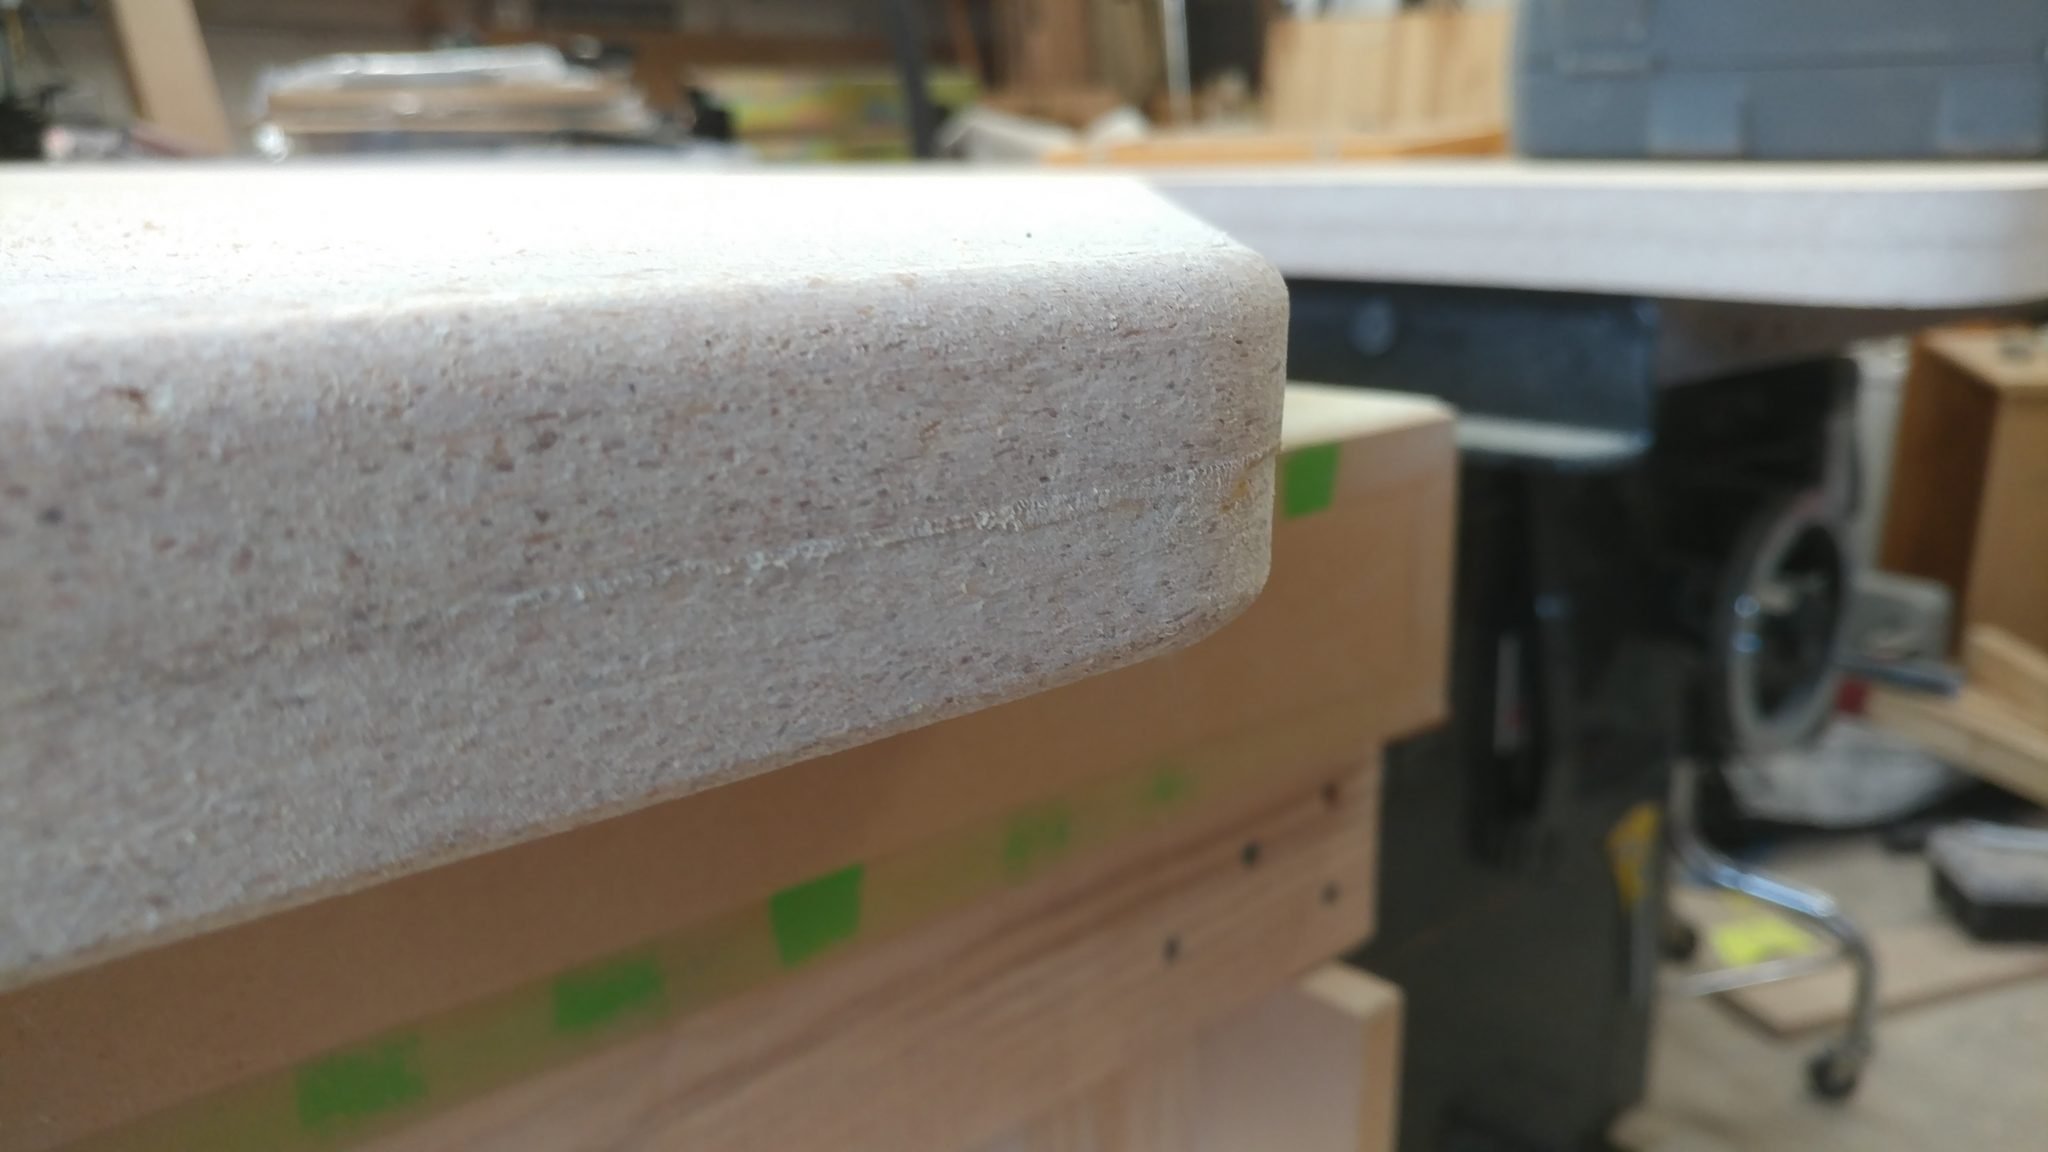
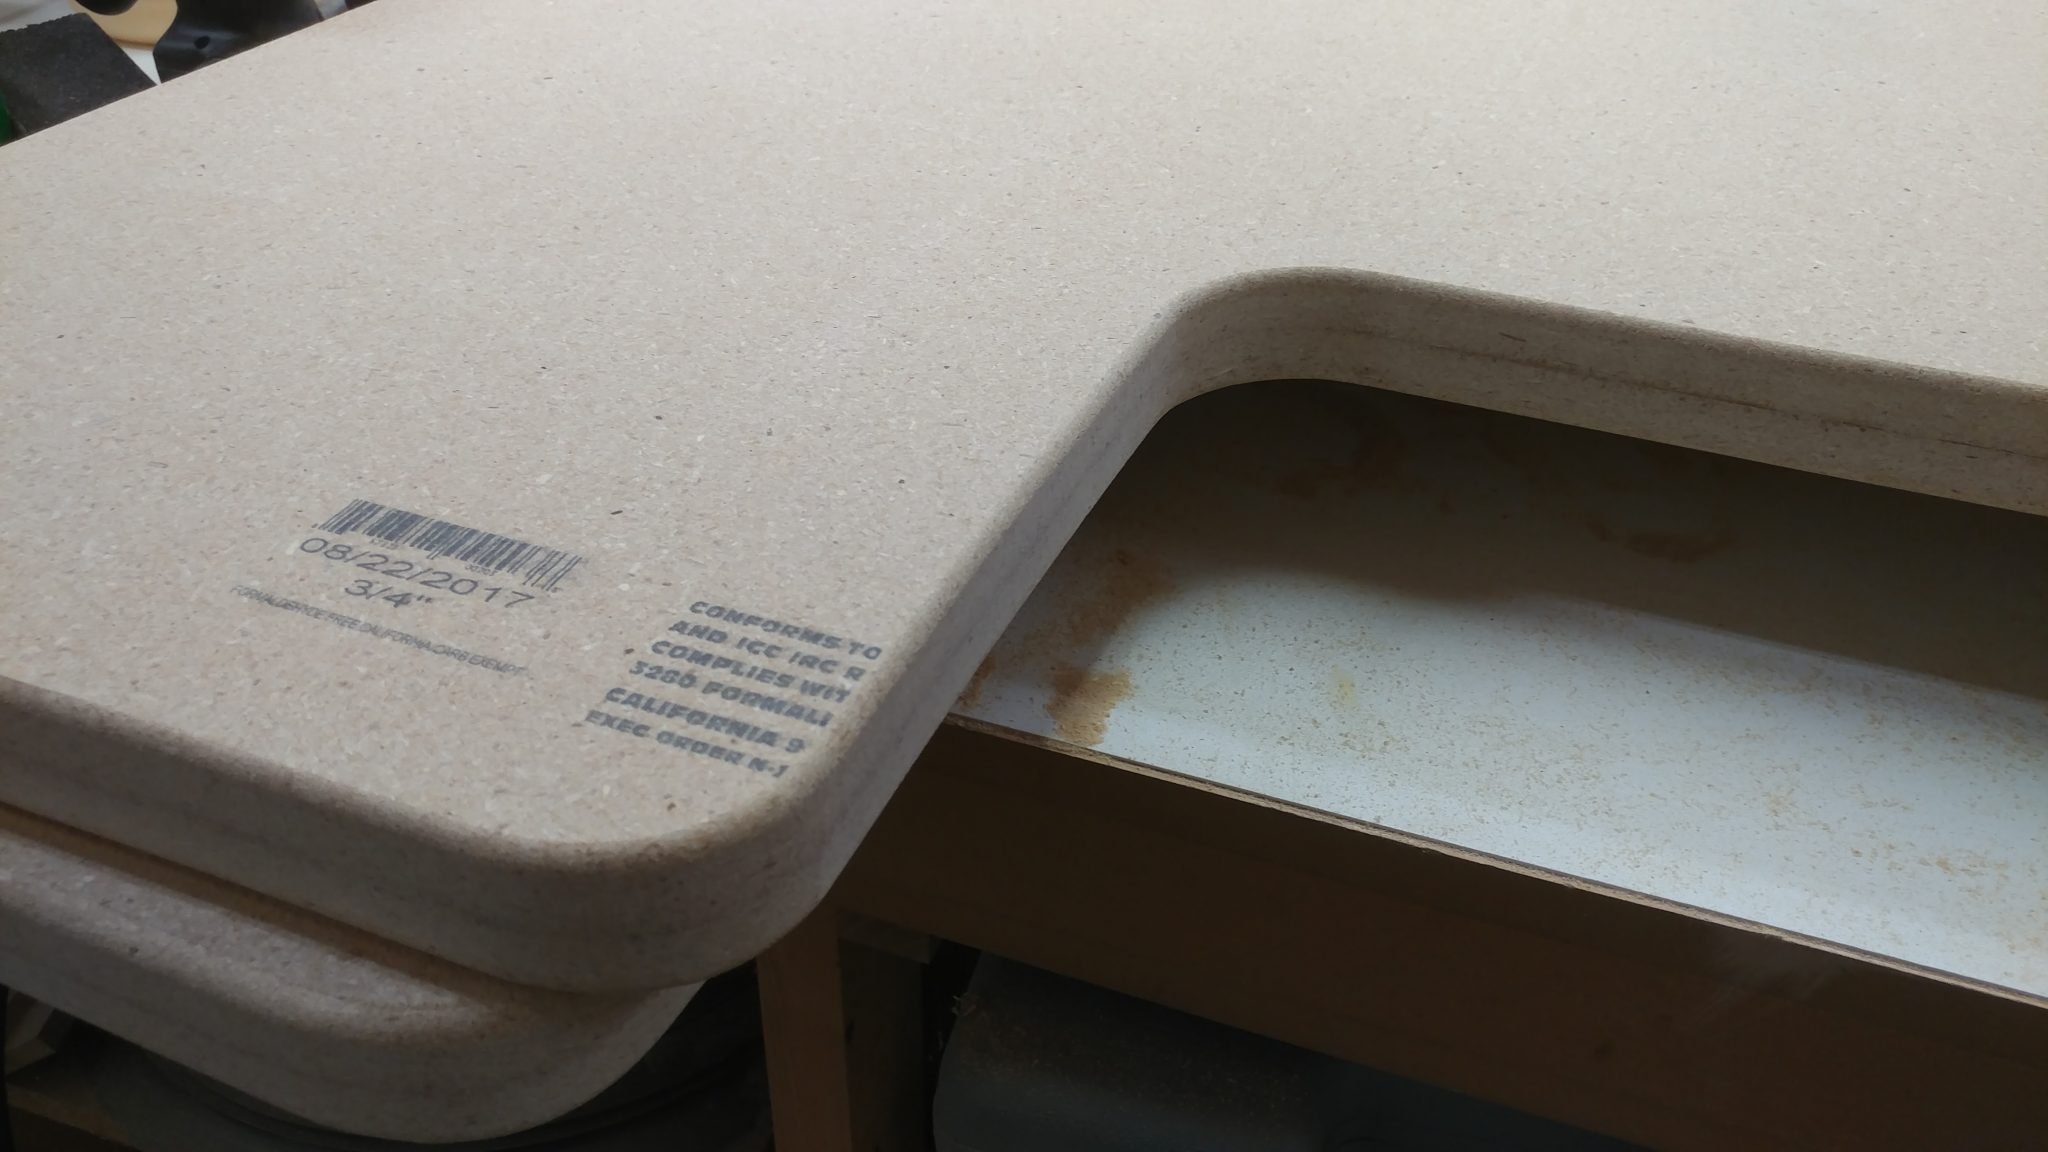
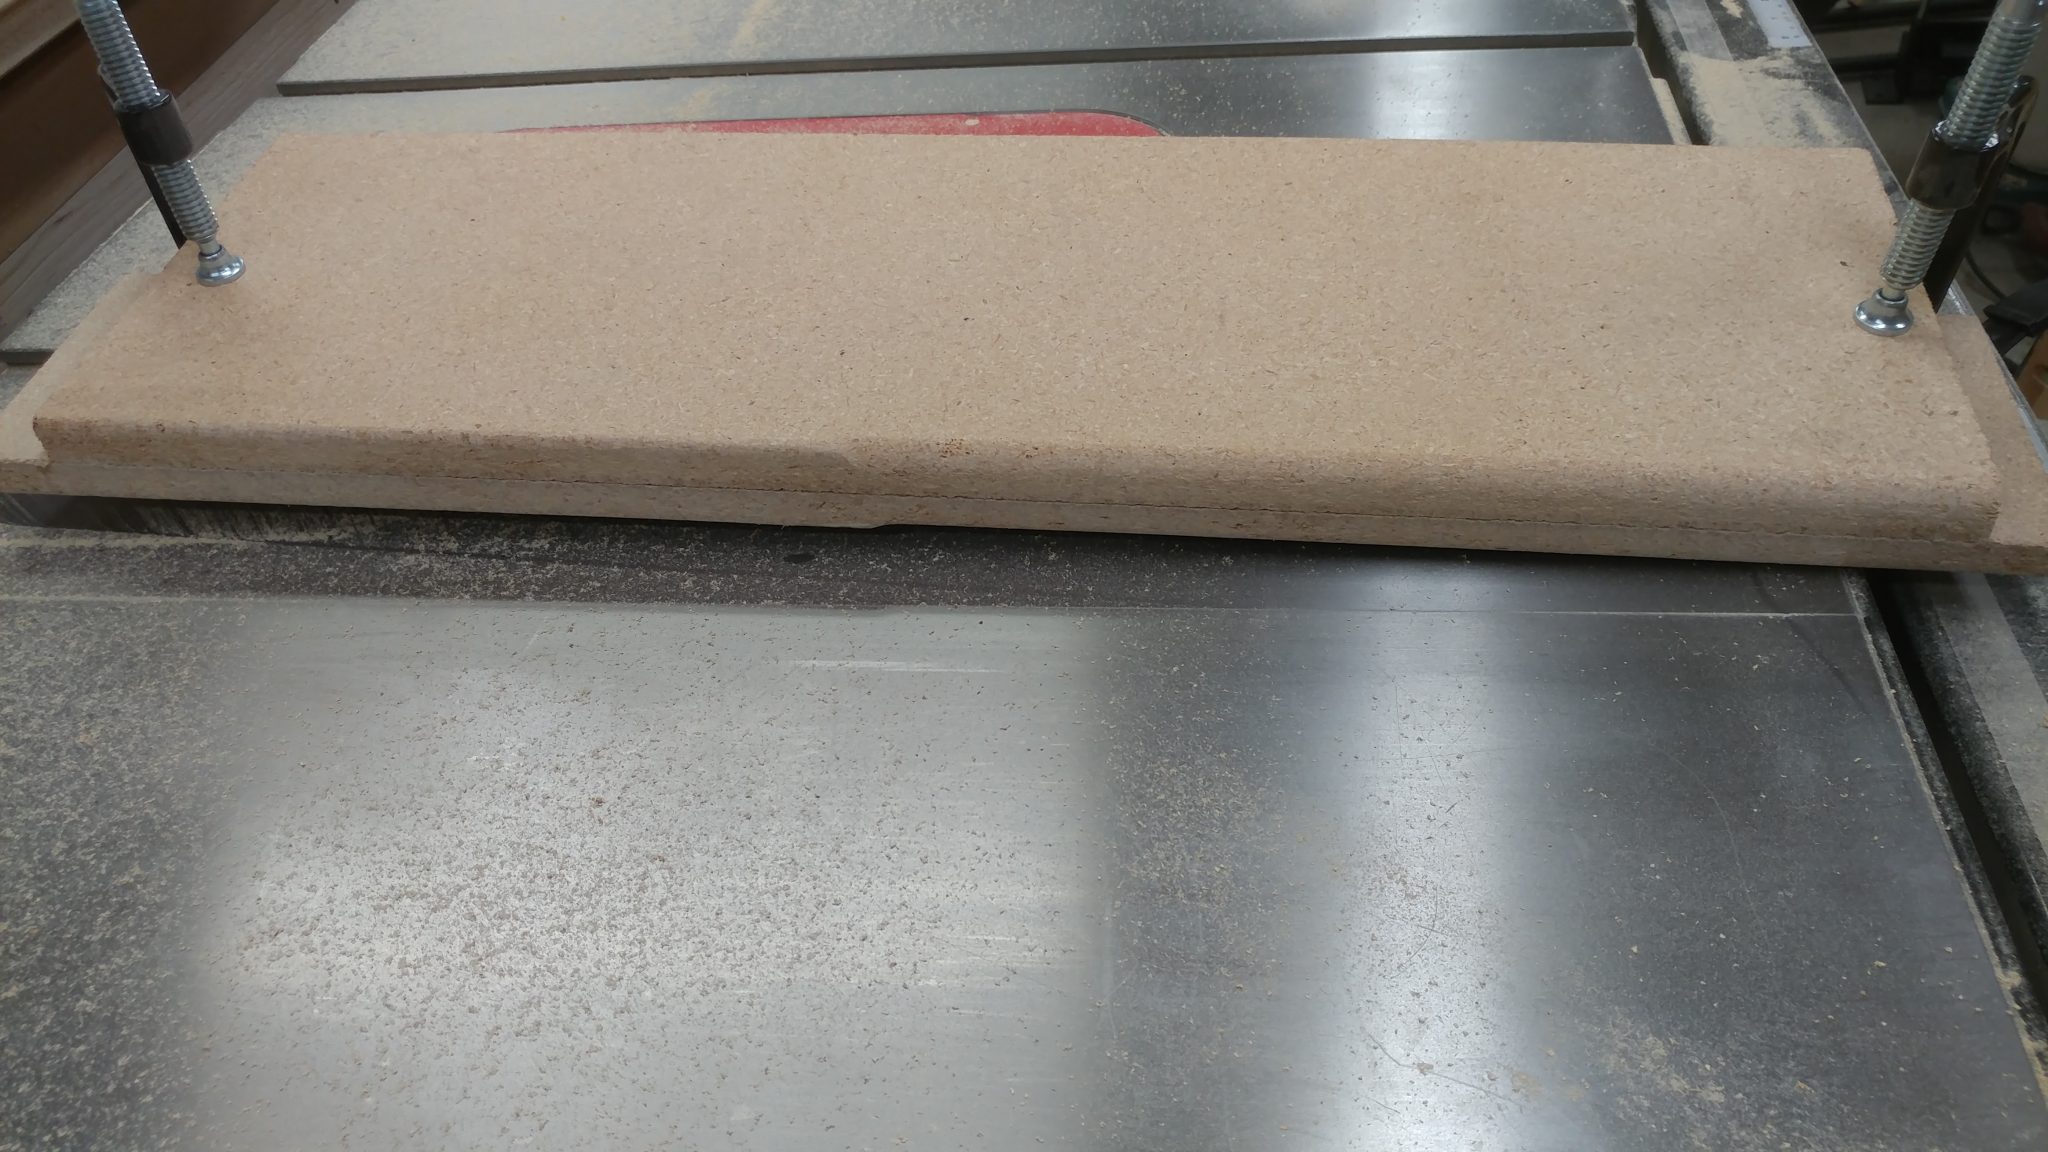
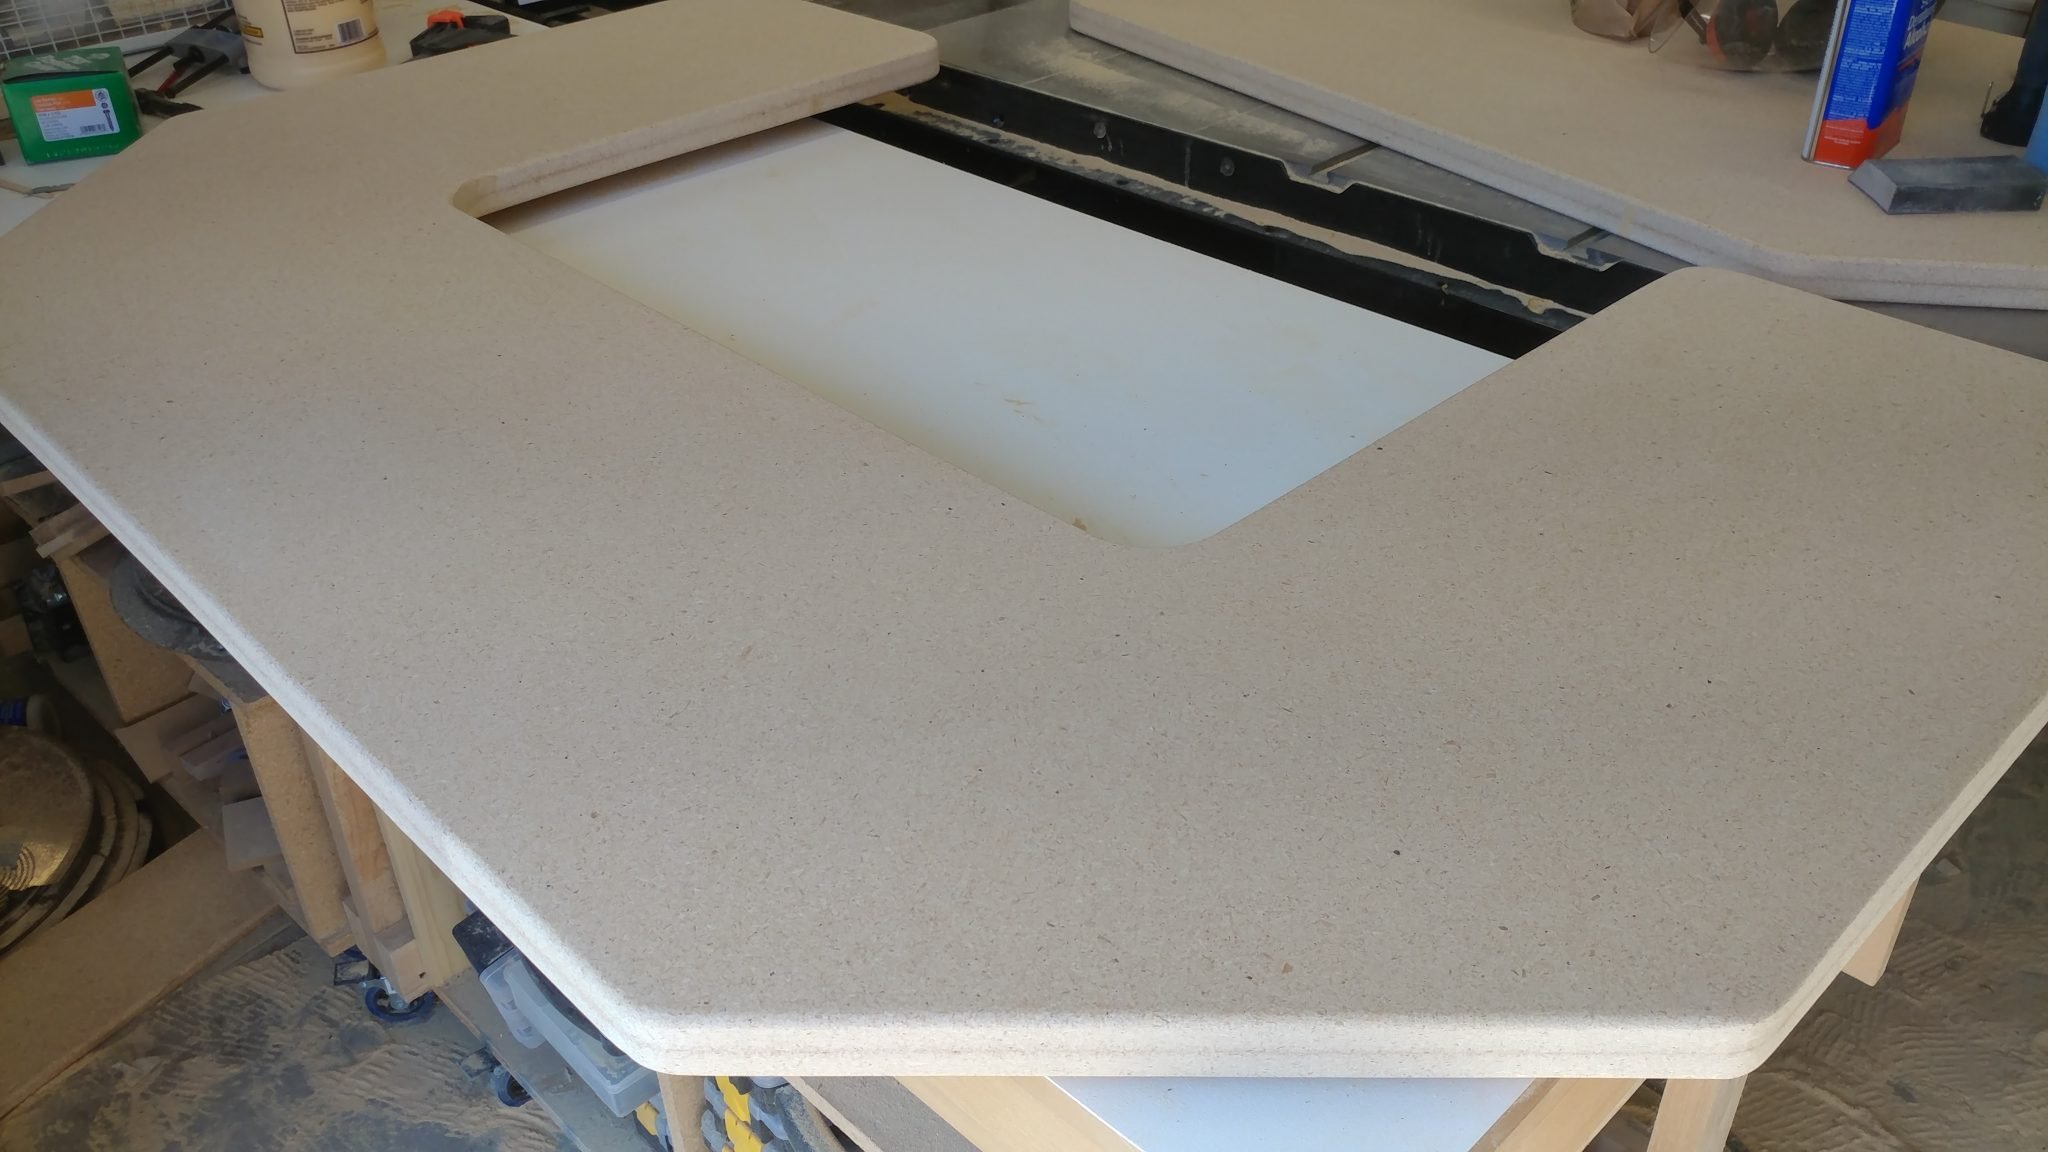
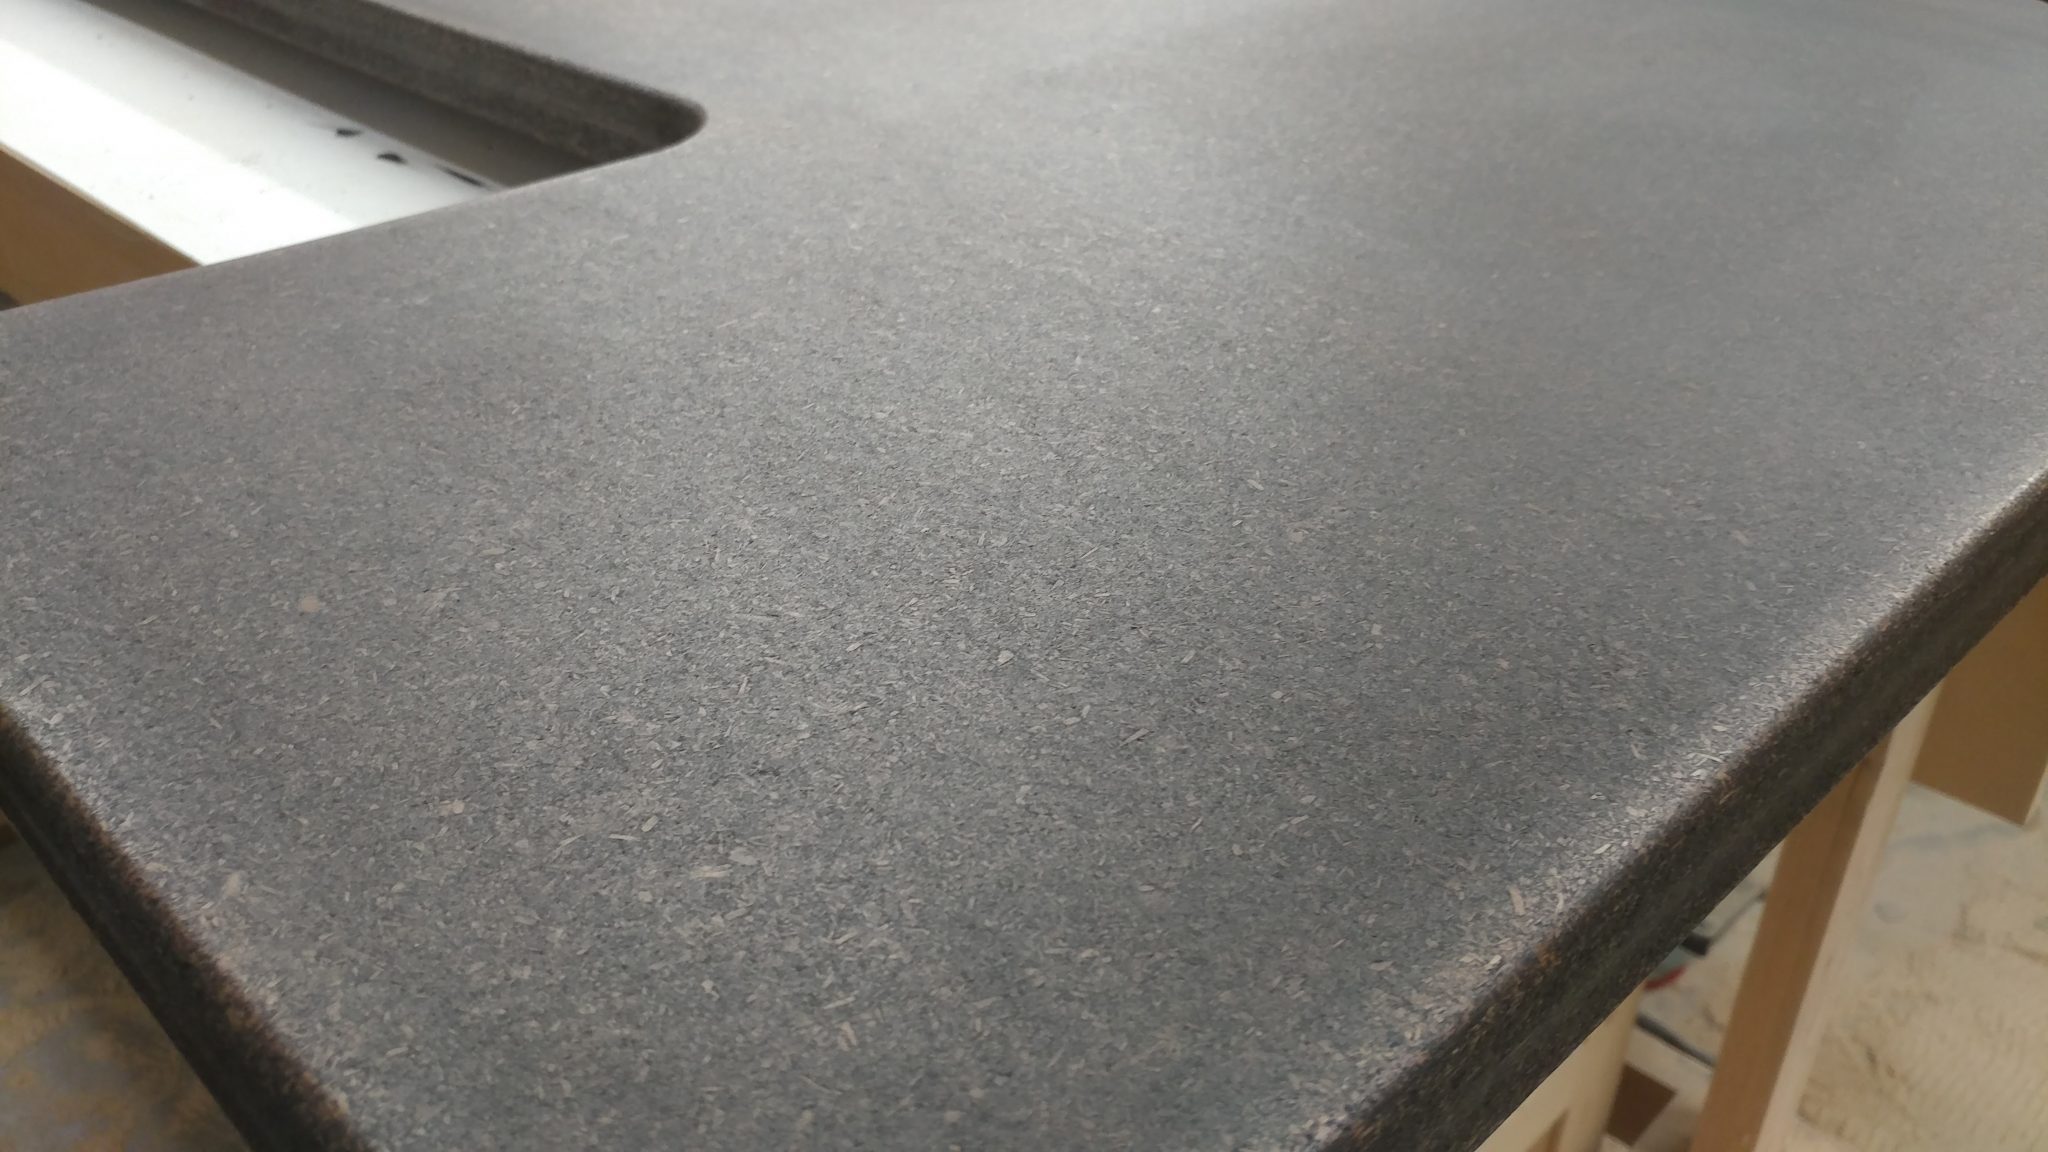
I started with the parts all sanded and ready for stain.


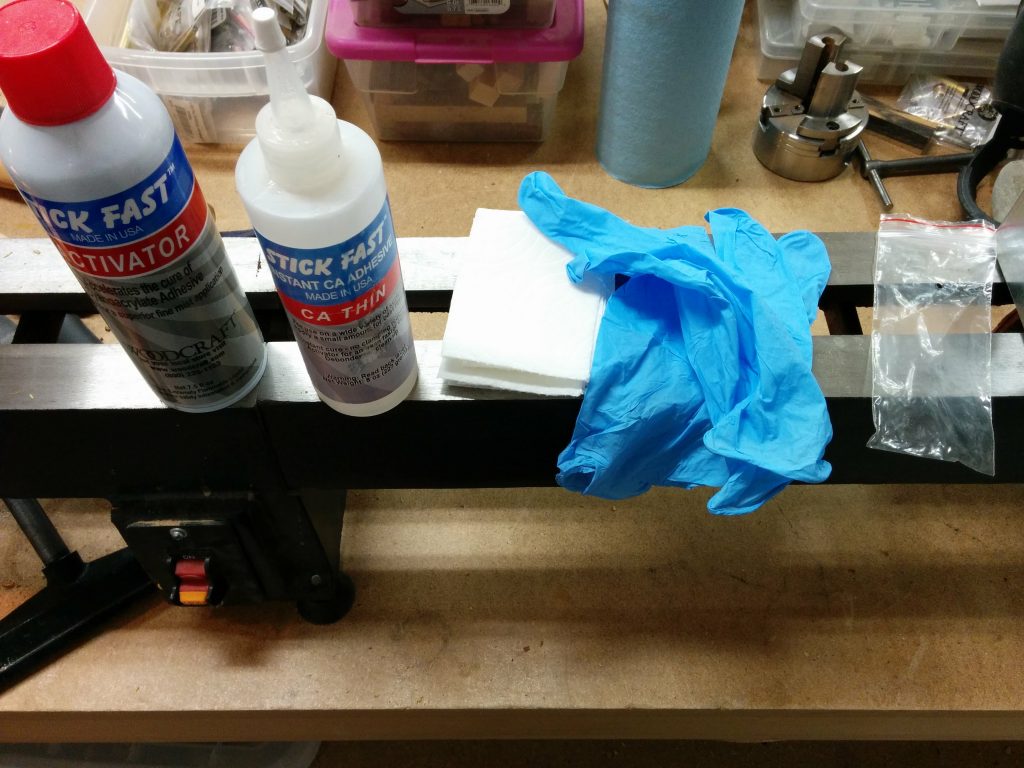
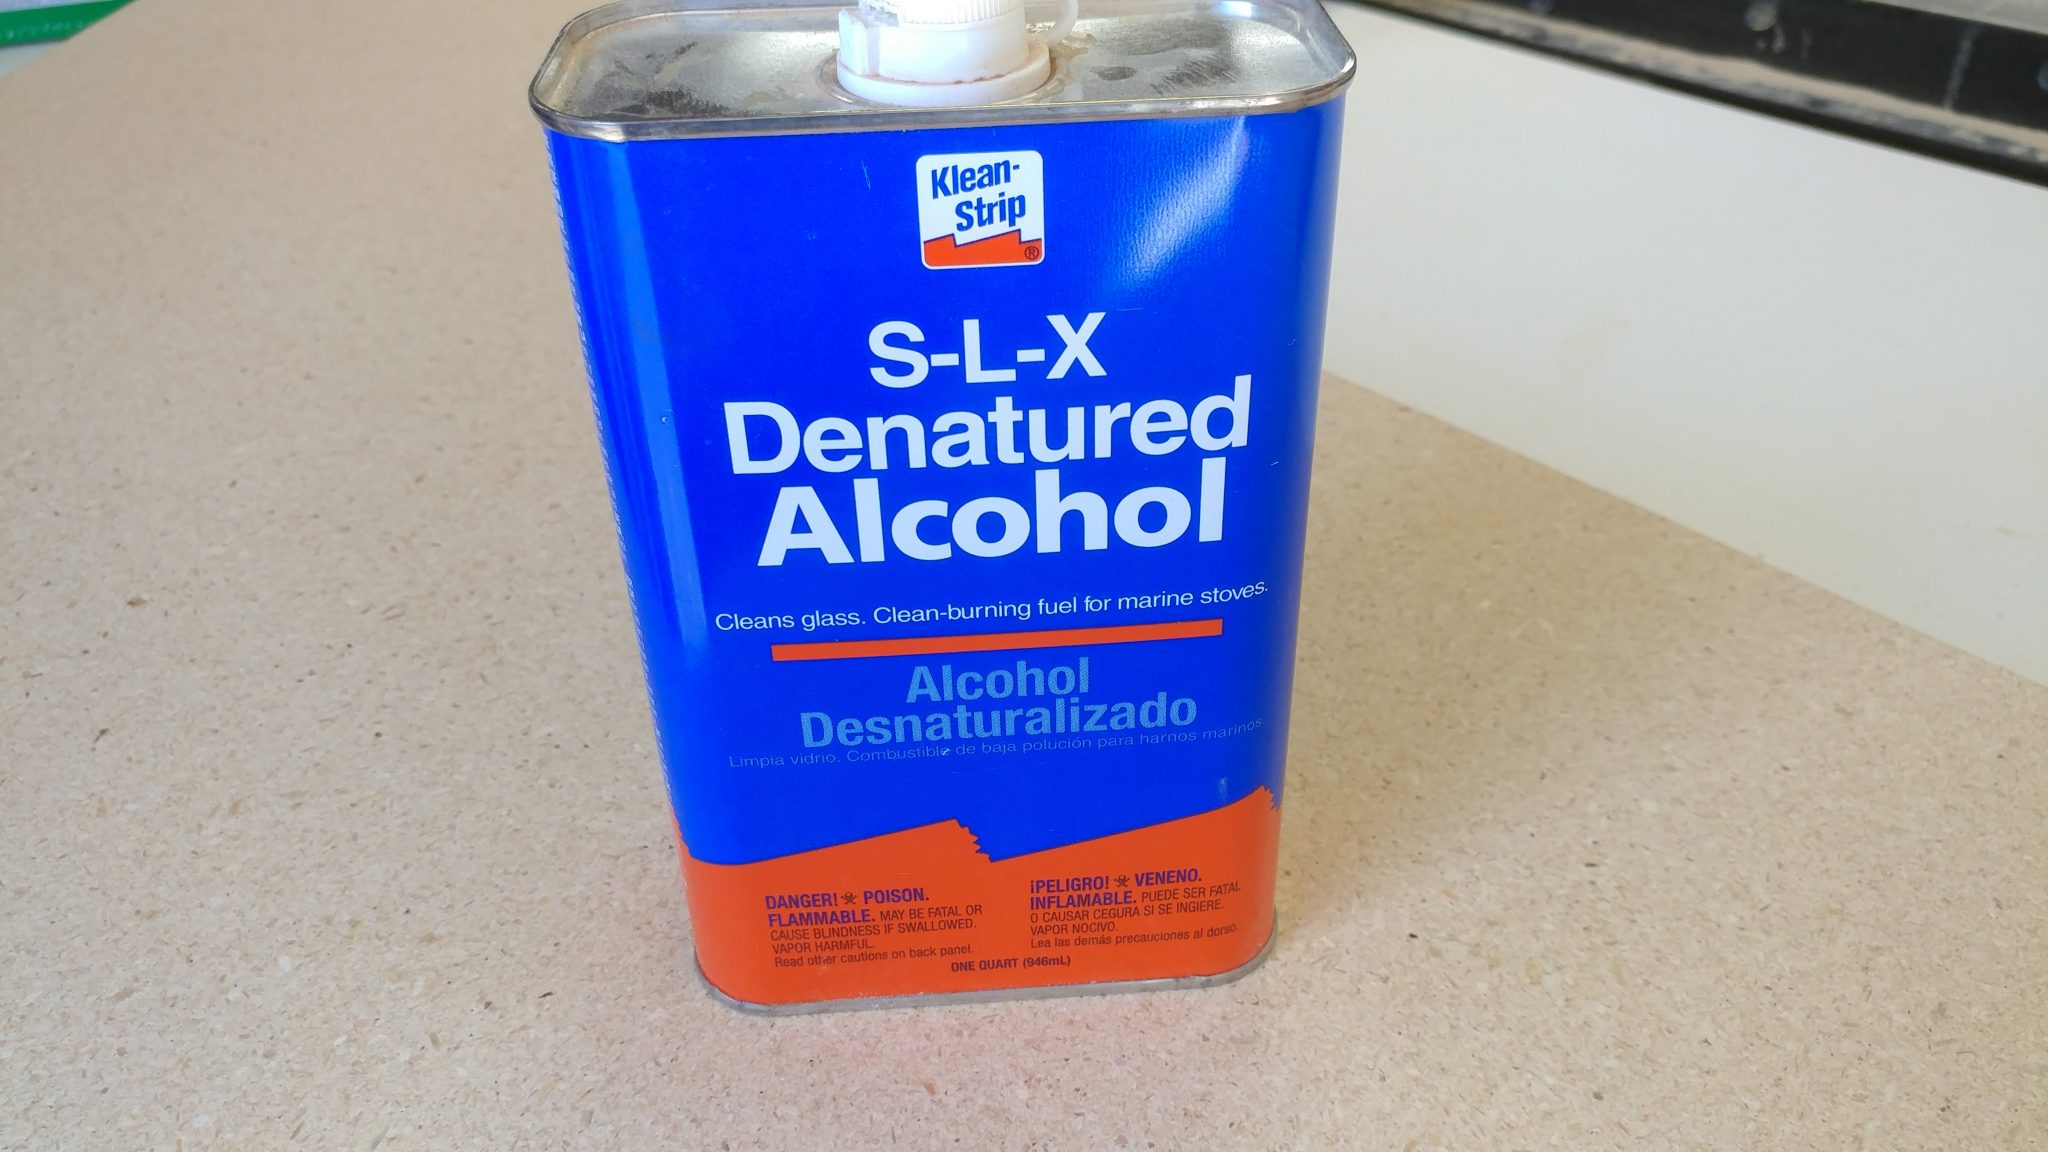
Before applying stain or finish, I like to wipe down the material with denatured alcohol.  This helps remove loose dust particles.


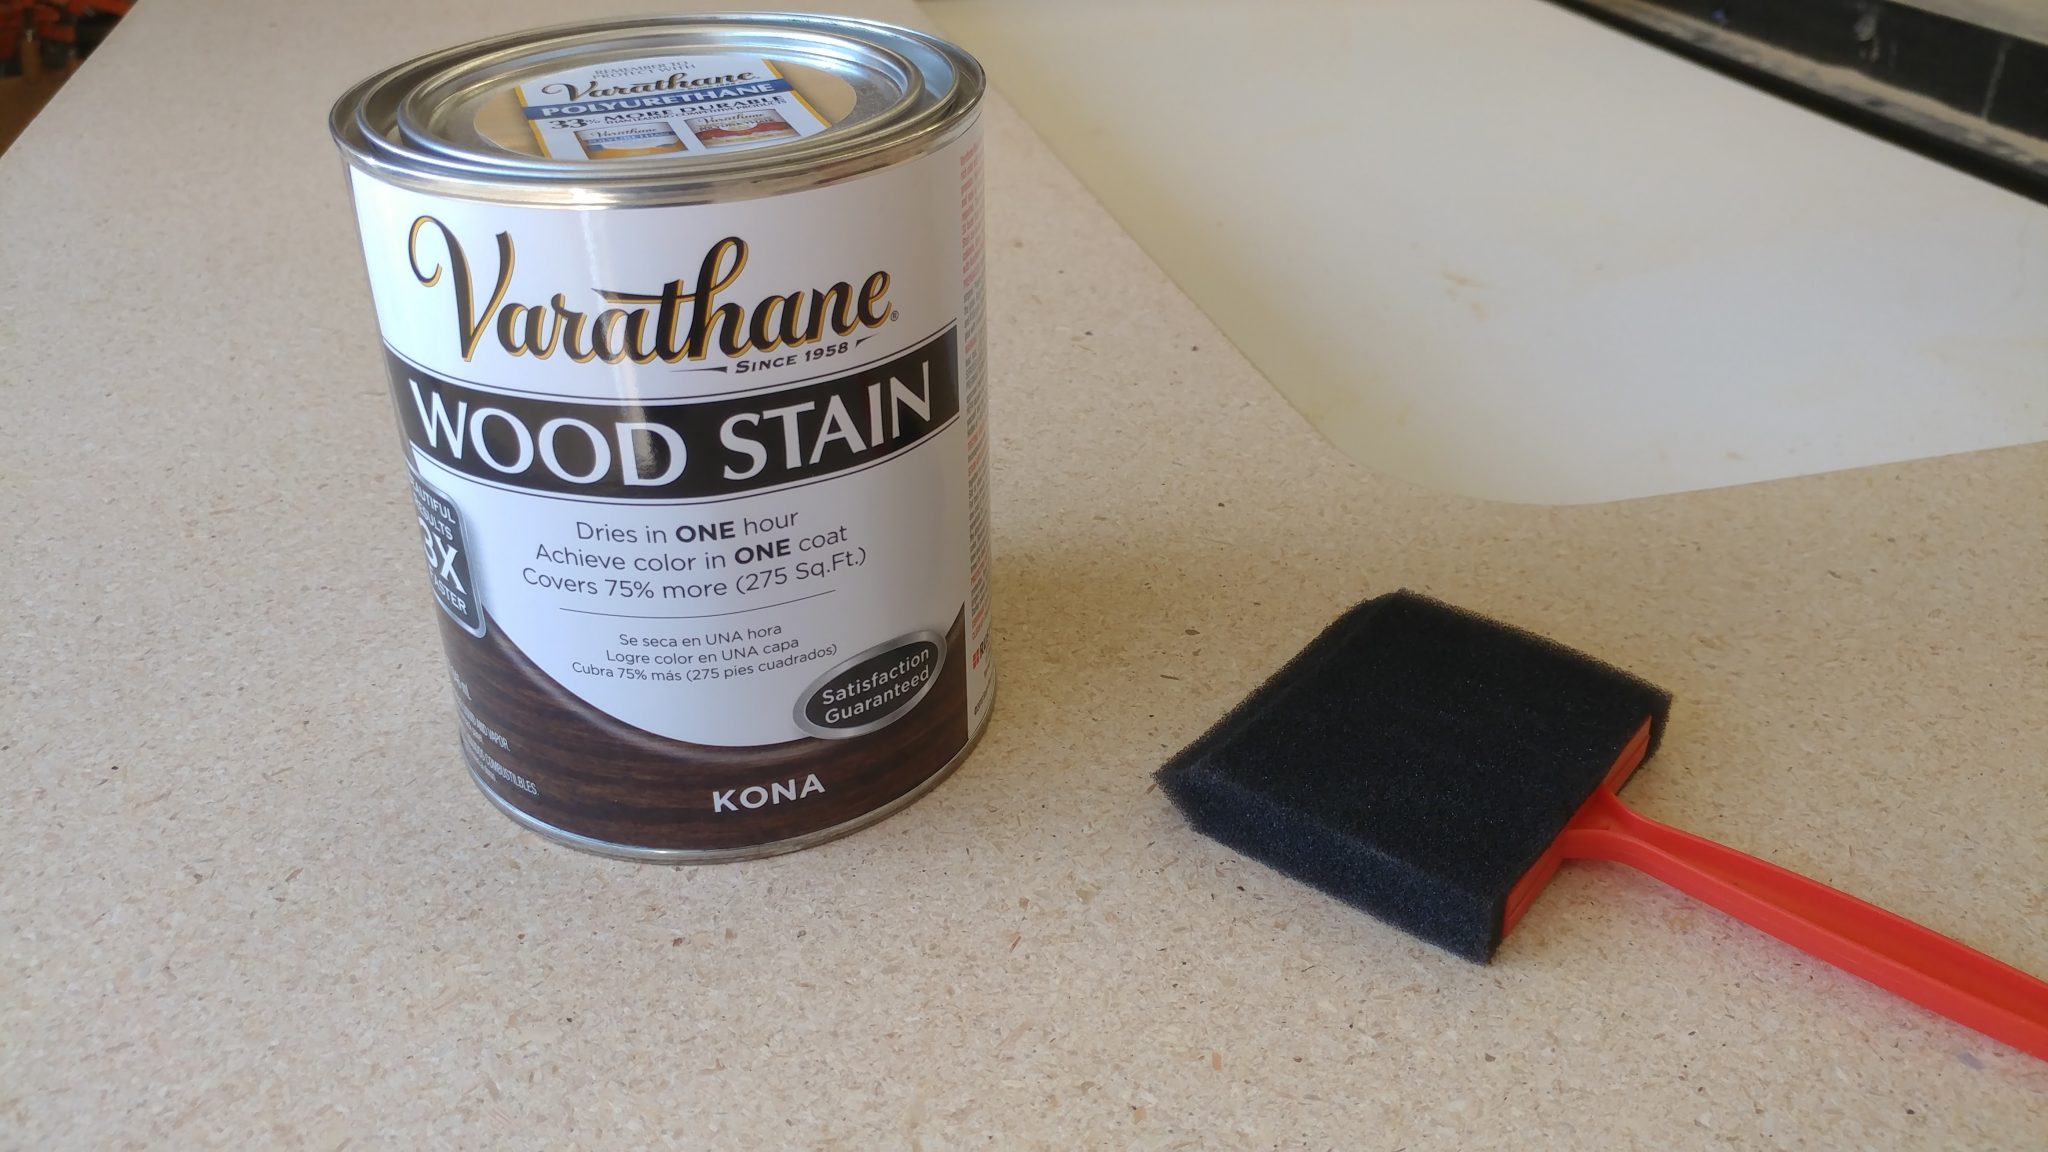
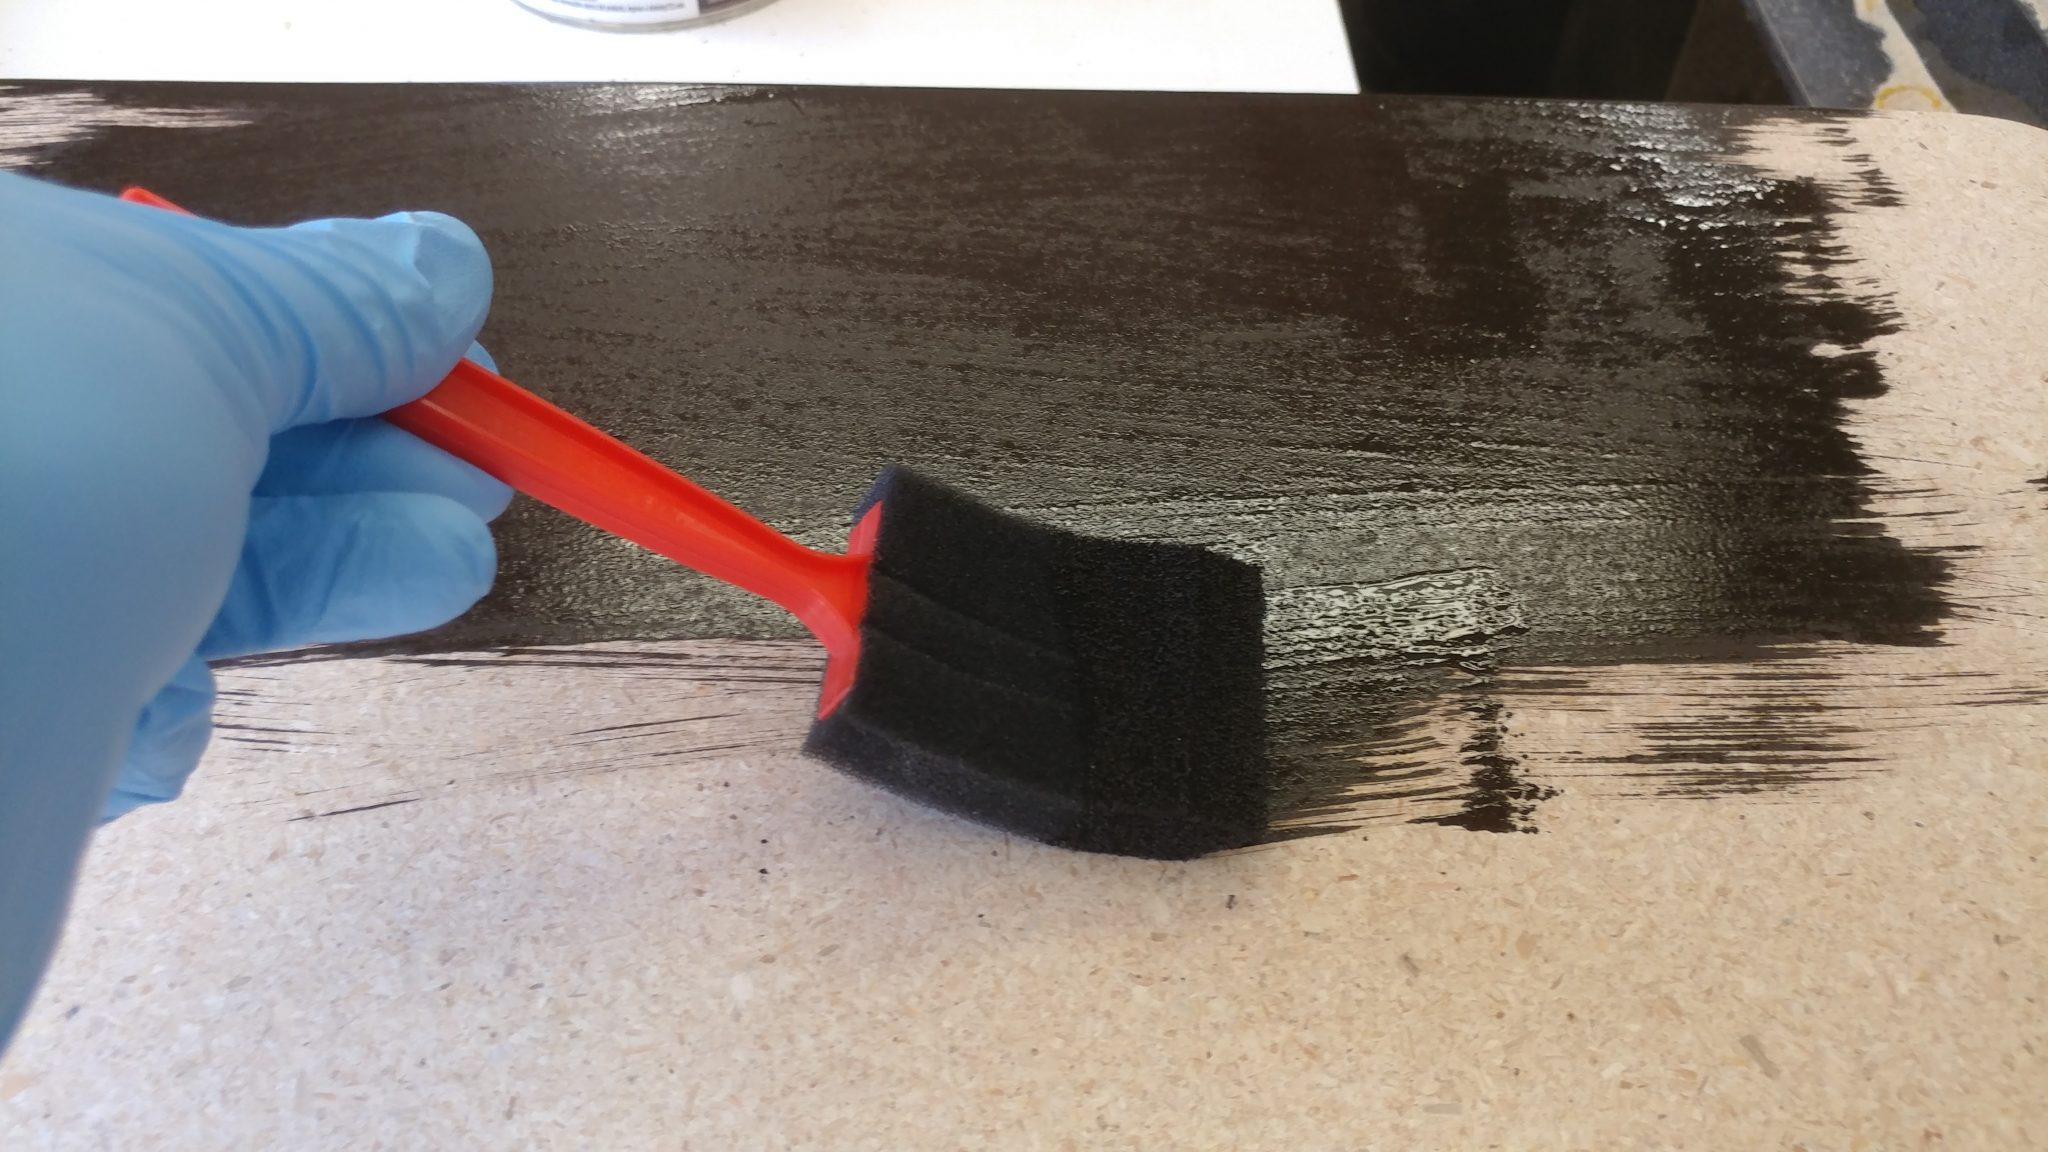
I’m applying Varathane brand Kona wood stain using a cheap foam brush.


I recommend having someone help when staining something this big.  One person can apply the stain and the other can follow up with a towel to remove the excess after letting it sit for a few minutes.  Since it was just me working on this, I had to apply the stain in sections and then wipe it off before moving on to the next section.  This can be tricky since the stain can overlap and make for darker sections.


I used blue shop towels to wipe up the excess stain.


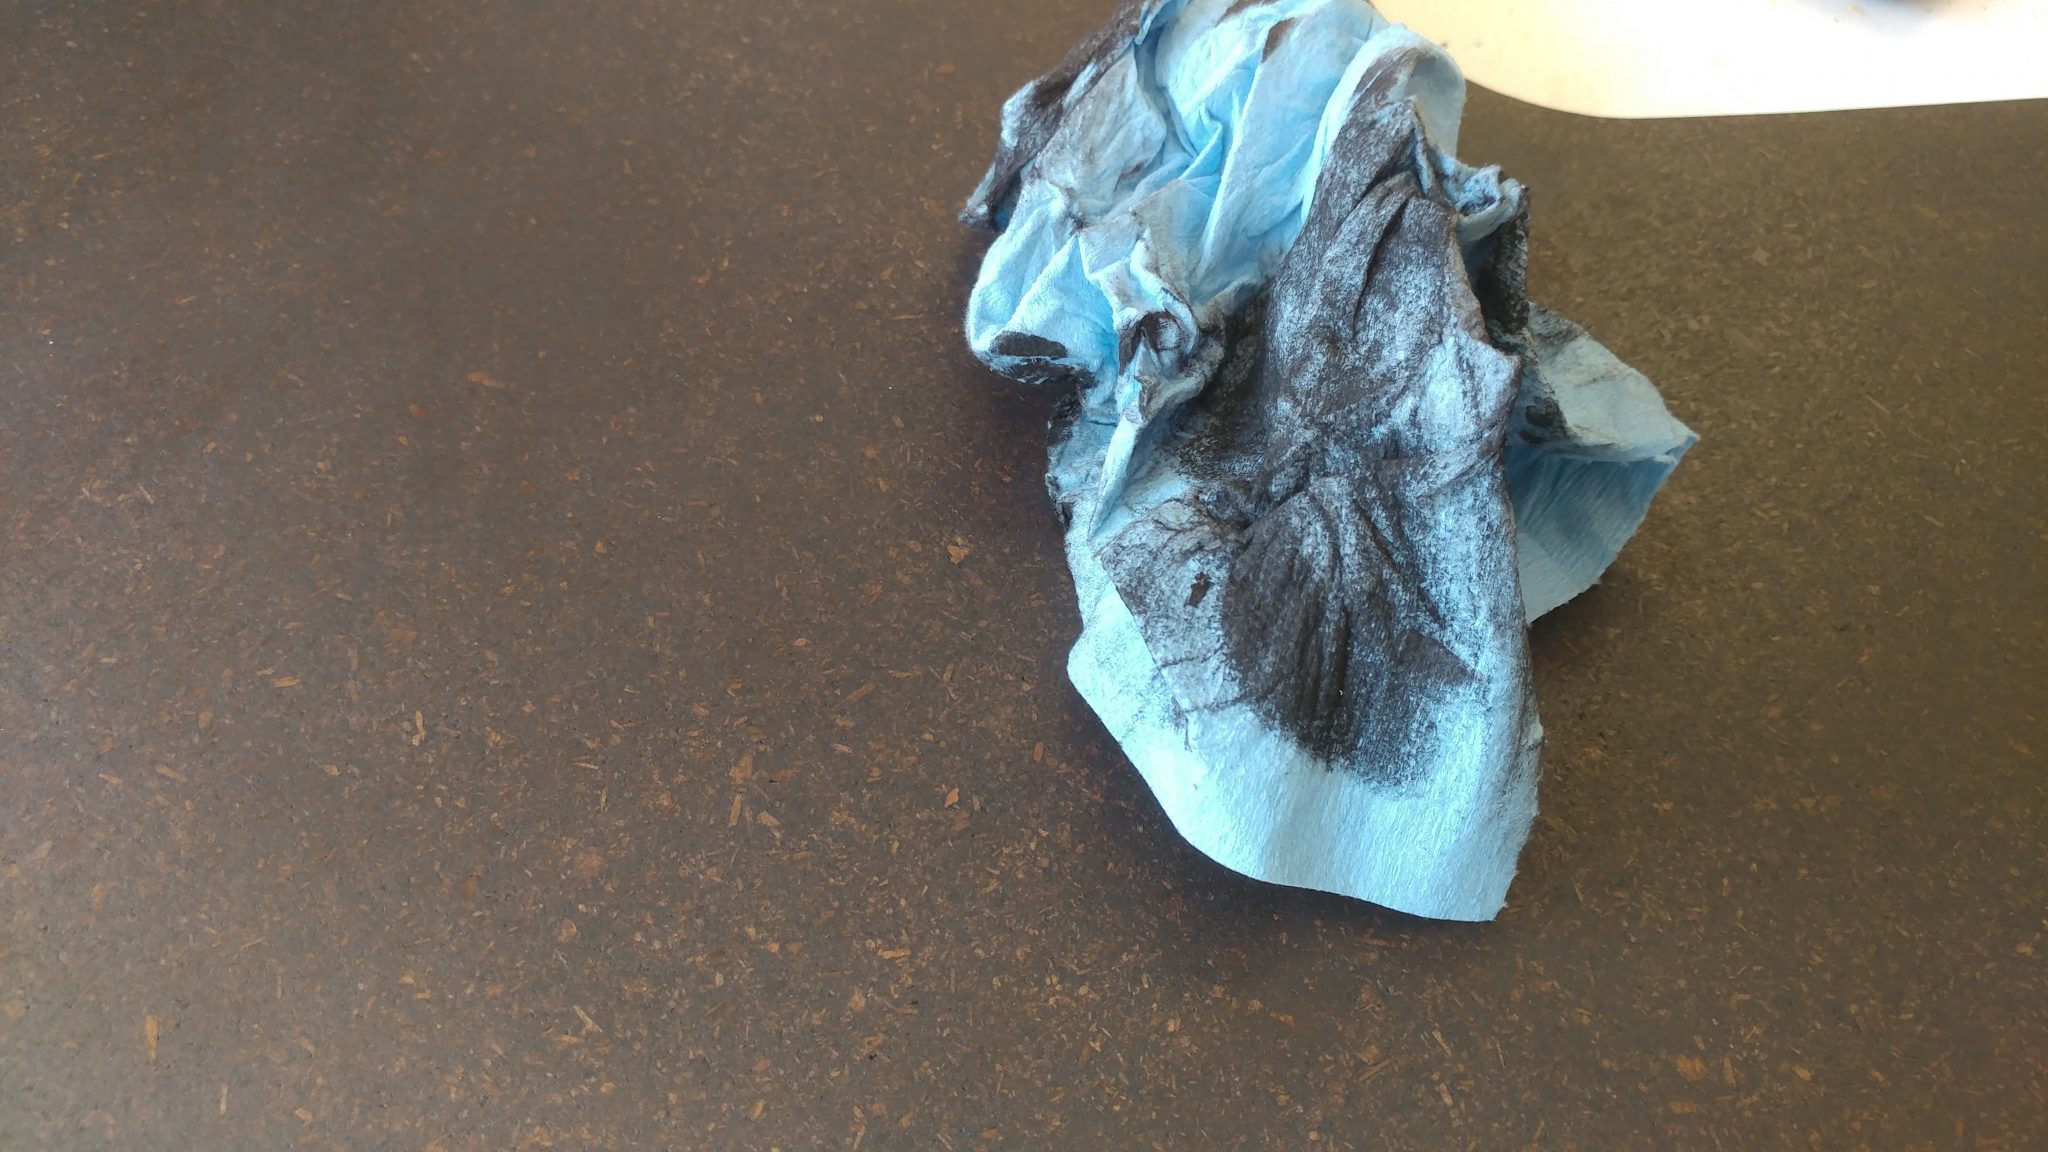
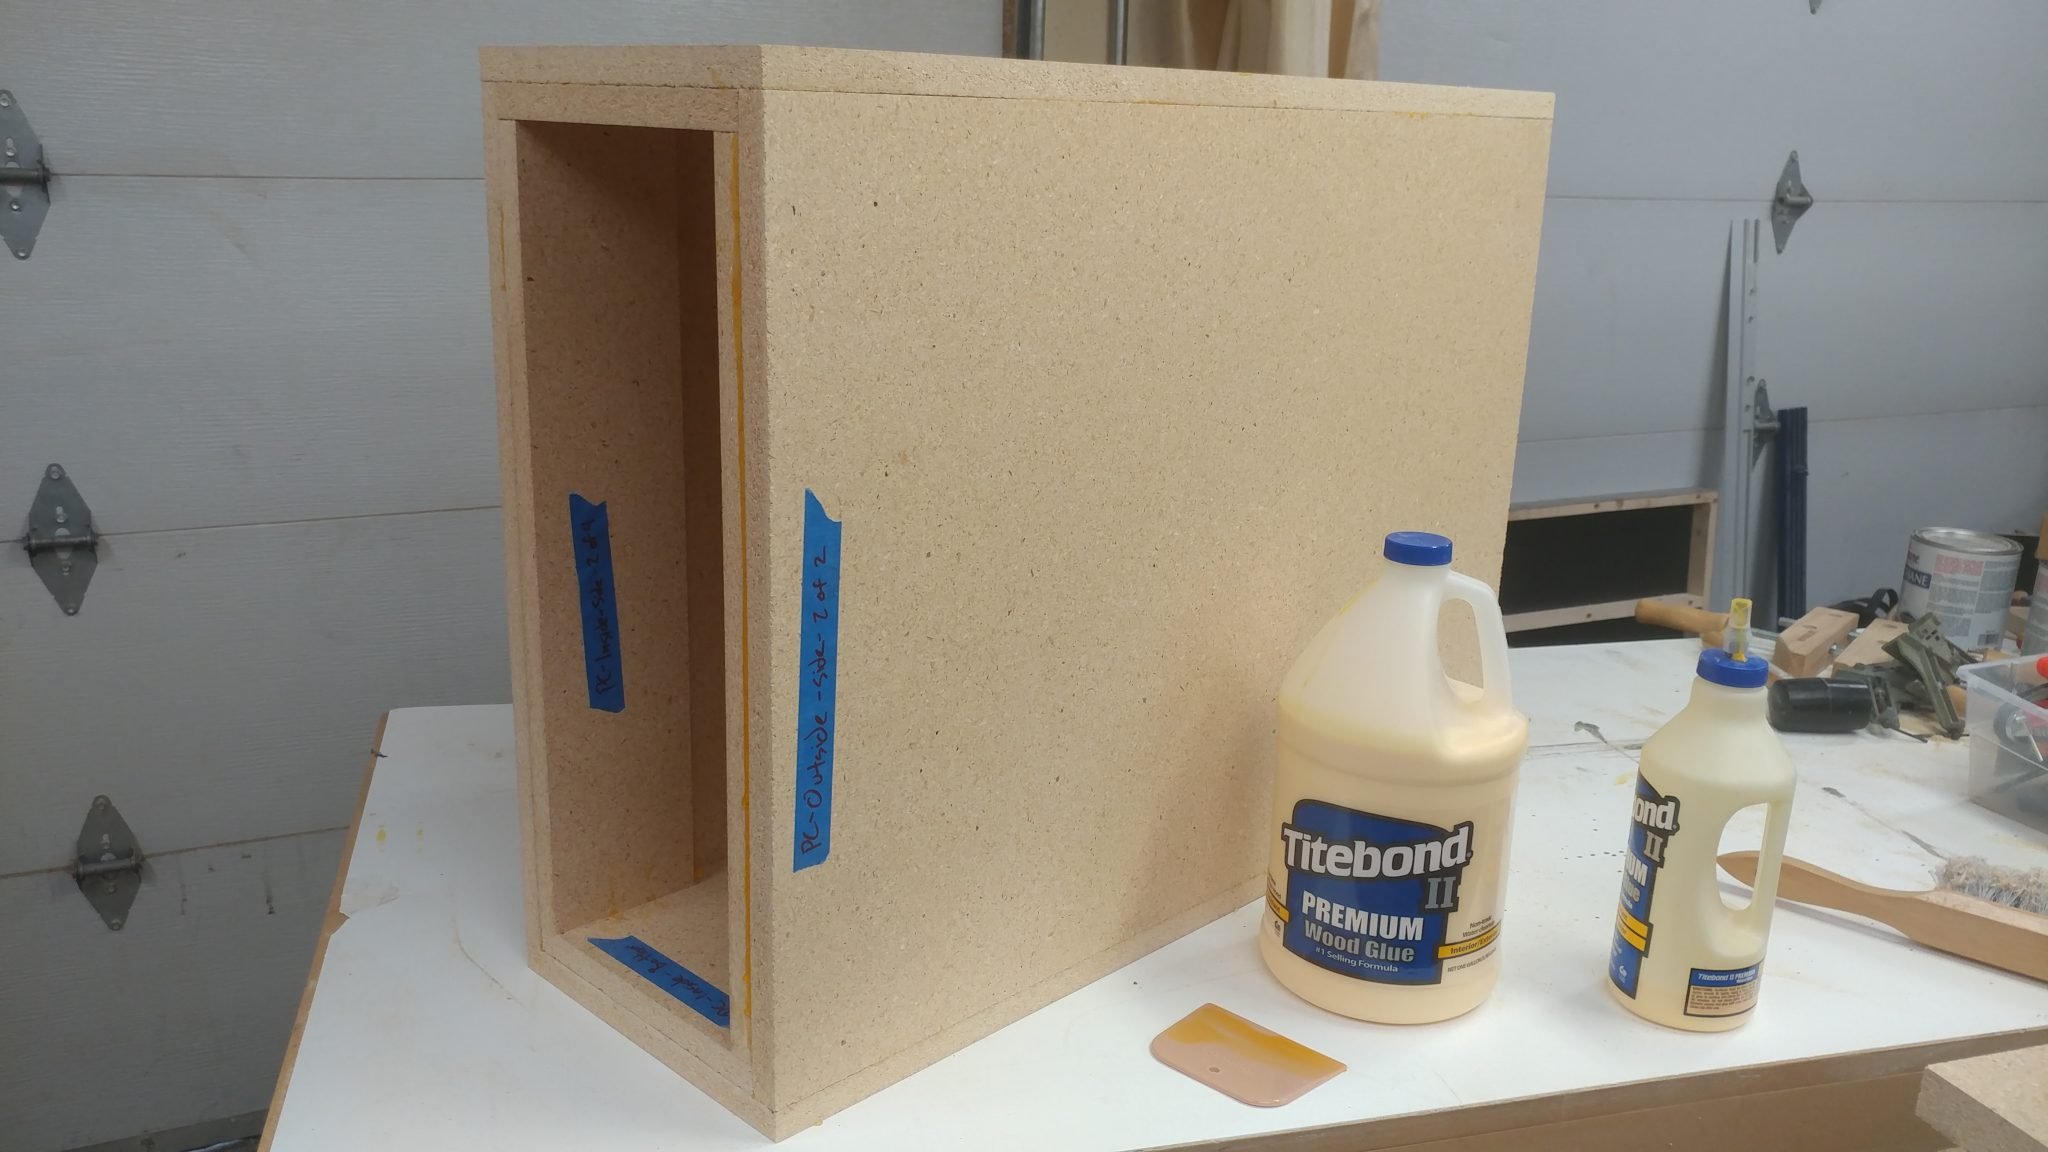
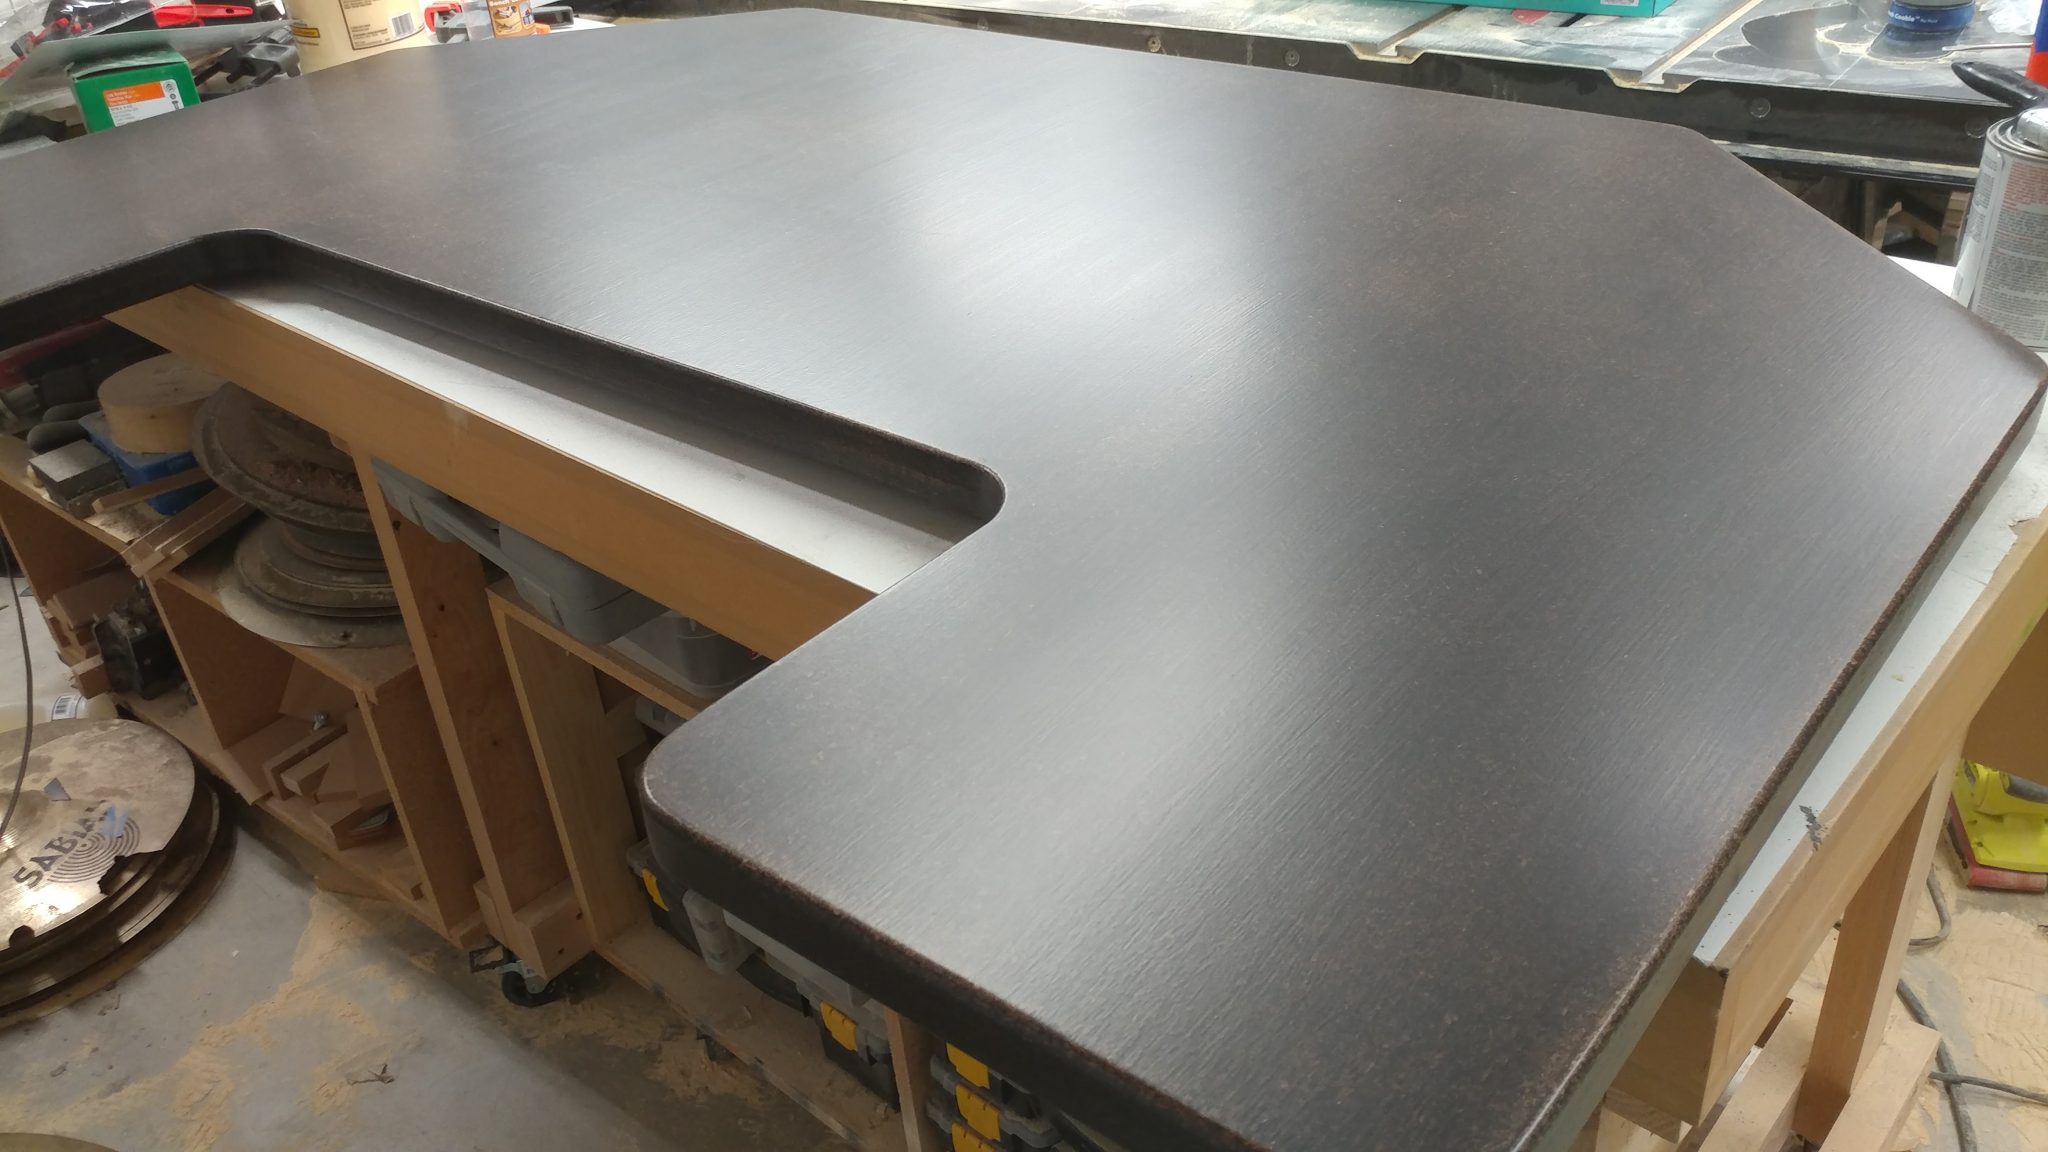
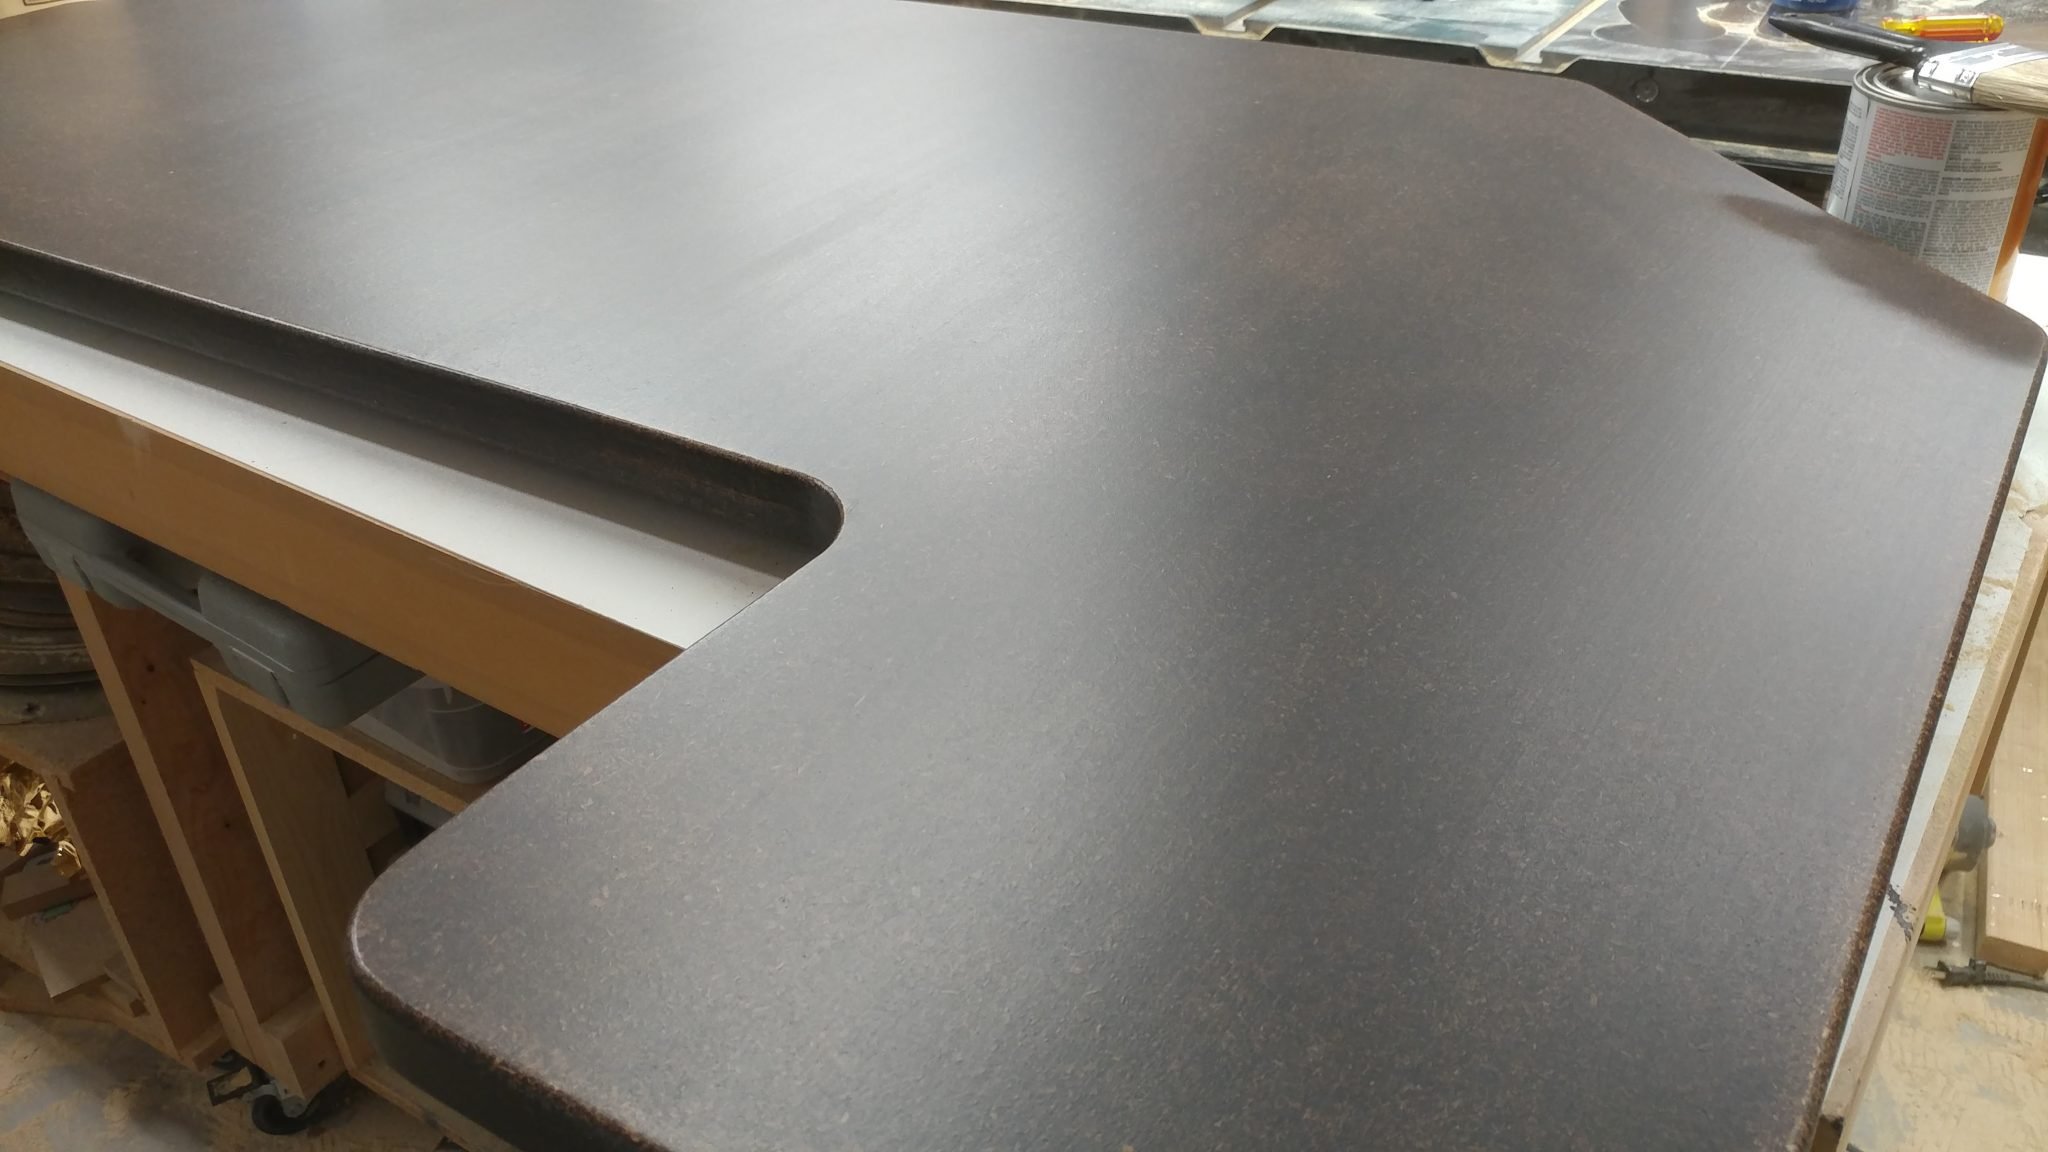
I really like the look of the particleboard with the Kona stain applied.


I applied the stain to one side and let it sit overnight, then applied to the opposite side.


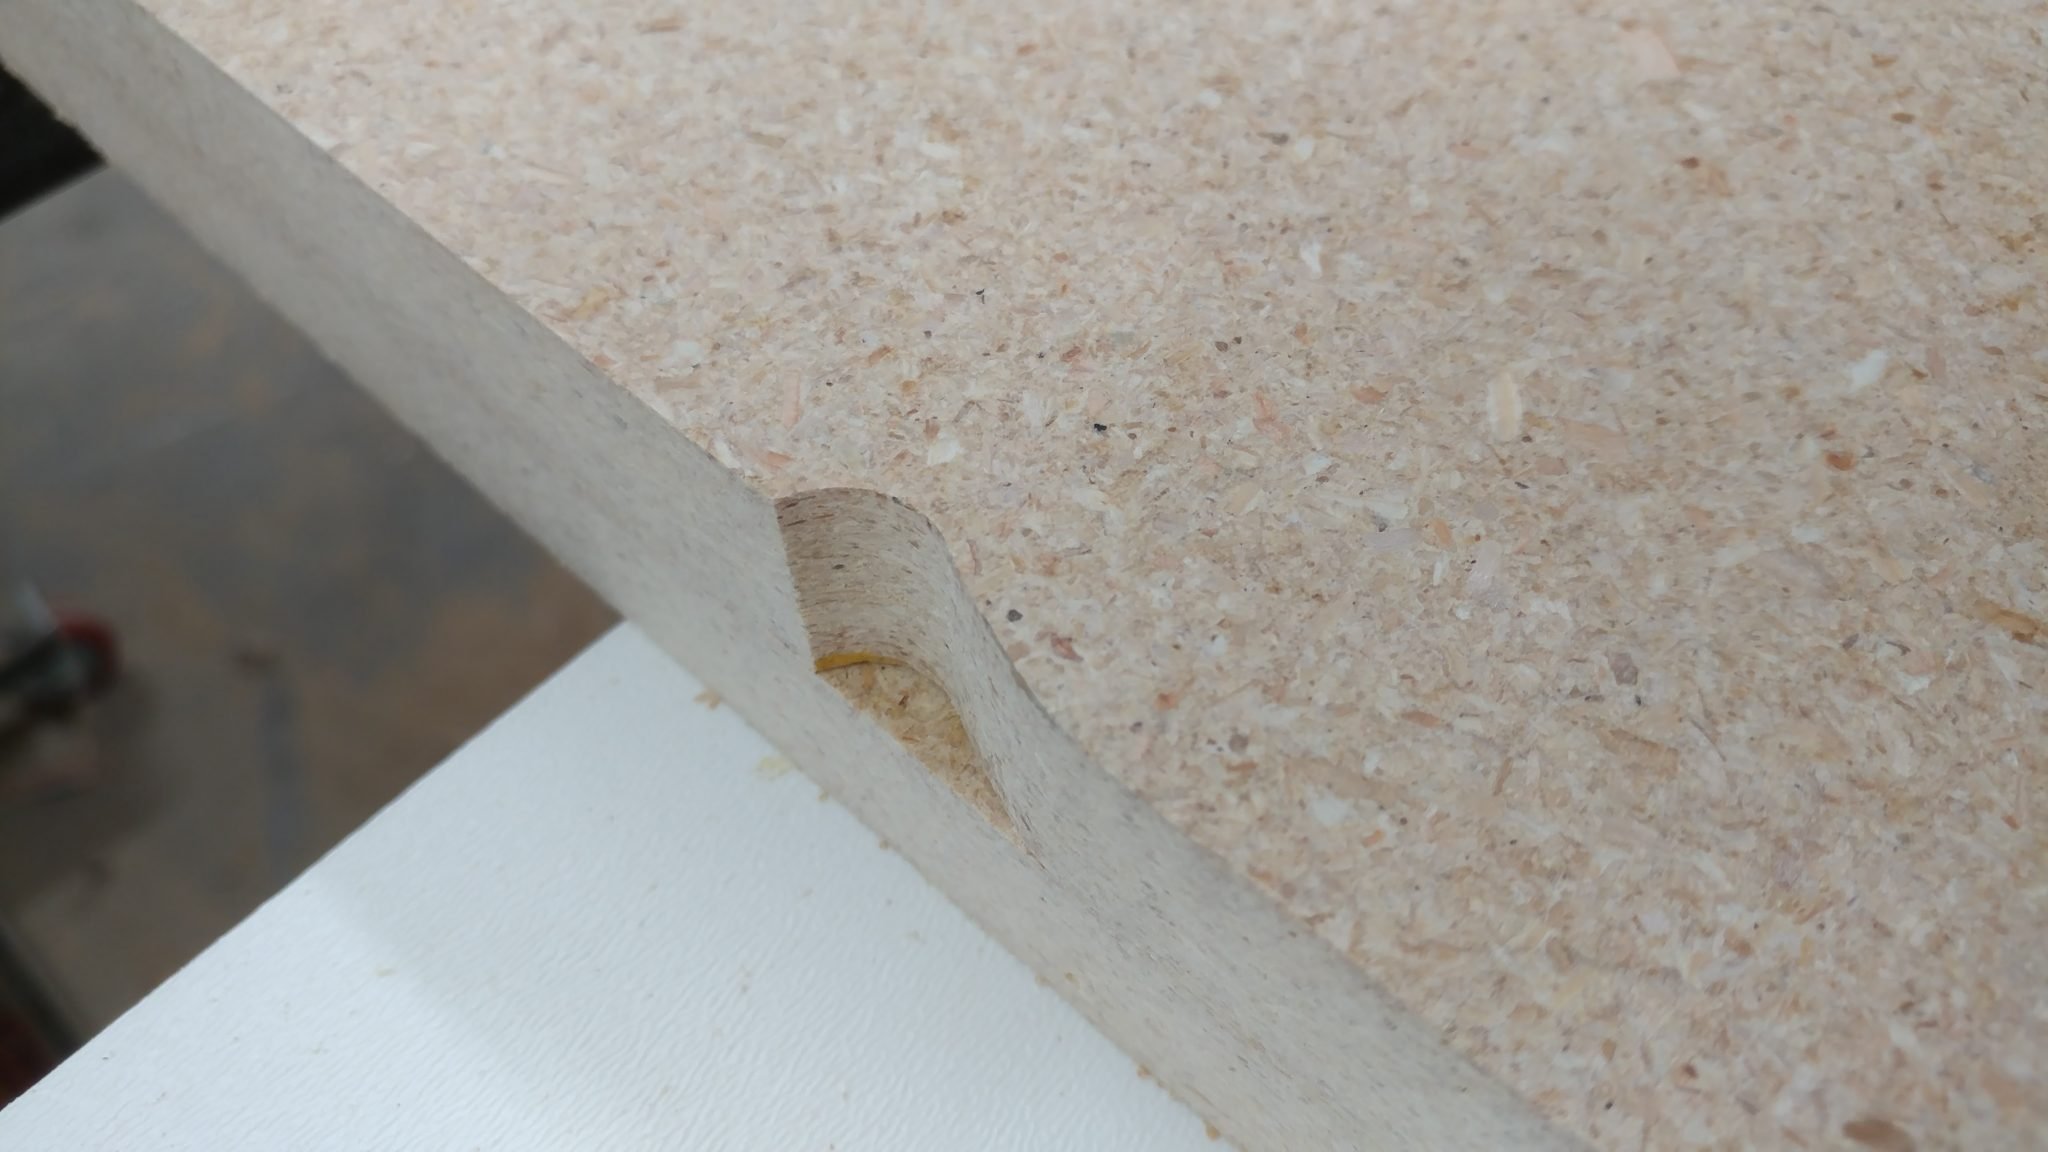
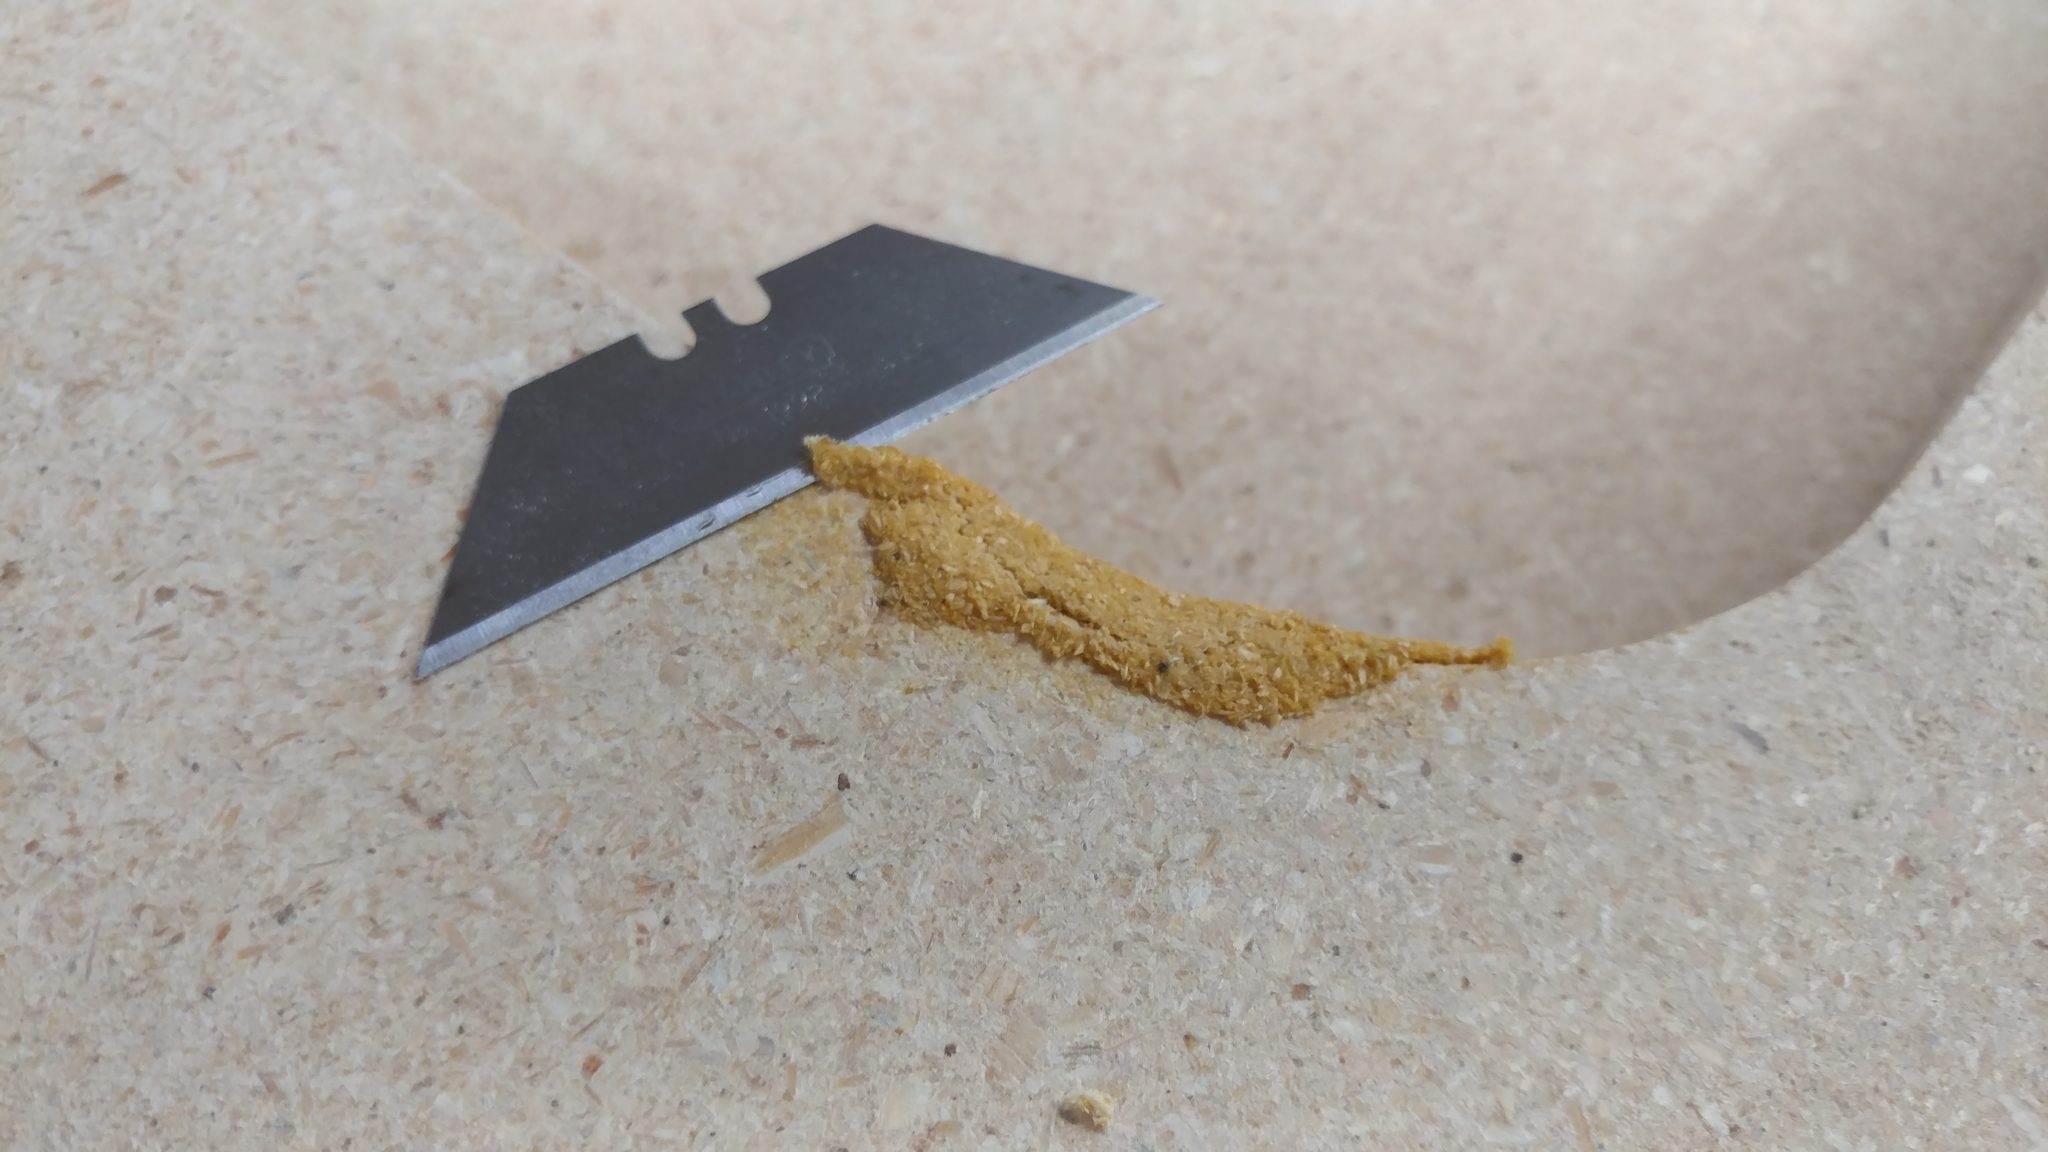
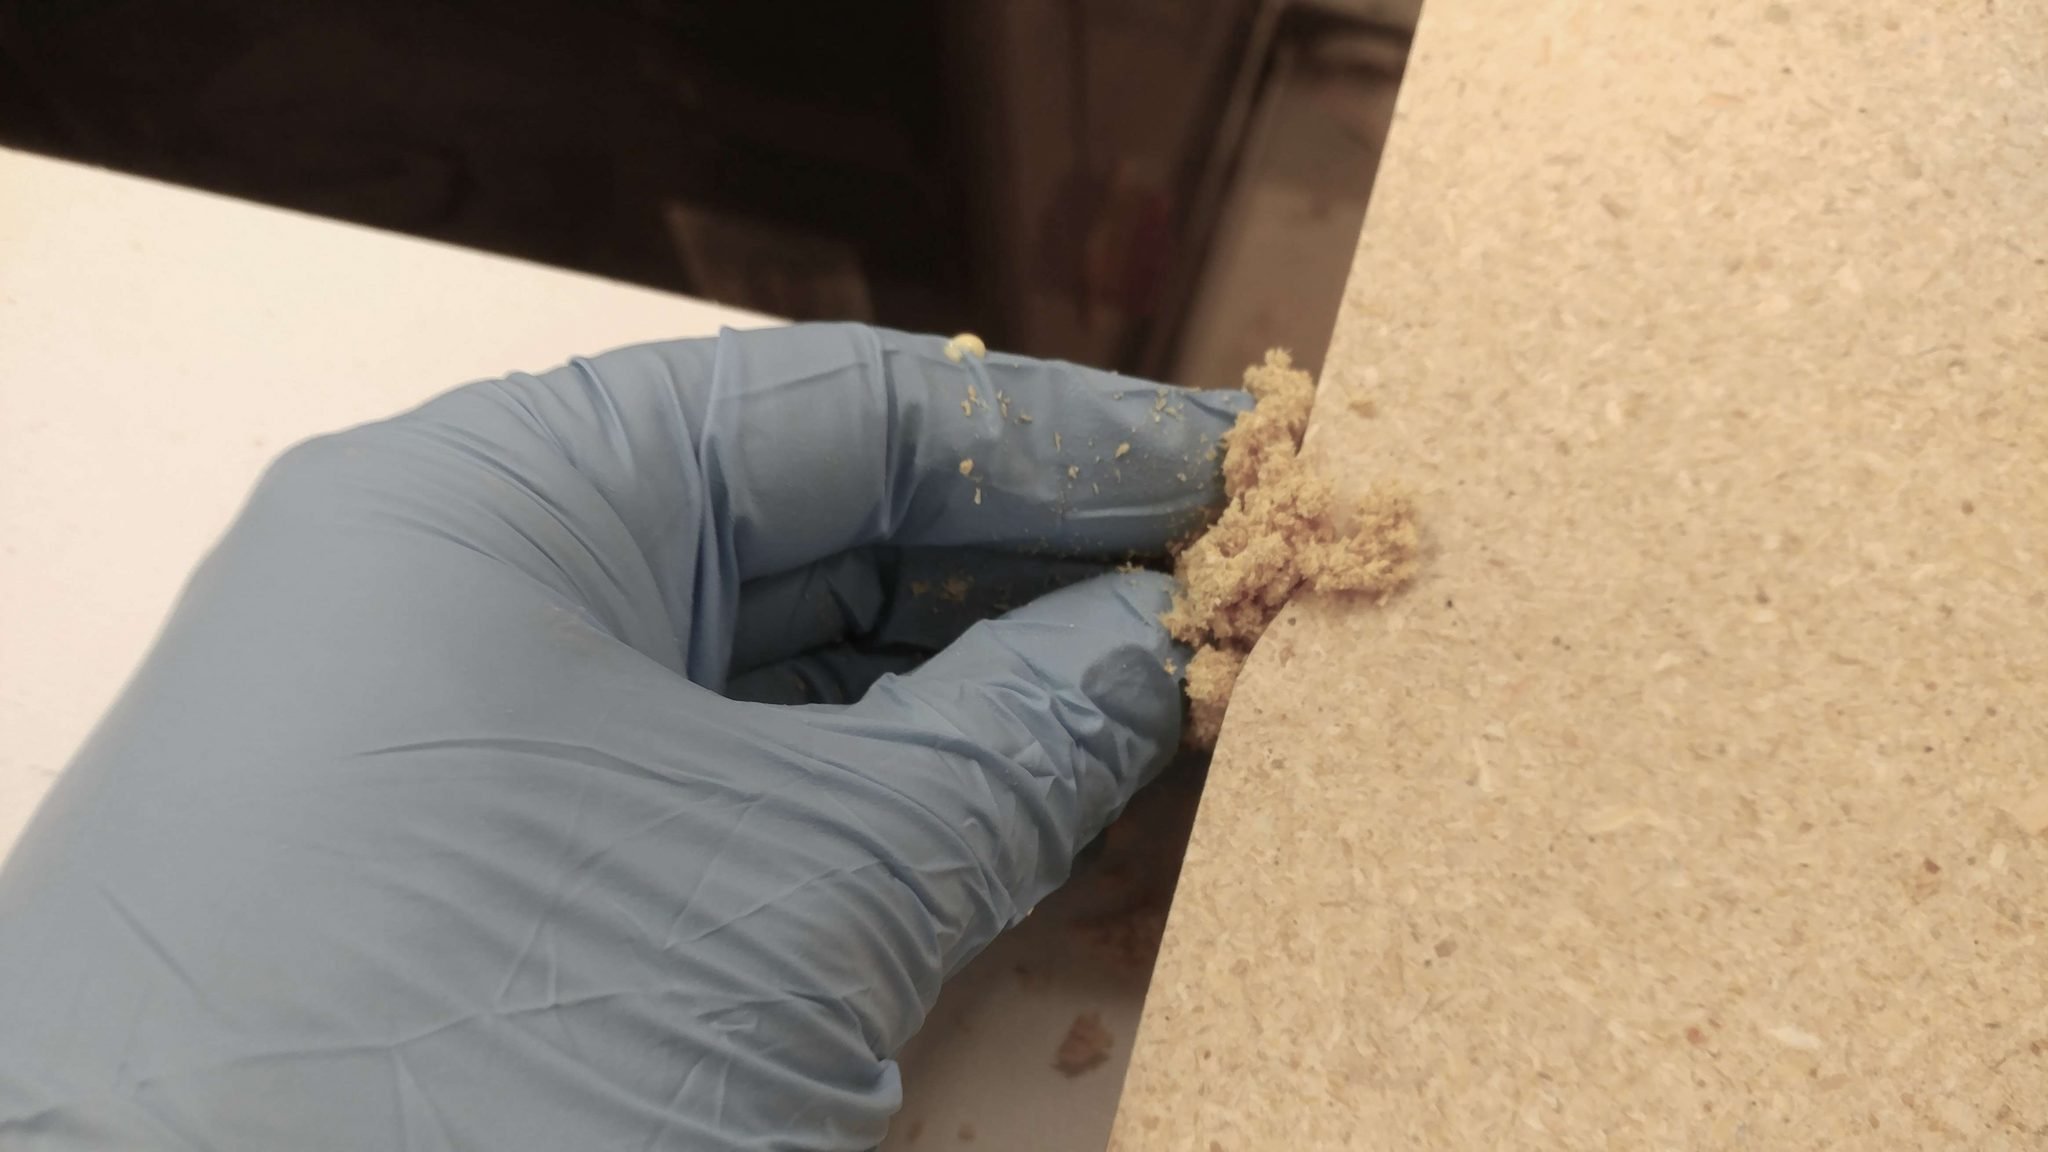
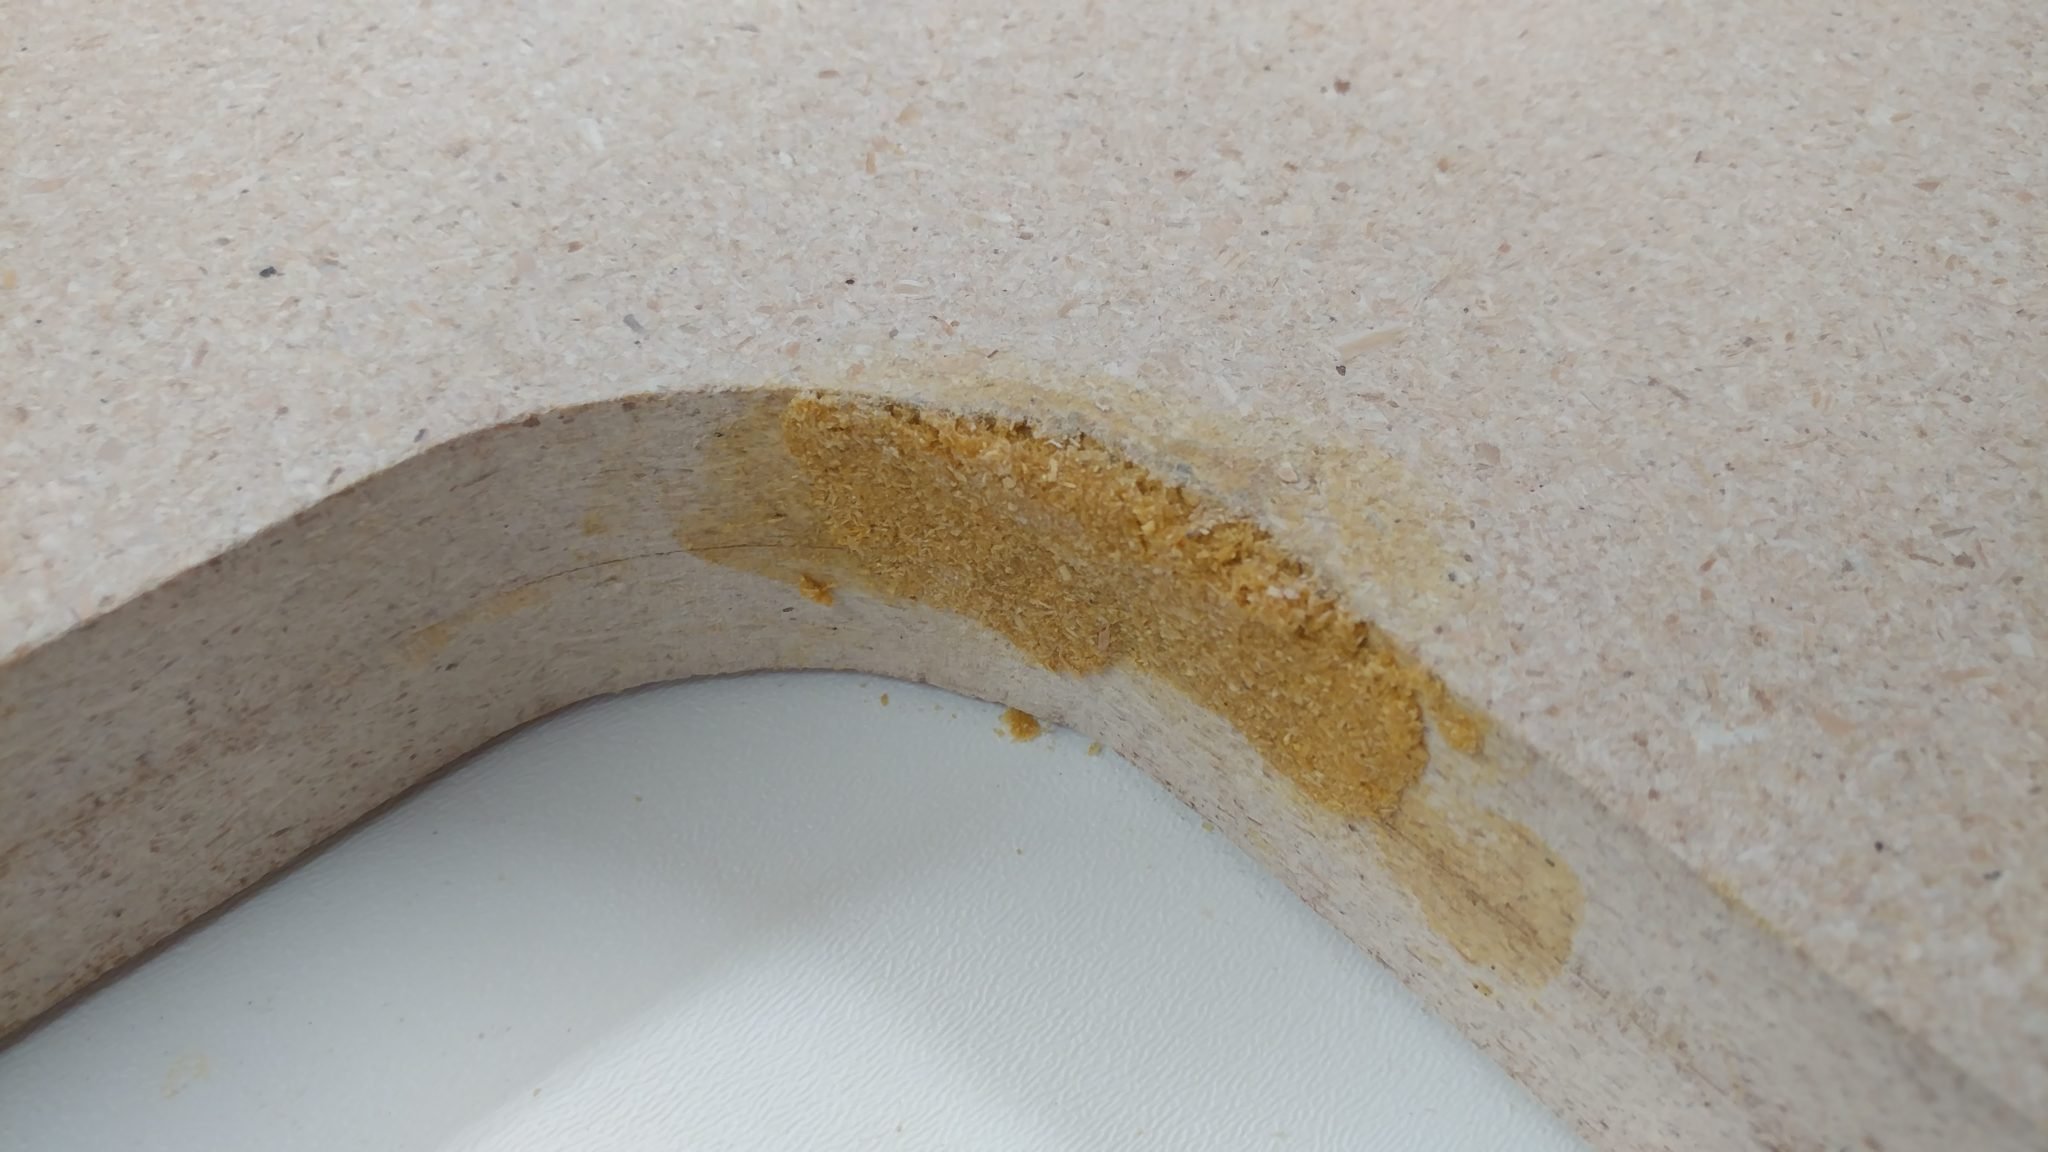
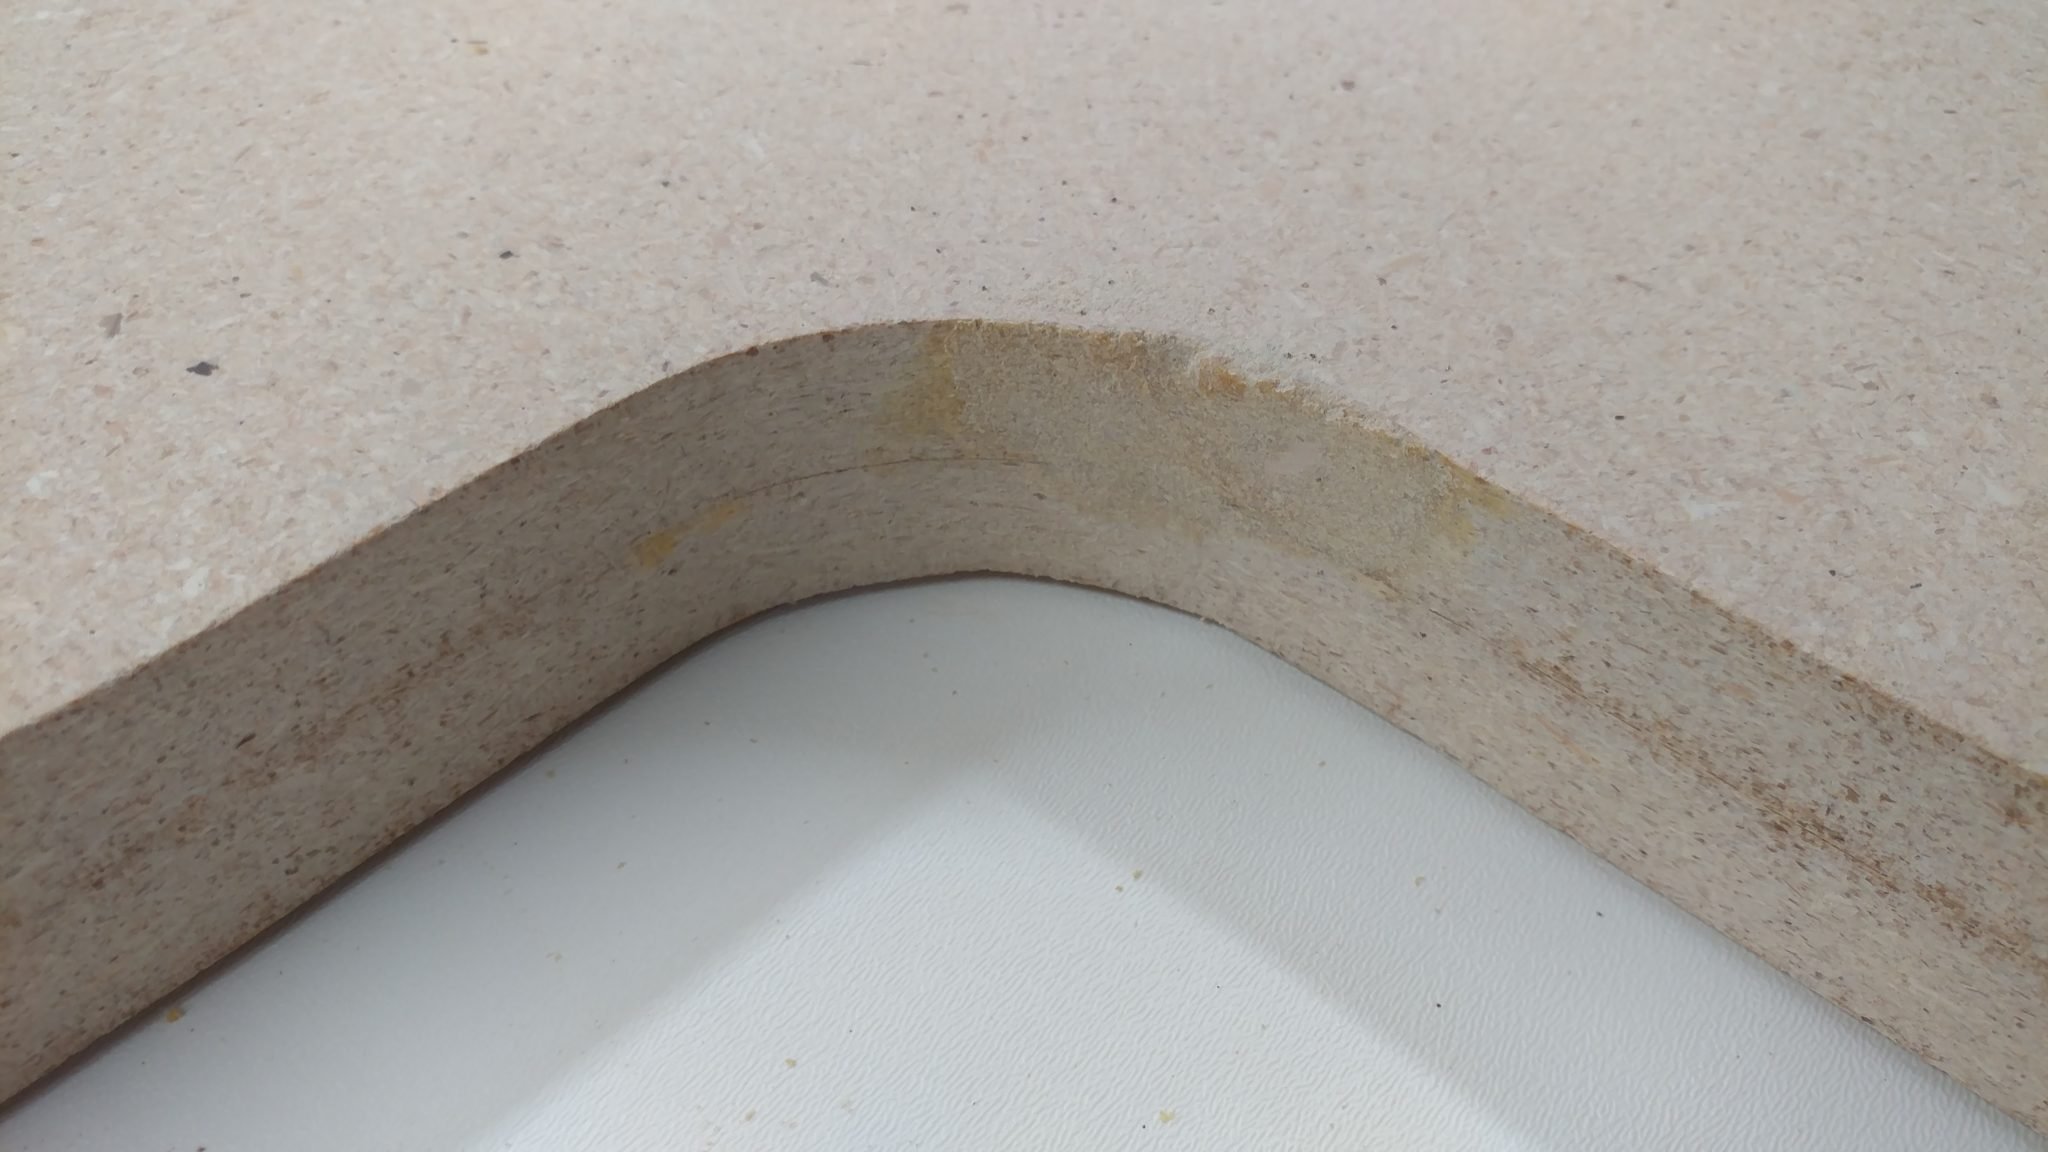
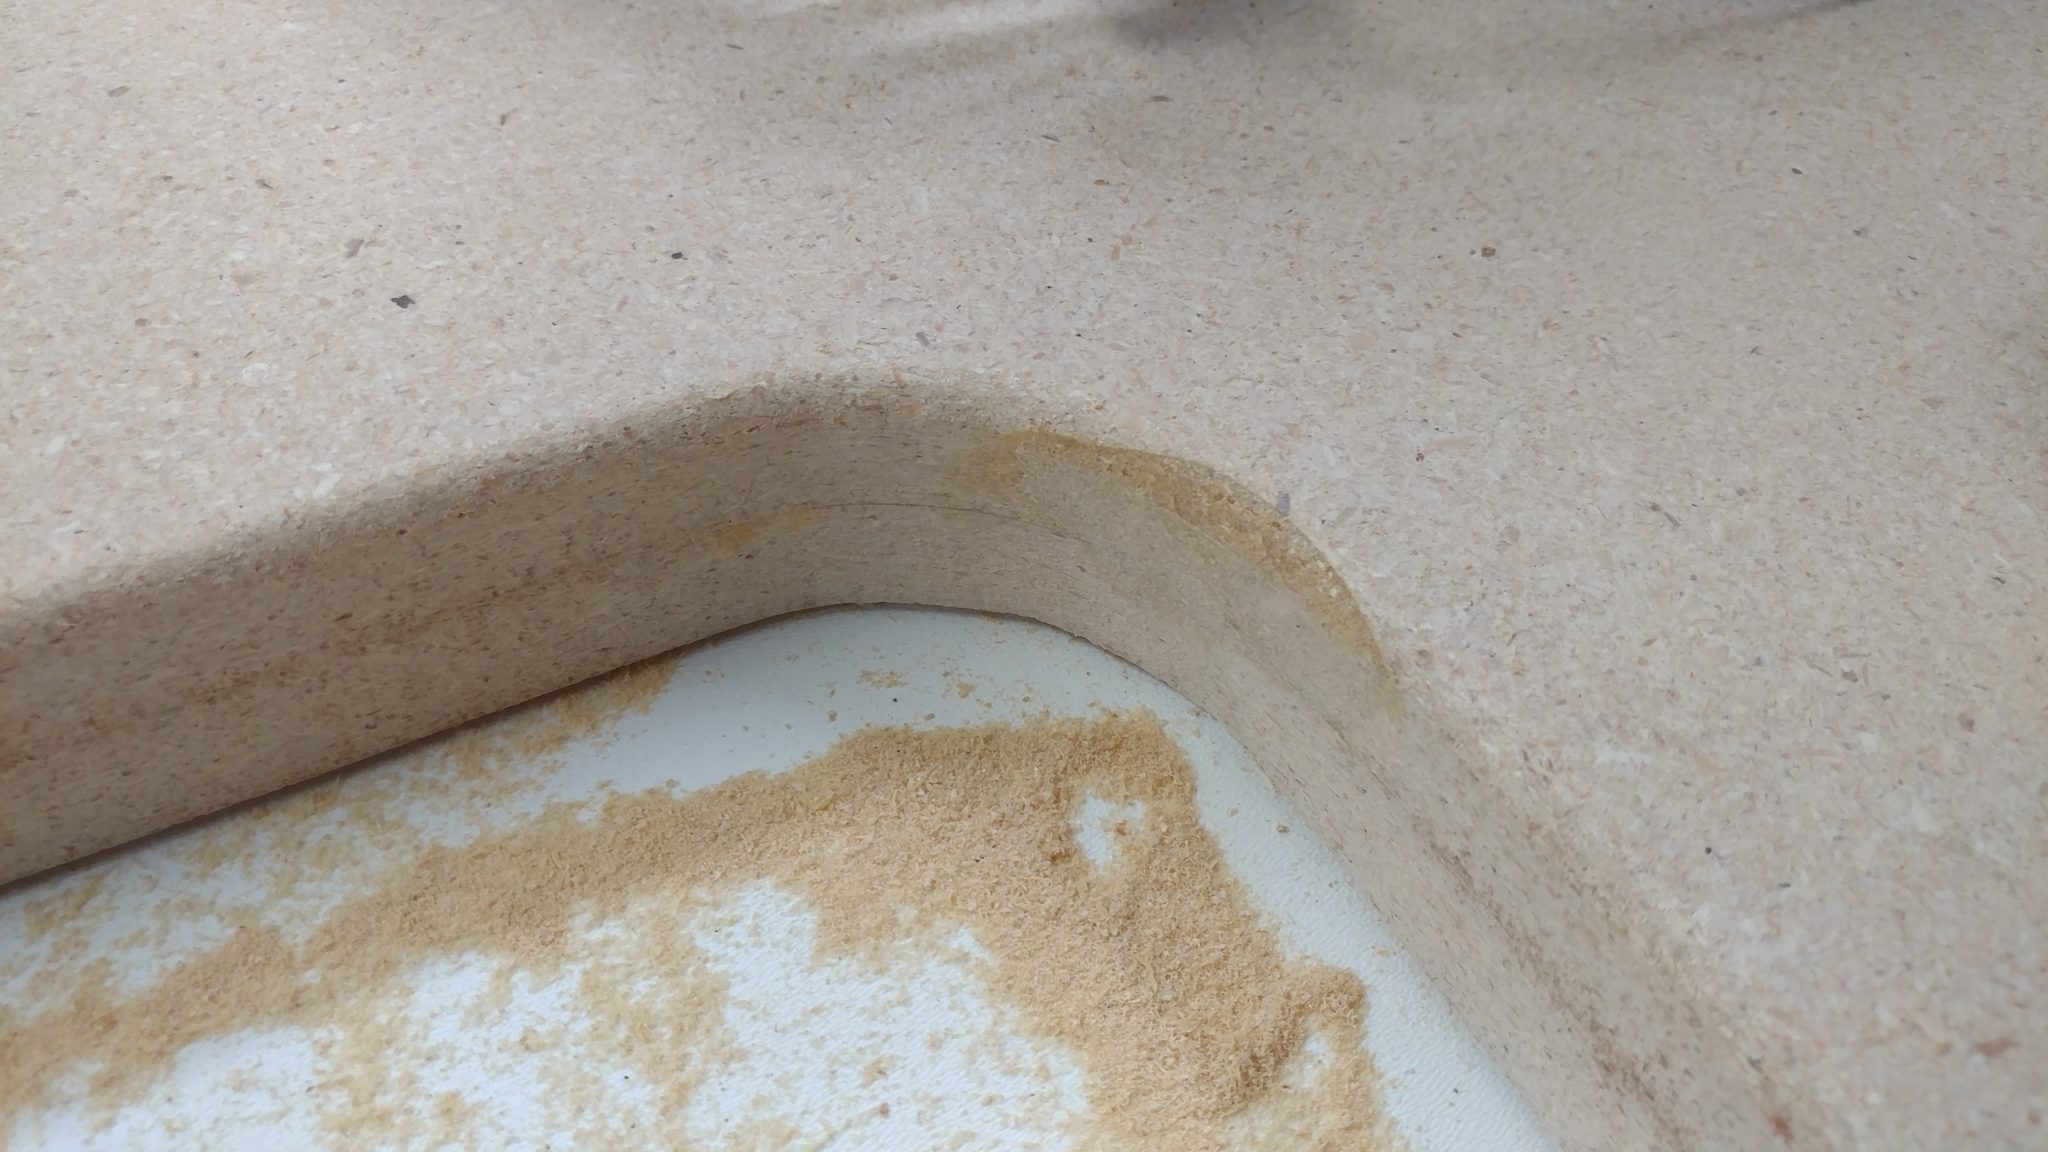
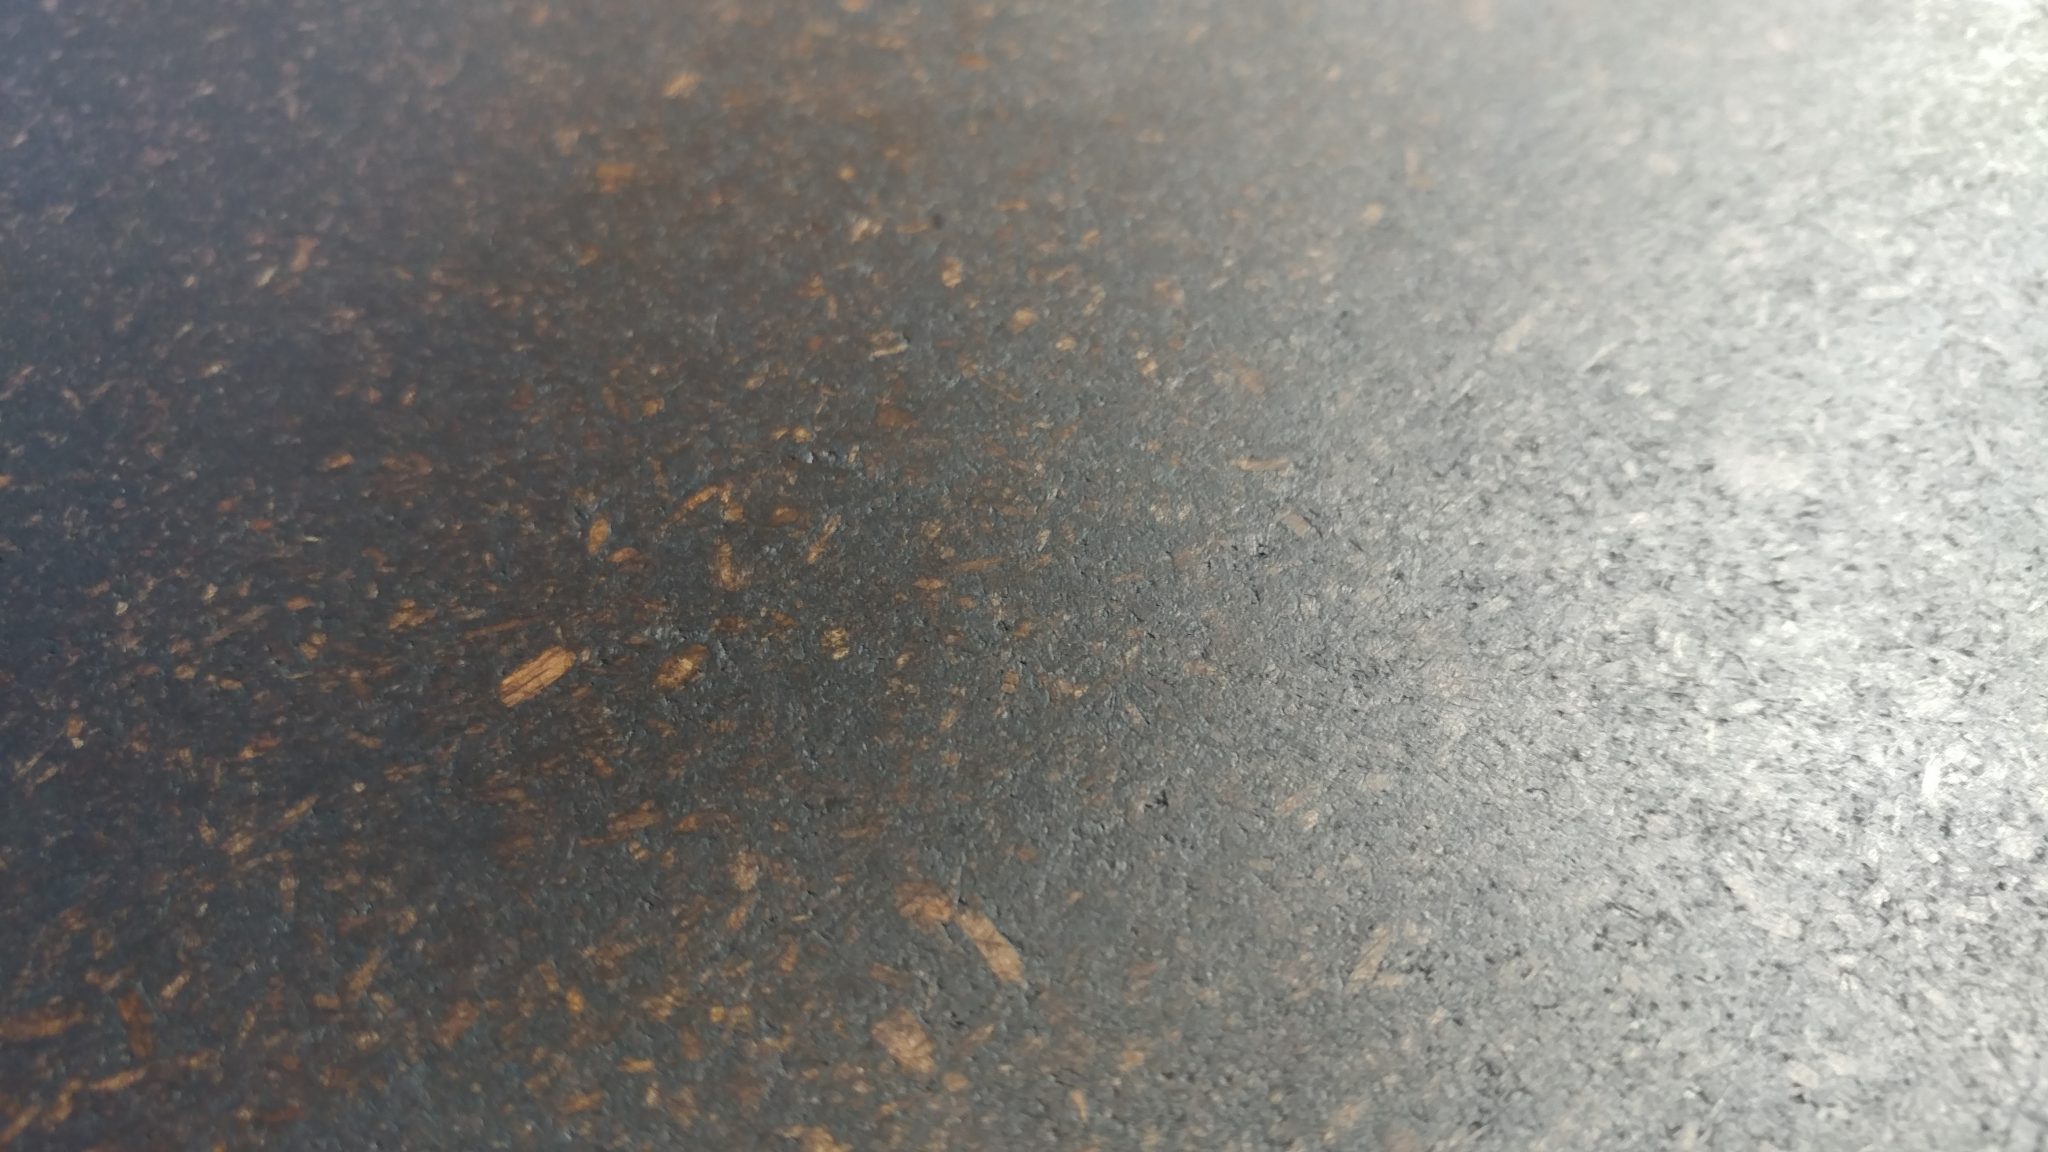
The areas that I patched up take the stain differently, as expected.


Applying polyurethane to the upper section

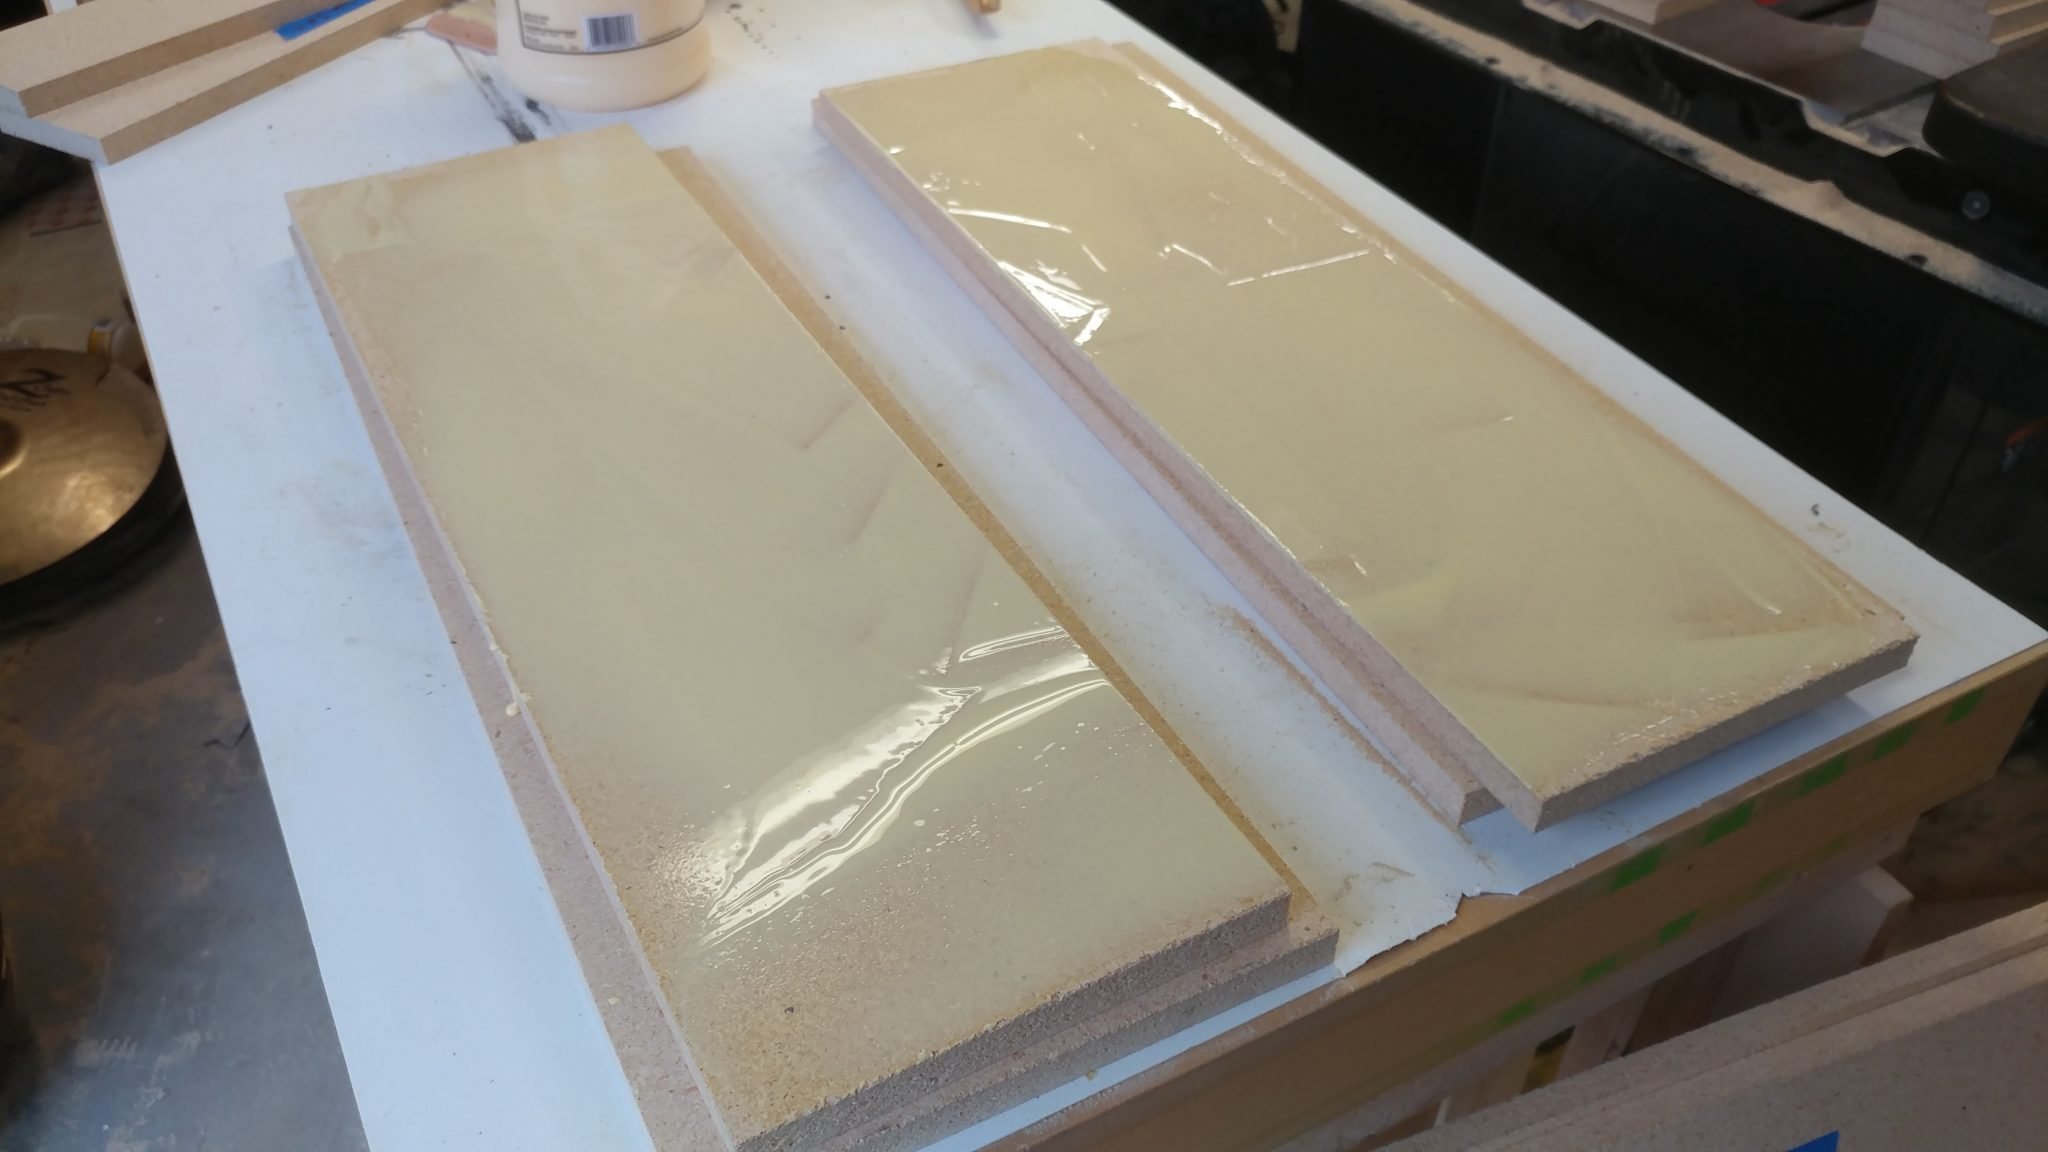
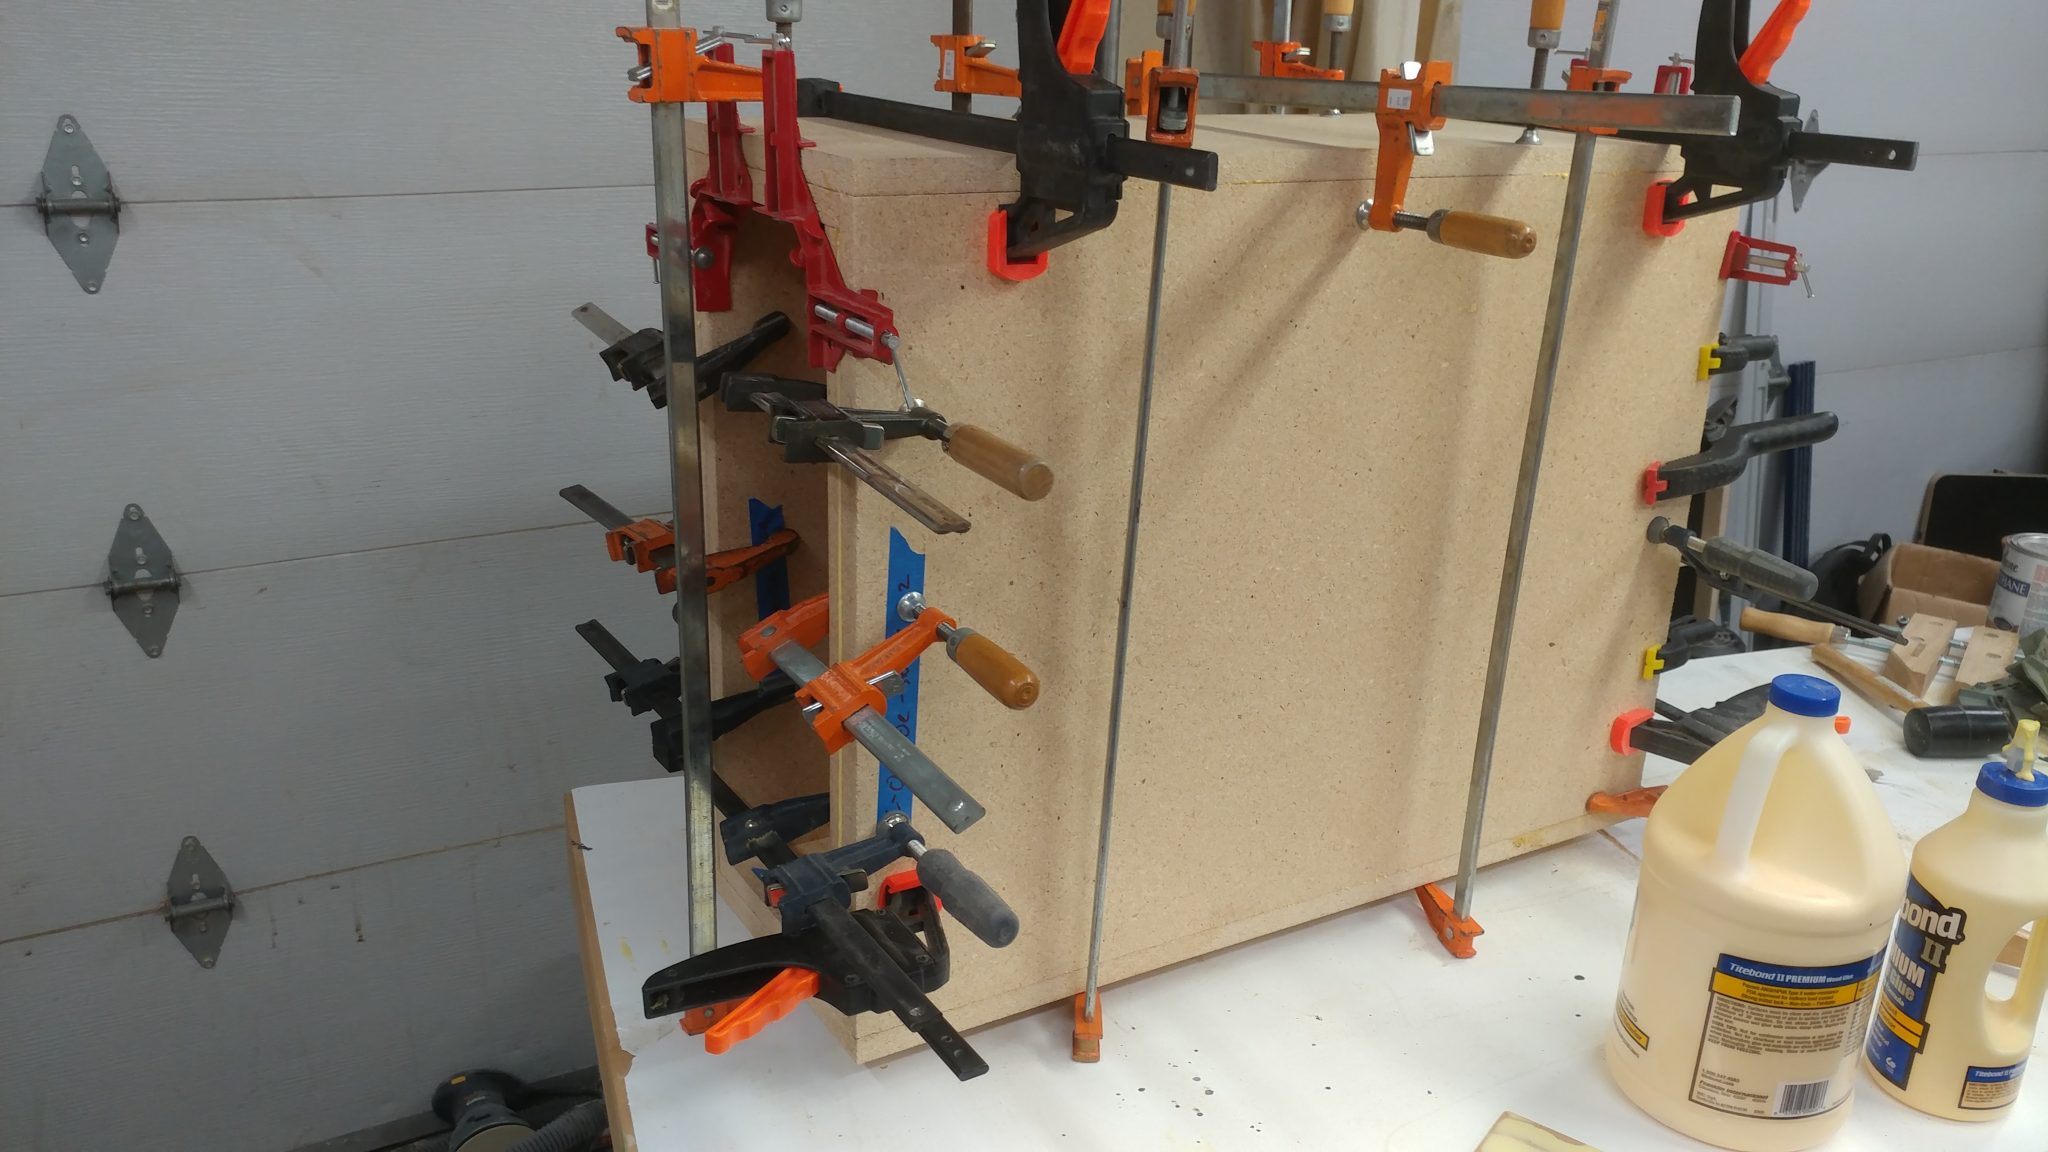
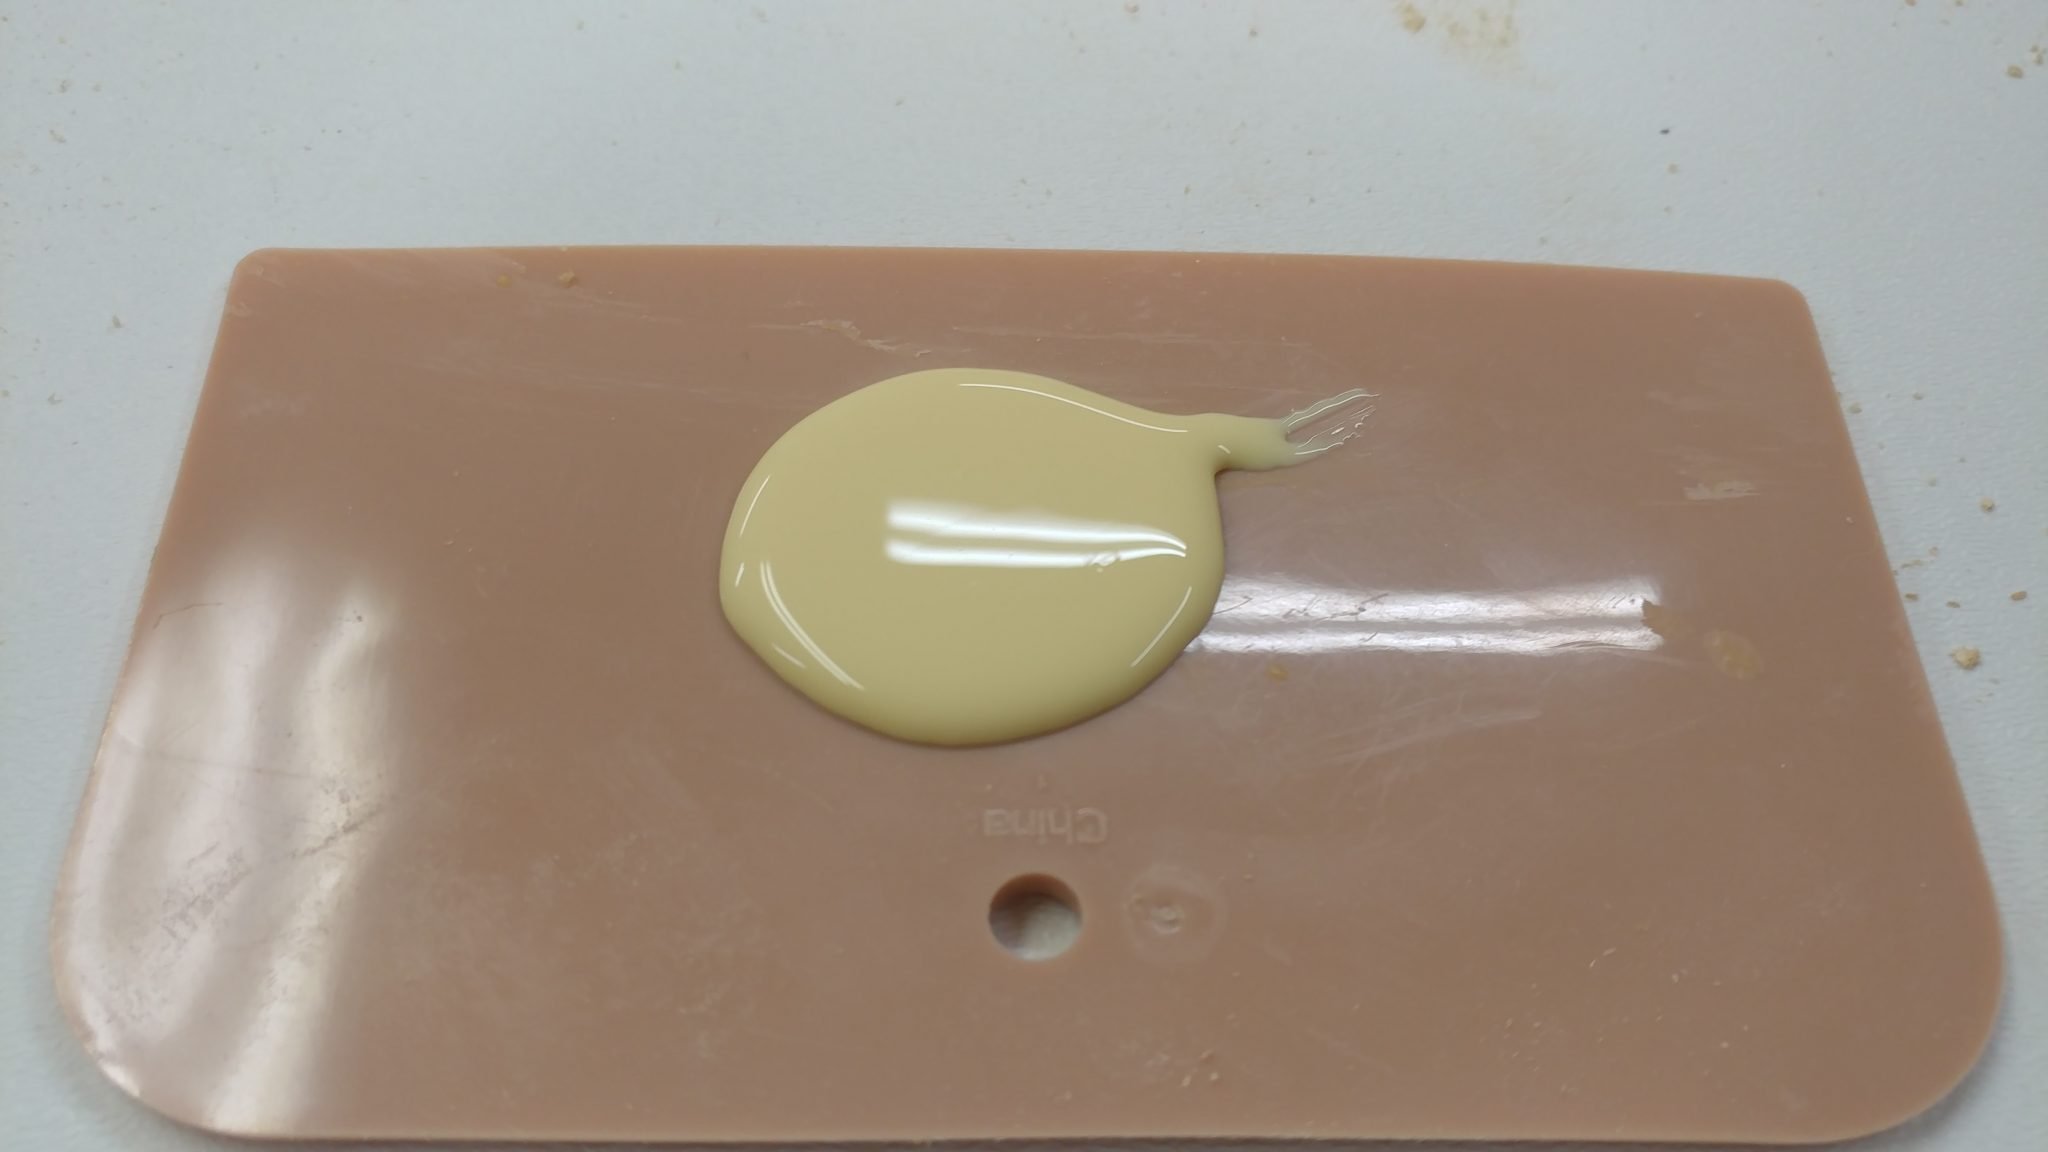
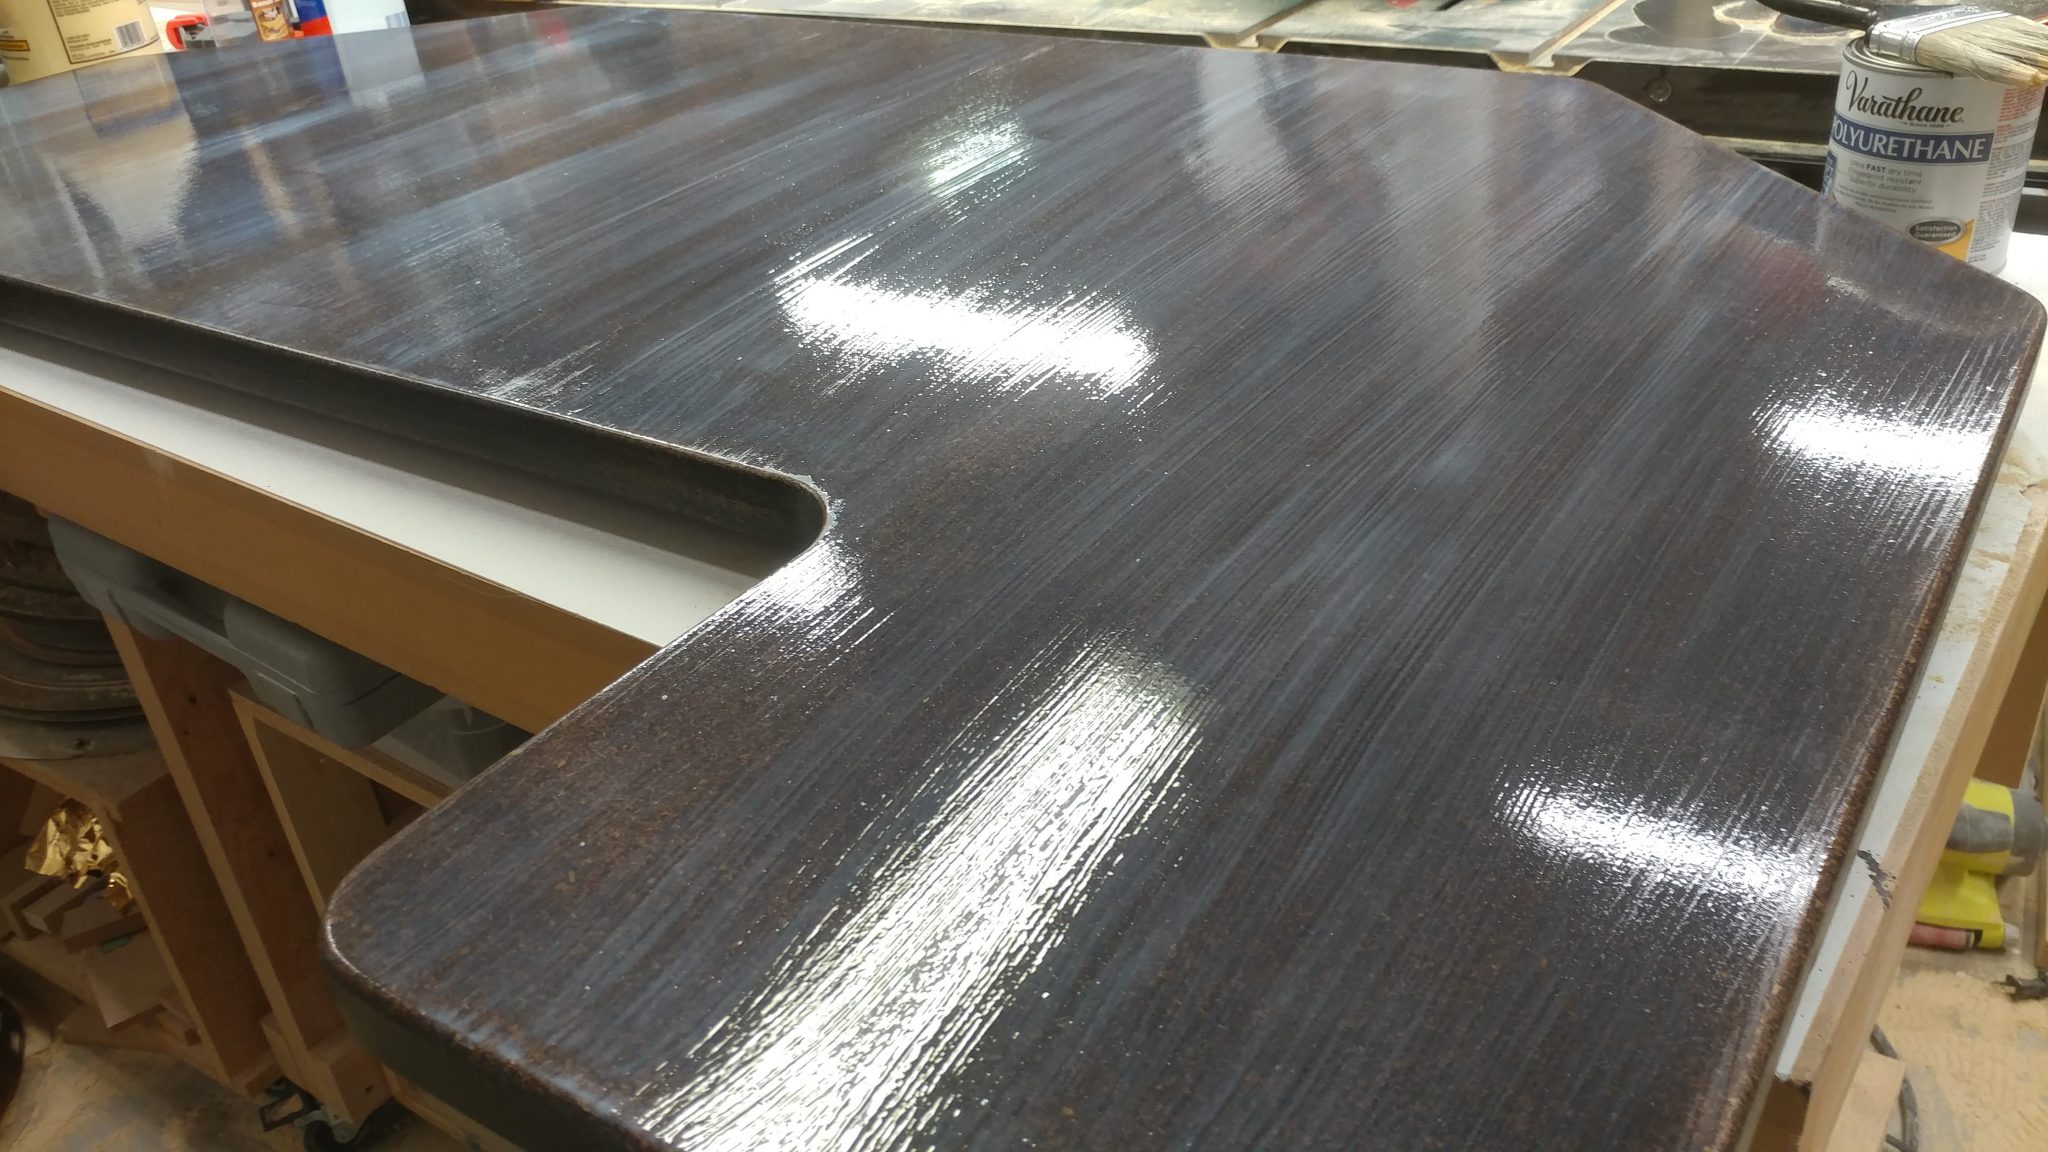
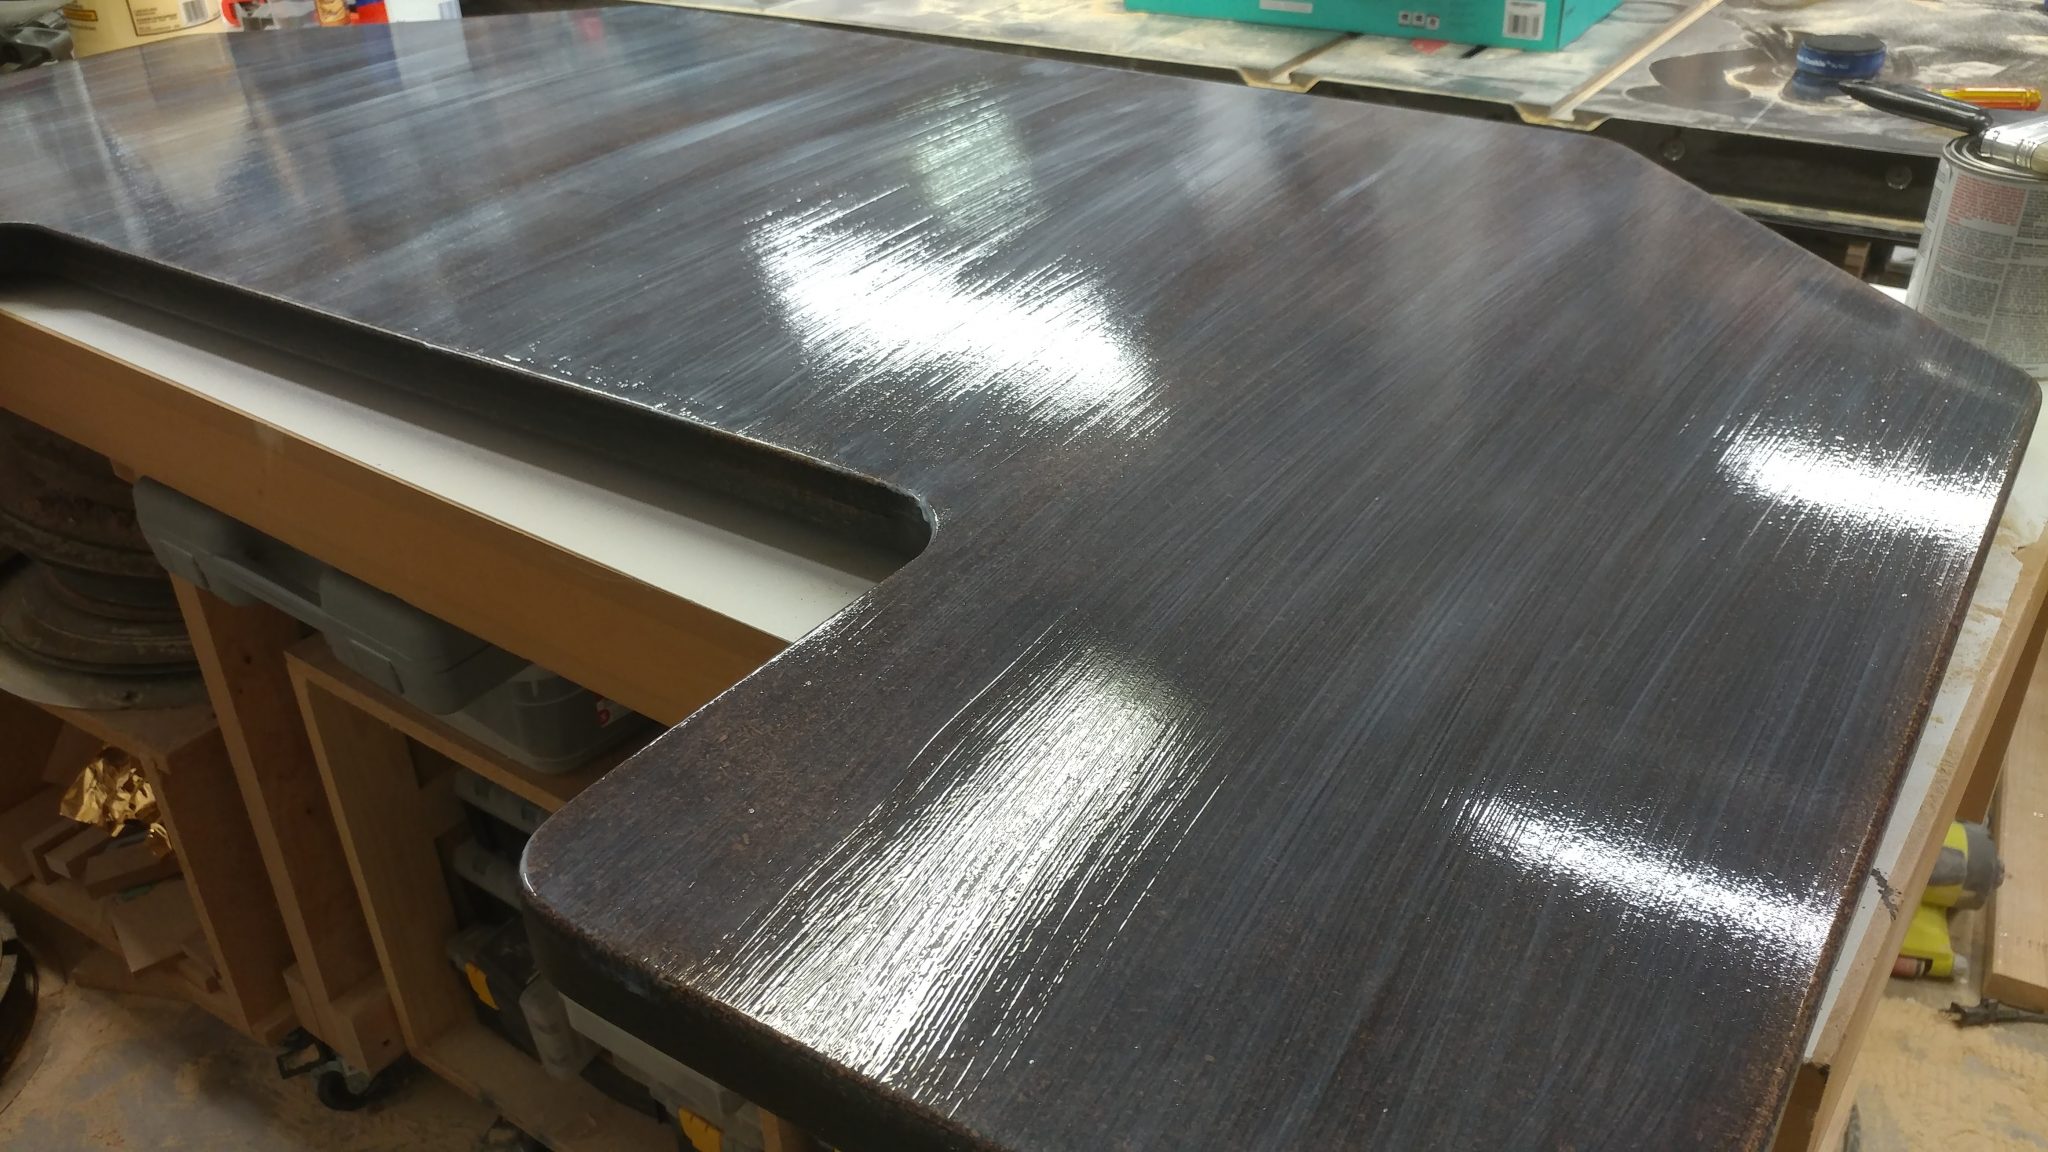
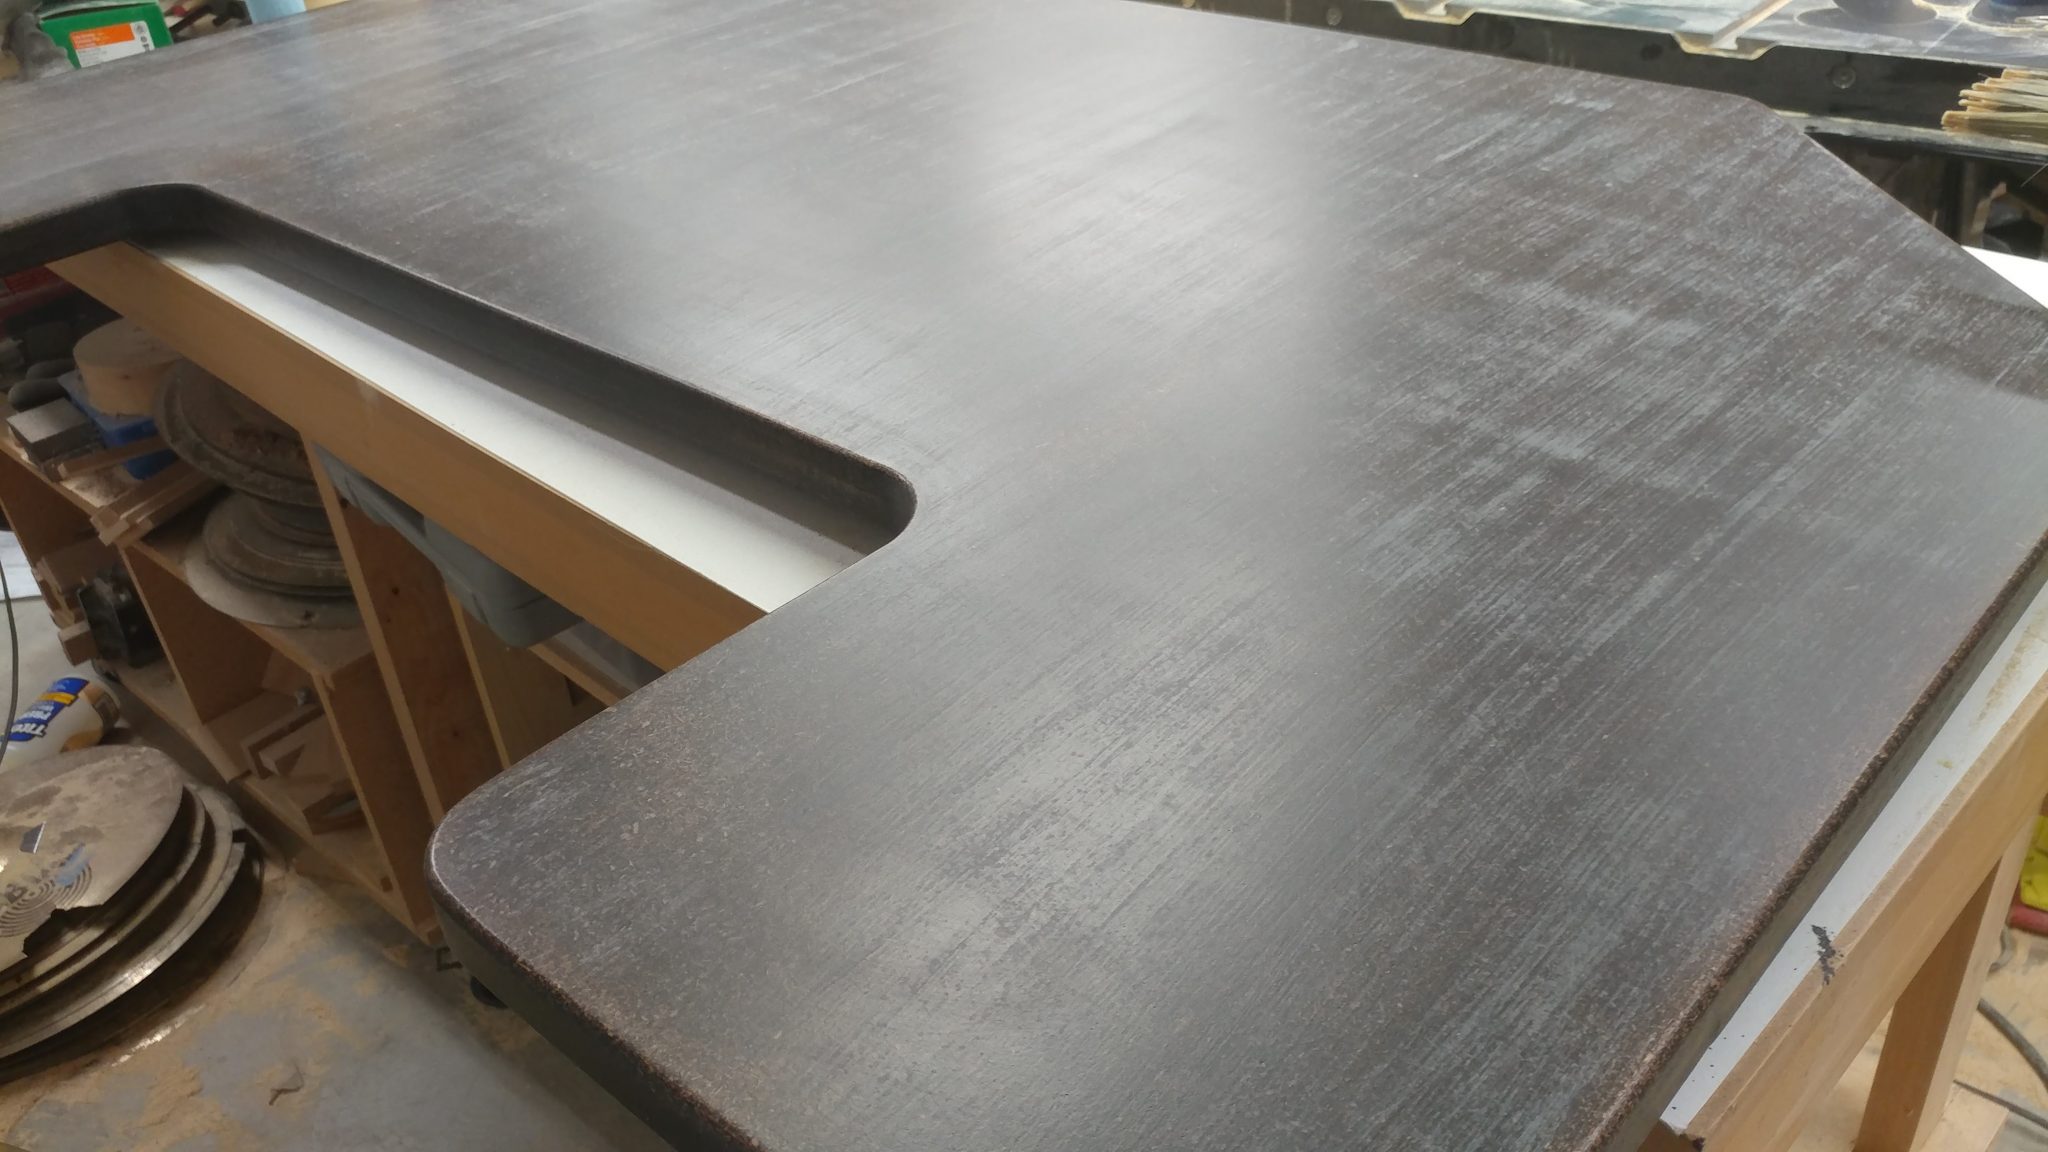
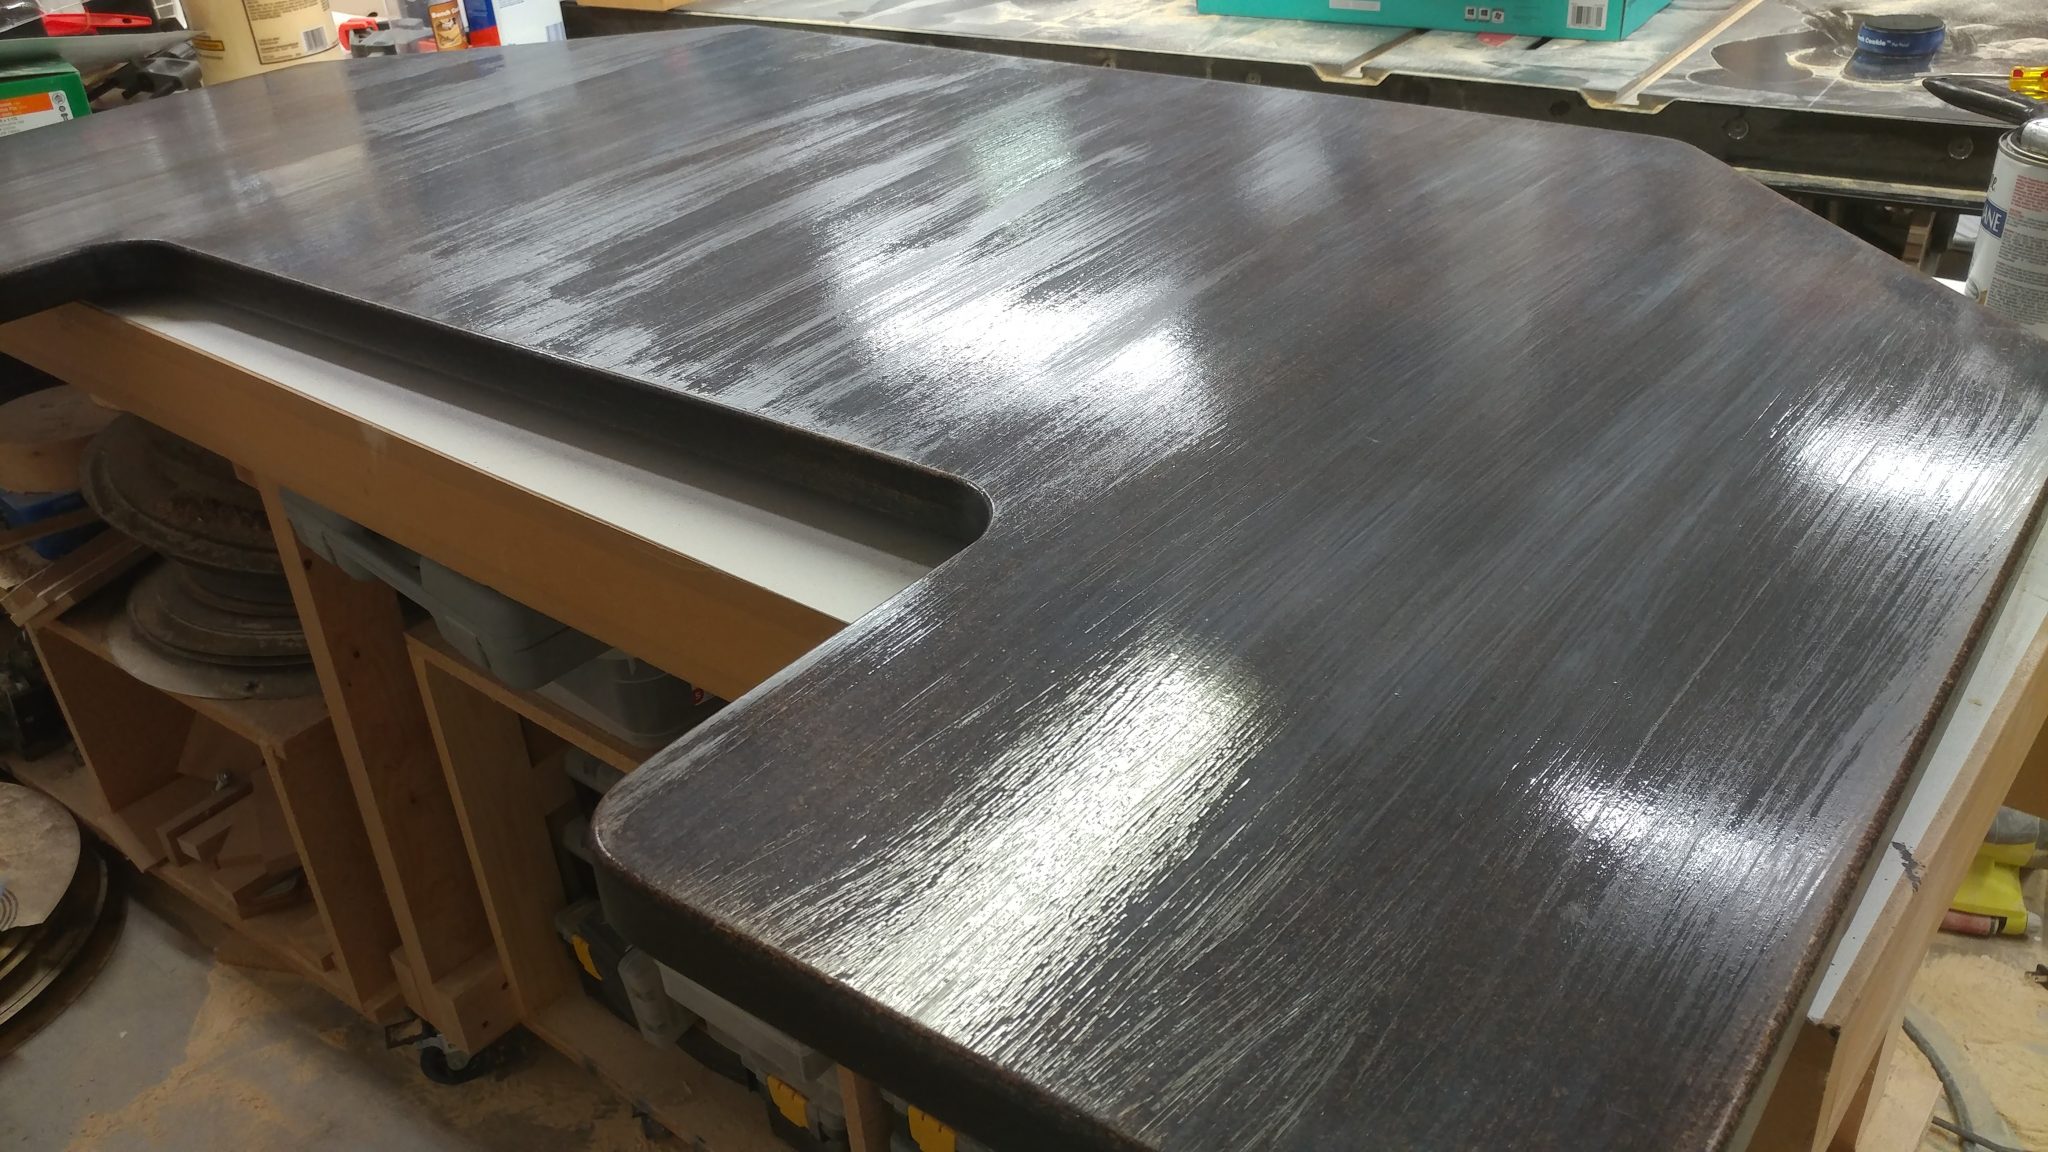
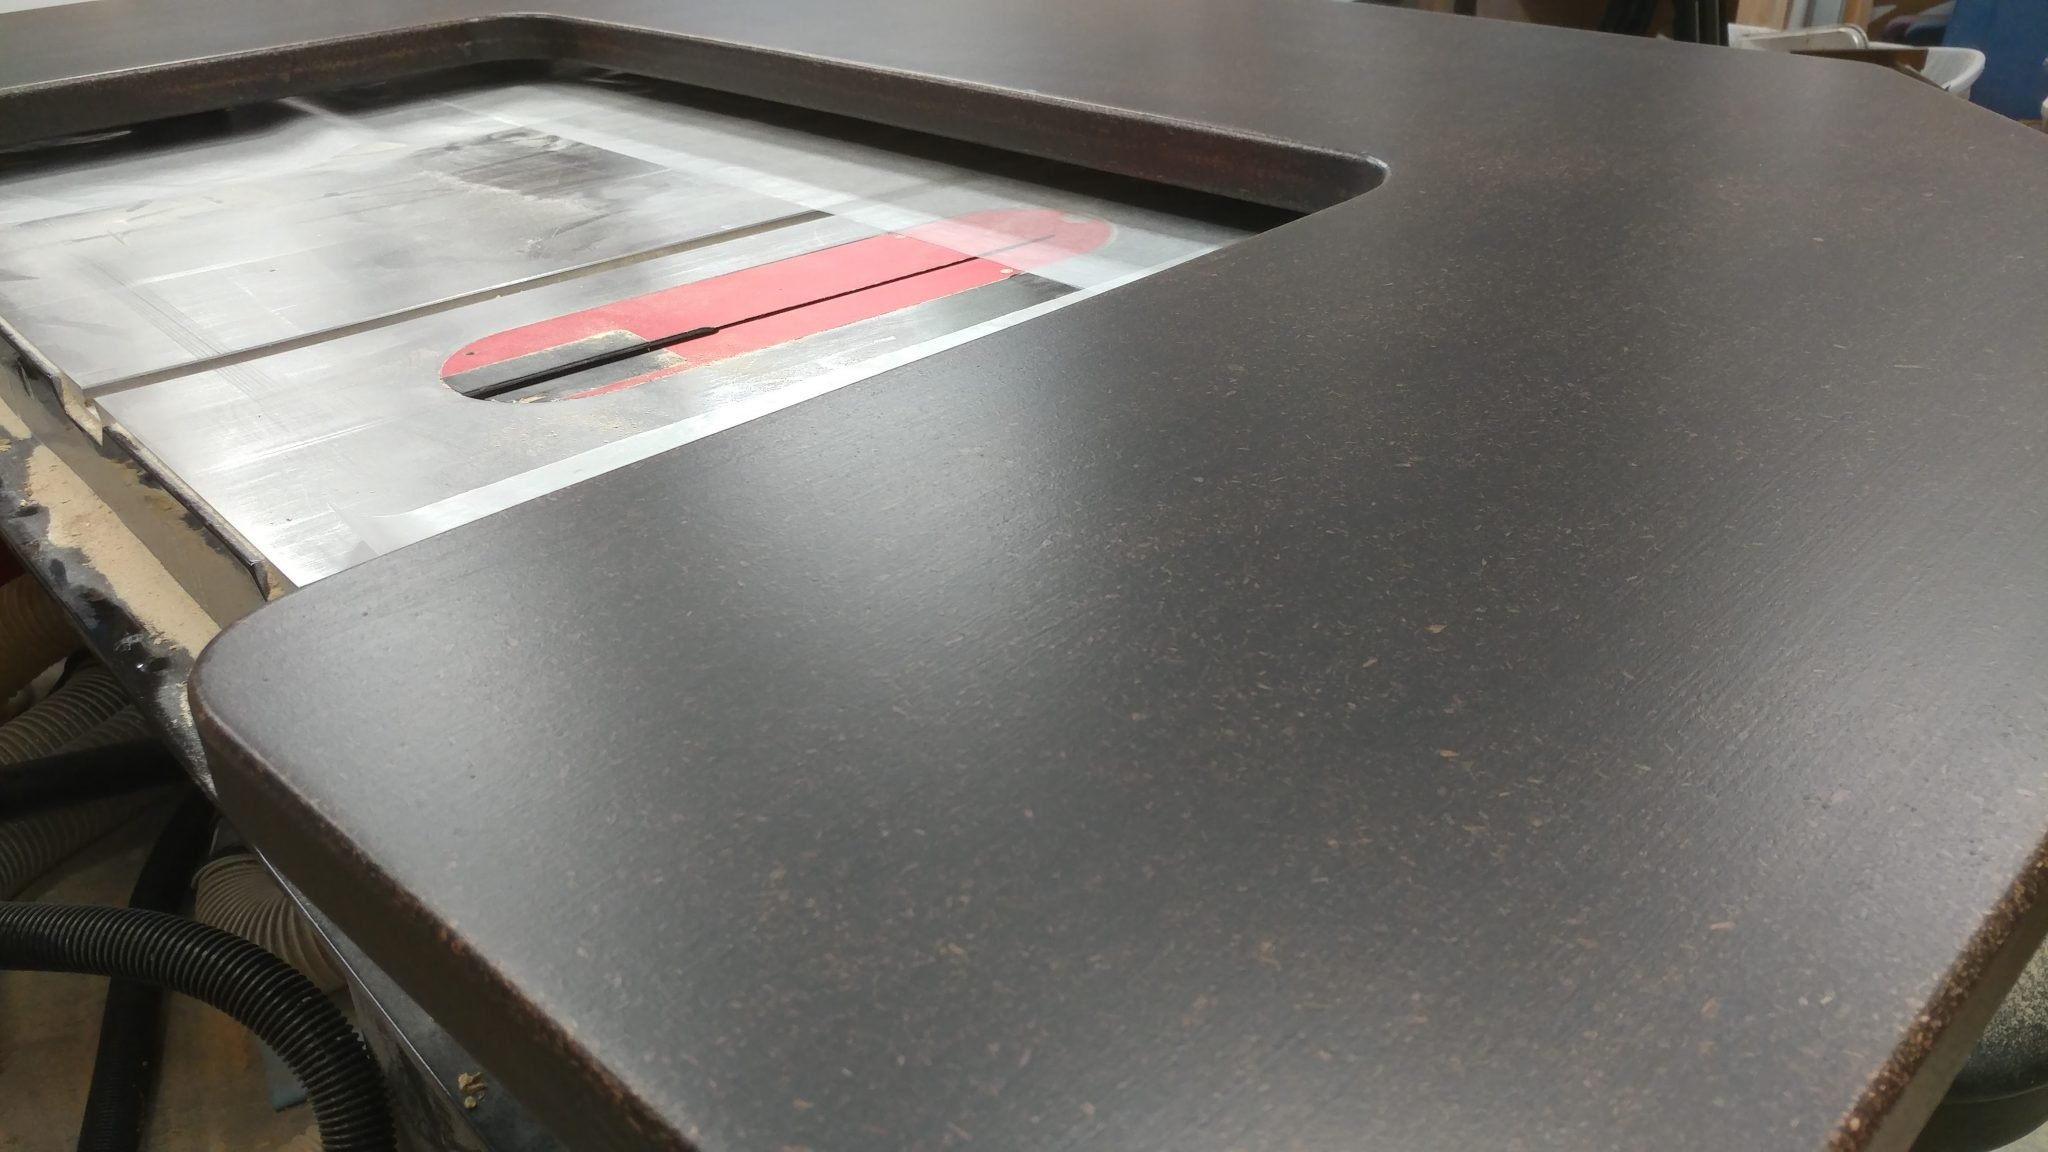
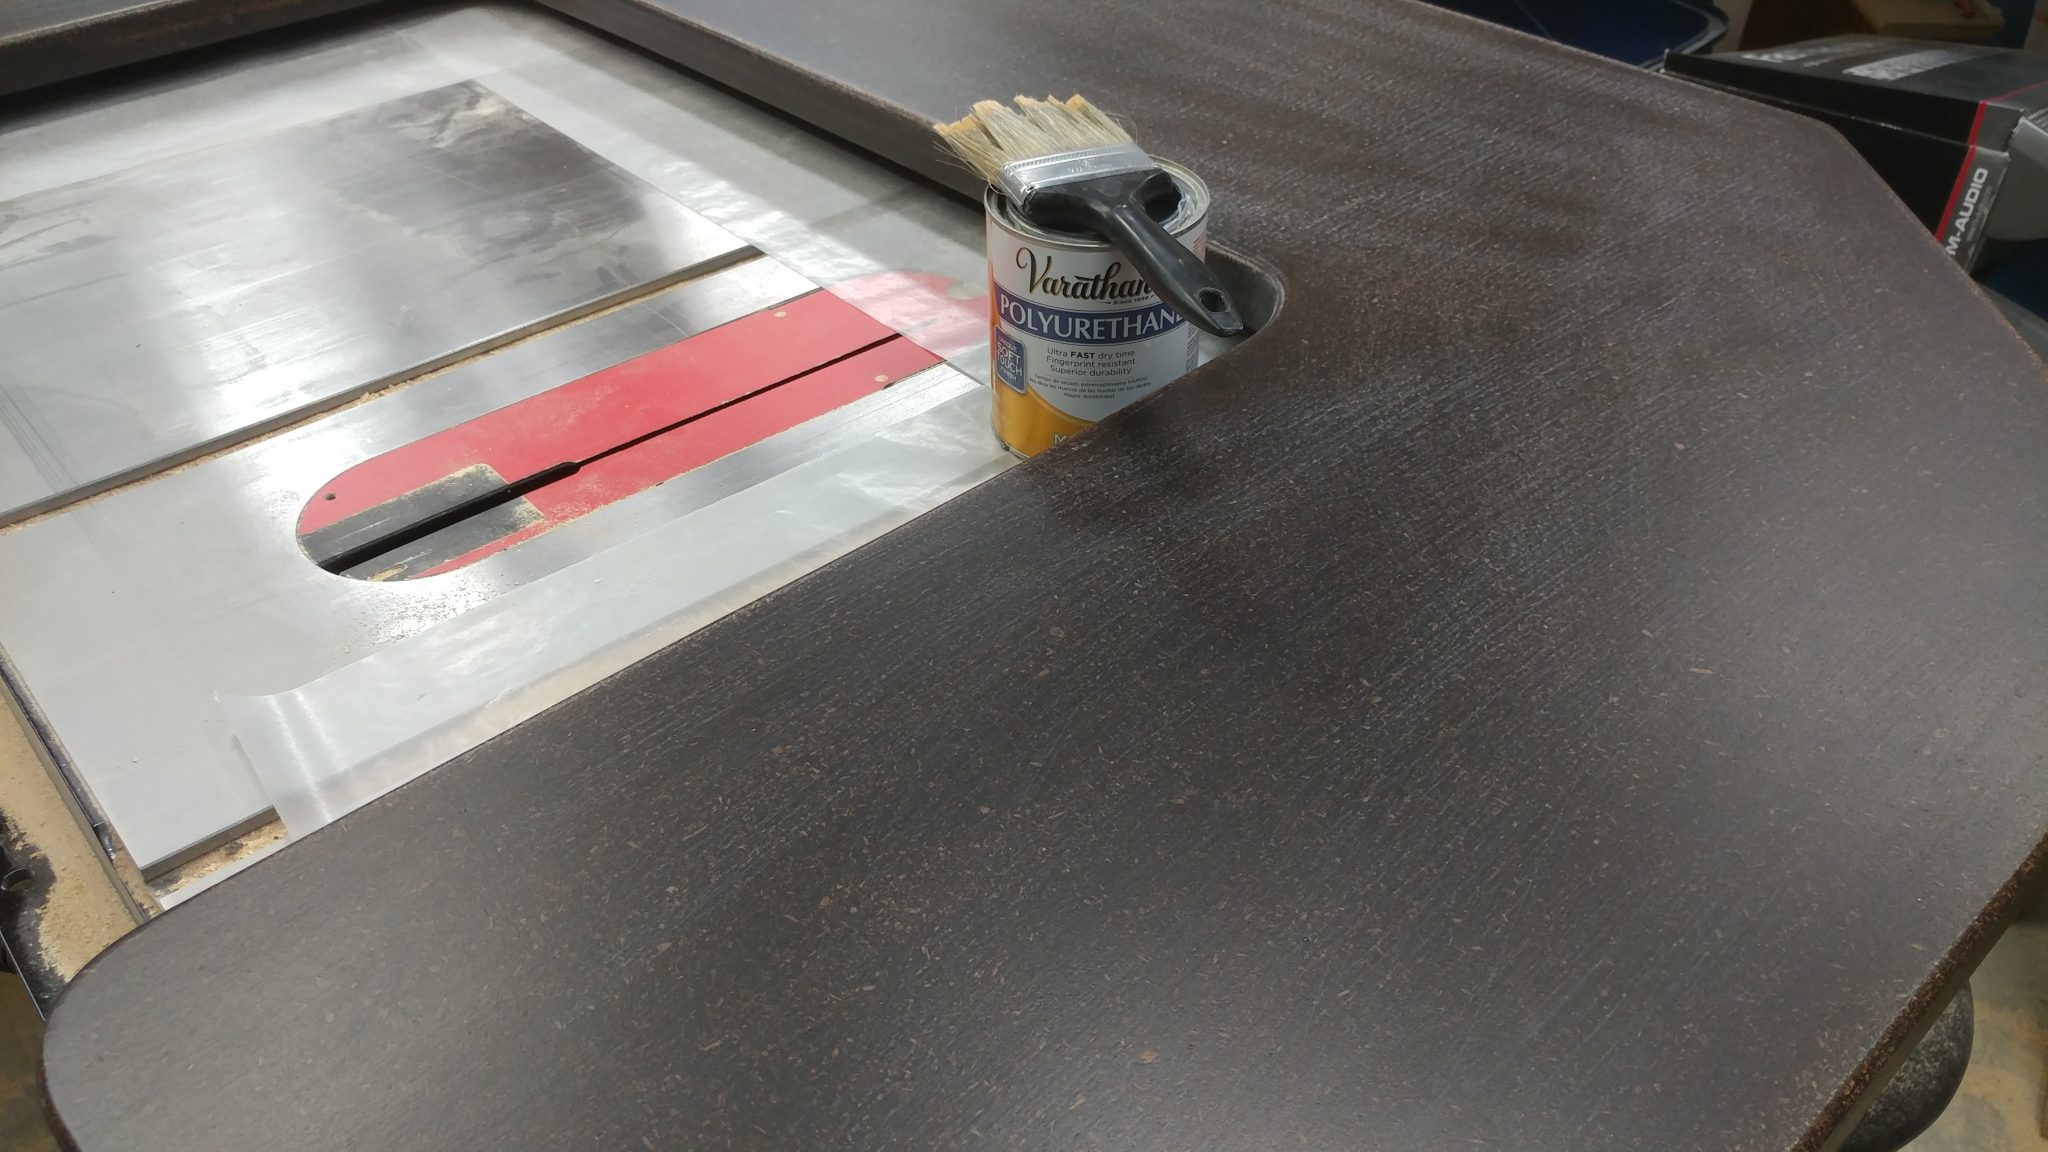
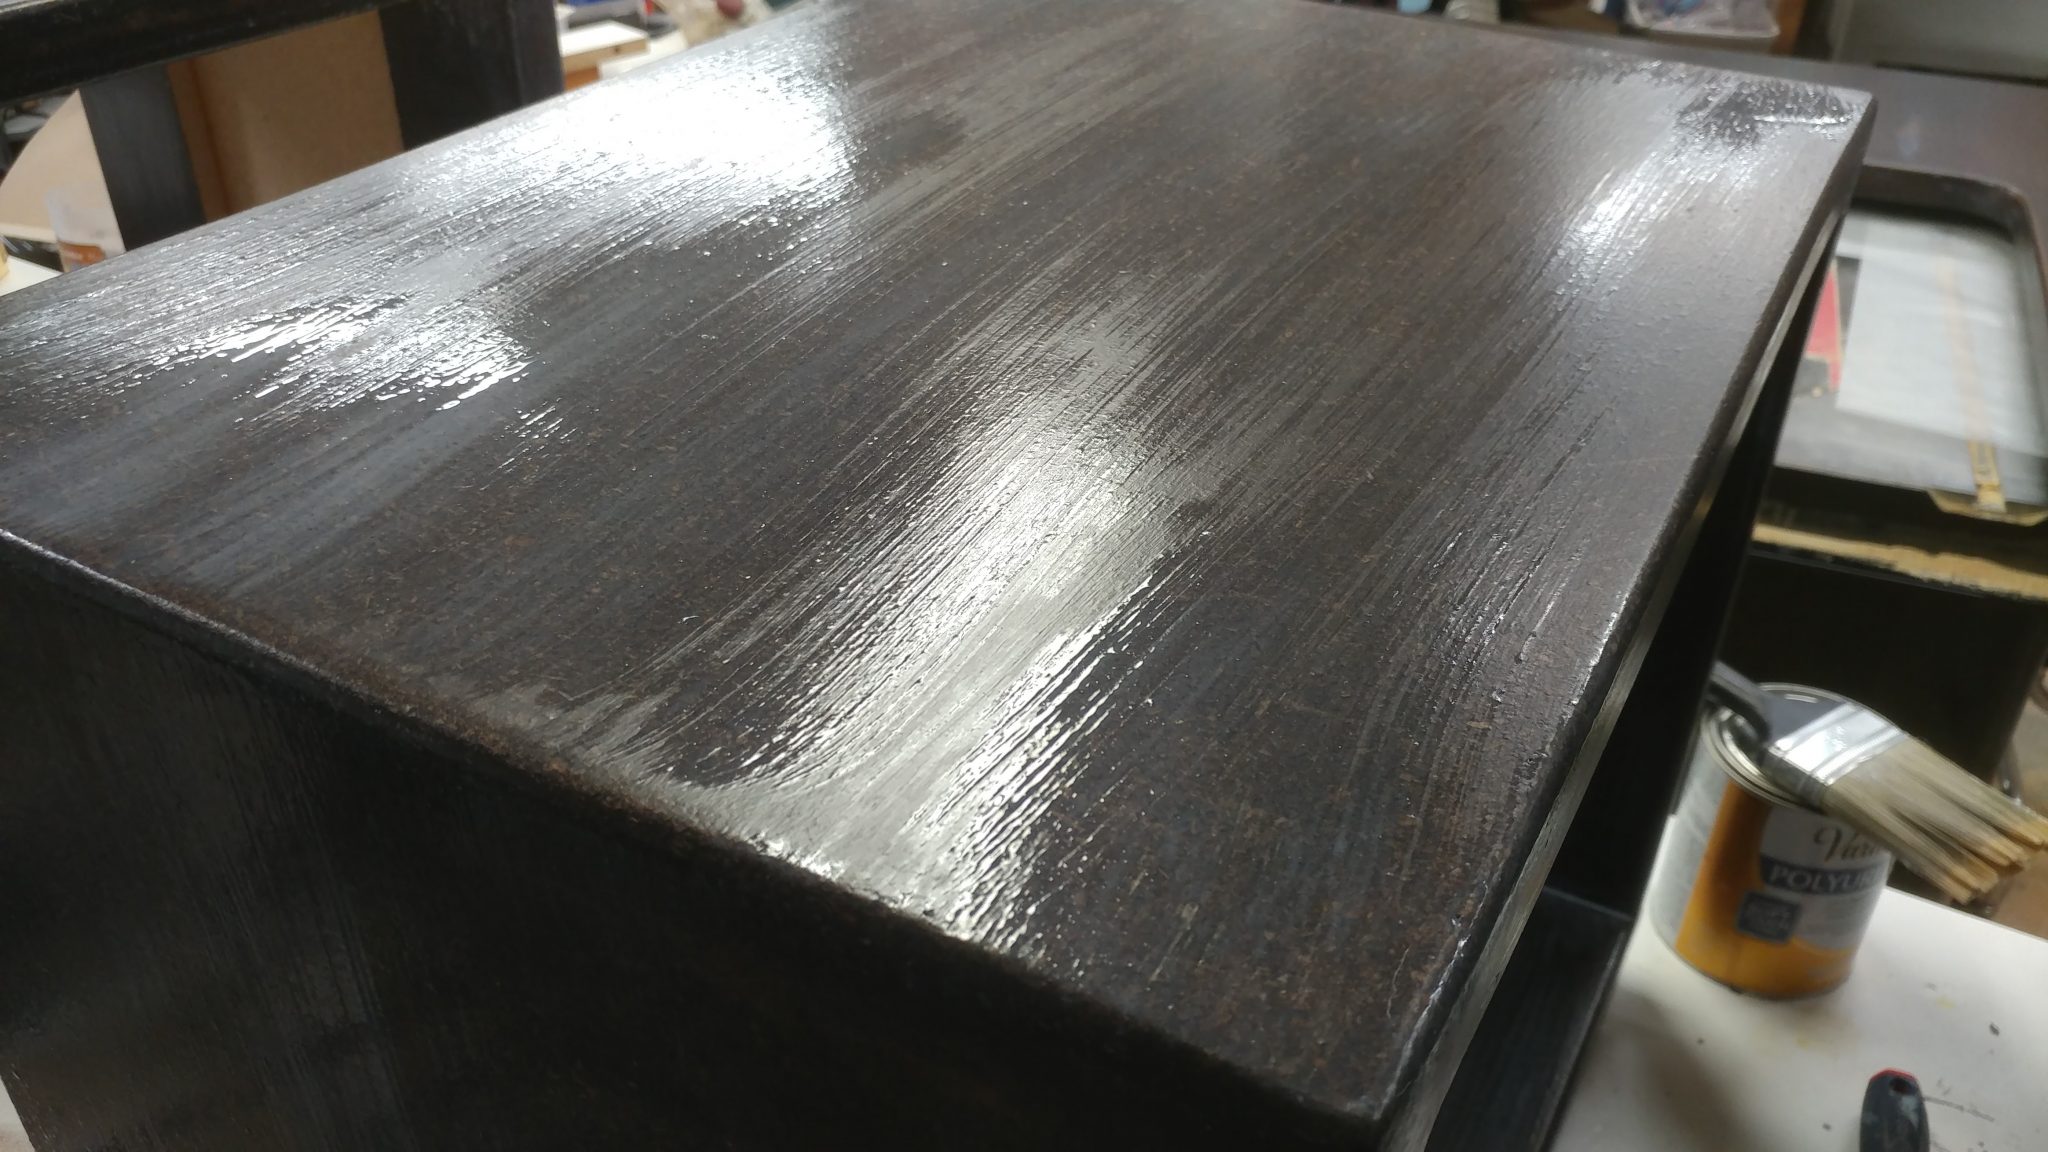
Once the stain set up, I started applying Varathane brand polyurethane matte finish.


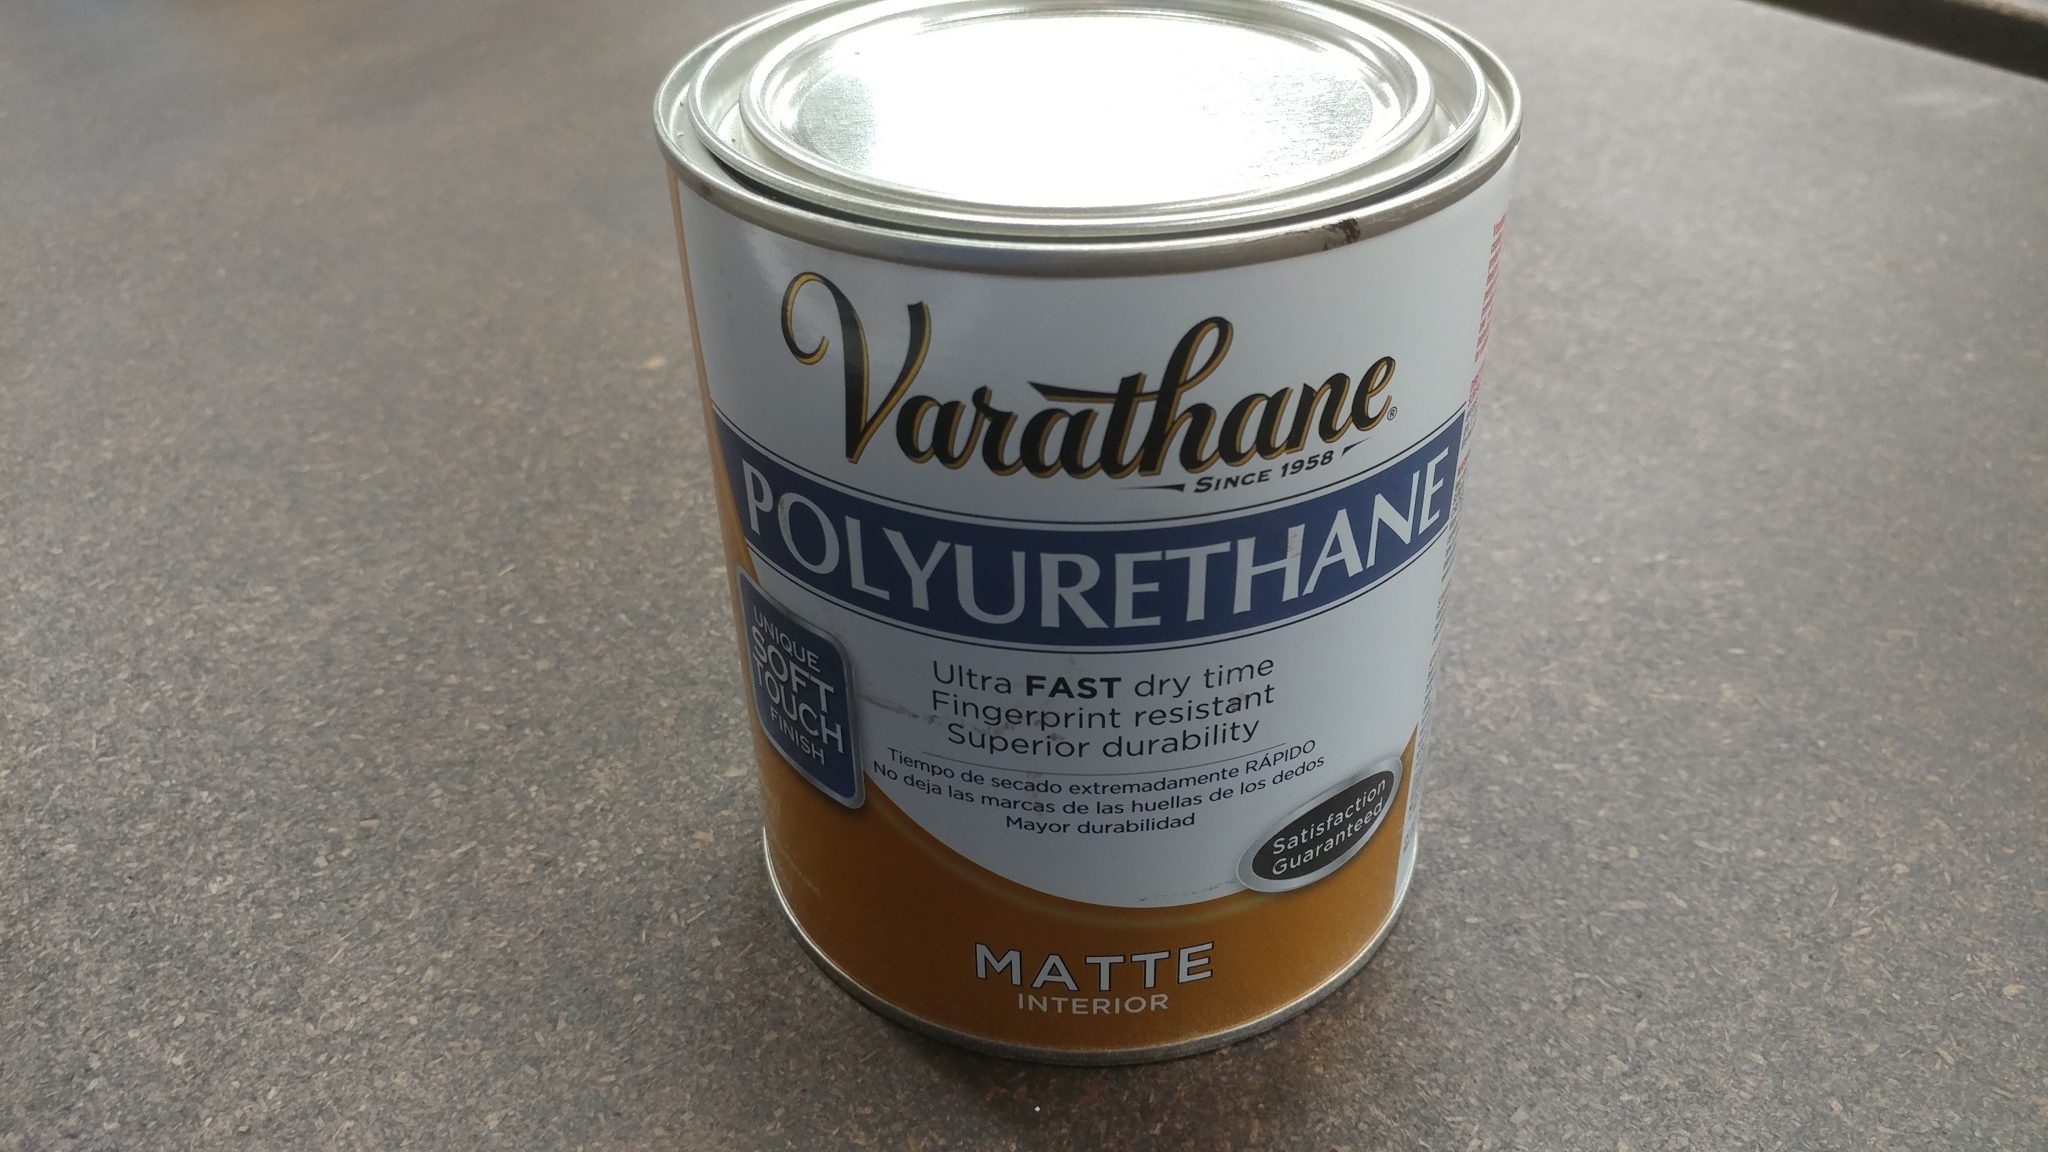
Foam brushes cause bubbles in polyurethane so you’ll want to use a decent synthetic brush.


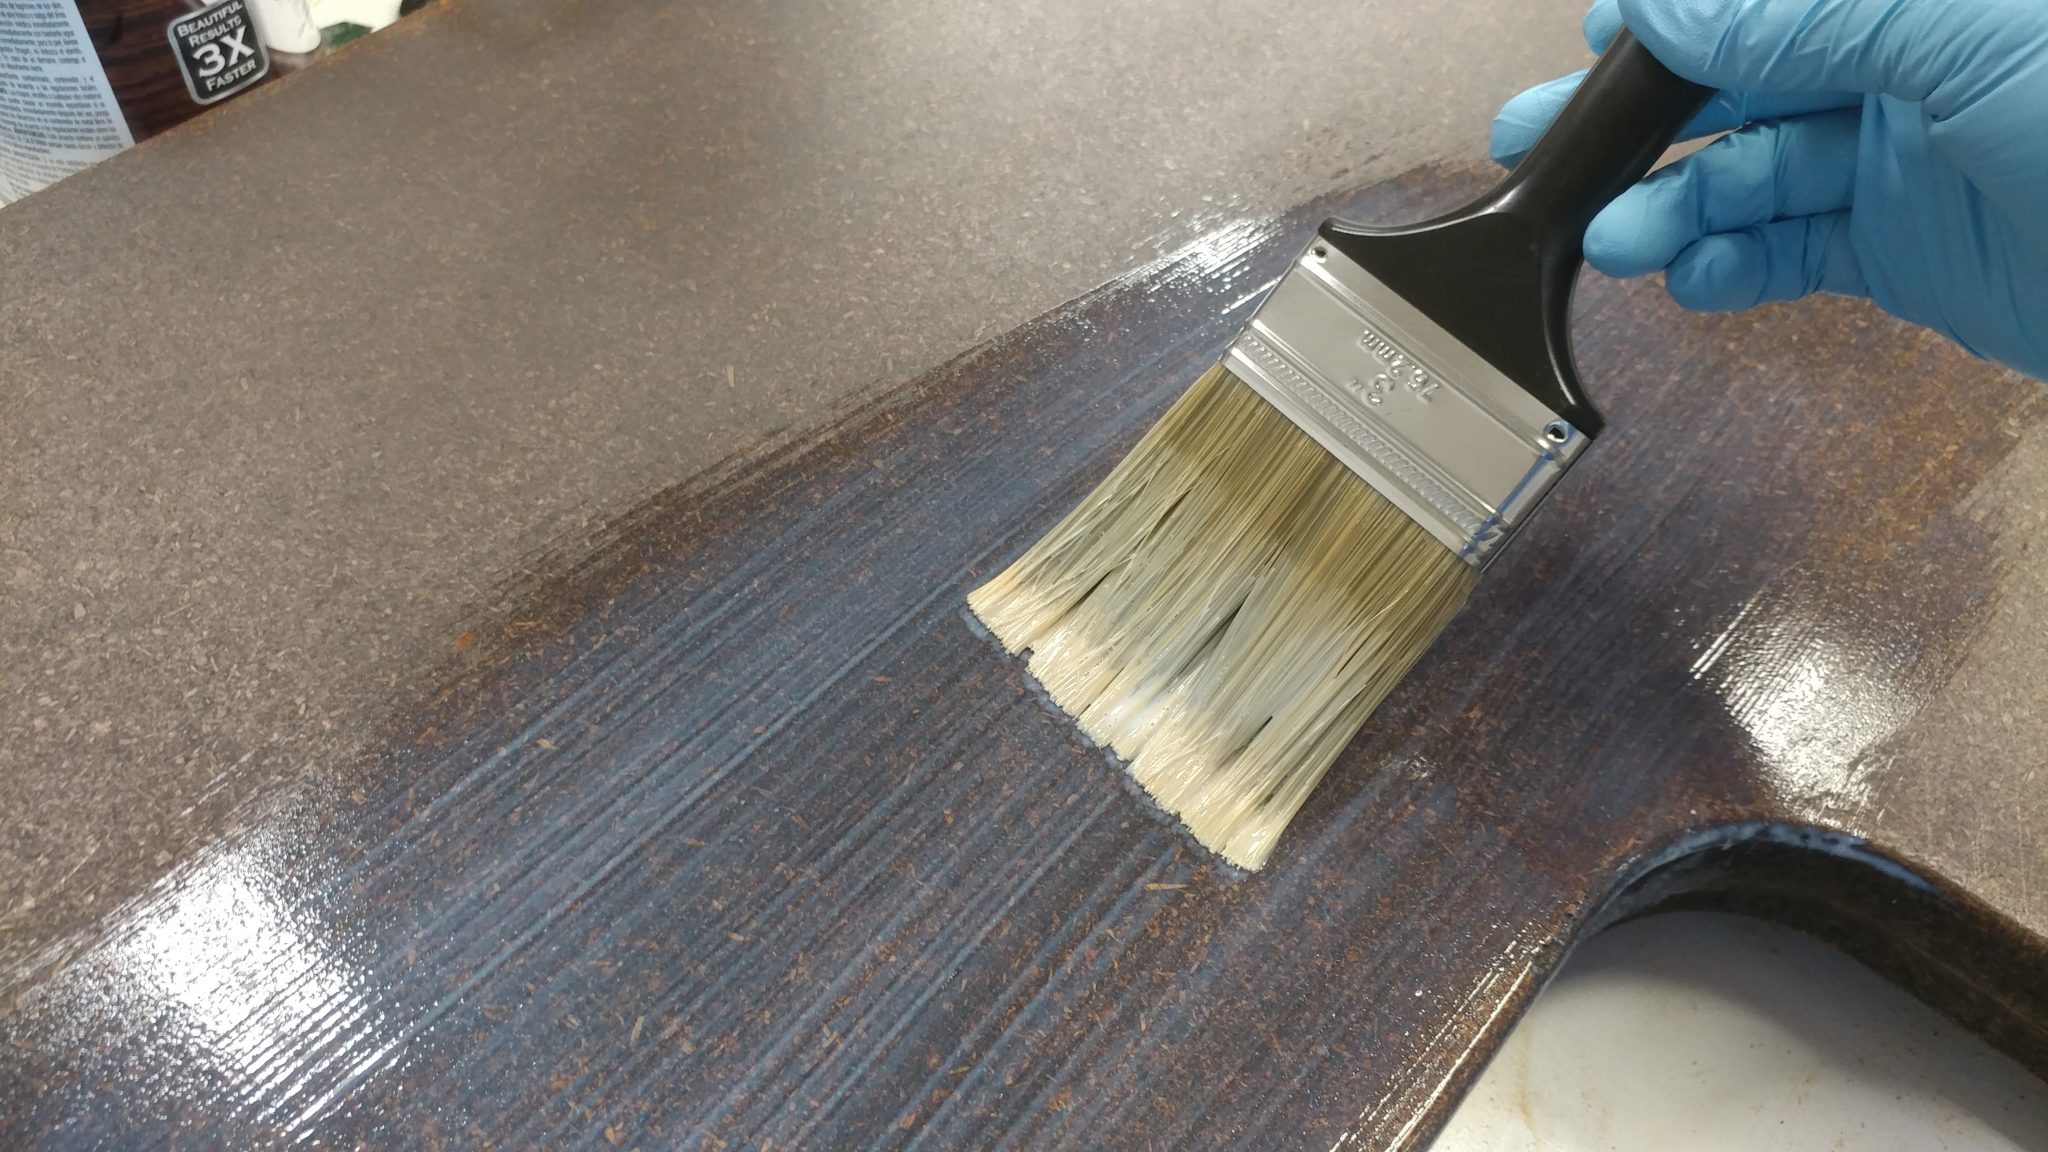
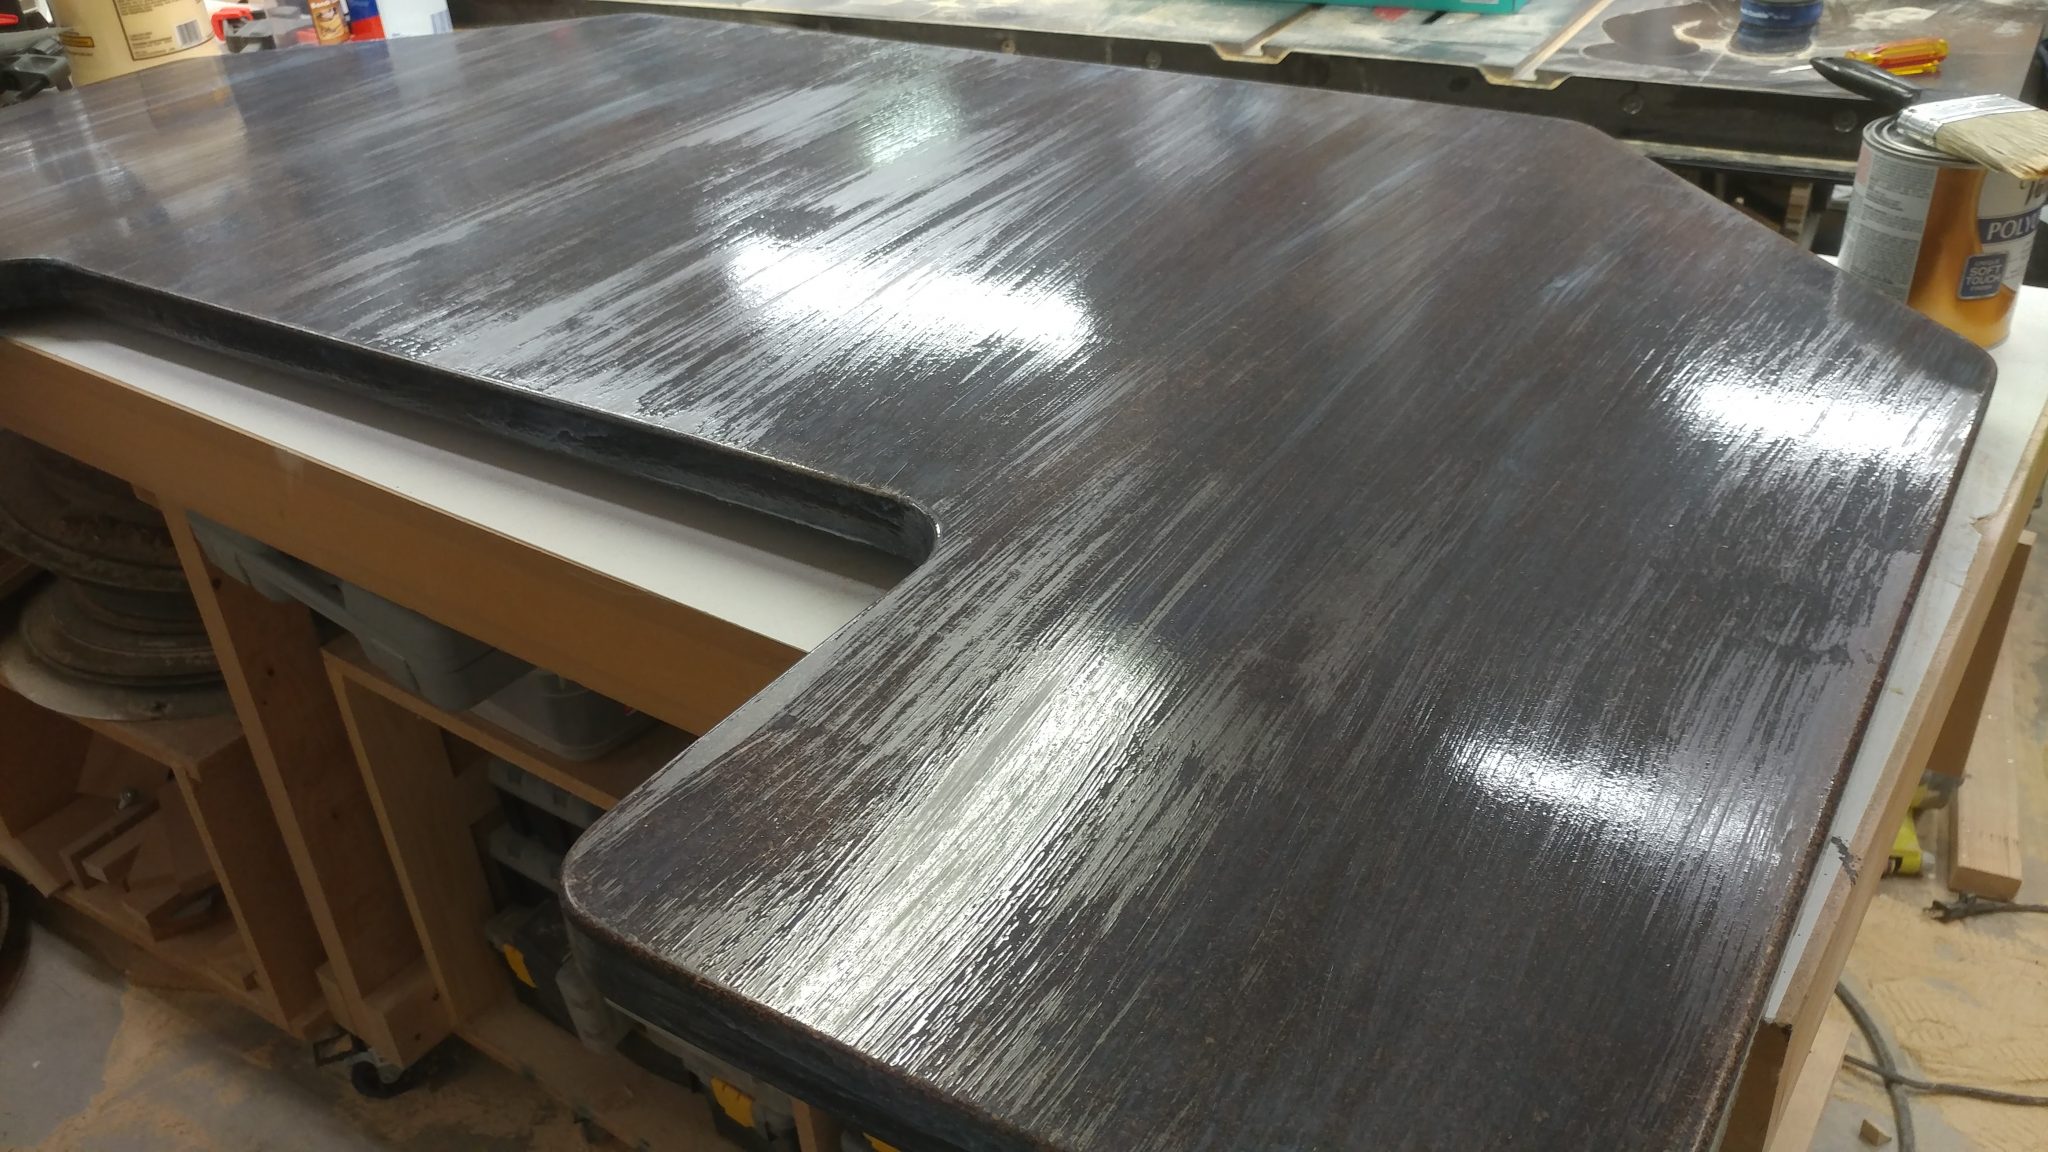
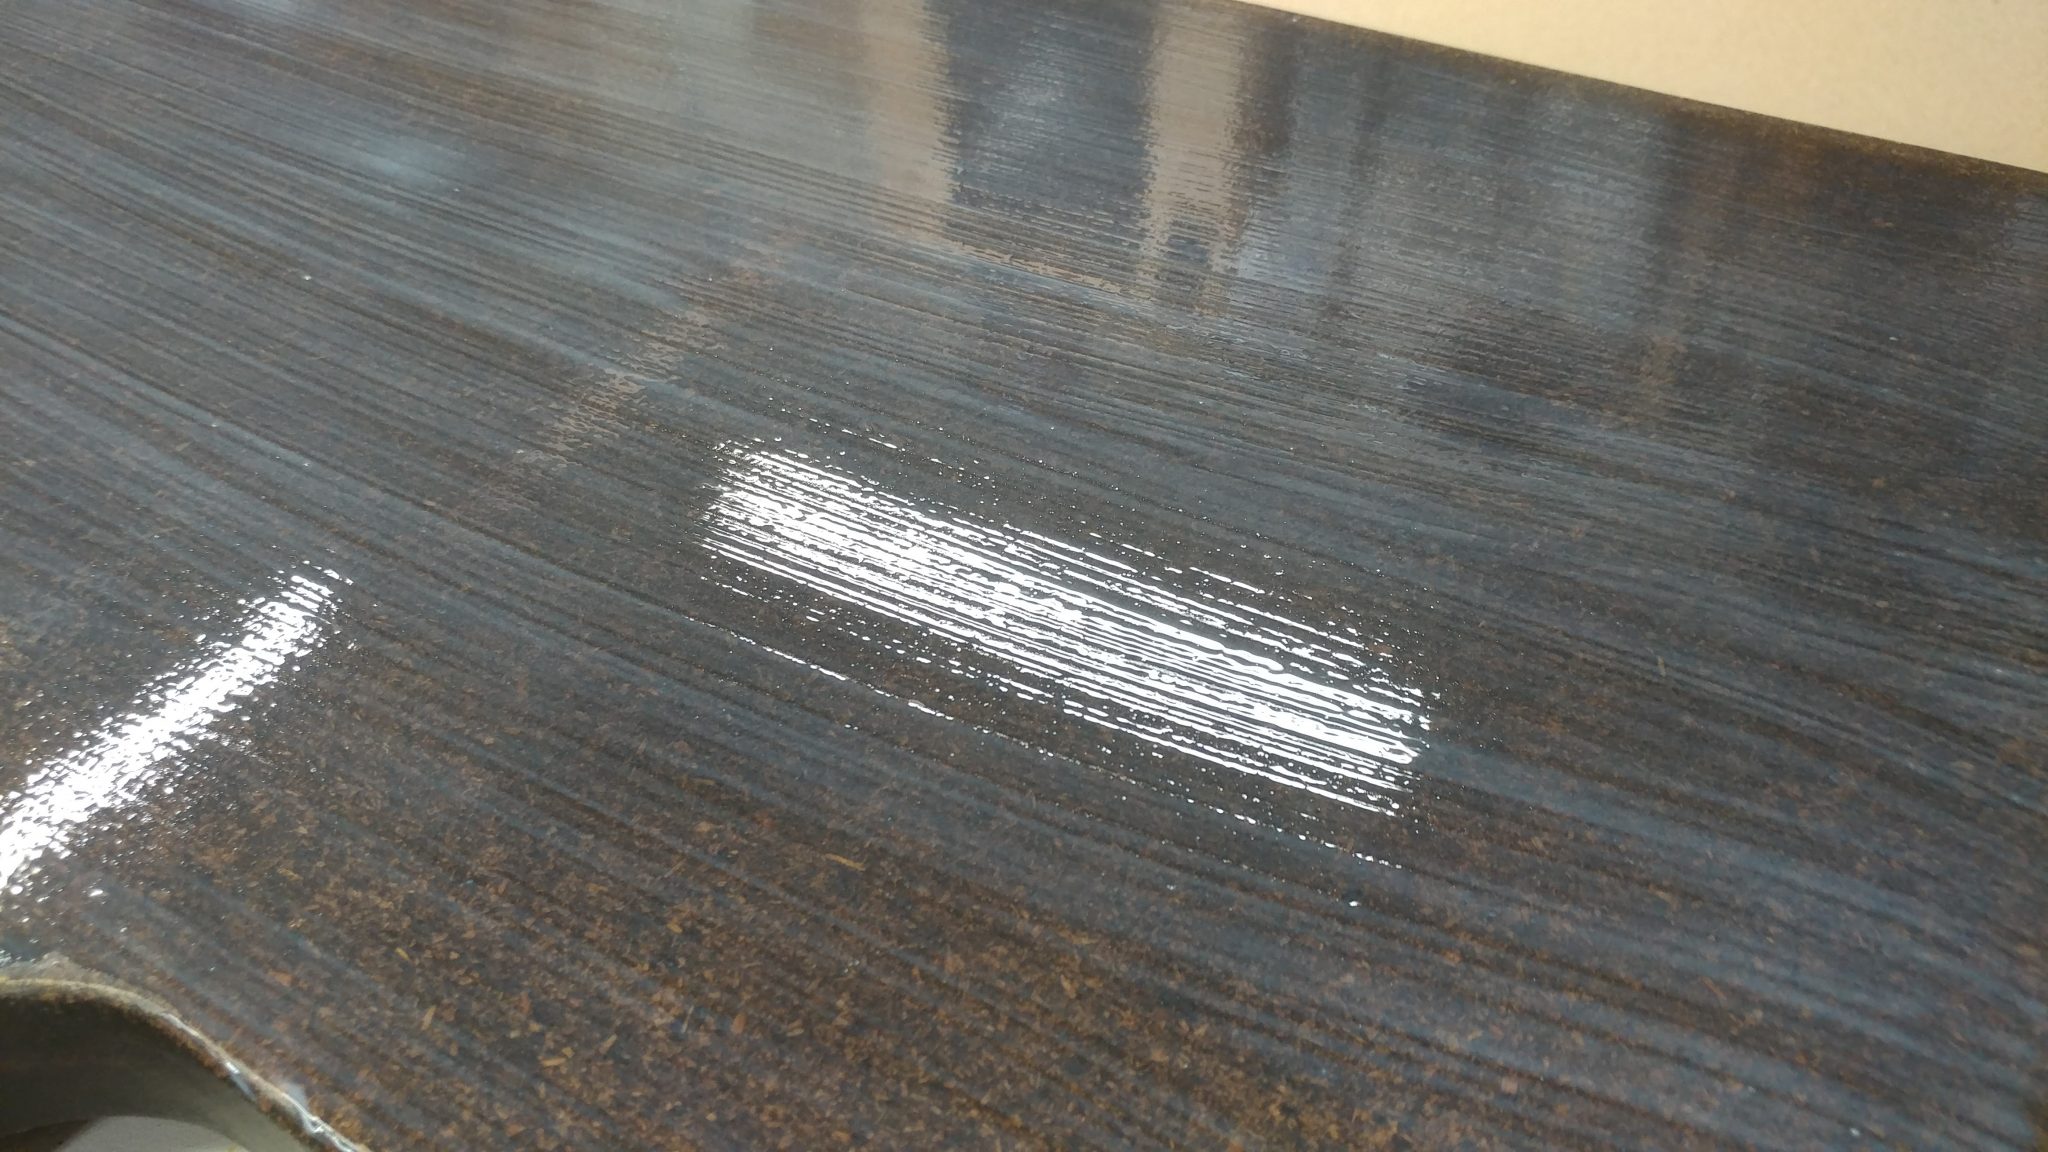
It goes on milky but dries clear.


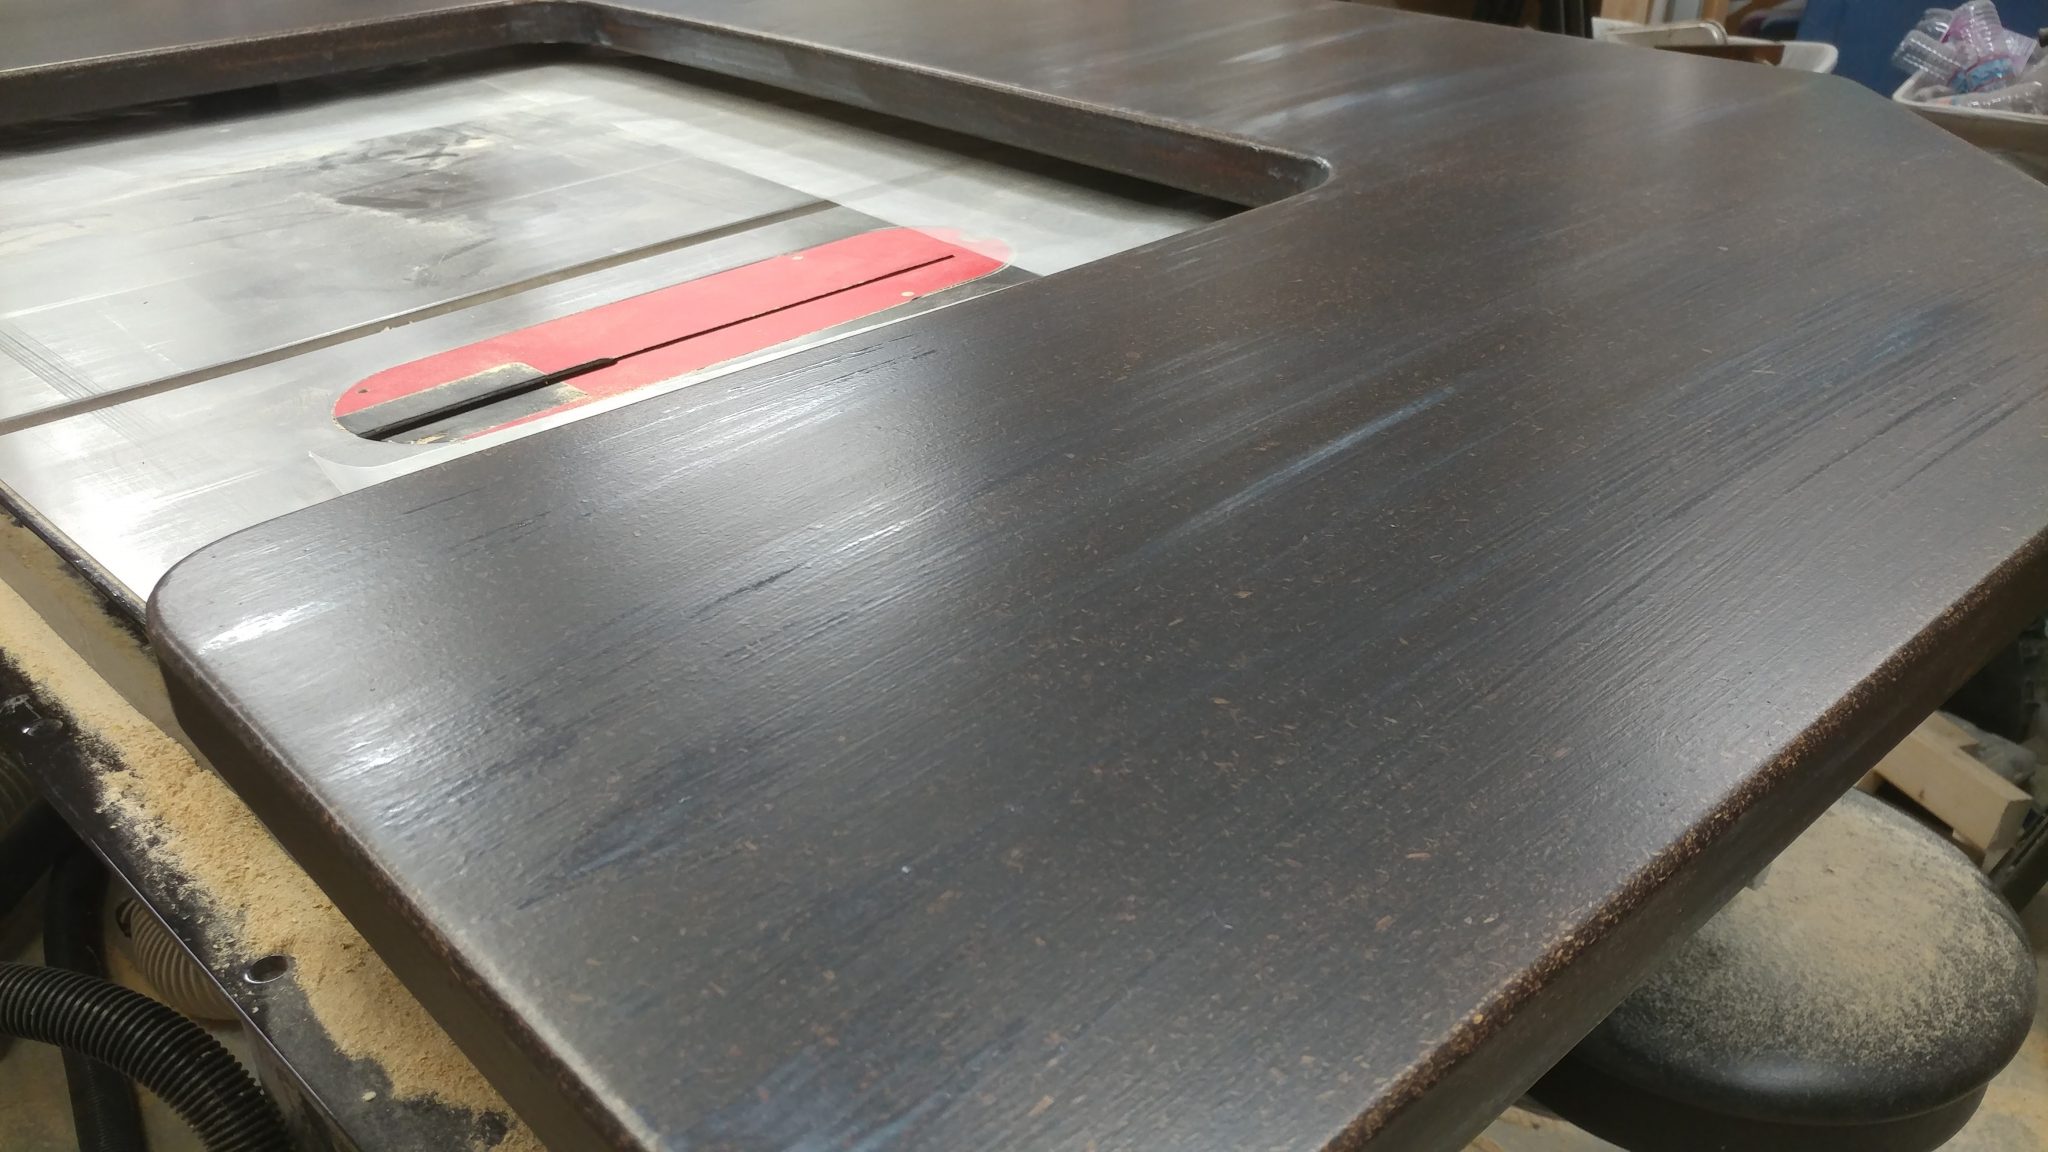
This is how I did the top surface of the upper section of the desk.  The underside of the upper section just had three coats of polyurethane applied.

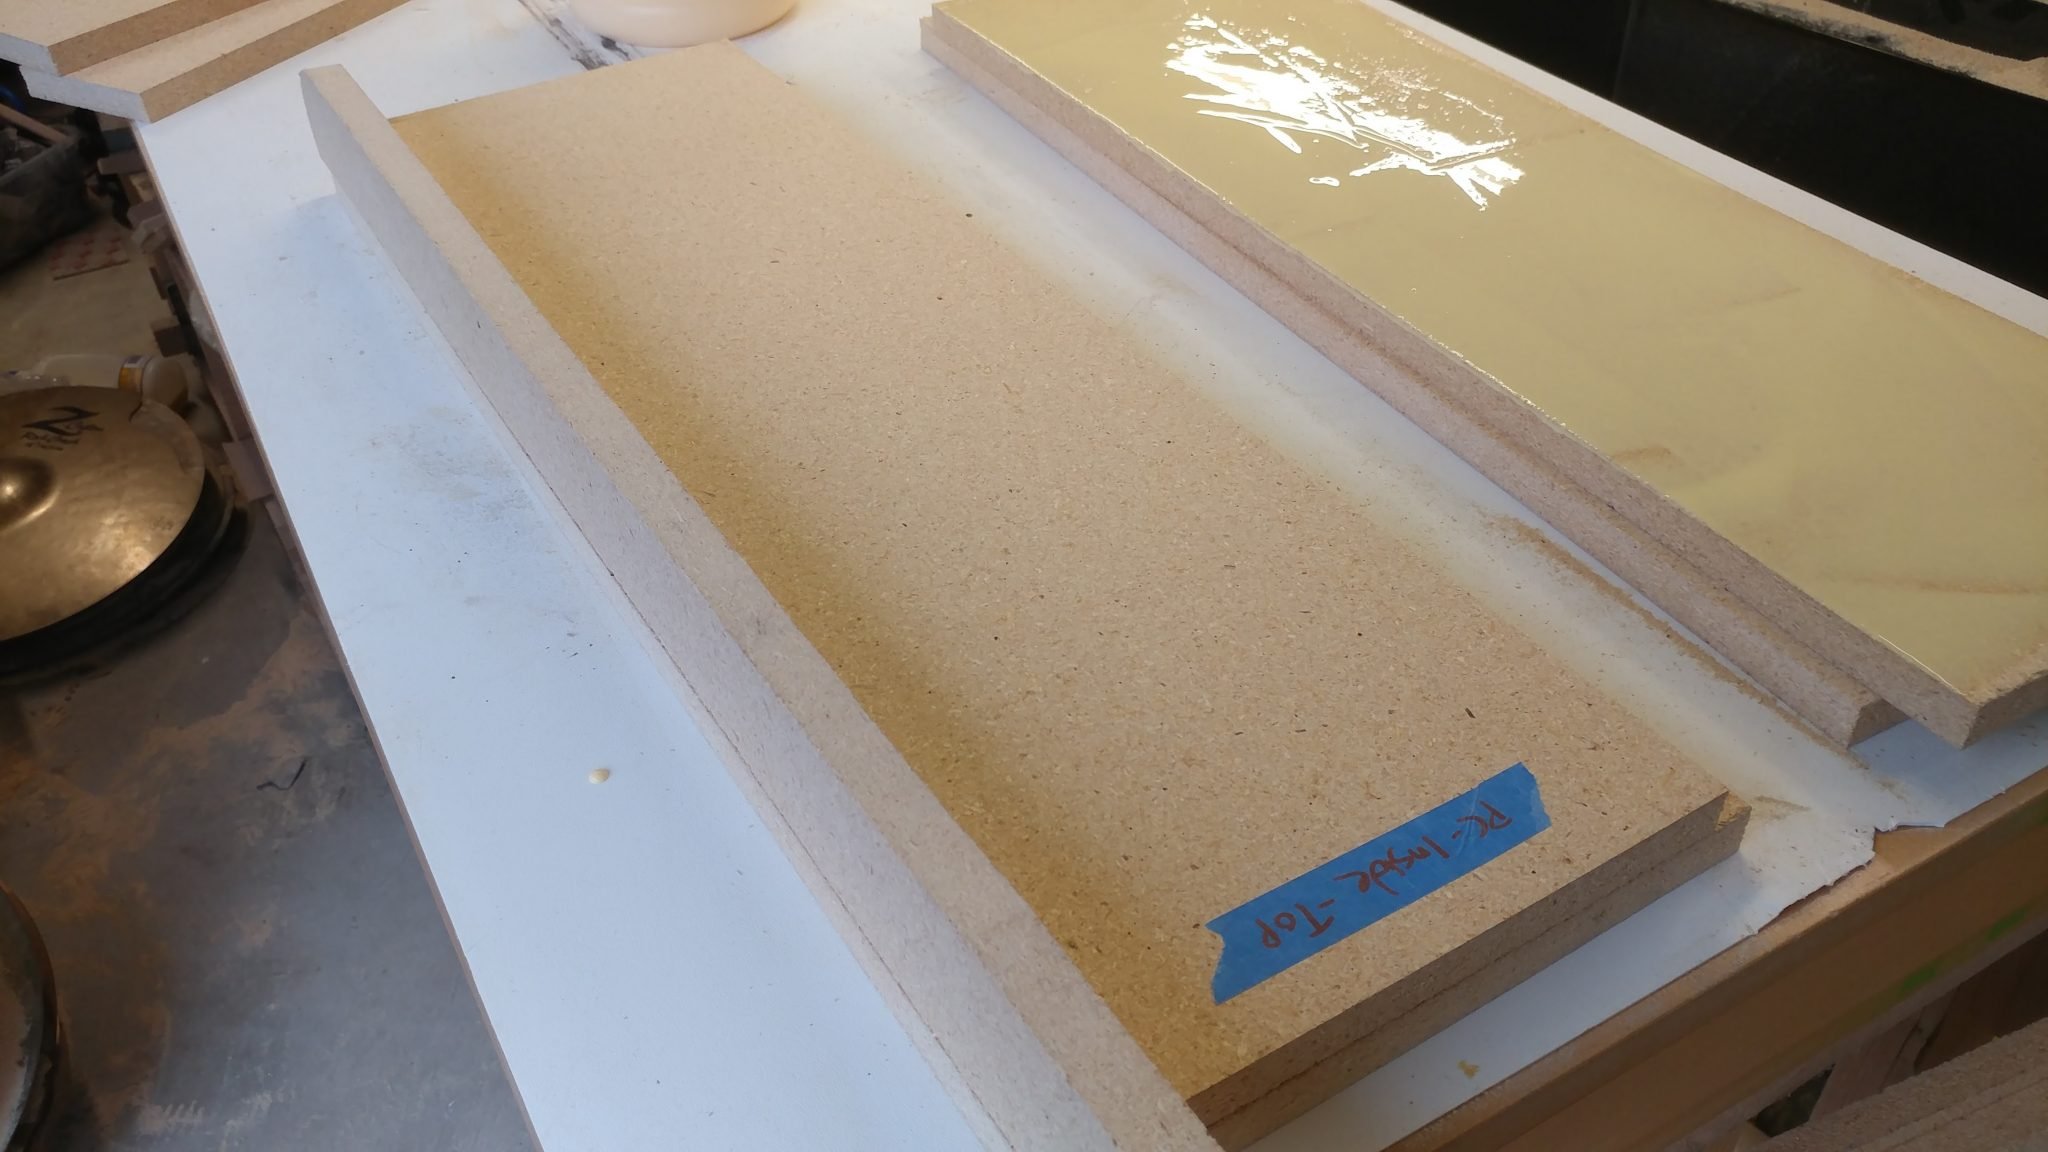
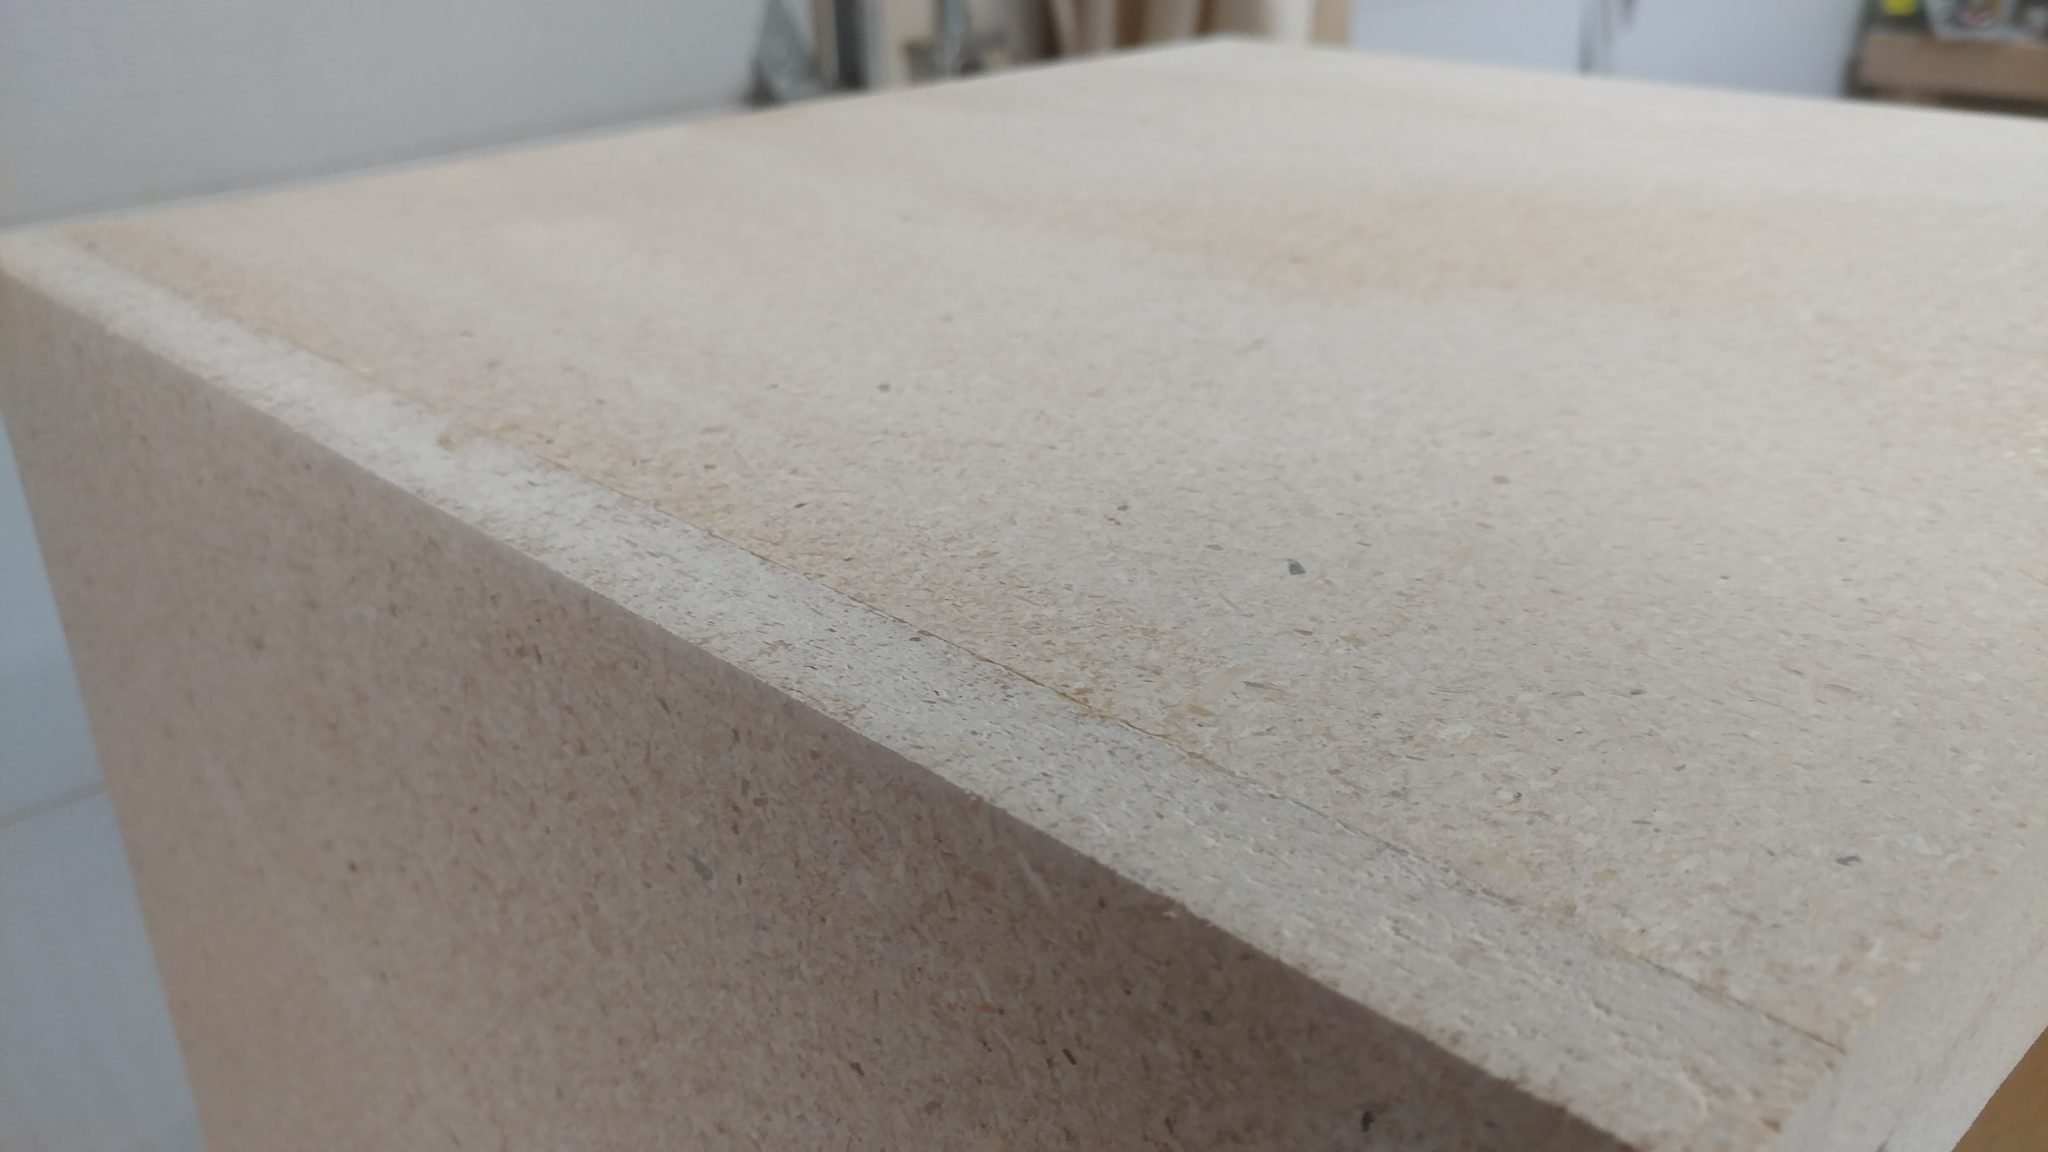
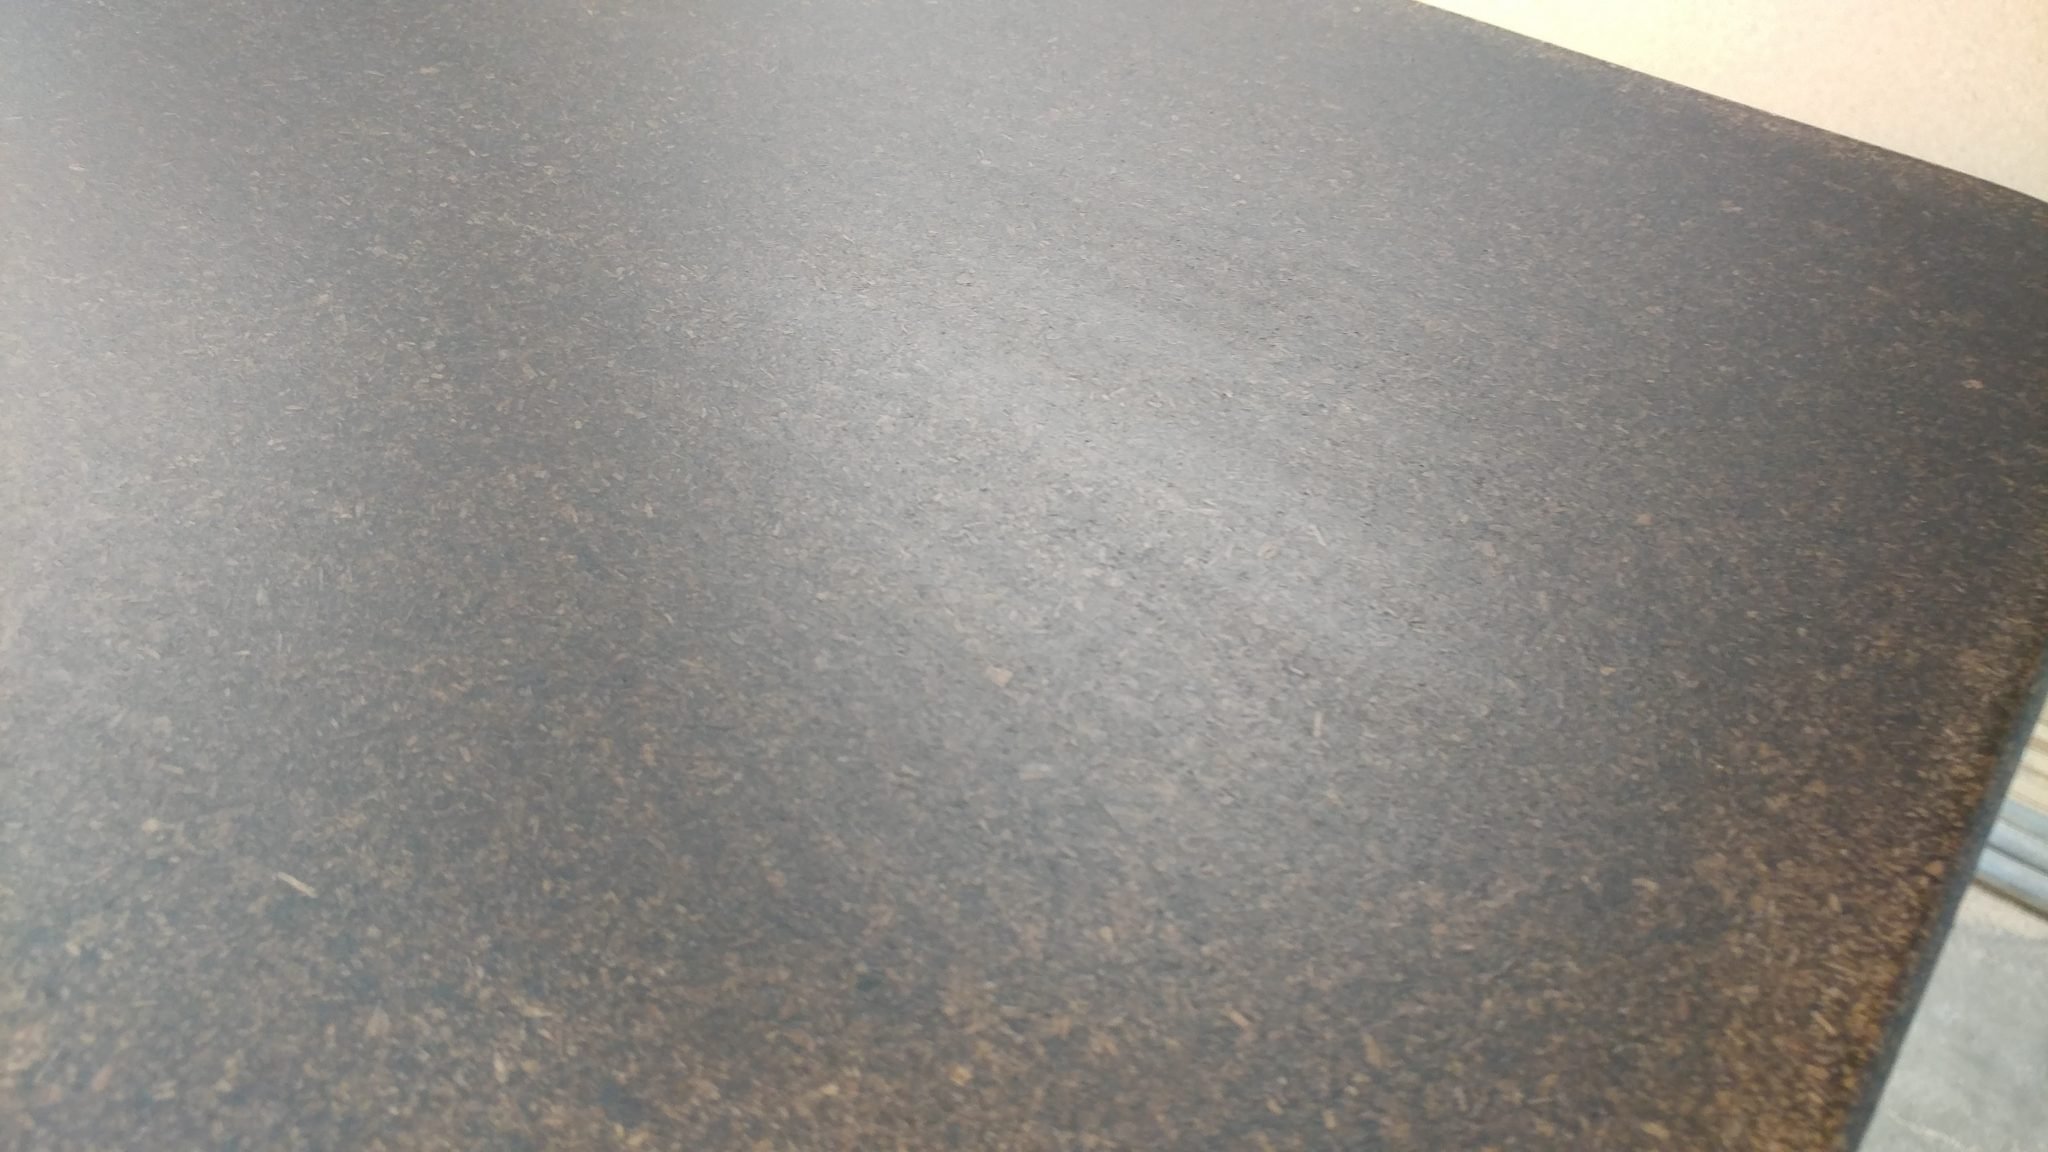
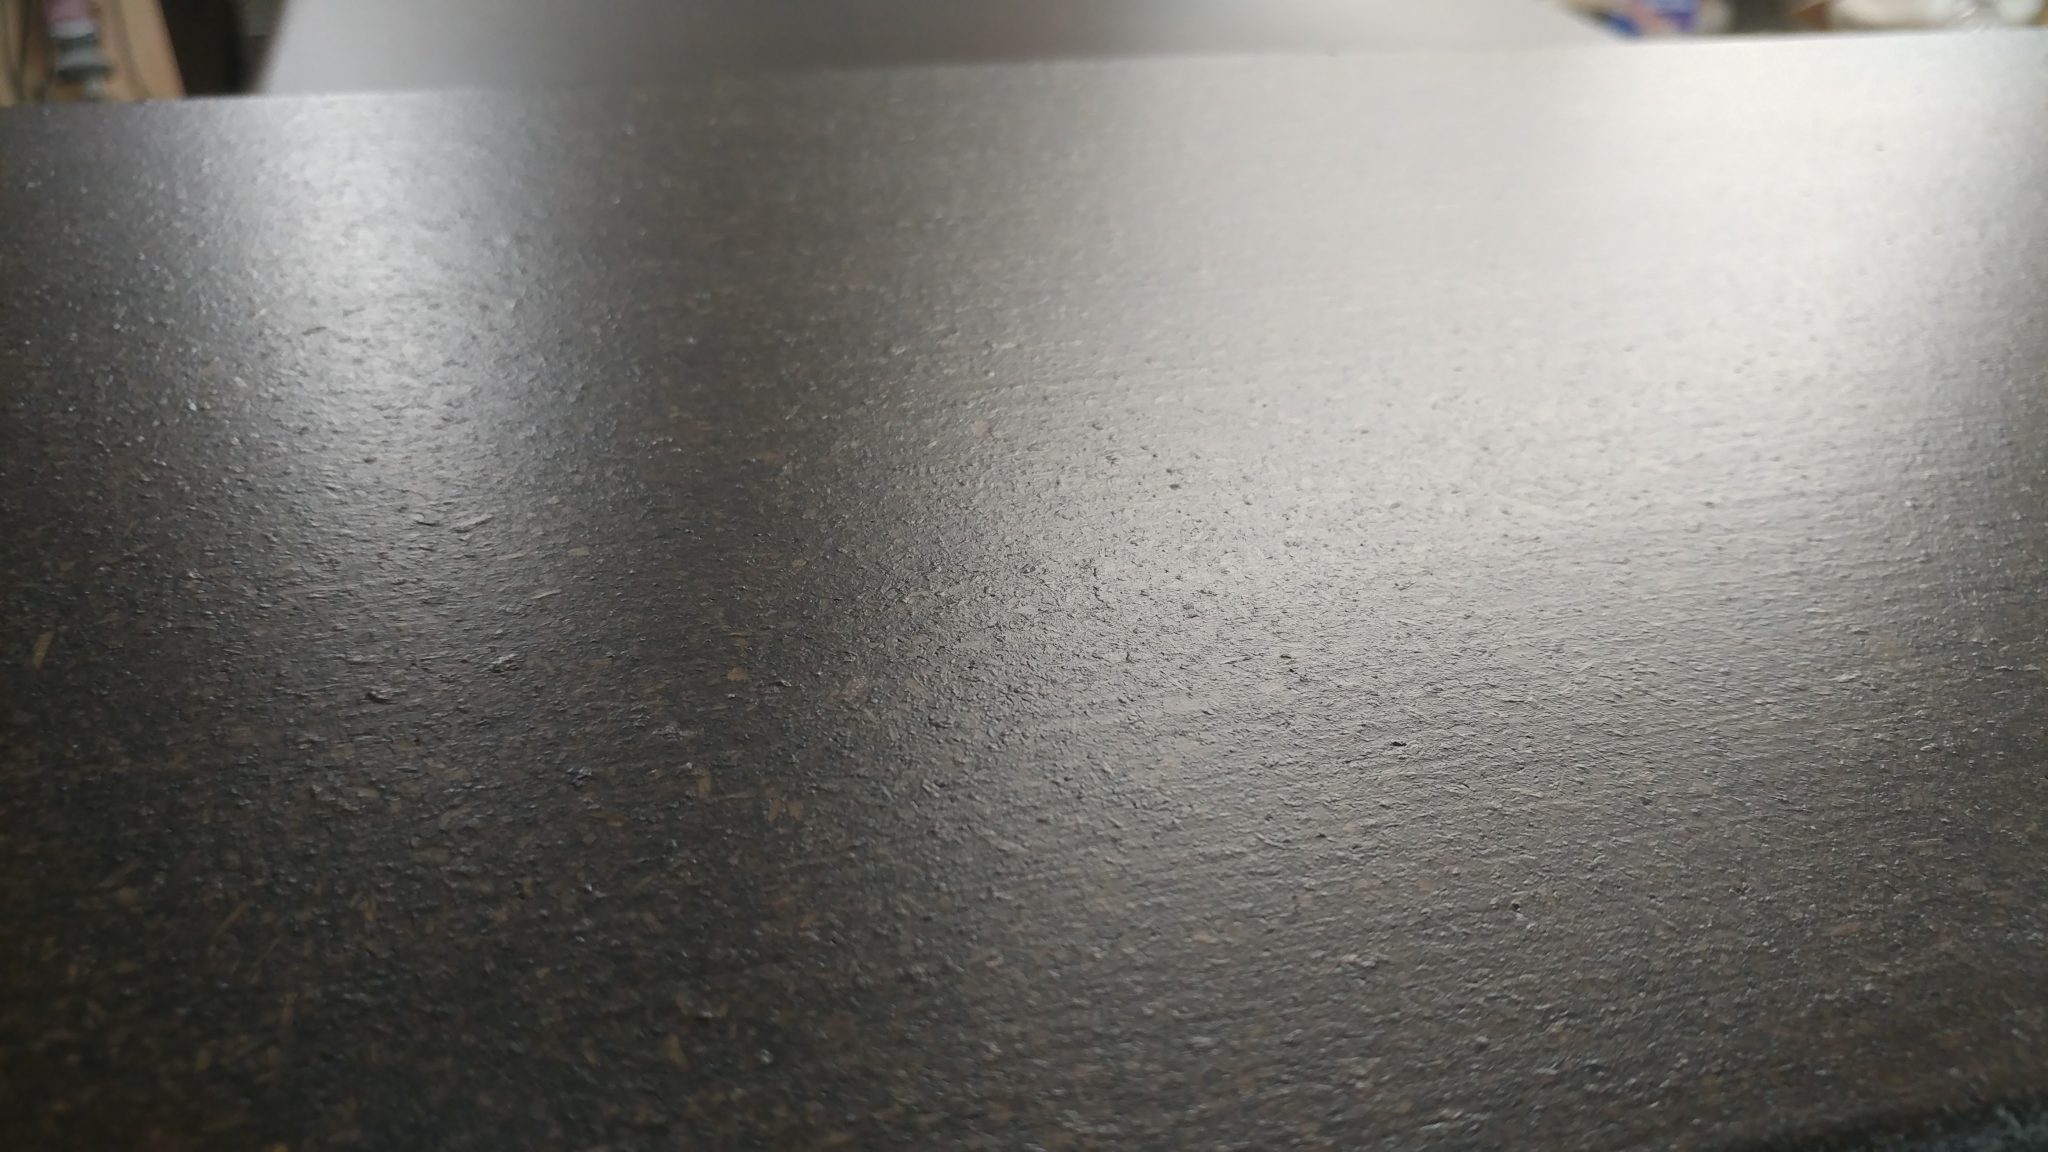
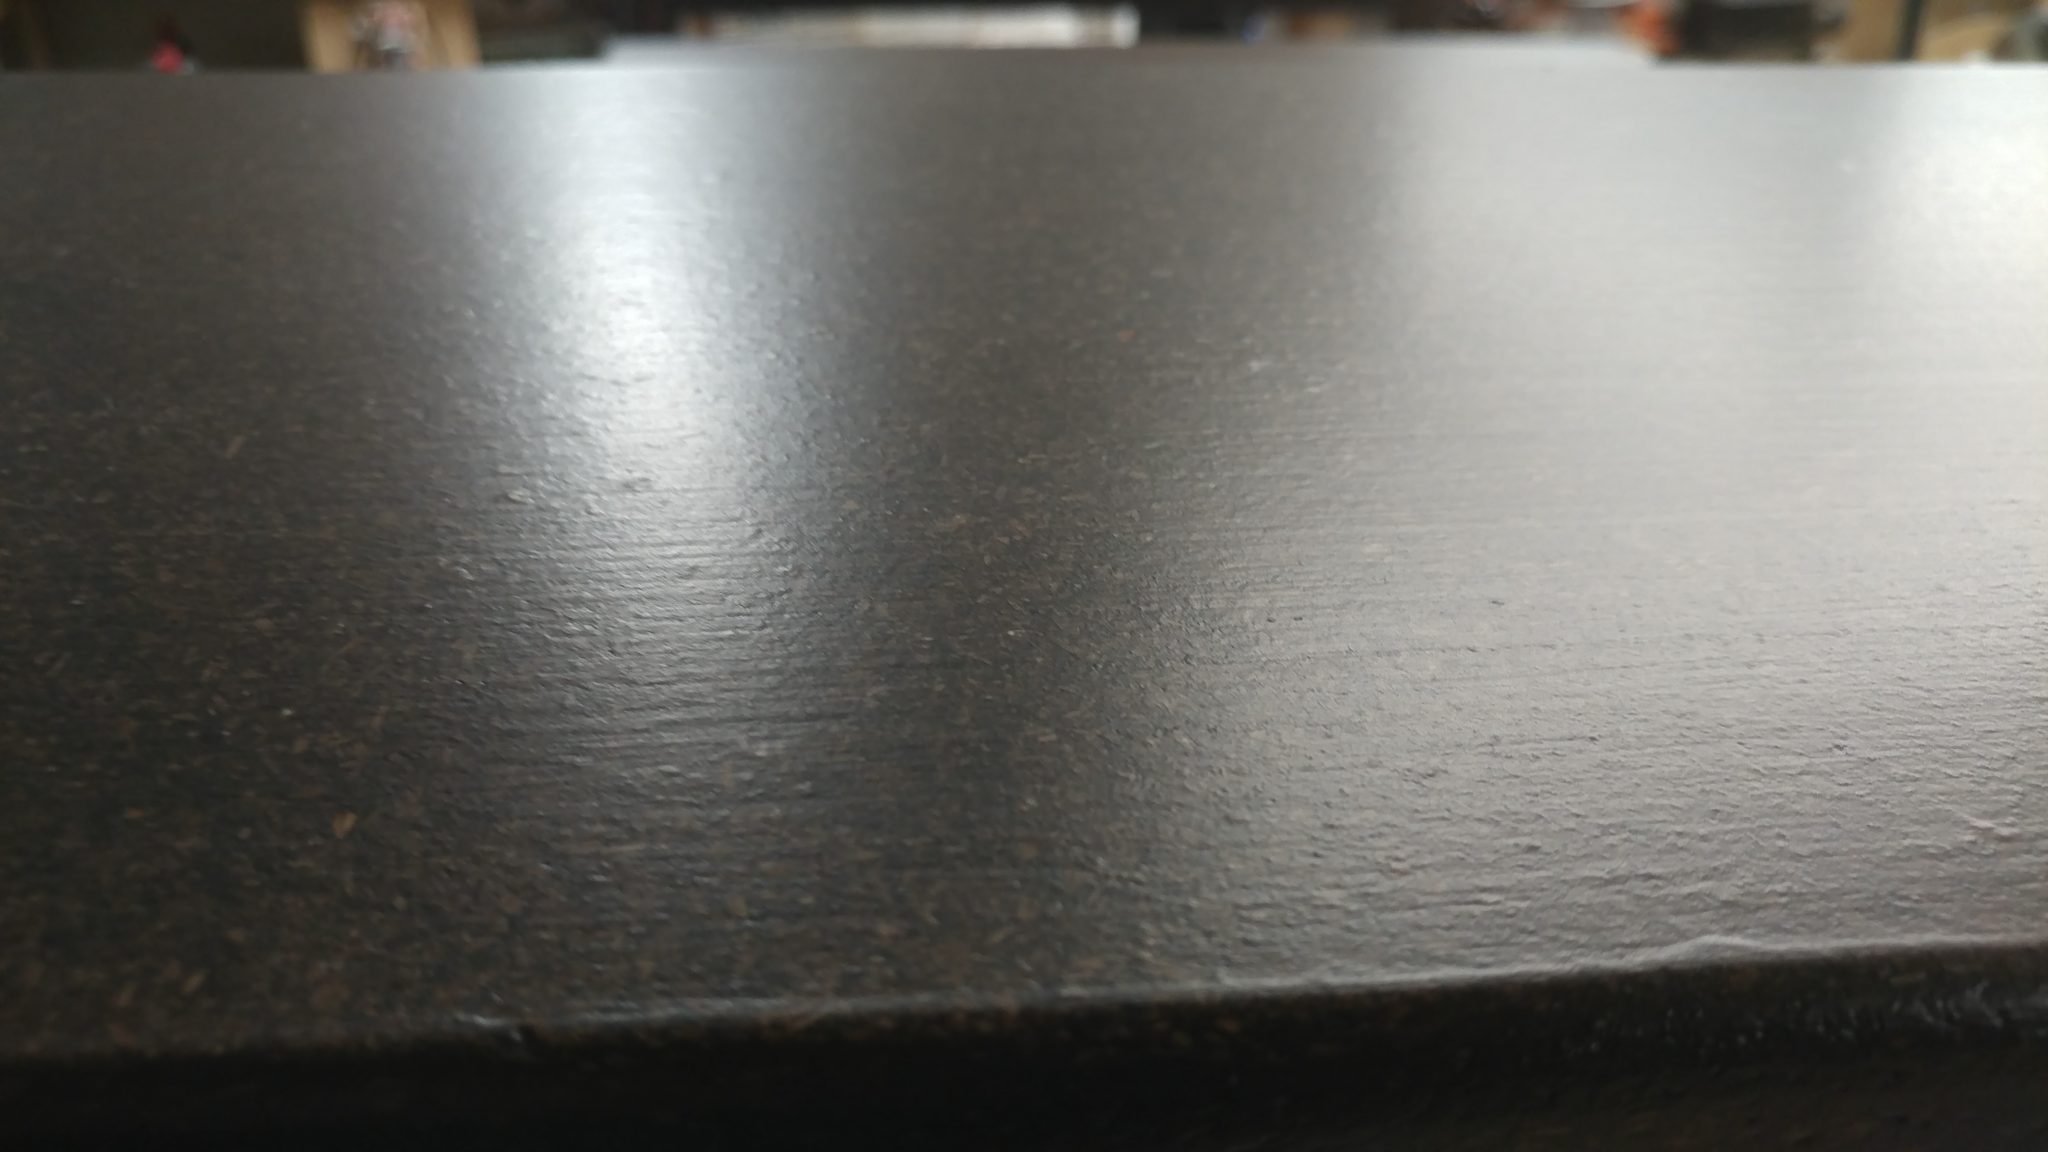
I let the first coat dry for a few hours.  You can see on closer inspection that the wood still has a bit of a rough texture that you can feel through the polyurethane.  Normally, I would lightly sand between coats, regardless what the instructions say.  I chose not to in an effort to add a subtle texture to the finish.  My goal is to apply enough finish so it has more of a plasticy feel to it.


The second coat was applied.


I let that cure for a few hours.


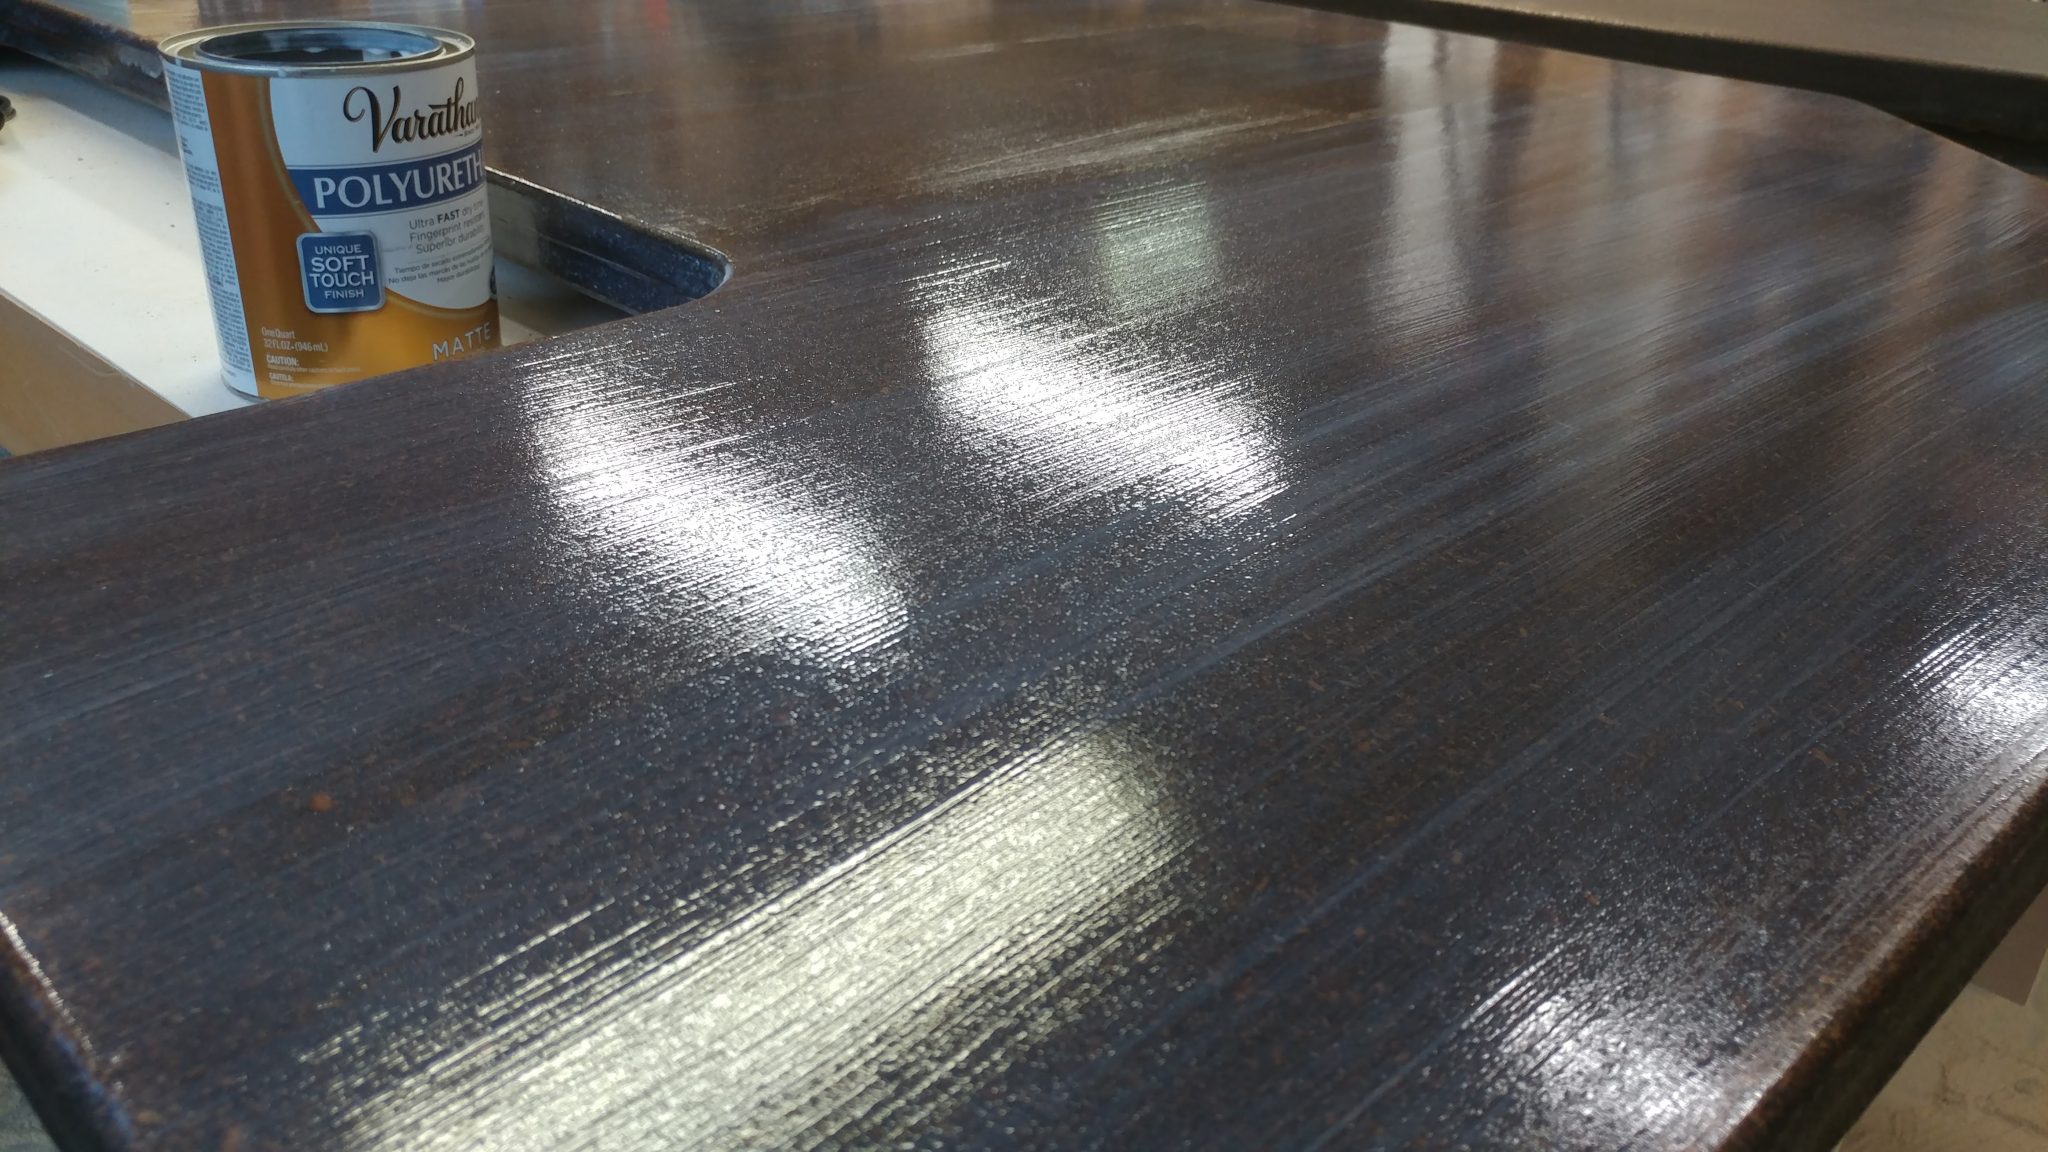
The third coat was applied without any sanding.


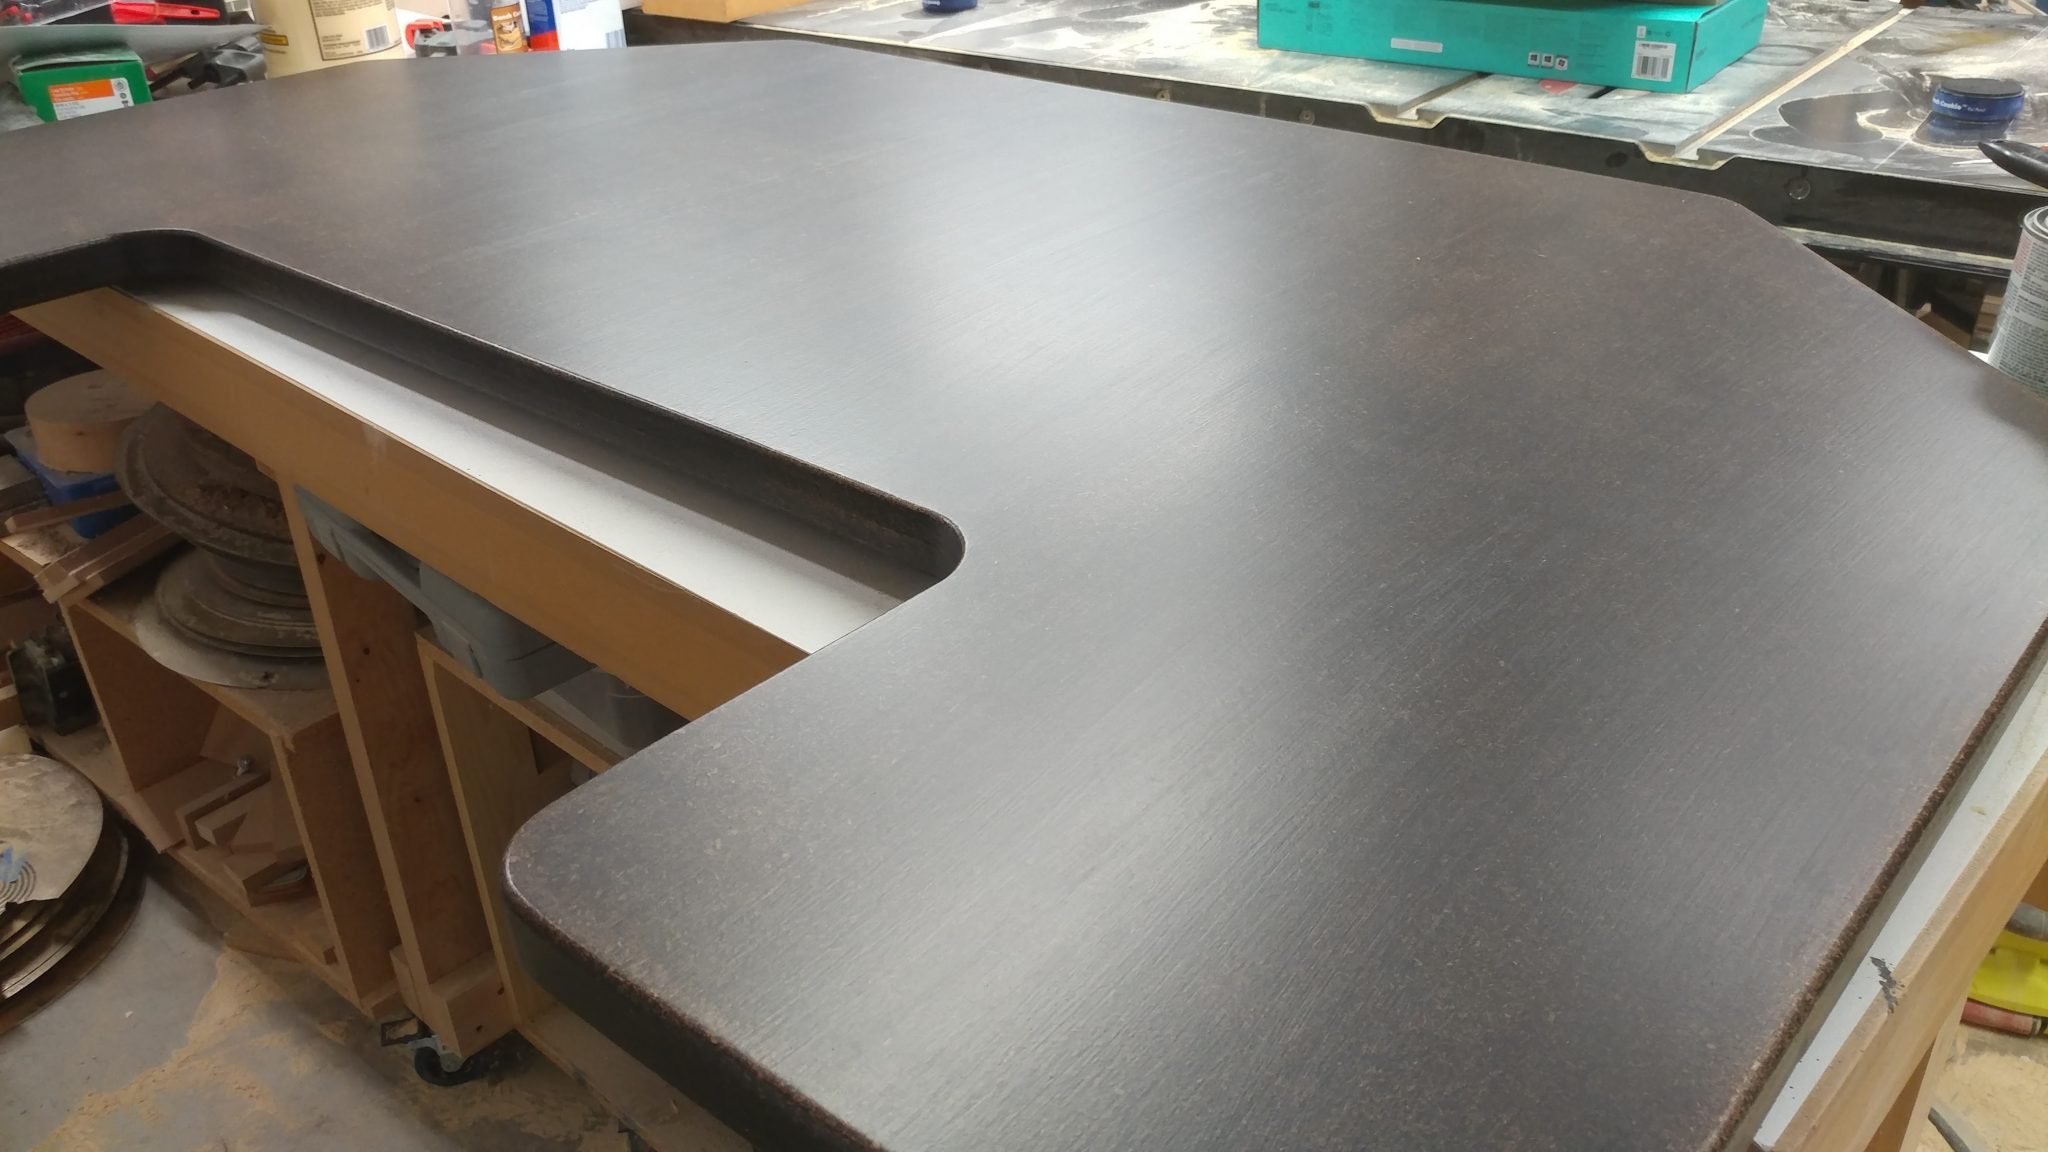
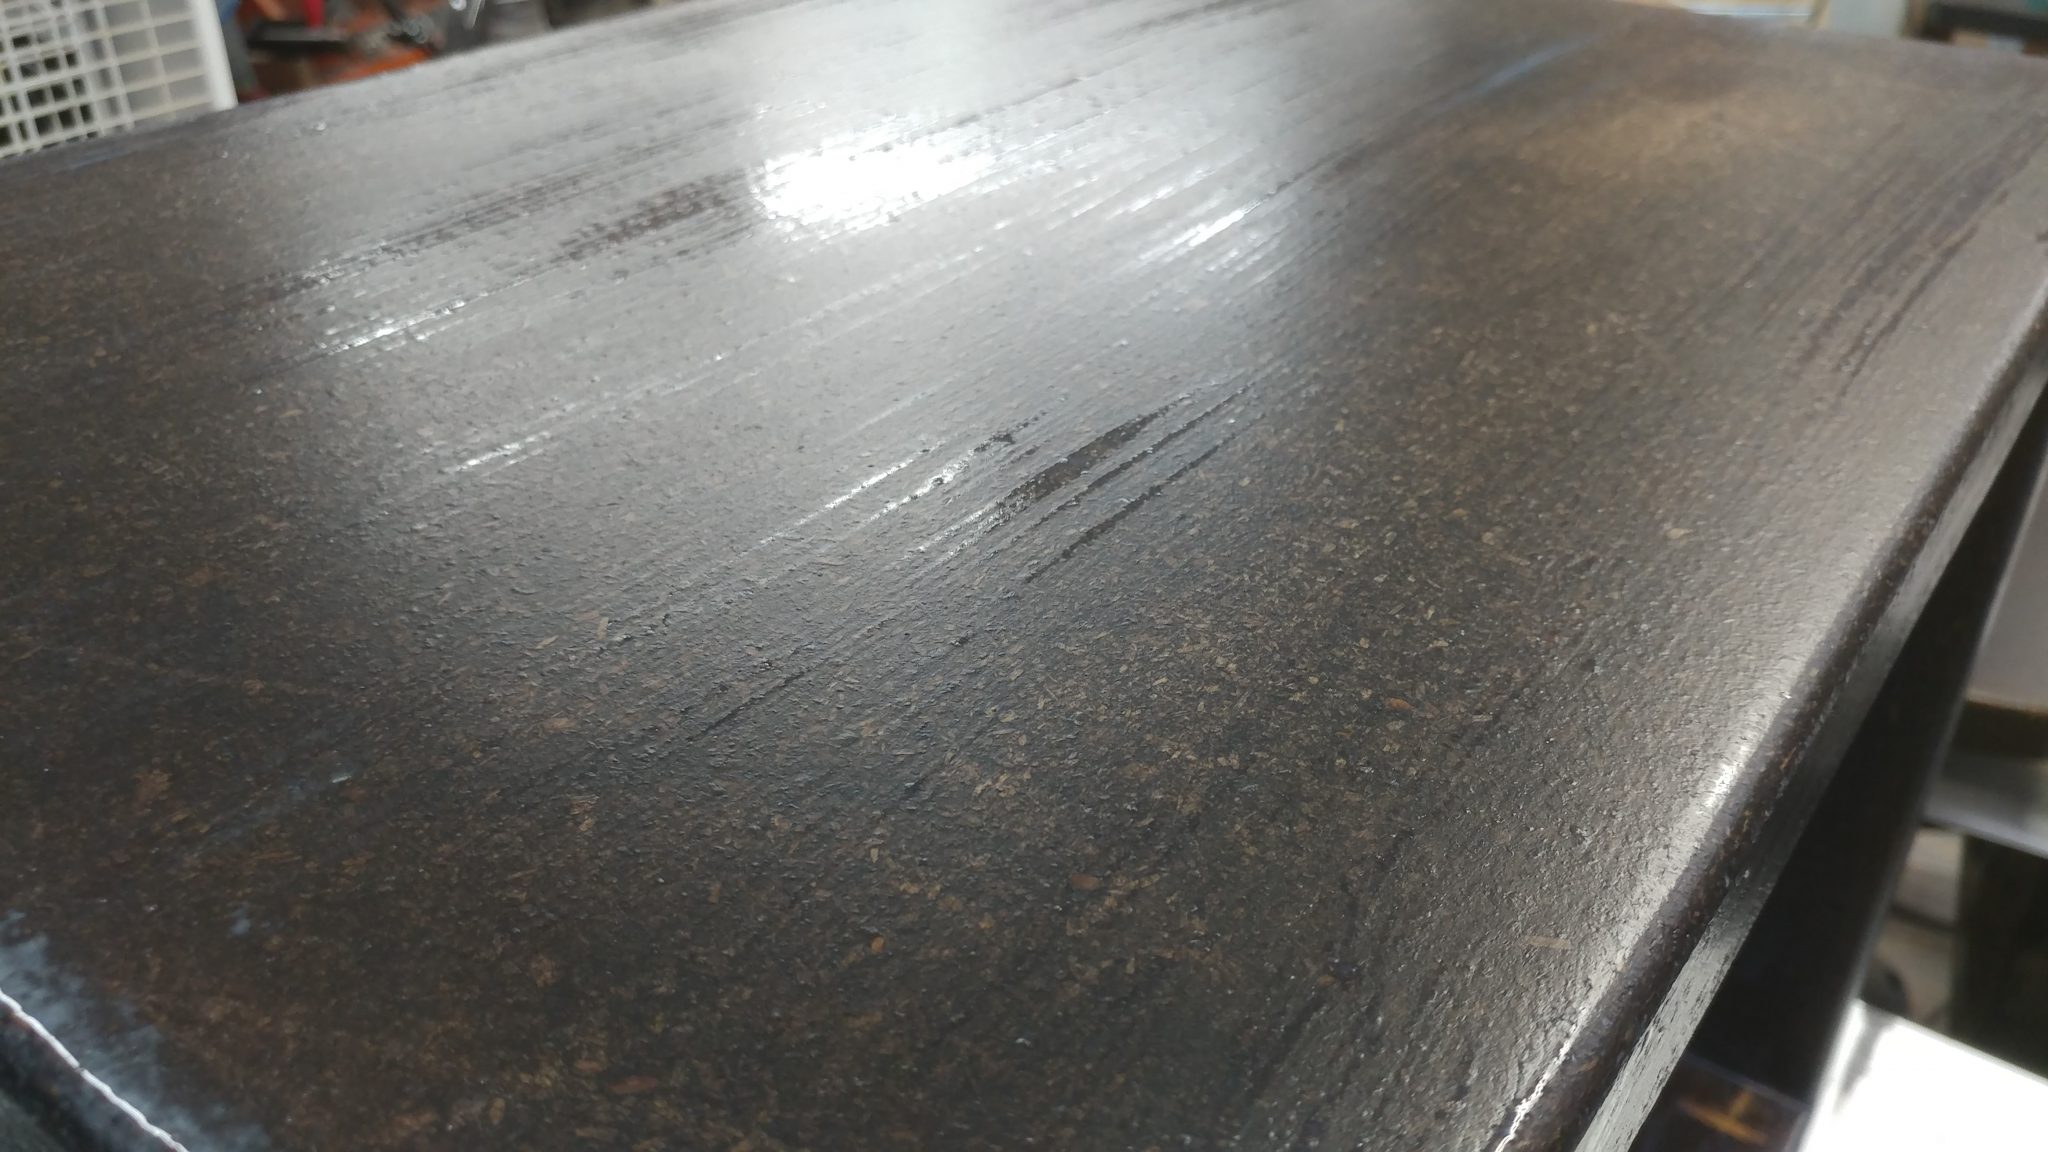
After letting it dry, I really liked the look and I could have stopped here but I wanted to add several more layers to give it the look and feel I was after.


I added a fourth coat.


And let it dry.


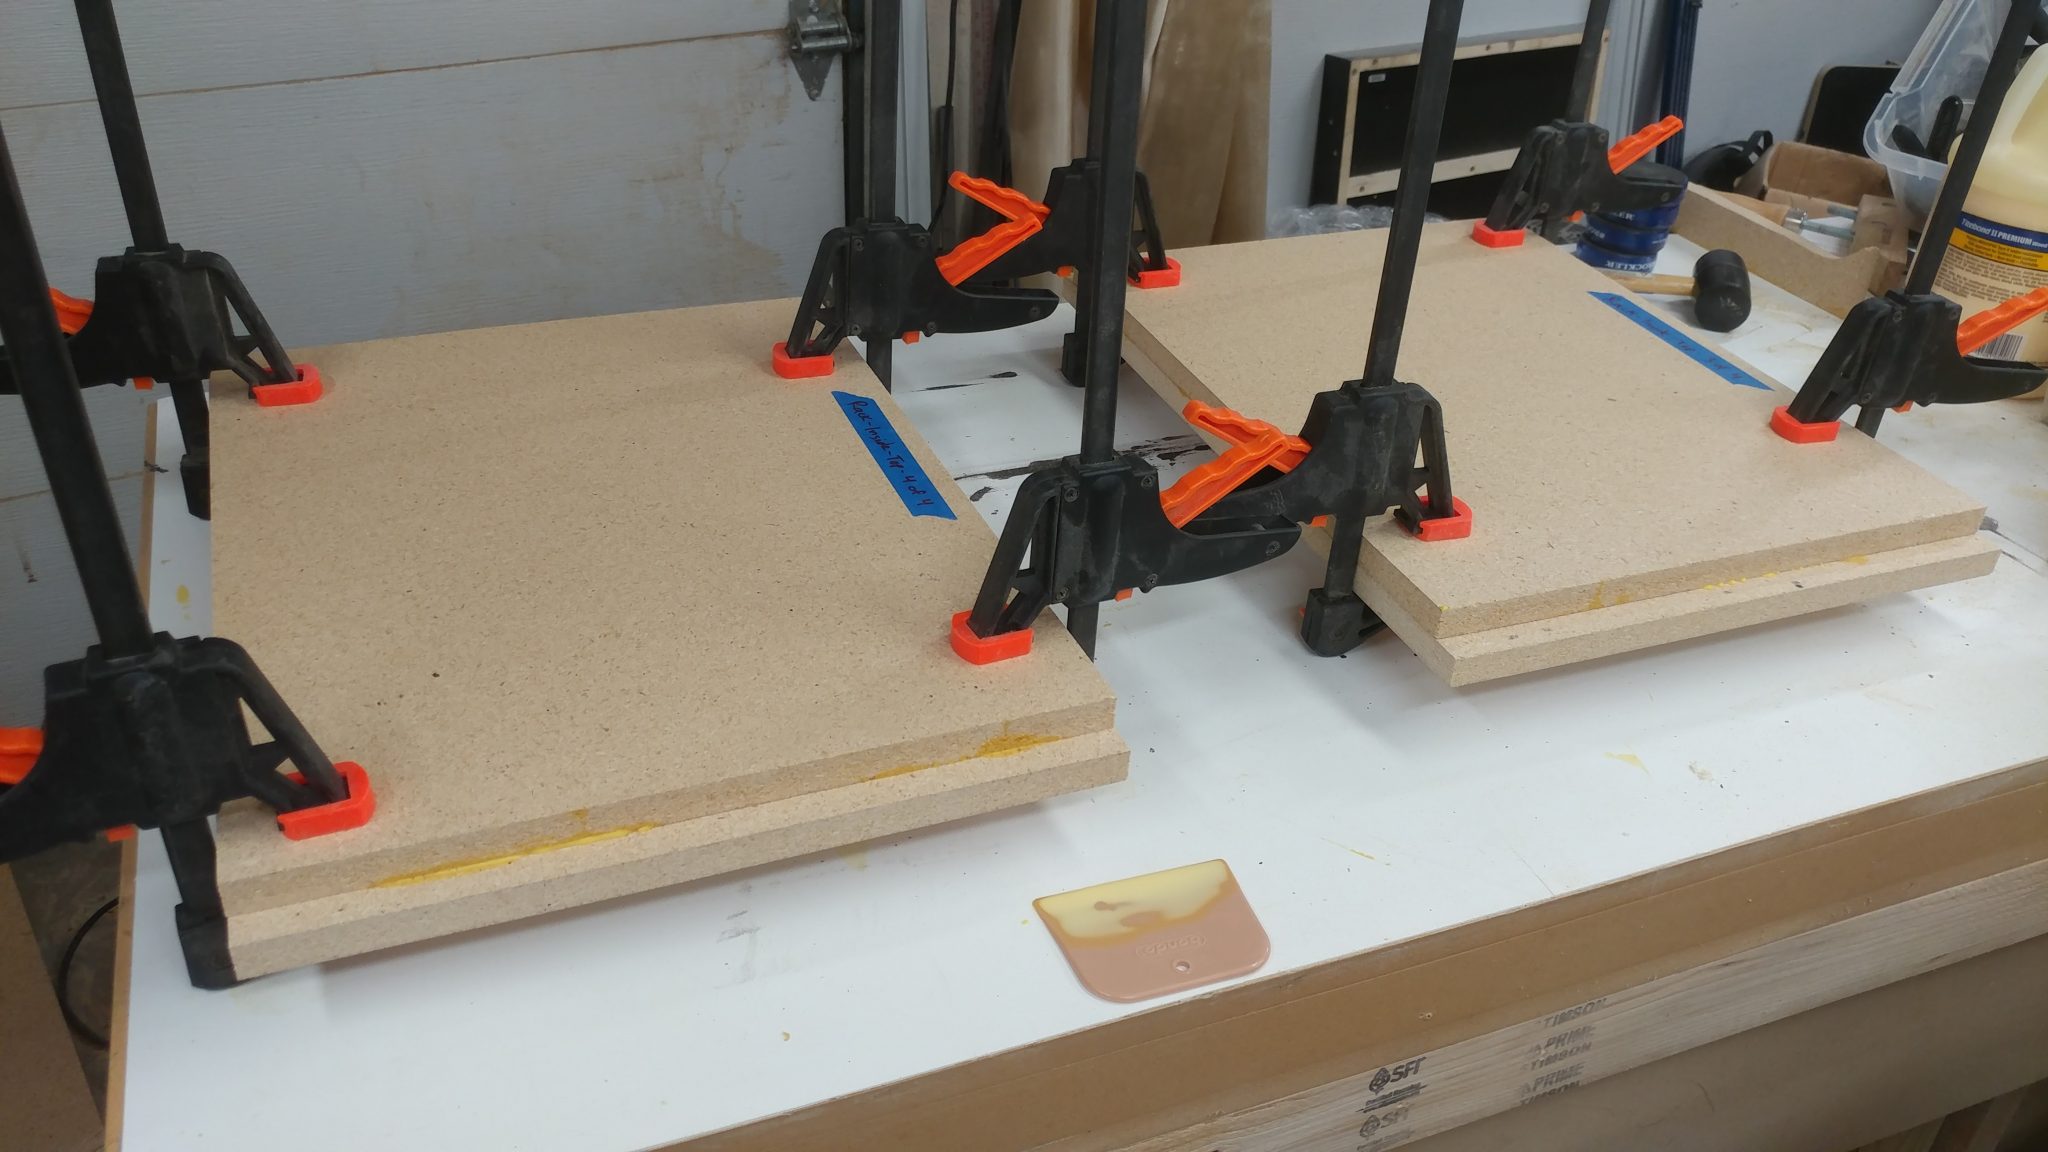
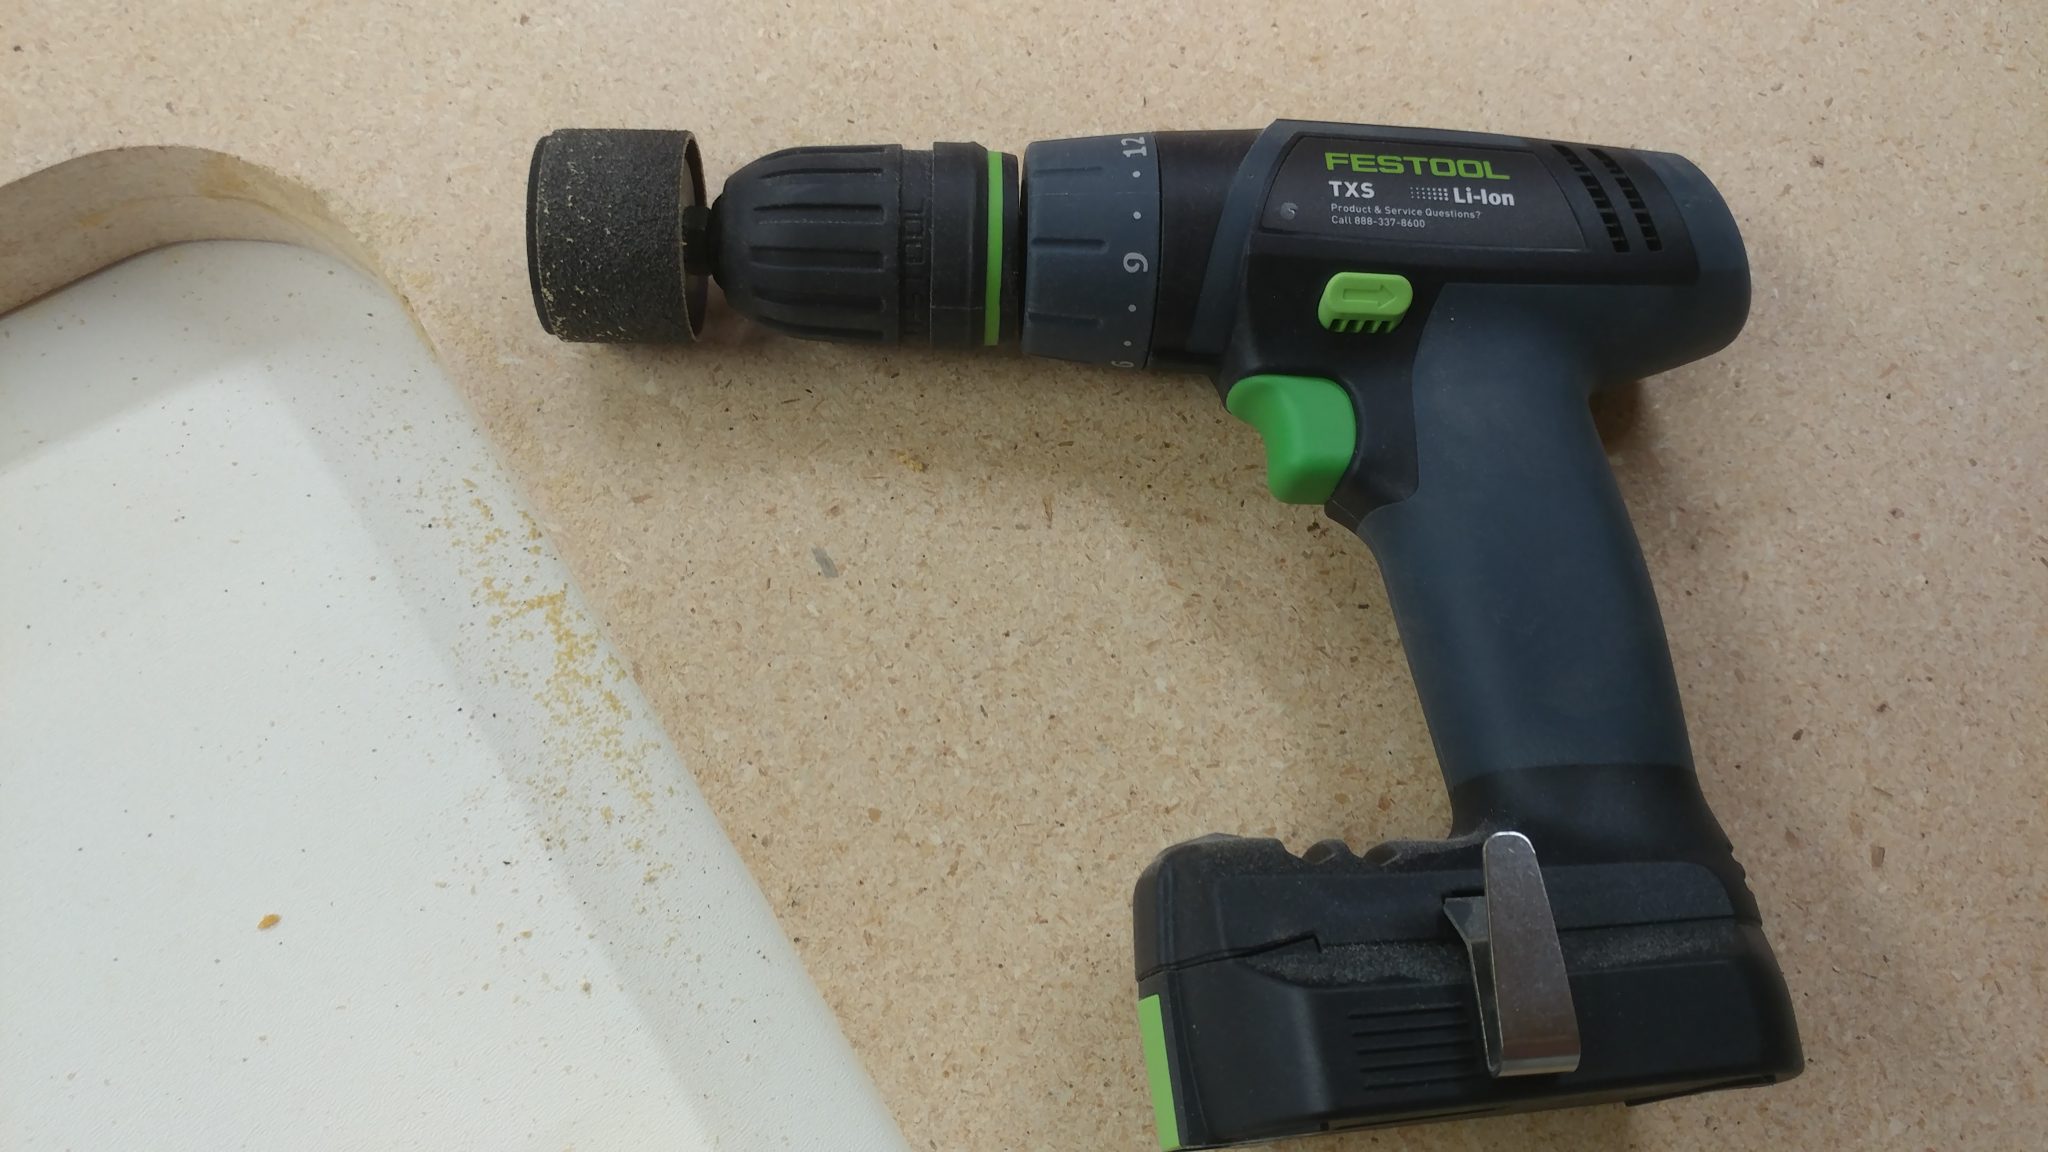
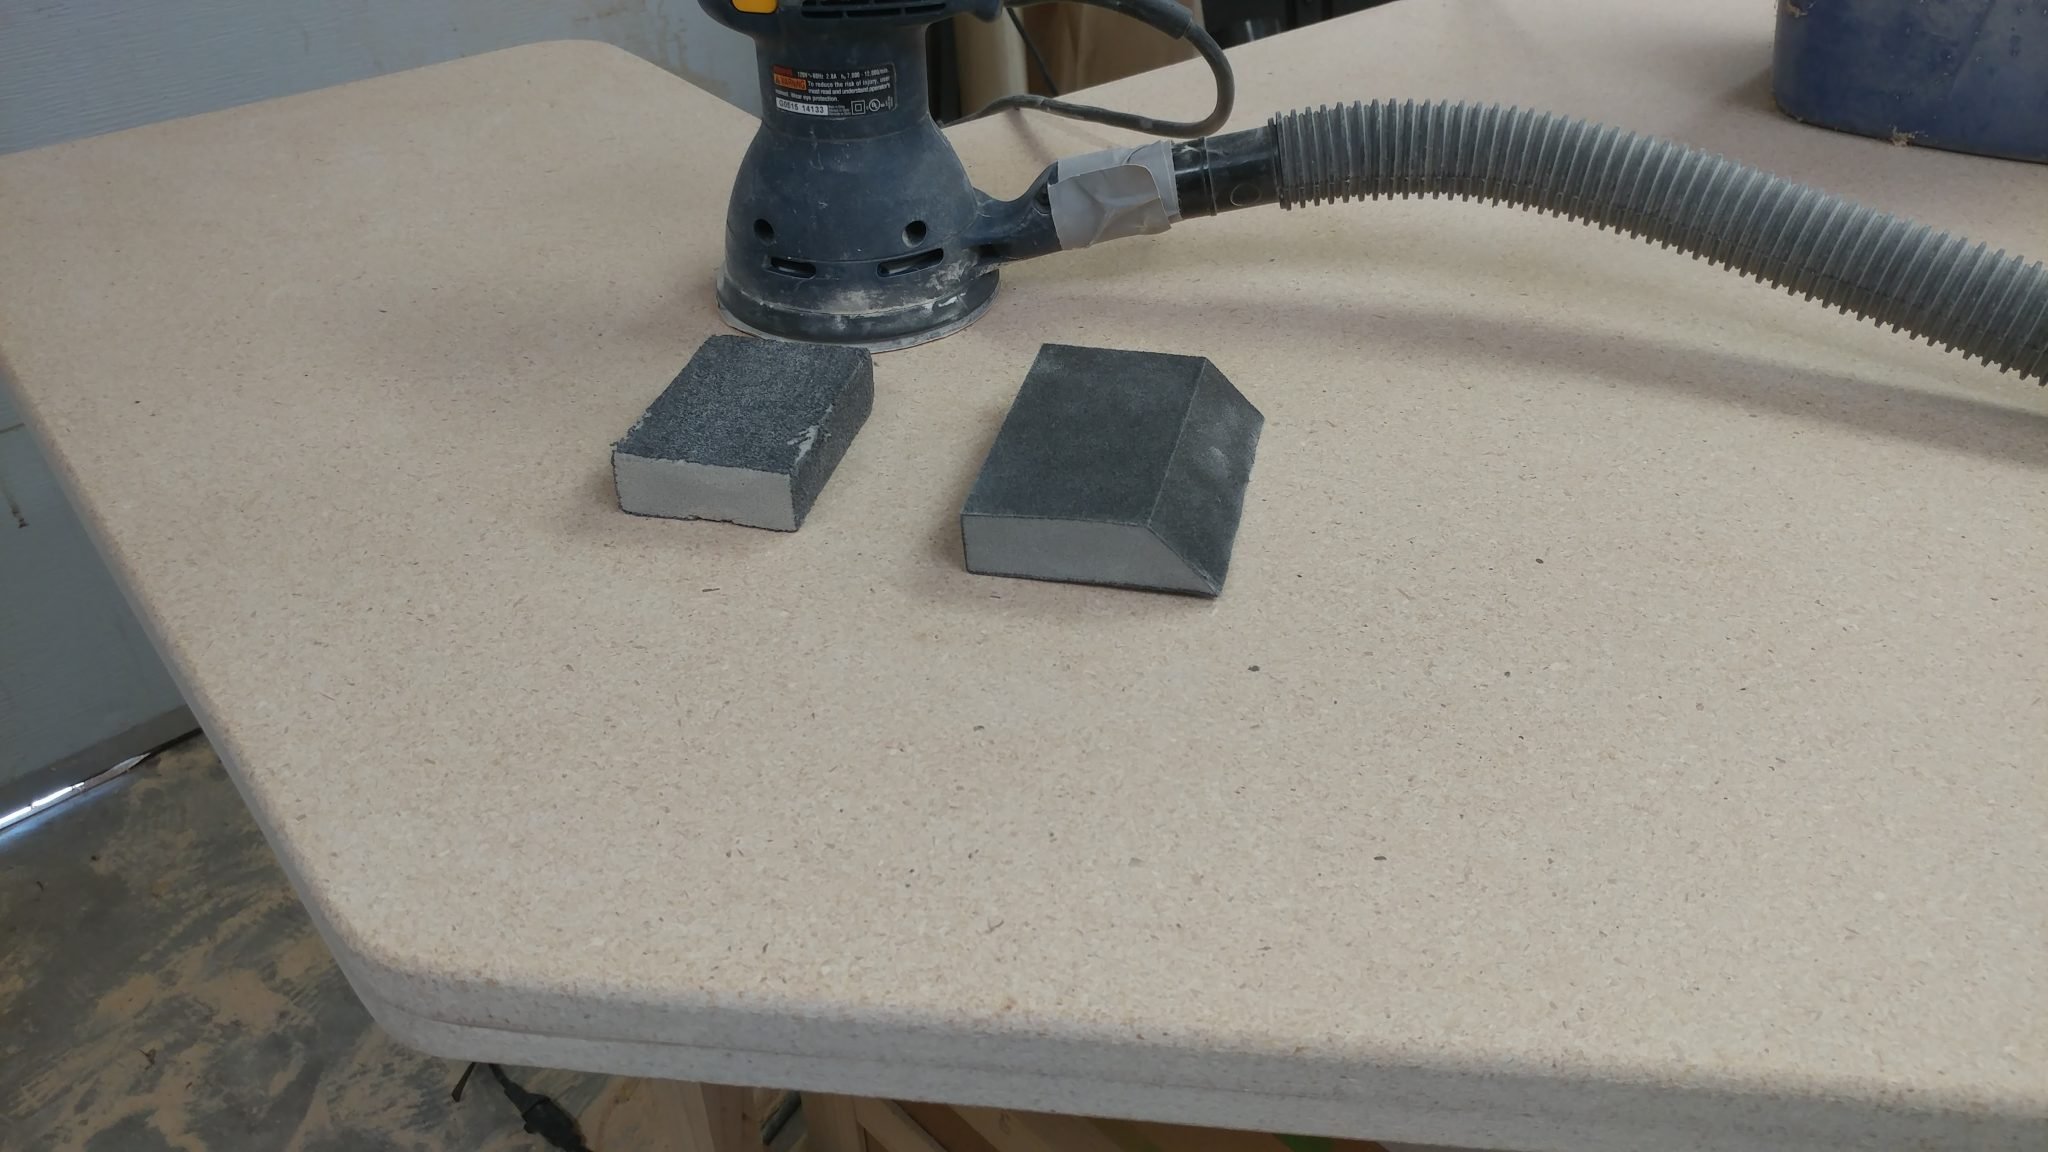
It’s starting to get that “too much poly” look that I’m after but there are a few high spots that I wanted to knock back.  I decided that I would sand the surface with a 220-grit adhesive-backed sanding disc.

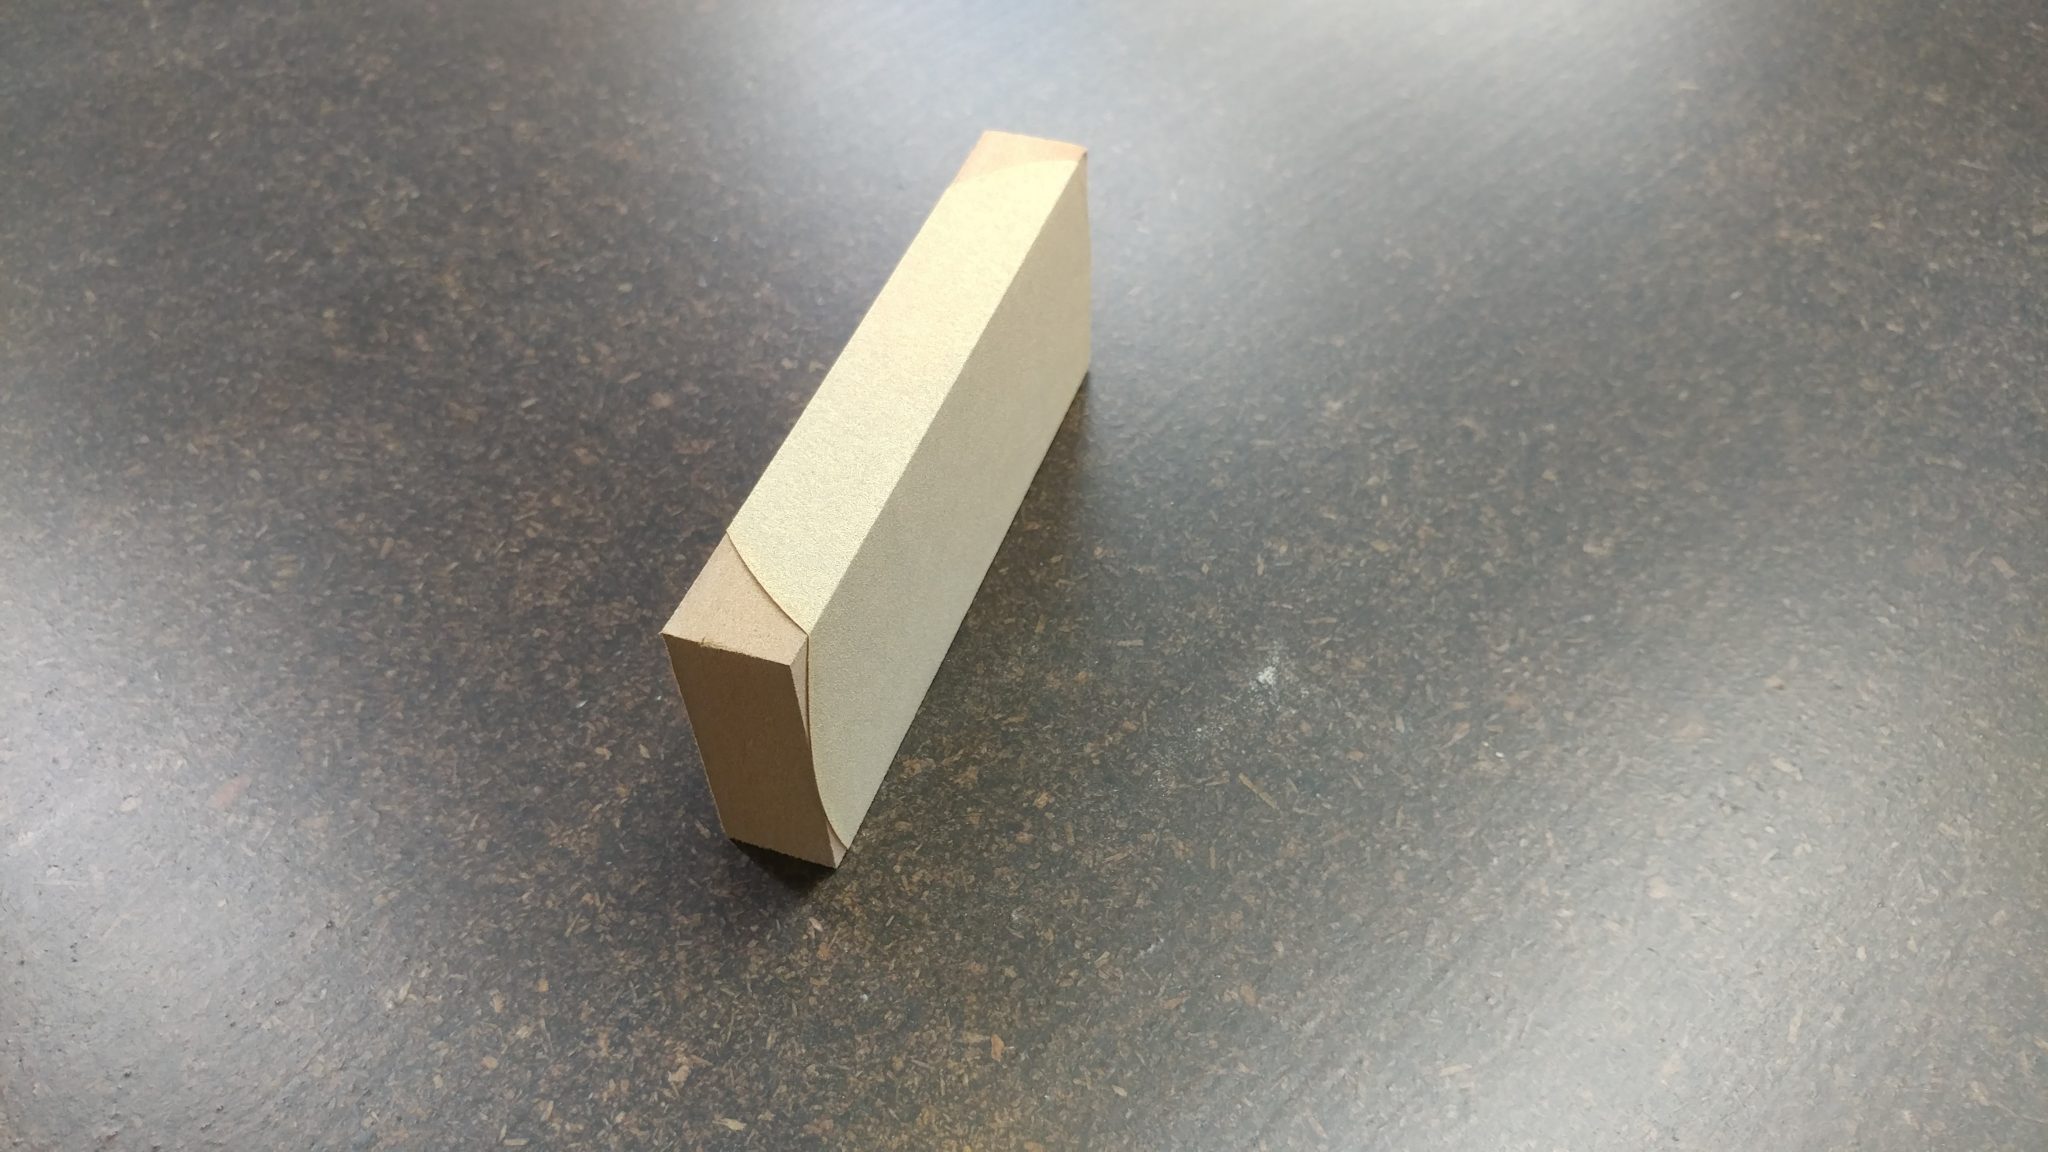
I grabbed a scrap piece of MDF to use as a sanding block and stuck the disc to it.


This resulted in a nice flat sanding block.


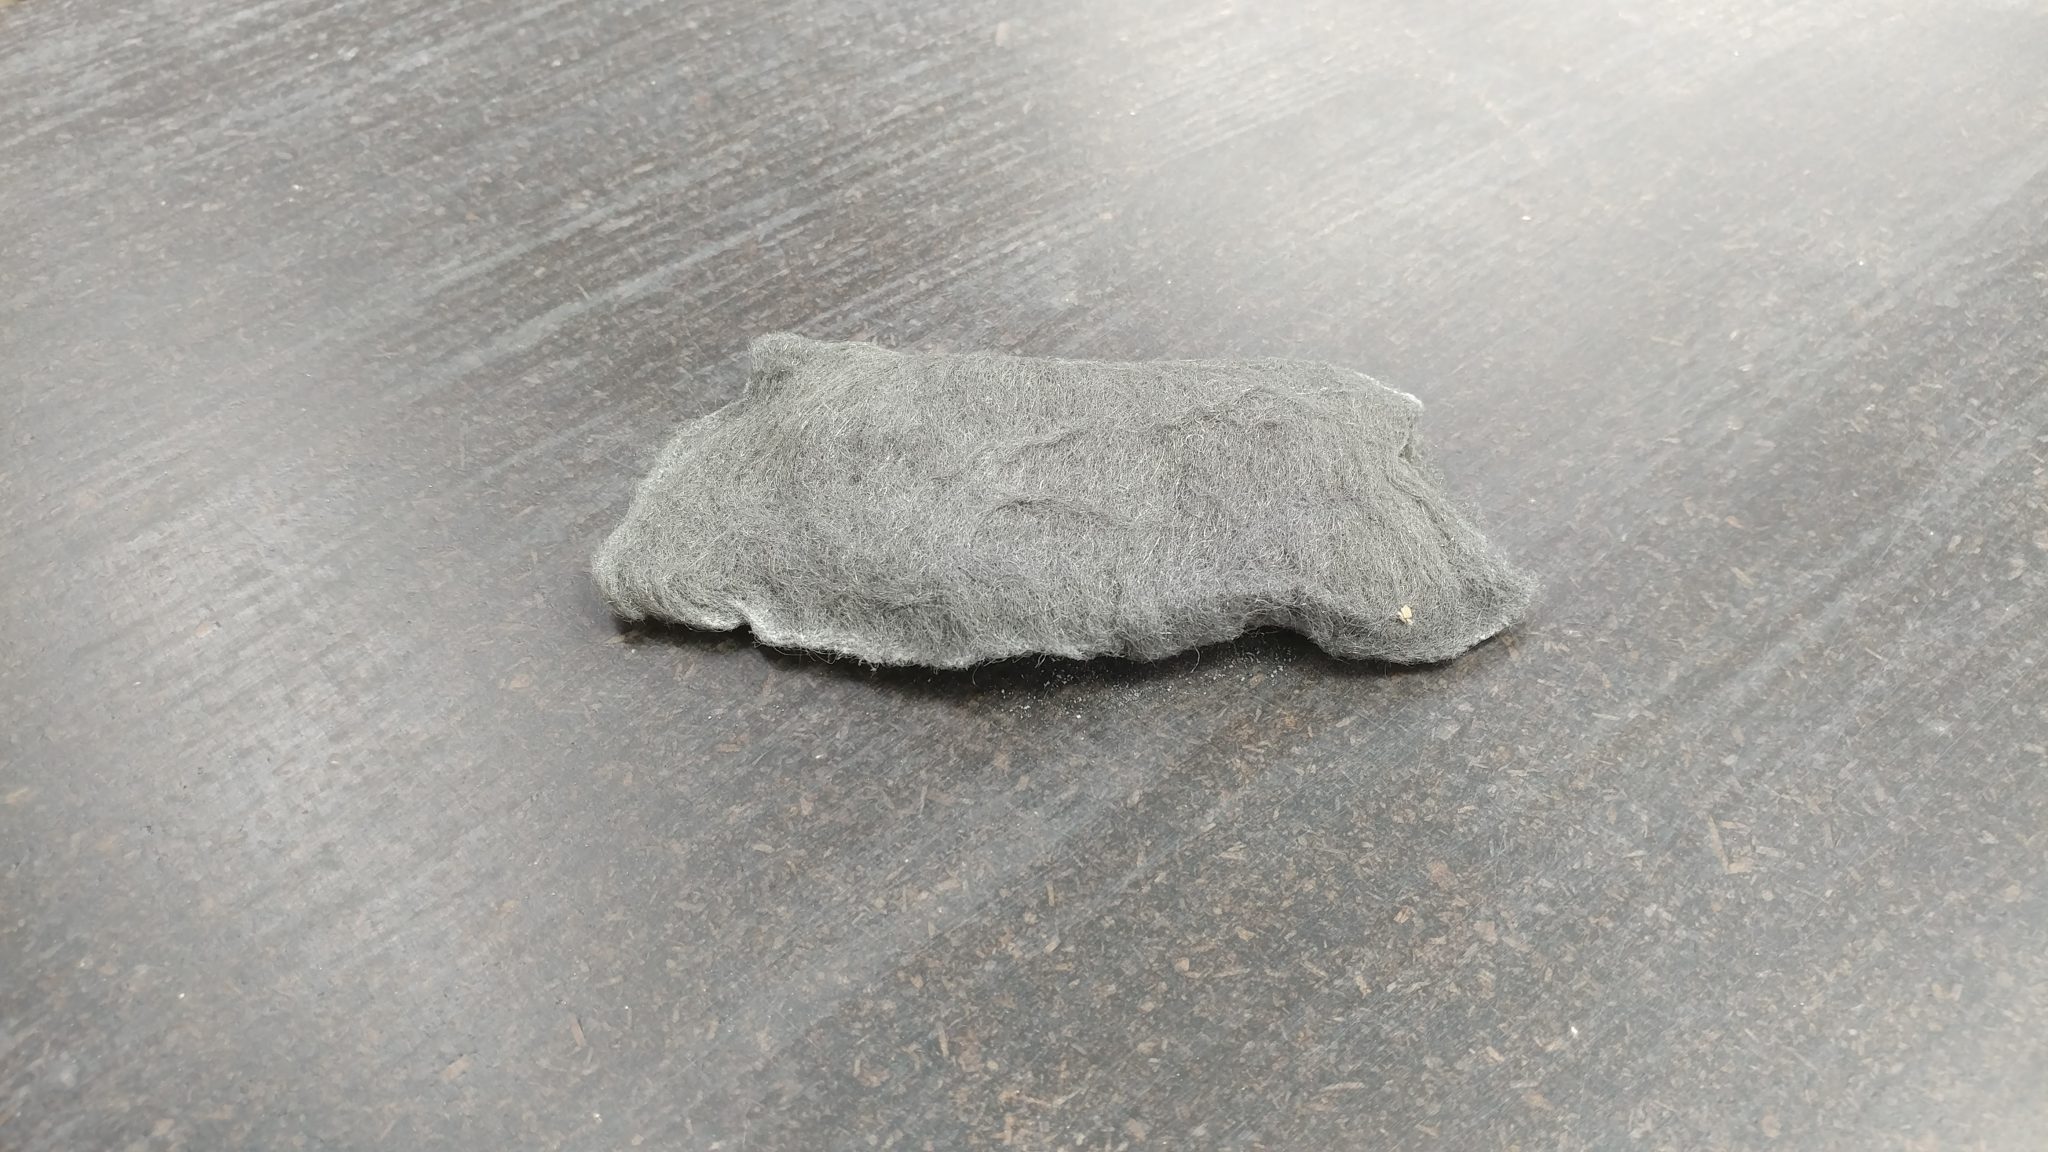
I sanded the high spots off then went over it again with a piece of 0000 steel wool.


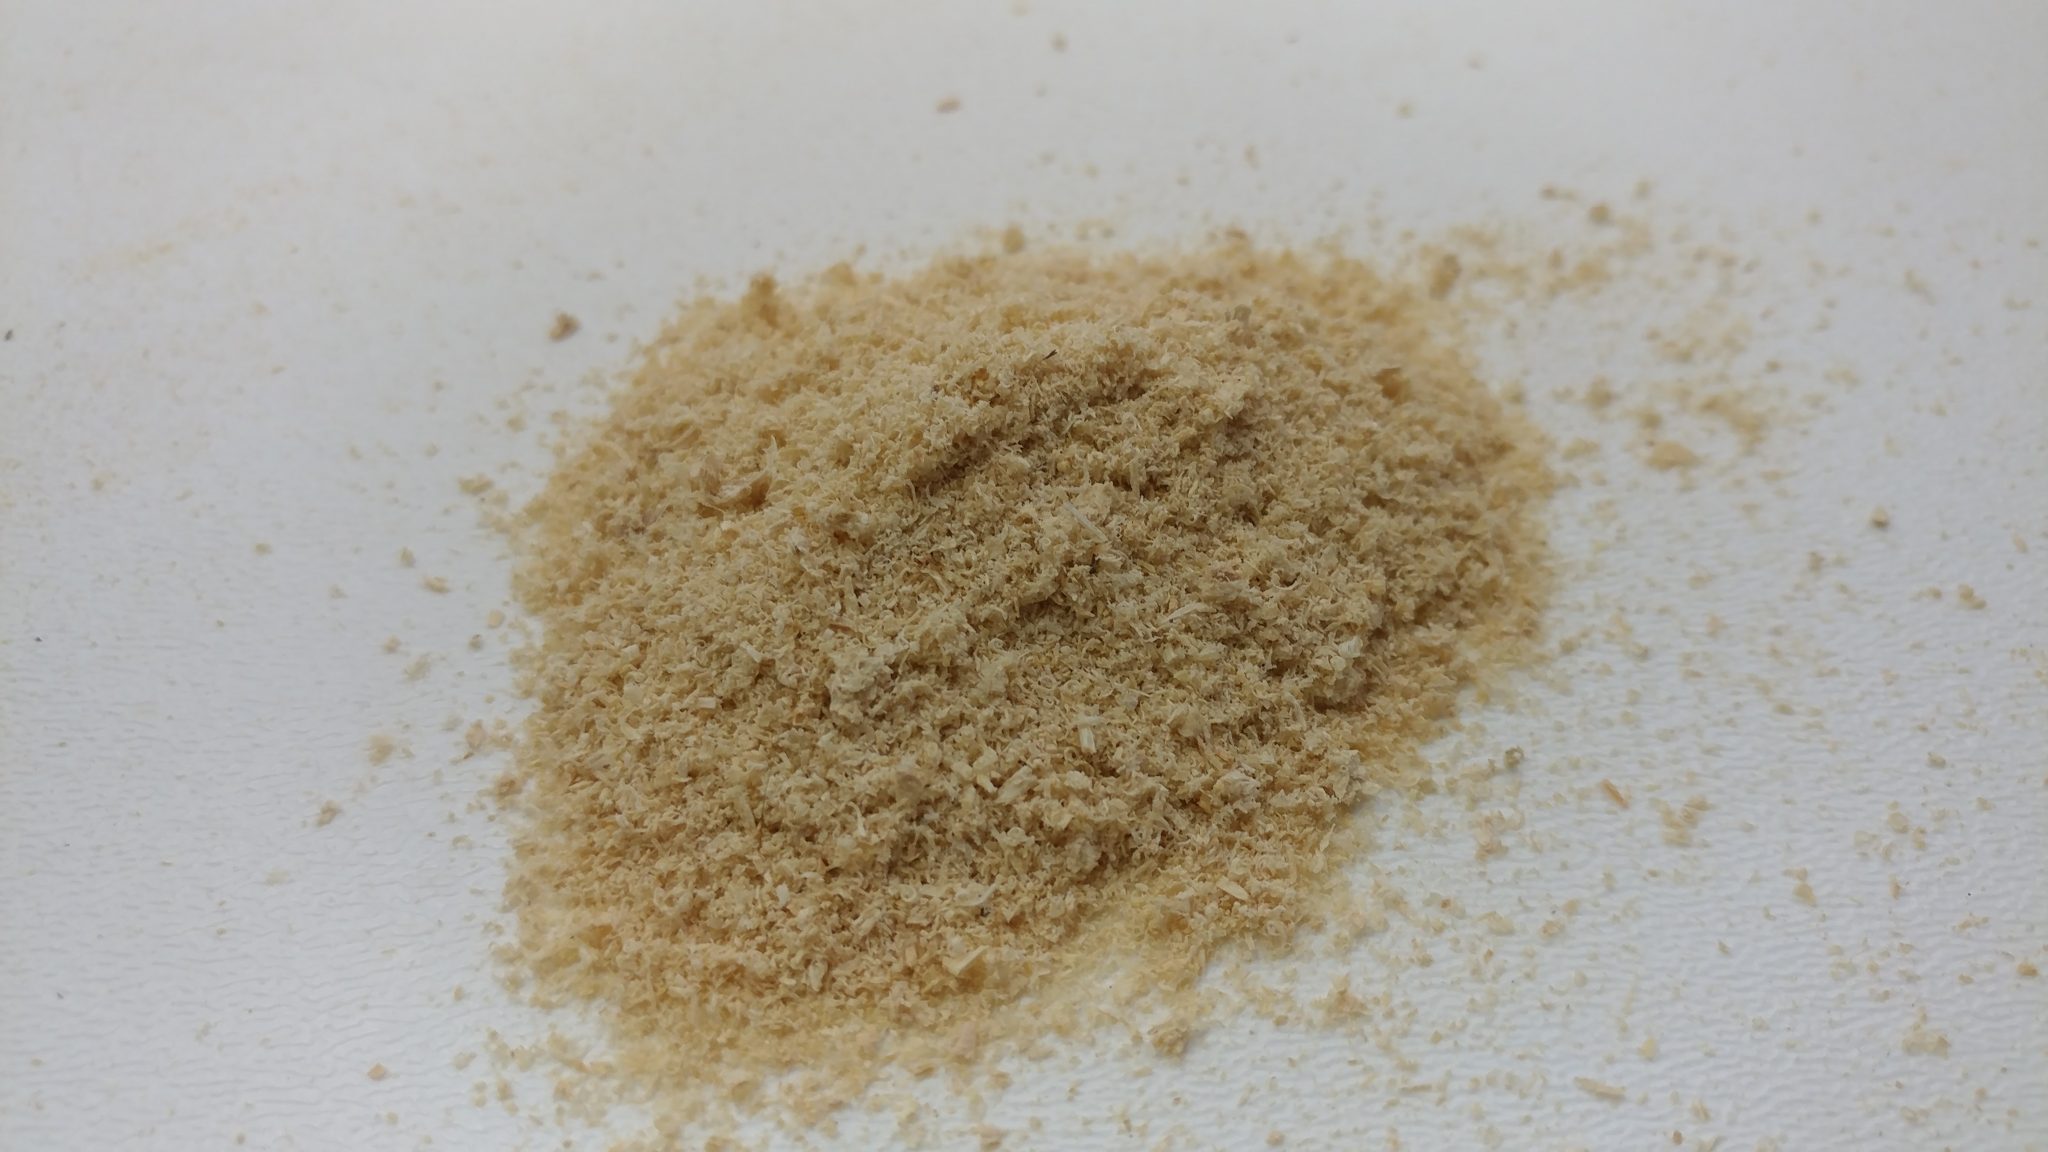
I made sure to wipe all the sanding dust off.  I didn’t want to introduce a chemical to the finish at this point so I just went over it a few times with blue shop towels.


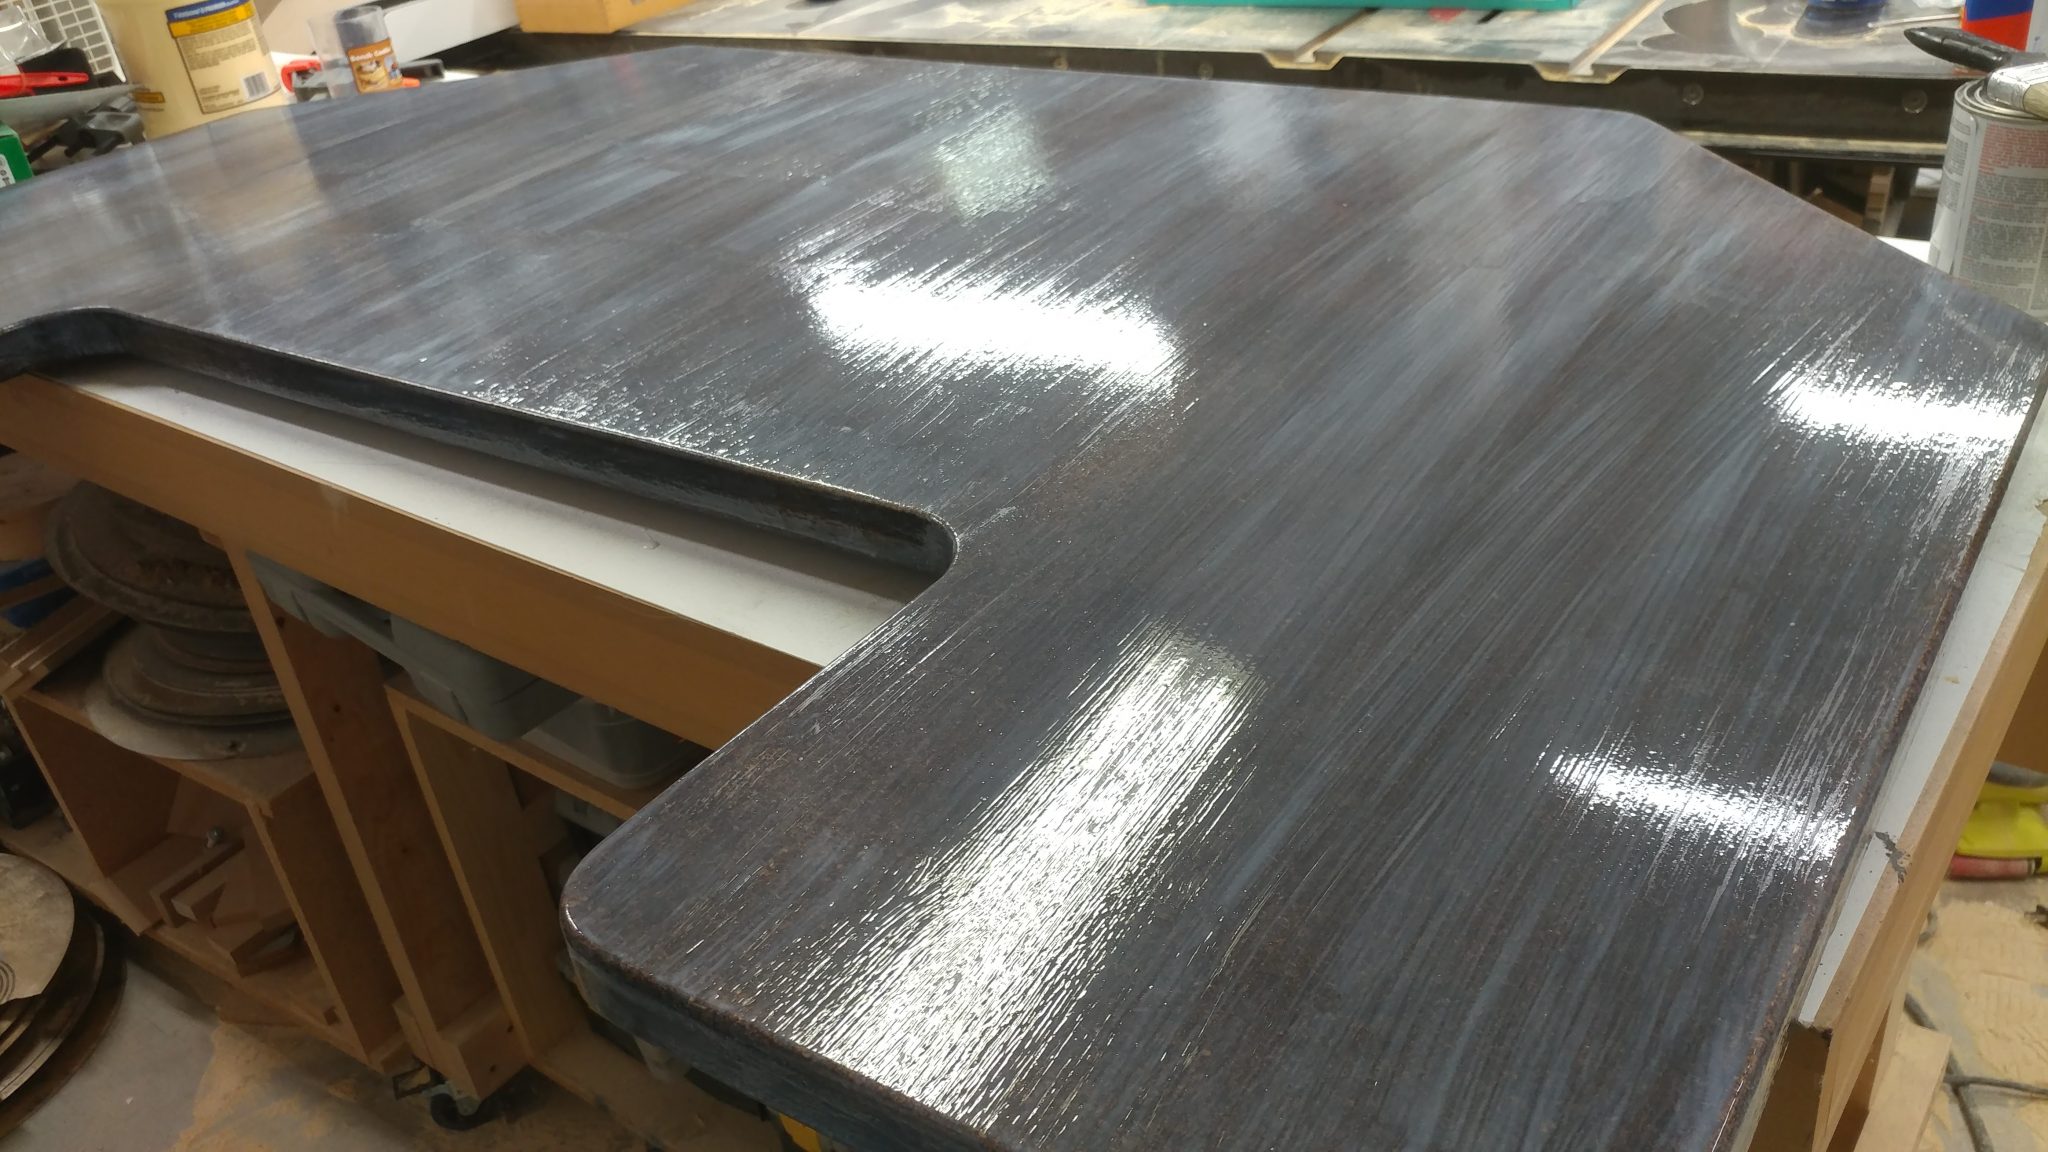
Then I applied a fifth coat of polyurethane.


After letting it dry for a few hours I could still see some of the sanded areas through the finish.


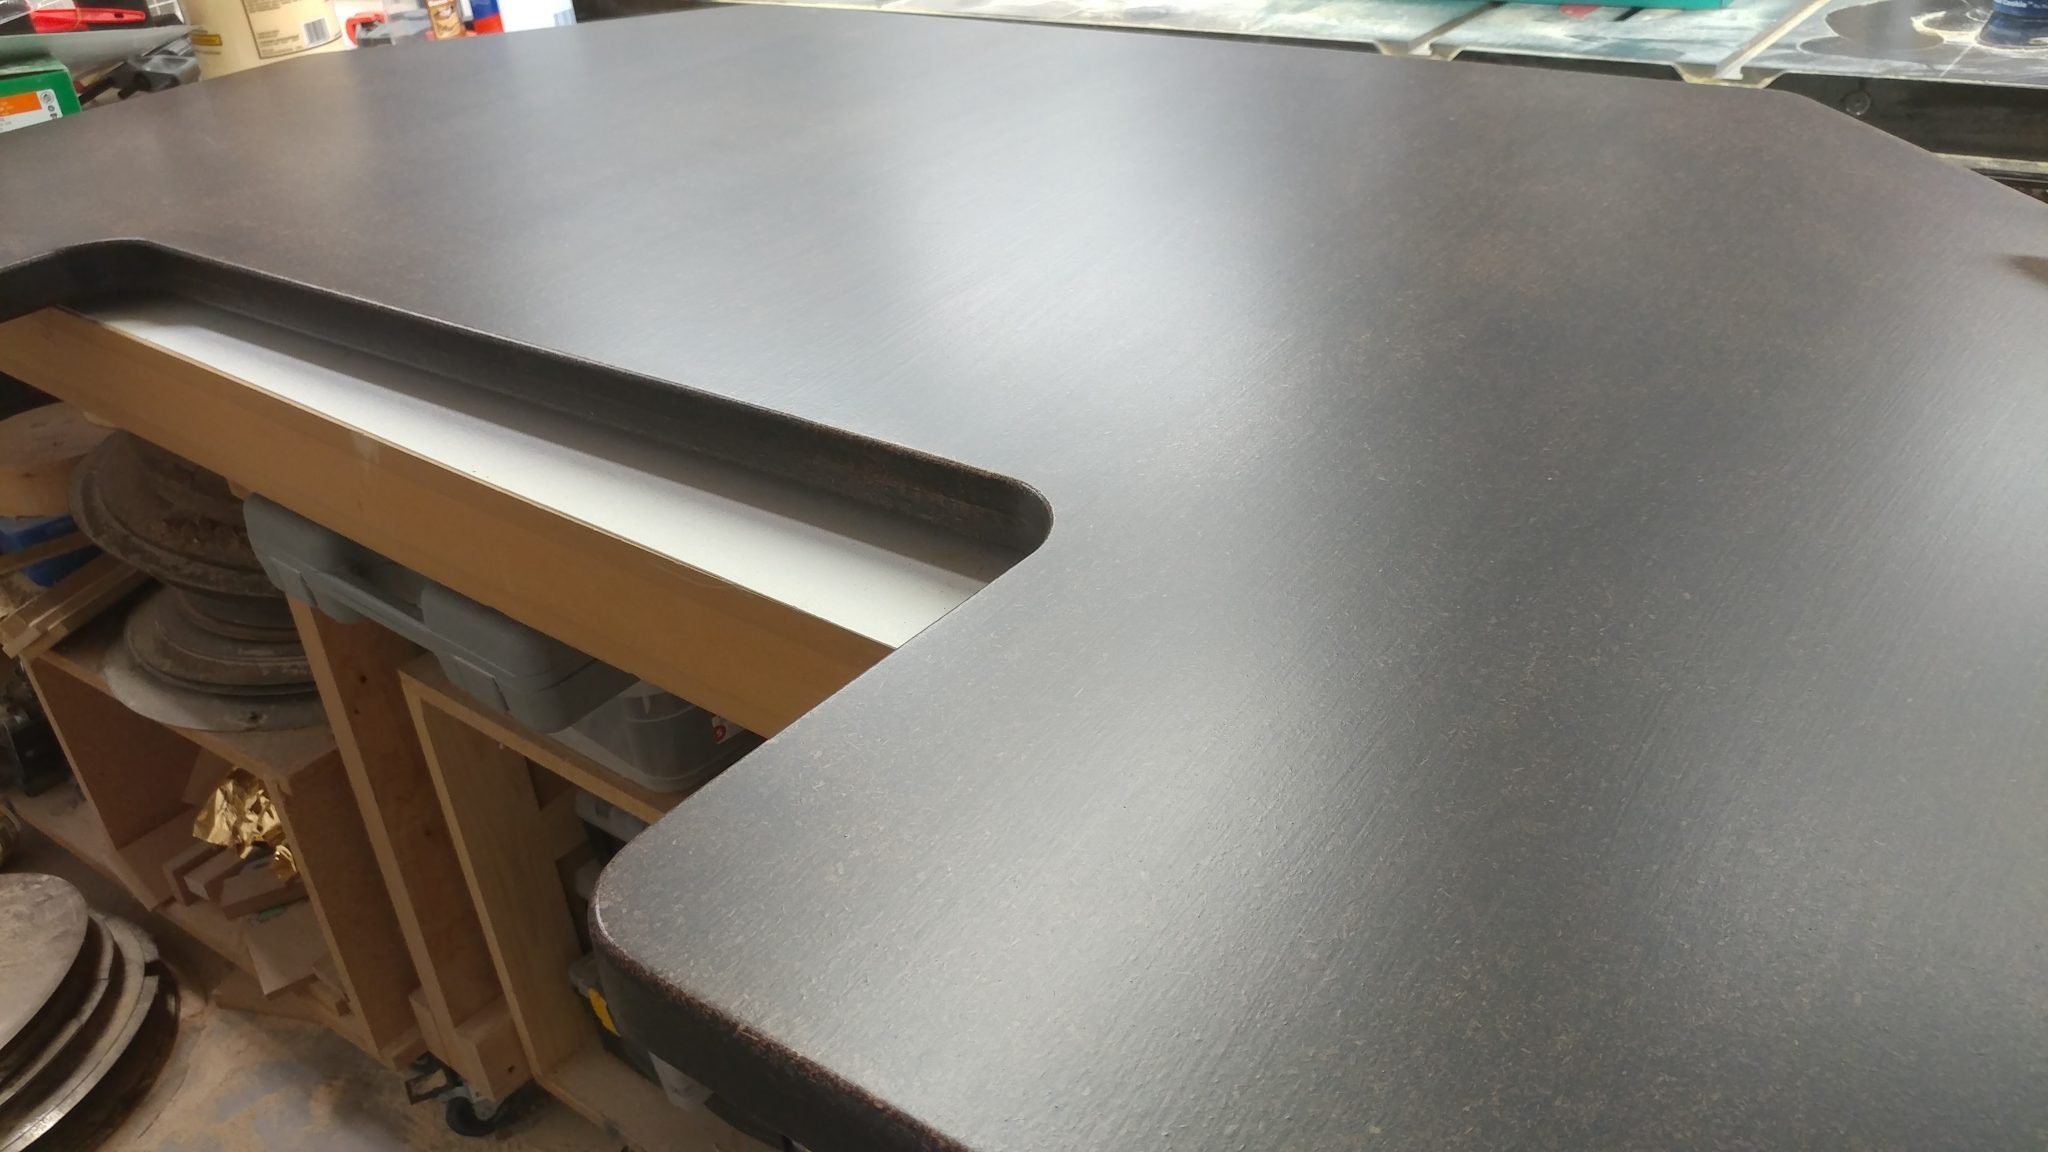
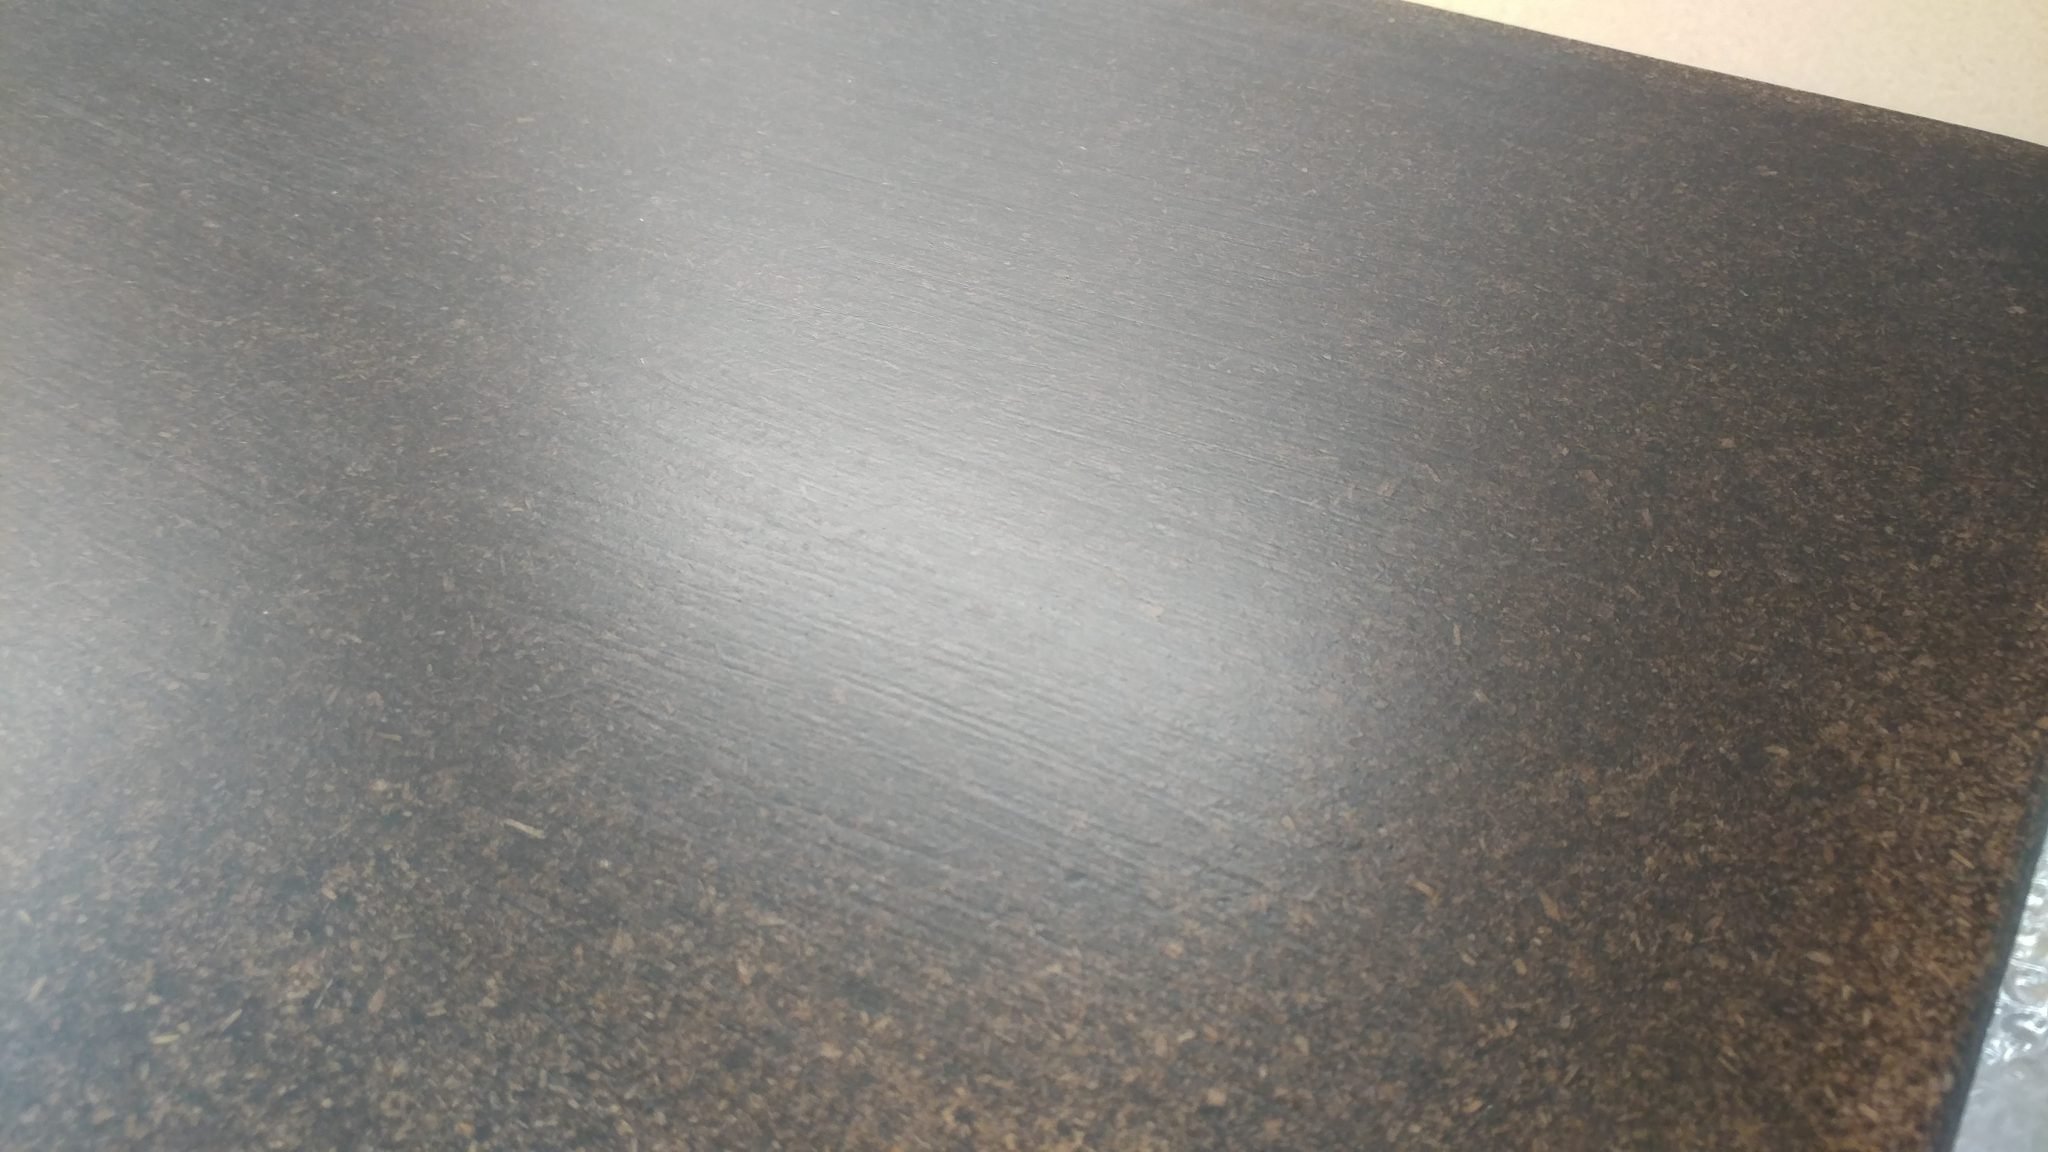
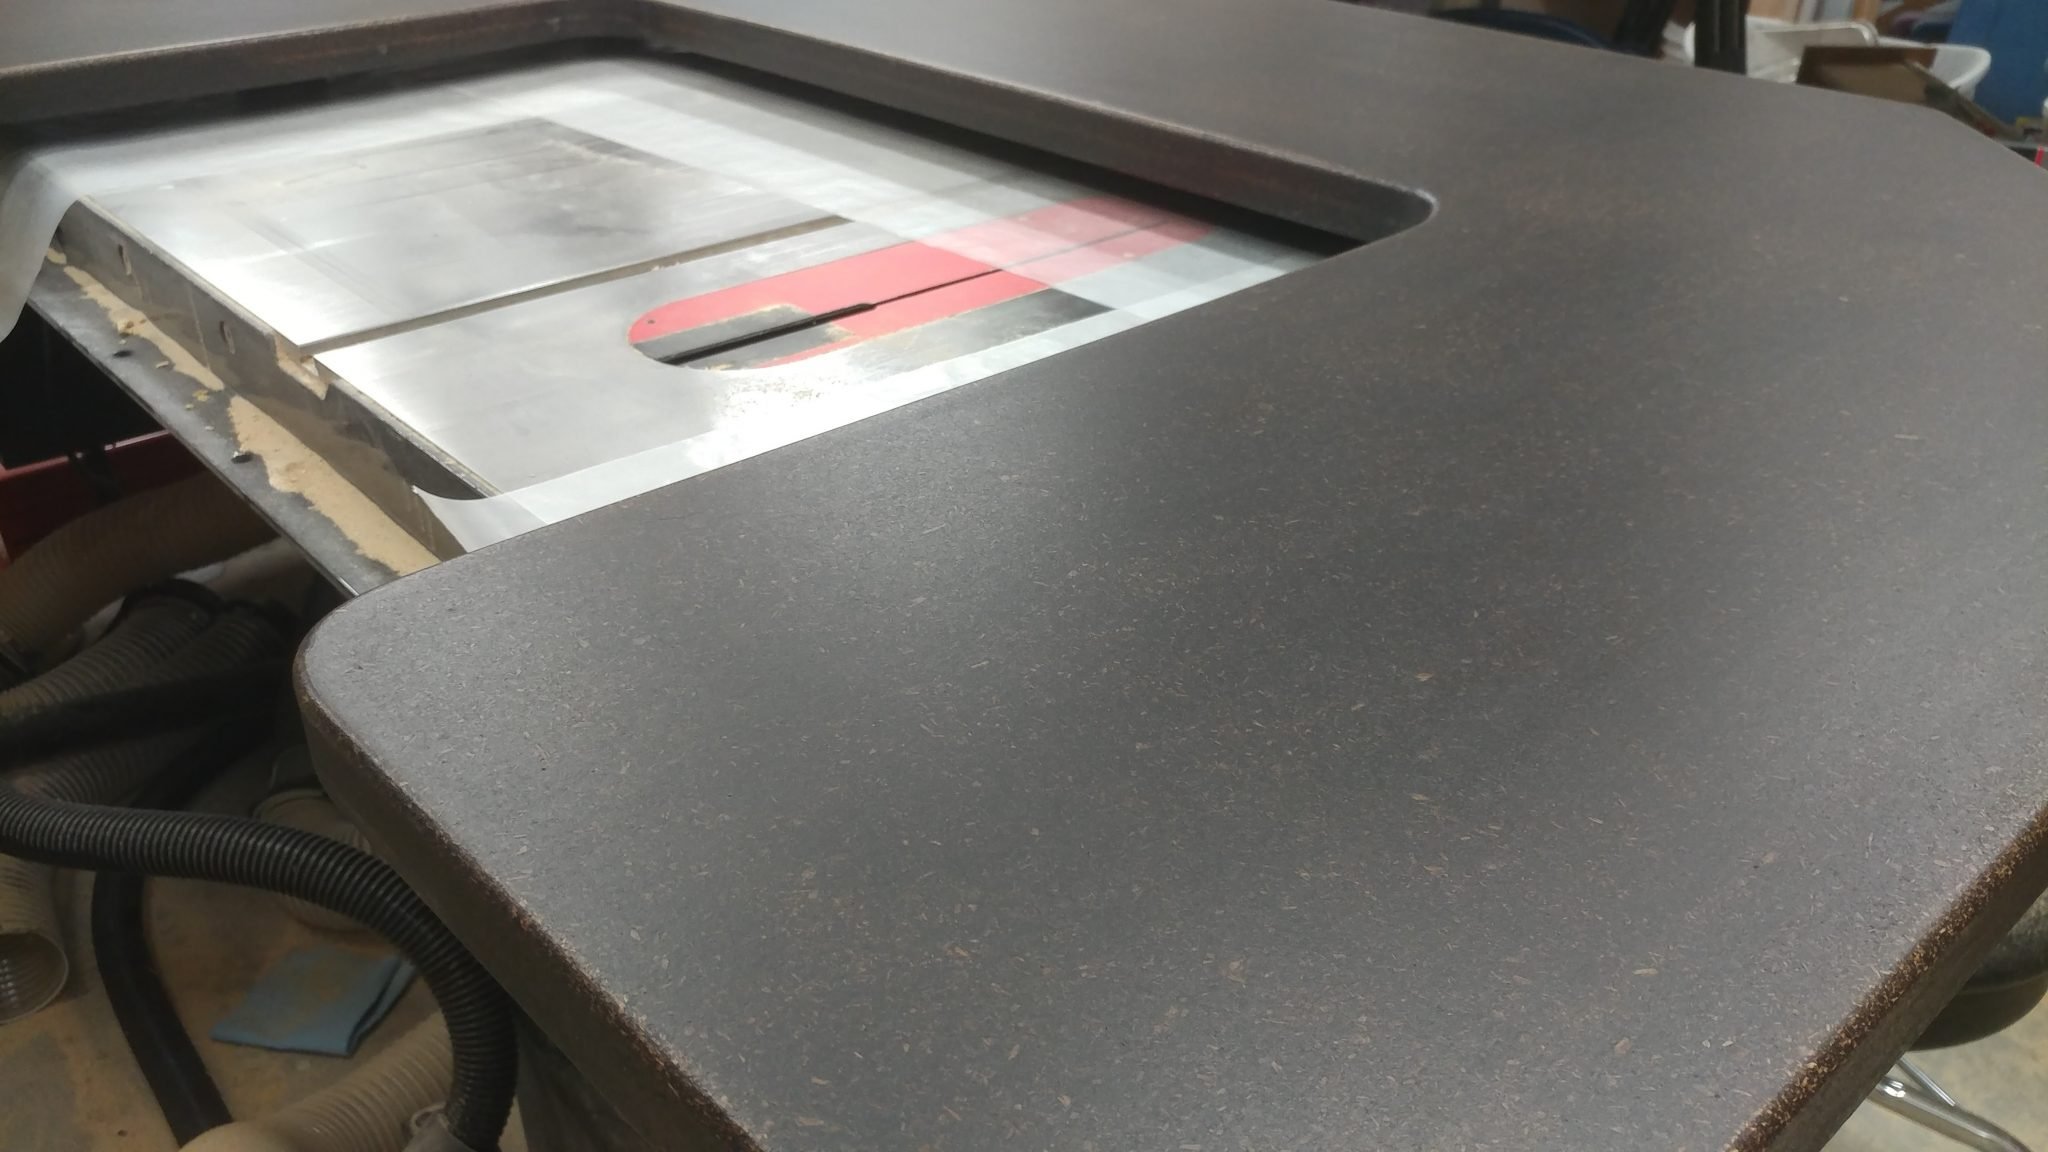
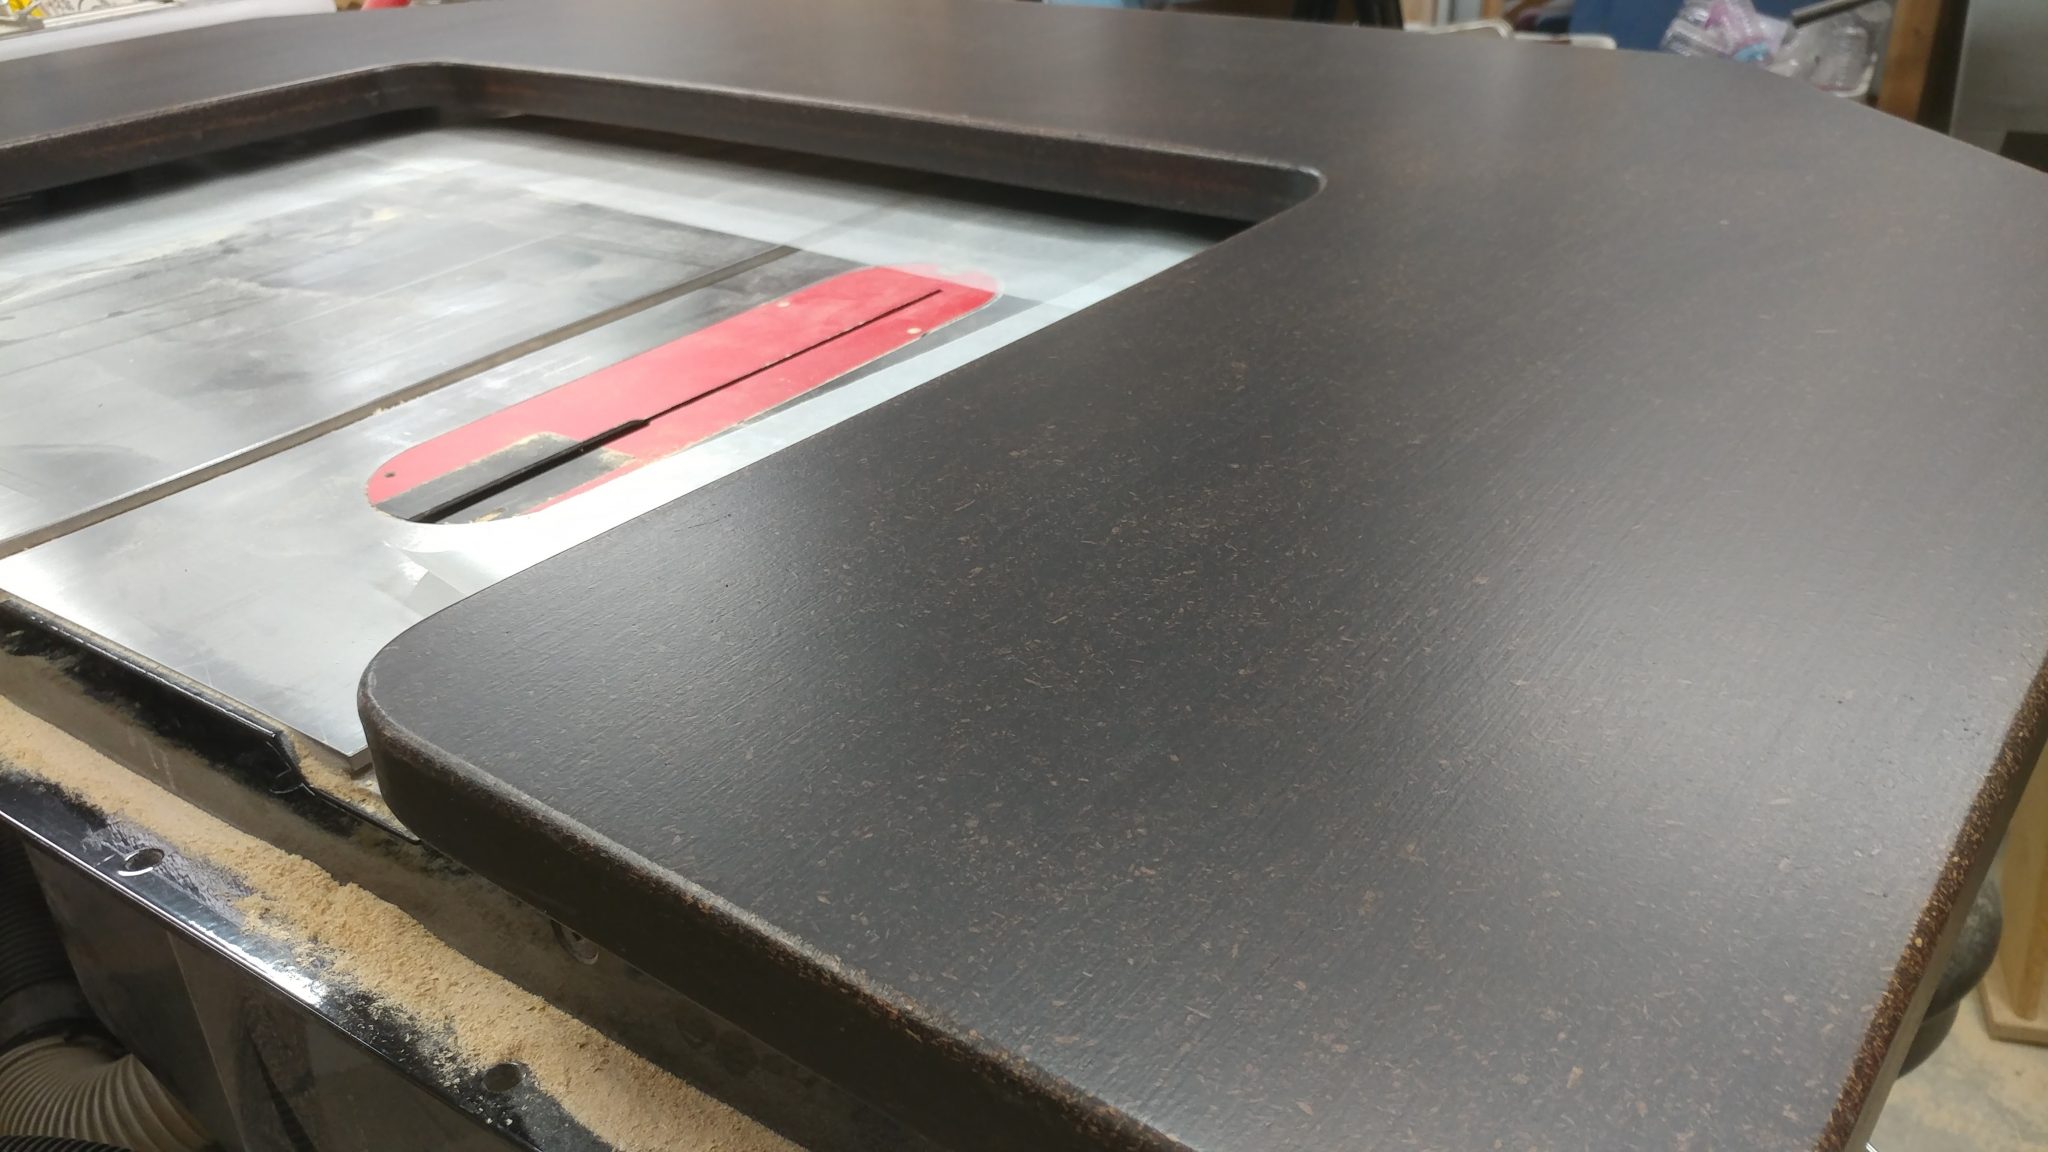
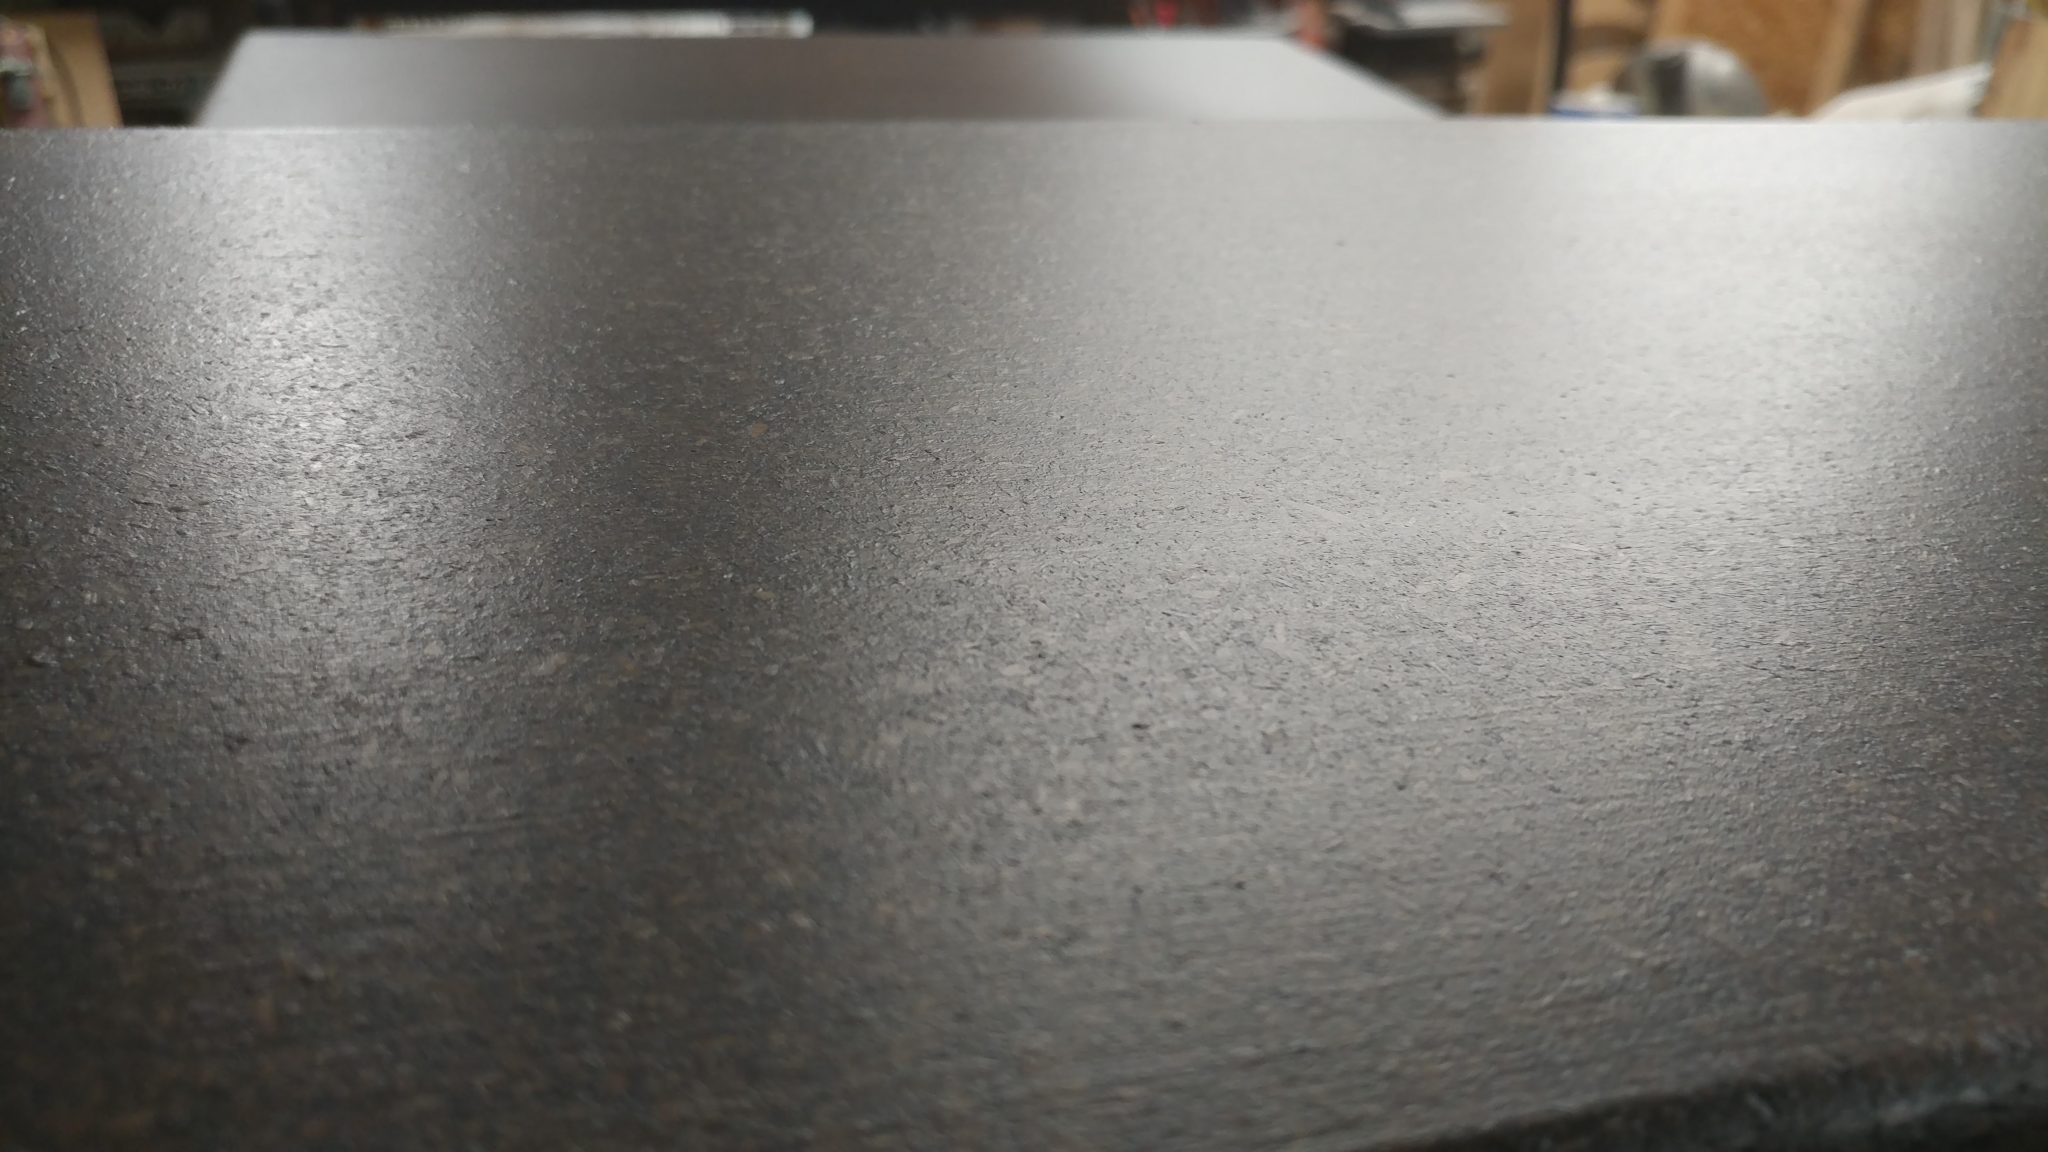
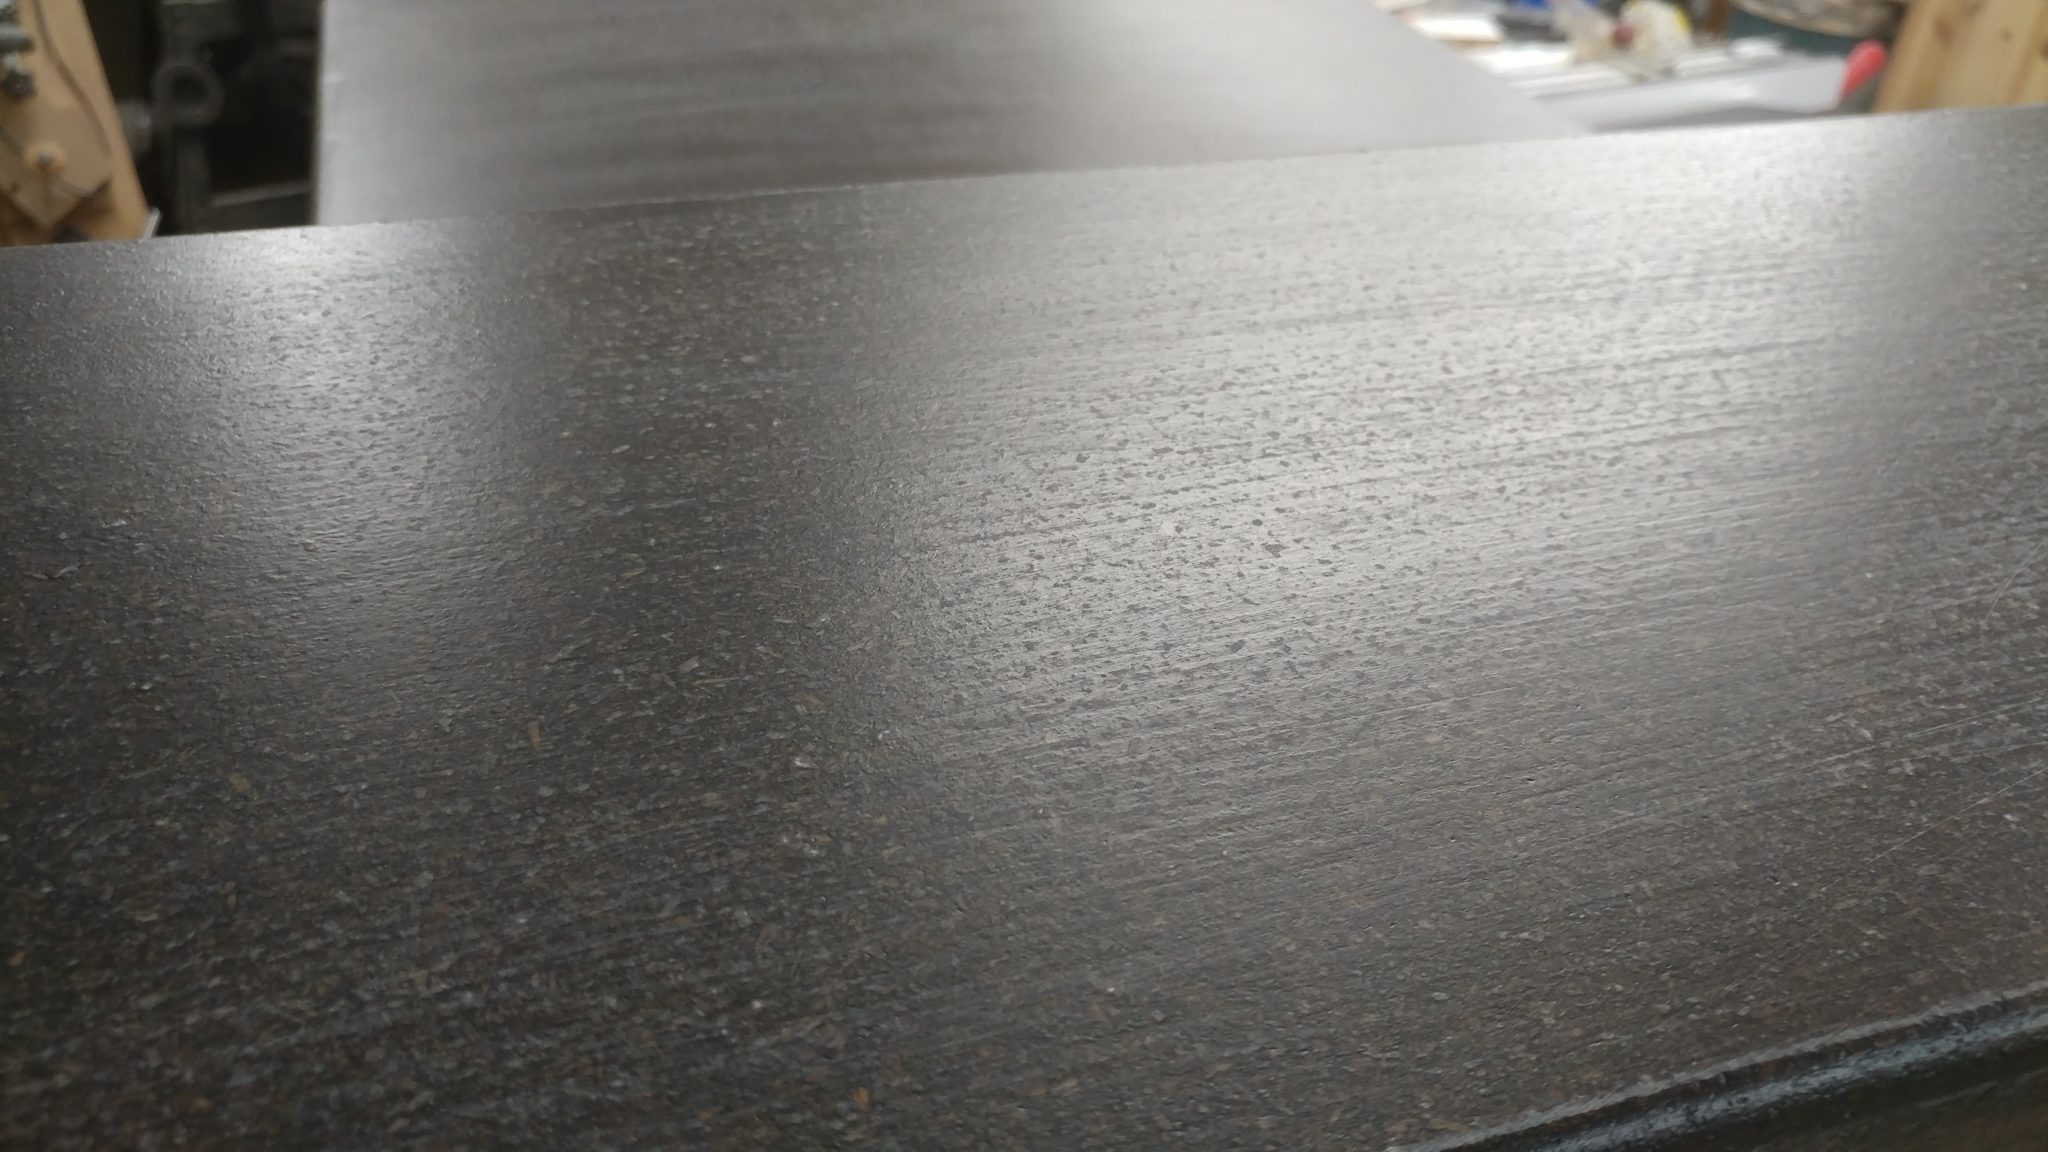
A close up shows that the finish still has a texture to it but the gritty bumps have been removed.


This is really starting to feel ridiculous, but I added a sixth layer of polyurethane.


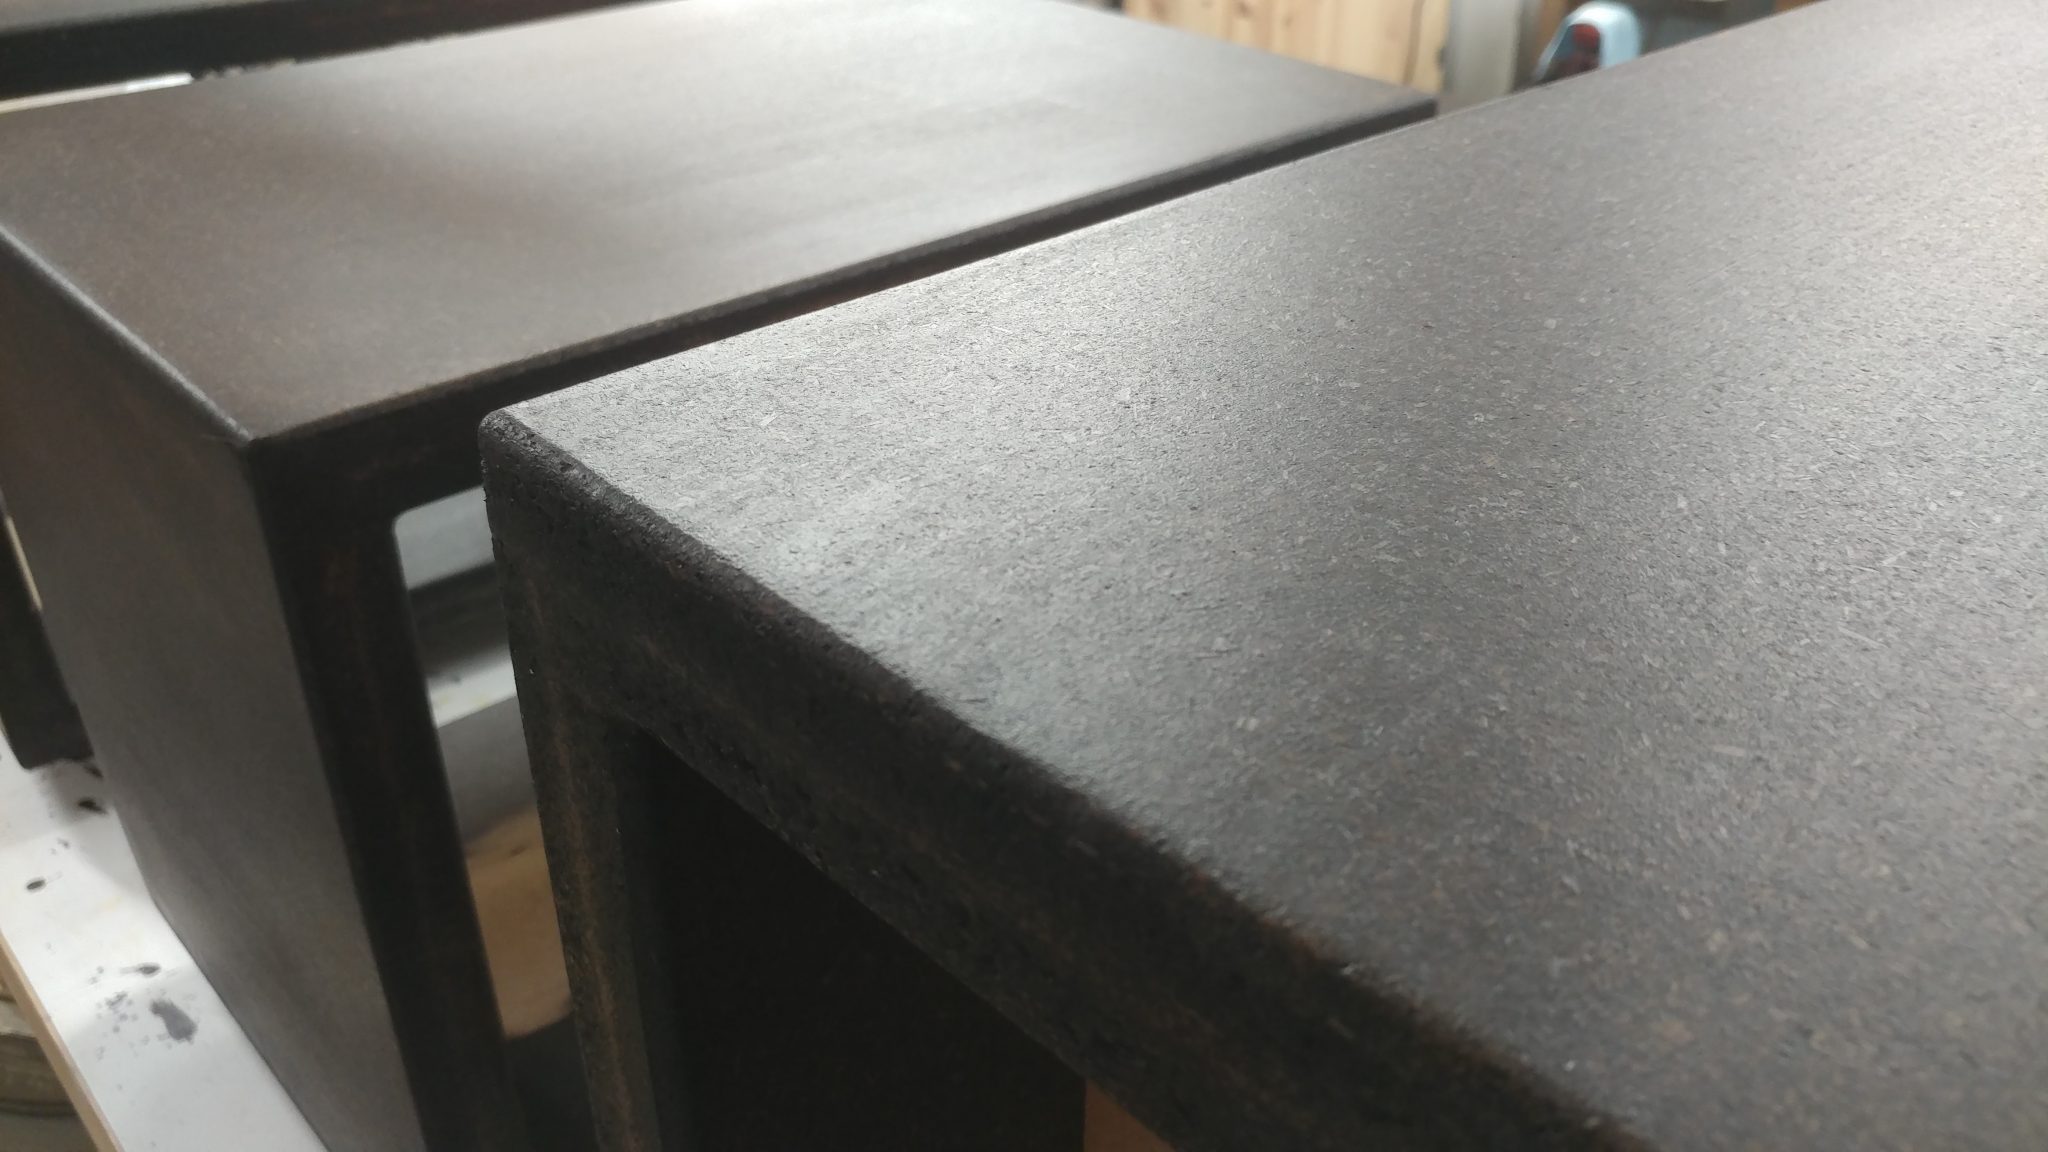
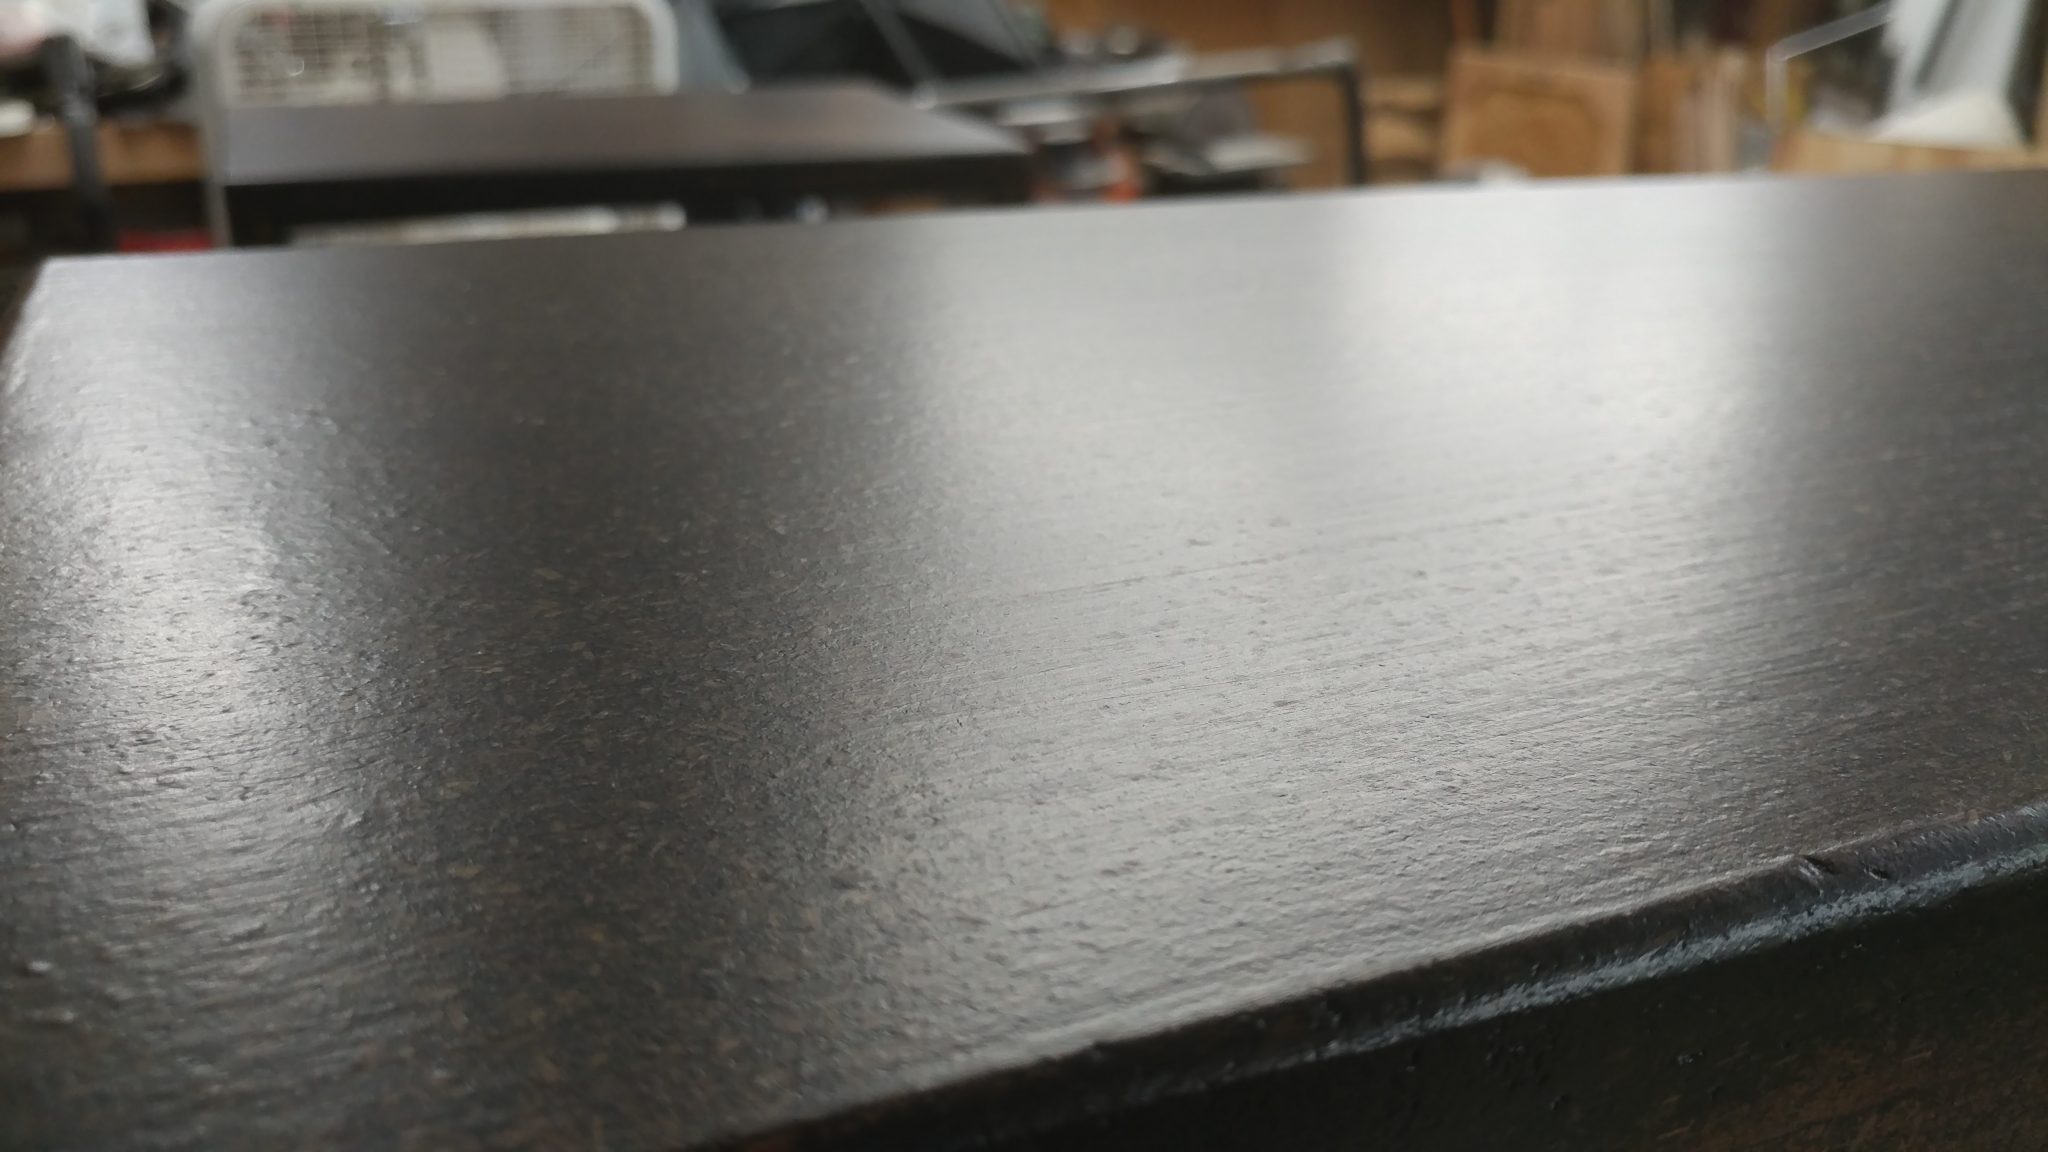
I can still see a few dull spots form the sanding.


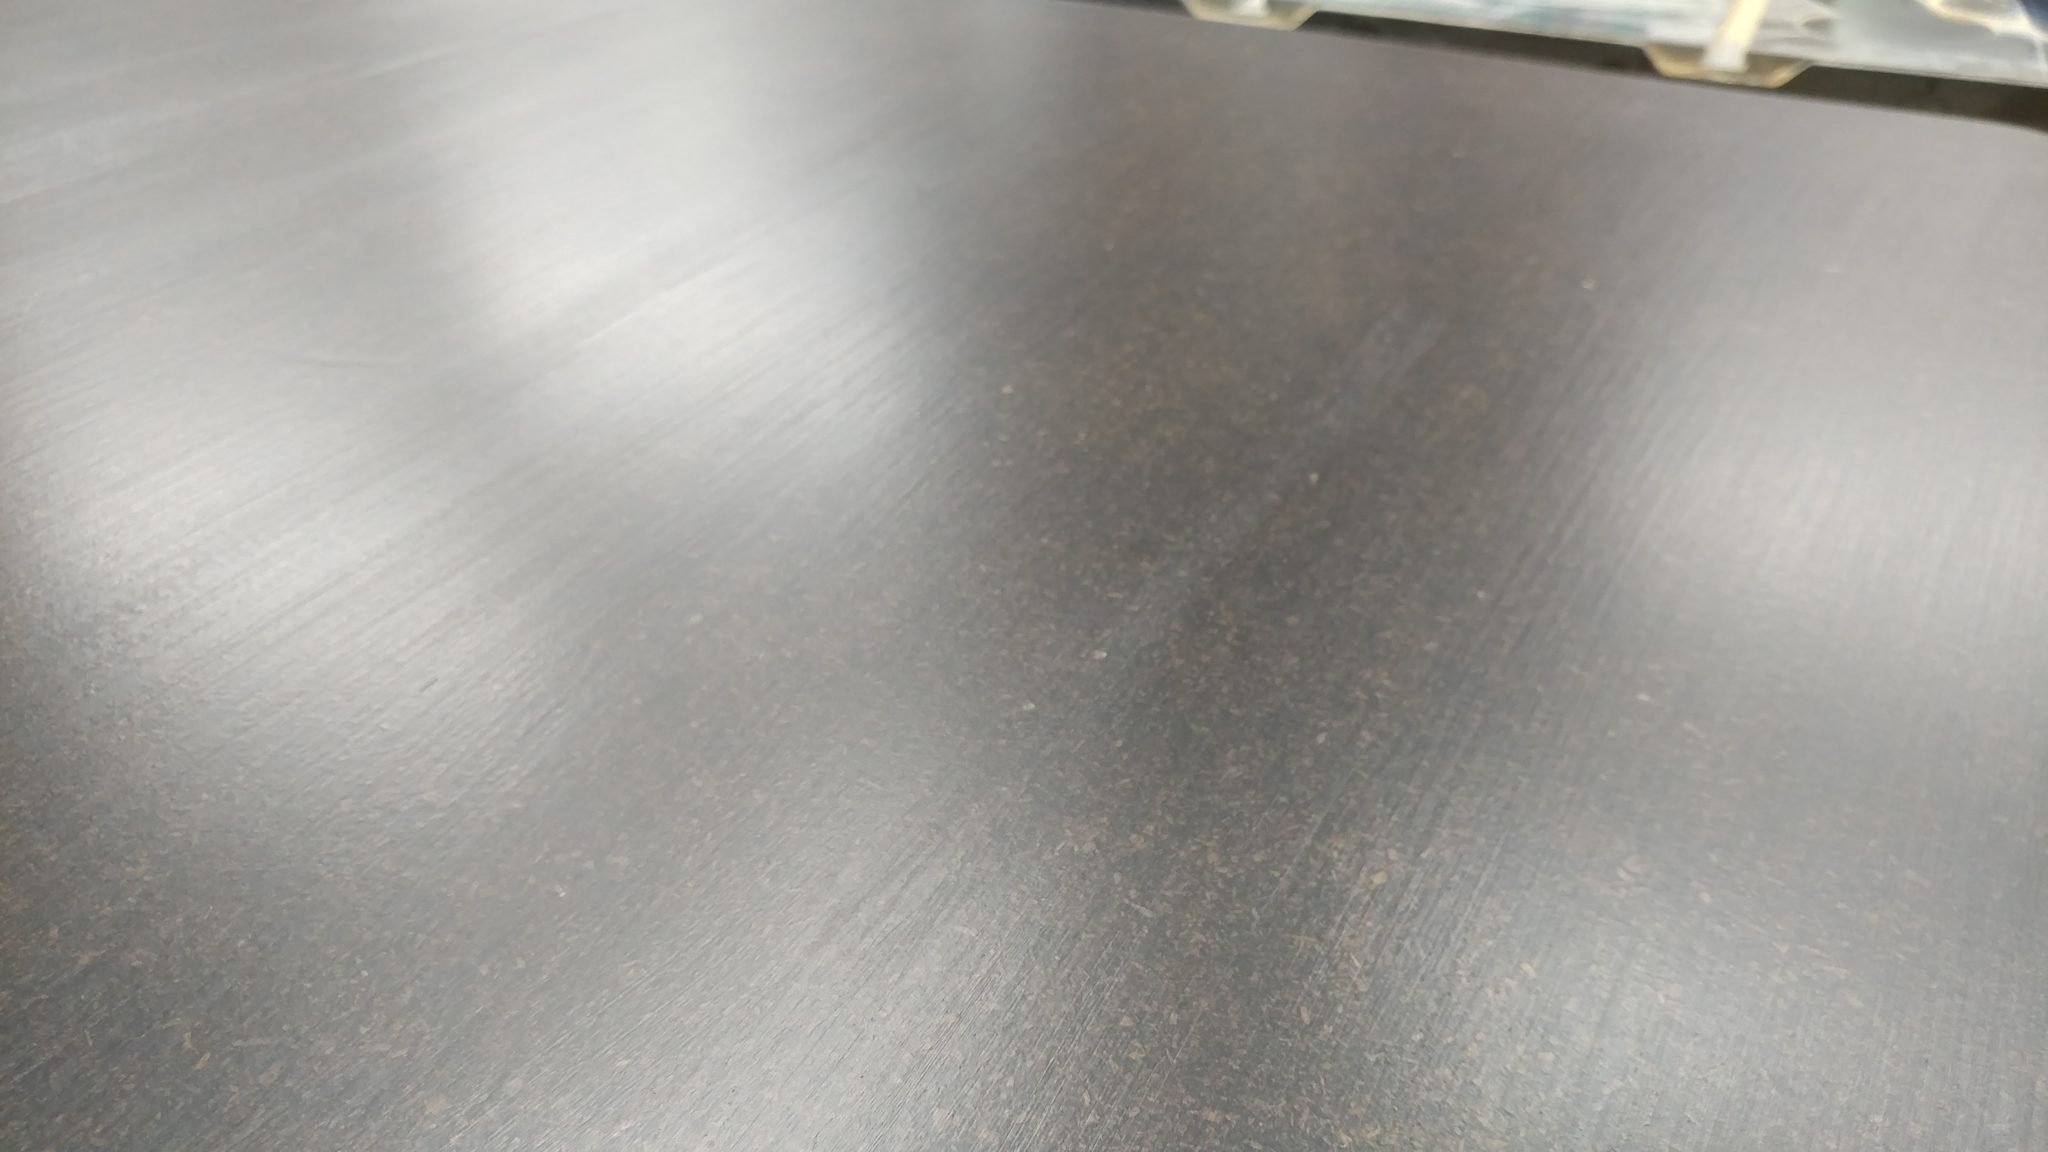
A closer look shows the slightly duller areas left over from the sanding.  I am actually pretty happy with the texture at this point but I figured one more coat should hide the rough spots.


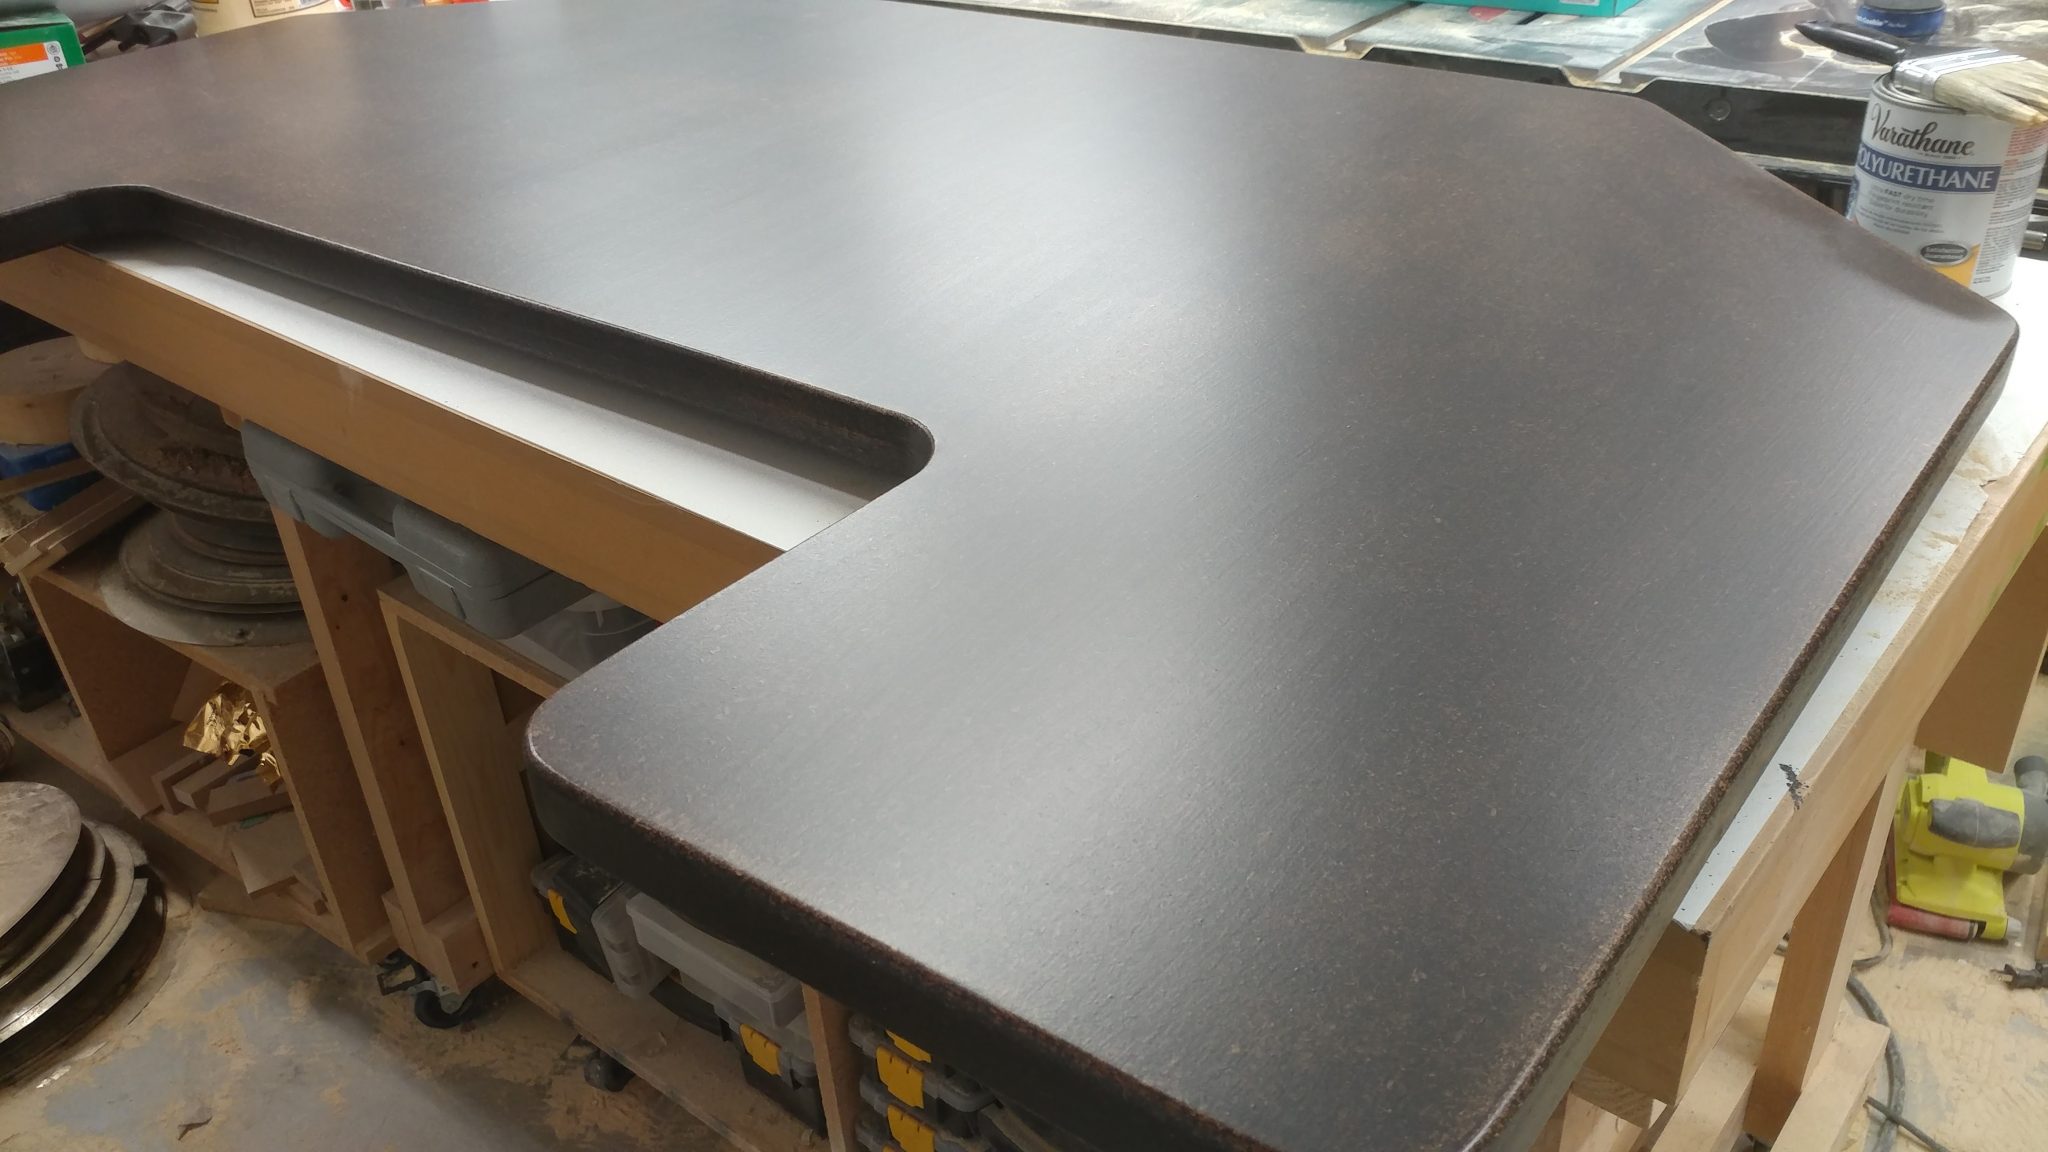
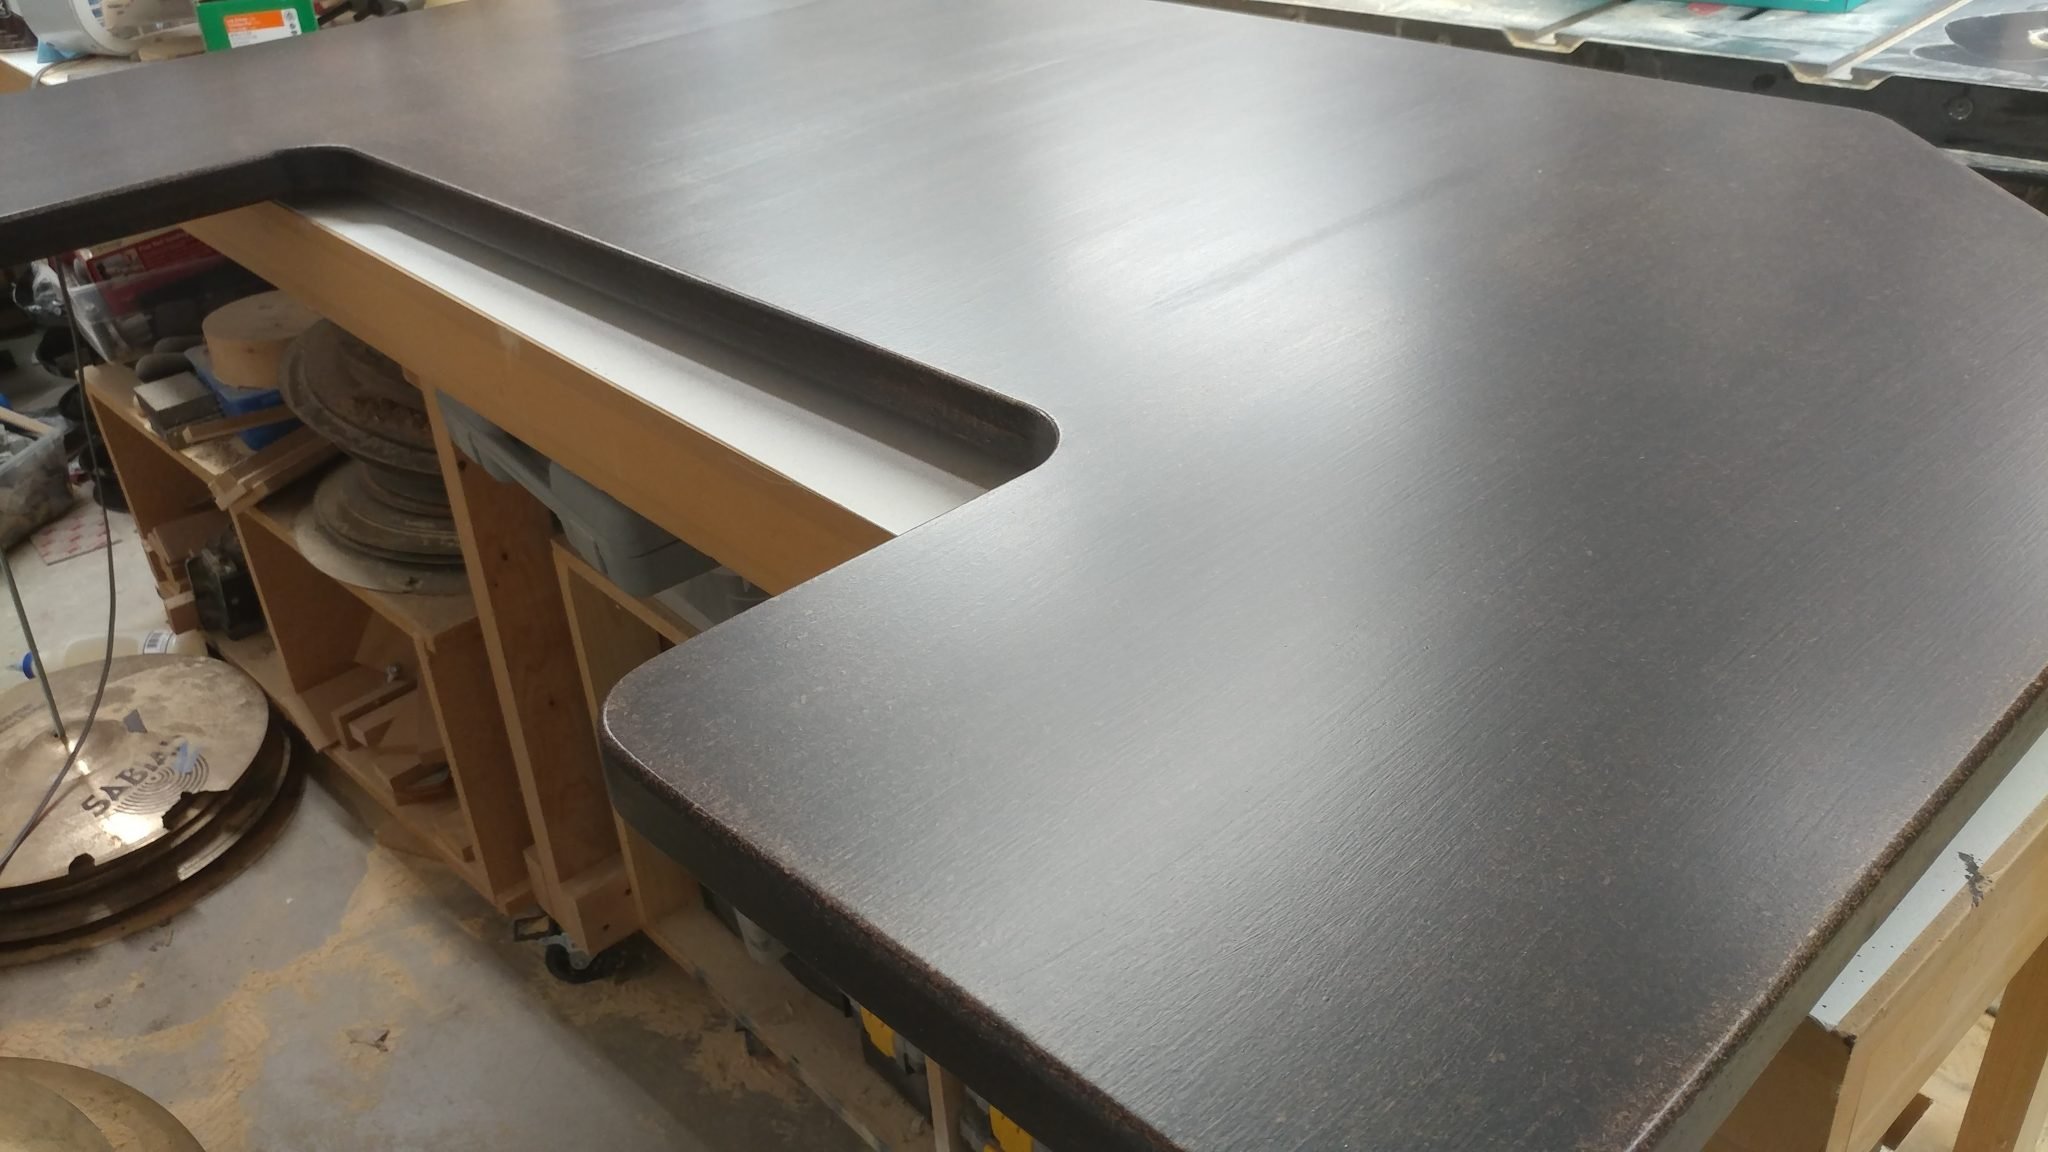
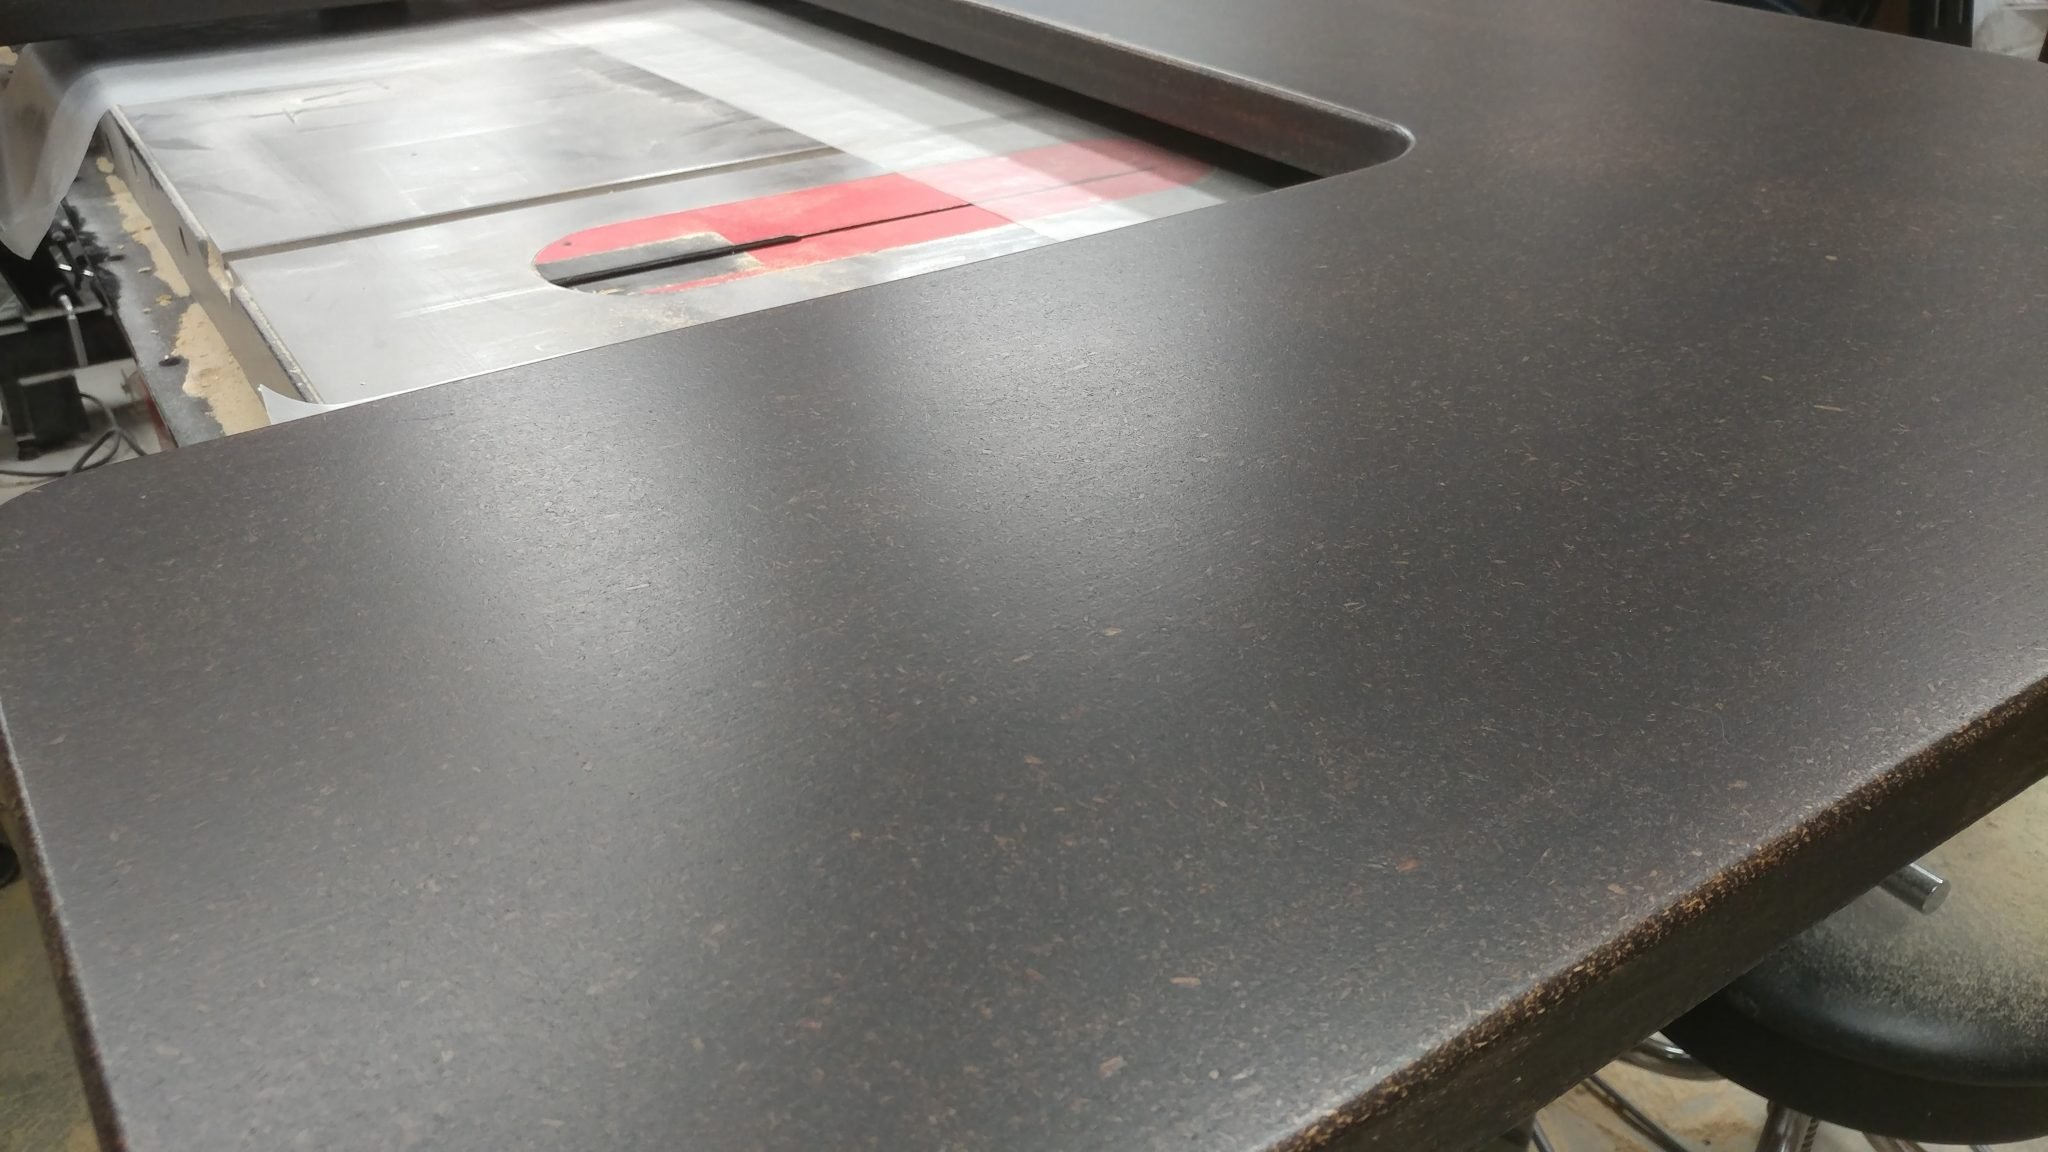
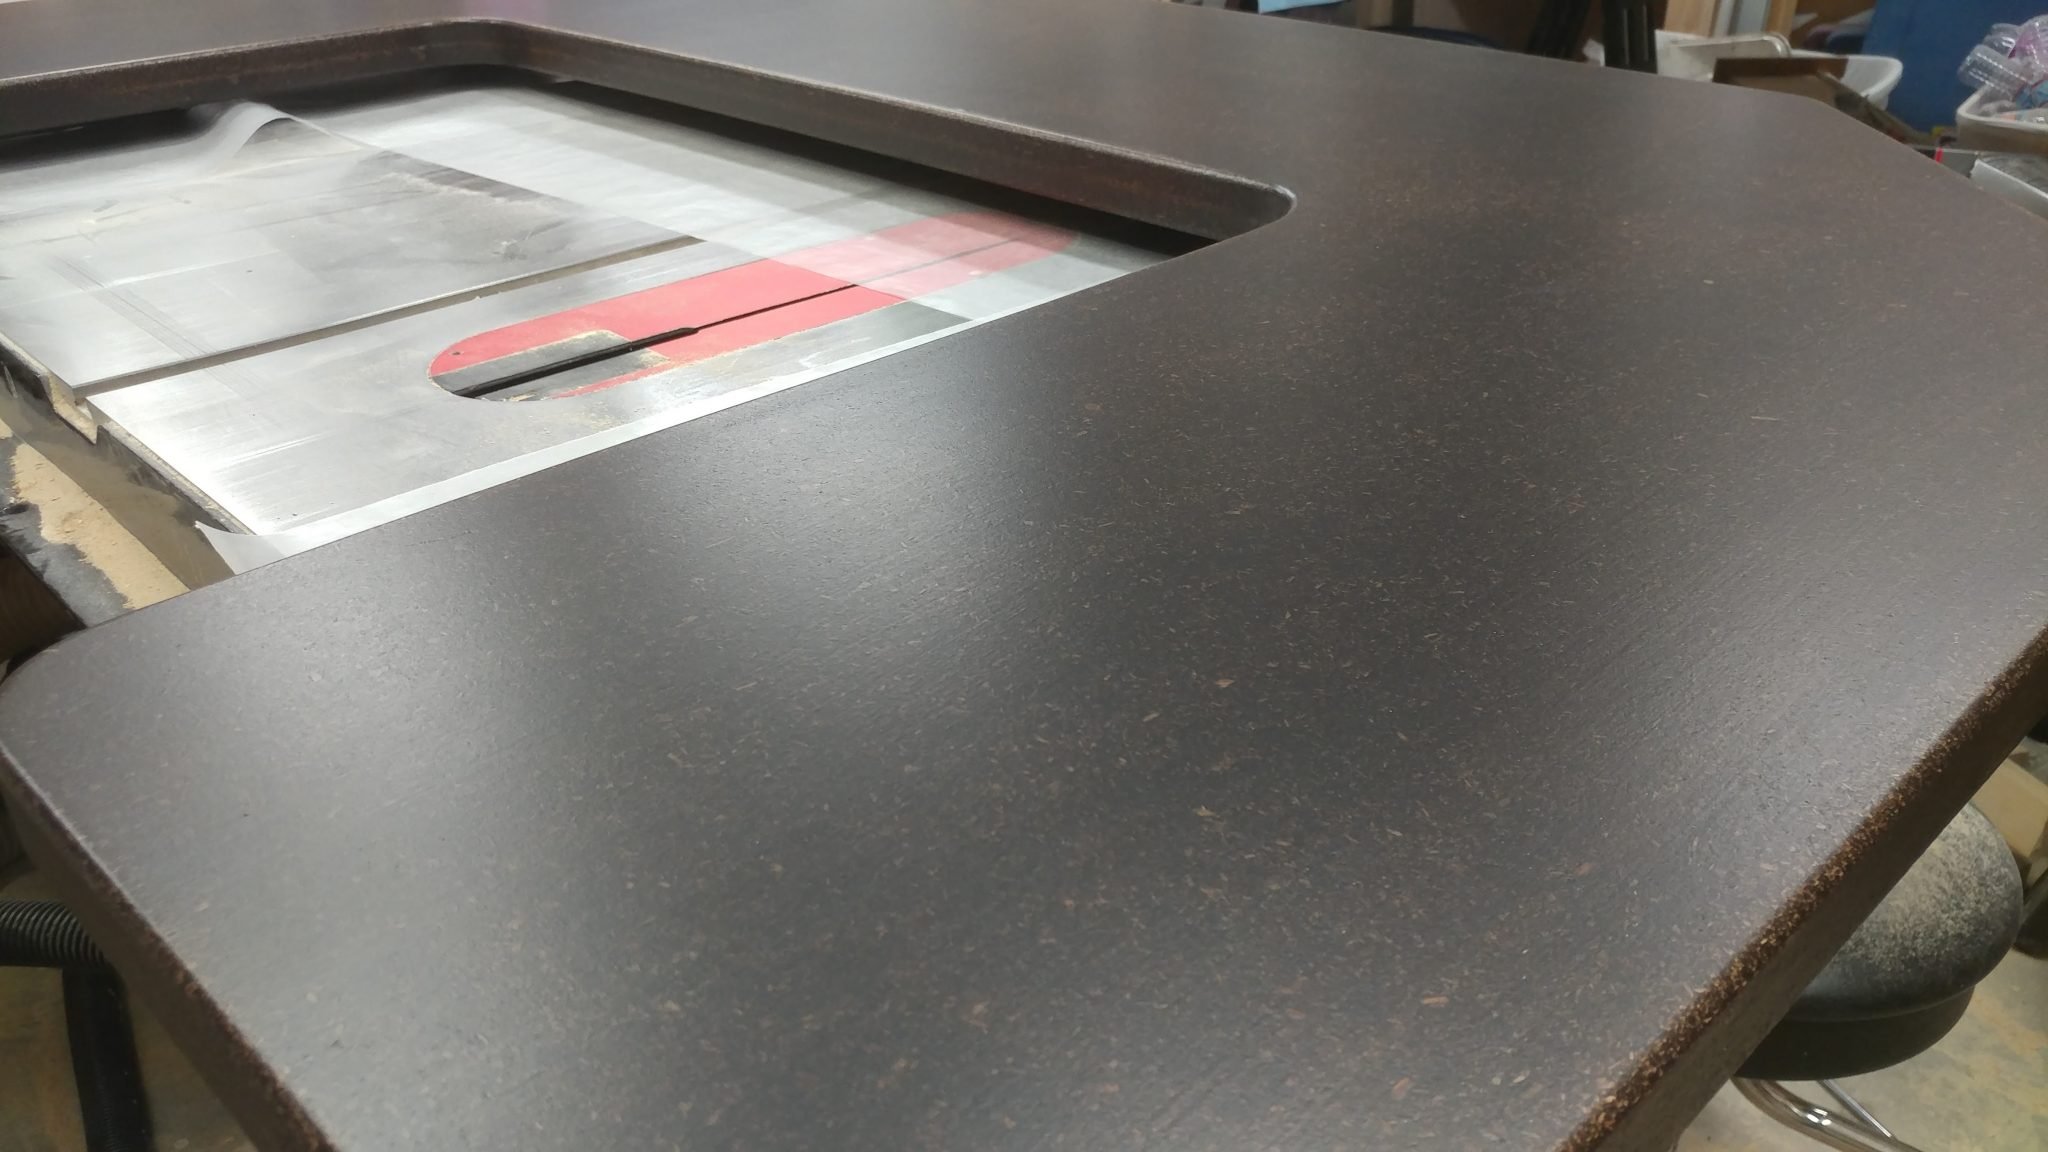
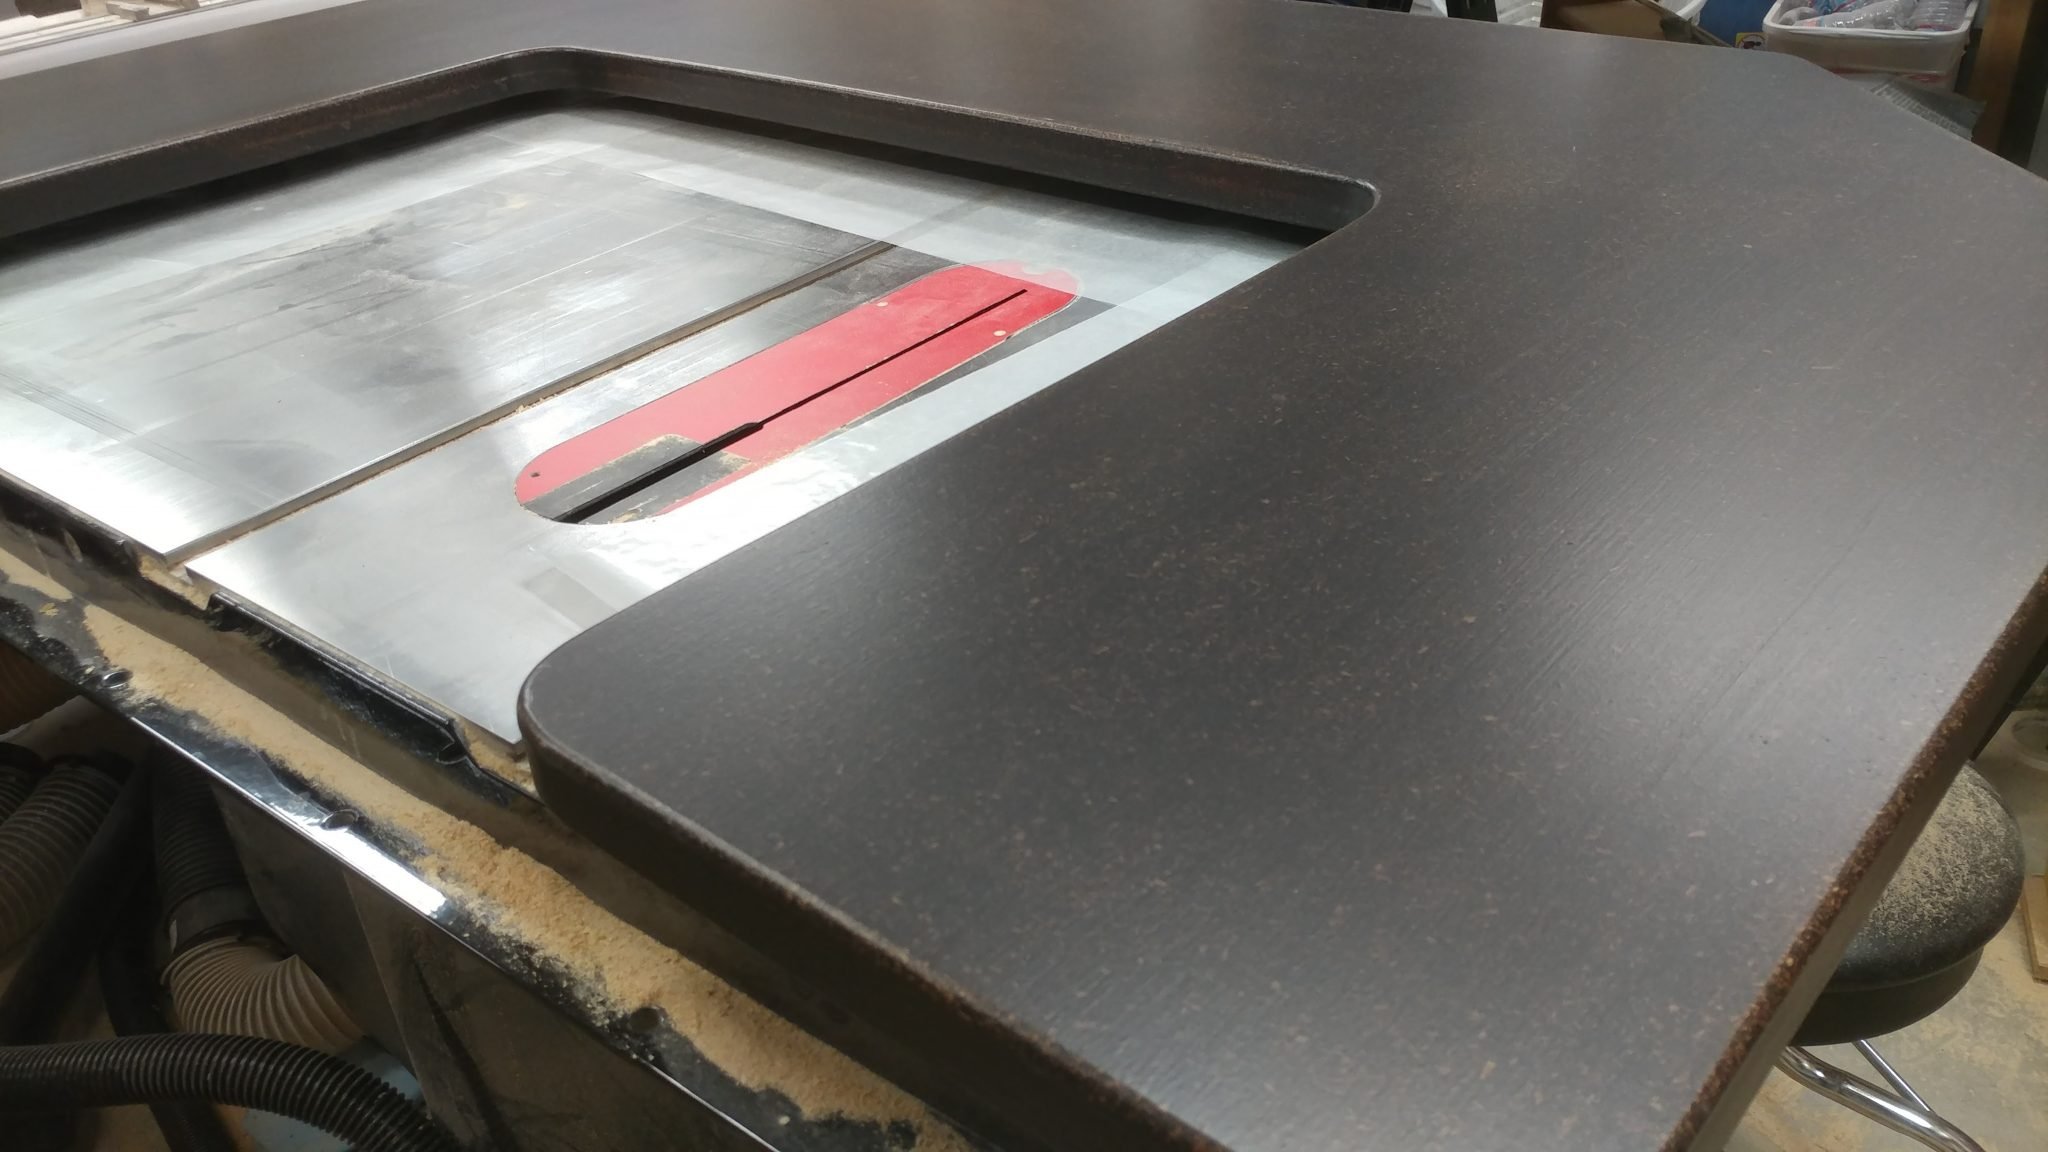
I applied the seventh and final coat.


All done.  Now I just need to let it cure for a week.


Applying polyurethane to the lower section

I applied the polyurethane to the lower section in the exact same manner as I did on the upper section.

I first tackled the underside of the lower section.  As with the upper section, I put three coats of polyurethane on the underside.


I let it sit for two days.                     


I flipped it over and applied the polyurethane to the underside.

The first coat.


The second coat.


The third coat.


The fourth coat.


Like the upper section, I sanded the high spots after the fourth coat.


The fifth coat.


The sixth coat.


I didn’t get a photo of the seventh coat after it had dried but here it is shortly after applying the final coat.


Applying polyurethane to the racks

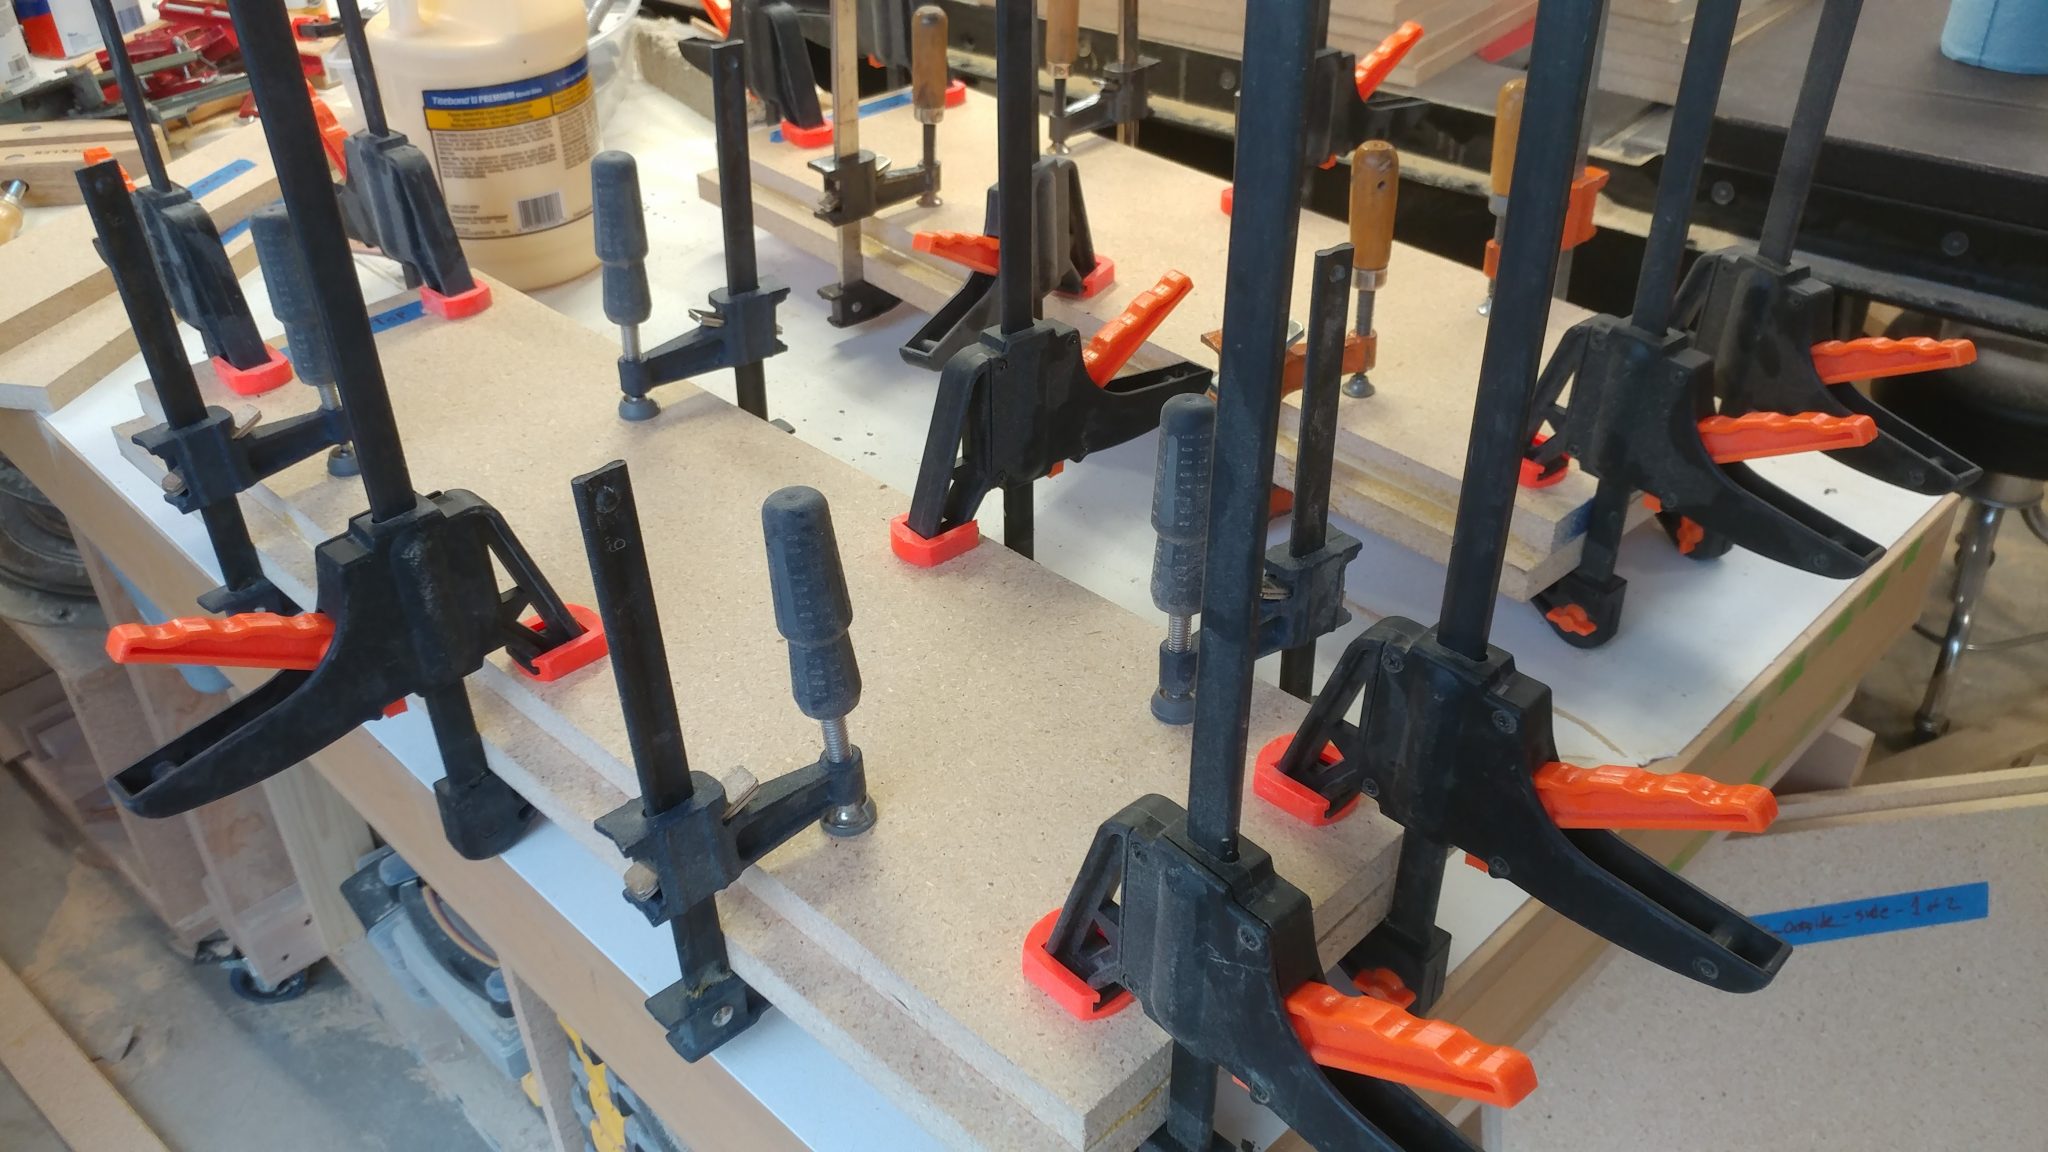
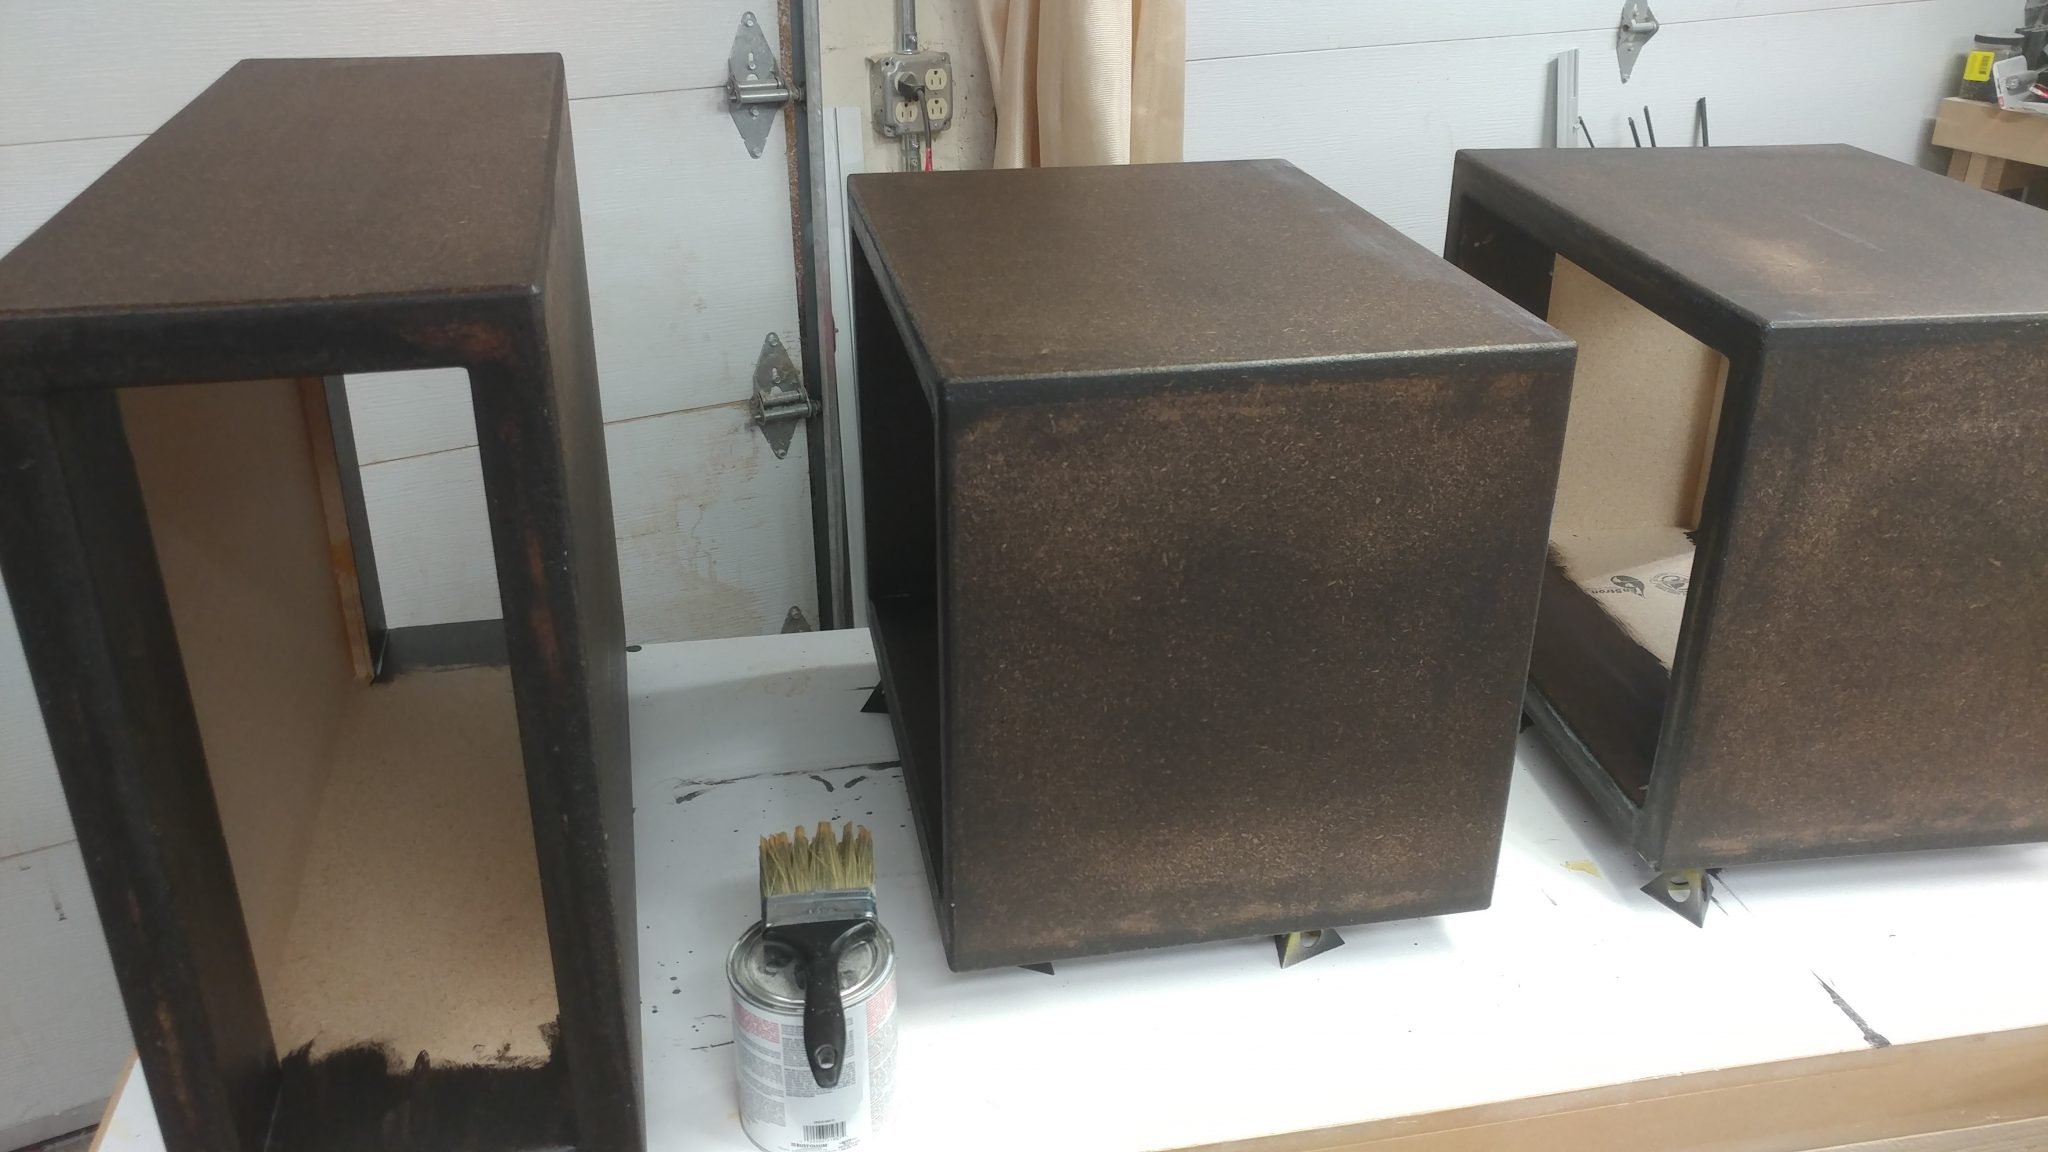
Again, I applied three coats to the undersides of the racks and seven coats to the sides that will be seen.

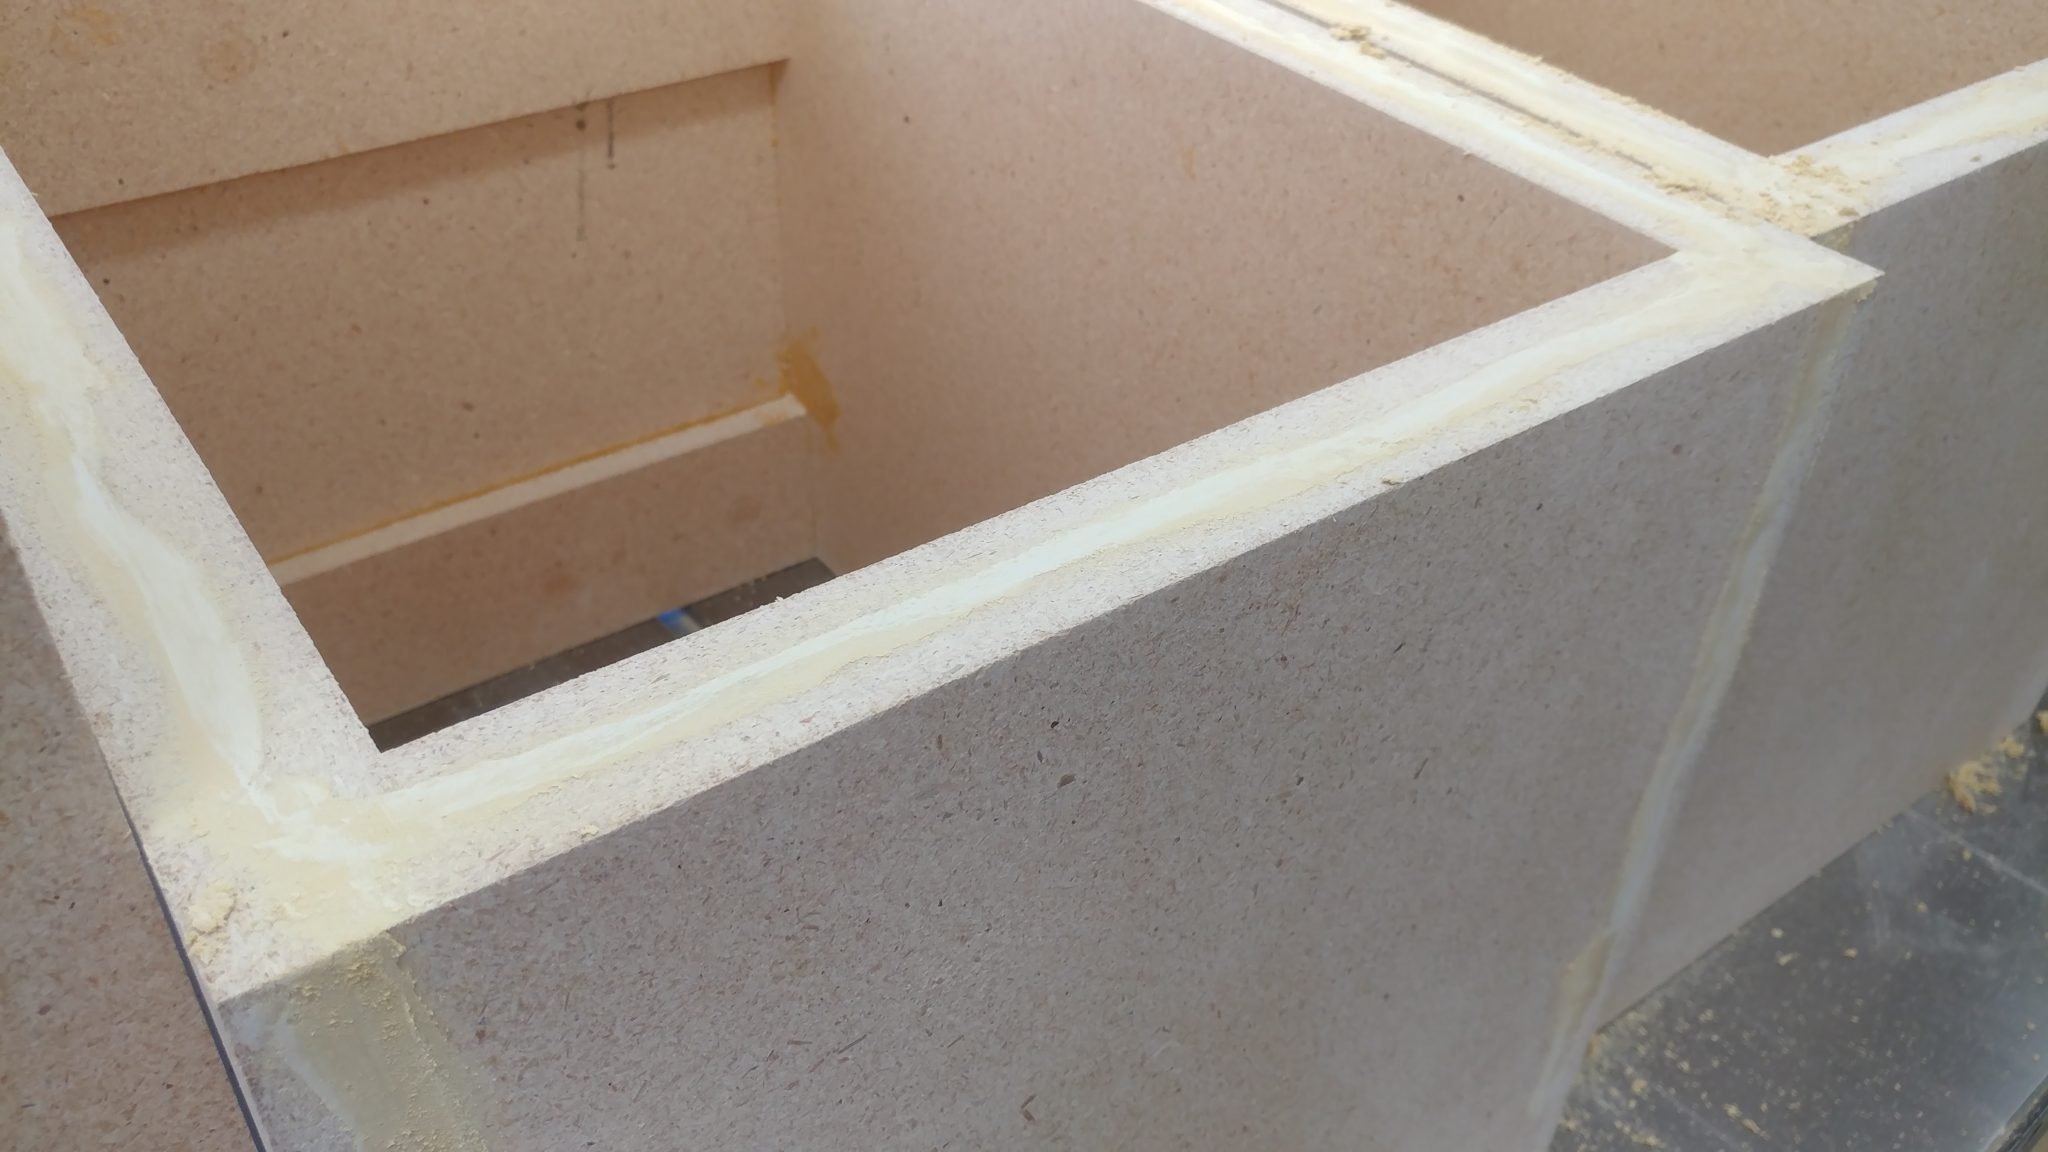
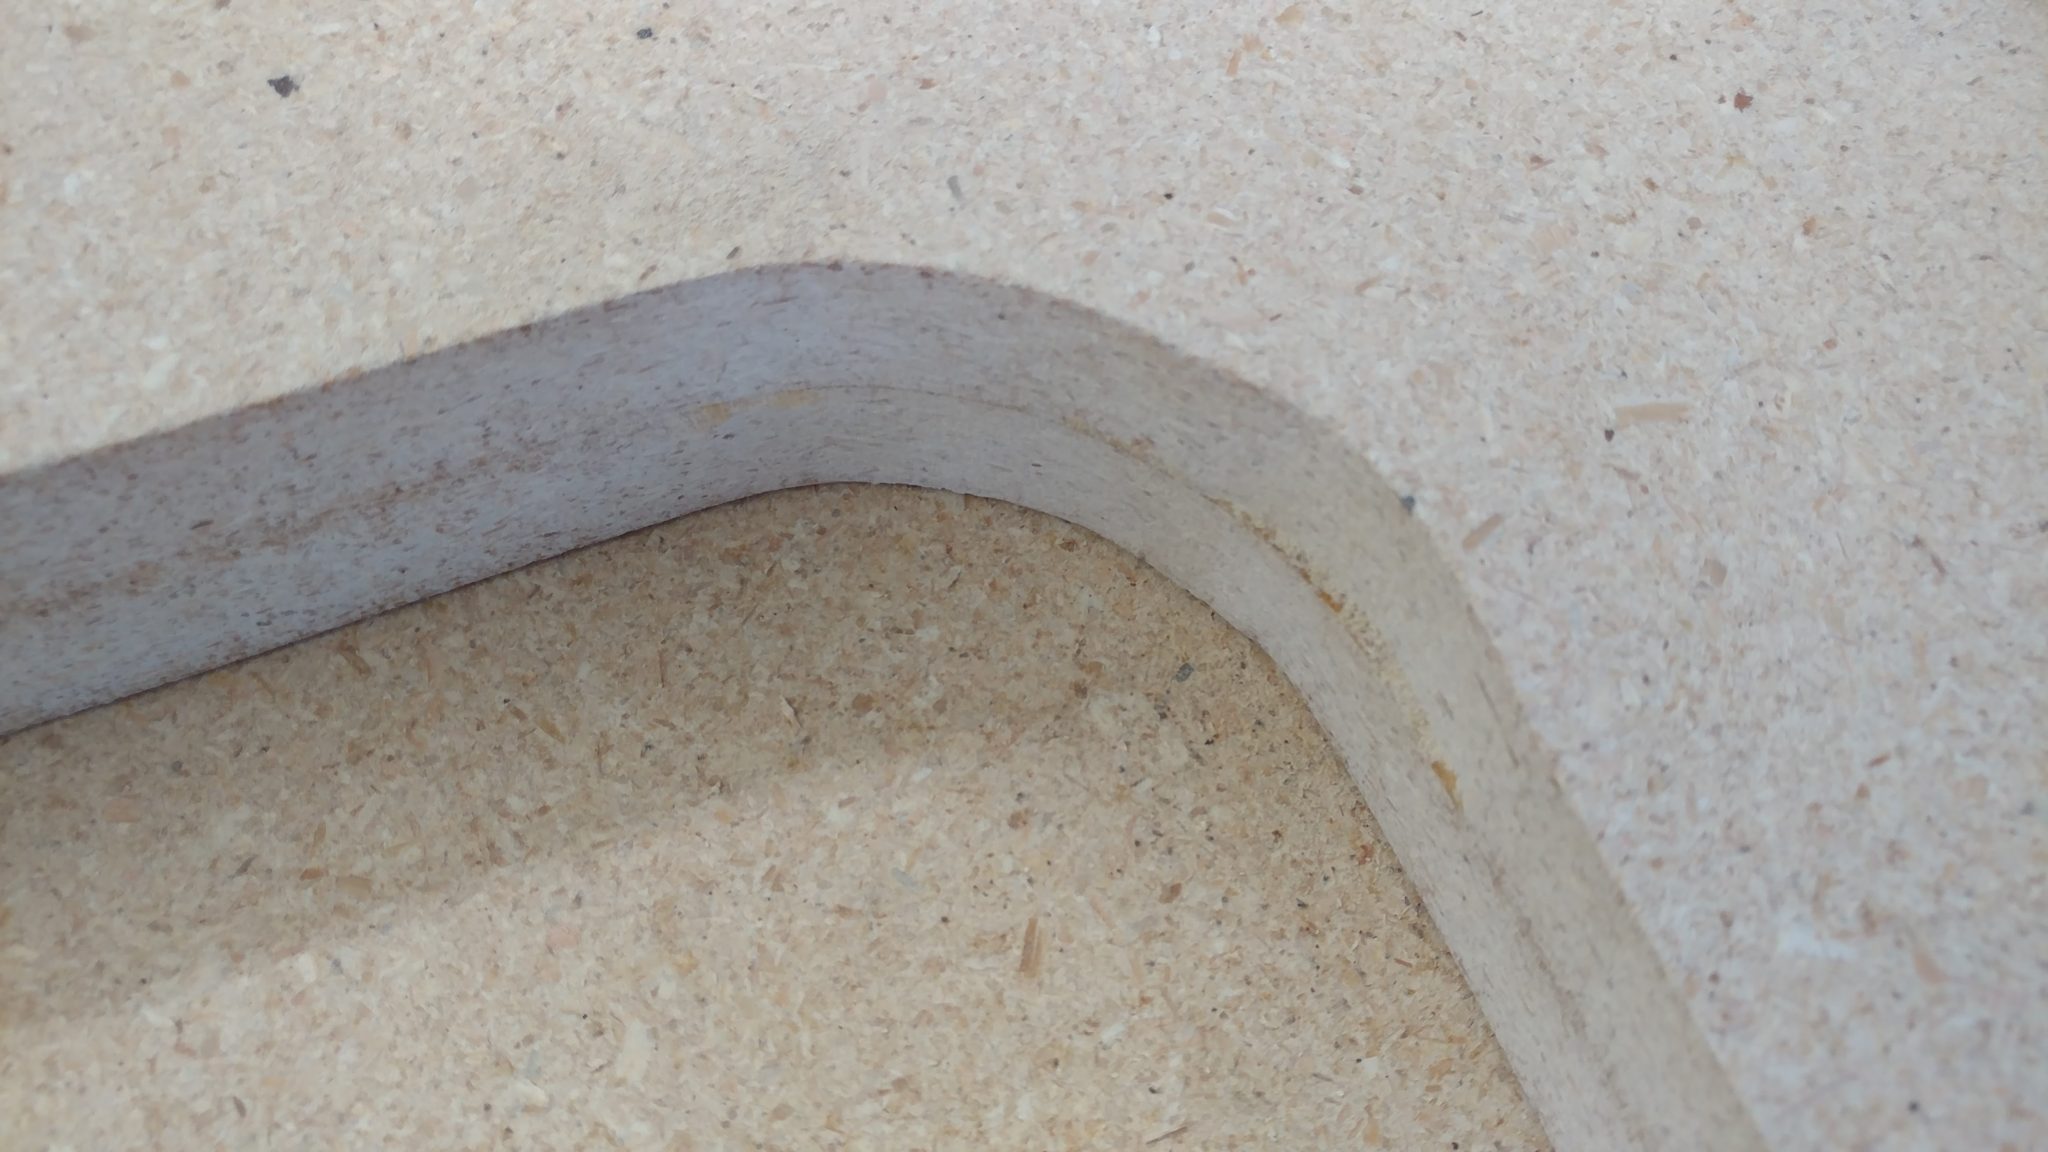
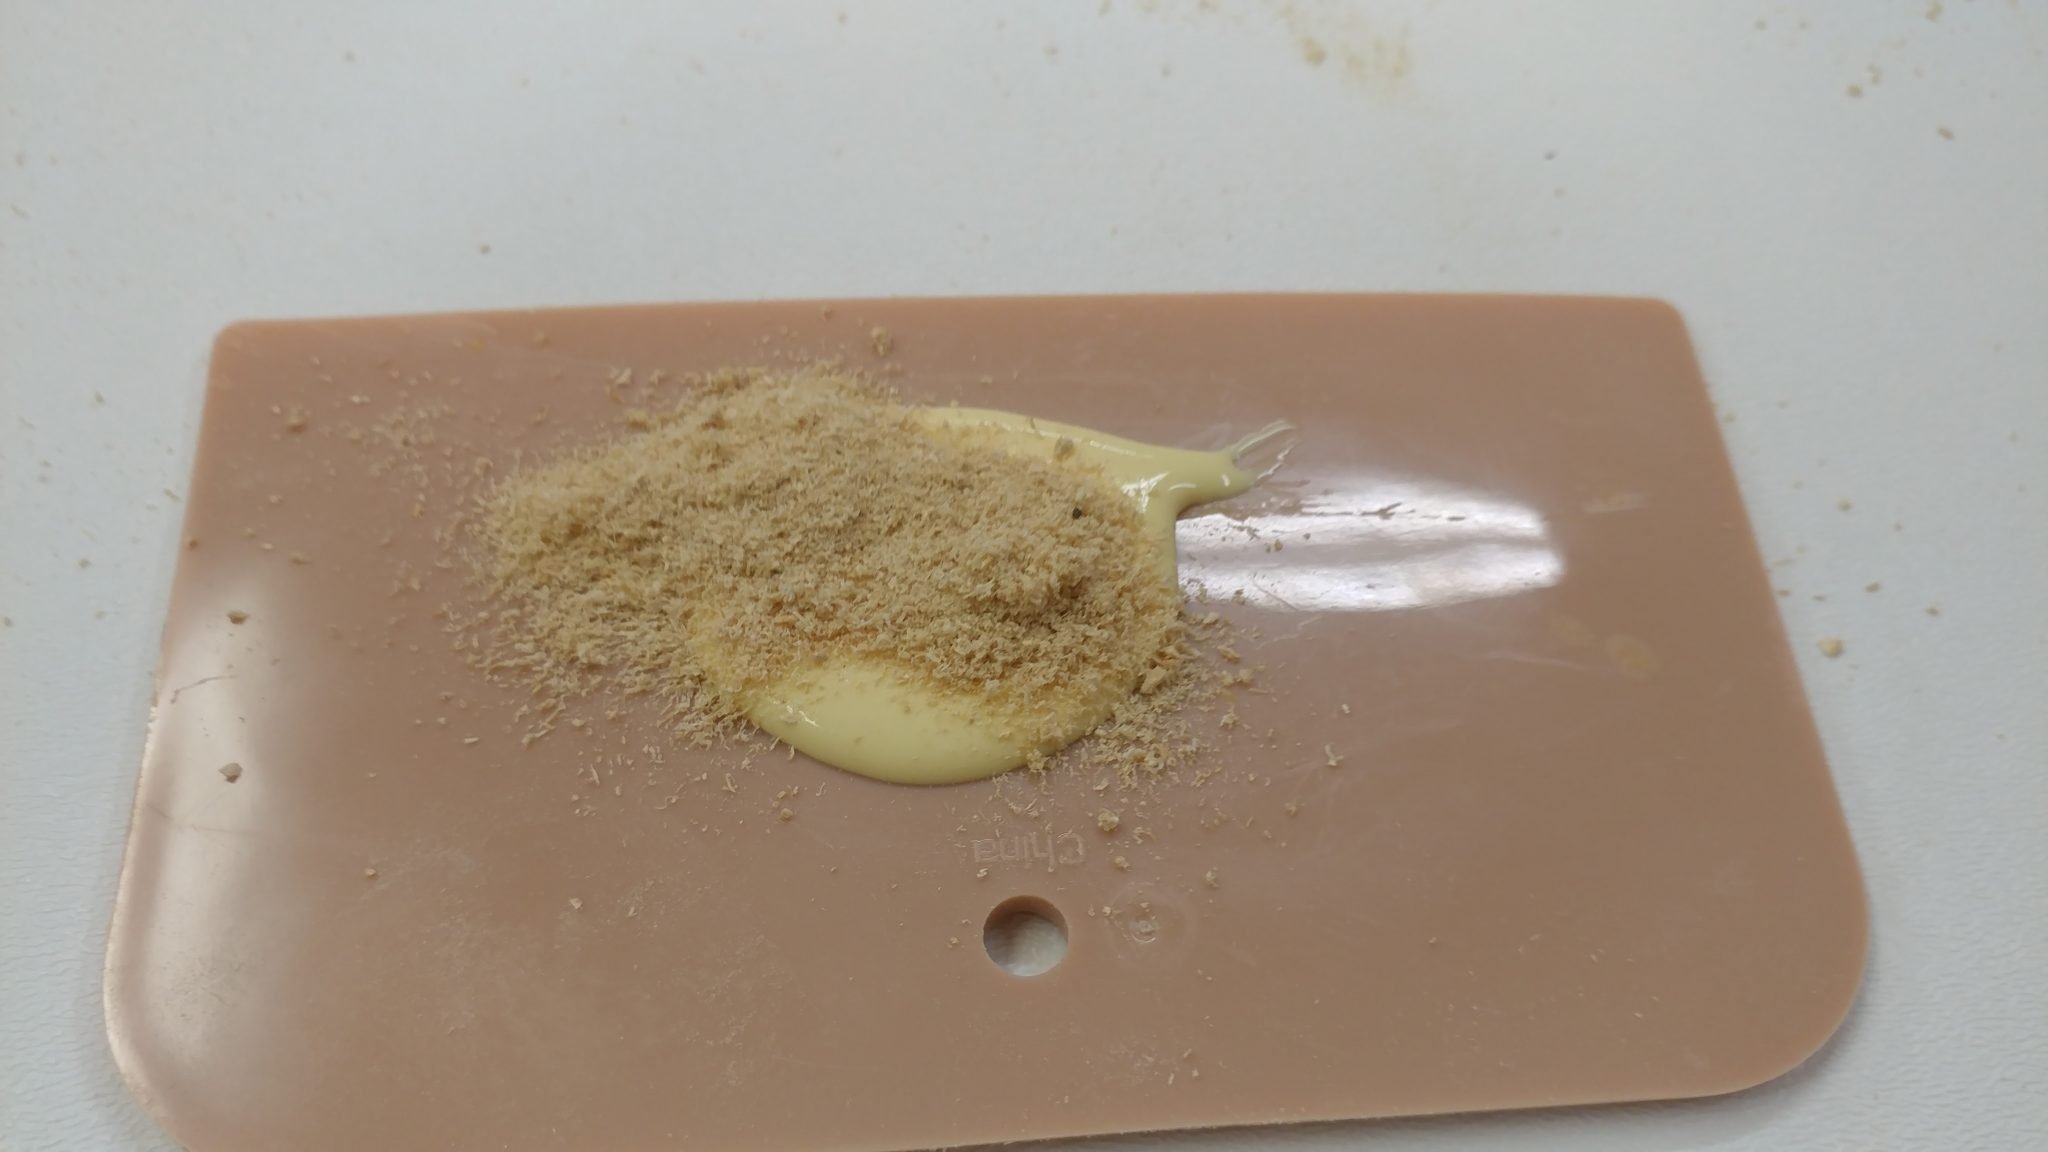
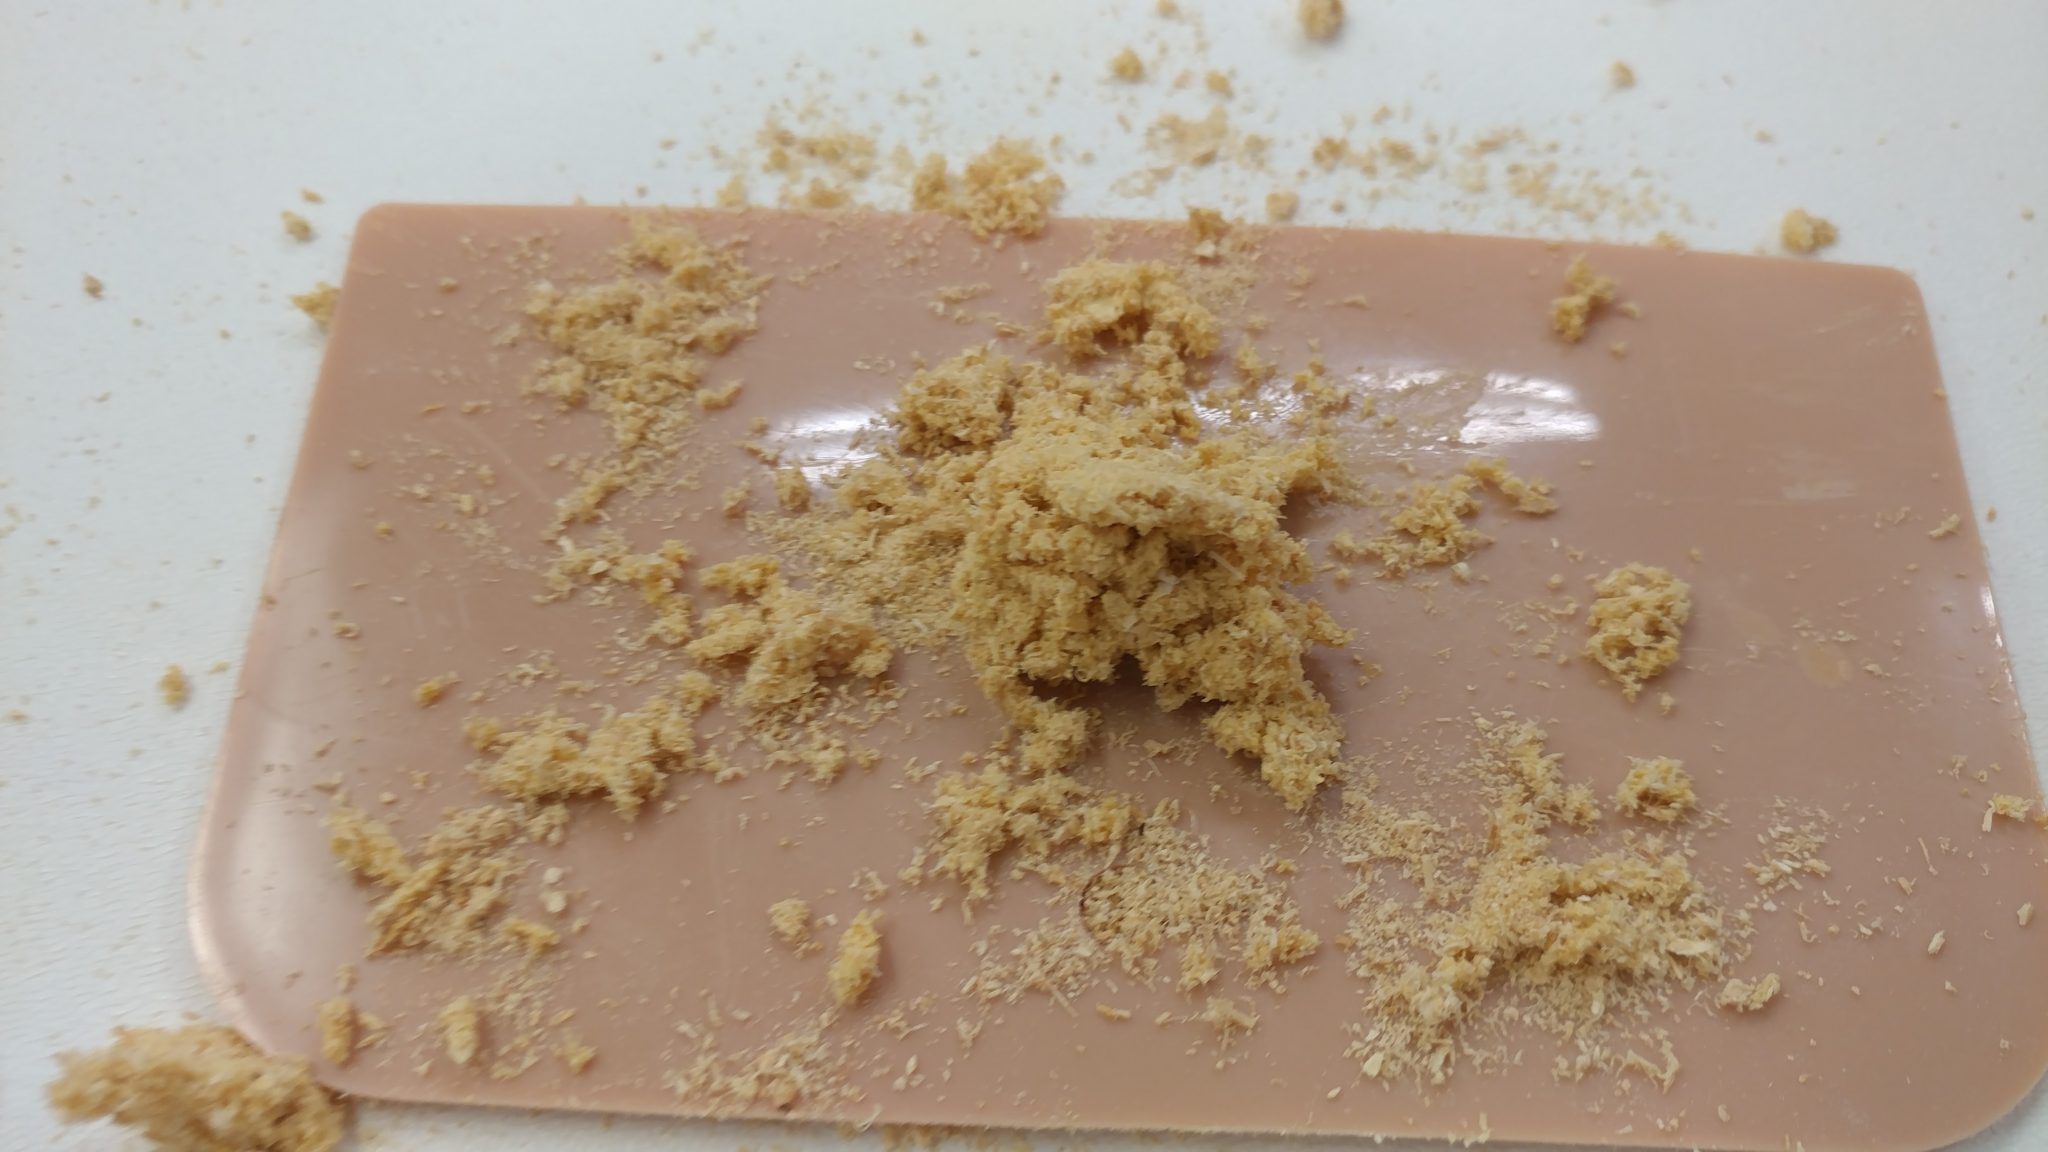
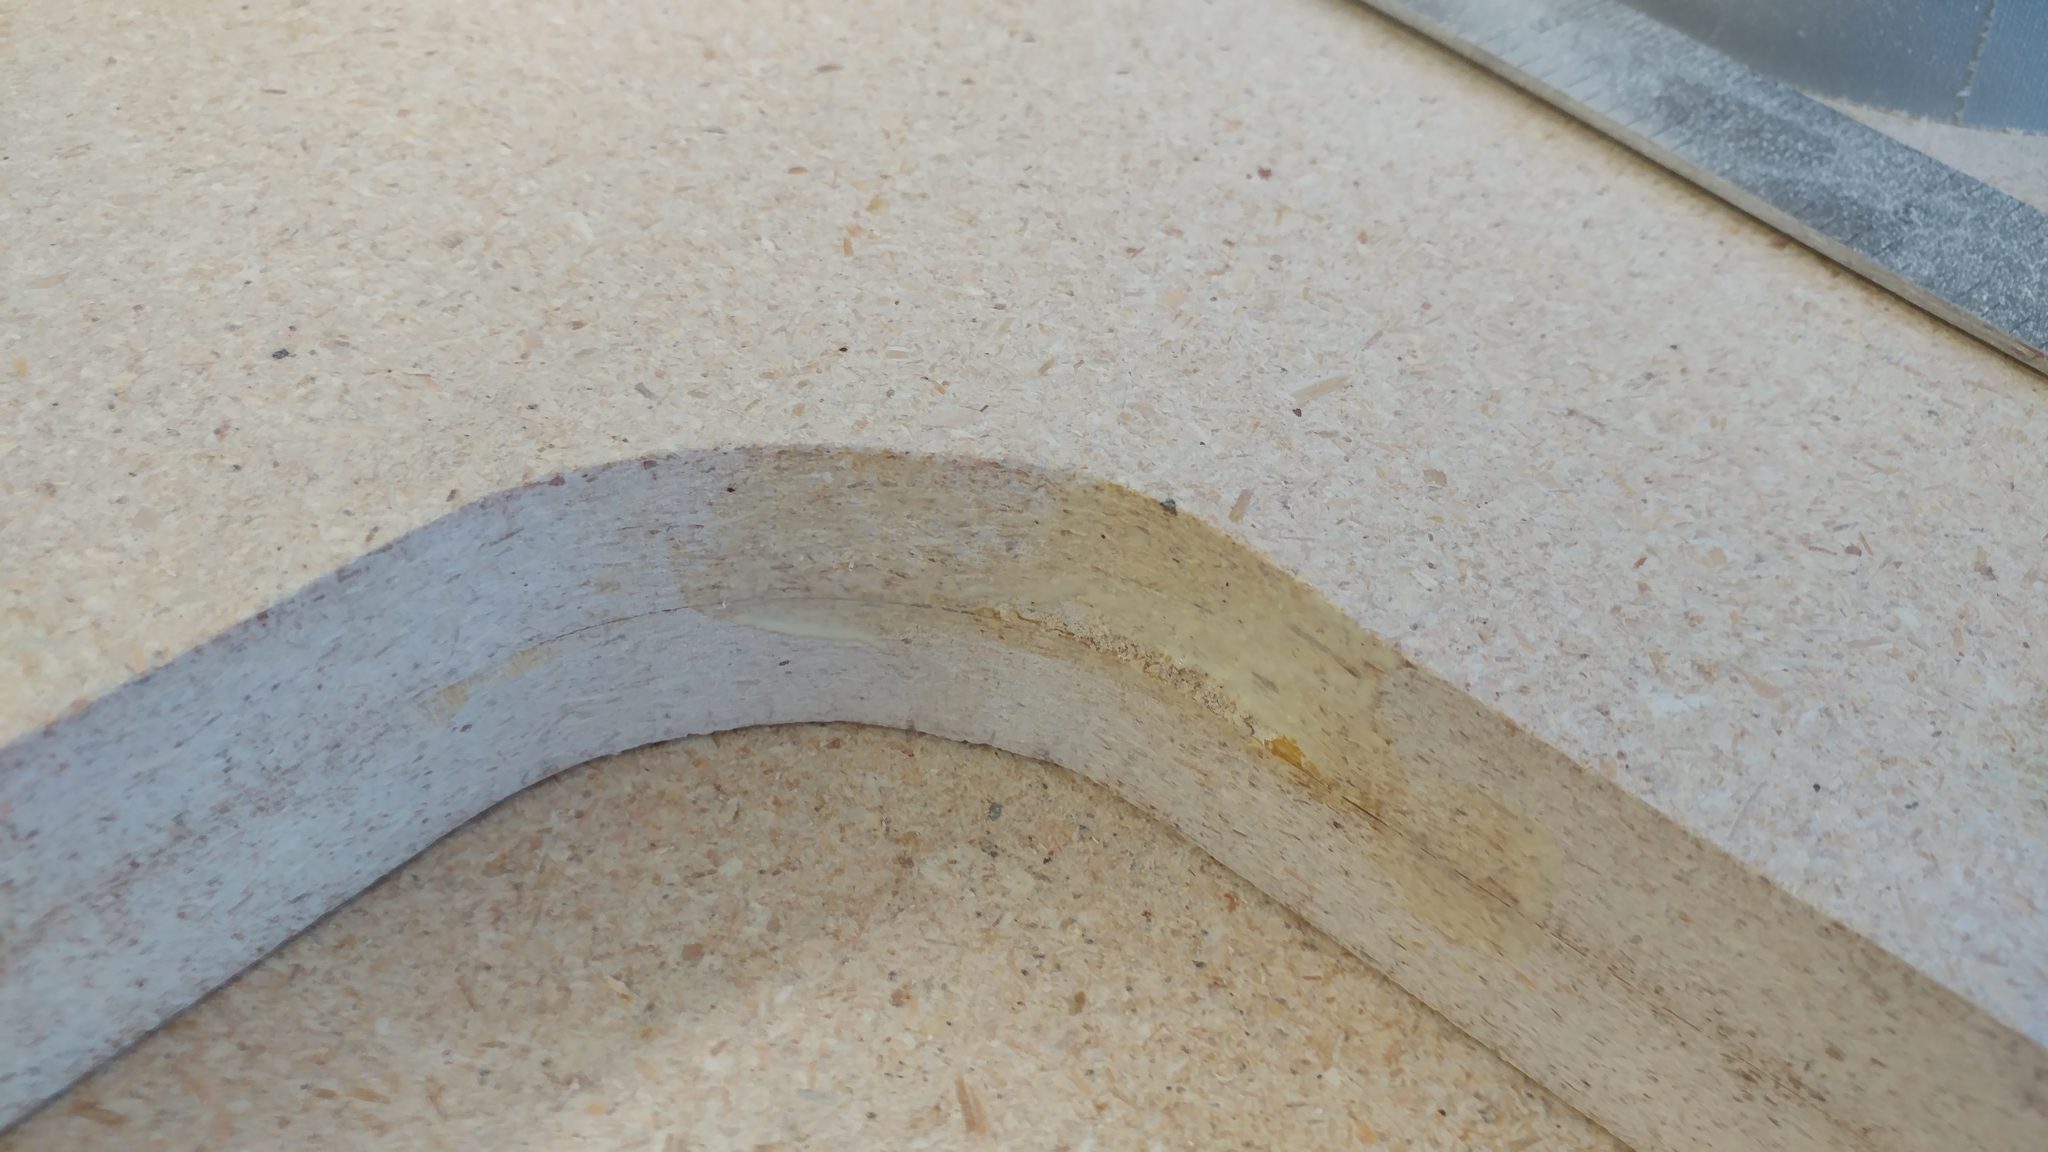
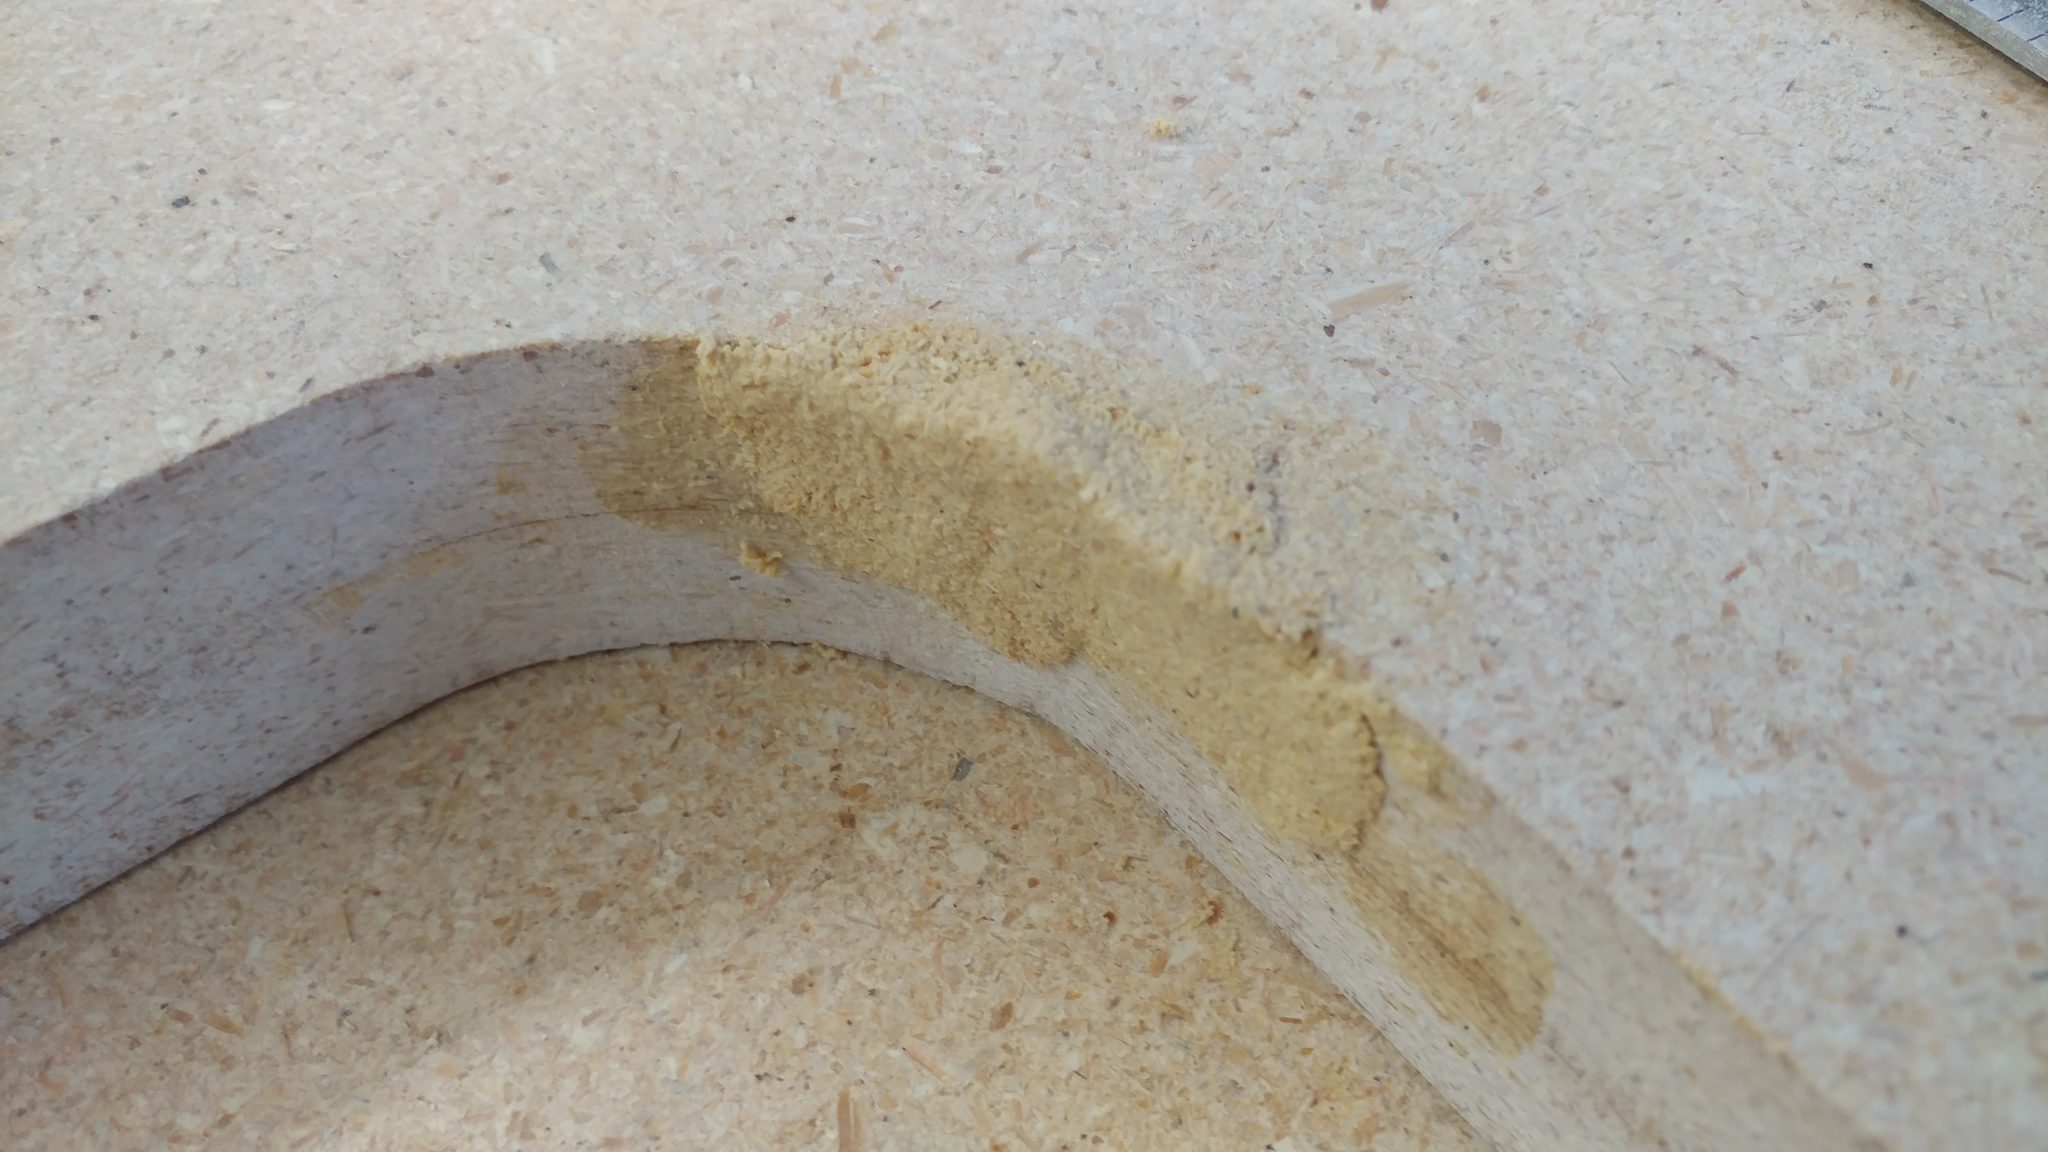
I wanted to try something different with the racks.  Instead of using glue and sawdust, I tried Elmer’s Wood Filler.  I applied some to all of the seams then sanded it flat.  This stuff doesn’t accept stain very well and I wanted to see how it would look since I’m going for a rough industrial look.  You can see some applied near the edges of the racks.  It shows up as lighter spots.  Personally, I think they add some texture and character.  Elmer’s makes a stainable wood filler but I wanted a rough look here so I went with the regular kind.


I added the first coat.


Then the second.


And the third.


Then the fourth.


I lightly sanded the racks after the fourth coat.


Then I applied the fifth coat.


And the sixth.


Then finally the seventh.


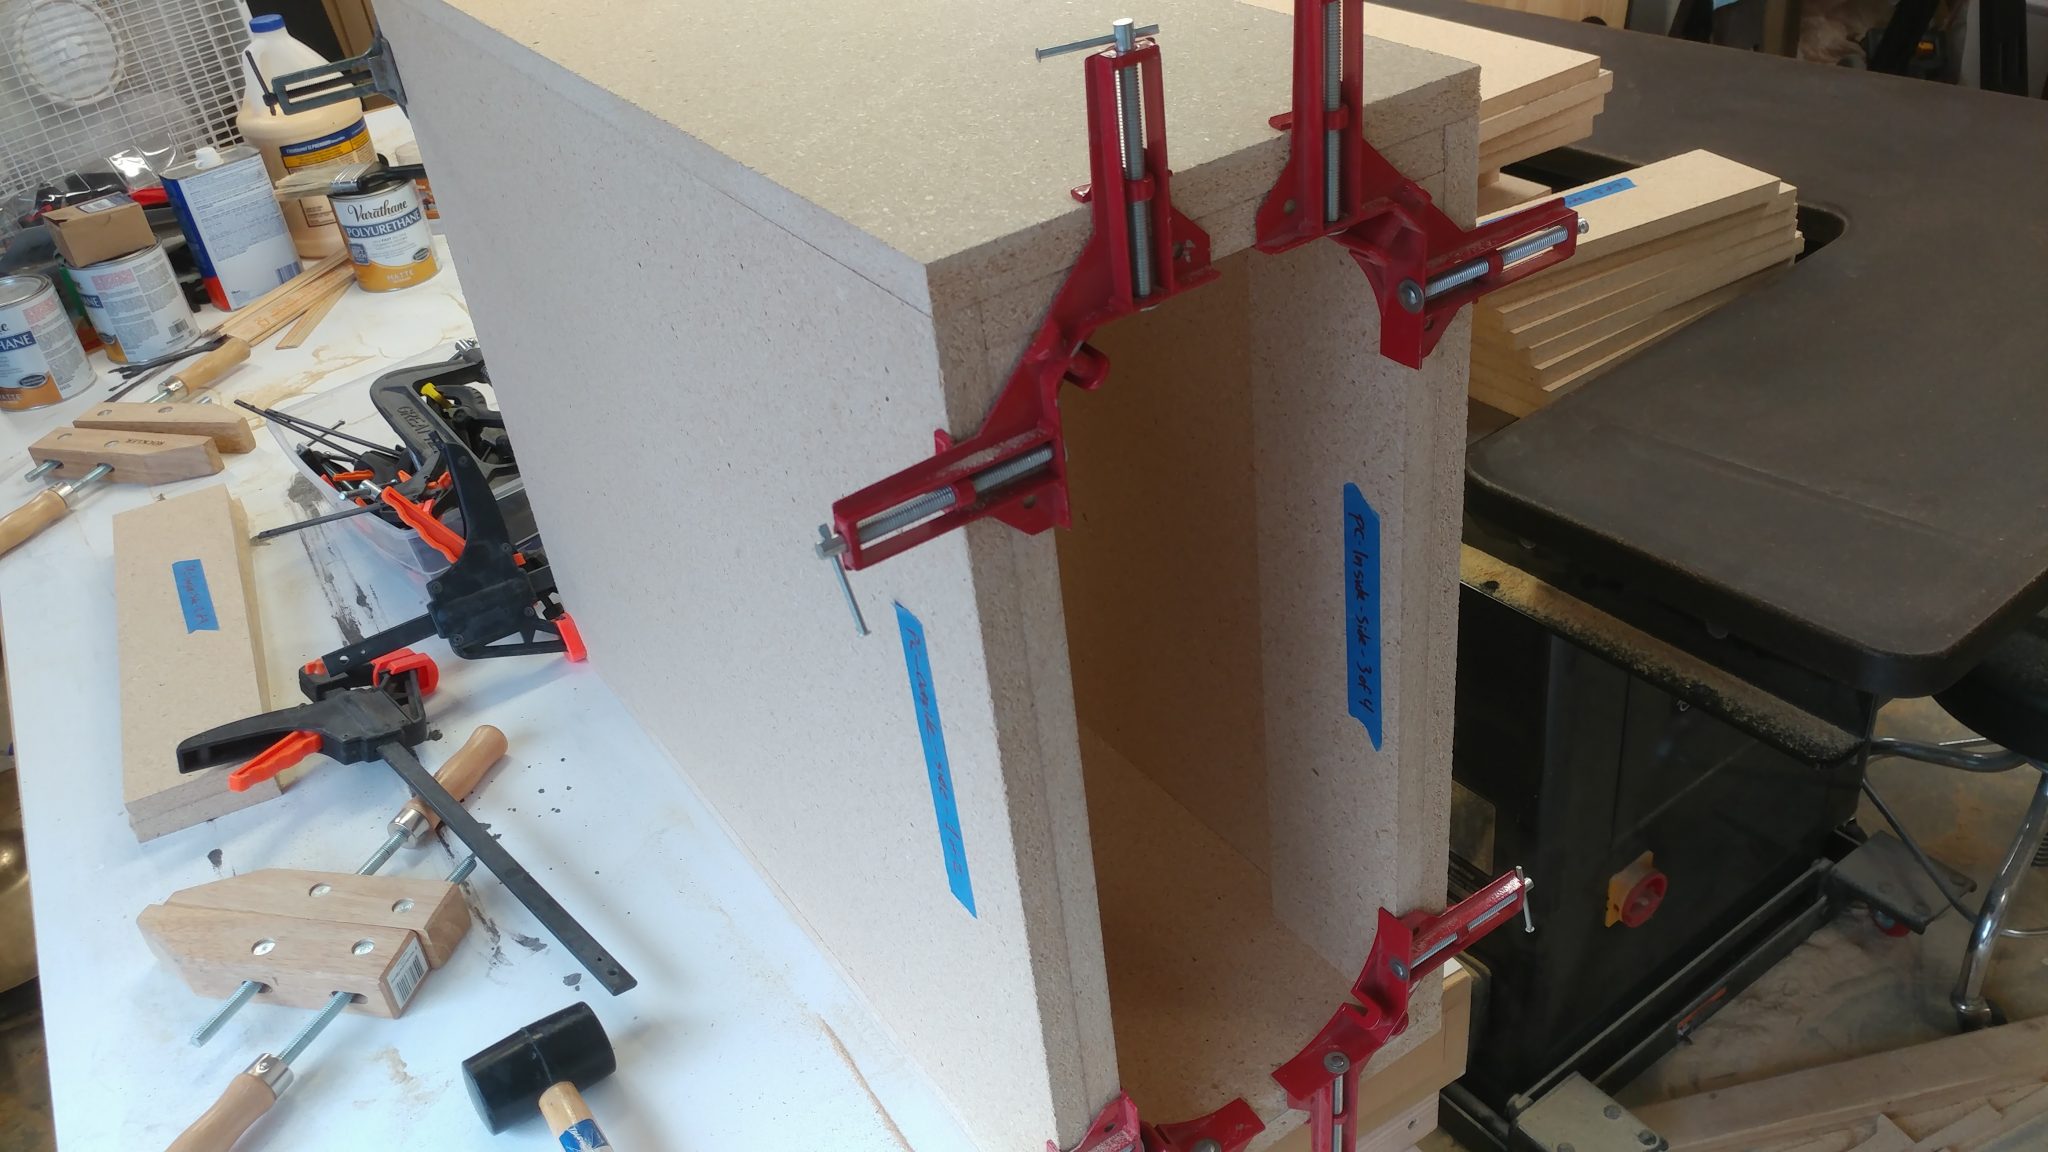
This concludes part 4.


Closing remarks

I think I succeeded in getting the finish how I originally wanted it, but I’m not so sure how much I like it now that it’s complete.  I guess I’ll grow accustomed to it over time.  Also, I can just remake them if I don’t like it.


The next step is to attach the hardware then install and configure the electrical components.


If you have any suggestions, please leave them in the comments below.  I’d love to see any desk builds you’ve done.  Also, if you haven’t already, please consider signing up for my mailing list so you get e-mail notifications when I post new articles.


Studio Desk – Part 3: Assembling the Racks

The top and bottom are ready to be stained and finished.  I’m going a bit out of order at this point.  I have already finished the top and the underside of the bottom but I’m going to bundle that in with my next post.  Here, I’m going to show how I assembled the carcases for the racks.

If you look closely, you will notice the stained desk bottom in the background of some of these photos.


I started with the boards all cut.  I’m not going to show you how I did this since it’s just a bunch of cutting at the table saw and is quite boring.  For something like this, I think it’s really important to clearly label the pieces.  I did this with blue painters tape and a Sharpie.


Assembling the PC Case

Before doing any glue-up I like to do a dry fit just to make sure I haven’t screwed anything up.  I did this with some corner clamps and a quick-release clamp.  Everything looks good.


I decided not to have any visible fasteners on the wooden parts of the desk so I’m holding the whole thing together with a butt-load of Titebond II wood glue.  Here, I am attaching the inside of the tops and bottoms to the outside of the tops and bottoms of the PC case.  I spread a good amount of wood glue on the underside of the insides…


…then flip them over and lay them on the outsides.  I used a scrap piece of 3/4″ particleboard up against the inside piece to ensure that they are positioned correctly.


Then I clamped it all up and let them sit for about a half hour.


I tend to over-glue (as you’ll see in a bit) so there is usually some squeeze-out that I have to clean up.  For particle board I prefer to let it cure quite a bit then come back with a chisel to take the glue beads off. In this case I wasn’t allowing enough time for the glue to cure so I had some messy blobs to work around.  This wasn’t a problem as you’ll see in the next step.


The two pieces glued up effectively make a piece that is 1-1/2″ thick with a 3/4″ X 3/4″ rabbet along two edges.  I applied glue along these edges so I could attach the sides.


I used quick release clamps to hold one side in place while I maneuvered the second side in place.


The same quick-release clamps held both sides in place so I could drop the top assembly in place.


The top is just like the bottom so I added glue to the rabbets.


I dropped the top part in place and  kept the clamps loose enough so I could  nudge the pieces so they were well aligned.


Rather than make the side pieces on the inside of each rack the entire length of the rack itself, I made them 4″ wide.  This will accomplish a few things.  It will lighten each rack a bit, although they still weigh a ton.  Mainly, they will aid with airflow.  Also, I’m installing cable pass-through grommets and they work best when the material they are going through is 3/4″ thick.  I cut four pieces for the sides of each rack and slathered on the glue.


I then clamped them in place.


After letting it sit overnight, the PC rack is assembled and ready to be shaped and cleaned up.


Assembling the Two Racks

I then repeated the process for the equipment racks.  The tops and bottoms were glued up and ready to be assembled with the sides.


Lots and lots of clamps were used for the assembly since I am relying on glue to hold this all together.


As you can see, I got a little crazy with the wood glue.  It cleans up easy enough and shouldn’t interfere with the finish at all.


Too much glue is better than not enough.


Cleaning up the Racks

I used a random orbital sander to clean up the edges on one face of each rack.


I also cleaned up the tops and bottoms.


To clean up the final face, and to ensure that both of the equipment racks are the same depth, I shaved off the edge of the last side at the table saw.


I shaved off just enough to clean up each edge.


Once each face was clean, I decided to try something different.  I’m going for a rough industrial look with this.  I had seen a piece of furniture once that was made with MDF and had some (what I assume is) wood filler in certain parts.  The way that the filler reacted with the stain and finish had a really interesting rough look.  I decided that I would try this on the racks.  If I end up not liking it, I can always just remake the racks.


I spread wood filler into each seam and let it sit for an hour.


After letting it sit I cleaned up the edges with my random orbital sander then applied a 1/4″ roundover to each edge just like when I made the desk top and bottom.


I cleaned up the routed edges with my random orbital sander again as well as with some careful hand sanding.


This concludes part 3.


Closing remarks

They’re all ready to be stained and finished.


As I said before, I don’t have a lot of room in my shop right now so it’s difficult to get this built but it’ll be worth it in the end.


If you have any suggestions, please leave them in the comments below.  I’d love to see any desk builds you’ve done.  Also, if you haven’t already, please consider signing up for my mailing list so you get e-mail notifications when I post new articles.


Studio Desk – Part 2: Final shaping of the top and bottom

The tops and bottoms are cut to size and glued up.  The next step is to fix a few mistakes and apply the roundovers so I can stain and finish them.


Fixing my mistakes

I make a lot of mistakes.  More than I would like.  I made a few while I was routing out the shapes of the desk bottom pieces.

First I slipped up when modifying the outline for the bottom of the desk.  I was able to correct this when cutting out the other half of the bottom but it left a nice gap that needs patching.


The second mistake was when I was cutting the aforementioned second half of the bottom.  As I was coming up on the area where I had made the mistake on the first half, I guess I was focusing on correcting for the first mistake and I ended up making another slight mistake.  You can see in the following photo that the inner corner is a little wonky.  I think the router, whose base is a little unstable, tipped a little and it caused this.


The following technique won’t always work, especially if you will be staining the piece but I’m going for a more utilitarian/industrial look so I actually welcome this.

Start with a blob of wood glue.  If you are wanting to stain this, I recommend trying stainable wood filler instead.


You’ll also need some sawdust, preferably from the same wood that you’re repairing.


Add the sawdust to the wood glue and mix it together.


This will take some trial and error in order to get something that works for you.  I was going for a dry yet pasty texture.


I rubbed a bit of wood glue on the spot that I needed to repair so the patch job can adhere to it better.


I then smushed (sorry for the technical term) a gob of the glue/sawdust paste into the repair spot, being sure to fill up all the space that needs to be filled.


When this dries, it’s going to be pretty hard.  I also need to flip this piece so I can repair the other spot.  To ensure that this wasn’t going to cause a problem, I waited till it had cured a bit then I took a utility knife blade and sliced off any of the filler that protruded from the top of the wood.


This left it flat enough to flip the piece without damaging the filler.


I did the same thing on the other mistake.


This one will be easier to hide since it is all on flat surfaces rather than an inner curve.


I let the filler fully cure for a day then I took my random orbital sander to it.  I placed a piece of blue painters tape next to the filler so you can see how it blends in.  It isn’t perfect but it’ll be good enough for this project.


The filler on the inner curve was a lot more difficult to deal with.


I ended up having to carefully use a drum sander attachment on my hand drill to get it smoothed out.


This one didn’t turn out as well but it’s good enough.  I’m putting a roundover on the edges so I’m not worried with how jagged it is.


Applying the roundovers

It was time to put the roundovers on the wood.  I decided to just use one of my little trim routers in an effort to avoid the mistakes that I just had to fix which were caused by the unsteady base on my larger router.  I outfitted it with a 1/4″ roundover bit.


I applied the 1/4″ roundover with the intention of then applying a 1/2″ then finally a 3/4″ roundover.  This is where I ran into a problem; I liked the look of the 1/4″.


I even liked how this looked in the corner where the patch job made an interesting little shape.


I really liked the look and feel of this roundover.


It looked especially nice when you backed off a bit and took the whole thing in.


I couldn’t make up my mind, and I only have one shot at this so I decided to ask for more opinions.  I took some scrap particleboard and did a mockup.  The left half is the 1/4″ roundover and the right half is a 1/2″ roundover.  I decided I didn’t want to do a full 3/4″ roundover.  I posted this photo along with a few others to several Facebook groups, Google+ groups, Instagram, and Twitter.  I wanted to see what others preferred.  Most feedback seemed to be favoring the 1/2″ but two opinions in particular stood out to me.  One was my wife, who said she preferred the 1/4″, especially since she sometimes attaches vices and jigs to the workbench that I made her and a big roundover would make that difficult.  The other was from Paul Jenkins (a.k.a. The Wood Knight).  He also favored the 1/4″.  In the end, I agreed with these two so I left it as 1/4″


The last step for this part of the project was to clean the pieces up to get them ready for finishing.  I sanded the top and bottom faces of each piece with a random orbital sander and 220-grit sanding discs.  The edges were cleaned up first with a coarse and then a fine-grit sanding sponge.


This concludes part 2.


Closing remarks

This is a difficult project, not in a woodworking sense since it’s ridiculously simple in it’s construction but in that I don’t have a lot of room in my shop at the moment.  My shop is currently difficult to walk in, much less build in.

I’m going to stain the wood next then apply several coats of matte finish polyurethane.  This isn’t going to be particularly interesting and will be time consuming so the next update might not have much to it.

Before I attach the legs and set up the desk, I need to also build the racks that will store the computer and recording gear.  These will determine the final placement of the legs since they are used to hold up the racks.  I’m going to try to get these built while I work on the finishing but I also want to make sure that the finish is protected from sawdust from building the racks and like I said, I have very little room in my shop right now.


If you have any suggestions, please leave them in the comments below.  I’d love to see any desk builds you’ve done.  Also, if you haven’t already, please consider signing up for my mailing list so you get e-mail notifications when I post new articles.


Pen-making on my lathe – Christmas 2016

For Christmas 2016, I decided to make some pens for my co-workers.

I remember when I first got started turning, and pen-making in particular, I would scour the web looking for different approaches and techniques from various wood-turners. I made a lot of expensive kindling in my attempt to learn to turn. Although I still have a lot to learn, I feel that I pretty much mastered the finish that I put on my pens.

In an effort to educate, I have roughly documented my technique below. This isn’t intended as a complete tutorial; more of an outline of my process. If this post generates enough interest, I will make a more detailed walk-through and an accompanying video. If you are interested in such a tutorial, please leave a comment at the end of this post.

I started by choosing a pen blank to go along with the kit.  I try to look for pen blanks that have a lot of character, although sometimes a flat walnut will look good with the correct hardware.

For this project, I used a storage caddy to hold the pen kits and blanks.  Seven of the nine kits are classic slimlines.  Two of them are Cigar pen kits from Woodcraft.

Pen kits and blanks organized.
Kits and blanks all organized.

For each kit I lay out the blank and the tubes.  I look for any markings in the wood that look interesting and focus there.  Of course, the outer grain is going to most likely be different from the inner grain, but a look at the end of the blank can help show what type of character the finished pen will have.

Pen blank marking tools.
Tools for marking pen blanks.

Using one of the pen tubes and a silver Sharpie, I make a mark just past the length of the first tube.  You’ll notice that the tube isn’t right up to the end of the pen blank.  I’m not going for precision in this step.  I just want to make sure that I have enough material for both tubes.

Marked at the end of the first tube.

I draw a line over the mark using a 6″ combination square.

Tracing a line on the pen blank.
Tracing a line where the blank will be cut.

Then I lay the other tube on the blank using the newly drawn line and make another mark.

Tracing a line where the blank will be cut.

One trick that I picked up is that I make an “X” over the first line.  This makes it easier to line up the wood grain once you put it on the lathe.  You’ll see what I mean later…

Marked an "X" through the first line.
Marked an “X” on the first line.

Here are the wood blanks all marked.

All of the pen blanks marked.

Once they’re marked, I take the wood blanks to the band saw and cut on the lines I made.  Here you can see them cut.  The X that I made is now split in two, making it much easier to match up the wood grain.

The blanks after being cut along the first line.

I drill the holes for the tubes on my lathe.  There are many ways to go about this but this is the method I prefer.

I try to stay consistent with how the blanks are lined up.  For example, you’ll notice in the following picture that the wood has half of the “X” facing me and on the right end.   After I finish drilling this piece I’ll put the other half in but I’ll make sure that the other half of the “X” is still facing me but this time it goes on the left end.

Mounted the pen blank on my lathe for drilling.

I drill out the blank being careful not to let the bit get too hot.  I also have dust collection going and although it doesn’t get all of the big shavings, it does get the fine dust.

Drilling the hole in the pen blanks.

All the holes drilled.

The holes are drilled.

Another trick I picked up is to sand the tubes before inserting.  I do this by wrapping a piece of 150 grit sanding strip around the tube and spinning it while pulling it through.  Just be careful not to use that piece of sandpaper for anything other than the tubes.

Sanding a texture onto the brass tube.

Now it’s time to glue the tubes in place.  I use a few cheap IKEA kids plates, which you’ll see later, while I’m making my pens.  I use one with a blue shop towel or just a plain paper towel over it.  This doesn’t necessarily protect the plate, but rather the plate keeps the blue towel from getting glued to the workbench.  For gluing the tubes in place, I use Titebond Medium cyanoacrylate glue.  I recently learned from another pen turner that he’s had problems with the chemicals in stabilized woods causing the cyanoacrylate to cure before getting the tube fully inserted.  This results in a wasted tube and possibly the pen blank.  Instead, he uses 5-minute epoxy.

Materials for gluing the tubes in place.

I put a coat of the cyanoacrylate glue on the sanded tube and use an insertion tool to push the tube into the wood.

Inserting the tube.
Inserting the tube.

I always try to have some extra material.  This gives me room to true up the edge but also helps the grain flow more smoothly by taking up the room that the center band takes up on the final pen.

Pen blank is longer than the tube.

Once I’ve allowed sufficient time for the glue on the tubes to cure, I mount each of the blocks in the lathe and use a pen mill to trim down the edges.  This ensures that the end of the finished pen section is nice and flat where it meets up with the pen hardware.

Mounted the blank on the lathe for milling.

Take your time with this.  I’ve had certain woods, such as zebrawood, use this as an opportunity to split.  You want to trim it down to the edge of the tube.  If you see any brass shavings coming off with the wood shavings, you’ve gone too far.  Not the end of the world, but still…calm down there, tiger.

Milling the edges of the blank.

Here you can see the edge of the brass tube showing.  This is what I look for.

When you can see the edge of the brass tube, you're done.
When you can see the edge of the brass tube, you’re done.

I could take this one down just a bit more but it isn’t necessary.

Close enough.
Close enough.

All the pieces are now ready to go on the lathe.

Done preparing the blanks.

I mount the blanks on the pen mandrel using the “X” that I drew before to line up the pieces.  I tend to turn my pens with the left side being the tip of the pen and the right being the end cap.  It doesn’t matter how you do this, but I prefer to stay consistent.  For slimline pens it doesn’t matter at all.

Mounted the blanks on the lathe.

I’m not going to go into detail how I turn them.  There are much better woodturners that you can learn that from.  The important thing is that I turn it down to where it’s almost the final diameter.

Turned it down to close to the final size and shape.

I sand it to it’s final diameter and shape using cloth-backed 150-grit sanding strips.  This is where having the dust collector on my lathe really comes in handy.

Sanding the pen blanks to their final diameter.

After sanding with 150-grit, I move on to 240, 320, 400 and finally 600.  After each grit, I always stop the lathe and sand it left-to-right, or “with the grain”.  This removes banding that can occur which is very visible since it goes across the grain of the wood.

Done sanding...for now.
Done sanding…for now.

Then I do a quick sanding with 0000 steel wool.  One very important step at this point is to wipe down the sanded blank with denatured alcohol.  This removes the extra sawdust while giving you a sneak peak at what the finish will do to the colors in the wood.  Also, this removes surface oil from certain wood species that may keep the finish from adhering to the wood.  If you skip this step with wood like Olivewood, you may find that the CA finish you apply will start to peel off at the edges almost immediately.

Wiped with denatured alcohol.

Here you can see one of the crappy IKEA plates that I put on my lathe for the remainder of the pen project.  This thing is beat to hell.  It is there to help protect the cast iron bed of the lathe.

Protecting the bed of my lathe.

To apply the finish you’re going to want a few things.  I use a thin CA glue and a spray activator.

Materials for the CA finish.

Additionally, I use a pair of nitrile gloves and an extra baggie that the pen kit came in.  This is another trick that I picked up.  I put the baggie over my first two fingers.  Then I hold little pieces of paper towel that I use to wipe on the thin CA glue.  When you apply CA glue, it gets pretty warm and can actually melt through the gloves.  I find that using the baggies over my fingers helps the gloves last longer.  Before doing this, I was typically changing my right glove with every coat of CA glue that I applied.

A little extra protection.

I will go into more detail on actually applying the CA glue in a later article.  This is a photo of a pen after 8 coats of thin CA glue have been applied.

8 coats of CA have been applied.

I then use a micro mesh sanding system to polish the CA glue.  I sand it down using 1,500, 1,800, 2,400, 3,200, 3,500, 4,000, 6,000, 8,000 and 12,000 grit sanding sponges.  I use the 1,500 grit sponge to do the bulk of the final shaping and smoothing.  Also, as with the dry sanding done before, I always stop the lathe after sanding with each sponge and sand the pen going with the grain as well.

Sanding with MicroMesh pads.

After sanding, it is ready to come off the lathe.

Ready to come off the lathe.

I lay out the pen blanks carefully so I don’t lose the orientation of each piece.  Otherwise, the “X” that I drew earlier would be for nothing.  I use a little scrap of 600-grit sandpaper to break the edges of the finish.

Careful not to lose the orientation.

I simply angle the pen blank and carefully rotate it on the sandpaper.  This removes the CA burr that has formed which if left in place can cause the finish to chip off when I press the pen together.

Breaking the edge a bit.

I have a beat up piece of scrap wood that I routed a few coves in so I can lay out the pieces without losing anything.

Careful not to loose the orientation.

I use my small arbor press and a few scrap pieces of leather to put the pen nib in place.

Pressing the nib in place.

Be careful not to put too much pressure on the pen and to guide the nib in straight.

Don’t go crazy here.

Then I turn it upside down and press the twist mechanism into the pen.  I push it in so the groove that is visible lines up with the top of the blank.  It’s best to err on the side of caution.  I usually press it in so it sits above the blank by a hair, then I insert the pen refill and twist it to see how the tip looks when fully extended.  I also make sure that when the pen is twisted closed, the tip doesn’t still stick out past the end of the nib.

A little bit of trial and error to get this right.

Then I grab the other half of the pen and attach the clip and end cap.  You want to be careful that you have the orientation right.  I also look for a part of the wood that had rather boring features and line up the clip there, although that can be adjusted after assembly.

Pressing in the cap and clip.

Then I’m done.

Here are some photos of the finished pens.

I hope that this was helpful. If you have any techniques or tricks to share, please leave them in the comments section below. Also, please consider signing up for my mailing list to be notified of future articles. I am also available on social media and can be reached at the links below.