News – April 20th, 2018 – Where have I been?

It’s been a few months since my last update and a few people have asked if I was still around.  Here’s what’s been going on…

Death In The Family

Sadly, my family was dealt a tragic blow with the death of my mother-in-law on March 1st.  She was a truly inspiring person and one of my best friends.

She was an art teacher at Heritage High School in Vancouver, WA.  Unlike most art teachers, she didn’t just teach kids to draw and finger-paint.  Rather, she taught 3D animation, video game design, 3D printing, and many more subjects that changed throughout the years but were always exciting and engaging.

Some of her students went on to work at places like Pixar and Laika and she had working relationships with such companies as Wacom and Big Fish Games.

I assembled a five-minute video for her memorial service which was attended by several hundred people, many of them current and previous students.

It’s difficult to fill the void left in your life with the loss of a person like her, especially when it was as sudden and unexpected as this.  My family has had to adapt to the sudden imbalance but we have supported each other well and this experience has brought us all a bit closer together, not that that was a problem to begin with.

Since she was an educator and passionate about art, I decided it would be nice to create a scholarship fund in her name.  We are working on this now and it looks like it is going to happen.
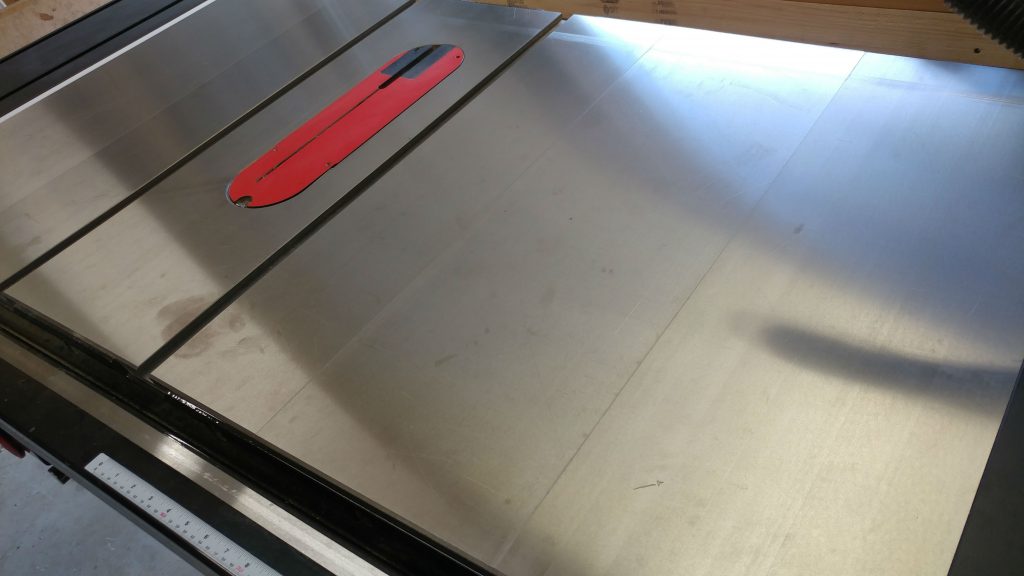
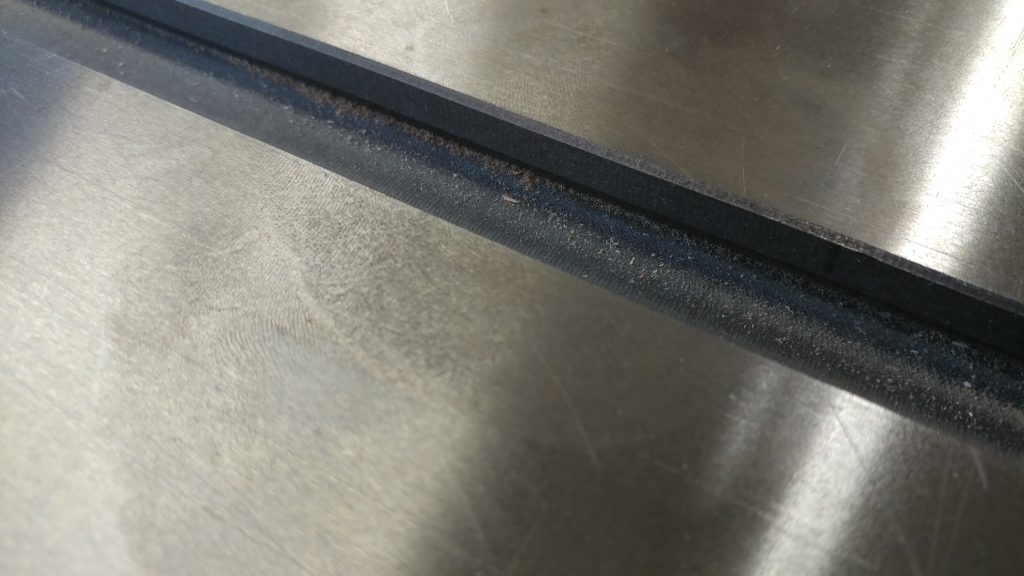
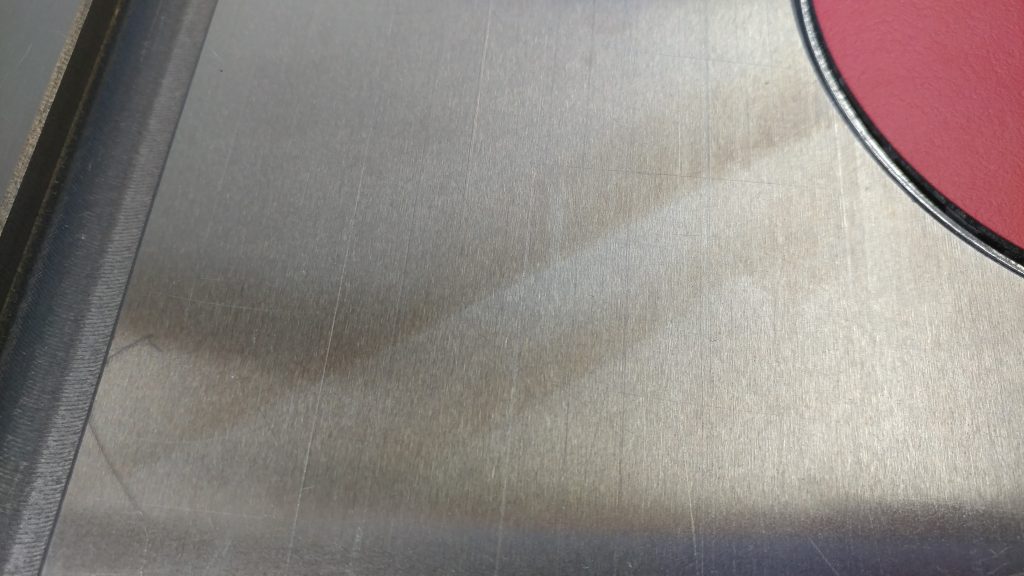
Table Saw Rust

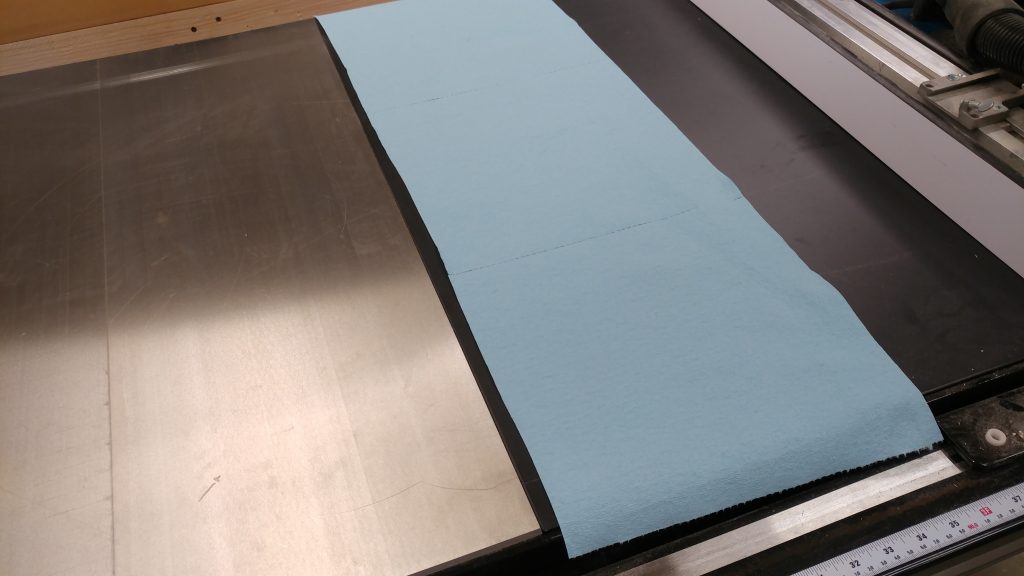
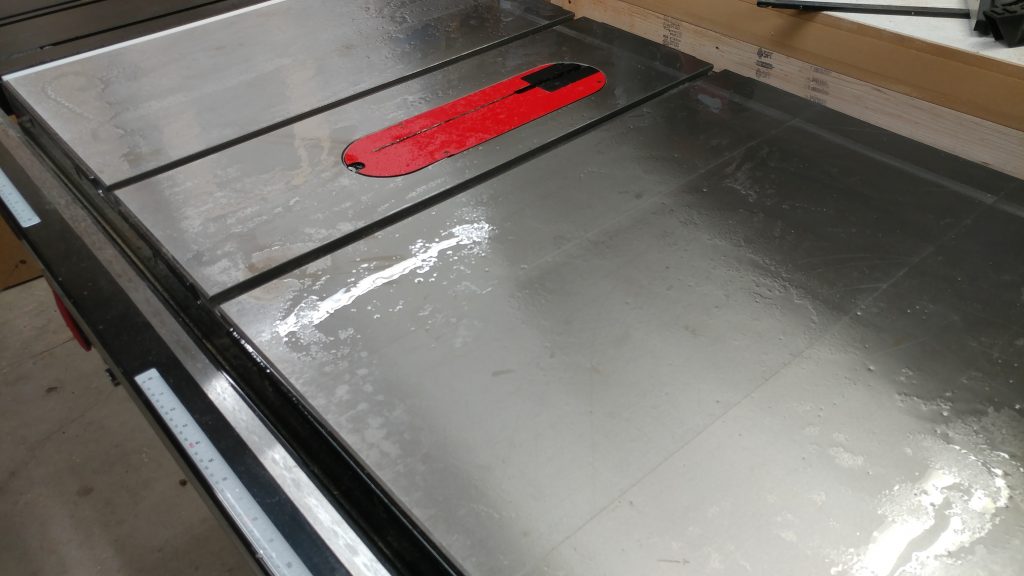
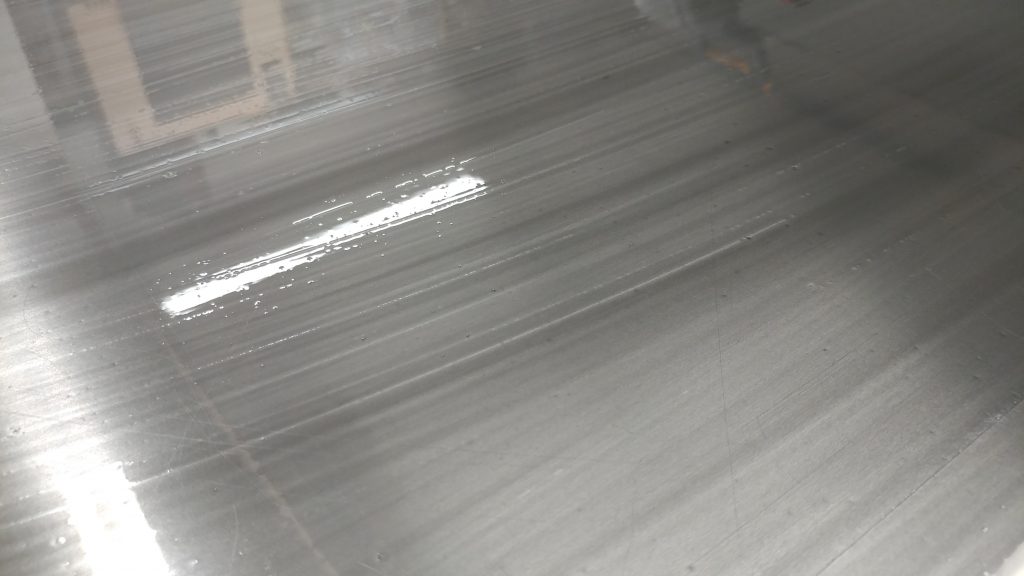
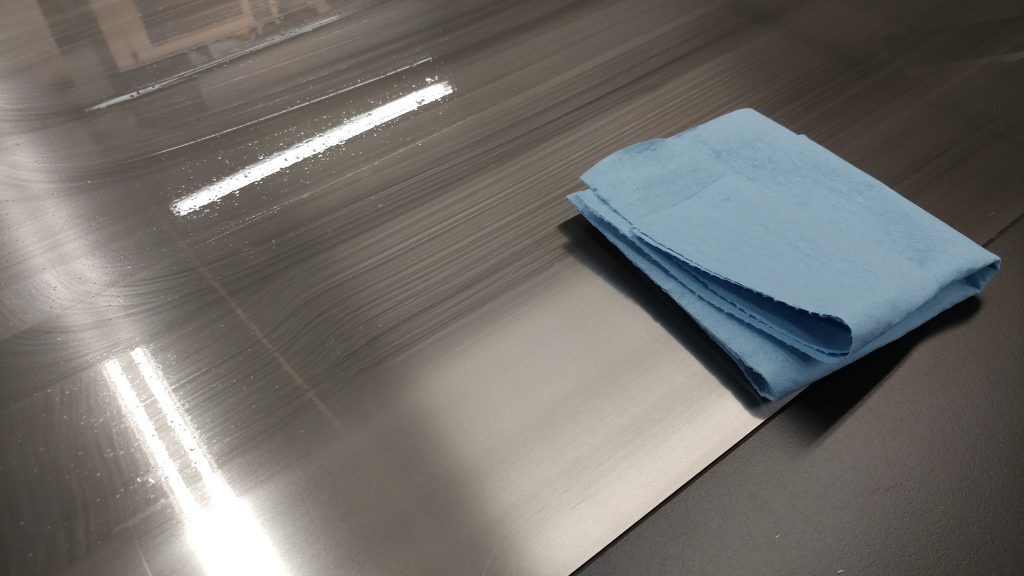
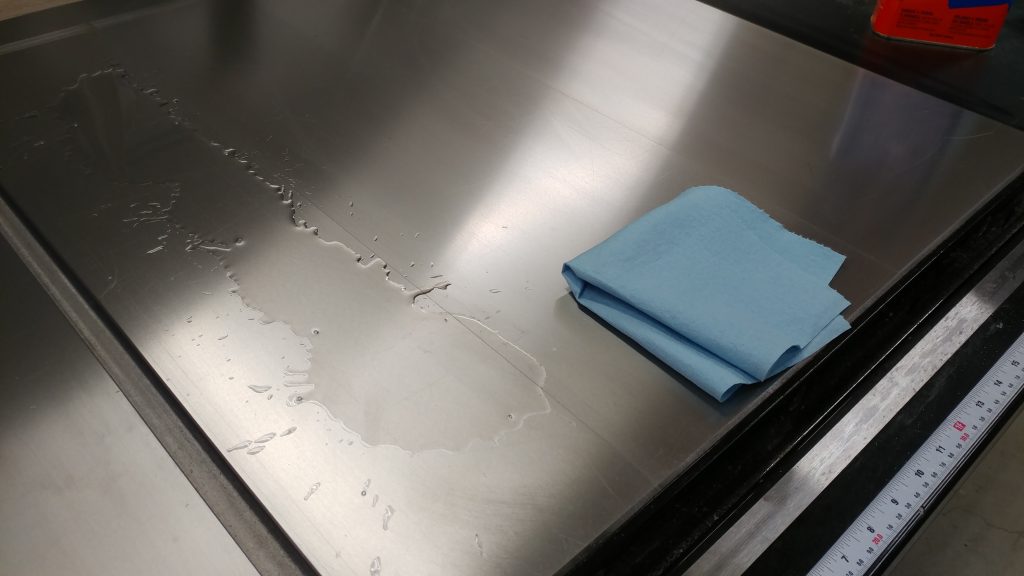
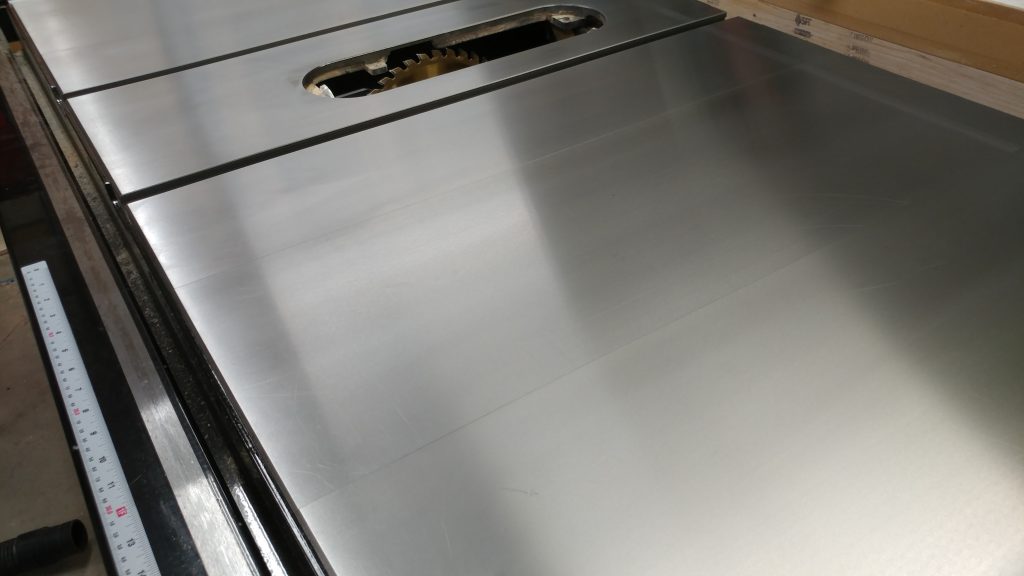
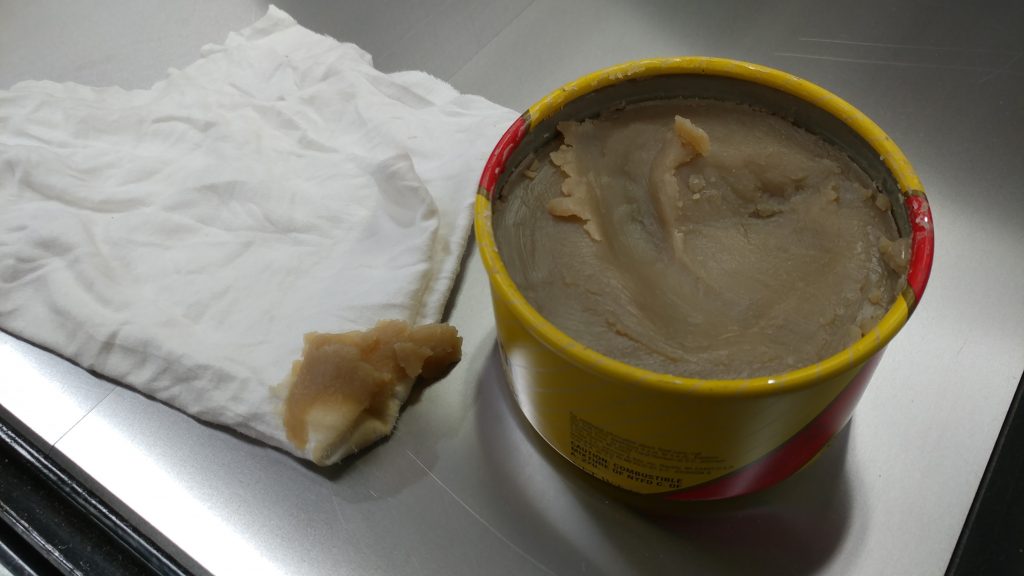
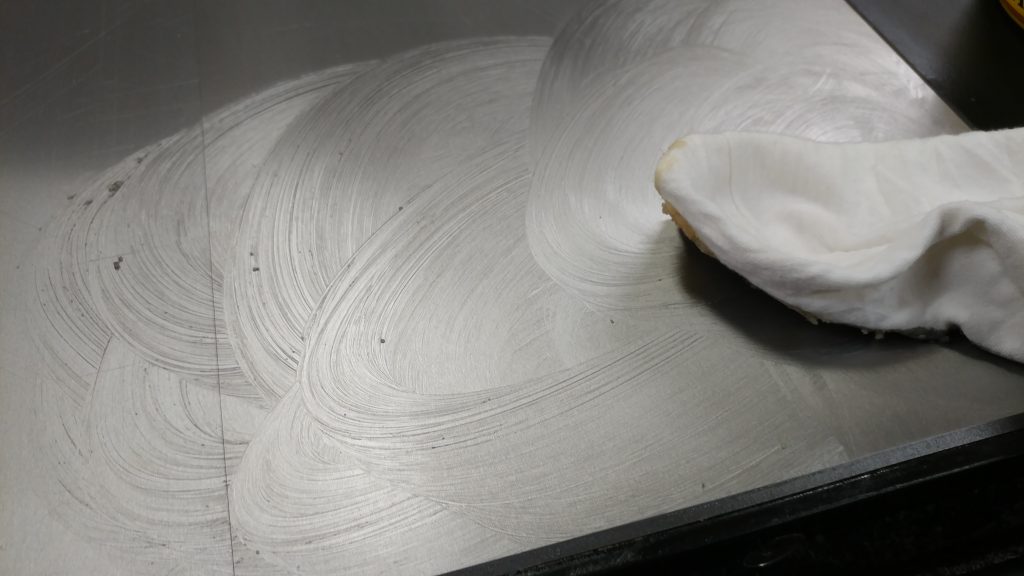
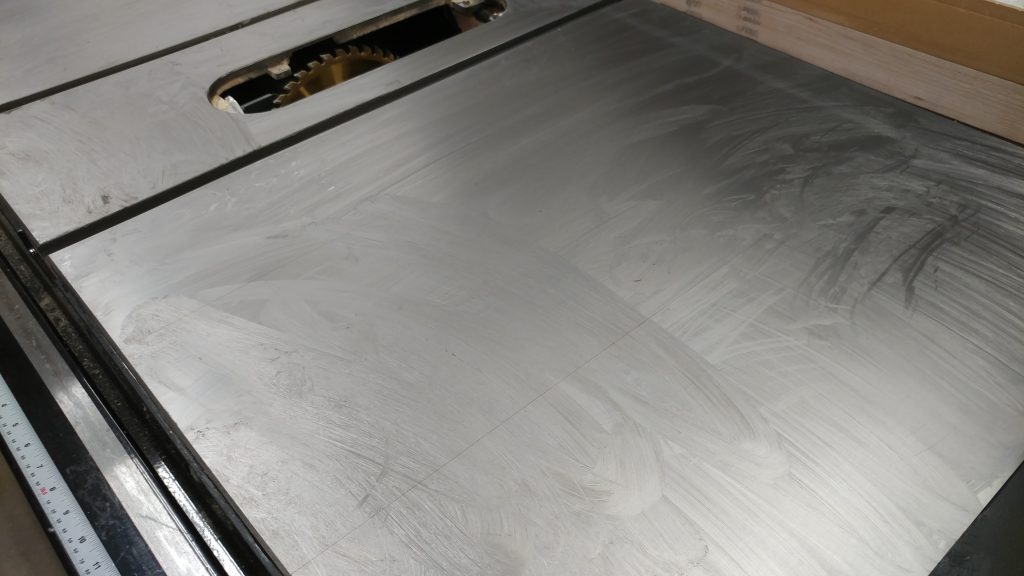
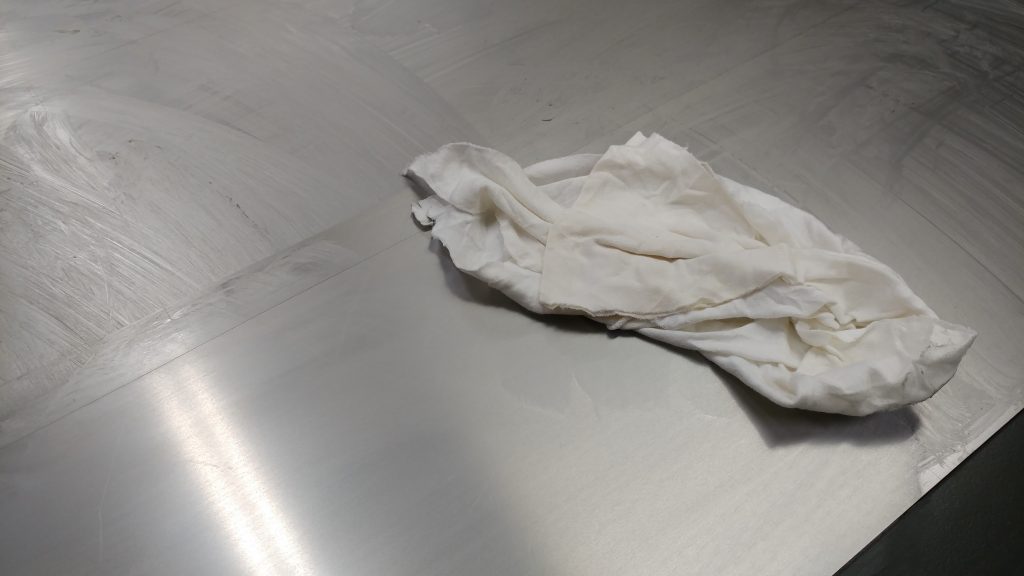
I had to do a hasty glue-up and I didn’t have space on my assembly/outfeed table for it to dry.  Like a fool, I set it up on my table saw to dry, but I forgot to deal with the glue squeeze-out.  Then, family required me to focus on other things for a few days.  When I came back to it, the glue had dried on the cast-iron.

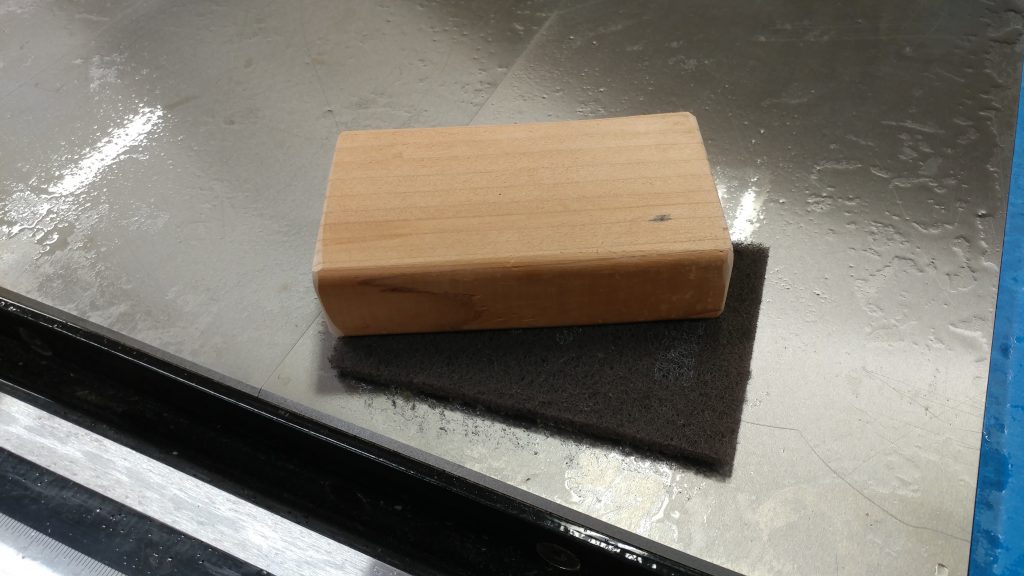
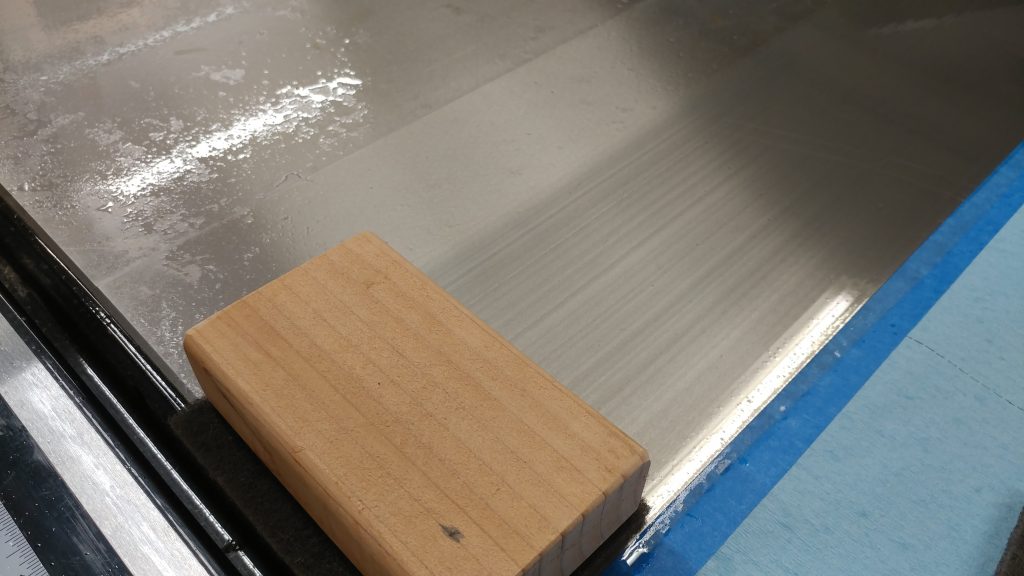
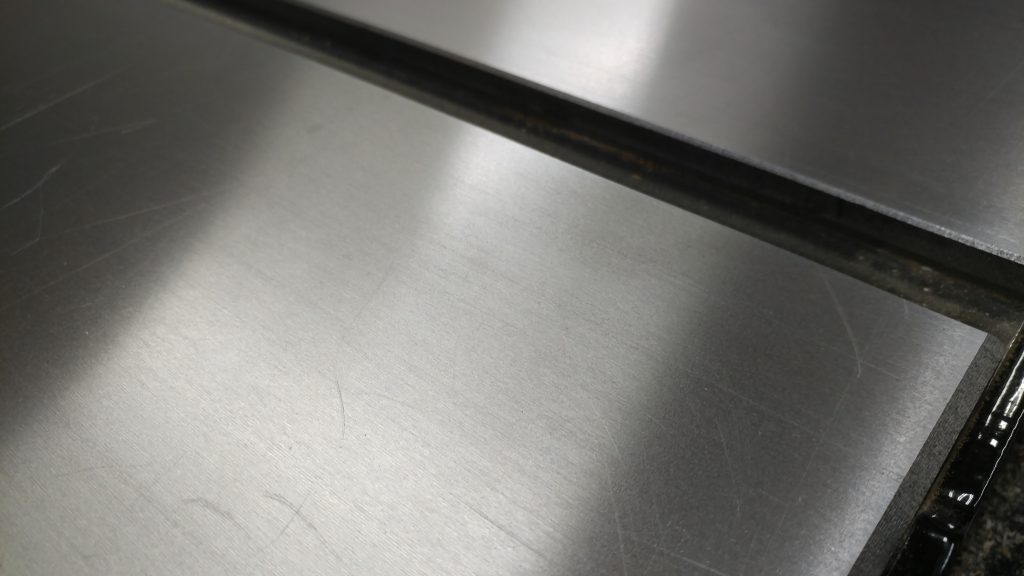
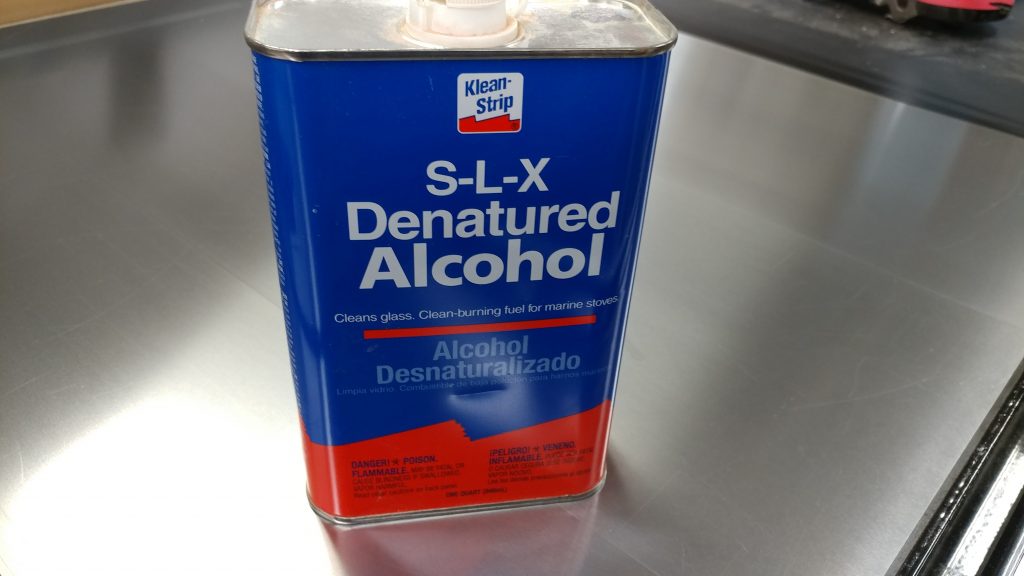
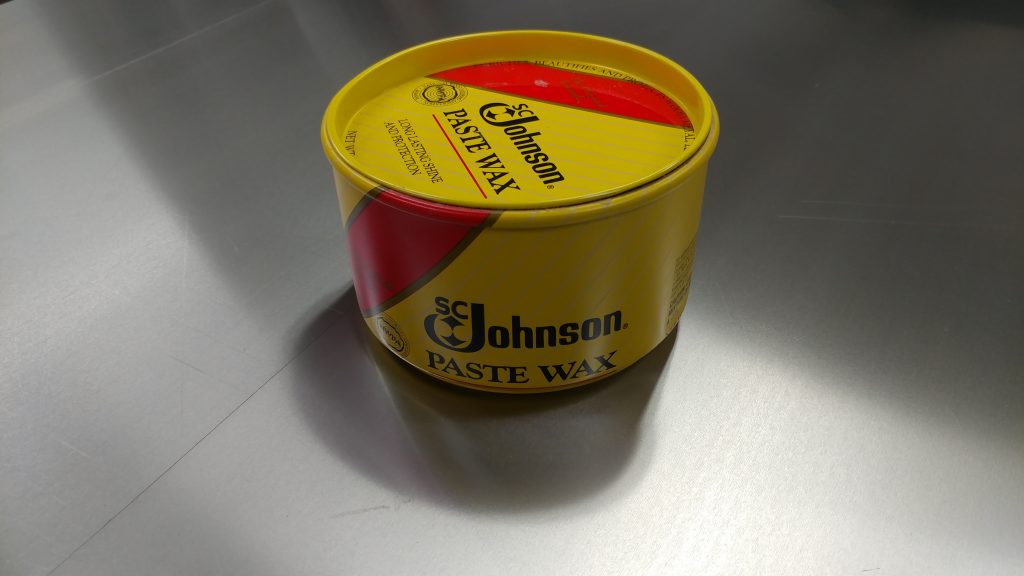
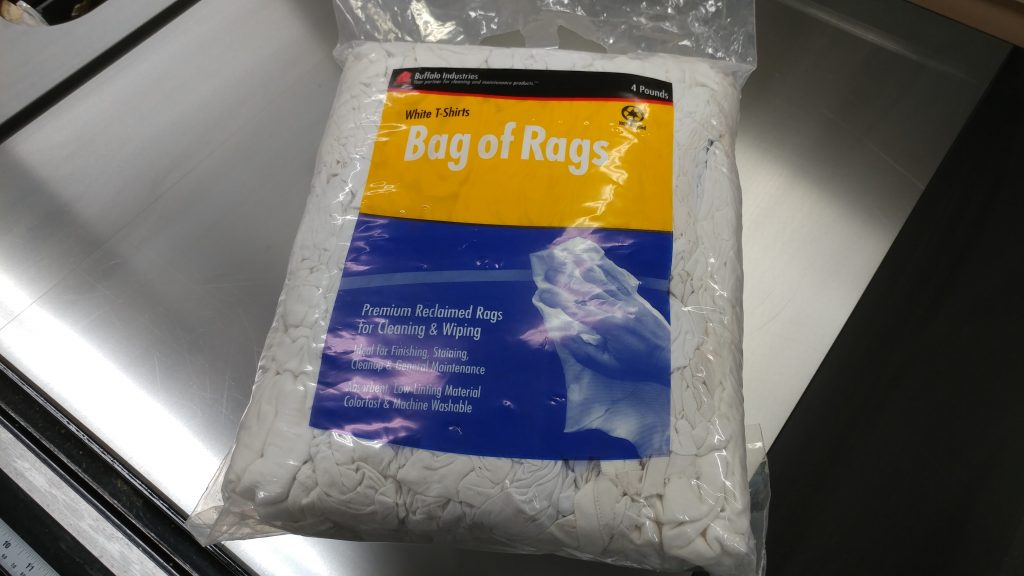
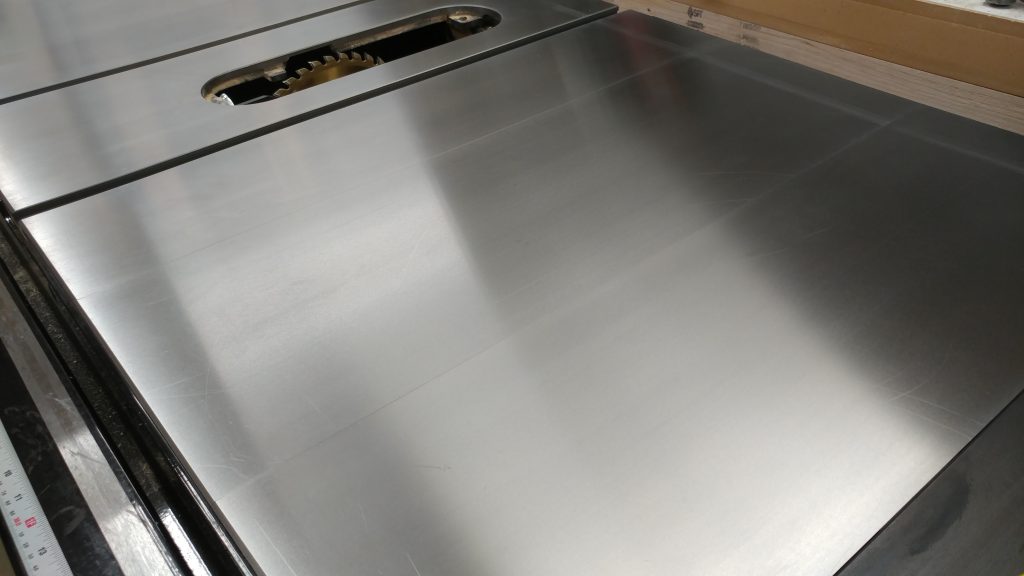
This gave me a good opportunity to apply the technique in one of my other articles on removing rust and protecting a cast iron table top.  I’m happy to say that the rust has been removed.

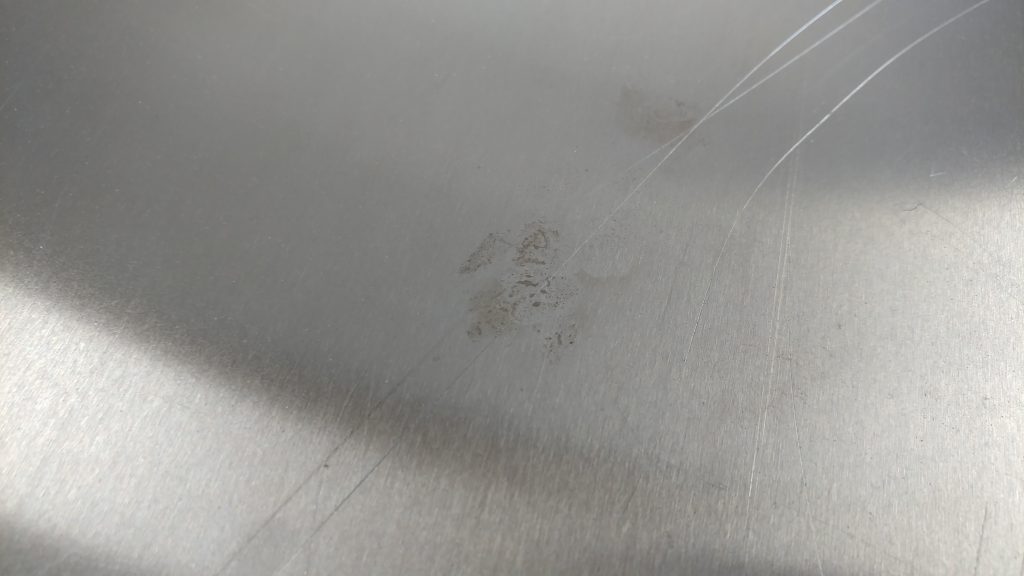
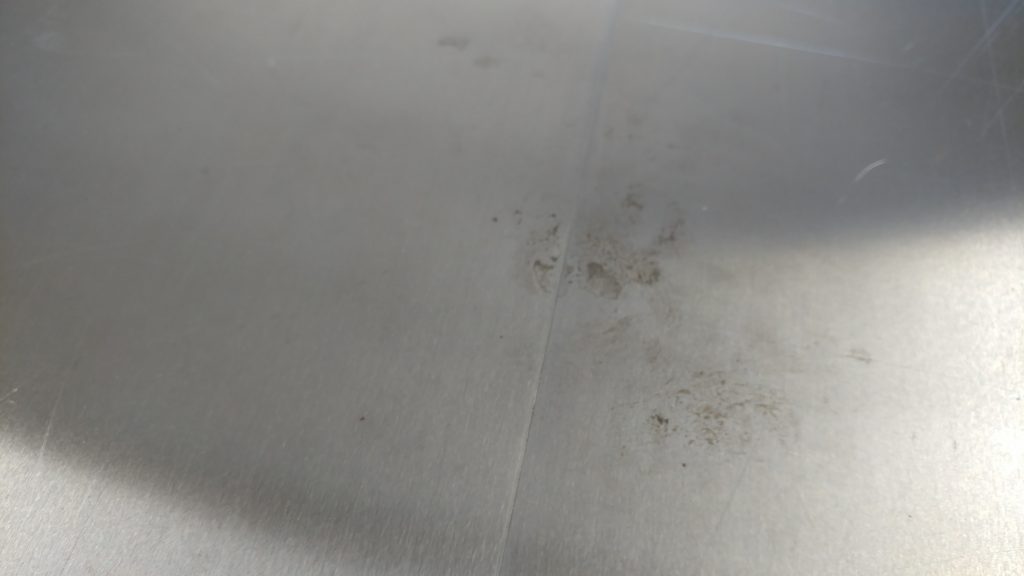
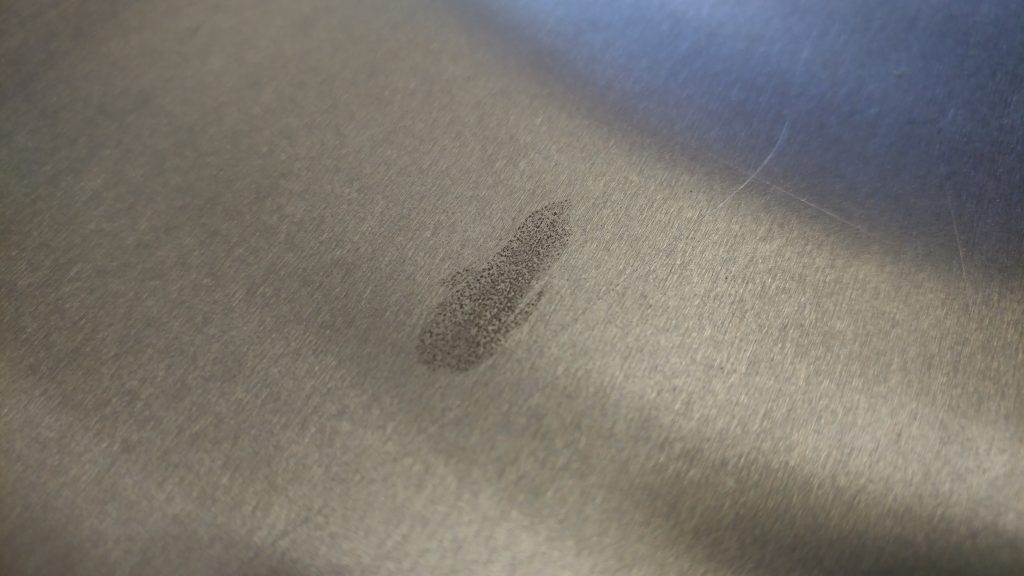
Playing around with Macro-Photography

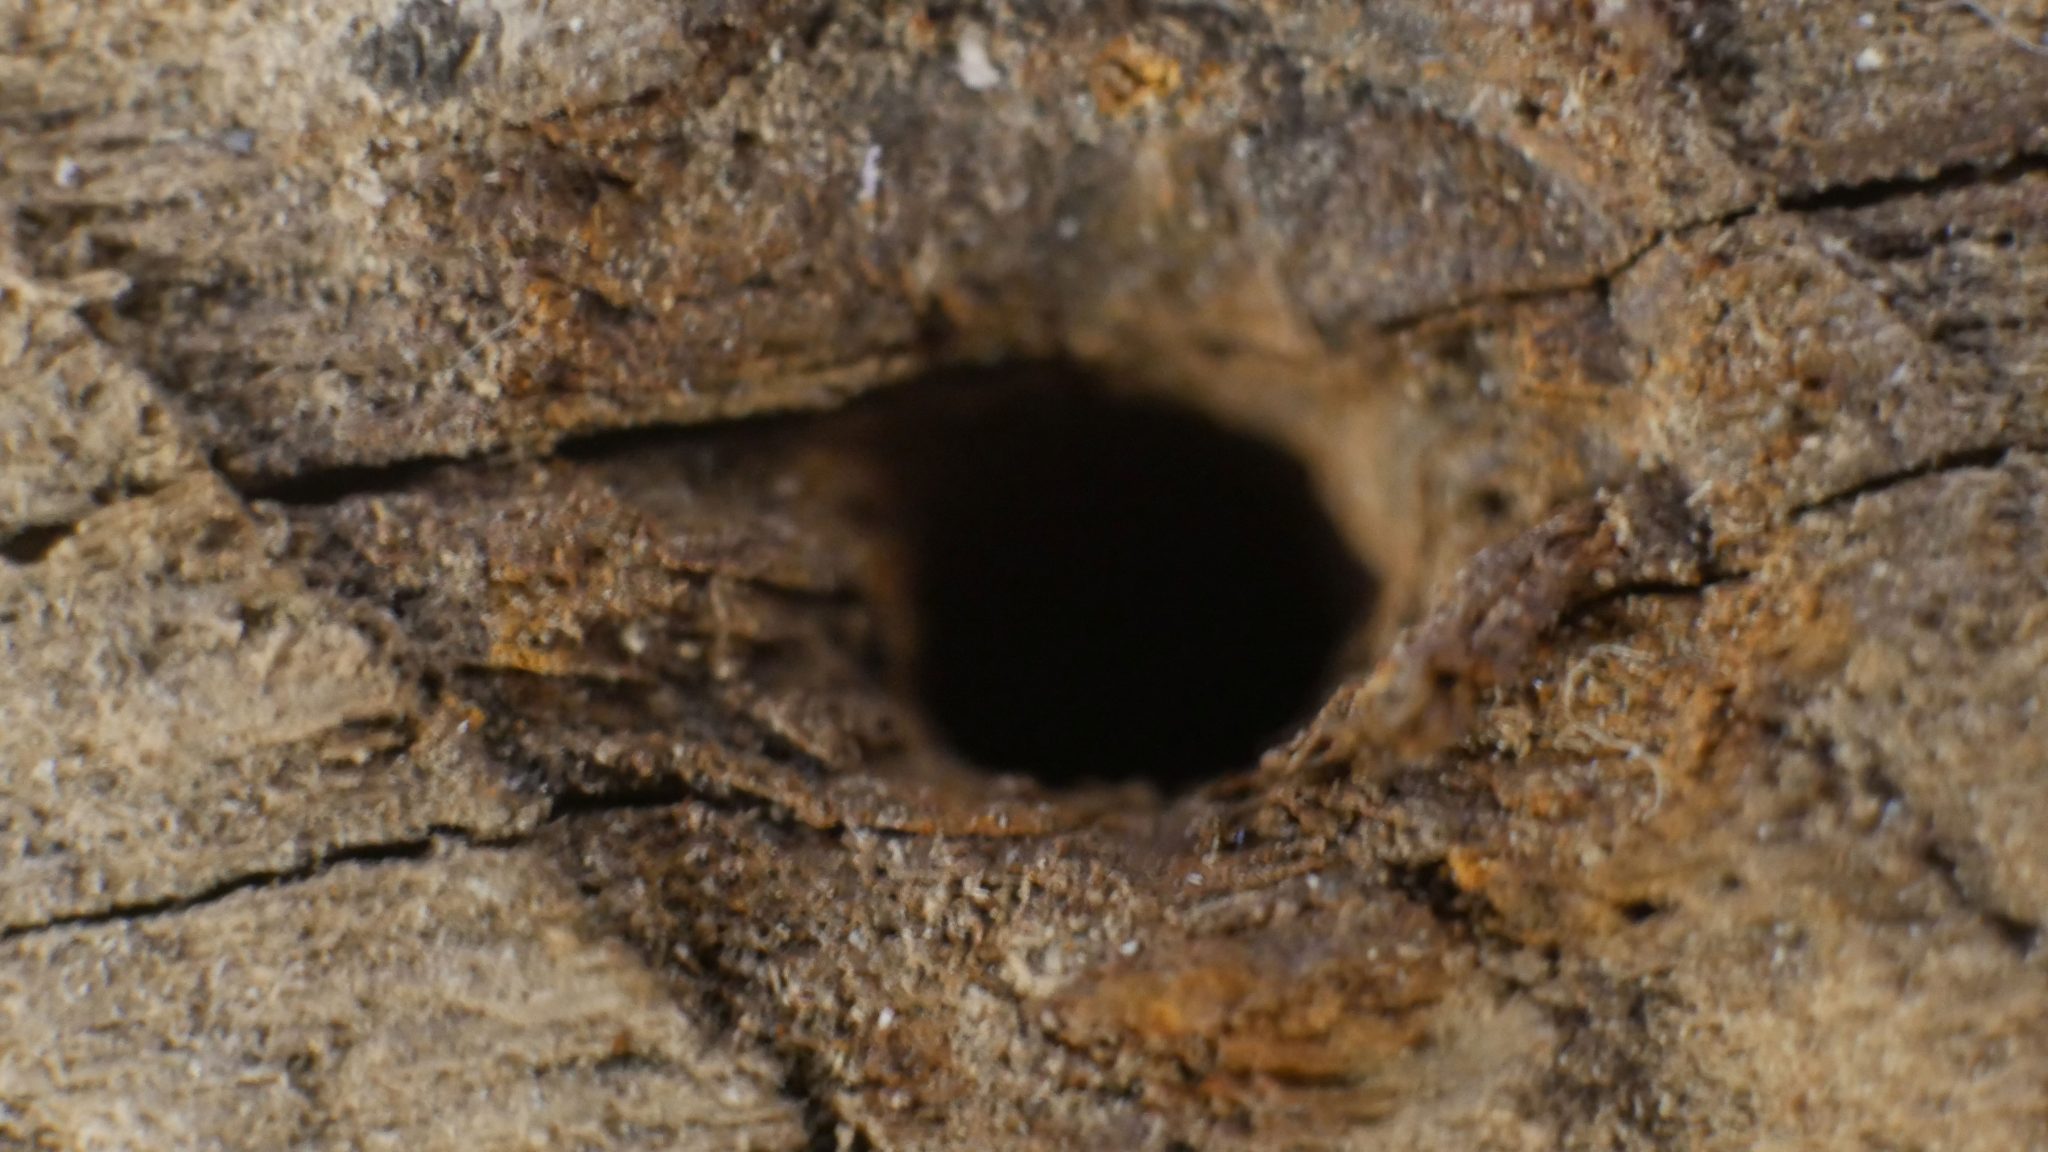
I recently started playing around with macro-photography but not with any degree of seriousness/  I’m just having fun.  Above is a piece of oak endgrain.  Below is a nailhole in a piece of recycled barnwood.  Both shots are blurry because I clearly have no idea what I’m doing.

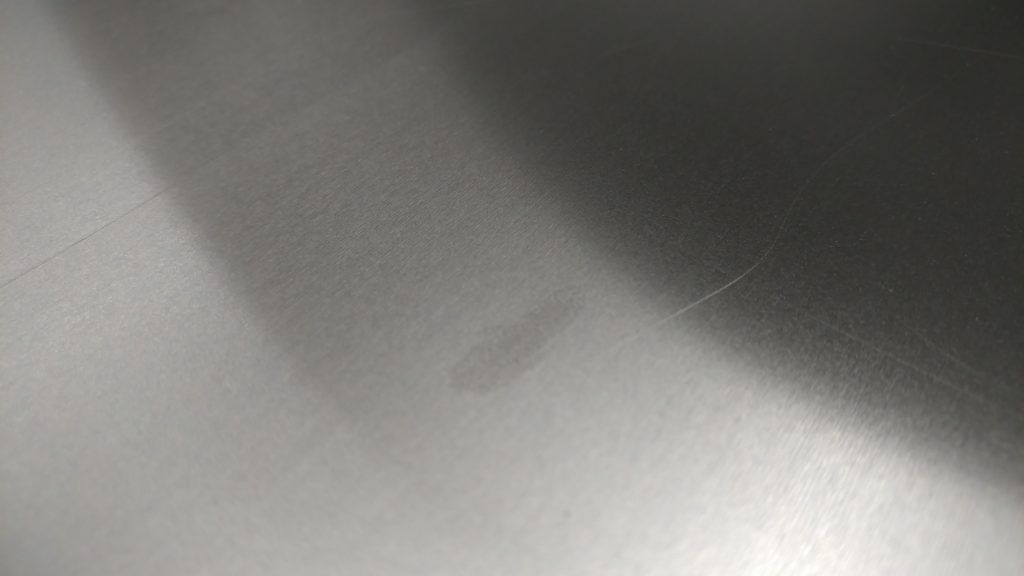
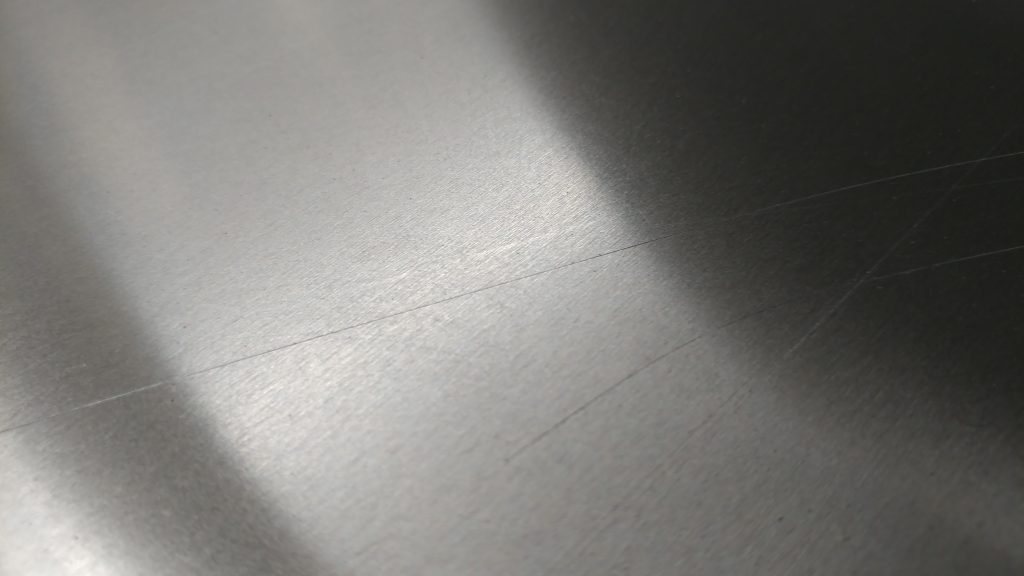
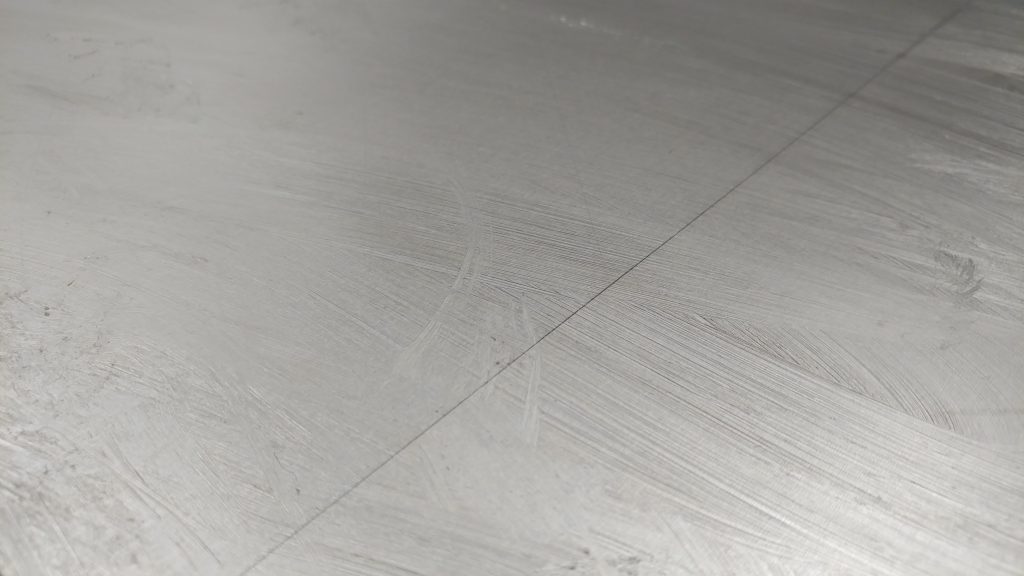
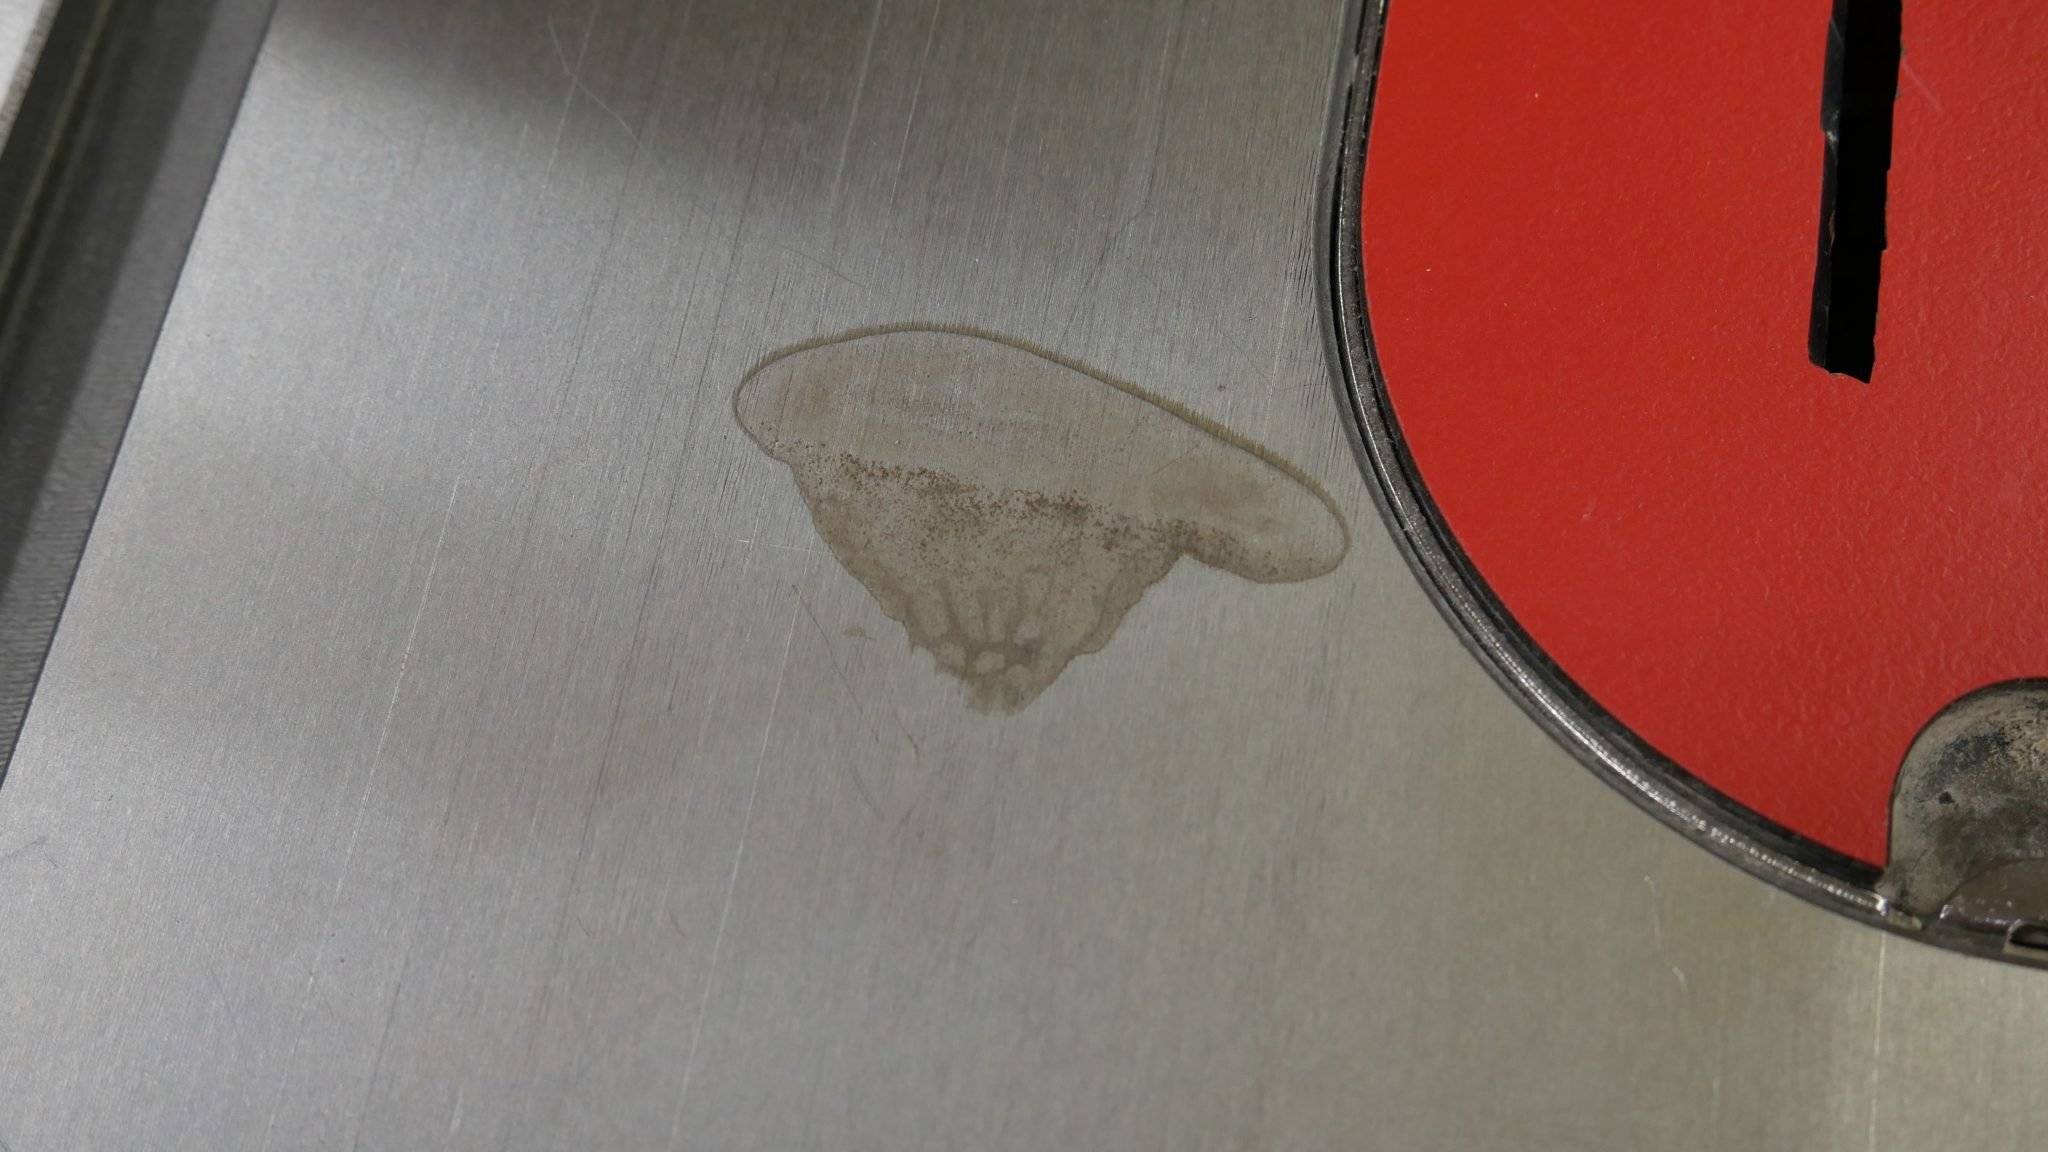
The featured image at the top of this article is a close-up of one of the rust spots I removed from my table saw.  It’s interesting how the focus works with macro photography.  I’ve got a lot to learn but so far it’s been fun.

General Shop Updates

My shop is a mess.  Don’t judge; yours probably is too.

I’ve been working on trying to add more storage and organization to my shop, all while adding more metalworking tools, so I’m fighting myself every step of the way.  As soon as I clear up some space, I fill it with something new.

I gave in and started replacing my shop-built storage solutions with commercially available storage options.  I prefer to use hand made solutions when available since I can customize them but I really hate making drawers which led to me having tools set up on carcases that just end up with crap stuffed in them.

It’s no secret that I’m a big fan of Harbor Freight.  Sure, they make and sell a lot of crap but they also sell some really great products.  One of the things I like is their US General tool storage solutions.  I’m adding a few of the carts shown at left.

I pick these carts up when they are on sale for $100.  I can’t build drawers for that price so this is a great deal and it allows me to focus my time on actually making stuff.

Writing Assignment

I am working with Fox Chapel Publishing to edit and co-write the updated version of one of their table saw books.  The publication was pushed back a season so I don’t have any official info to share but I have submitted the final draft and we’re just waiting on photos at this point.  I’ll post more info when it is available.

I have also started working on a new book that will focus on experimental musical instrument construction.  It’s still in the early planning phases but I’ll be posting updates as I progress.

Clamp Storage

All of my clamps are just thrown in a box.  It’s embarrassing but I’ve been planning on making some adequate clamp storage for some time and I keep putting it off thinking that I’ll have a better idea for it later.  I decided to just go with my latest idea and if I decide to change it later, I will.

I’ll be writing an article on this sometime in the near future.

Tool Maintenance – Protecting A Cast Iron Tabletop

Materials Needed

  1. WD-40
  2. Grey Scotch-Brite Pads (7448)
  3. Some sort of treatment such as…

Optional

  1. 0000 Steel Wool (instead of the Scotch-Brite pads)
  2. Denatured Alcohol
  3. Bag Of Rags
  4. Blue Painters Tape
  5. Blue Shop Towels
  6. Hand Pad Holder or Sanding Block

Setting Up

Cast iron gets rusty.  Period.  You can take steps to help prevent it but you’ll still have to deal with it eventually.

In my case, I have a SawStop Industrial Cabinet Saw with an additional 10″ cast iron wing that has some rust forming on it.  It’s not too bad but I should definitely do something about it.  You can see a big greasy hand print right on my right miter slot.  (How that happened is a long story but rest assured, our lights work now.)

A close-up of the hand print shows that it isn’t pitting yet so it should mostly come off.

The paw prints are a bit more severe.  I don’t see any pitting but I won’t know for sure until I scrub it away.

Here are a few more paw prints.

I don’t know exactly what caused these rust bands but I am assuming that this is from moisture being locked under boards that sat on the table top for a day or two.  This is why you shouldn’t leave wood sitting on cast iron overnight, especially during the summer.

Another mysterious rust spot.  It isn’t too bad so it should mostly come off.

Removing The Rust

Some people prefer to use 0000 steel wool to remove rust, and it will do a pretty good job.  Personally, I prefer to use Scotch-Brite 7448 pads.  These are the grey pads, not the green ones you use in your kitchen.  They are the same grit as 0000 Steel Wool but you can use a sanding block to apply even pressure over the entire pad.  This is a lot harder to do with steel wool.

The grey Scotch-Brite pads are pretty big so I prefer to cut them in half.  A box of these will last a long time and can be used on pretty much any tool with a cast-iron top.  I also use them for woodturning in place of steel wool.

I’m going to be applying WD-40 and it tends to splatter.  I’m not a big fan of getting that gunk off of my wooden extension table so I am going to tape it off to protect it.  I start by laying down some blue shop towels along the edge of the extension table.

I then use some blue painters tape to mark off the end of the extension table and secure the shop towels down.  This should help protect it during the next step.

Next, I apply a generous coating of WD-40 to the entire table top.  You want to let it sit for a while so it can penetrate the iron and start to break apart the rust and even some of the slight discoloration that cast iron can sometimes get.  I will typically let it sit for at least 15 minutes but in this case I let it sit for about an hour and a half.

After it has sat like this for a while, I take my grey Scotch-Brite pad and a hand pad holder, or in my case I just use a scrap block of 2 X 4 and start scrubbing.

You should scrub in a front-to-back-to-front motion.  Try not to focus on one little spot since that will lead to an inconsistent shiny spot.  Instead, use some elbow grease and cover the entire depth of the cast iron.

I like to scrub until I at least get a dark slurry started.  It will typically require more scrubbing if your table top is as rusty as mine was.

After tackling the entire table top, I do the bulk of the clean-up with blue shop towels.  The table top should look a lot better at this point.

If rust sits for a while it can permanently discolor the cast iron.  You can see this here.  The rust is gone but the iron is stained.  Personally, I’m cool with this.  It doesn’t affect the usability of the saw.

The hand print is mostly gone.  I can still see a slight shadow but you have to know it’s there in order to see it.

Surprisingly, the paw prints are completely gone.  I thought these were going to be there forever.

Technically, you can stop here.  I find that no matter how much I scrub with shop towels I can never quite get all the WD-40 up.  This leaves a slightly greasy feeling to the table top which can transfer to the material you are cutting.  I find that the best way to clean this up is with denatured alcohol.

I start by pouring some denatured alcohol on the table top.  This picture may be cringe-worthy but worry not.  This won’t cause your table to get rusty at all.  Then, use a shop towel to wipe it all up.  This should get the rest of the WD-40 off the cast iron.

The cast iron is now completely exposed and needs to be protected.

Protecting The Surface

There are many ways to protect the surface of cast iron tools.  I’ve had good experiences with T-9 BoeShield or GlideCote, but I personally prefer using a furniture wax like Johnson Paste Wax, although MinWax and Renaissance Wax will work as well.  I like Johnson Paste Wax since it is softer, which means it applies easier and also buffs out a LOT easier than either MinWax or Renaissance.

You can use shop towels to apply the wax but you’ll have better luck with a cloth rag.  I try to always keep a Bag of Rags on hand.  These are just scraps of white tee shirts so if you have any shirts you’re just going to throw out you can use them for this instead.

Use the rag to scoop up a generous amount of the paste wax.

Apply the paste wax to the cast iron.  You don’t need to apply it in any particular fashion, just be sure to get it all over.

After you have the table top coated, let it sit for a while.  I usually let it sit for about 15 minutes.

You’ll know it’s ready to buff out when the paste wax gets a cloudy look to it.

Use a fresh rag to wipe the wax off and buff it out.  This can take some experimentation but the way I handle it is to use one rag to wipe the bulk of the wax off but I don’t worry about it looking good yet.  You’ll still have some streaks and maybe a few missed blobs of wax.  After that, I take another fresh rag and wipe it down to buff it out.  You’ll notice that when you first start buffing it, the table will be slightly “grabby” with the rag.  Just keep buffing.  You don’t really need to apply much pressure or buff in any particular direction, just go back-and-forth for a while to build up some friction.  You’ll find that eventually the table will get very slippery.  That means you’re done and ready to move on to the next section.

After you finish, I recommend that you apply at least two more coats of wax.

That’s it.  You’re done.  You now have a nice slippery cast iron table top that won’t rust up as quickly (if at all).  I like to repeat this process as needed, which may be every six months or every six years.  It all depends on how you use your saw.

Also, it is a good idea to apply some paste wax to the exposed metal on the front tube where the fence rides back and forth.