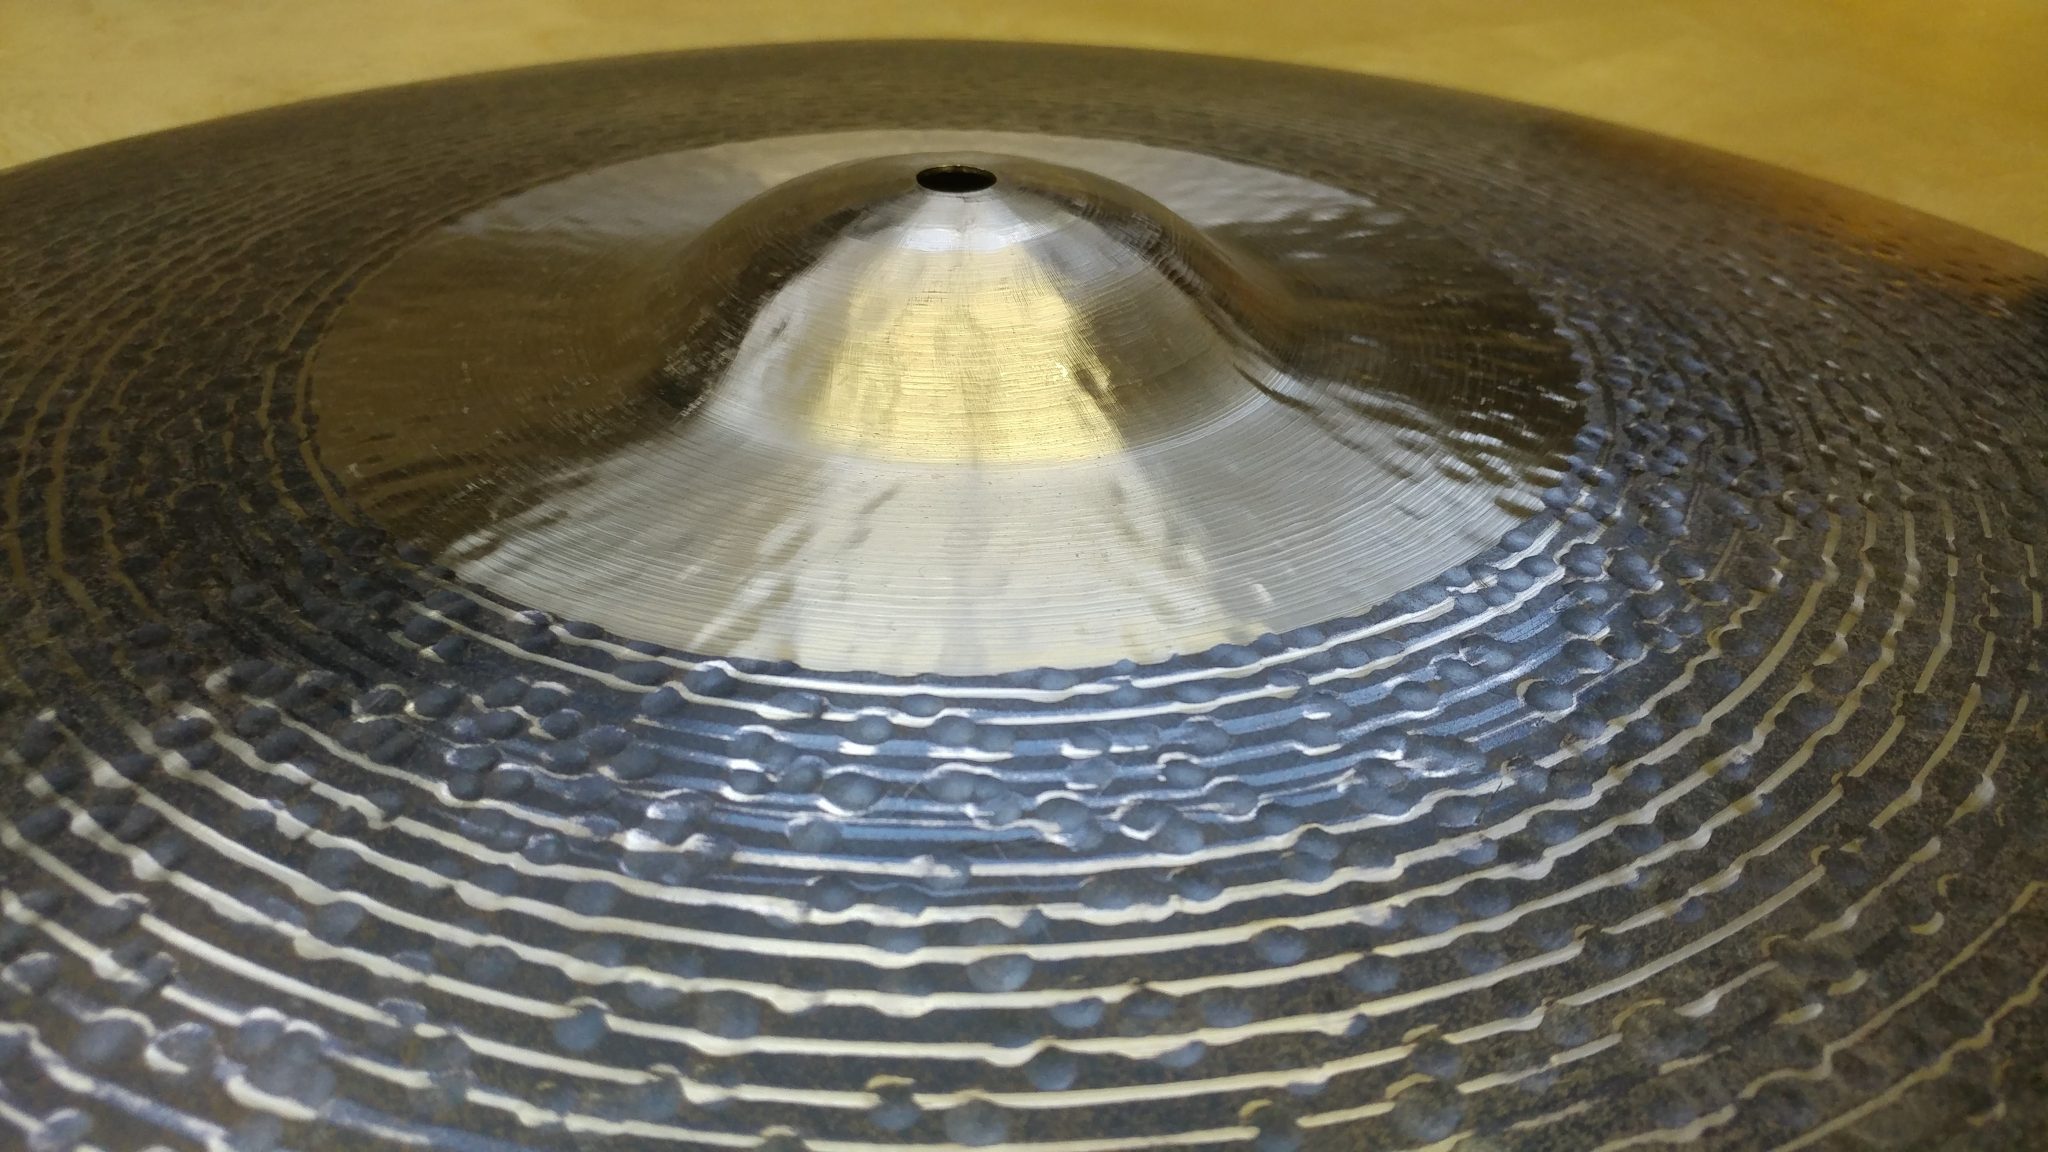
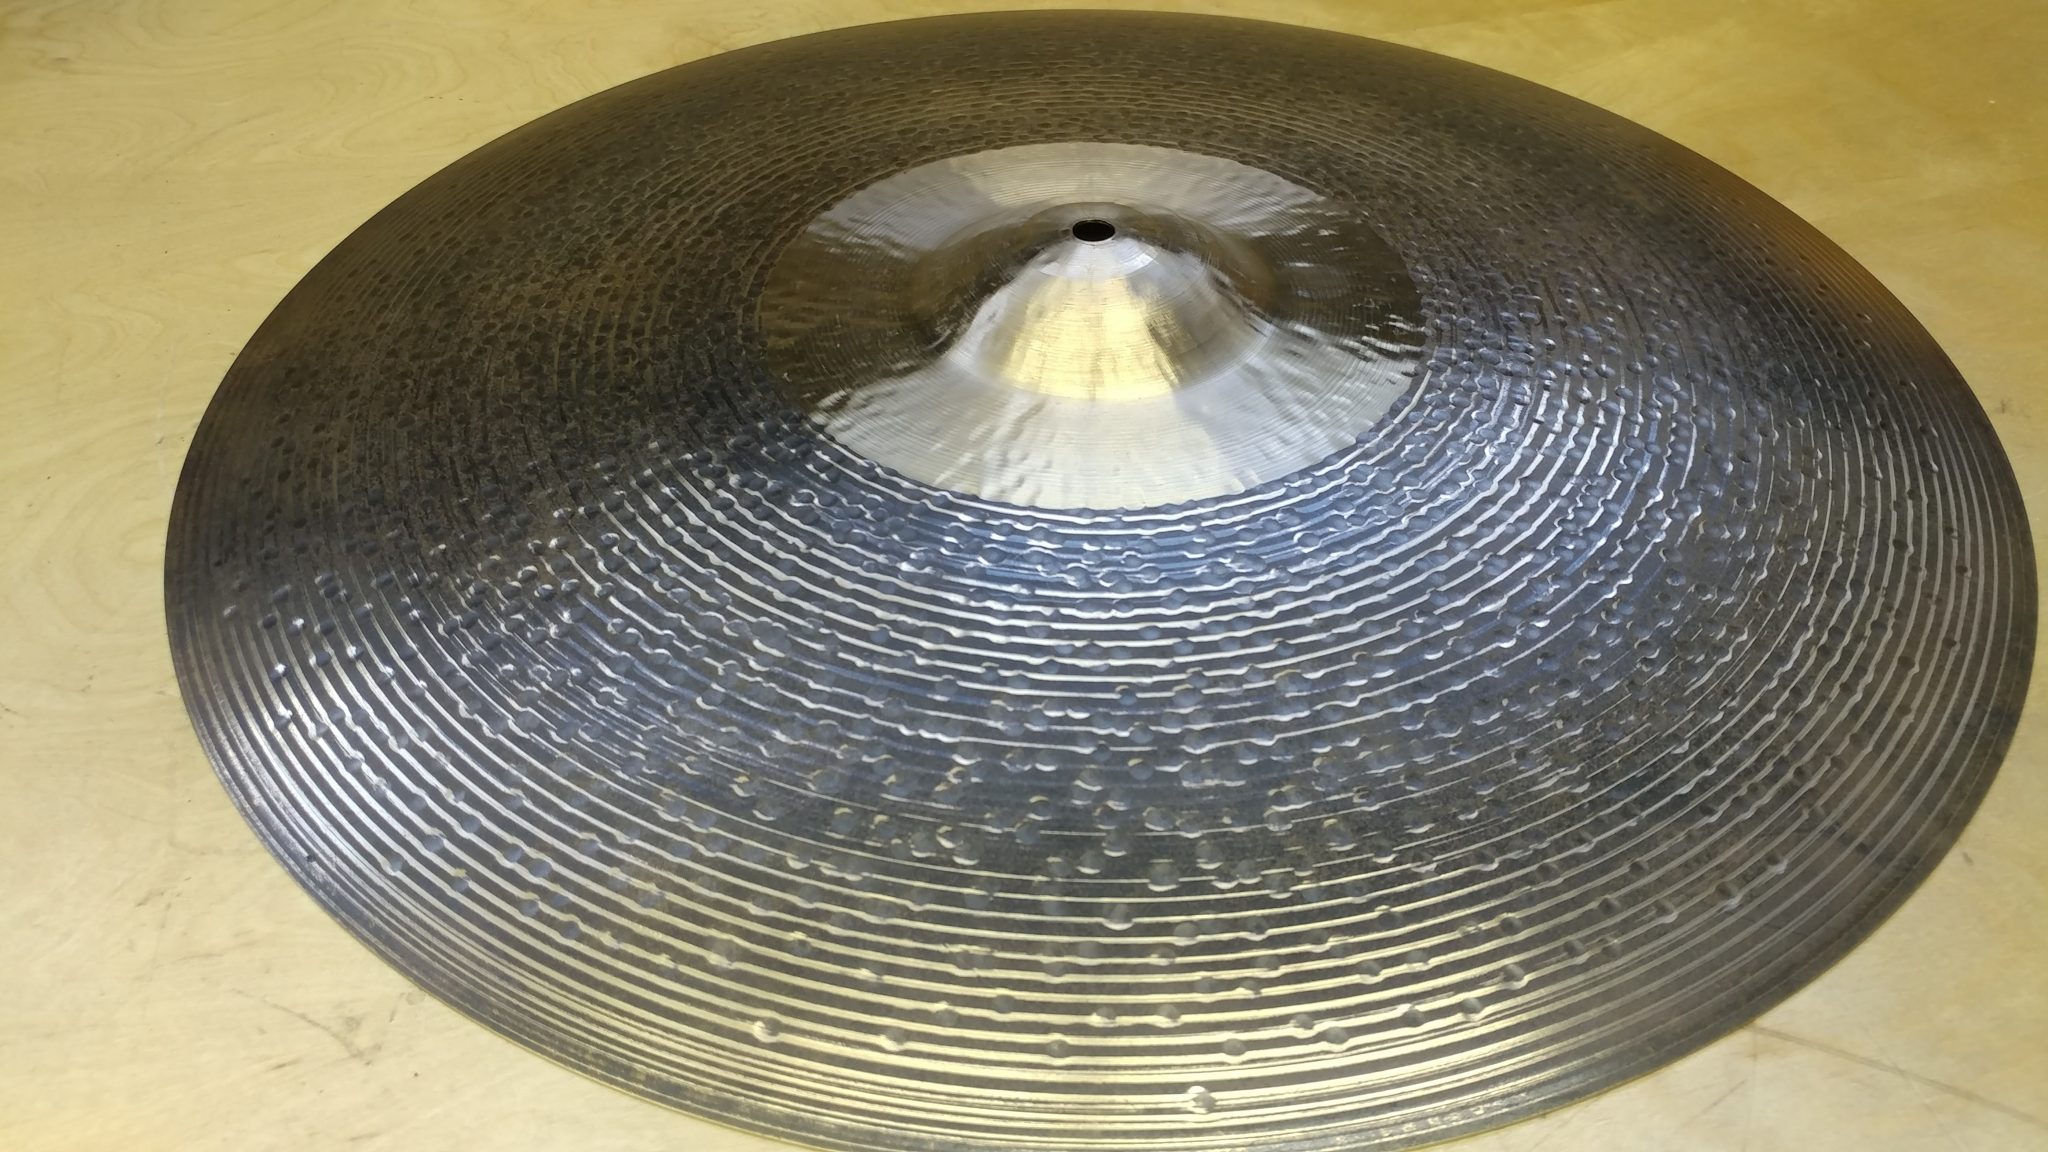
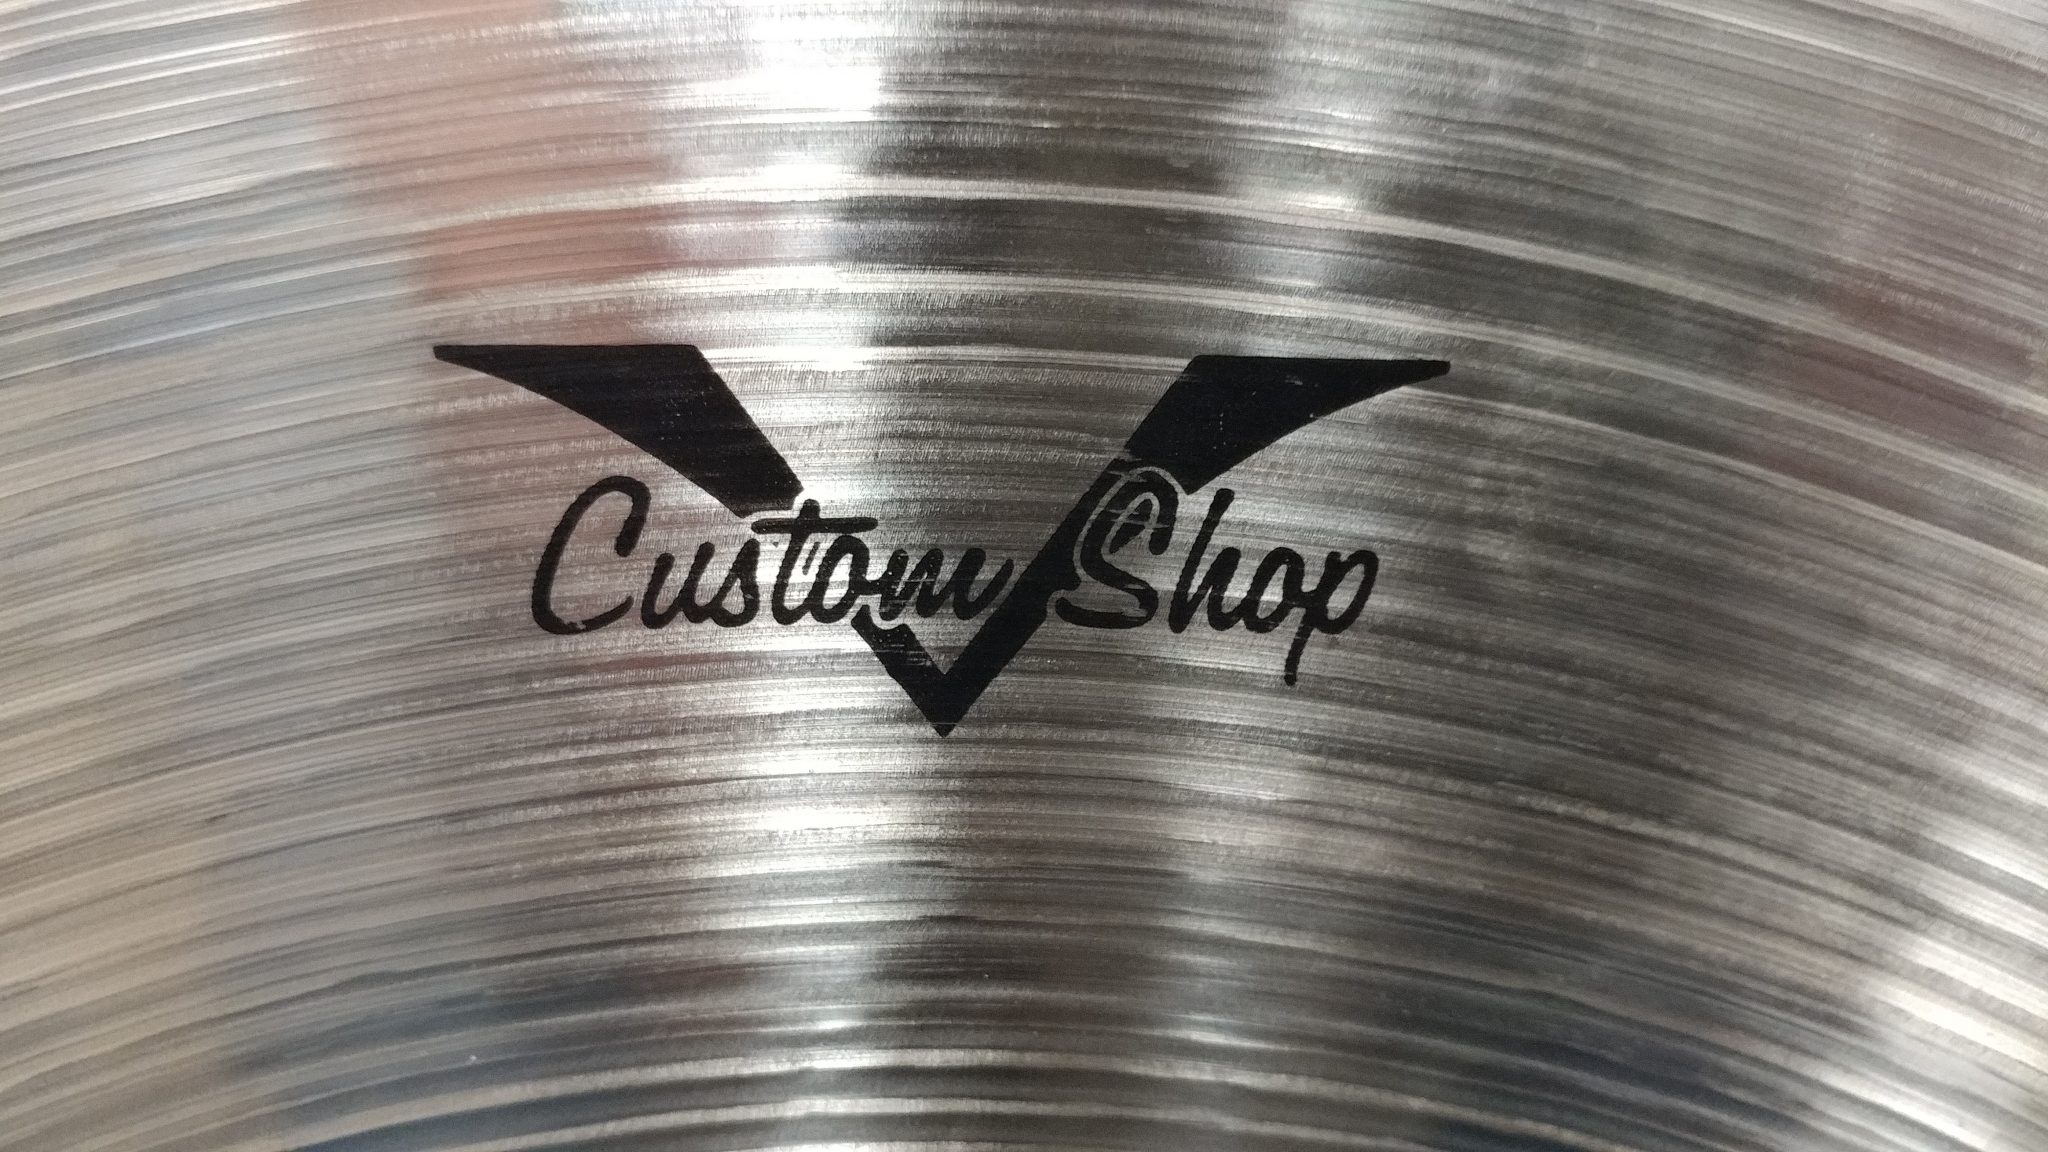
This weekend I added a new cymbal to my setup. It’s a Sabian Vault Custom Shop HH 22″ ride with a semi-lathed pattern on the top and a completely lathed underside.
I used it at our regular Sunday gig at McNallly’s Taproom (we play each Sunday from 3:00 – 5:00). The band plays Gypsy Jazz so it was a good venue to try out this cymbal. I added a Pro-Mark Sizzlerto it to see how it would work and it performed admirably. I typically use a 20″ Sabian Ed Thigpen Crystal Ride with the sizzlerbut this 22″ cymbal is my new favorite. Tapping it with my brushescaused it to sizzle for quite a while and it didn’t get the annoying vibrato sizzle towards the end that other, thicker cymbals get. It complimented the cut-down Wuhan cymbals well, although it made my LP Granite Blocks rather hard to reach.
The lathing and hand hammering make for a beautiful cymbal, but also of note is the pronounced bell. I haven’t had a chance to use this at higher volumes yet but some preliminary tests show that the cymbal crashes well, and even though I’m not one who crashes their ride cymbals, I ended up crashing on it several times and I loved the sound.
I’ll post some video of the cymbal soon. It’s got a nice satisfying wobble to it when you hit it and a nice, dry, smoky sound.
The recording for the upcoming album by Bright & Shiny is progressing well. I have been playing around with the video for a few songs and although it isn’t finished, I decided to share an early version of one of the videos.
I’m playing around with the title sequence and cutting back and forth between different camera angles. Although the drum performance is pretty much finalized, the rest of the song is not the finished version. Also, none of this has been mixed and mastered.
A few interesting things to note with this song is the use of some of my “Rescued Cymbals”. In addition to the small chime cymbals that I use in pretty much every song, I am also using two cut down Wuhan Lion (or China) cymbals which are positioned above my two main rack toms. I’m also using a 12″ Glennie’s Garbage positioned above my hi-hat. This is quickly becoming one of my favorite cymbals.
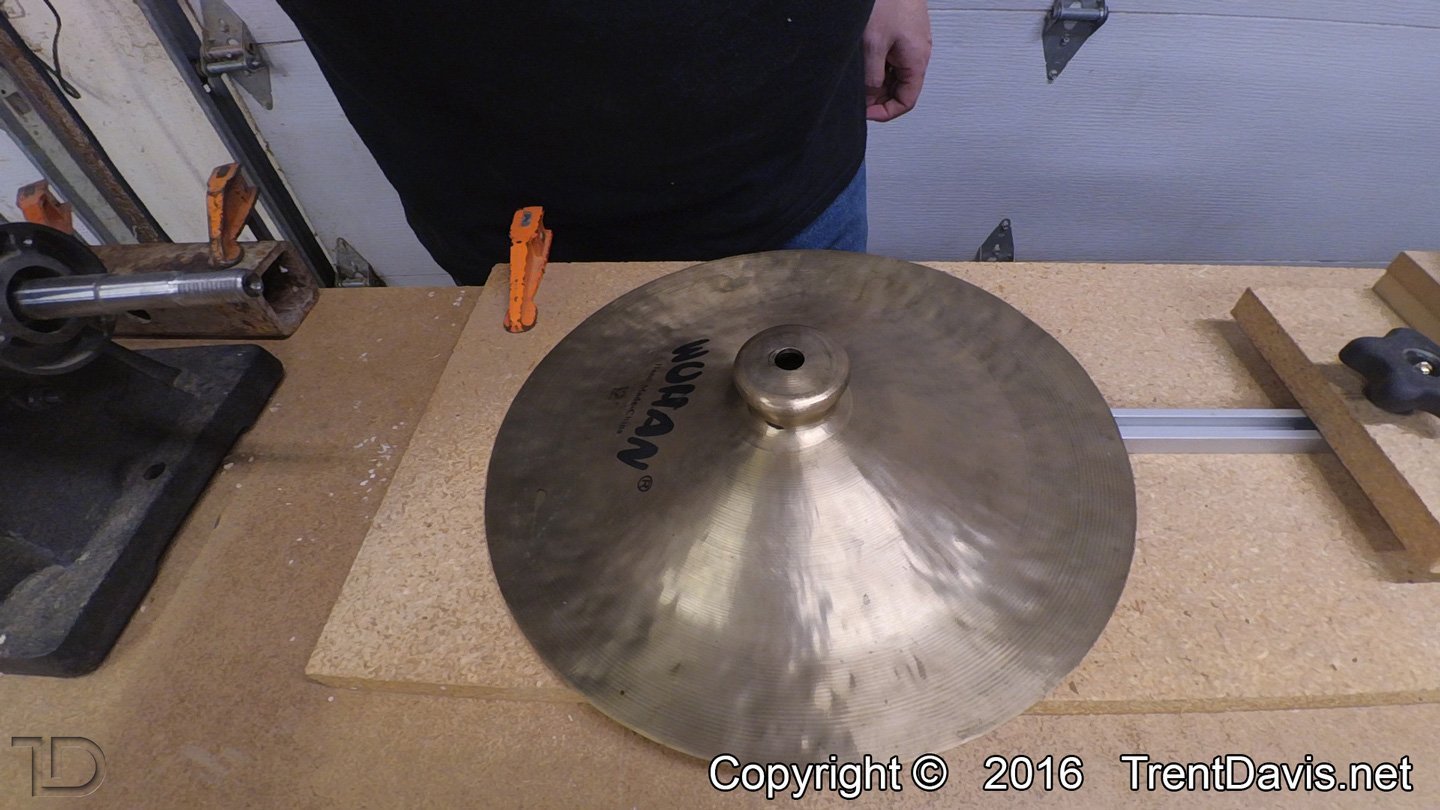
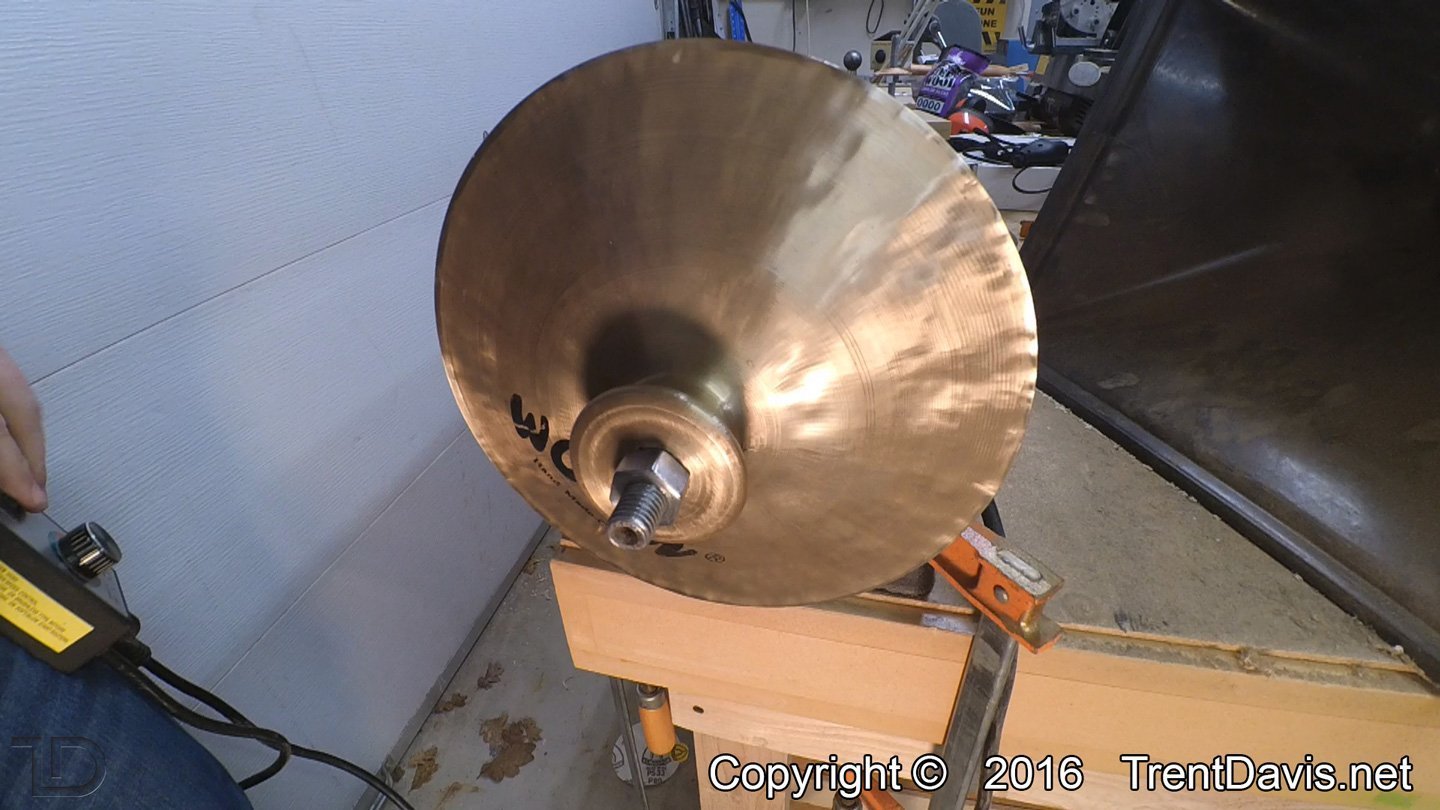
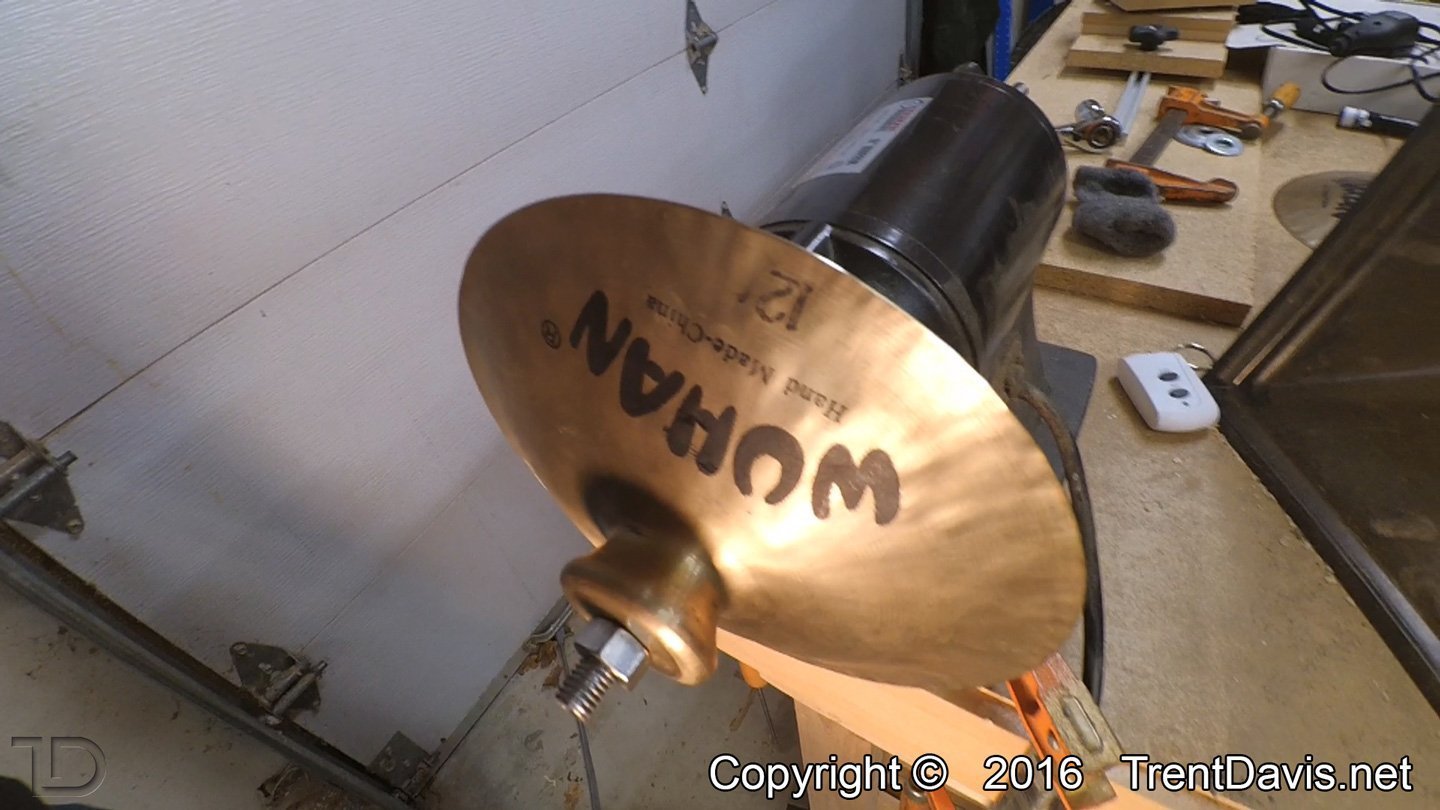
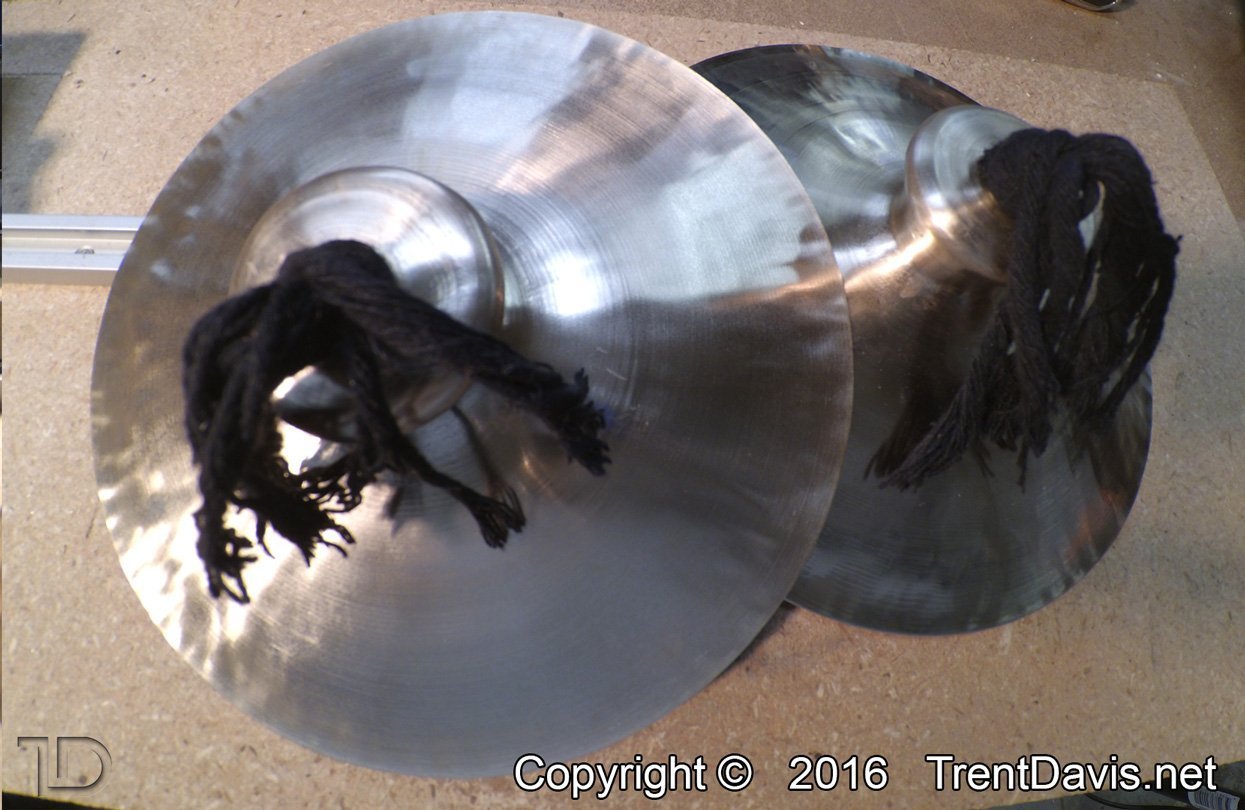
I was asked by a friend of mine to cut down her pair of 12″ Wuhan China (or “Lion” cymbals, as they call them) into a smaller set to use as hand cymbals.
Fig. 1 – One of the unaltered Wuhan “Lion” cymbals.
There was one slight problem. Years ago when I first got into repairing cymbals I took my own version of the Hippocratic oath where I swore to “do no harm” to a set of undamaged cymbals. I was a little conflicted but I figured that since these cymbals aren’t for me and that the owner really wanted this to be done, I was okay to do this procedure. Plus, she had been using these as a set of hand cymbals already and they sounded truly awful. Therefore, I was only making improvements. Much like adding rivets to a cymbal.
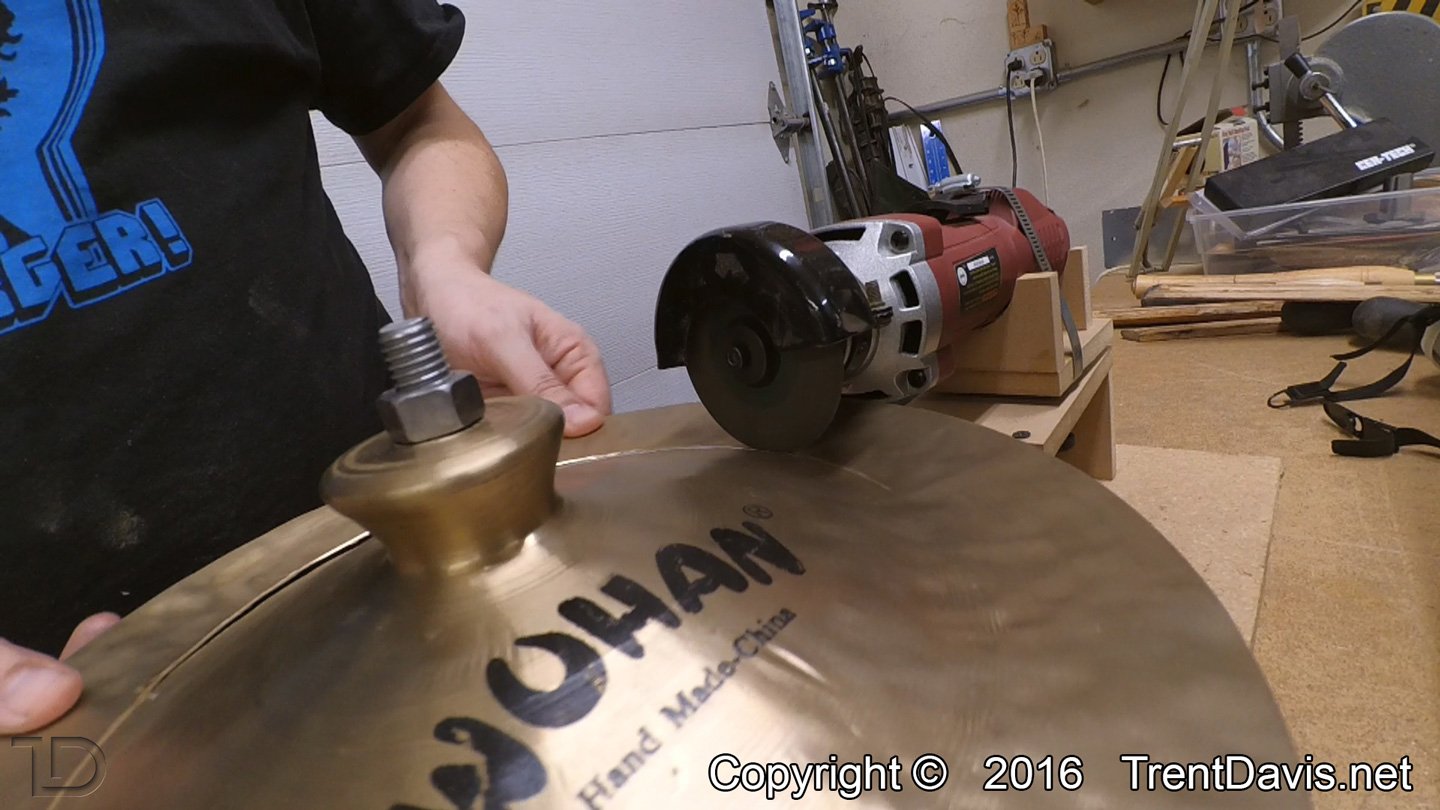
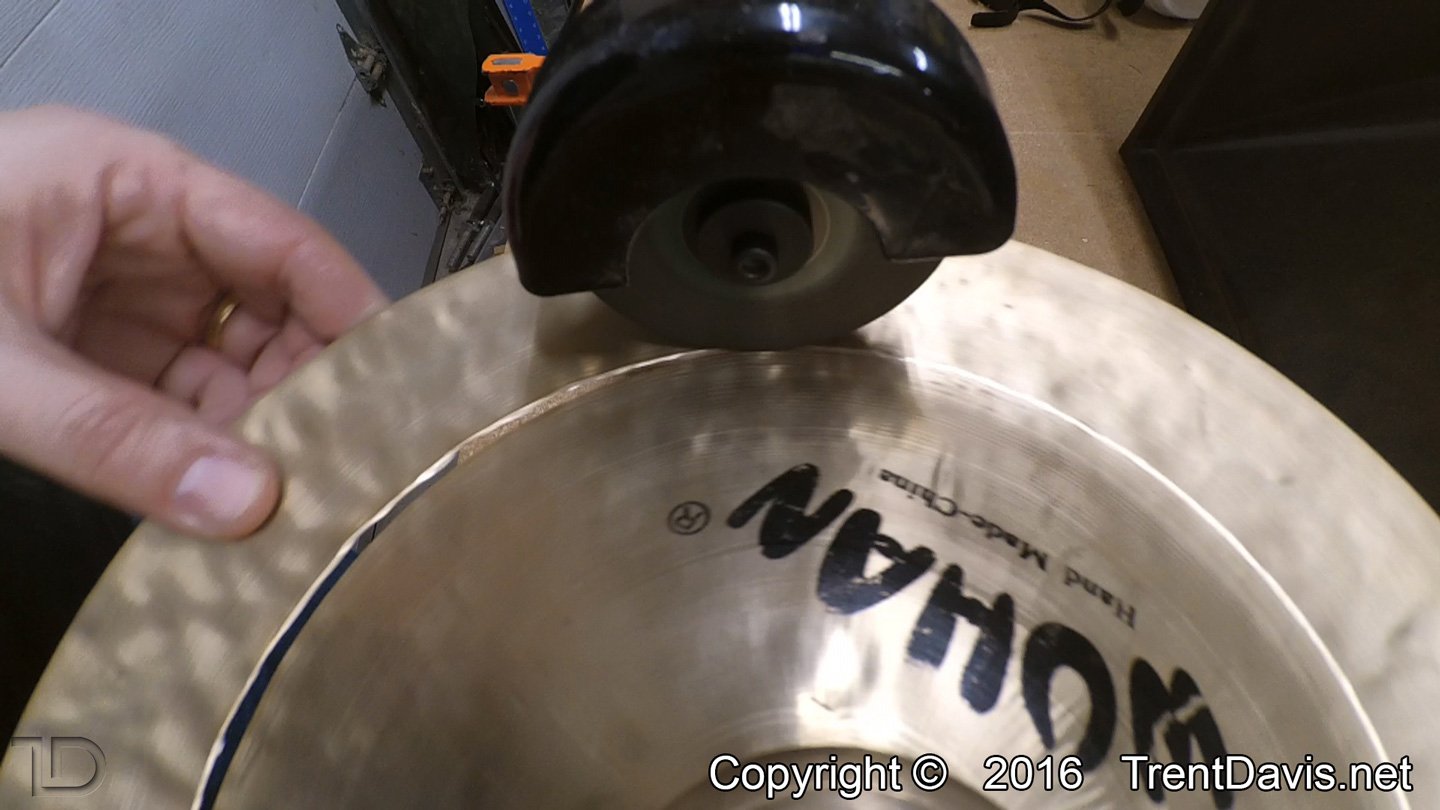
I started by putting both cymbals on my cutting jig and finding the best diameter to use. I wanted to retain as much of the cymbal as I could but eliminate the flare. Once a diameter was decided upon I started cutting.
Fig. 2 – The first cymbal on the cutting jig.Fig. 3 – Getting close to finishing the cut on the first cymbal.
The cutting went pretty smoothly although the imperfect nature of Wuhan cymbals tends to affect how balanced the cut-down cymbal is. For example, the mounting hole was off-center on each cymbal which really caused a lot of warping and vibration. You can see this in some of the pictures.
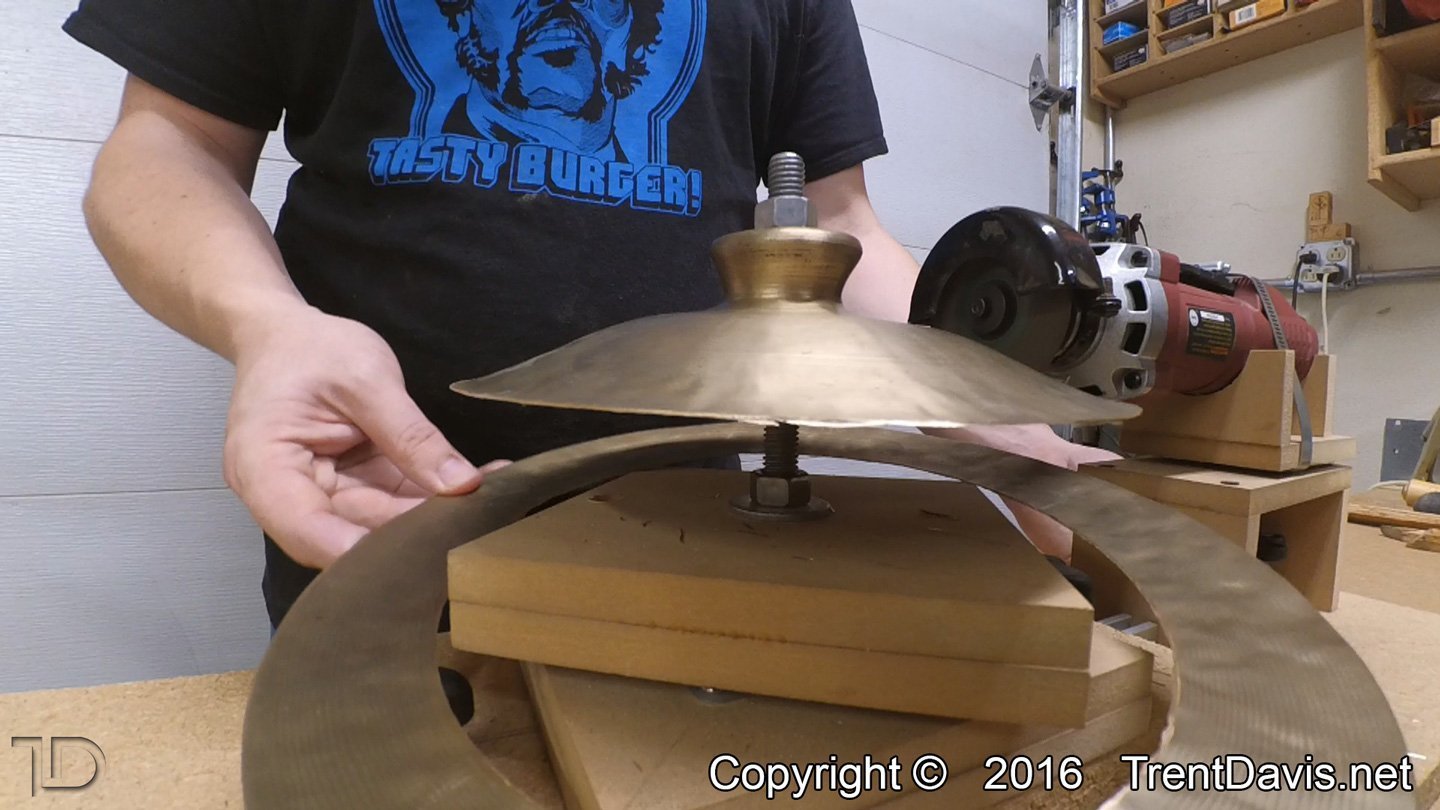
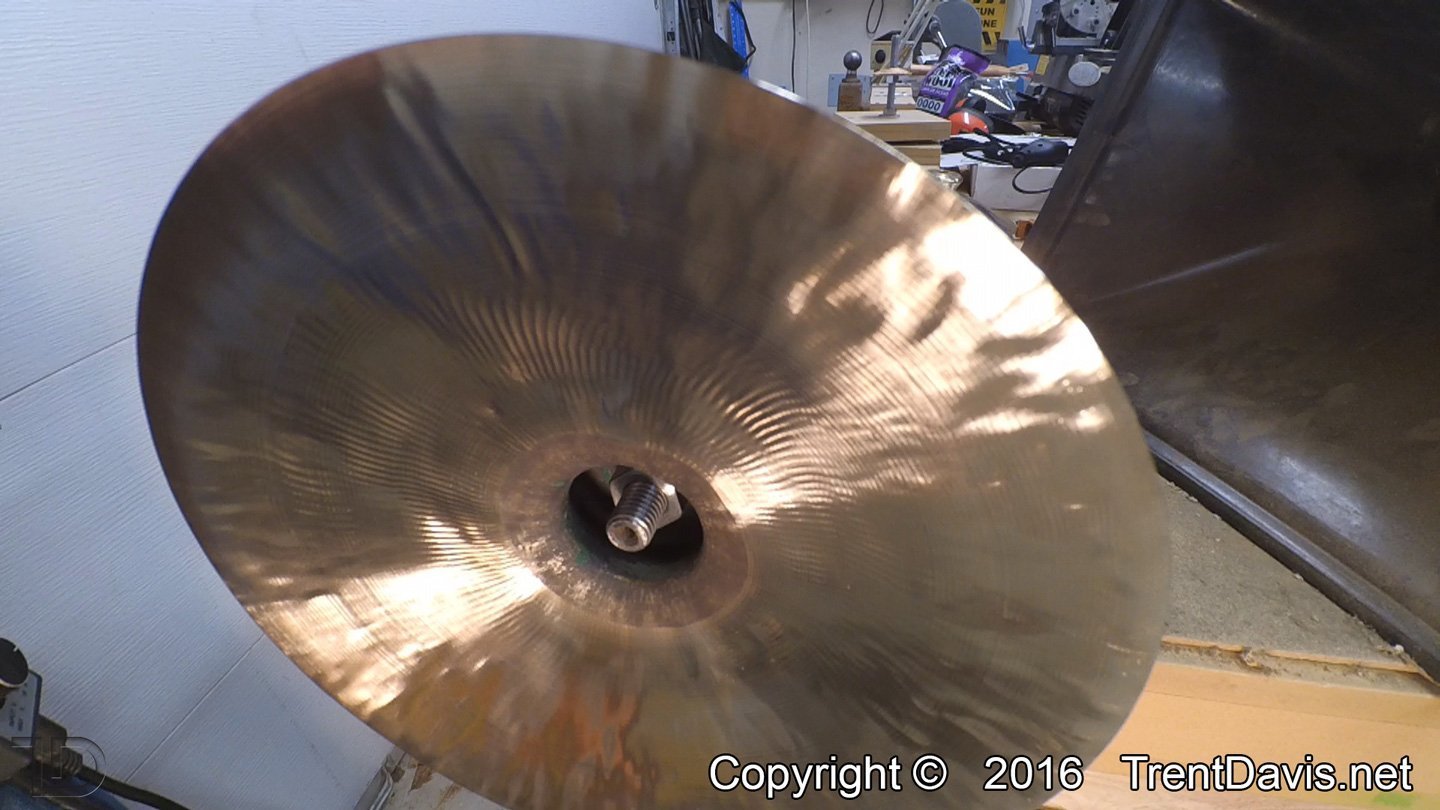
Fig. 4 – Just finished cutting down the second cymbal.
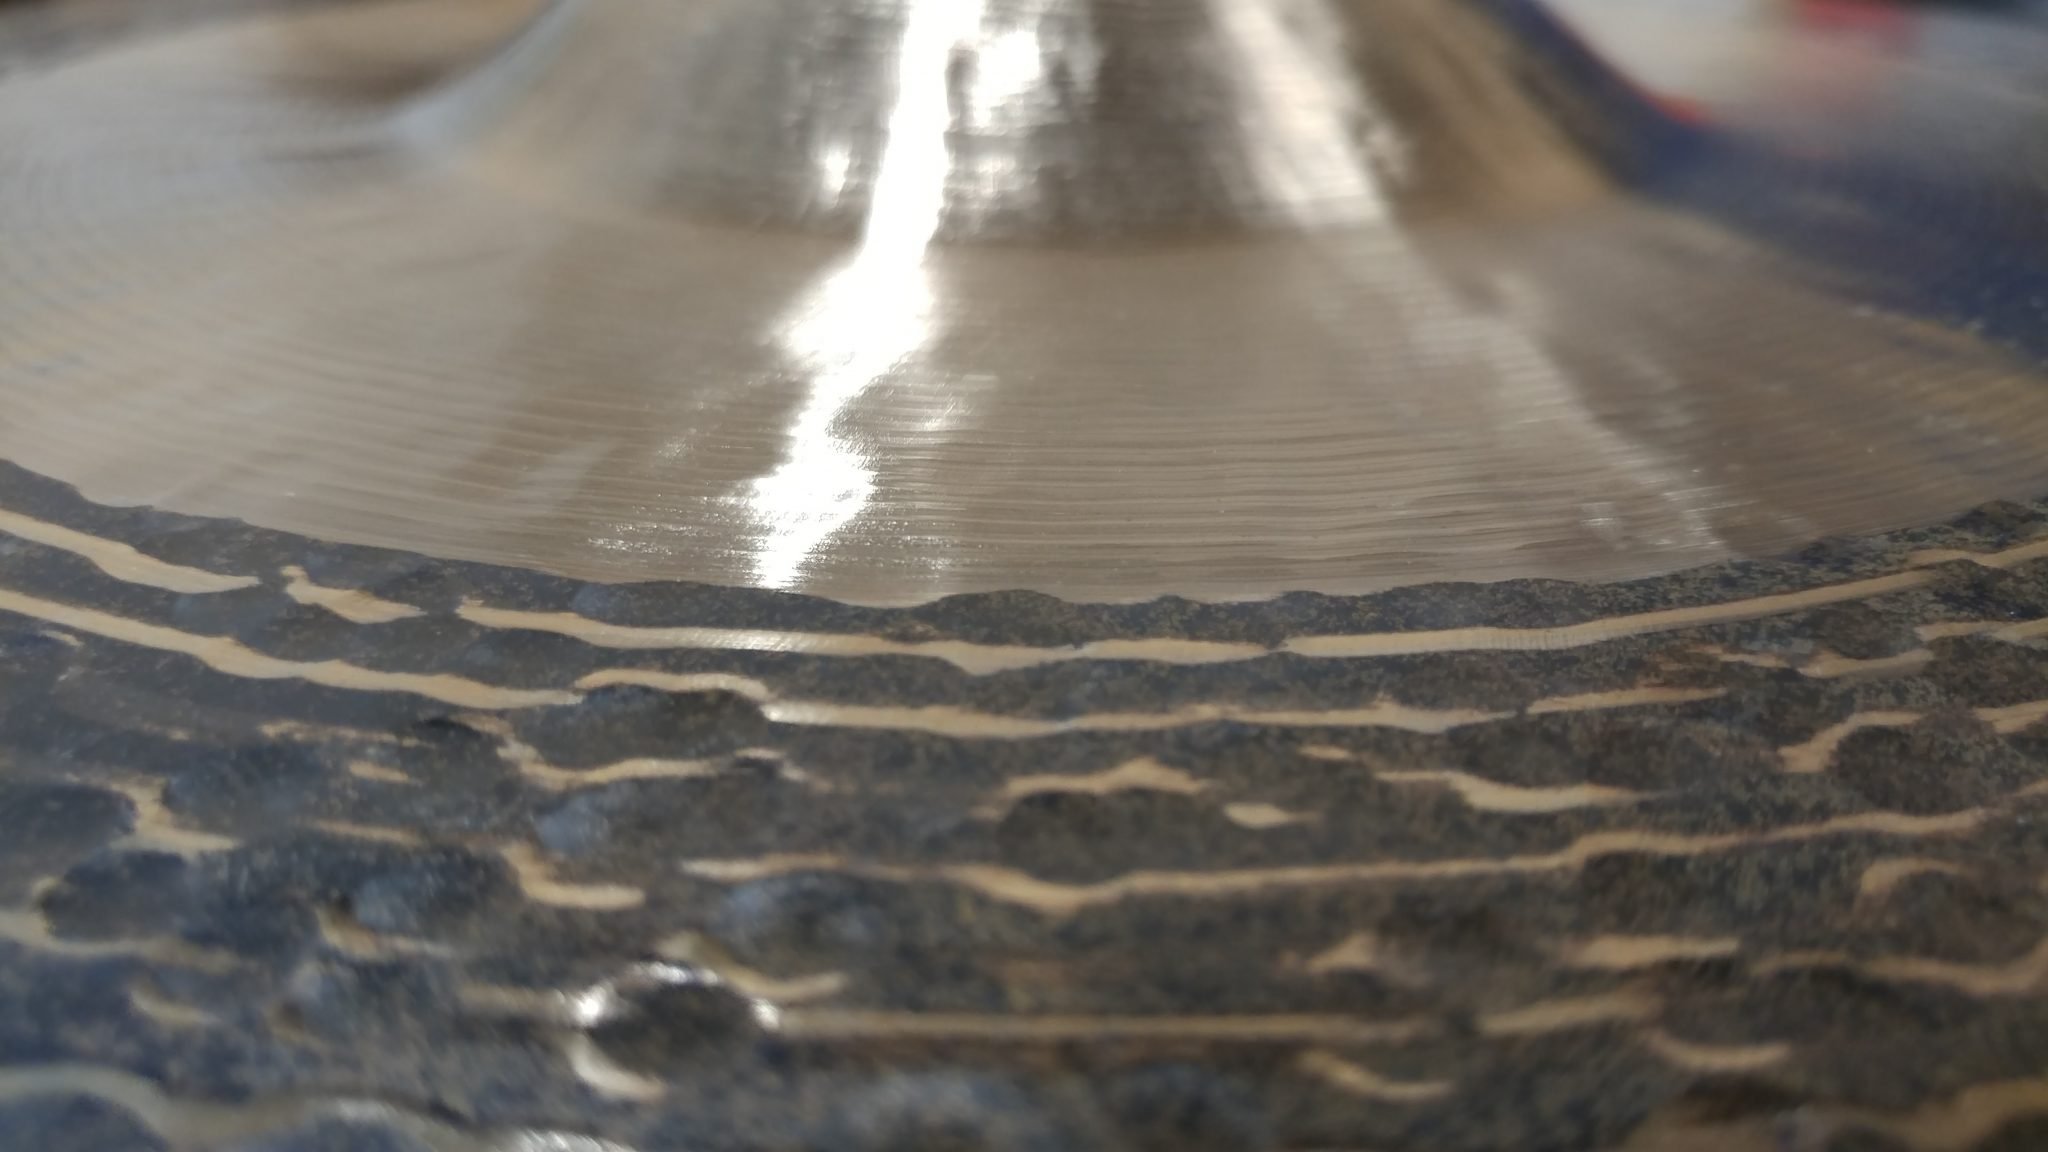
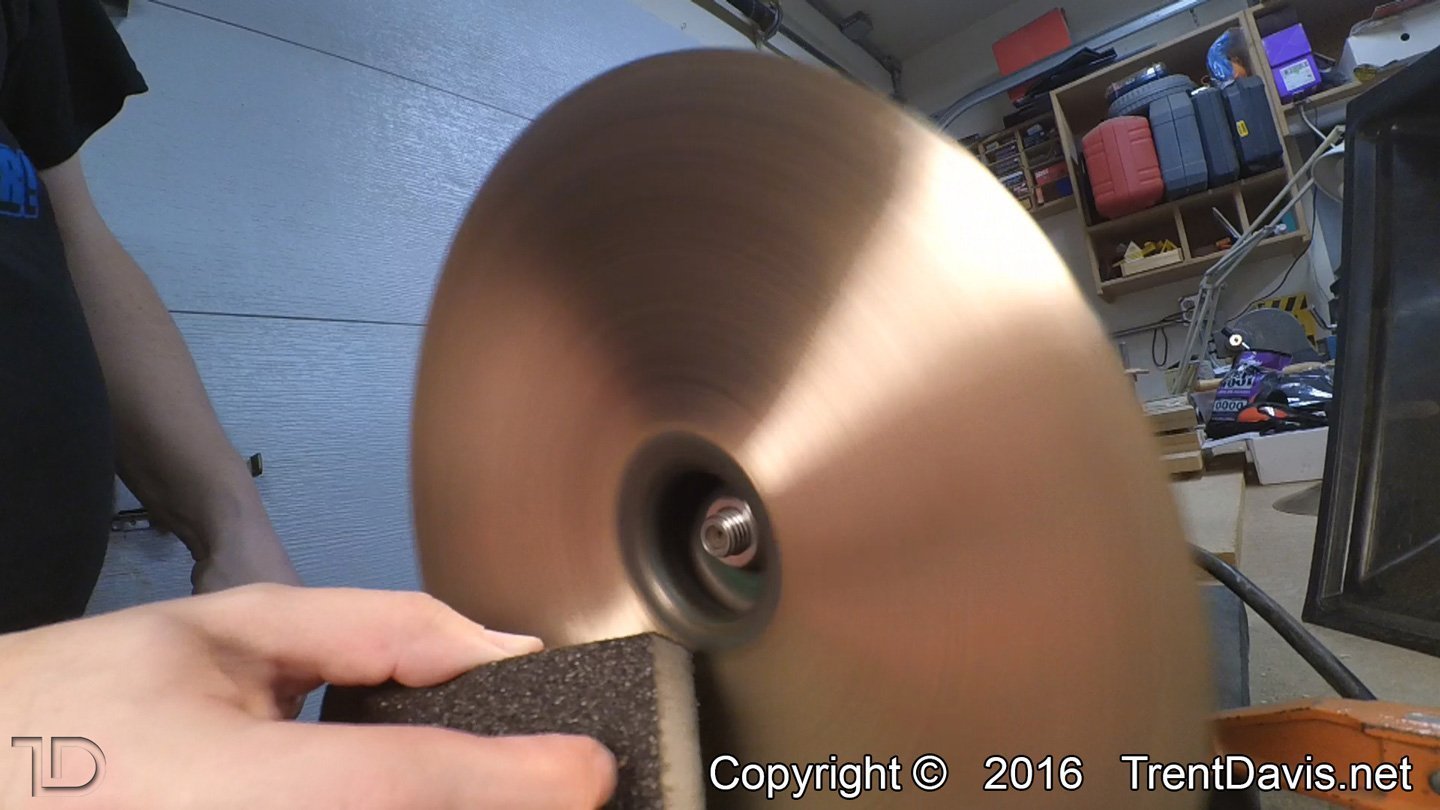
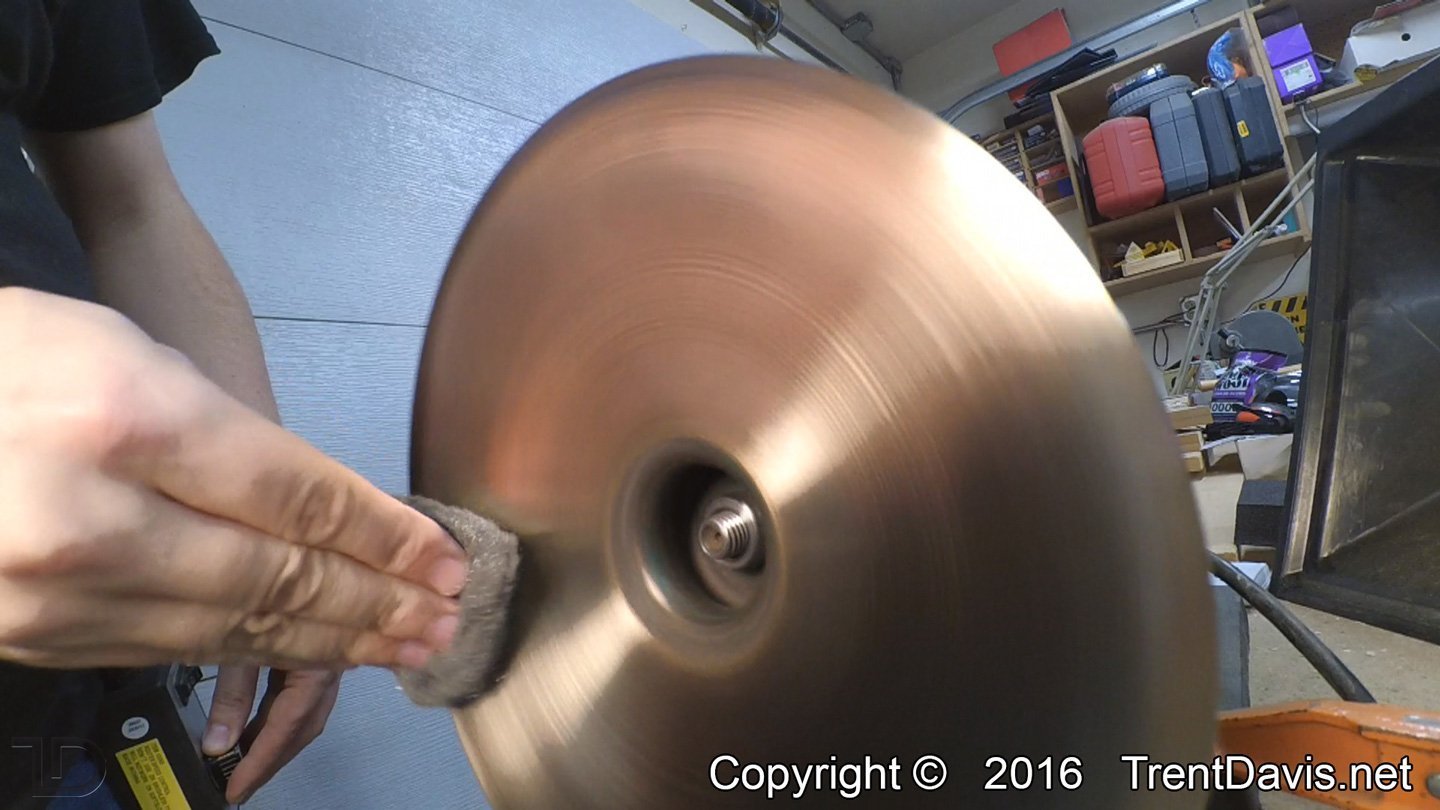
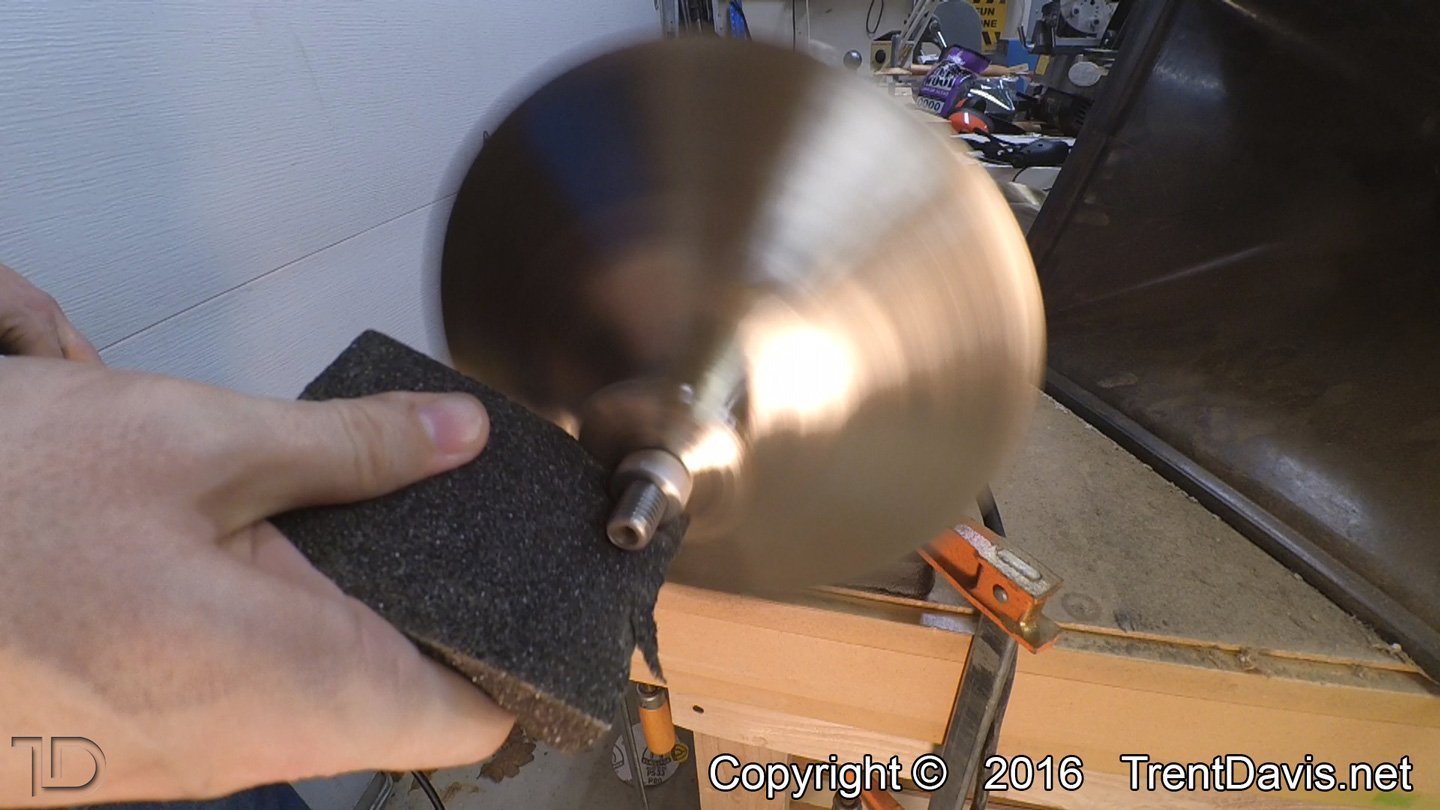
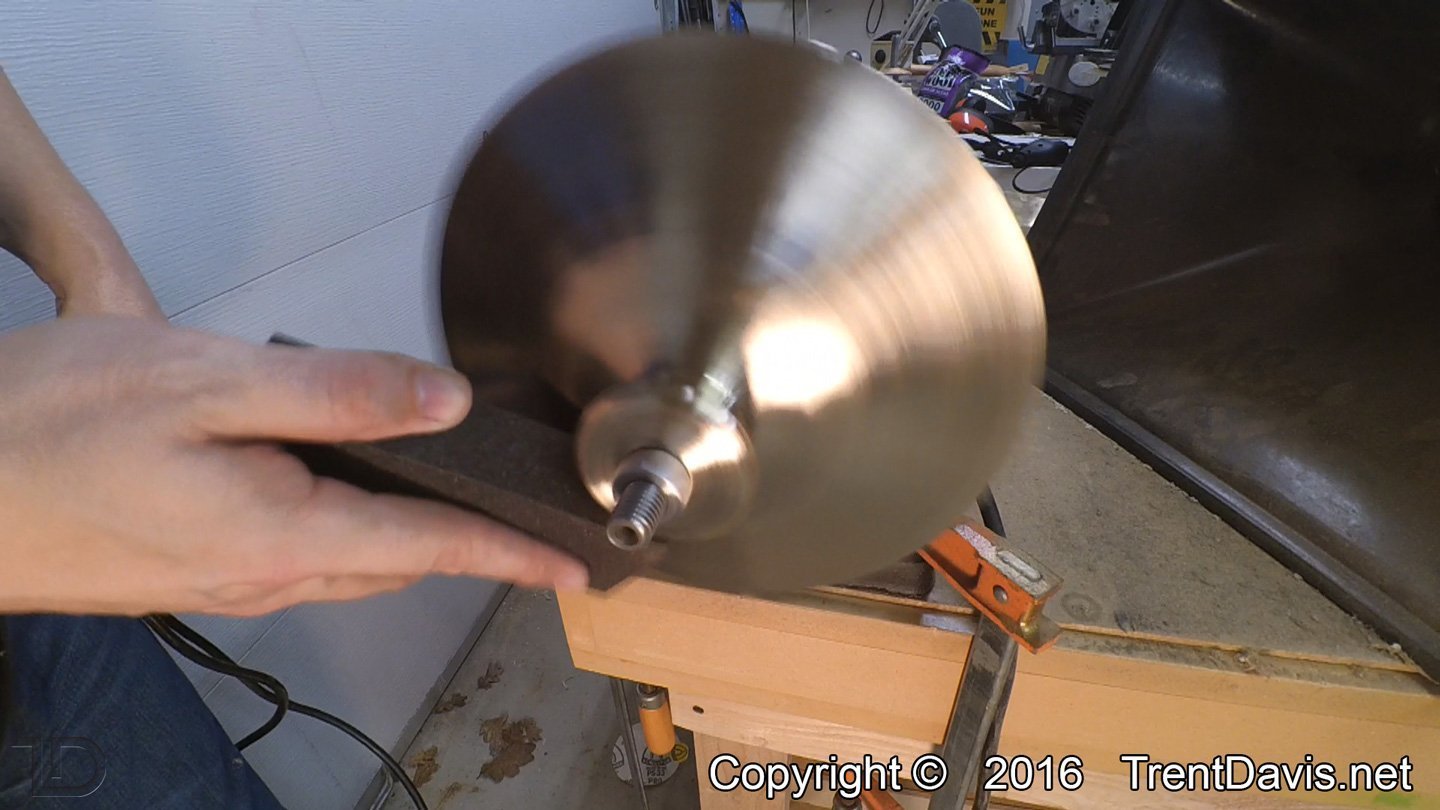
After they were cut down I mounted them on my buffing wheel and de-burred the edges. My friend also wanted me to polish them and remove the logos. This was more trouble than it usually is since these cymbals are so out of balance. I used both a coarse and fine grained sanding sponge then finished up with 0000 steel wool. I finished that up with a thin coat of polyurethane to protect them and they are ready to go.
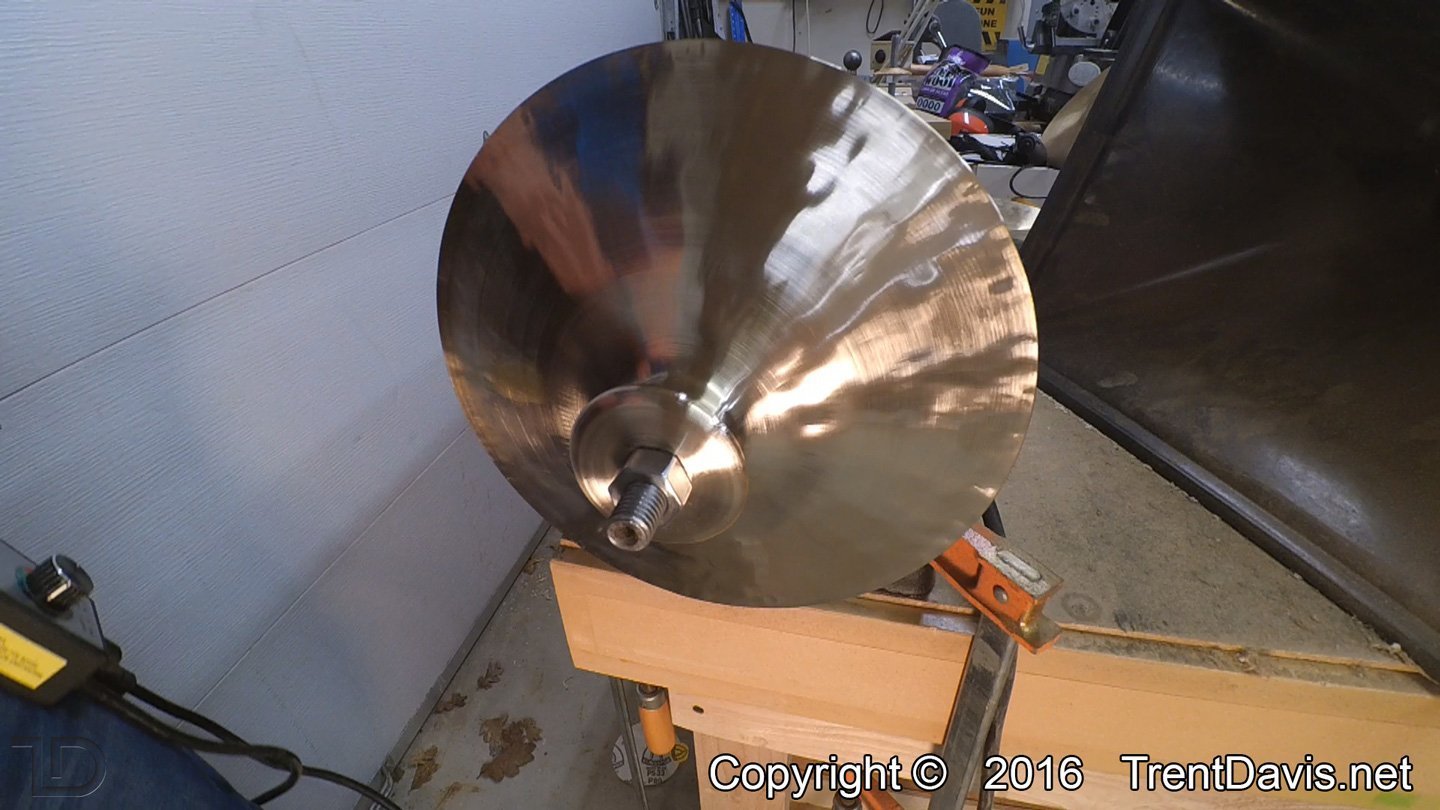
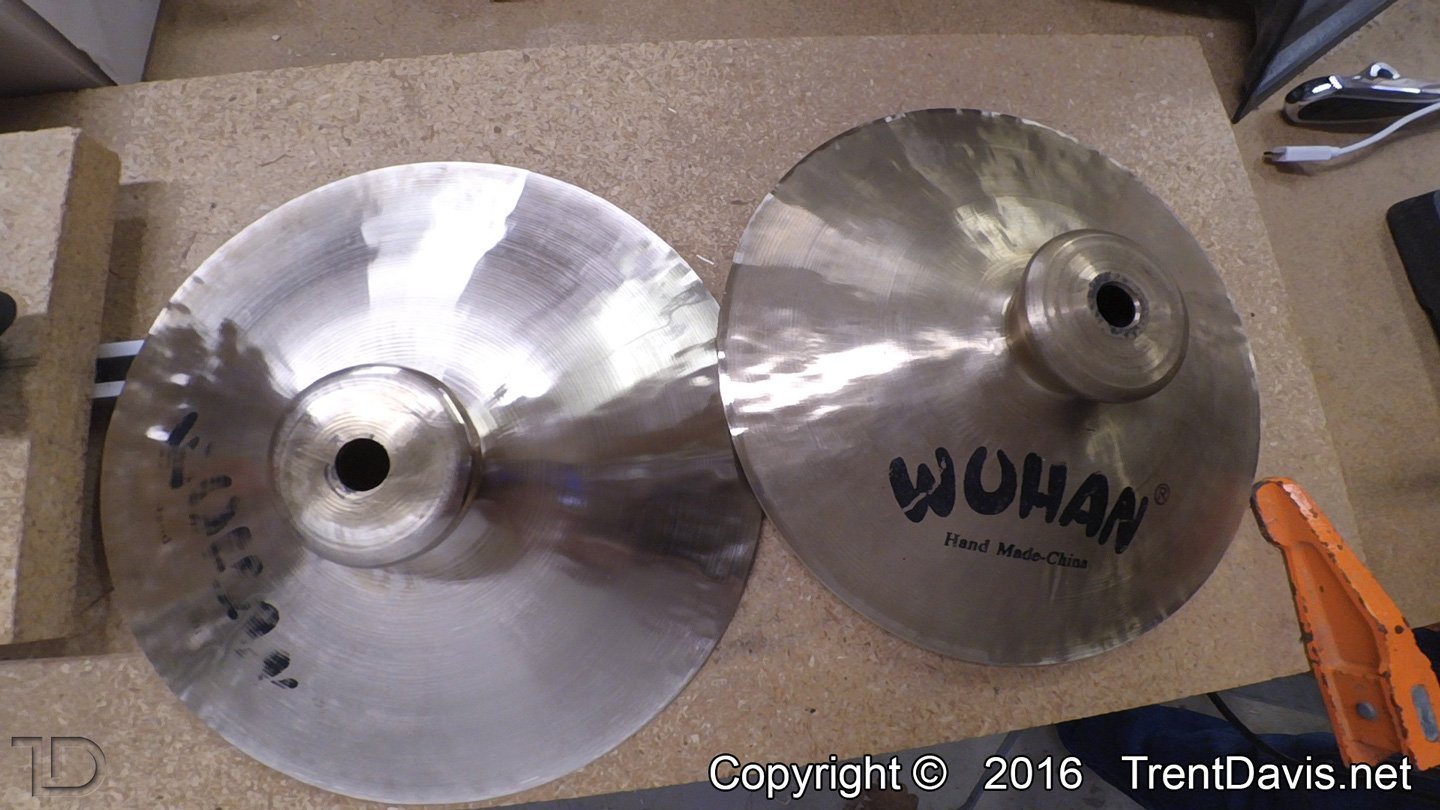
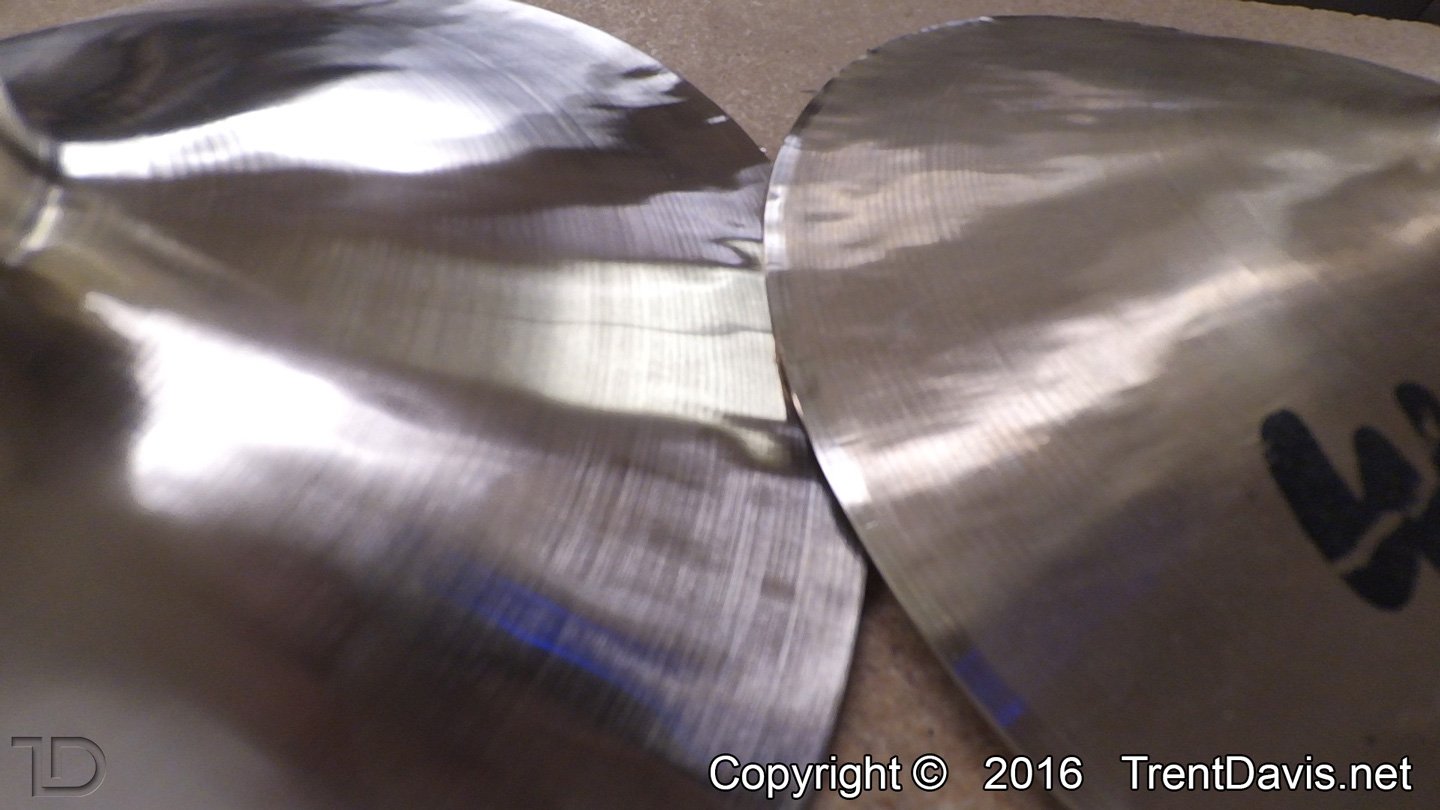
Fig. 5 – Taking the coarse sanding block to the underside of the first cymbal.Fig. 6 – Finishing up the underside of the first cymbal with some 0000 steel wool.Fig. 7 – The top of the first cymbal ready to be polished.Fig. 8 – Taking a coarse sanding block to the top of the first cymbal.Fig. 9 – Following up with a fine-grit sanding sponge.Fig. 10 – All done after finishing up with some 0000 steel wool.Fig. 11 – Time to start cleaning up the second cymbal.Fig. 12 – Cleaning up the top of the second cymbal with a coarse-grit sanding sponge.Fig. 13 – the underside of the second cymbal. Before…Fig. 14 – … and after.Fig. 15 – This is a shot of both cymbals. The one on the left is halfway through cleaning up the top. This was problematic due to the imbalance in that cymbal which is caused by the mounting hole being so far off-center.Fig. 16 – A close-up of the two cymbals. The one on the left has been polished up a bit. The one on the right only has the edge de-burred which actually polishes up the area around the edge a bit.
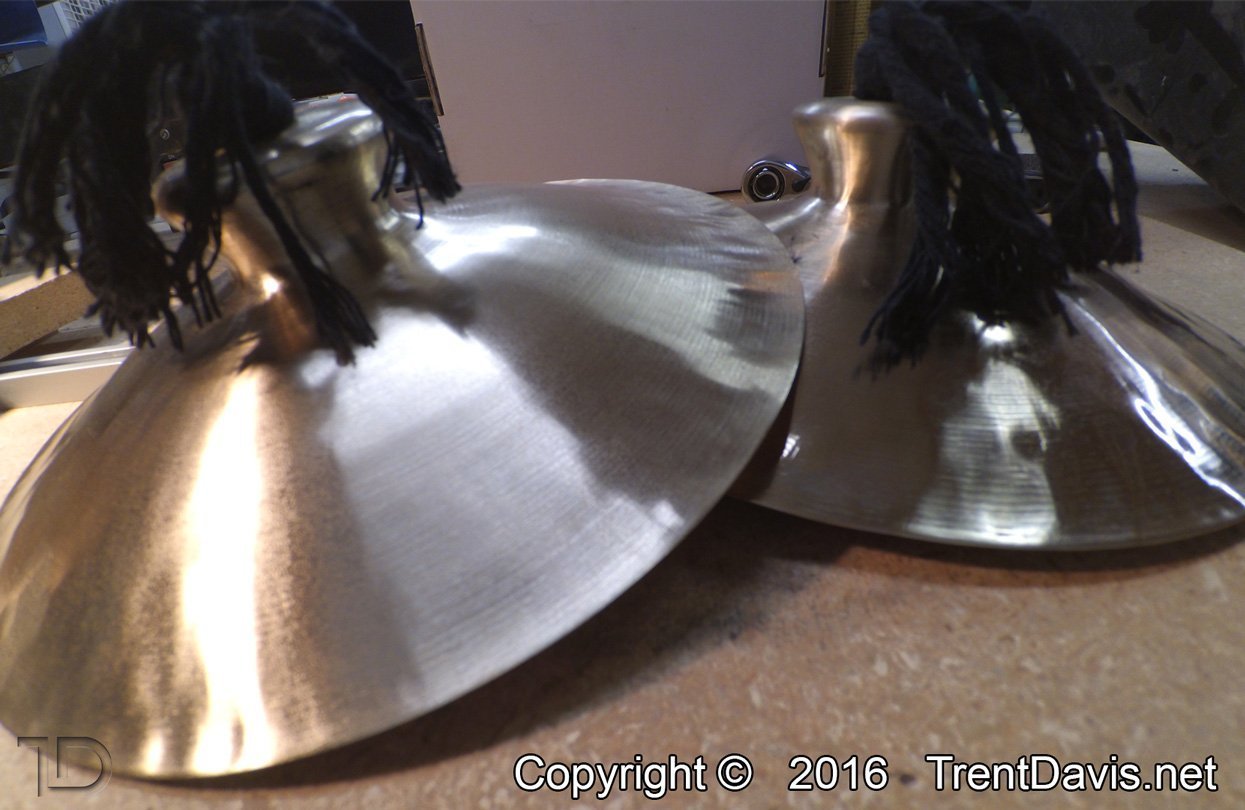
The finished product ended up being 8 1/4″ in diameter. They look cool and they sound a lot better.
Fig. 17 – Top-down view of the finished product.Fig. 18 – The finished product.
Let me know in the comment section below if this was helpful and if you have any questions. Also, if you cut down your own cymbals, feel free to share your techniques.
Recorded a few takes last night as we were writing our parts for a few songs. In this I’m testing out some cymbals that I modified. They’re cut down Wuhan Lion cymbals, which is Wuhan’s version of the China cymbals we’re more familiar with. Personally I hate the sound of their Lion cymbals, but once you cut the flange off, they have a pretty nice trashy sound.
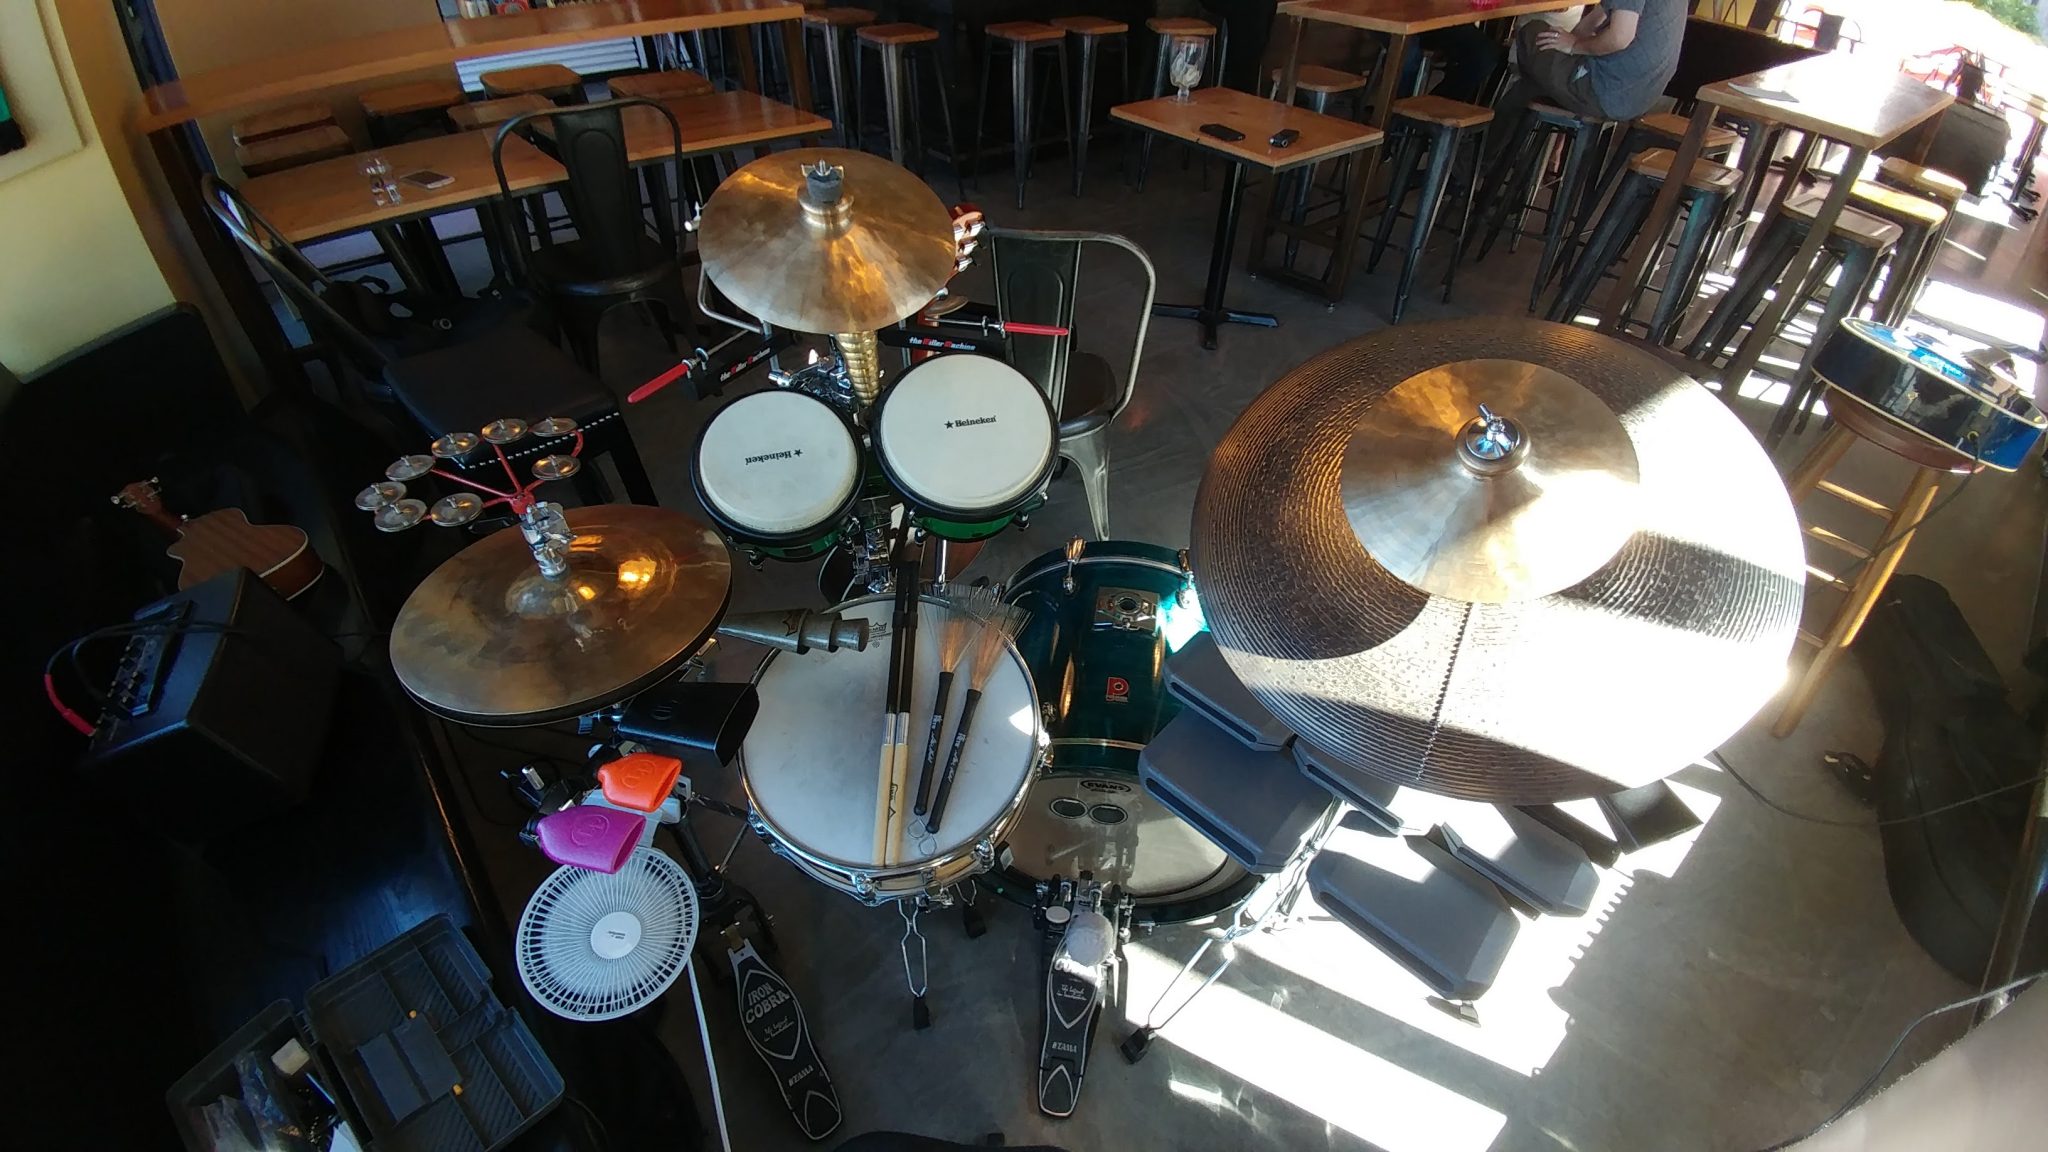
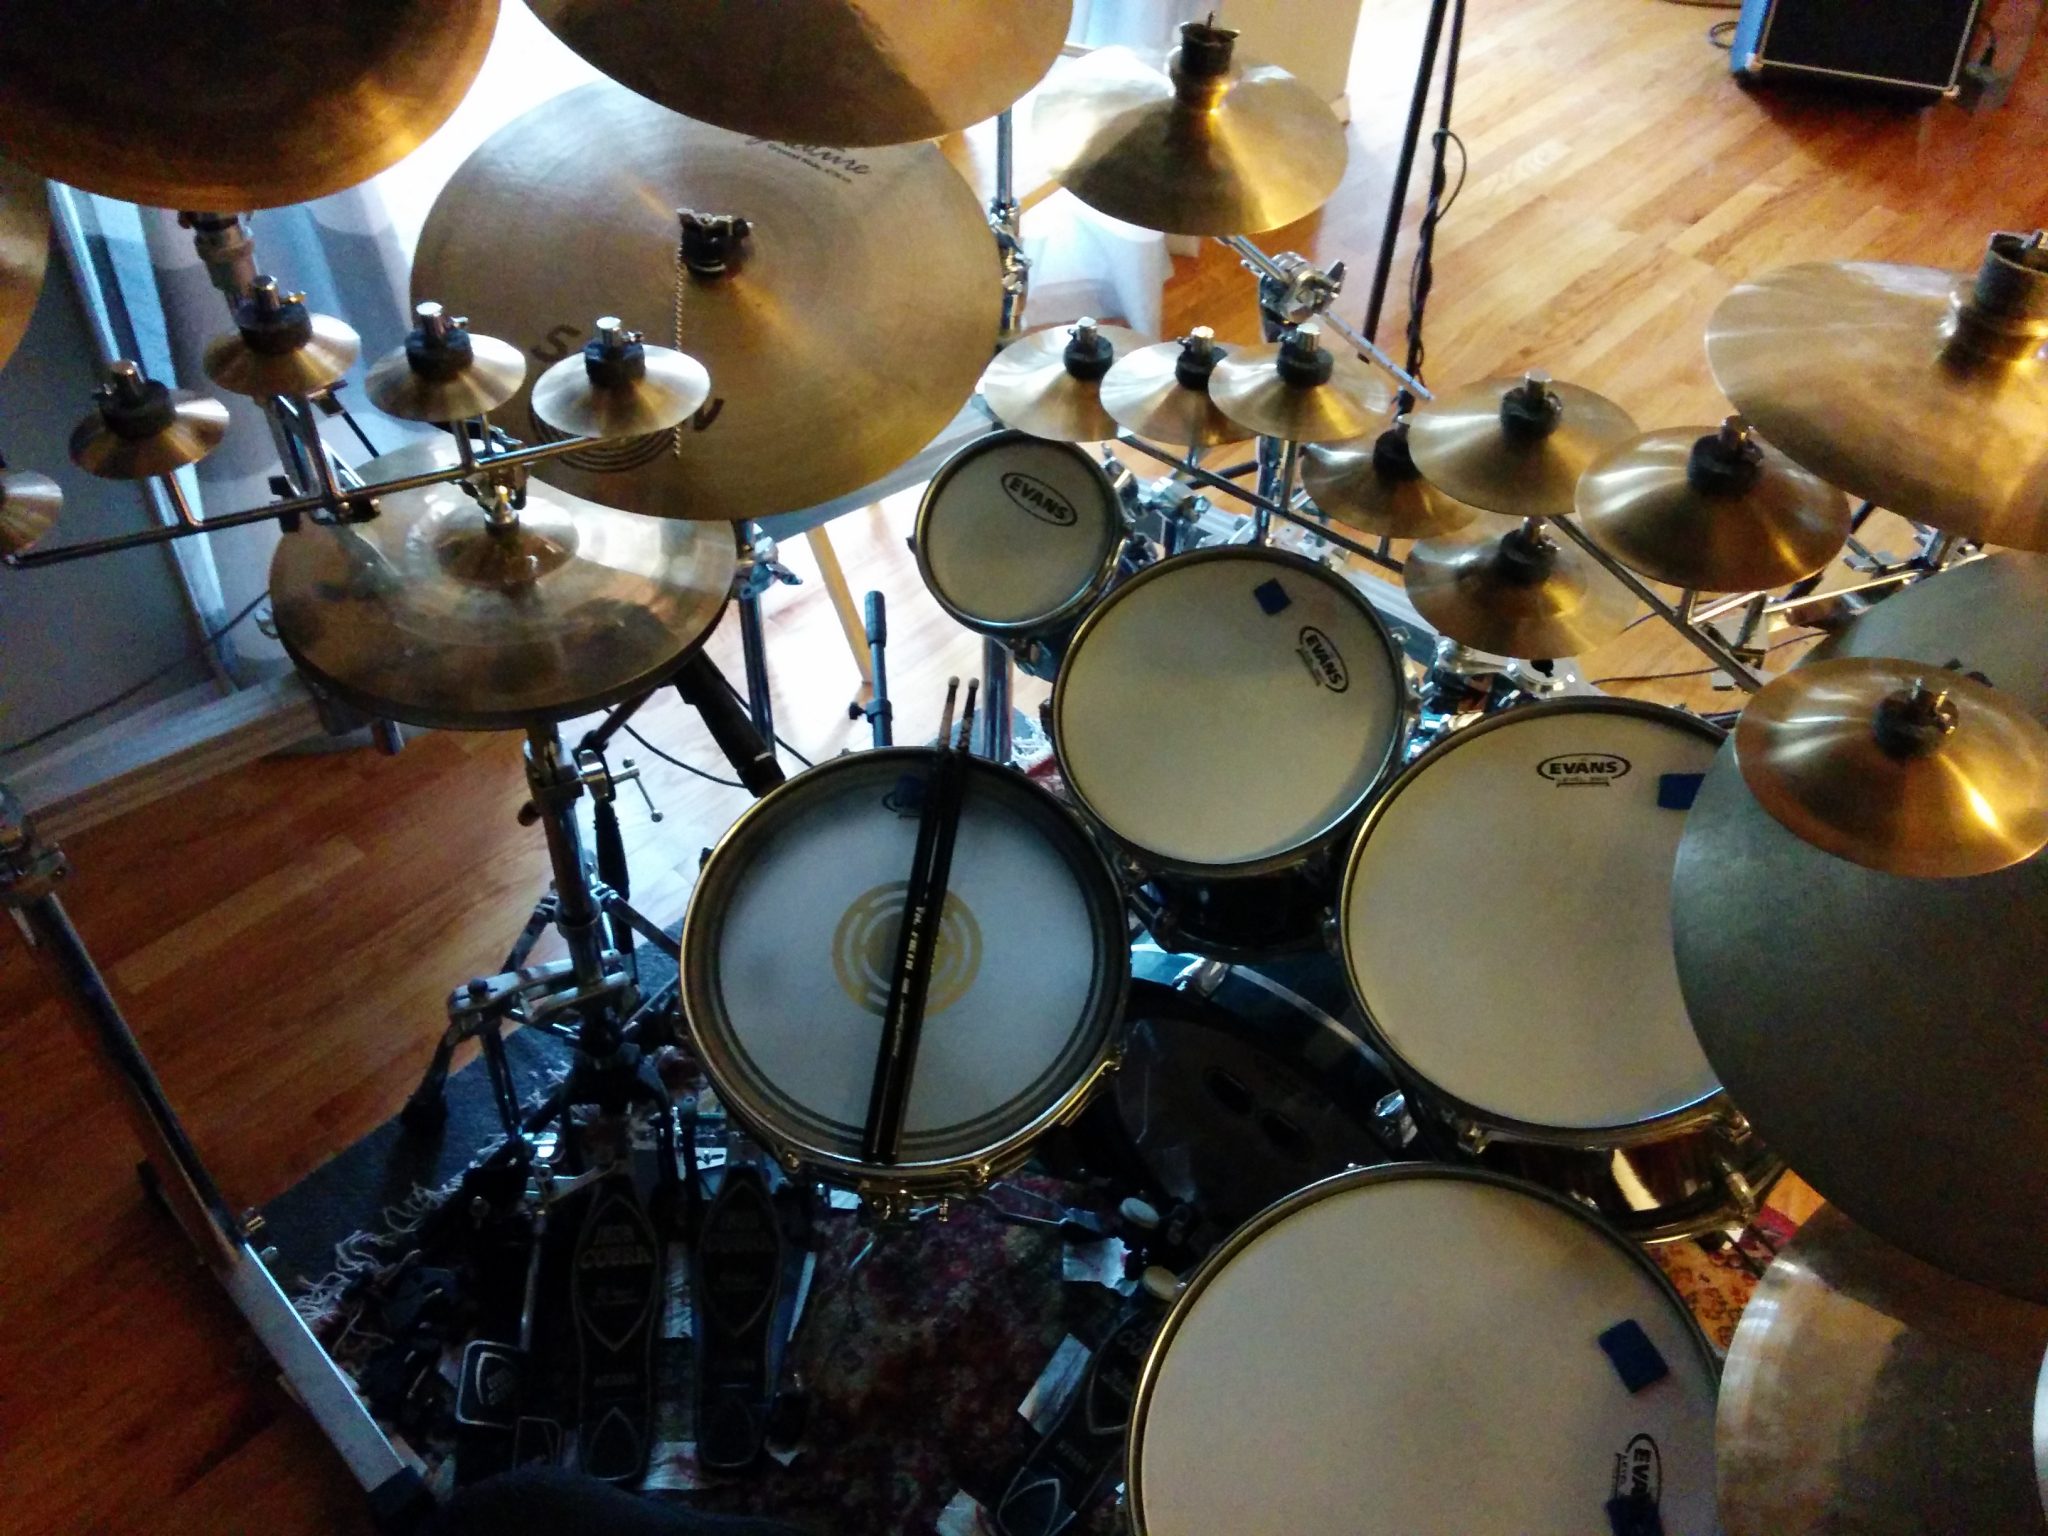
Here are some photos of the setup I used during the rehearsal. The Lions are the weird looking ones.
Rehearsal – 2016-09-15 – Overhead
Rehearsal – 2016-09-15 – Front
Warning: it’s rough and my timing sucks because…well…I’m a white guy.