Making a guitar pick from a cracked cymbal – Part 2

This is an update to my original post titled Making a guitar pick from a cracked cymbal.

I learned a few things since making that first pick.  Here’s what I did differently.

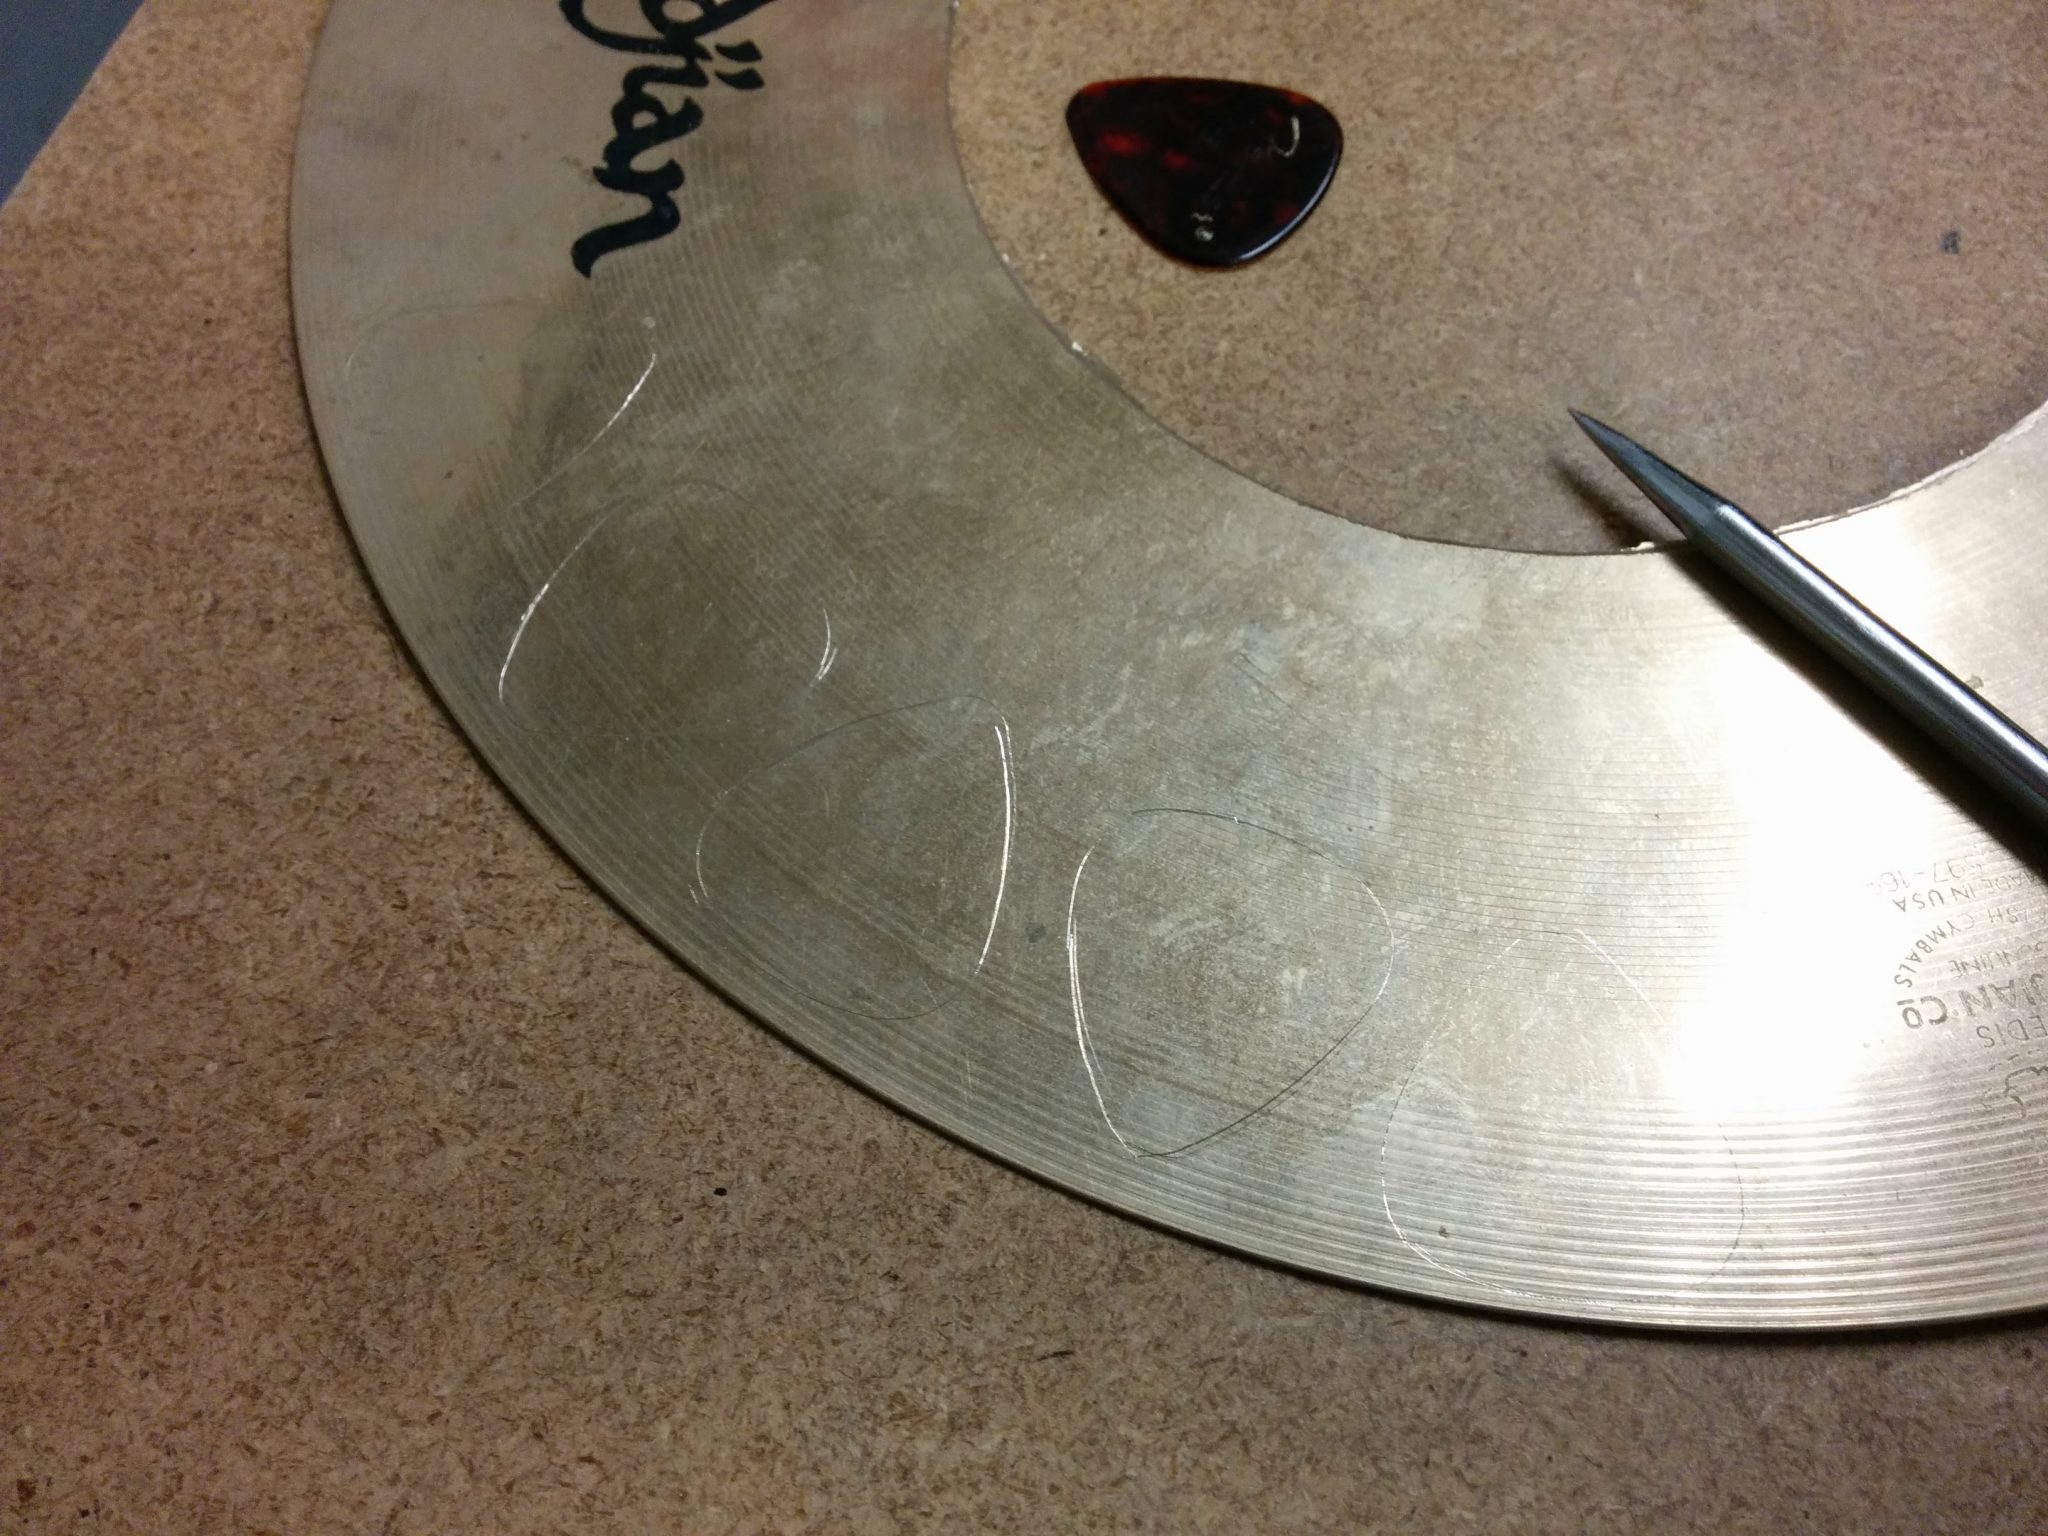
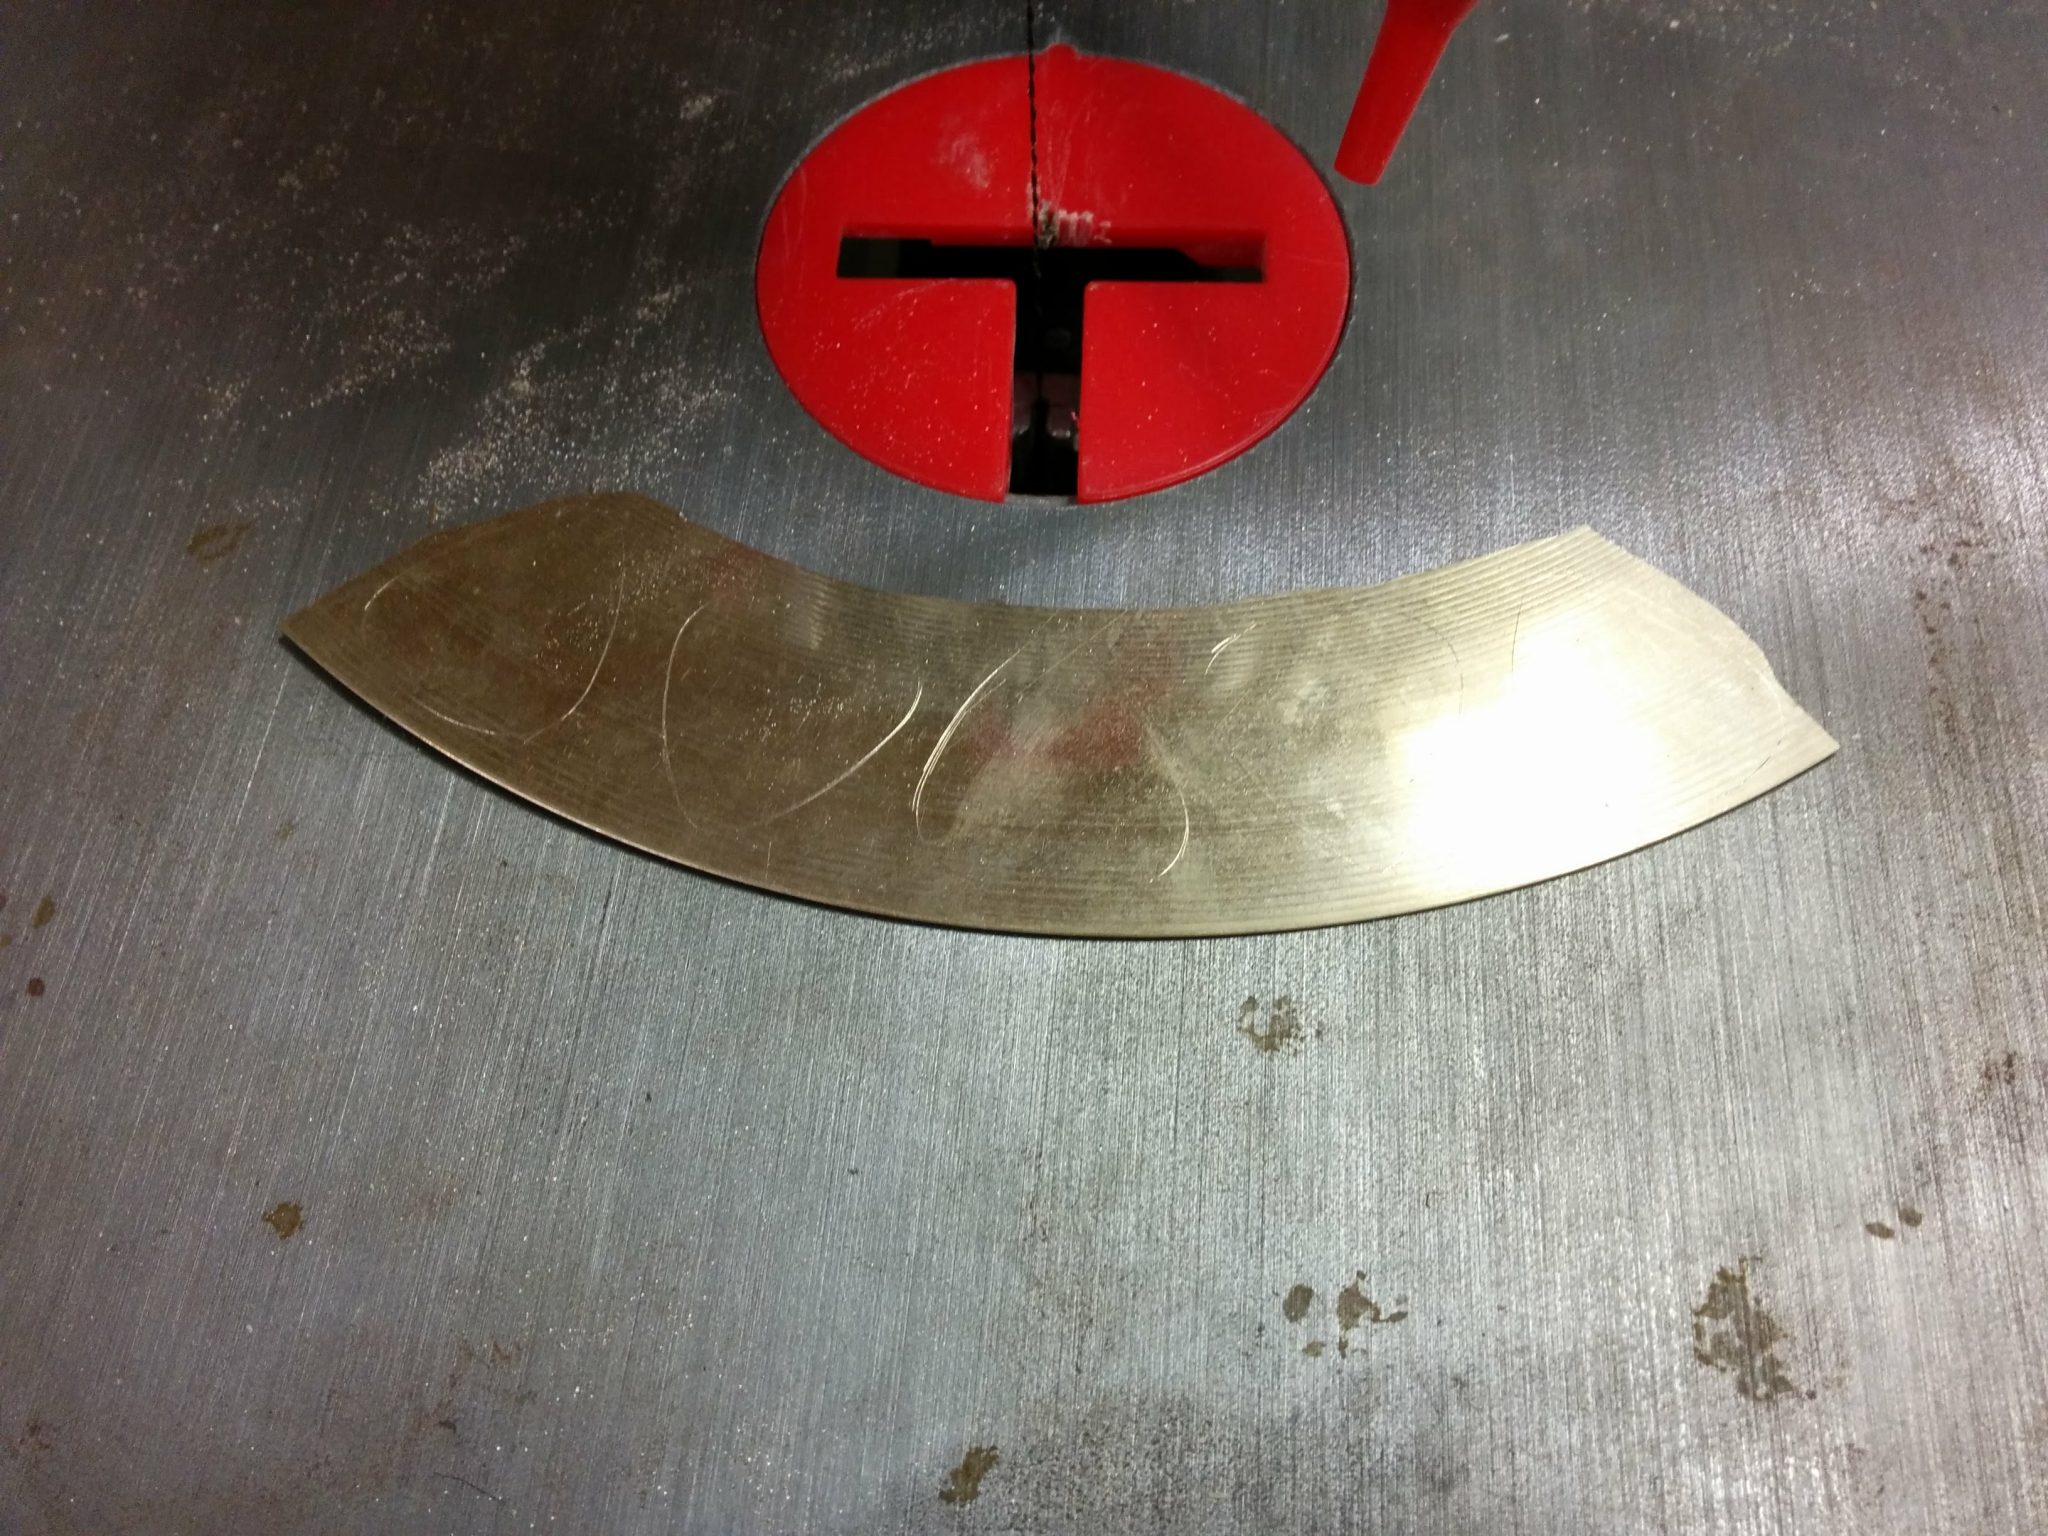
First, I decided to trace an outline of the pick using an awl.  This works better since the red Sharpie kept getting rubbed off the cymbal as I was sanding it down.  You need to be careful when doing this but it seems to work okay.

The pick outline traced with an awl.


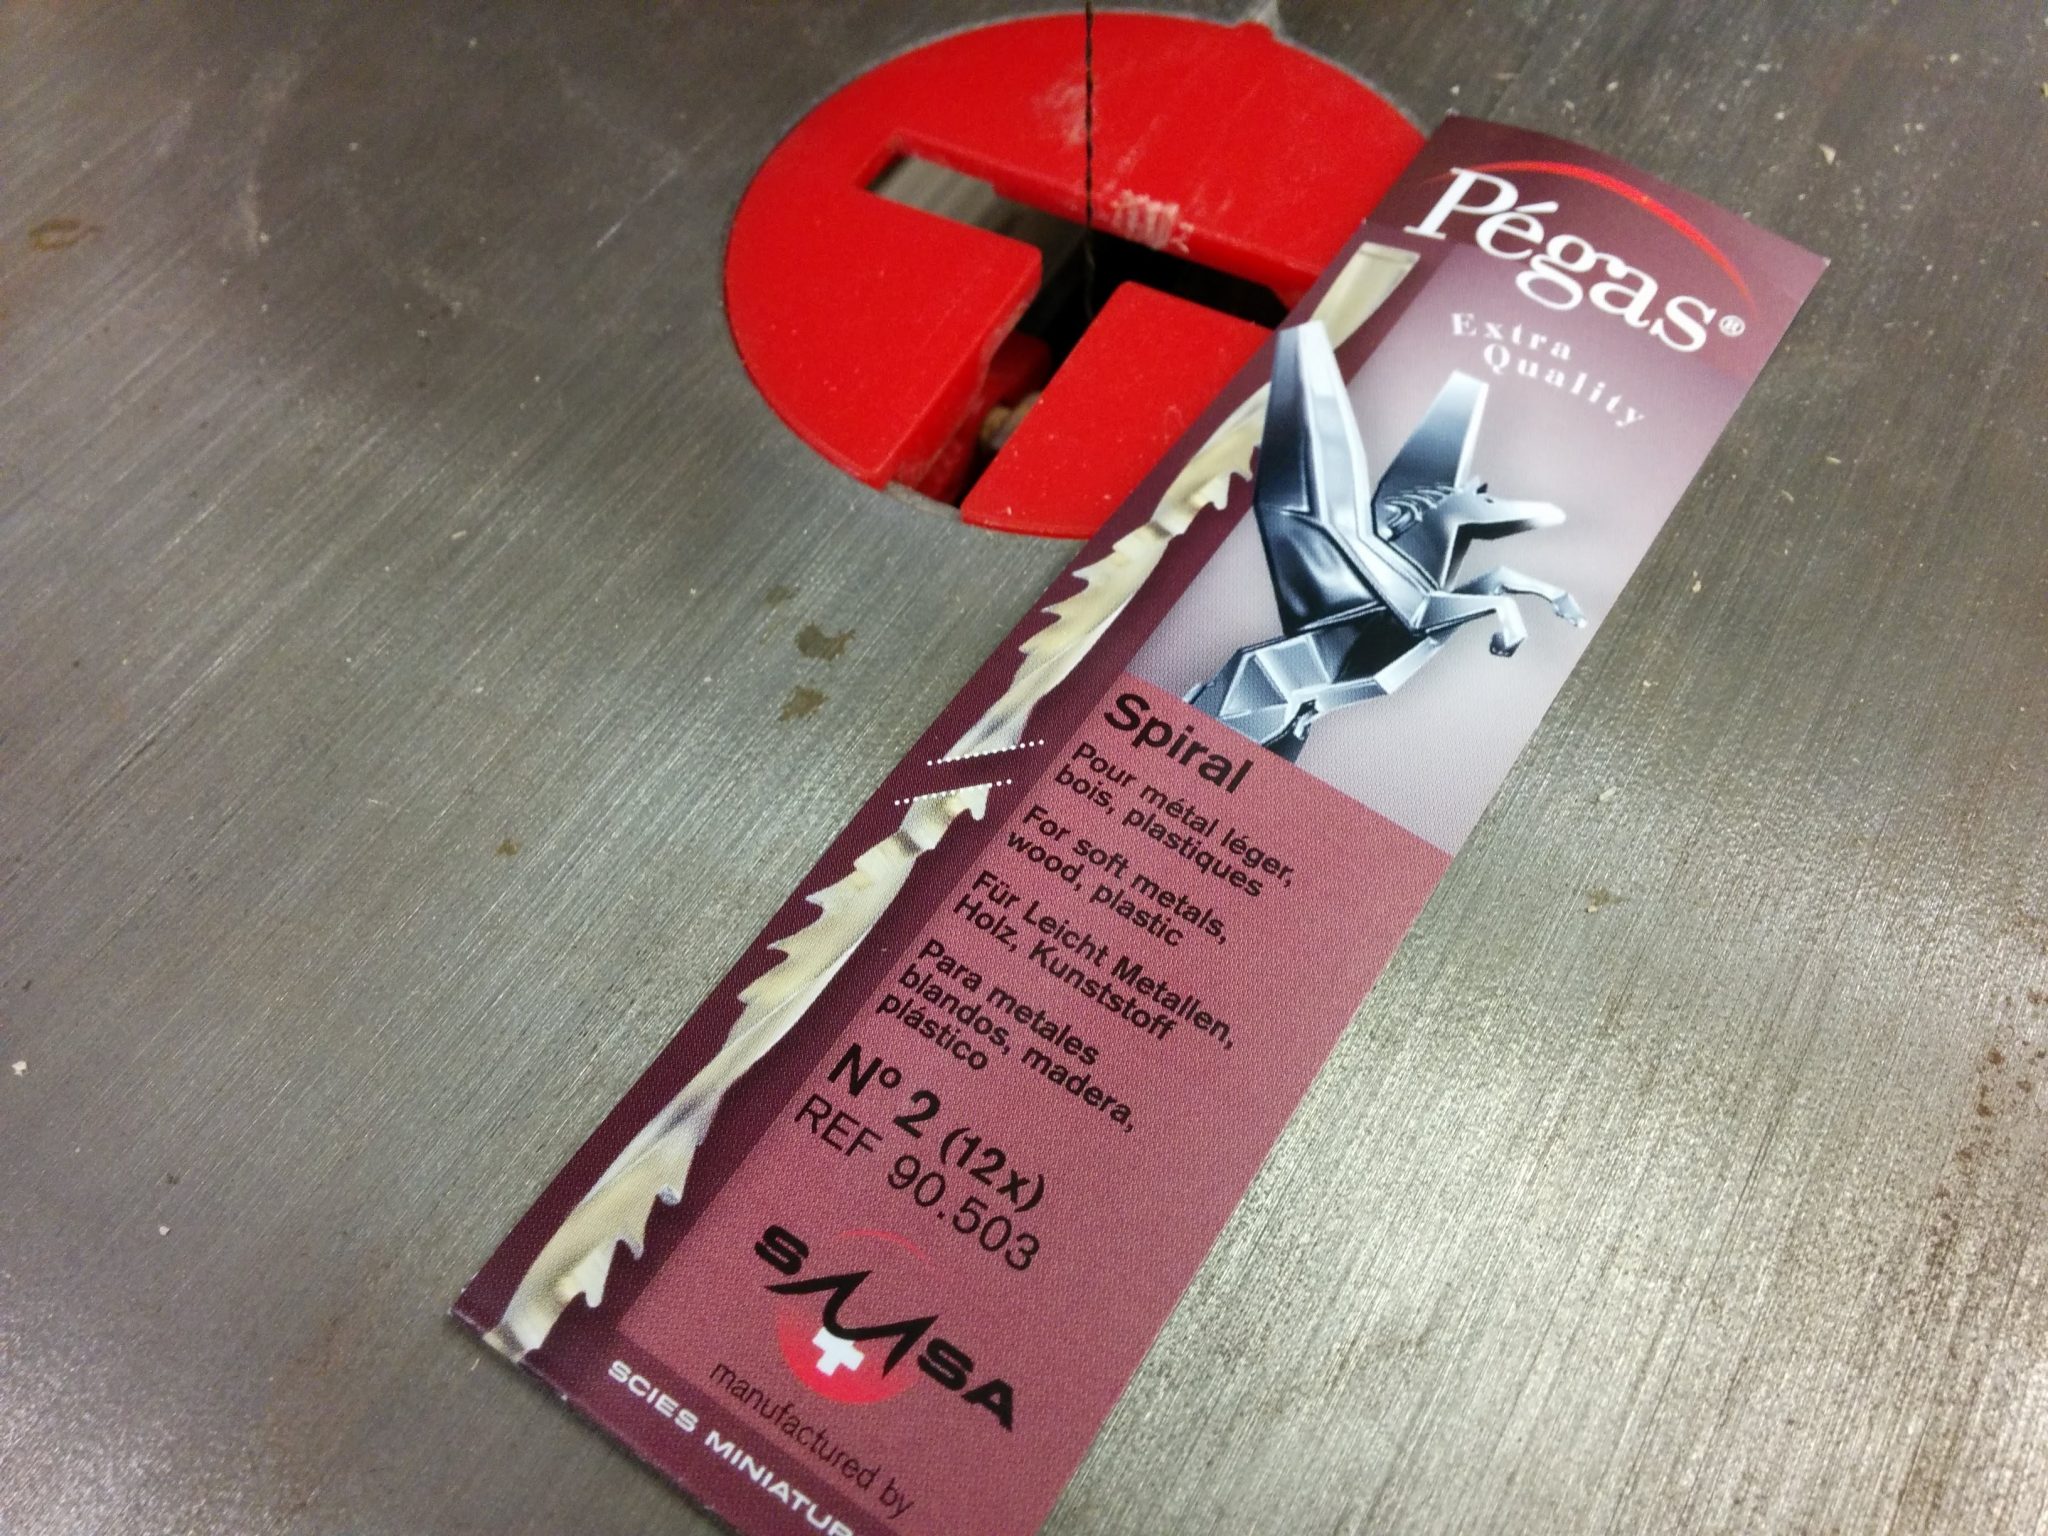
Second, I decided to use a scroll saw with a metal cutting blade.  This will allow me to cut closer to the line which will result in less waste and less material that needs to be removed with sanding.  I bought three different types of blades.  The one I started with is the Pegas 90.503 45-tooth blade.

Pegas spiral No 2 blades. (Ref 90.503)


Again, I’m using the off-cut from a Zildjian A Custom 10″ Splash.

Getting ready to start cutting.


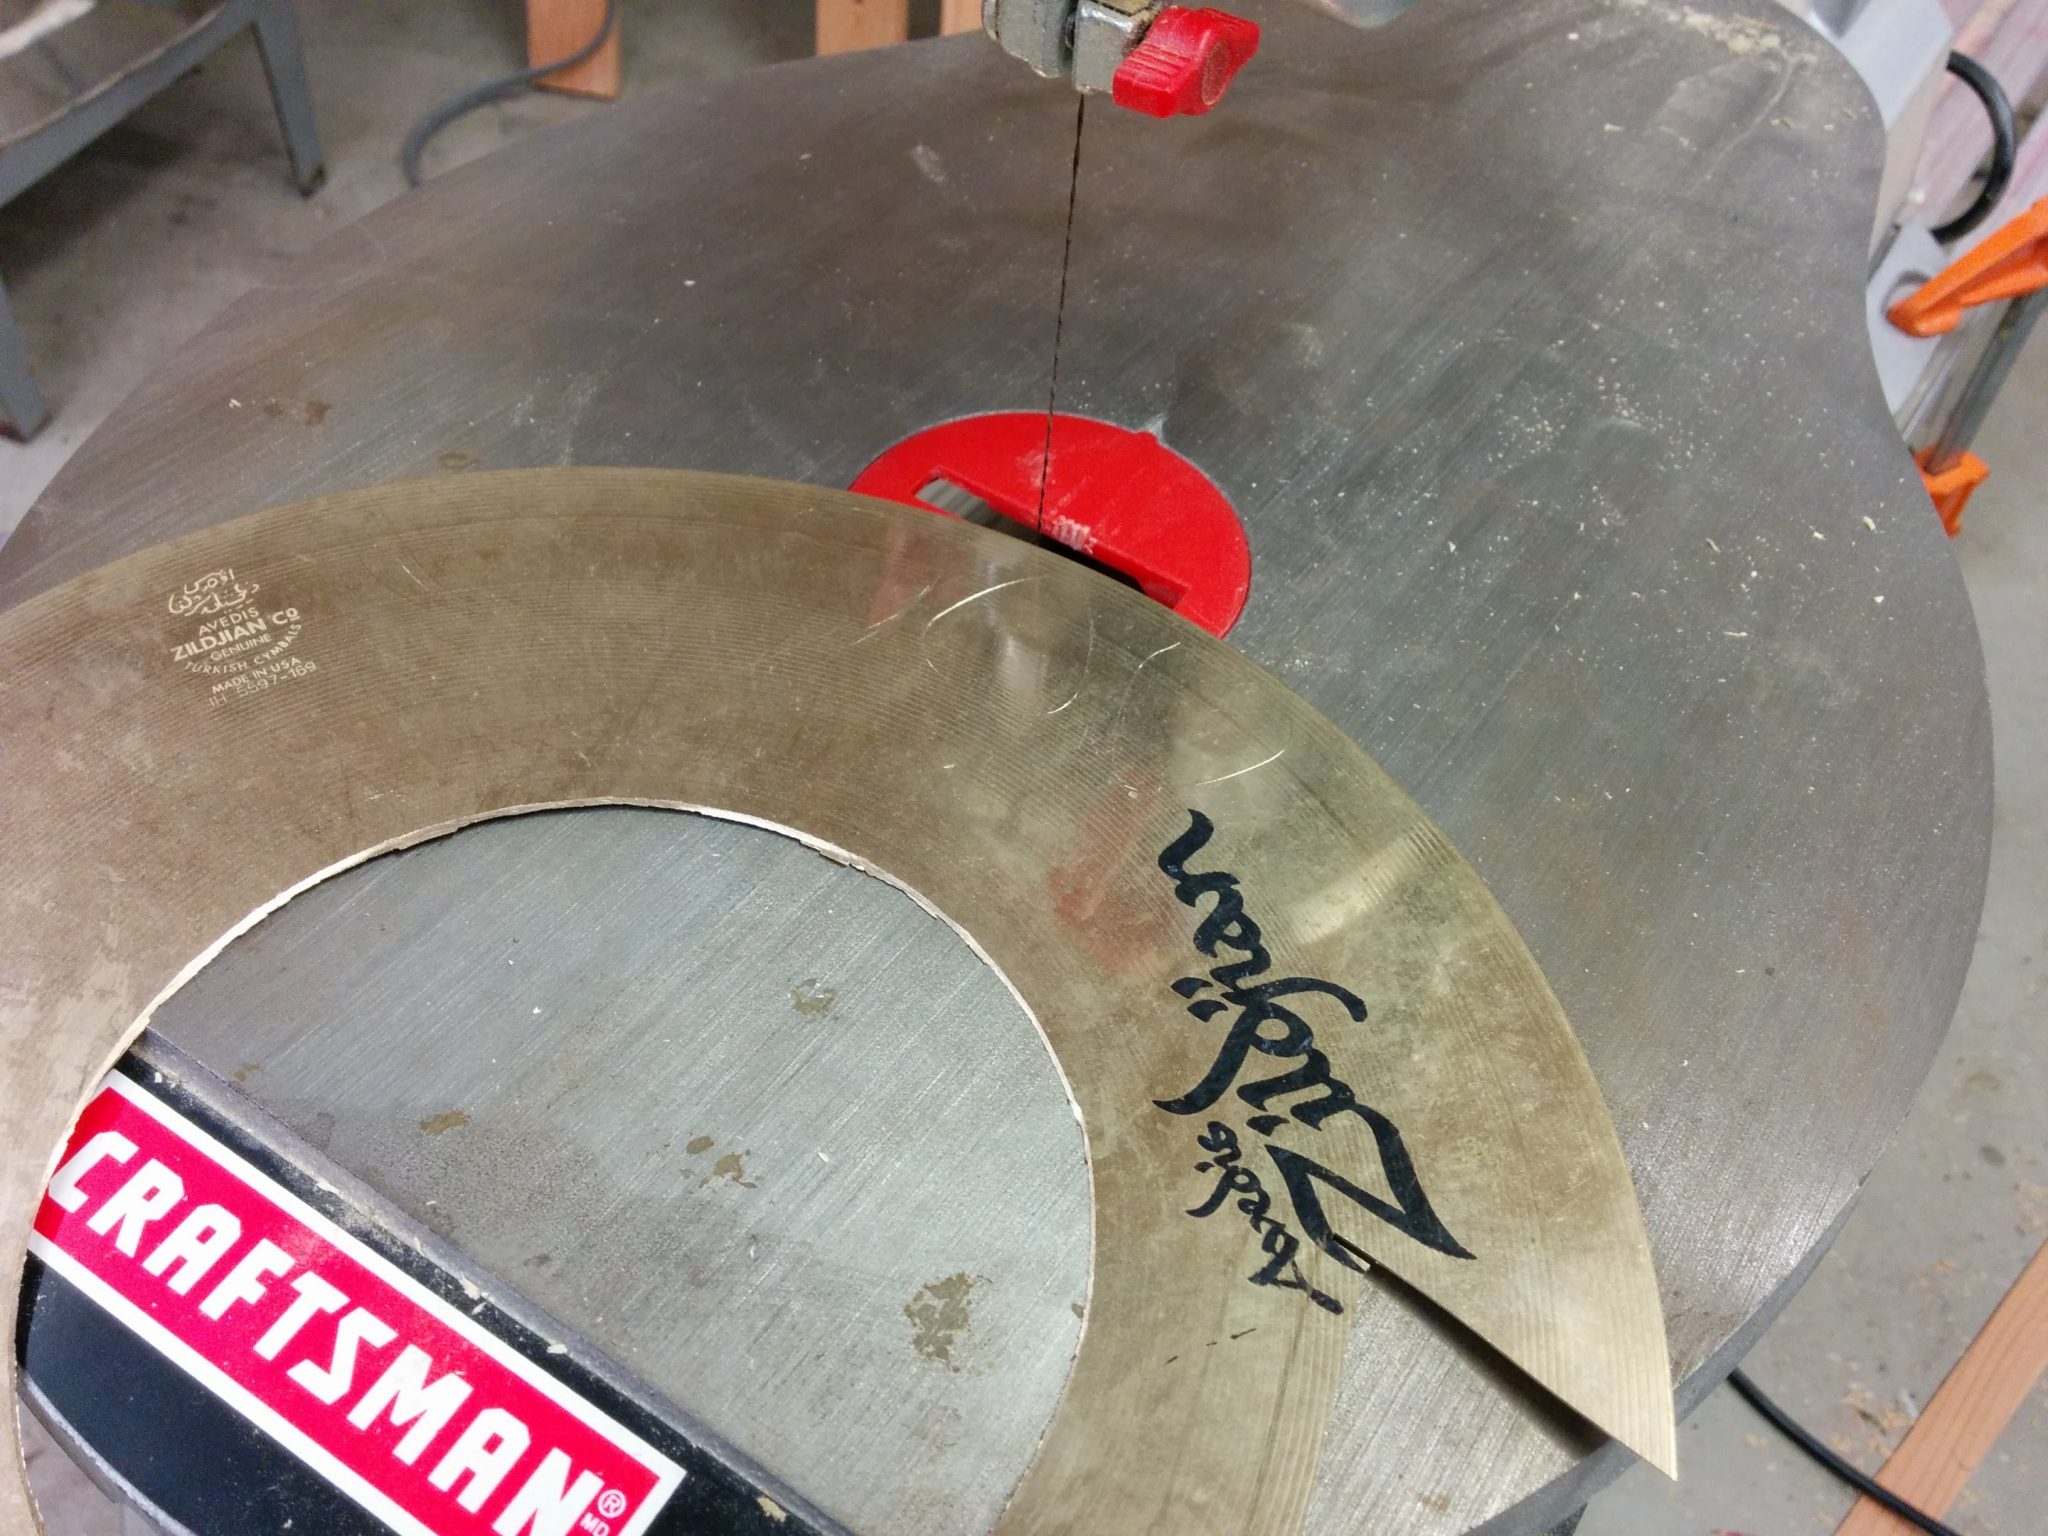
Cutting with the scroll saw was much easier.  The important thing to remember was to let the saw do the work.  I forgot this and got a little eager.  I ended up breaking a blade on this cut as a result.

Cutting out a the material.


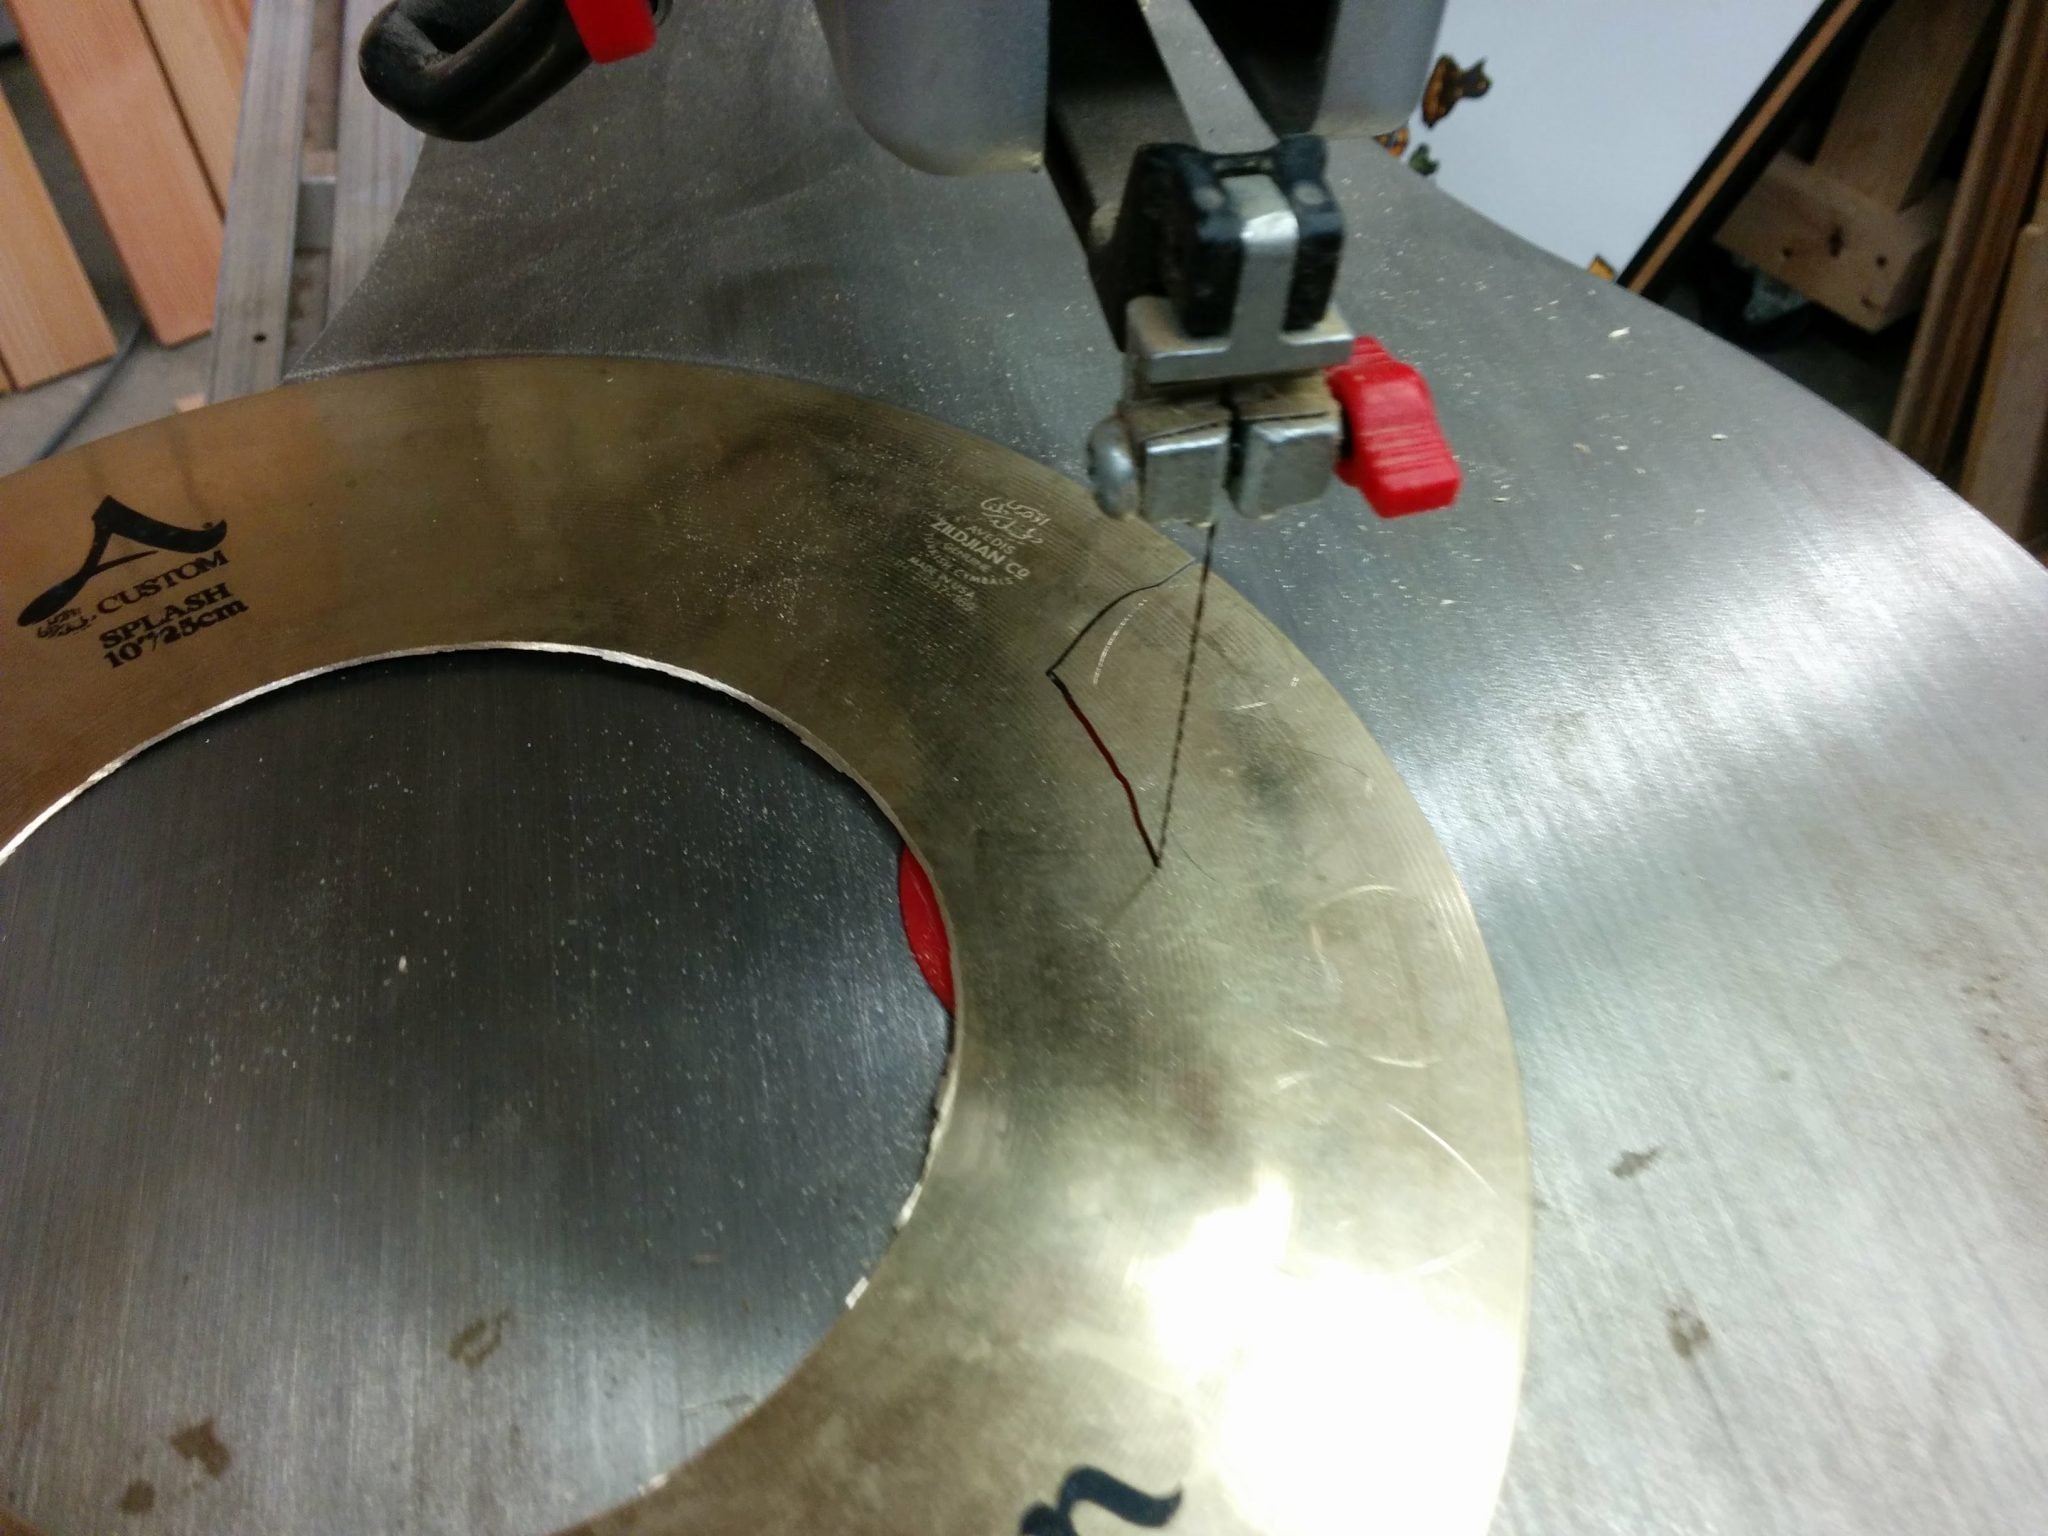
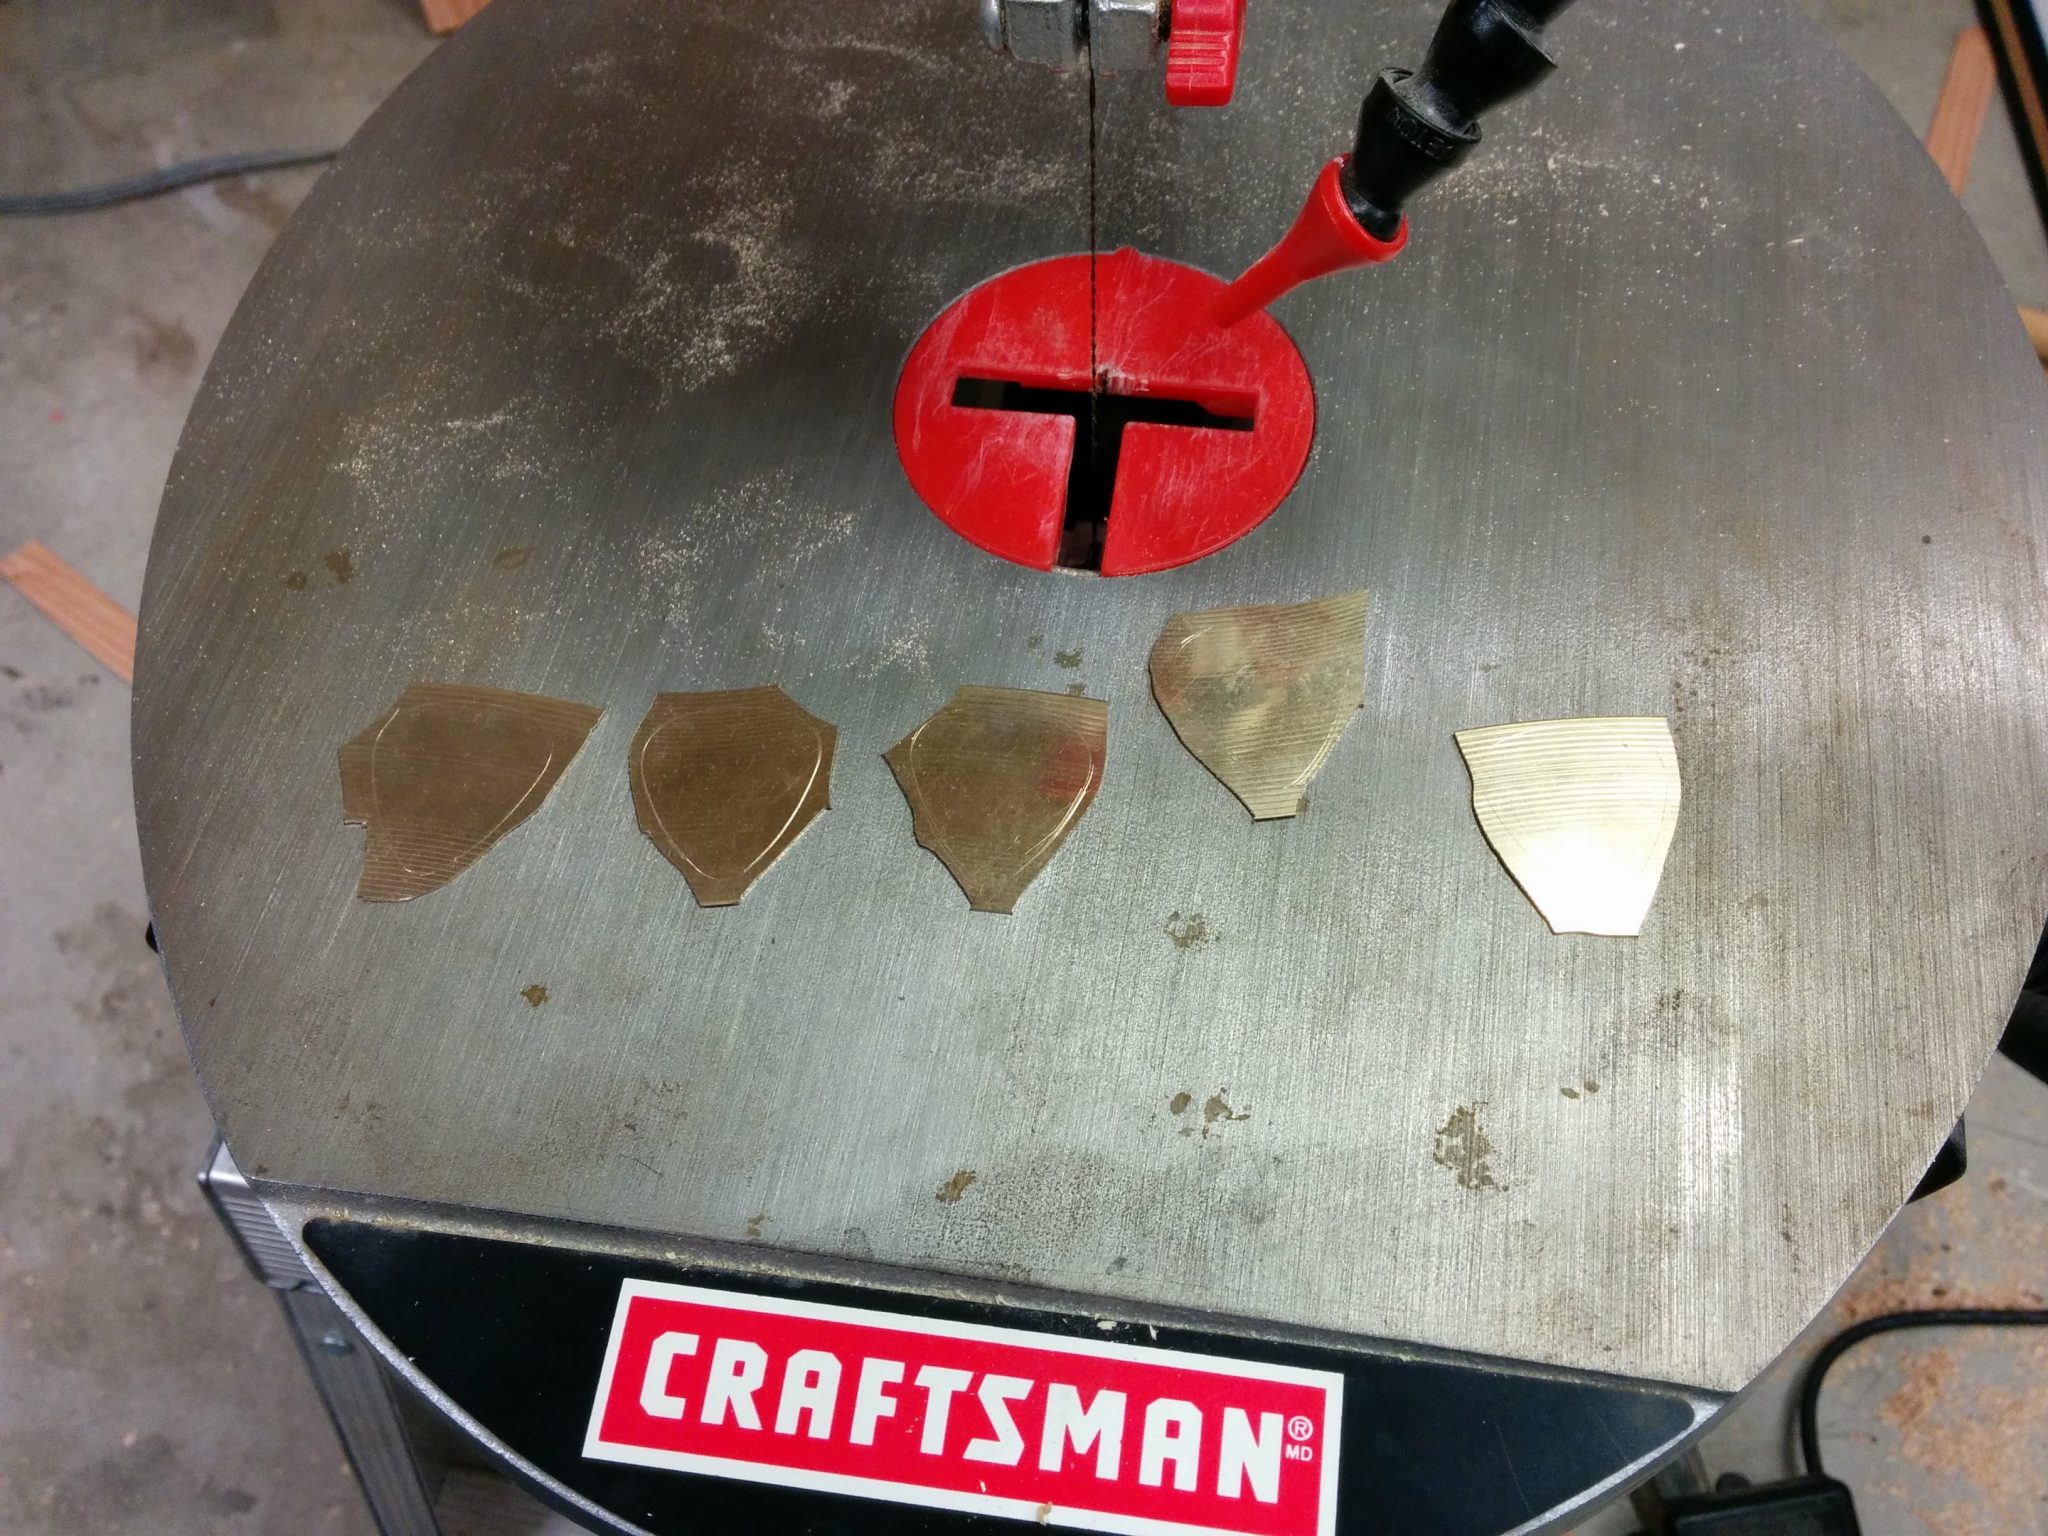
Now that I had a smaller piece to work with, I was able to more precisely cut out each pick.  Once again, I ended up breaking a blade.  At that point I switched to a Pegas No. 4 90.505 38-tooth blade which was a little more aggressive.

A more manageable piece to work with.


The scroll saw was able to get the pieces closer to the final shape, which allowed me to save some of the small scraps in between each pick.  I’ll use these for something else, such as melting them down and casting them.

After rough-cutting on the scroll saw.


I found that it is actually easier to make several of these at a time simply because of the sanding process.  The problem with the sanding is that the metal heats up fairly quickly.  I got into a routine where I would sand one down and once it started to get warm, I would set it down to cool and grab the next one in line.  I would sand that one down a bit then switch to the next when it got warm, and so on.  I would just keep looping through the line until I got them pretty close to the final size.

After getting them close to the final size.


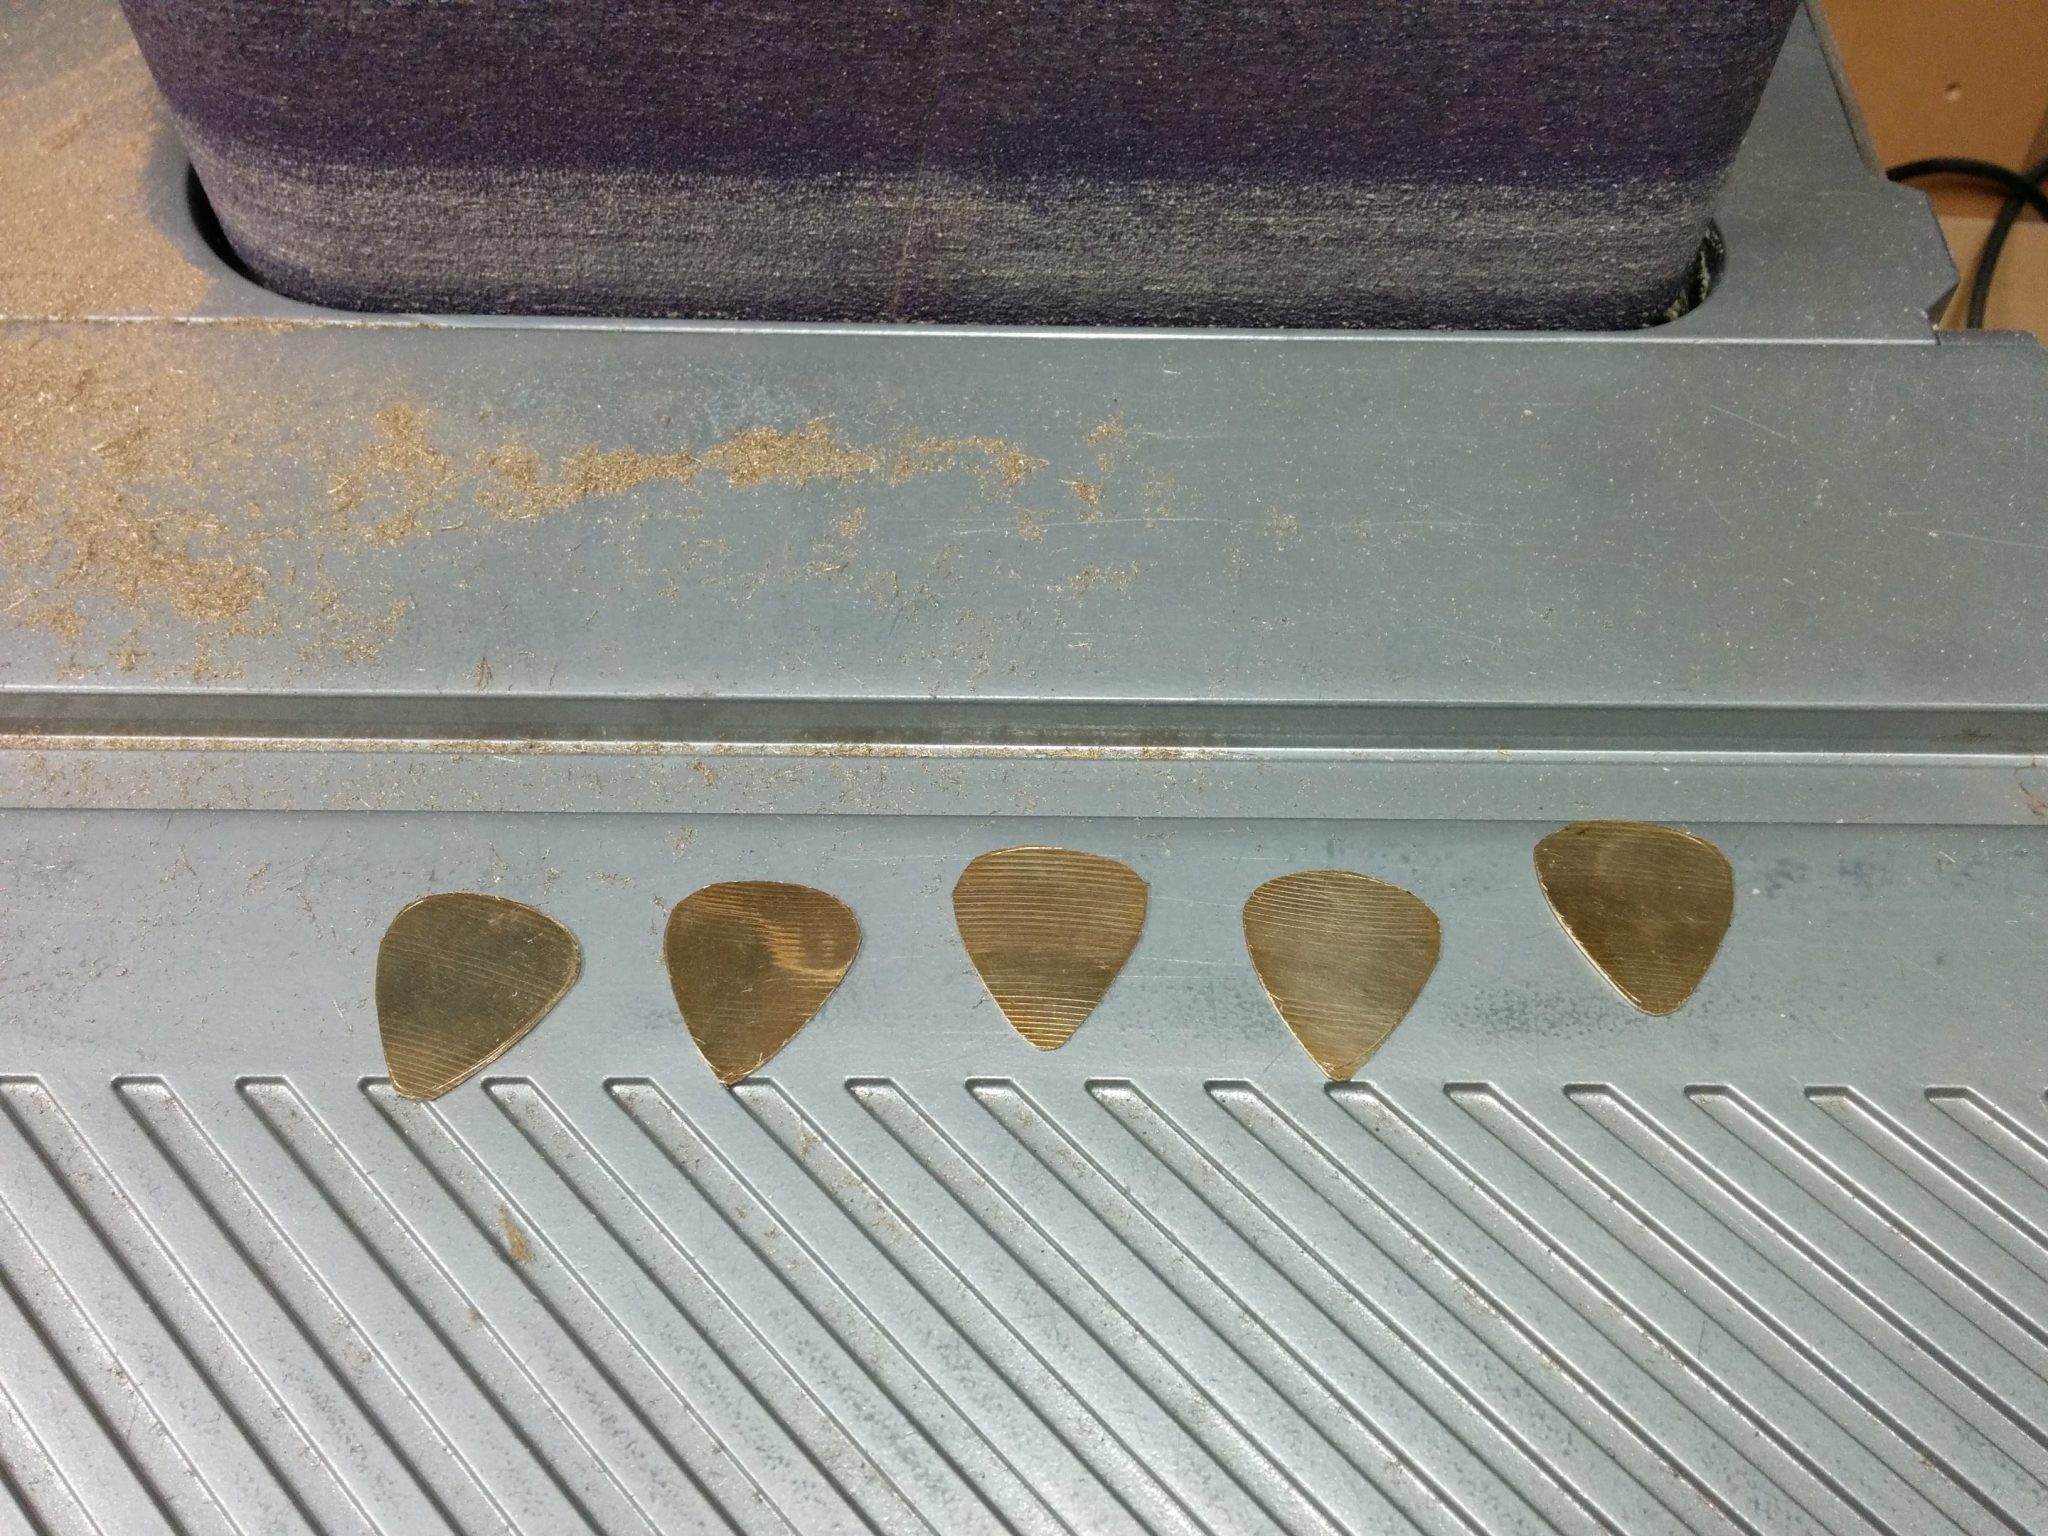
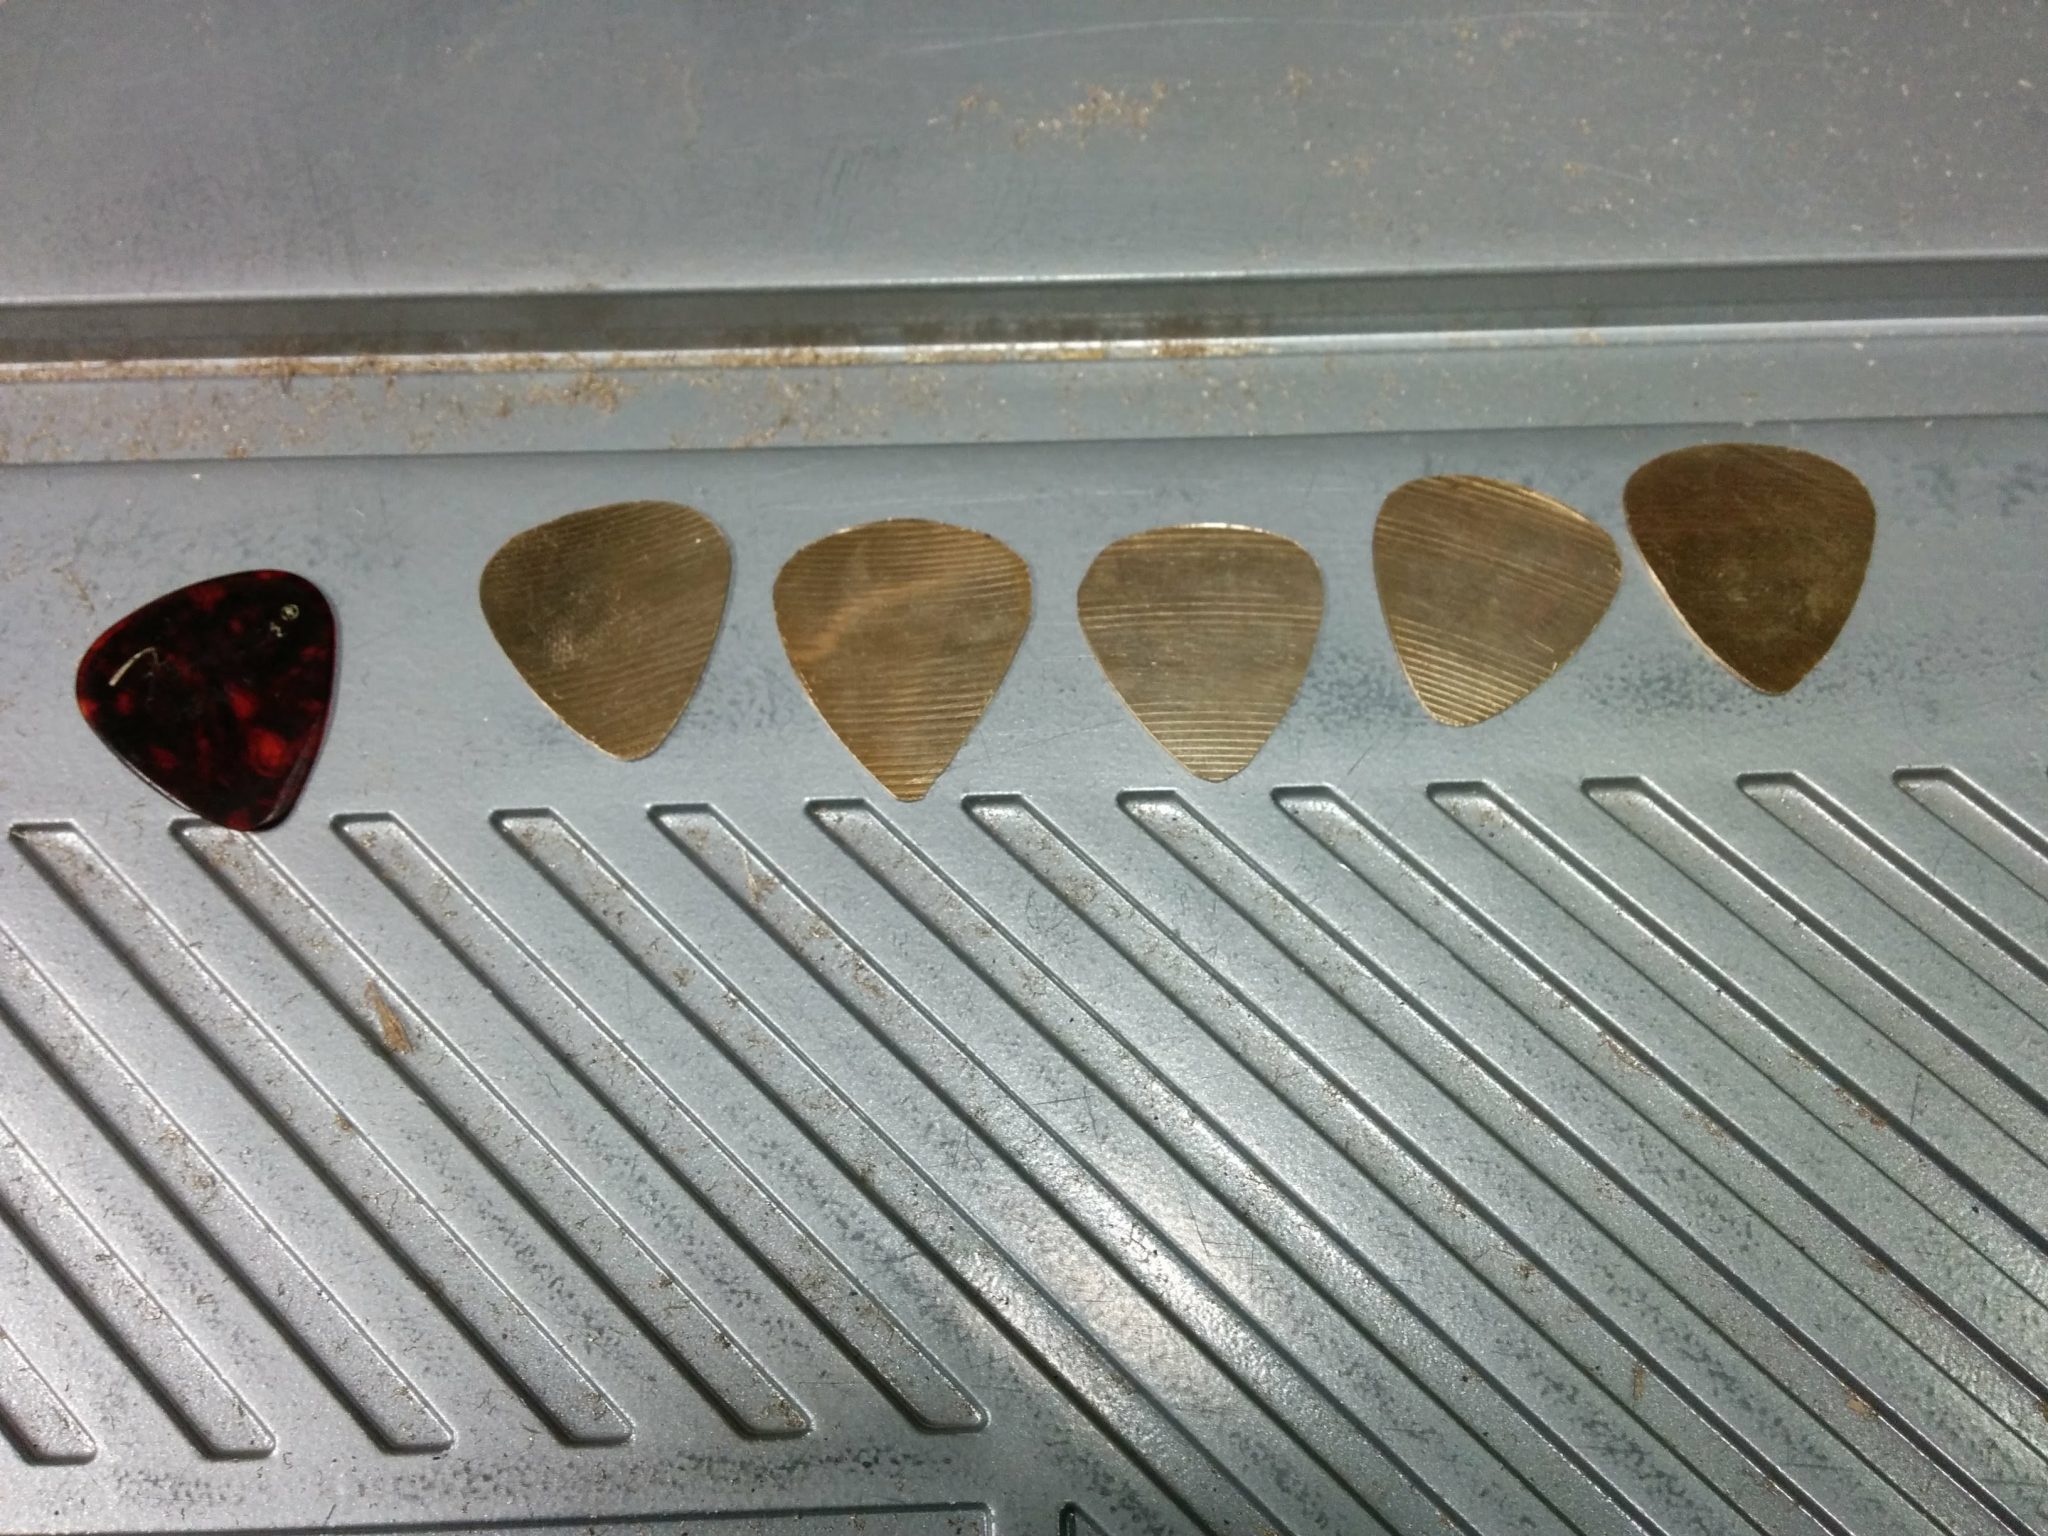
After getting them close to the finished size, I used the original pick as a template by holding it in front of the sanded shape and see where I needed to take it down some more.

Lining up the original pick as a template.


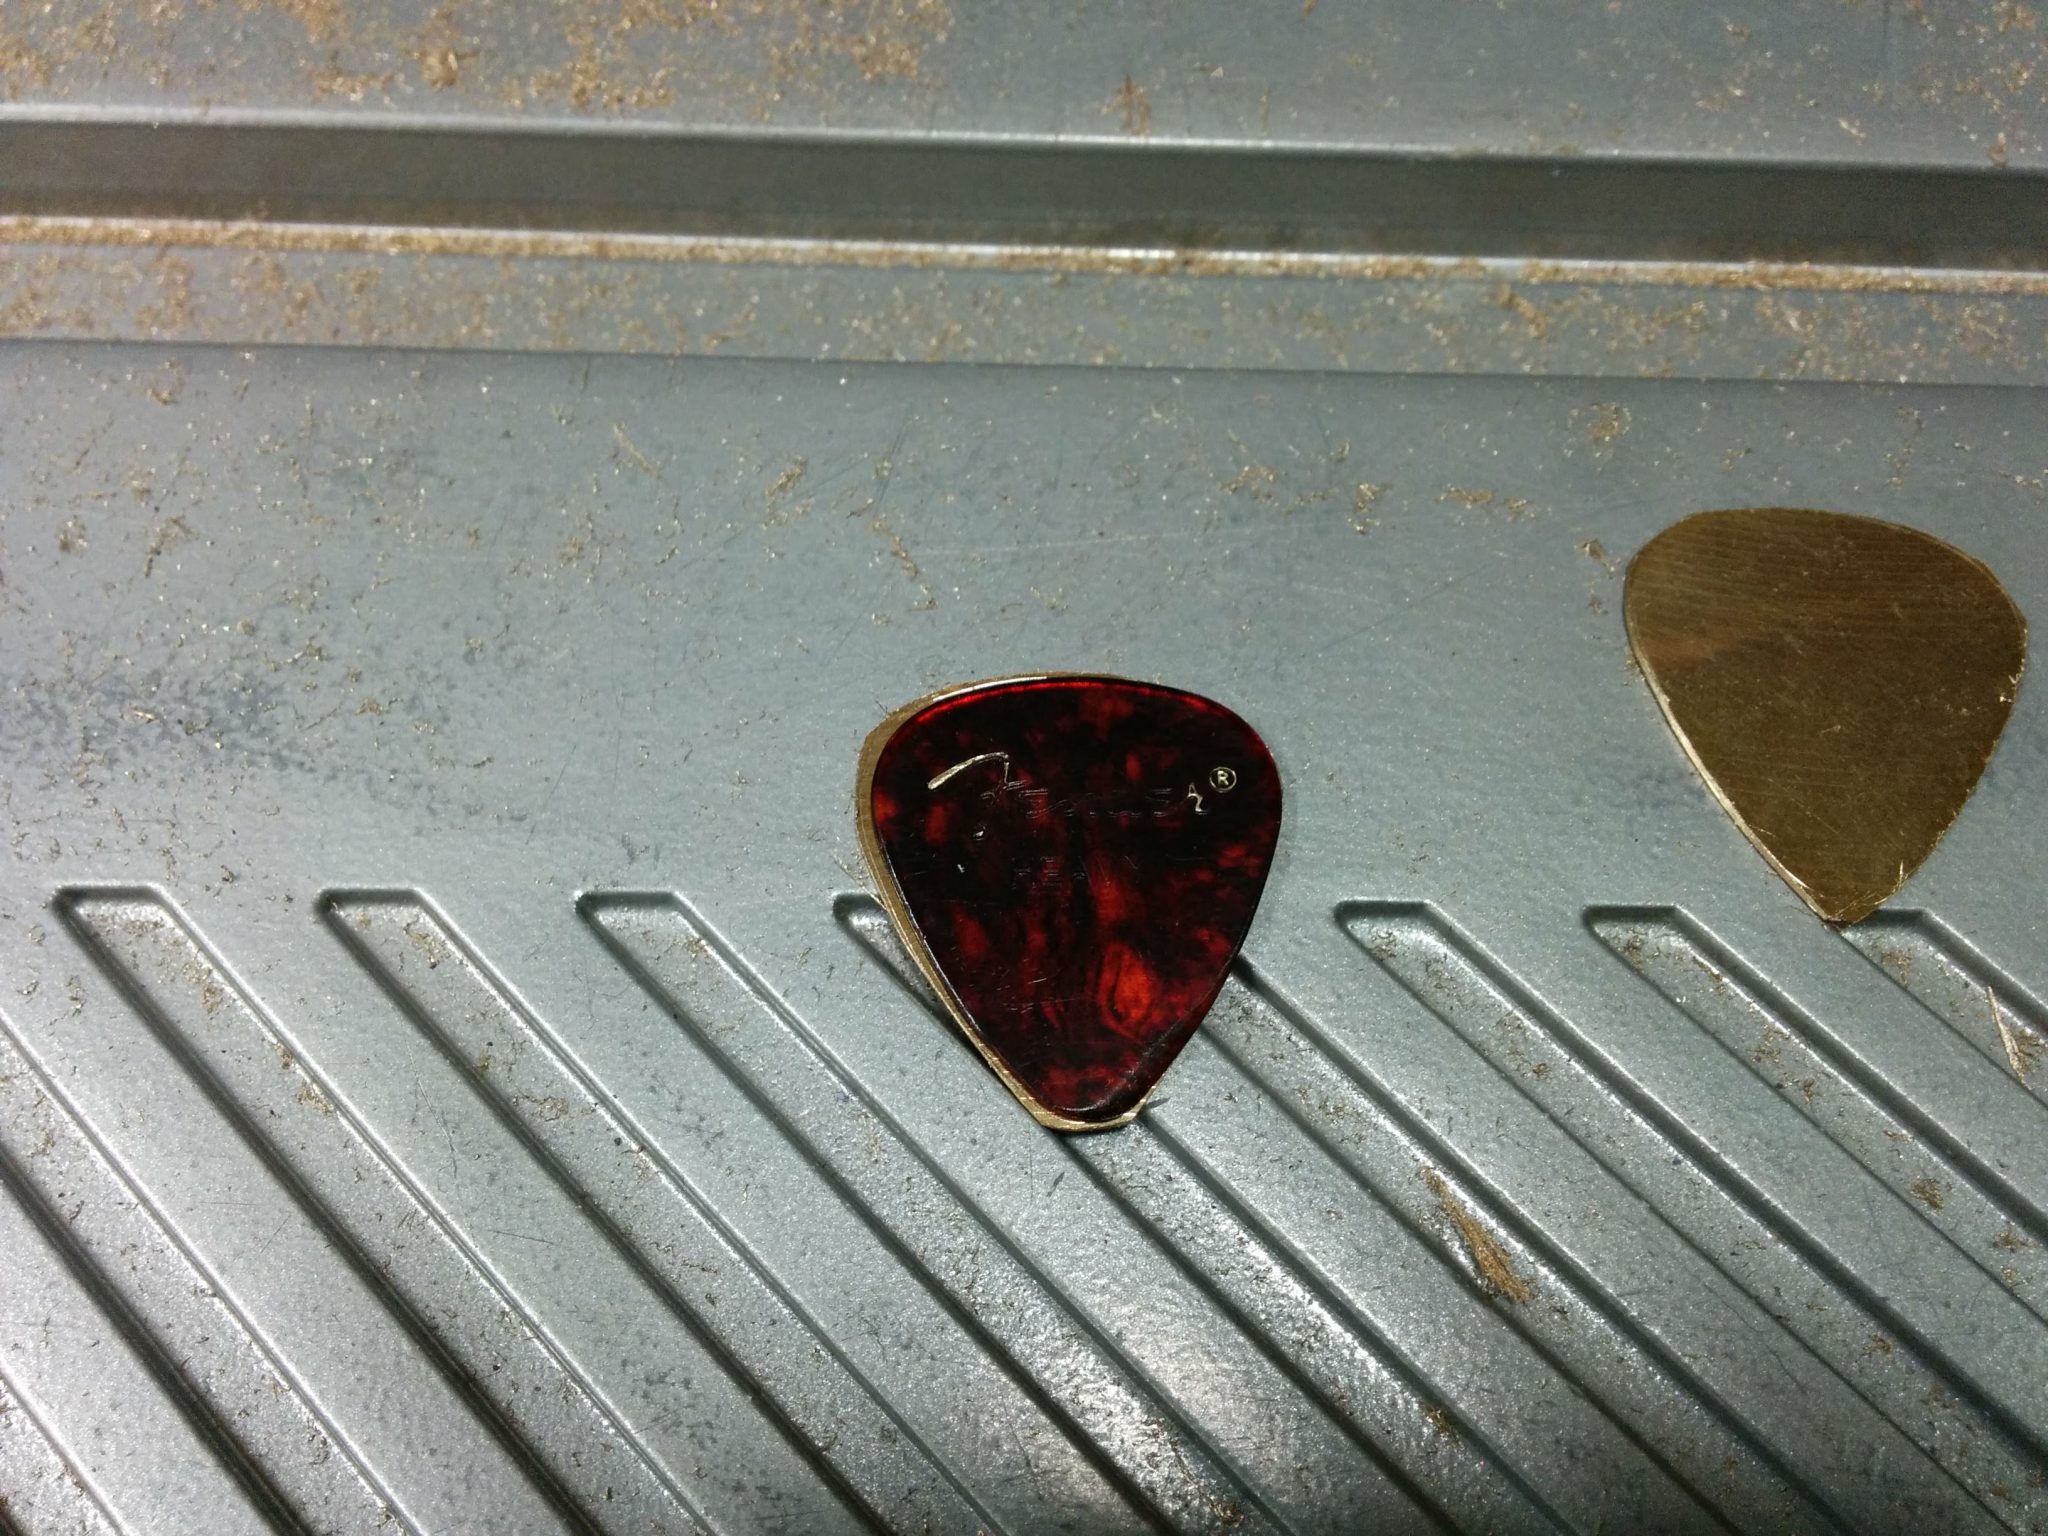
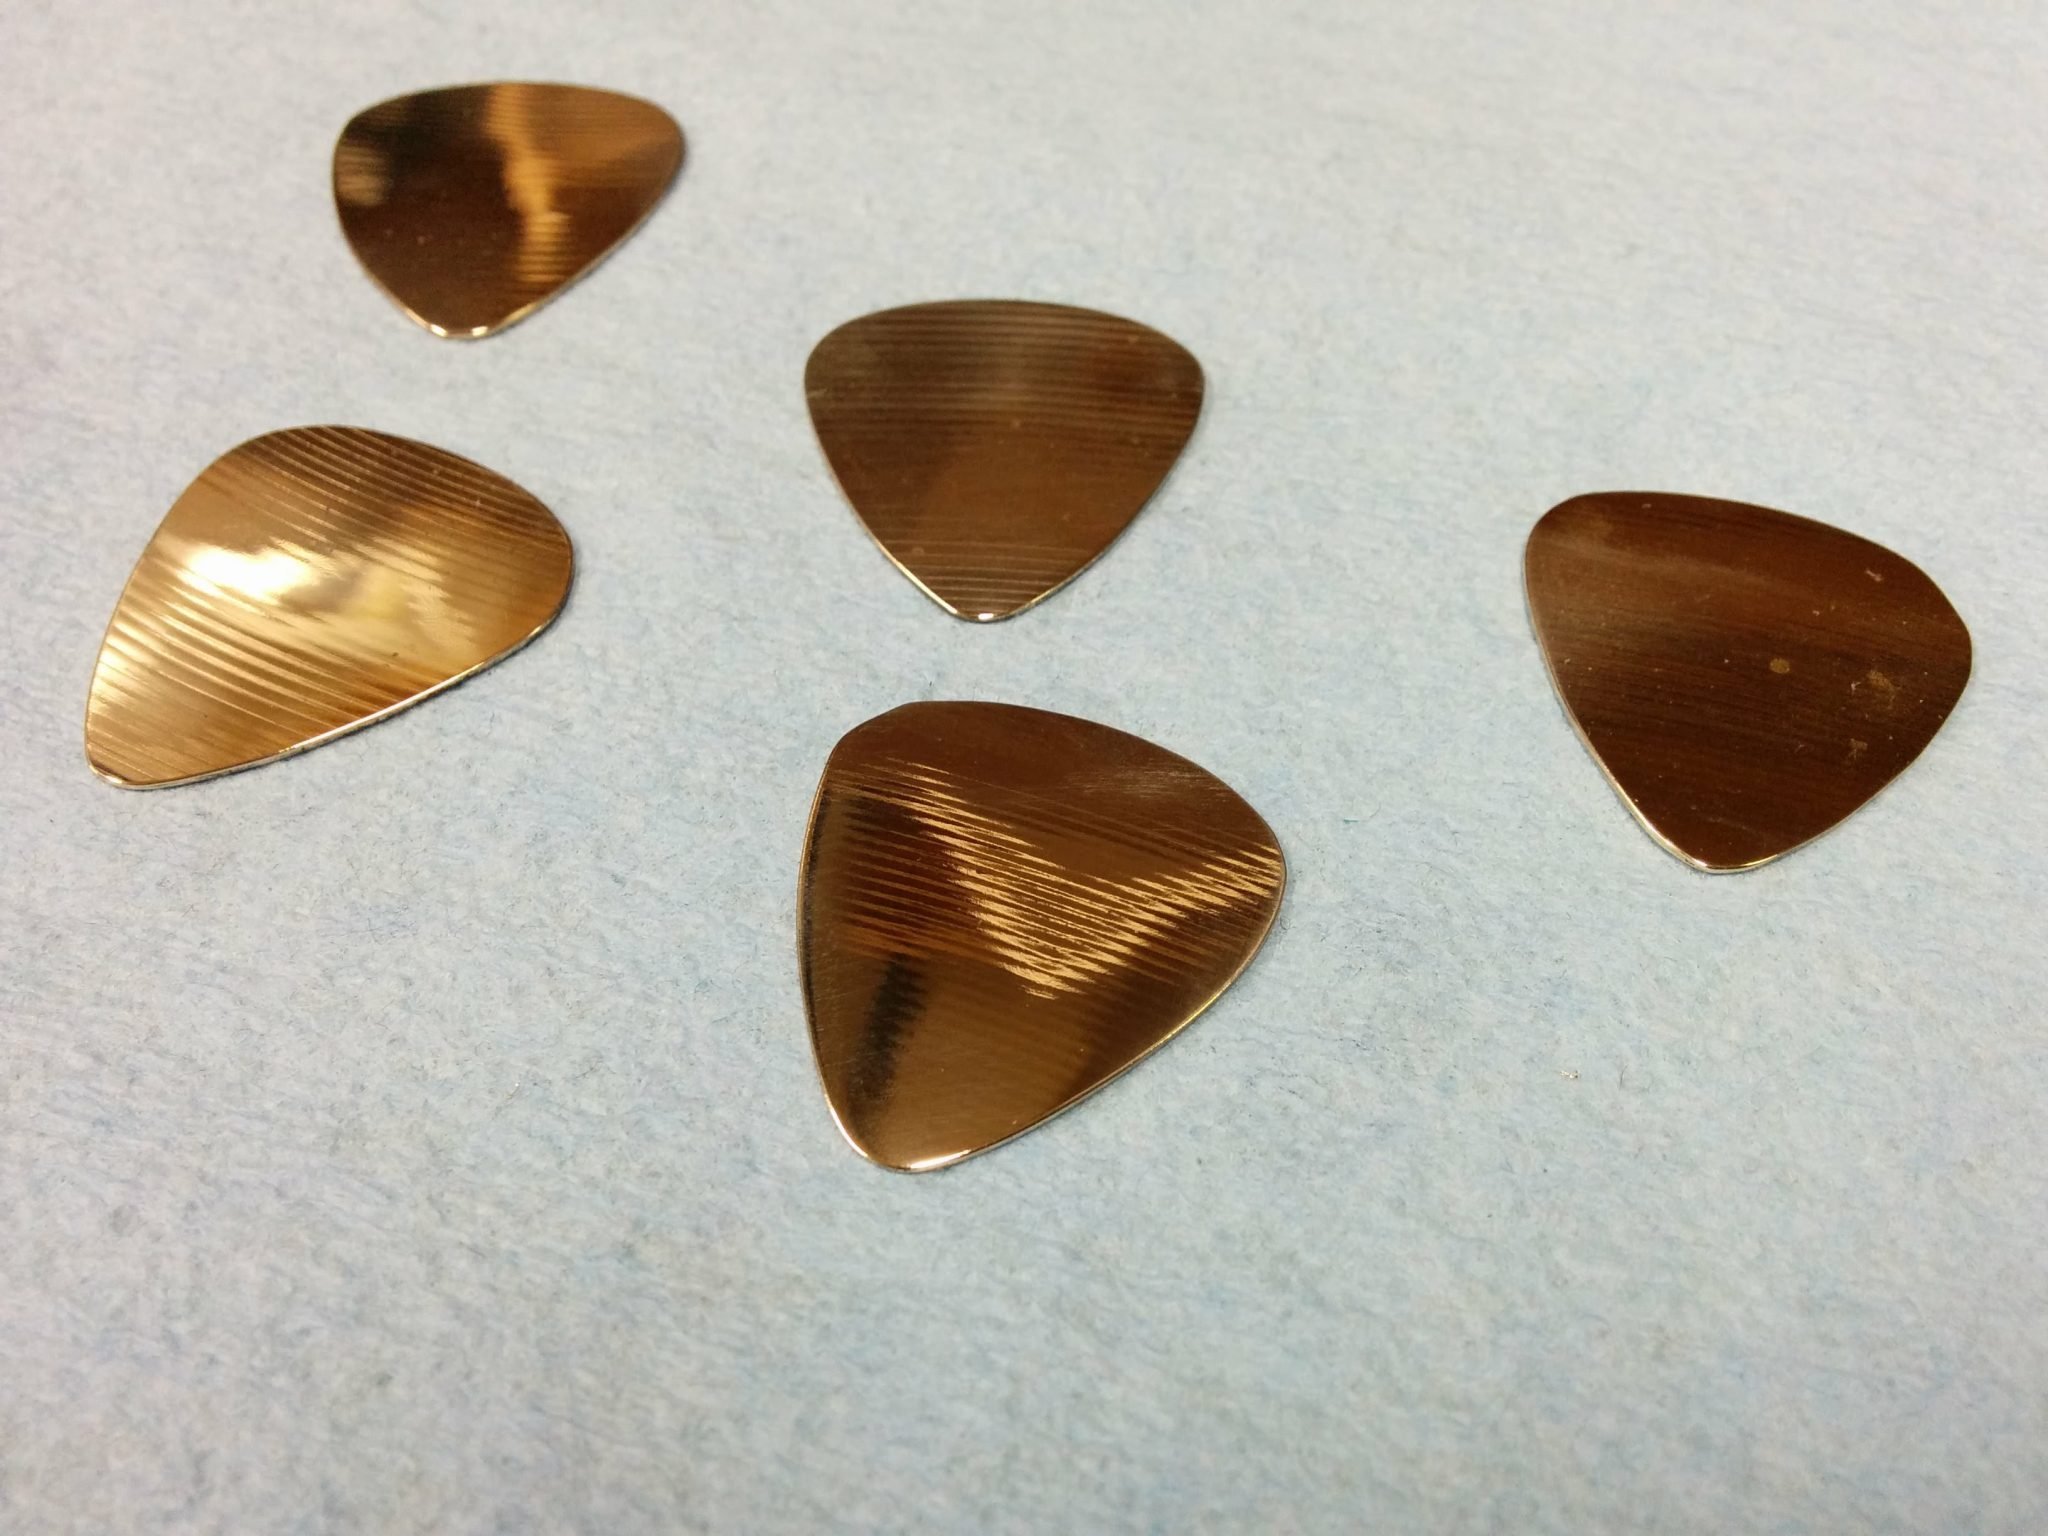
After using the pick as a template, they were really close to the final shape (the second pick in this photo had yet to go through this step).

After using the original pick as a template.


Then I took them to my sanding block and manually sanded them down so they would have smooth edges.

Ready to be polished.


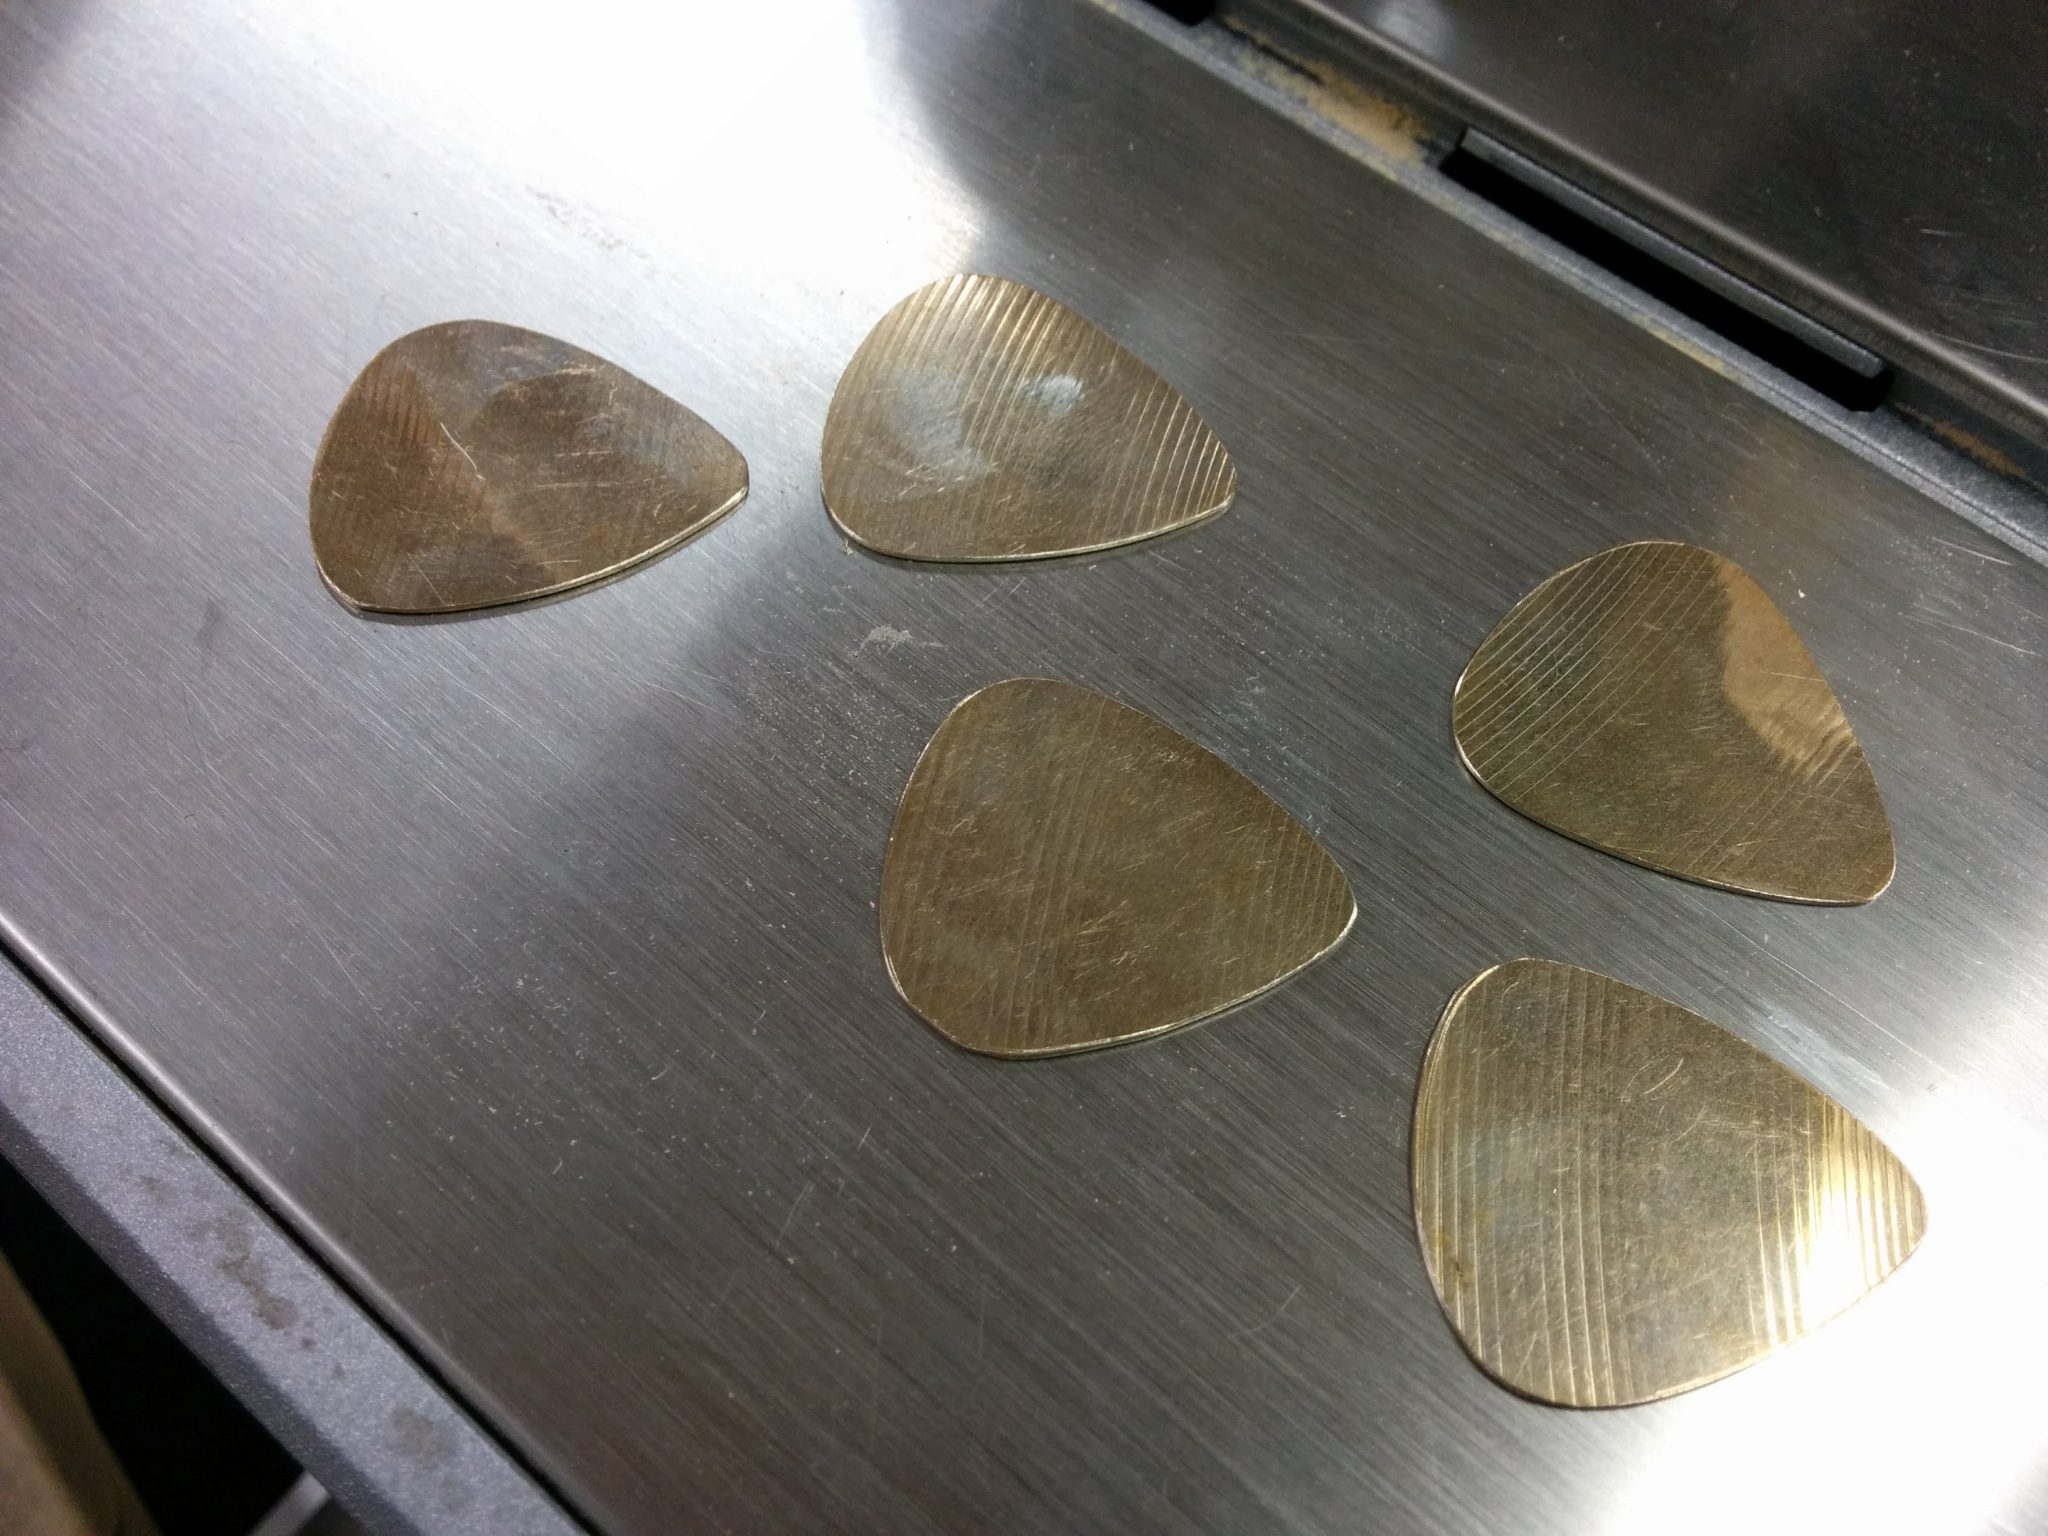
After that, I took them to the buffing wheel on my drill press.

5 more picks almost done being polished.


And that’s it.  I think I’ve got this process down.  I’ve got a few picks being tested by other guitarists so I’ll compile the feedback and see how people like them.

Workbench: Part 1 – Milling down some 2 X 4s

My wife is a lot like me in that she likes to make stuff. She wants a workbench for her studio. The design we are thinking of consists of a one-inch thick top and a metal pipe framework for the legs.

I’m going to worry about the legs later, but for now (since we had a snow day yesterday so I had the day off) I decided to work on the table top.

The look of the tabletop that I’m going for is a dark-stained pine with a lived-in look. My wife wants something with a butcher block top but she doesn’t want me spending a lot of money to make one out of maple. As an experiment, I thought I would try making this from 2 X 4s. I’m thinking it will look right but I’m more concerned about the durability. I plan on milling them down, staining them, then throwing several coats of polyurethane to hopefully make it strong enough to withstand her leatherworking, which usually consists of lots and lots of hammering.

My first step was to joint two edges of the 2 X 4s on my jointer.

After that, I cut the third side on the table saw, using the freshly jointed side as a reference against the fence.

Milling the third side on the table saw.

Lastly, I threw them through my planer to mill up the final edge.

Milling the 4th side on the planer.

After handling this material so much while milling it down, I’m fairly skeptical that these will be strong enough for what they’re intended for.

After milling all 4 sides down.

The next step is to glue them all up, sand them smooth, stain, and finish. That’s for another day.

What do you think? Have you ever done something like this using 2 X 4s? How has it worked for you? Let me know in the comments section below.

Part 2 – Gluing up the top...