The recording for the upcoming album by Bright & Shiny is progressing well. I have been playing around with the video for a few songs and although it isn’t finished, I decided to share an early version of one of the videos.
I’m playing around with the title sequence and cutting back and forth between different camera angles. Although the drum performance is pretty much finalized, the rest of the song is not the finished version. Also, none of this has been mixed and mastered.
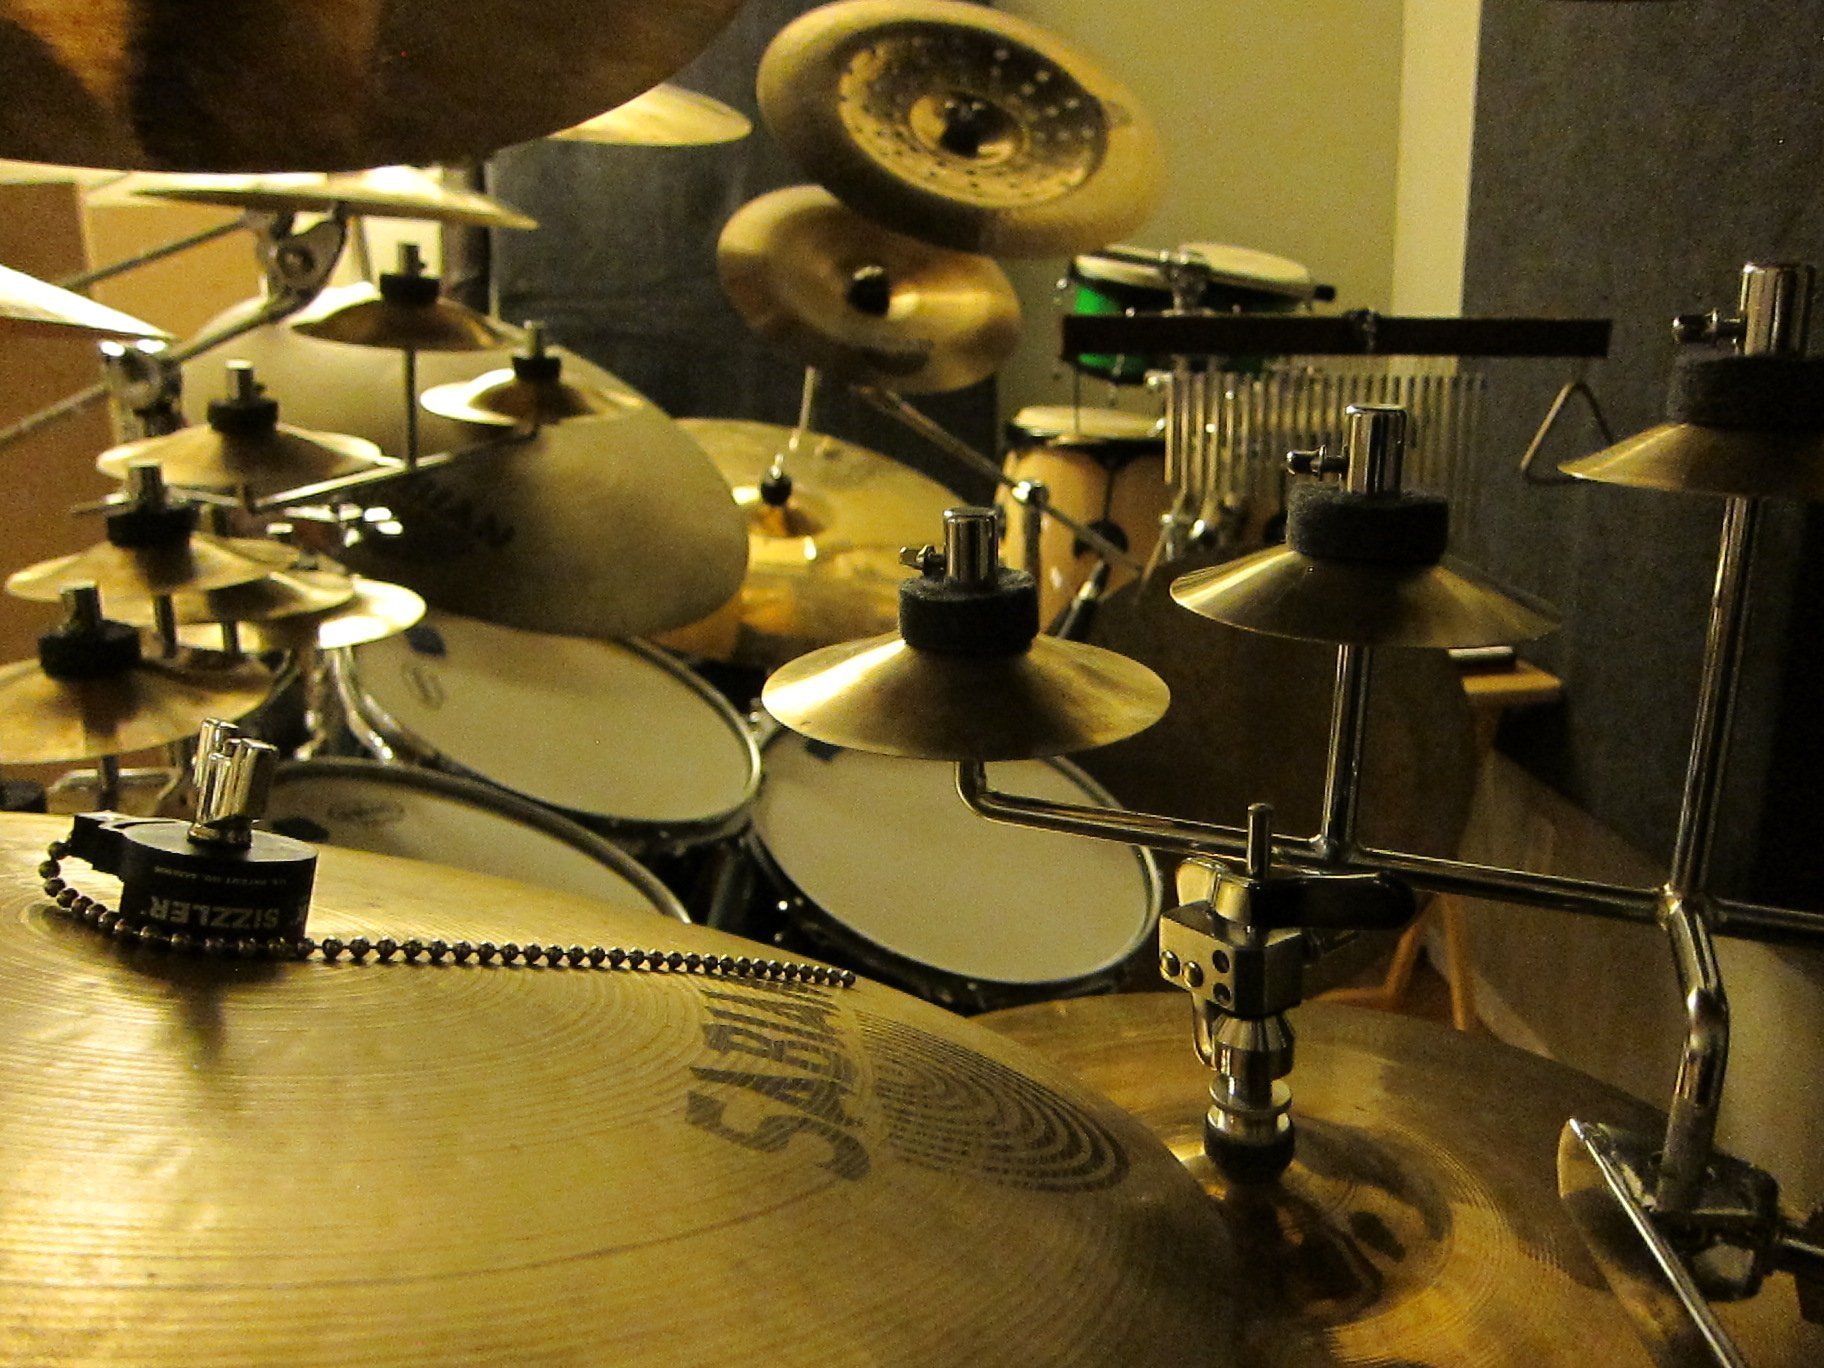
A few interesting things to note with this song is the use of some of my “Rescued Cymbals”. In addition to the small chime cymbals that I use in pretty much every song, I am also using two cut down Wuhan Lion (or China) cymbals which are positioned above my two main rack toms. I’m also using a 12″ Glennie’s Garbage positioned above my hi-hat. This is quickly becoming one of my favorite cymbals.
I learned a few things since making that first pick. Here’s what I did differently.
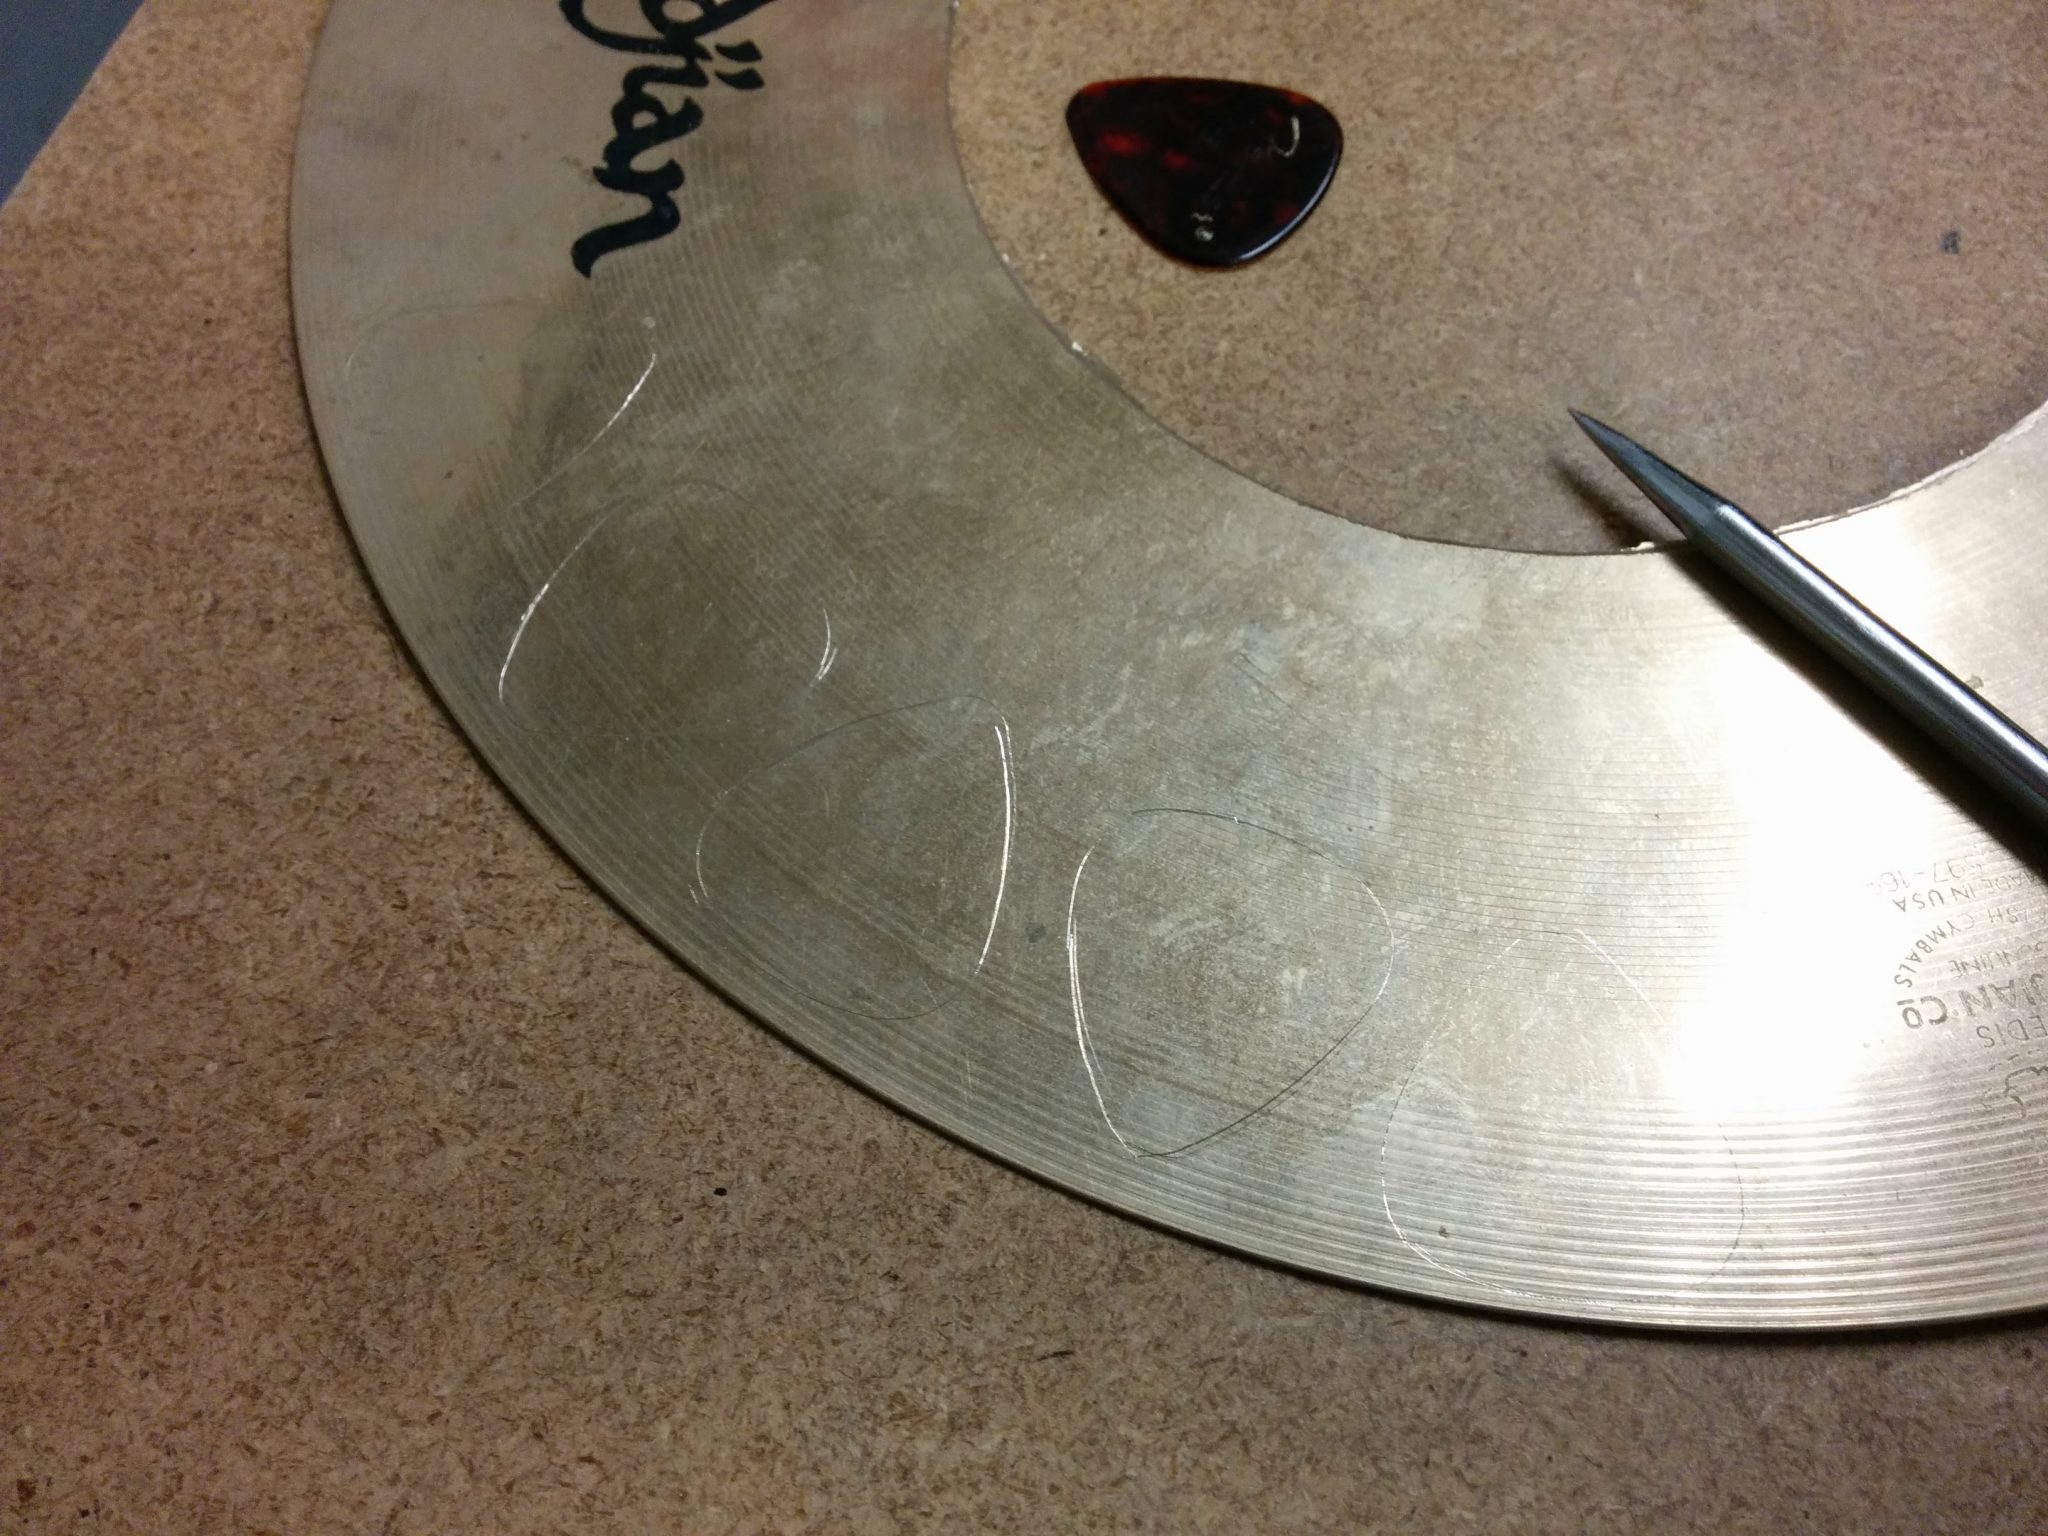
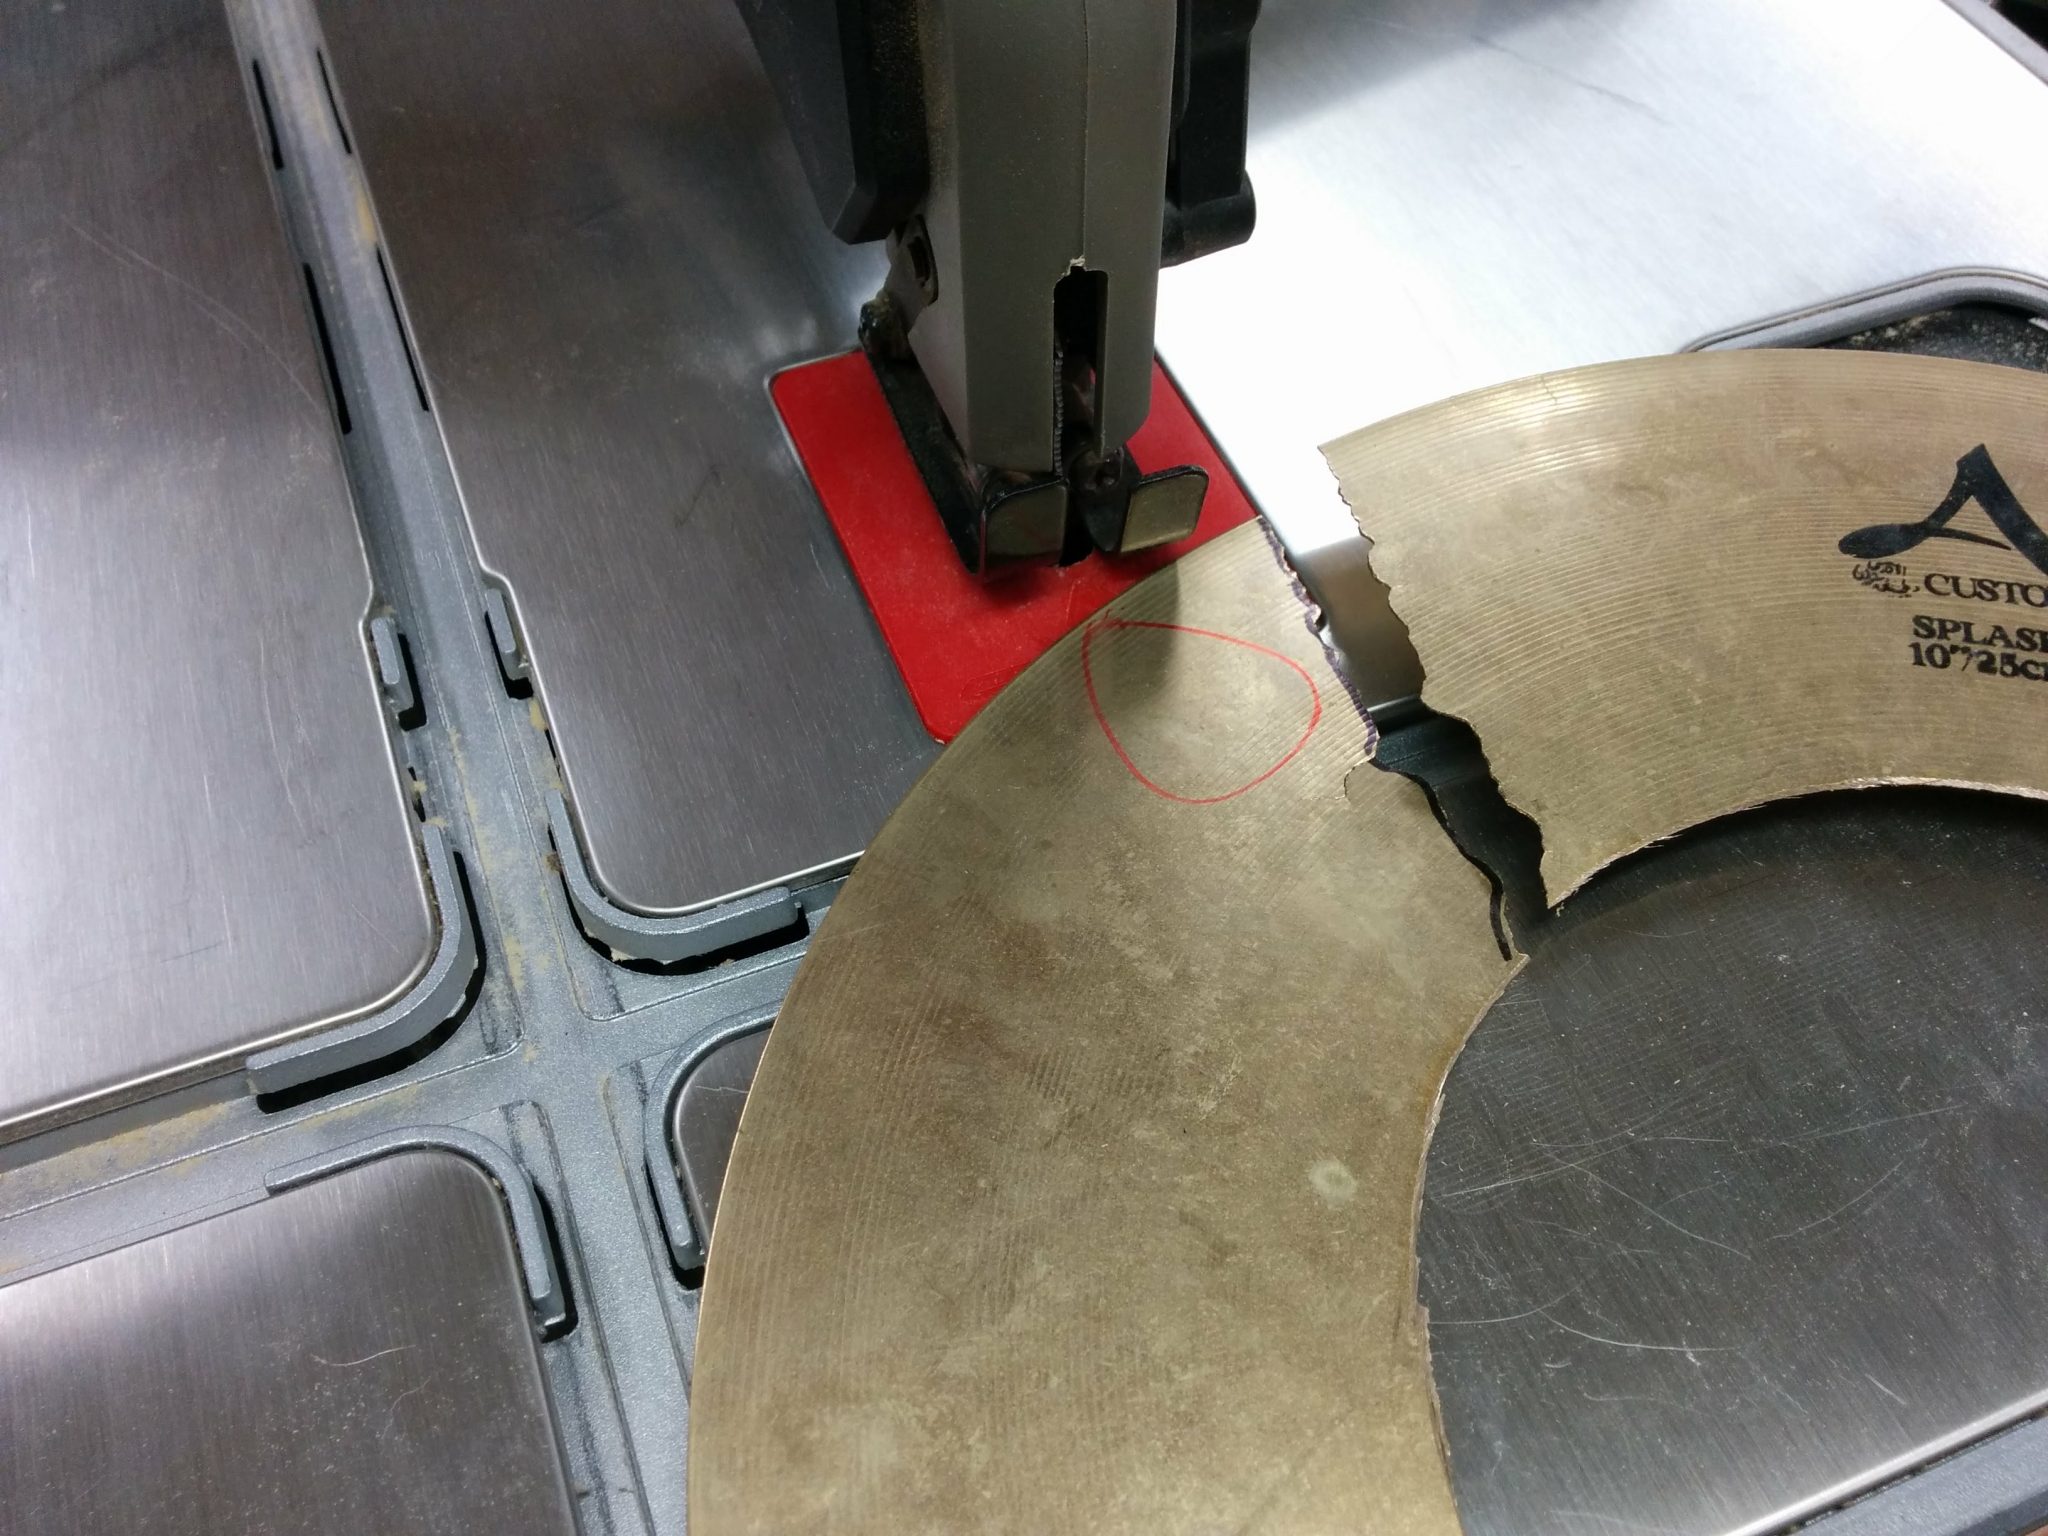
First, I decided to trace an outline of the pick using an awl. This works better since the red Sharpie kept getting rubbed off the cymbal as I was sanding it down. You need to be careful when doing this but it seems to work okay.
The pick outline traced with an awl.
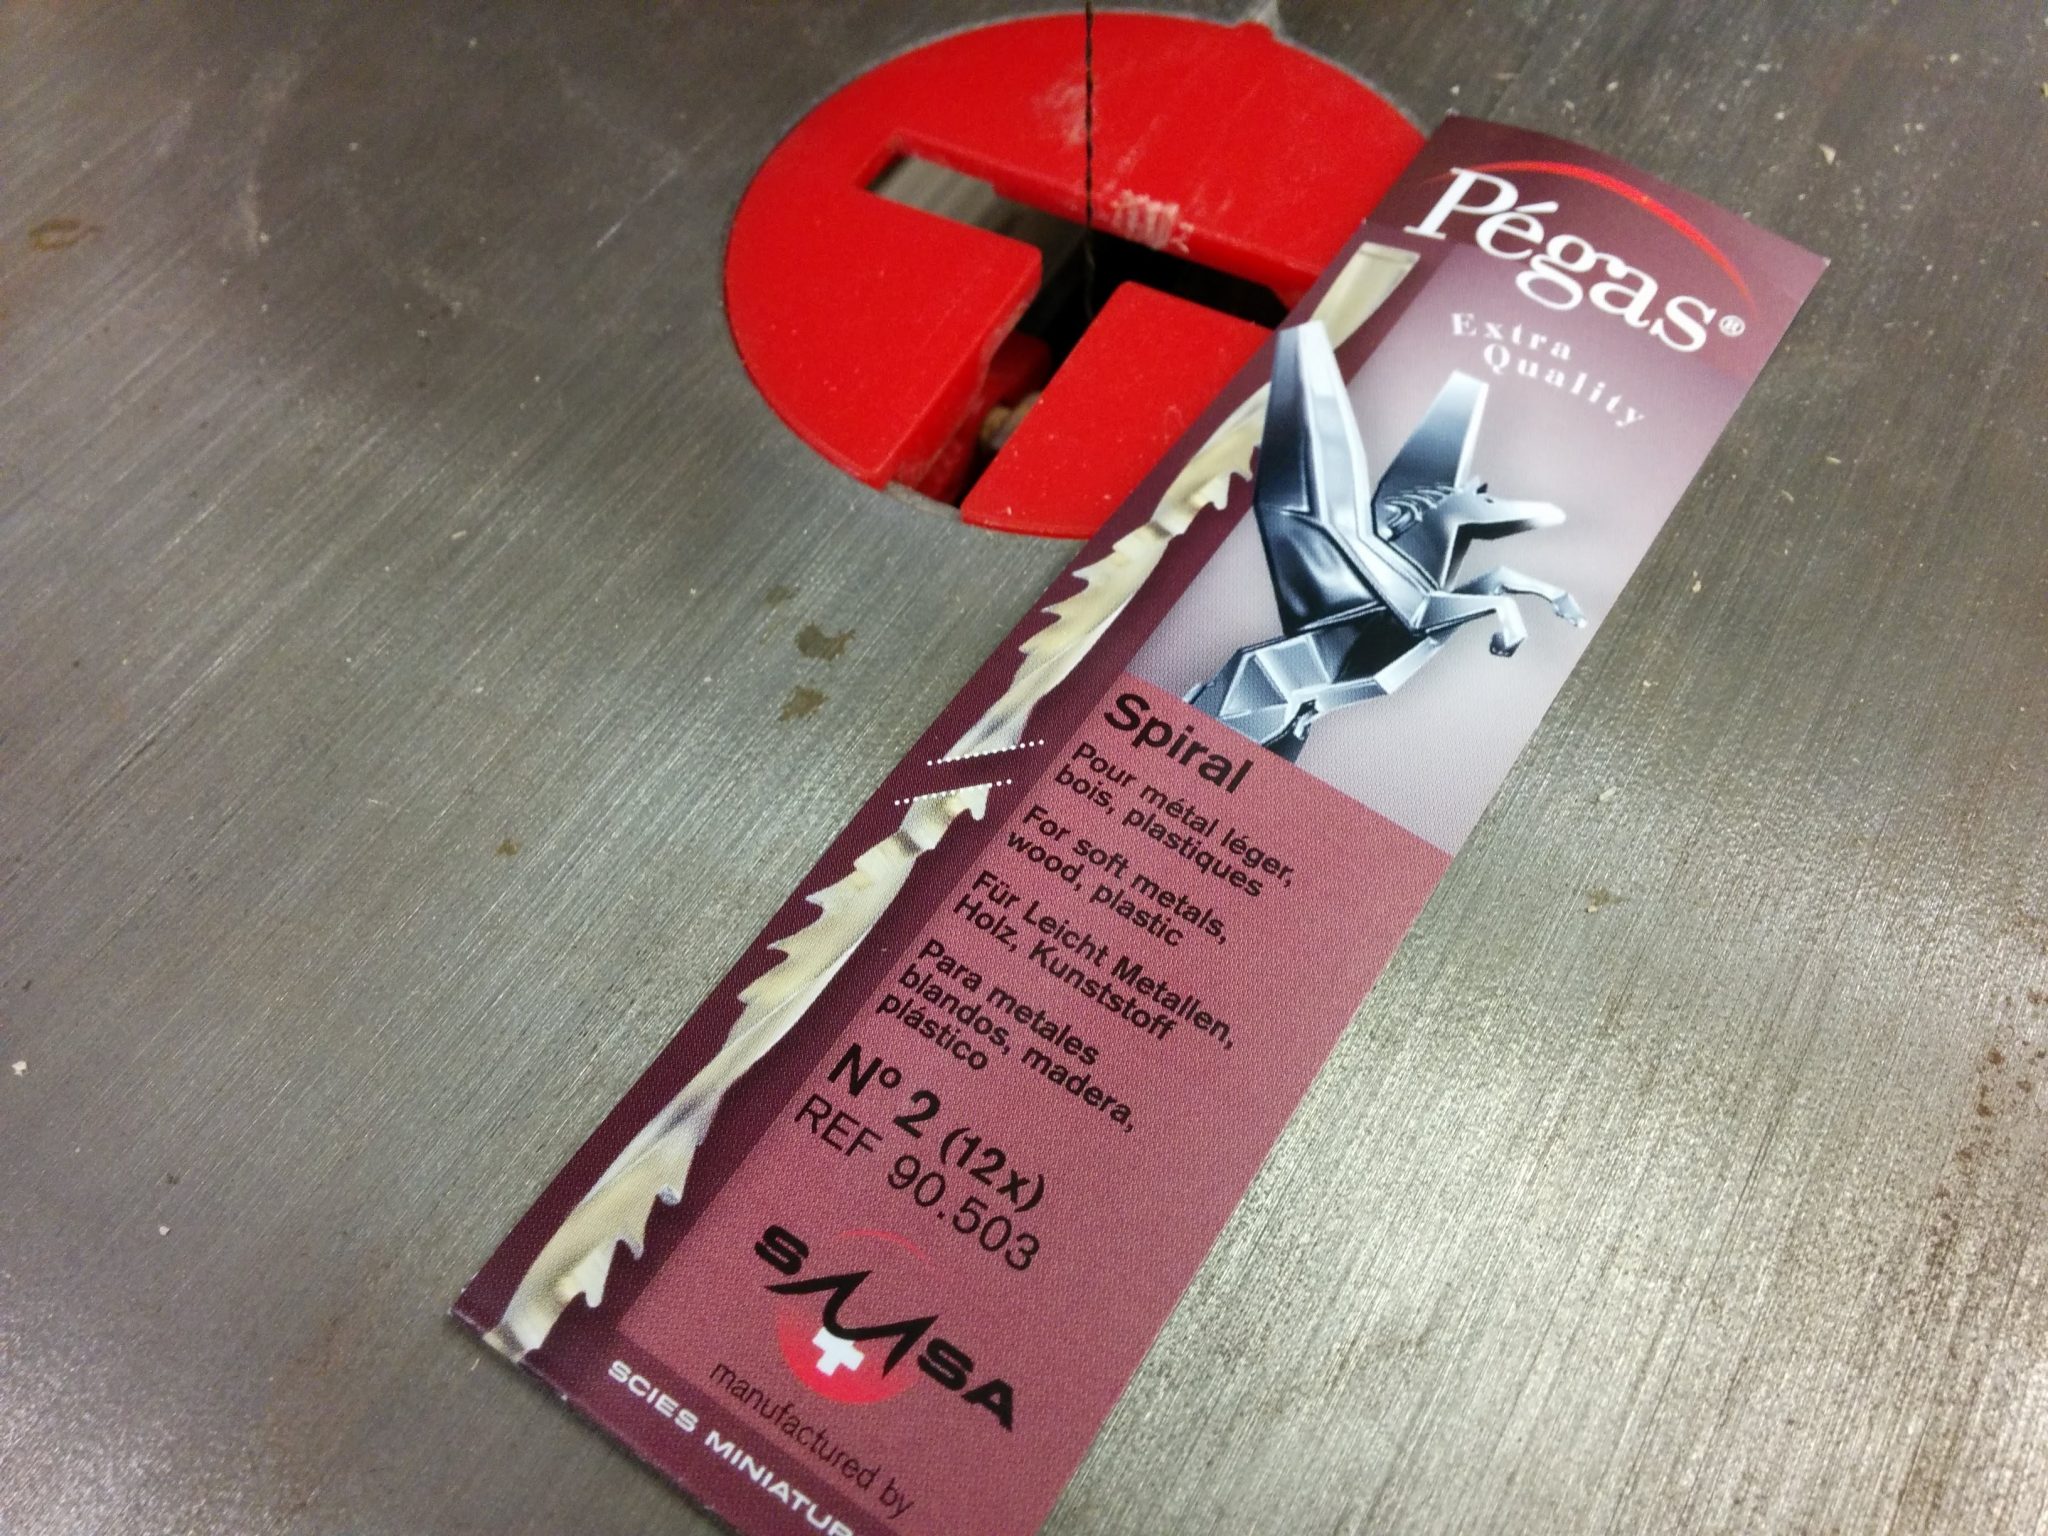
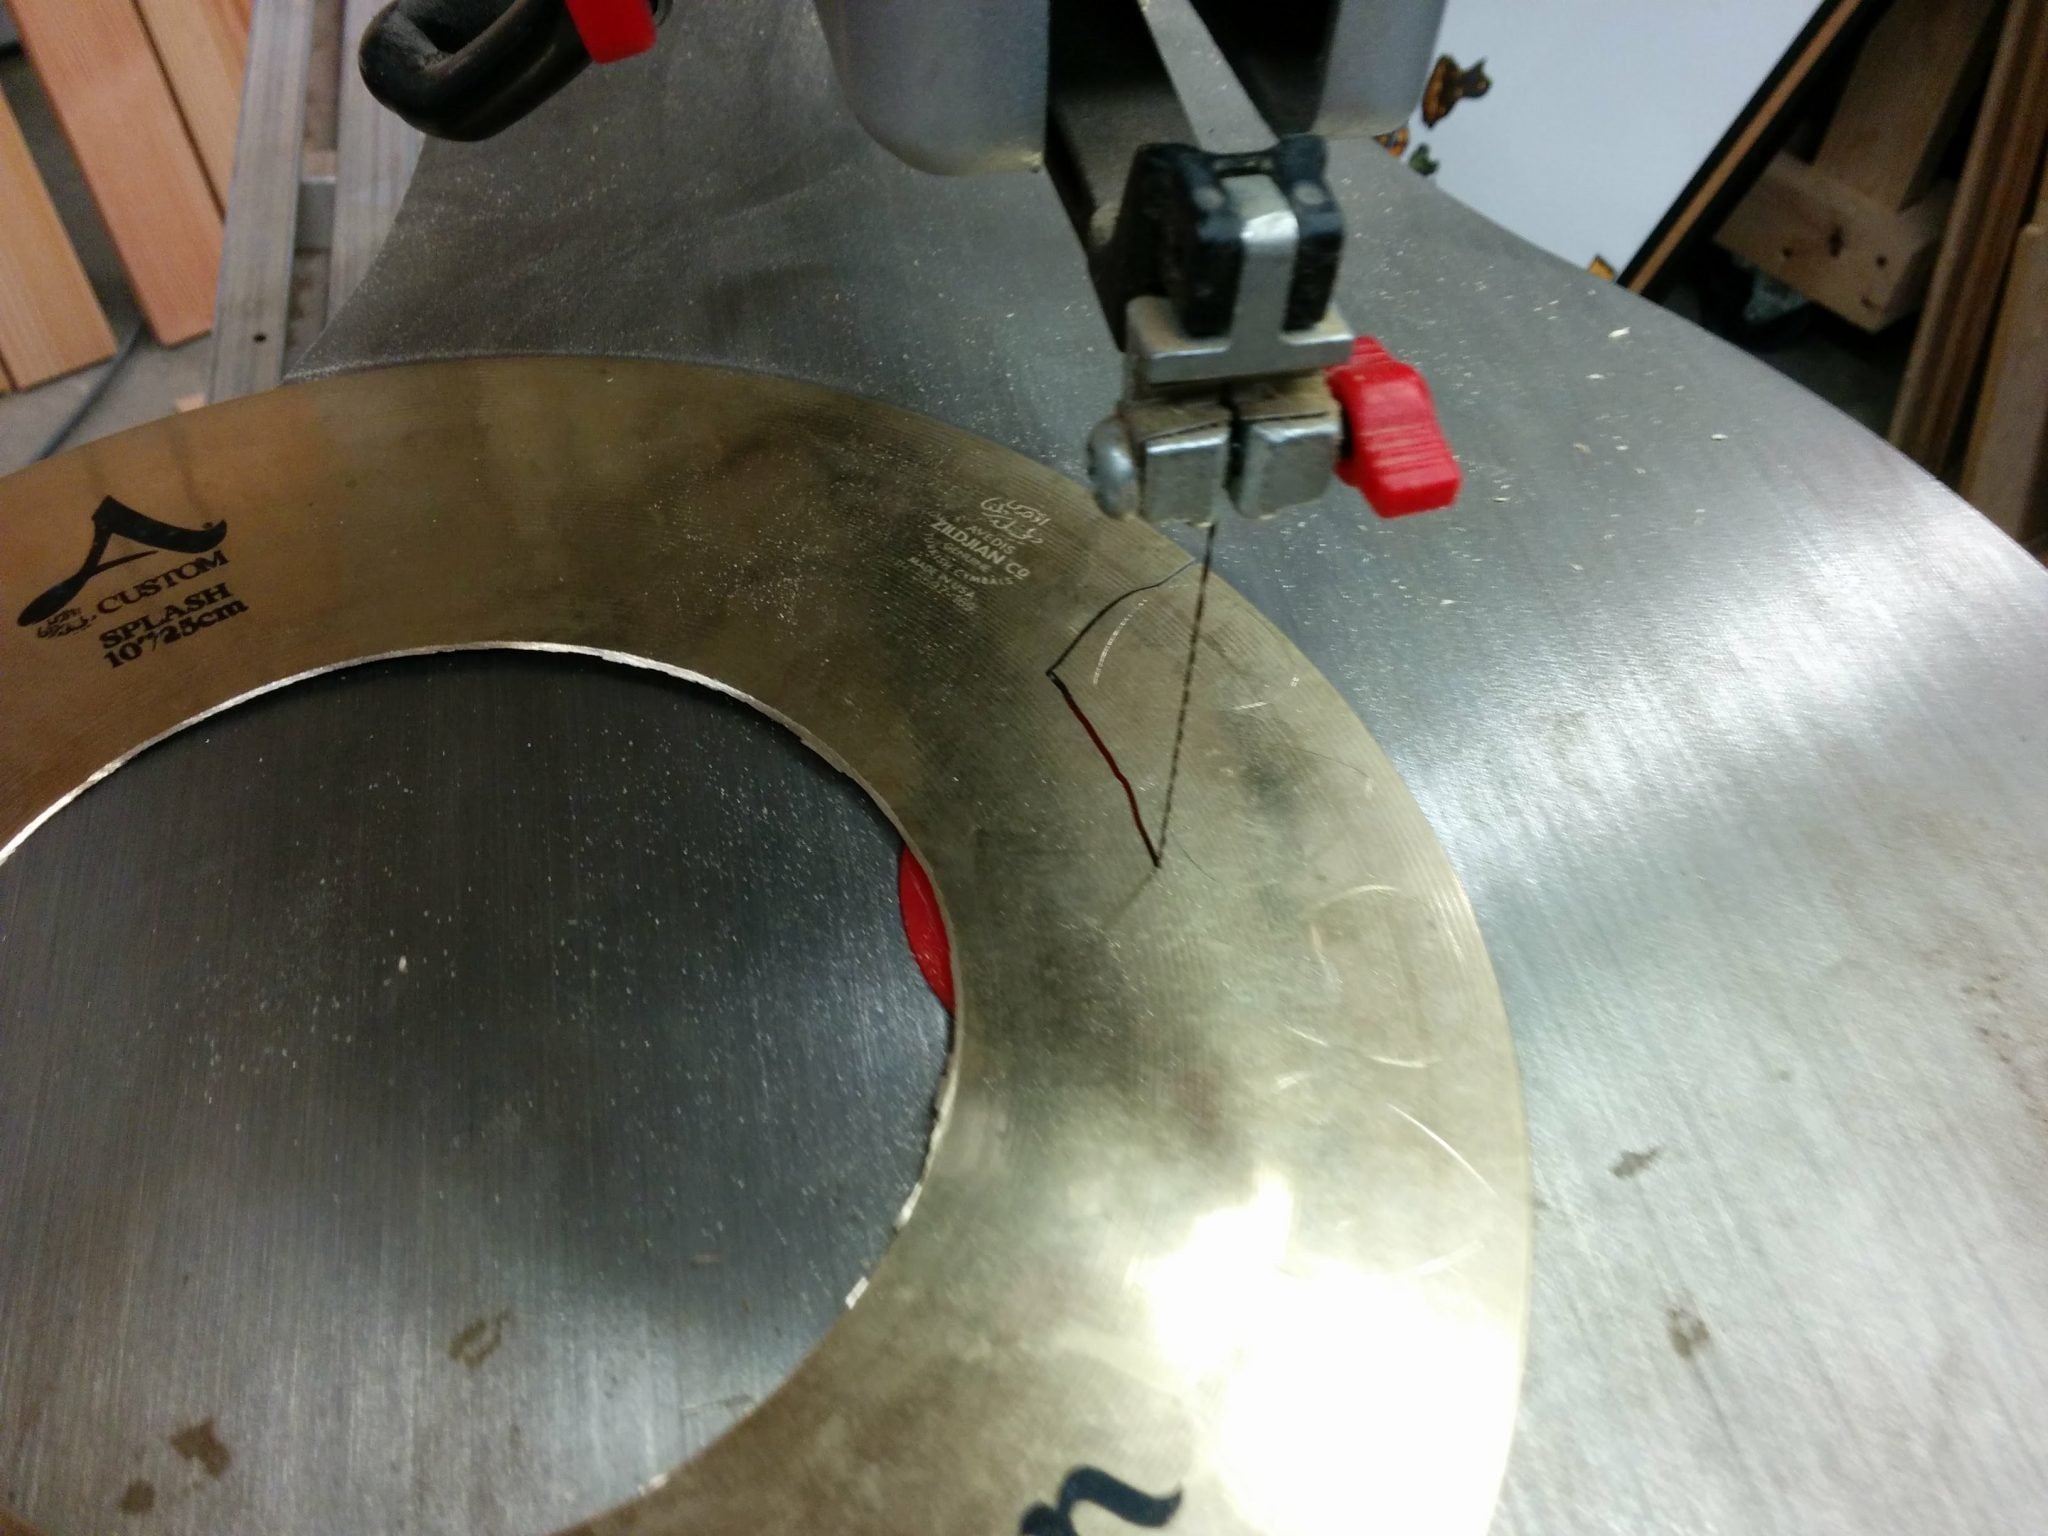
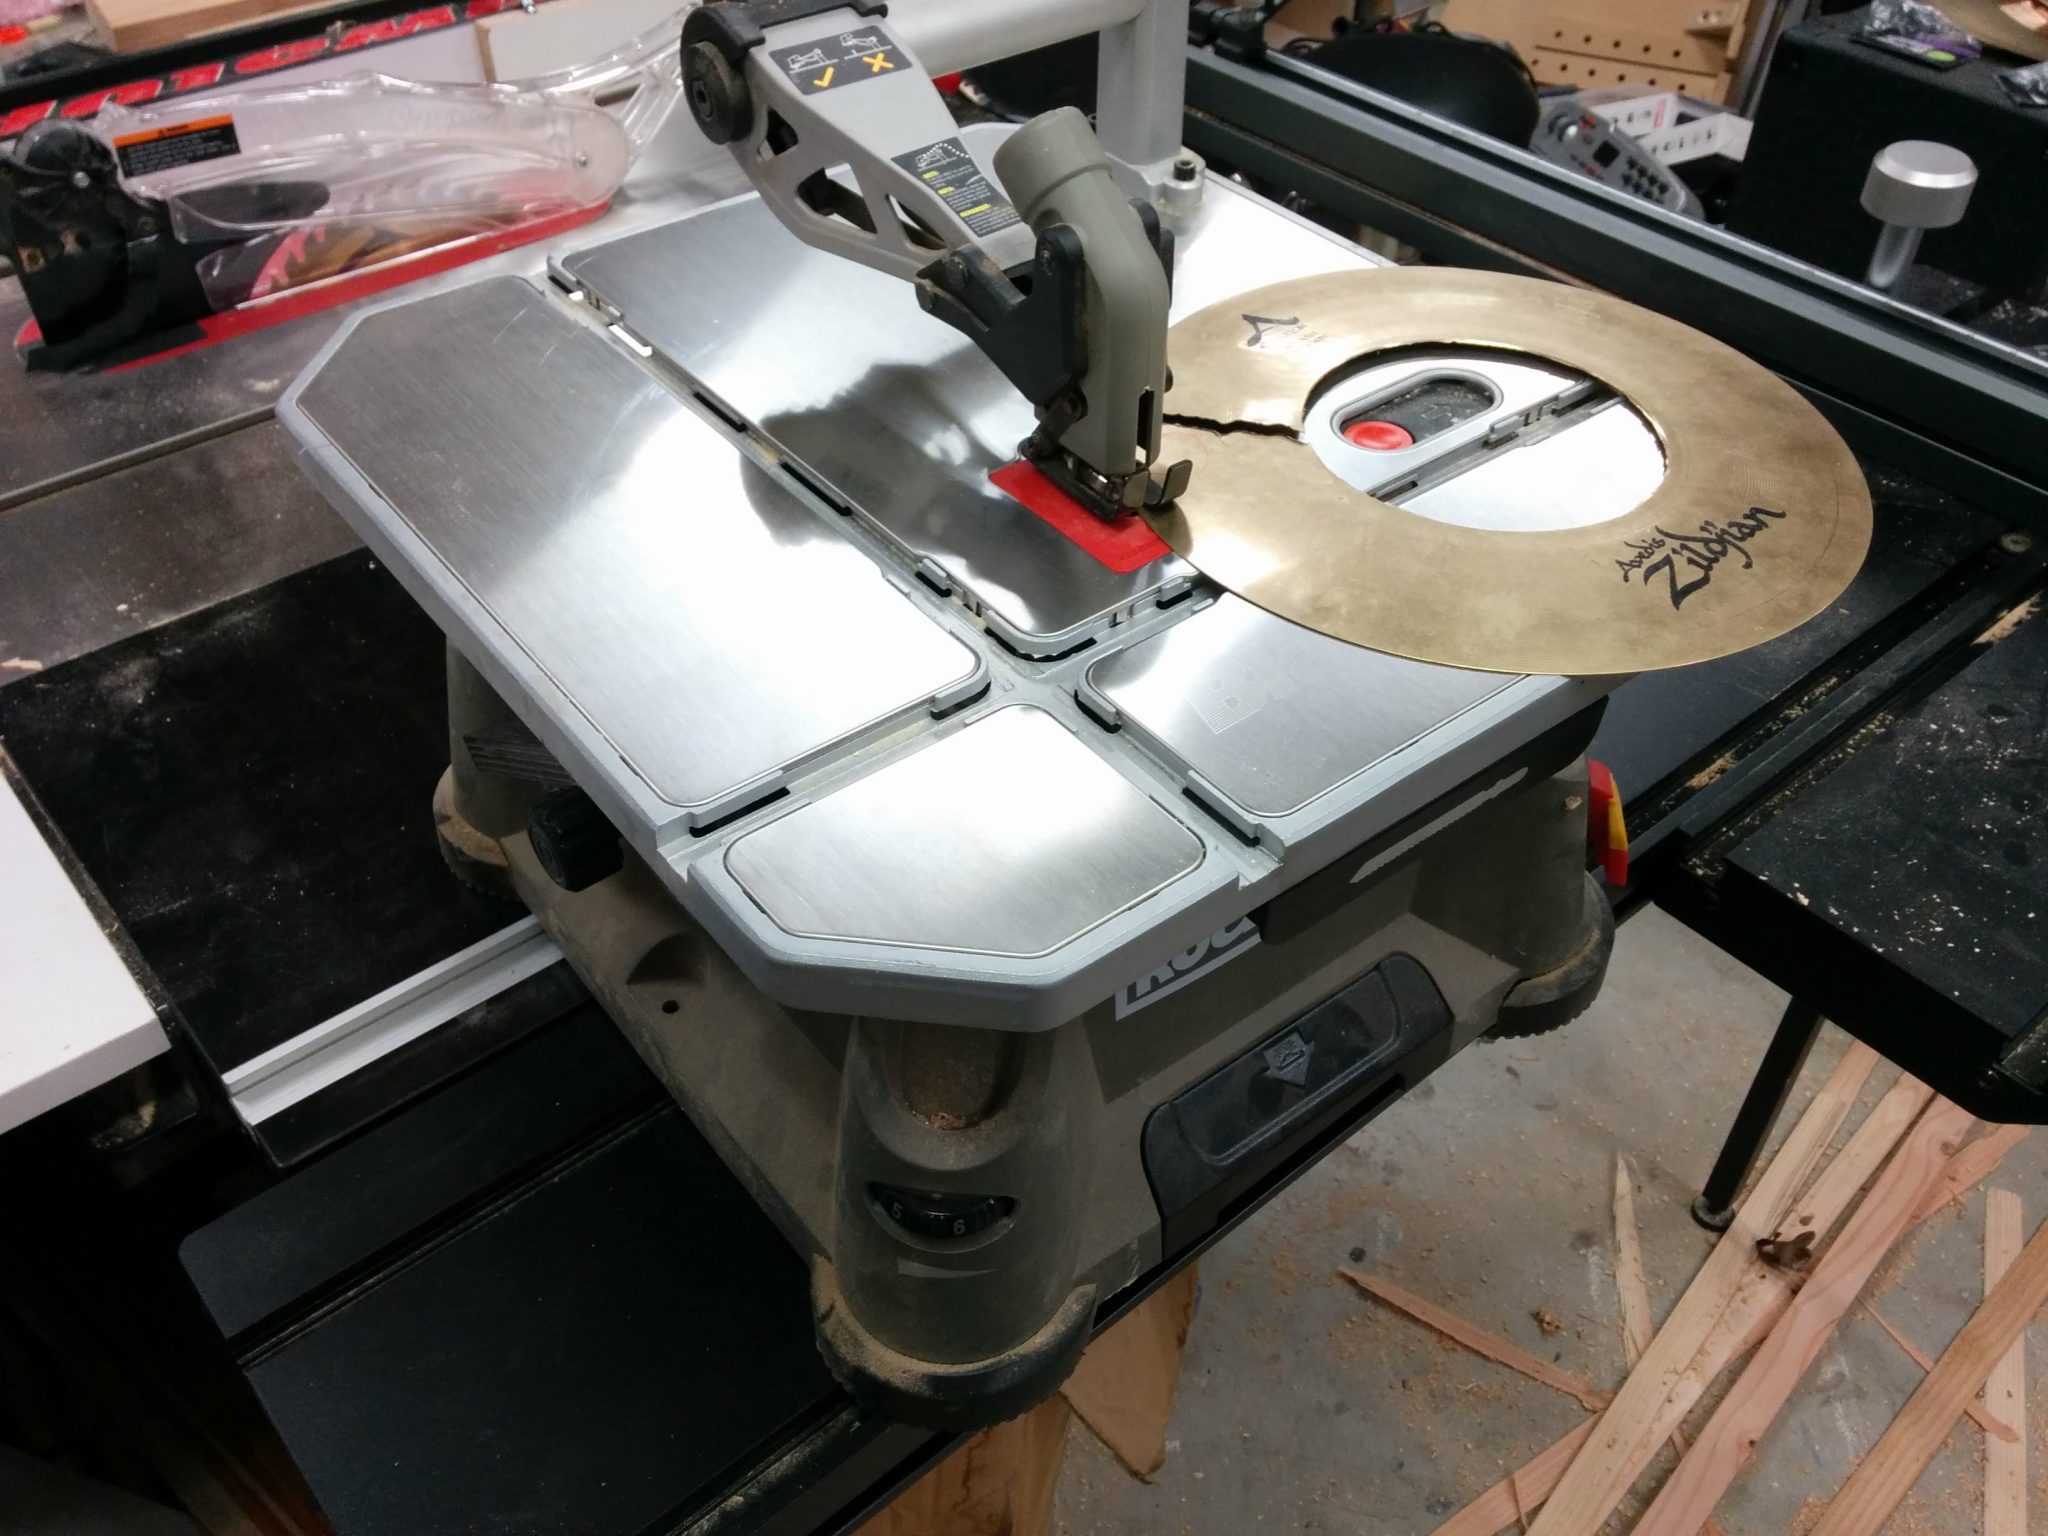
Second, I decided to use a scroll saw with a metal cutting blade. This will allow me to cut closer to the line which will result in less waste and less material that needs to be removed with sanding. I bought three different types of blades. The one I started with is the Pegas 90.503 45-tooth blade.
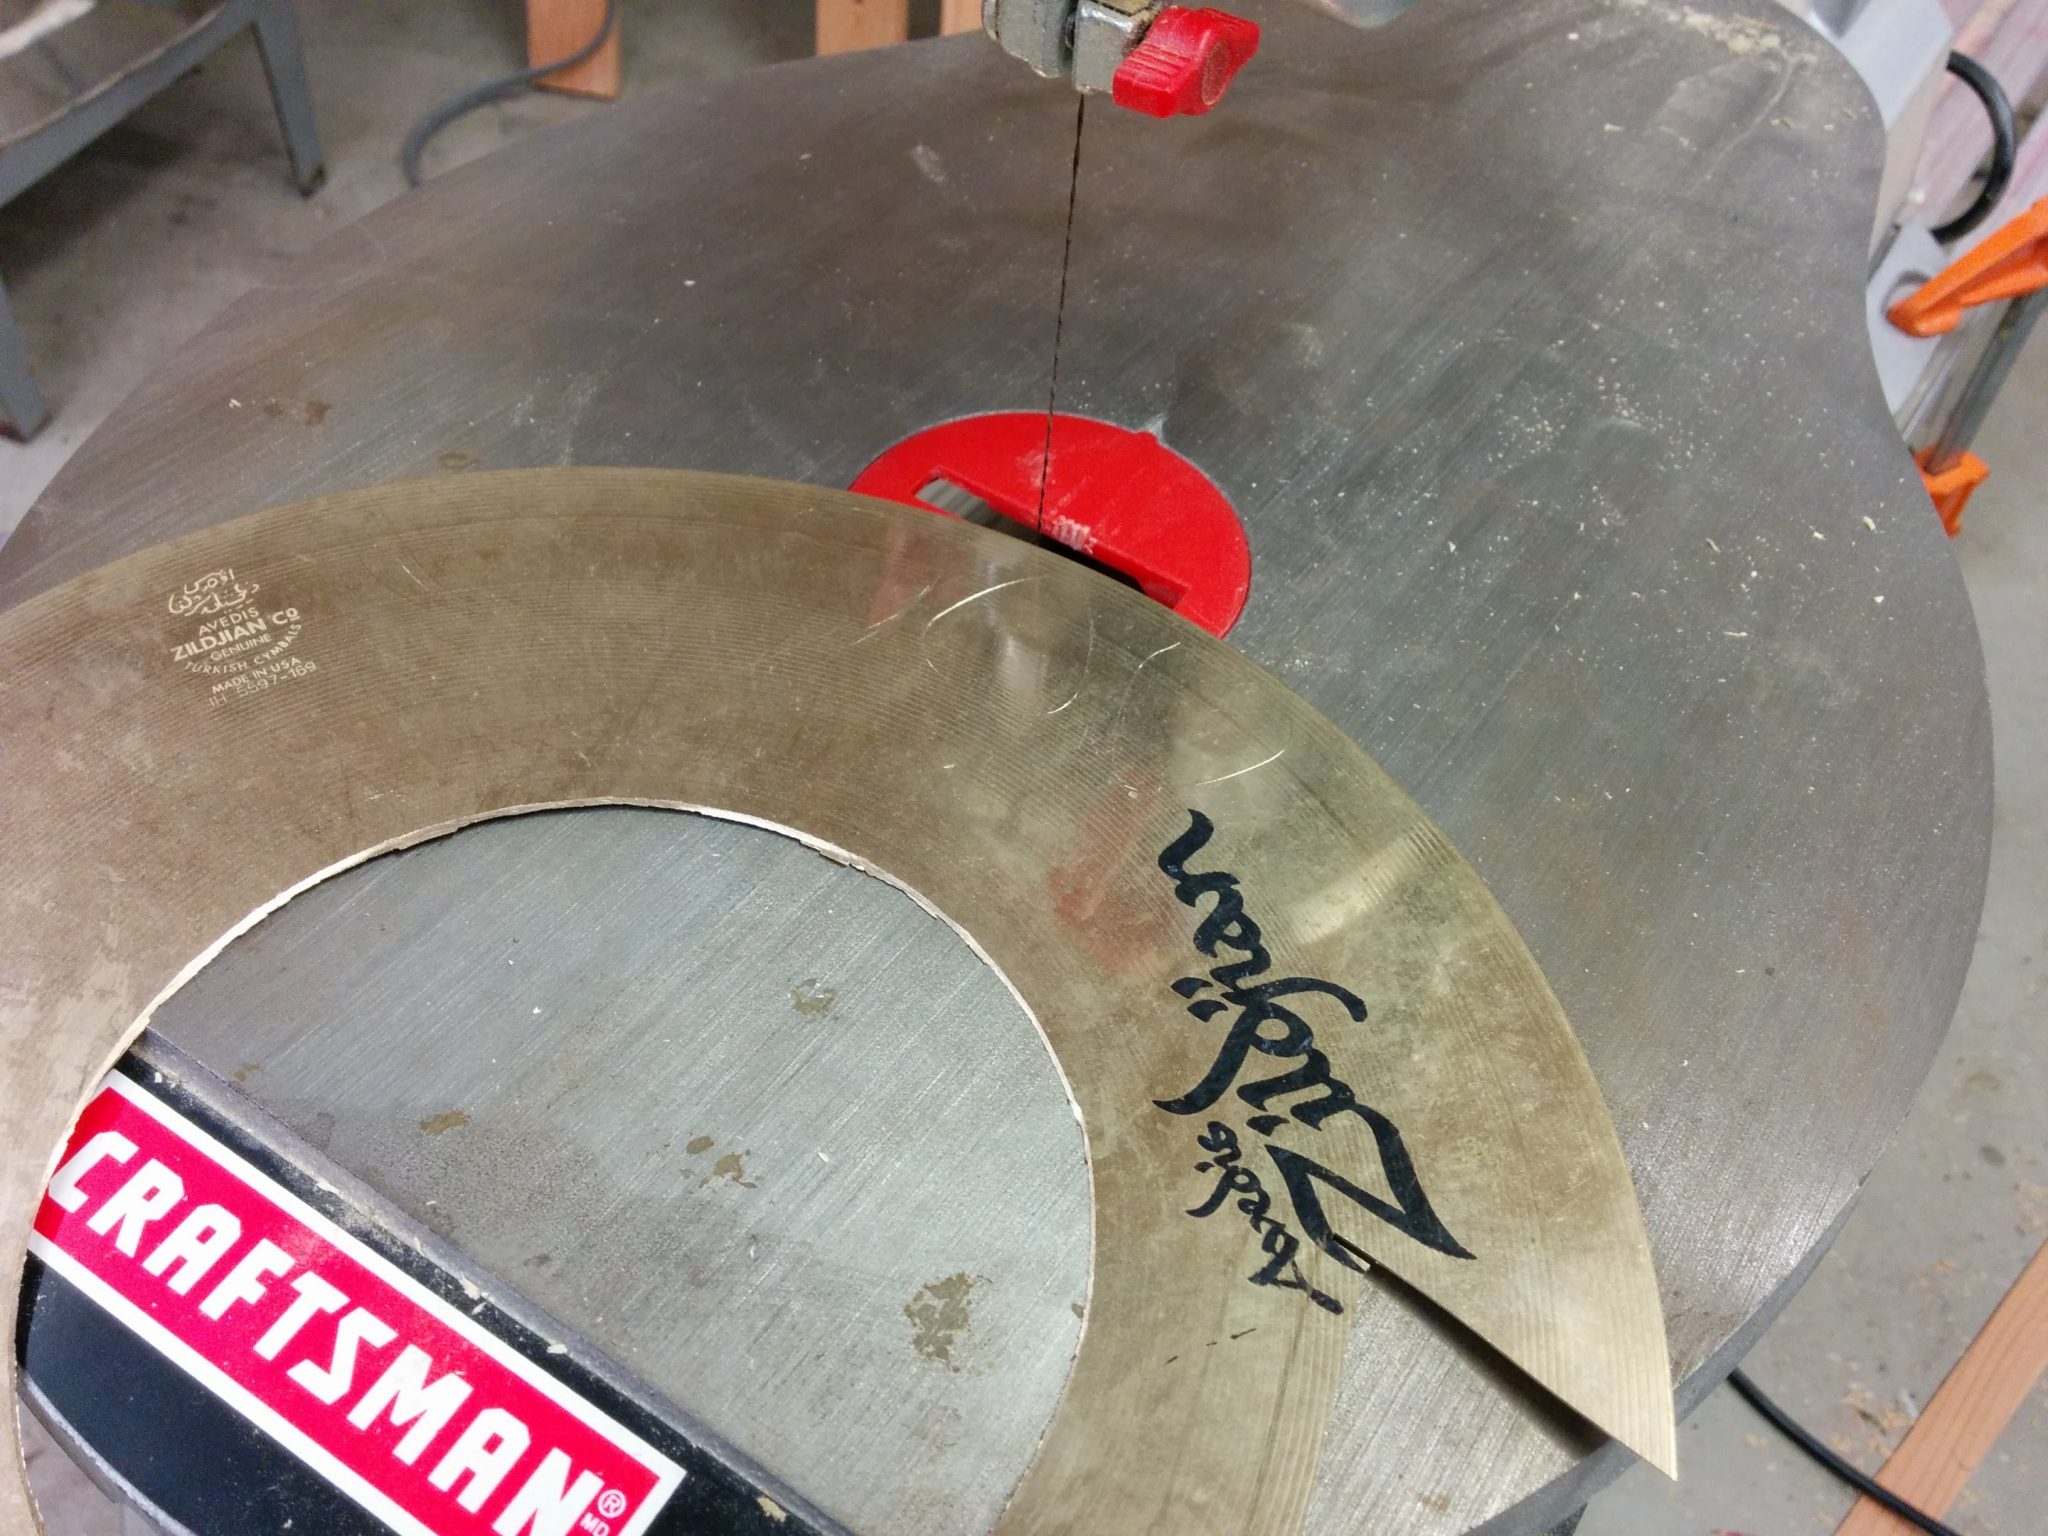
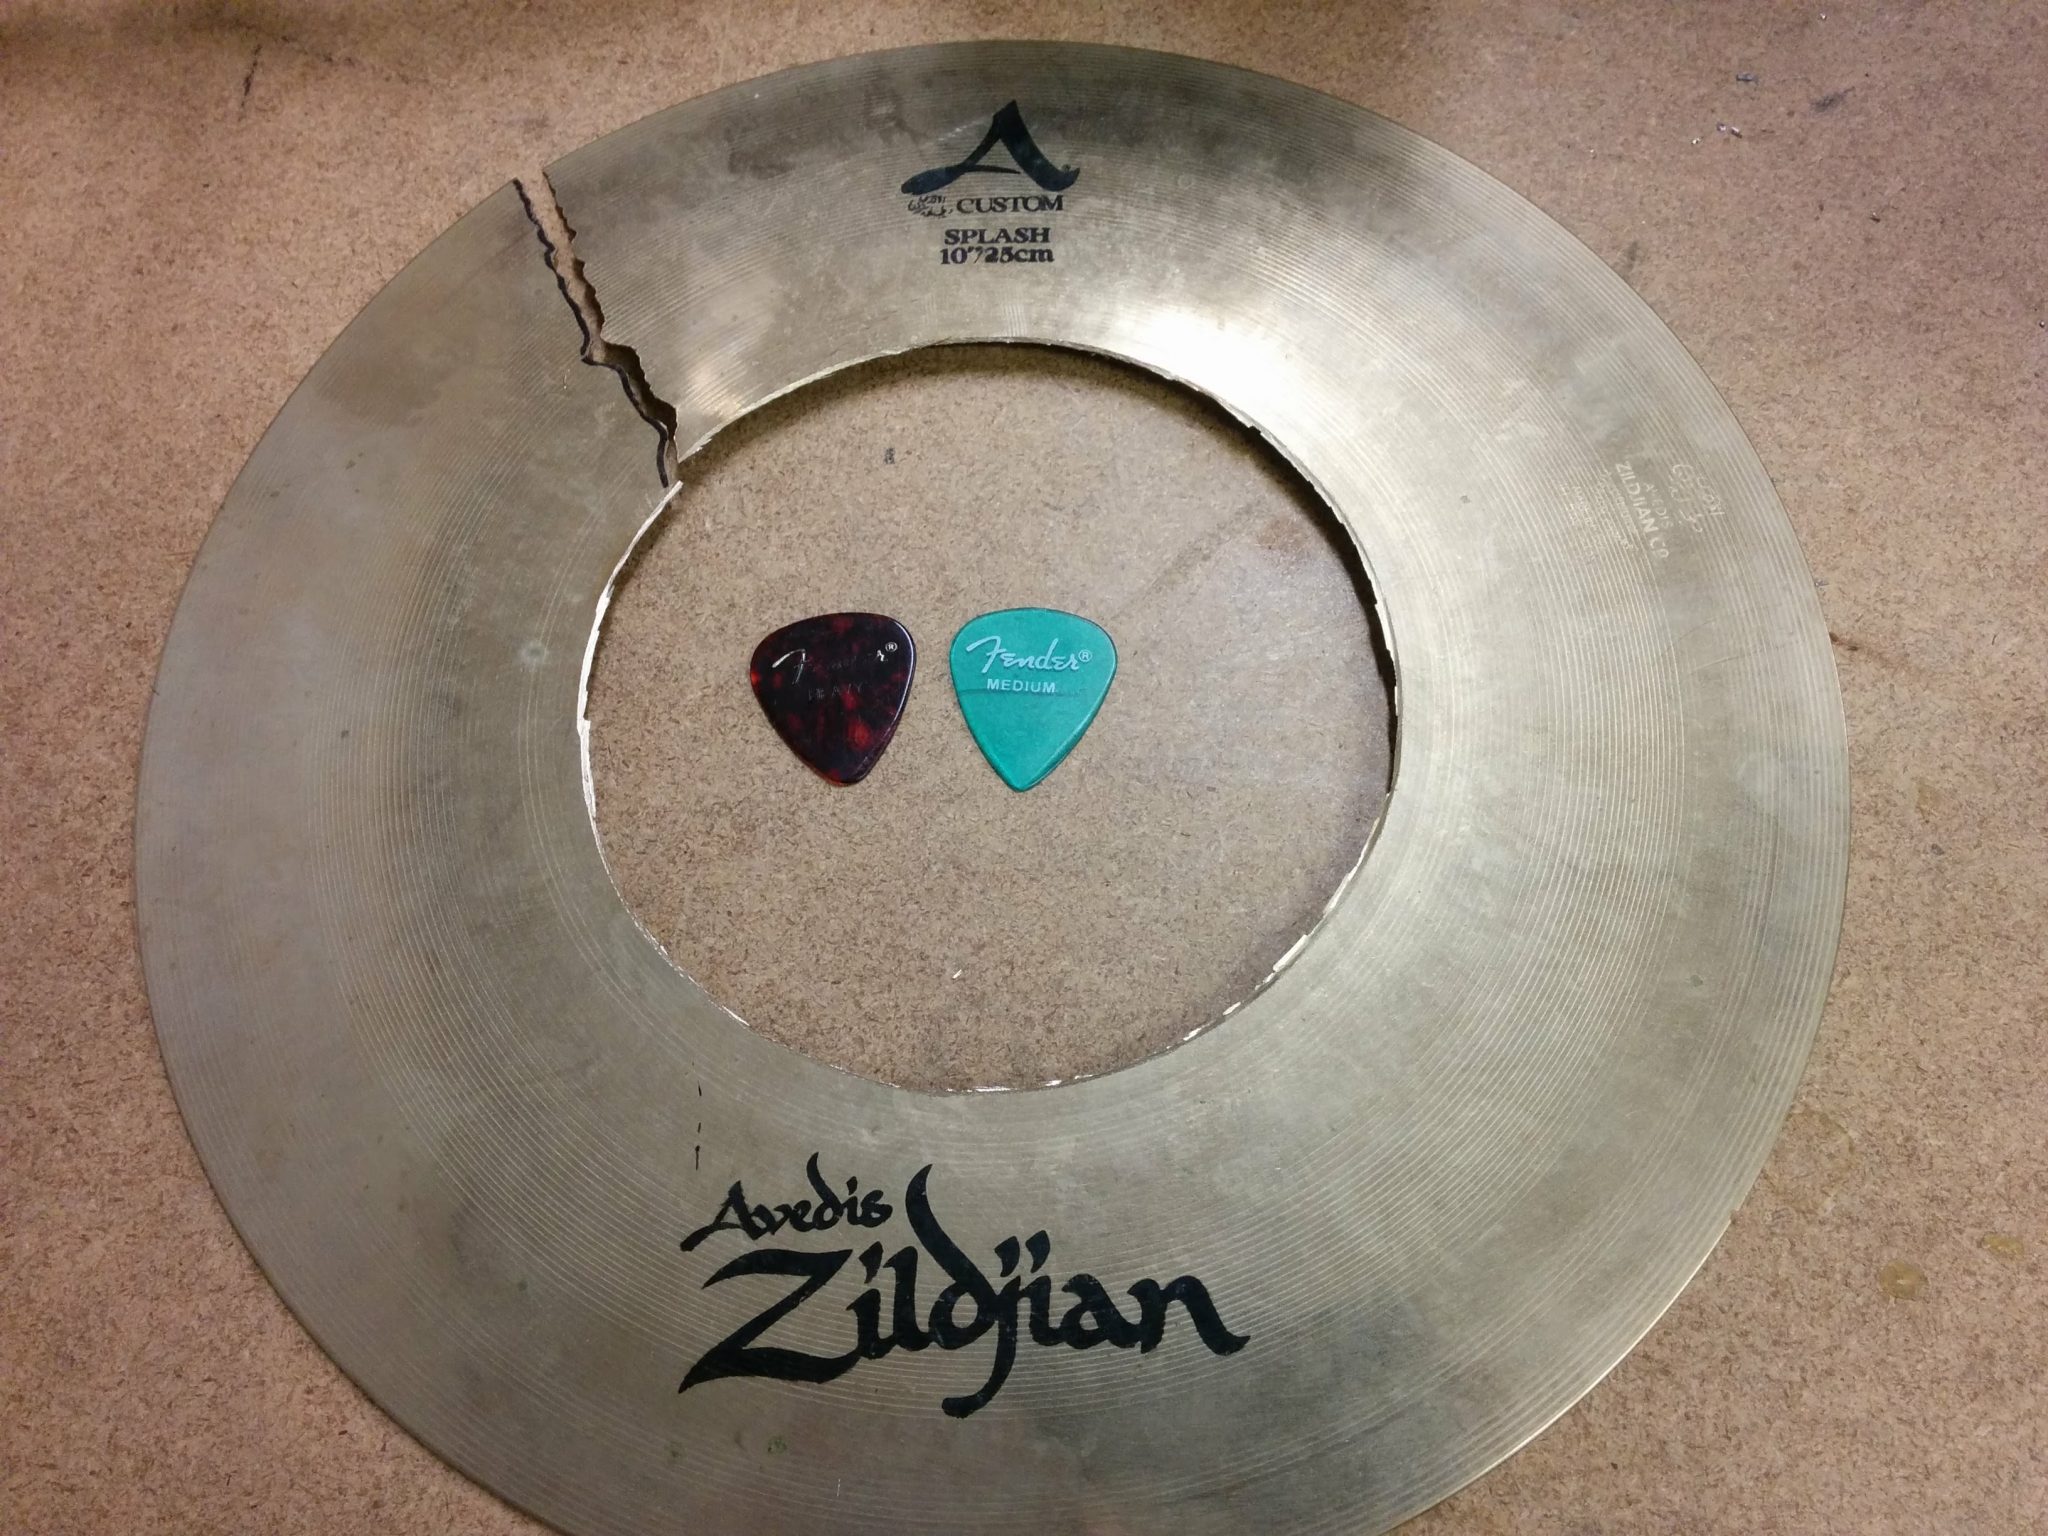
Again, I’m using the off-cut from a Zildjian A Custom 10″ Splash.
Getting ready to start cutting.
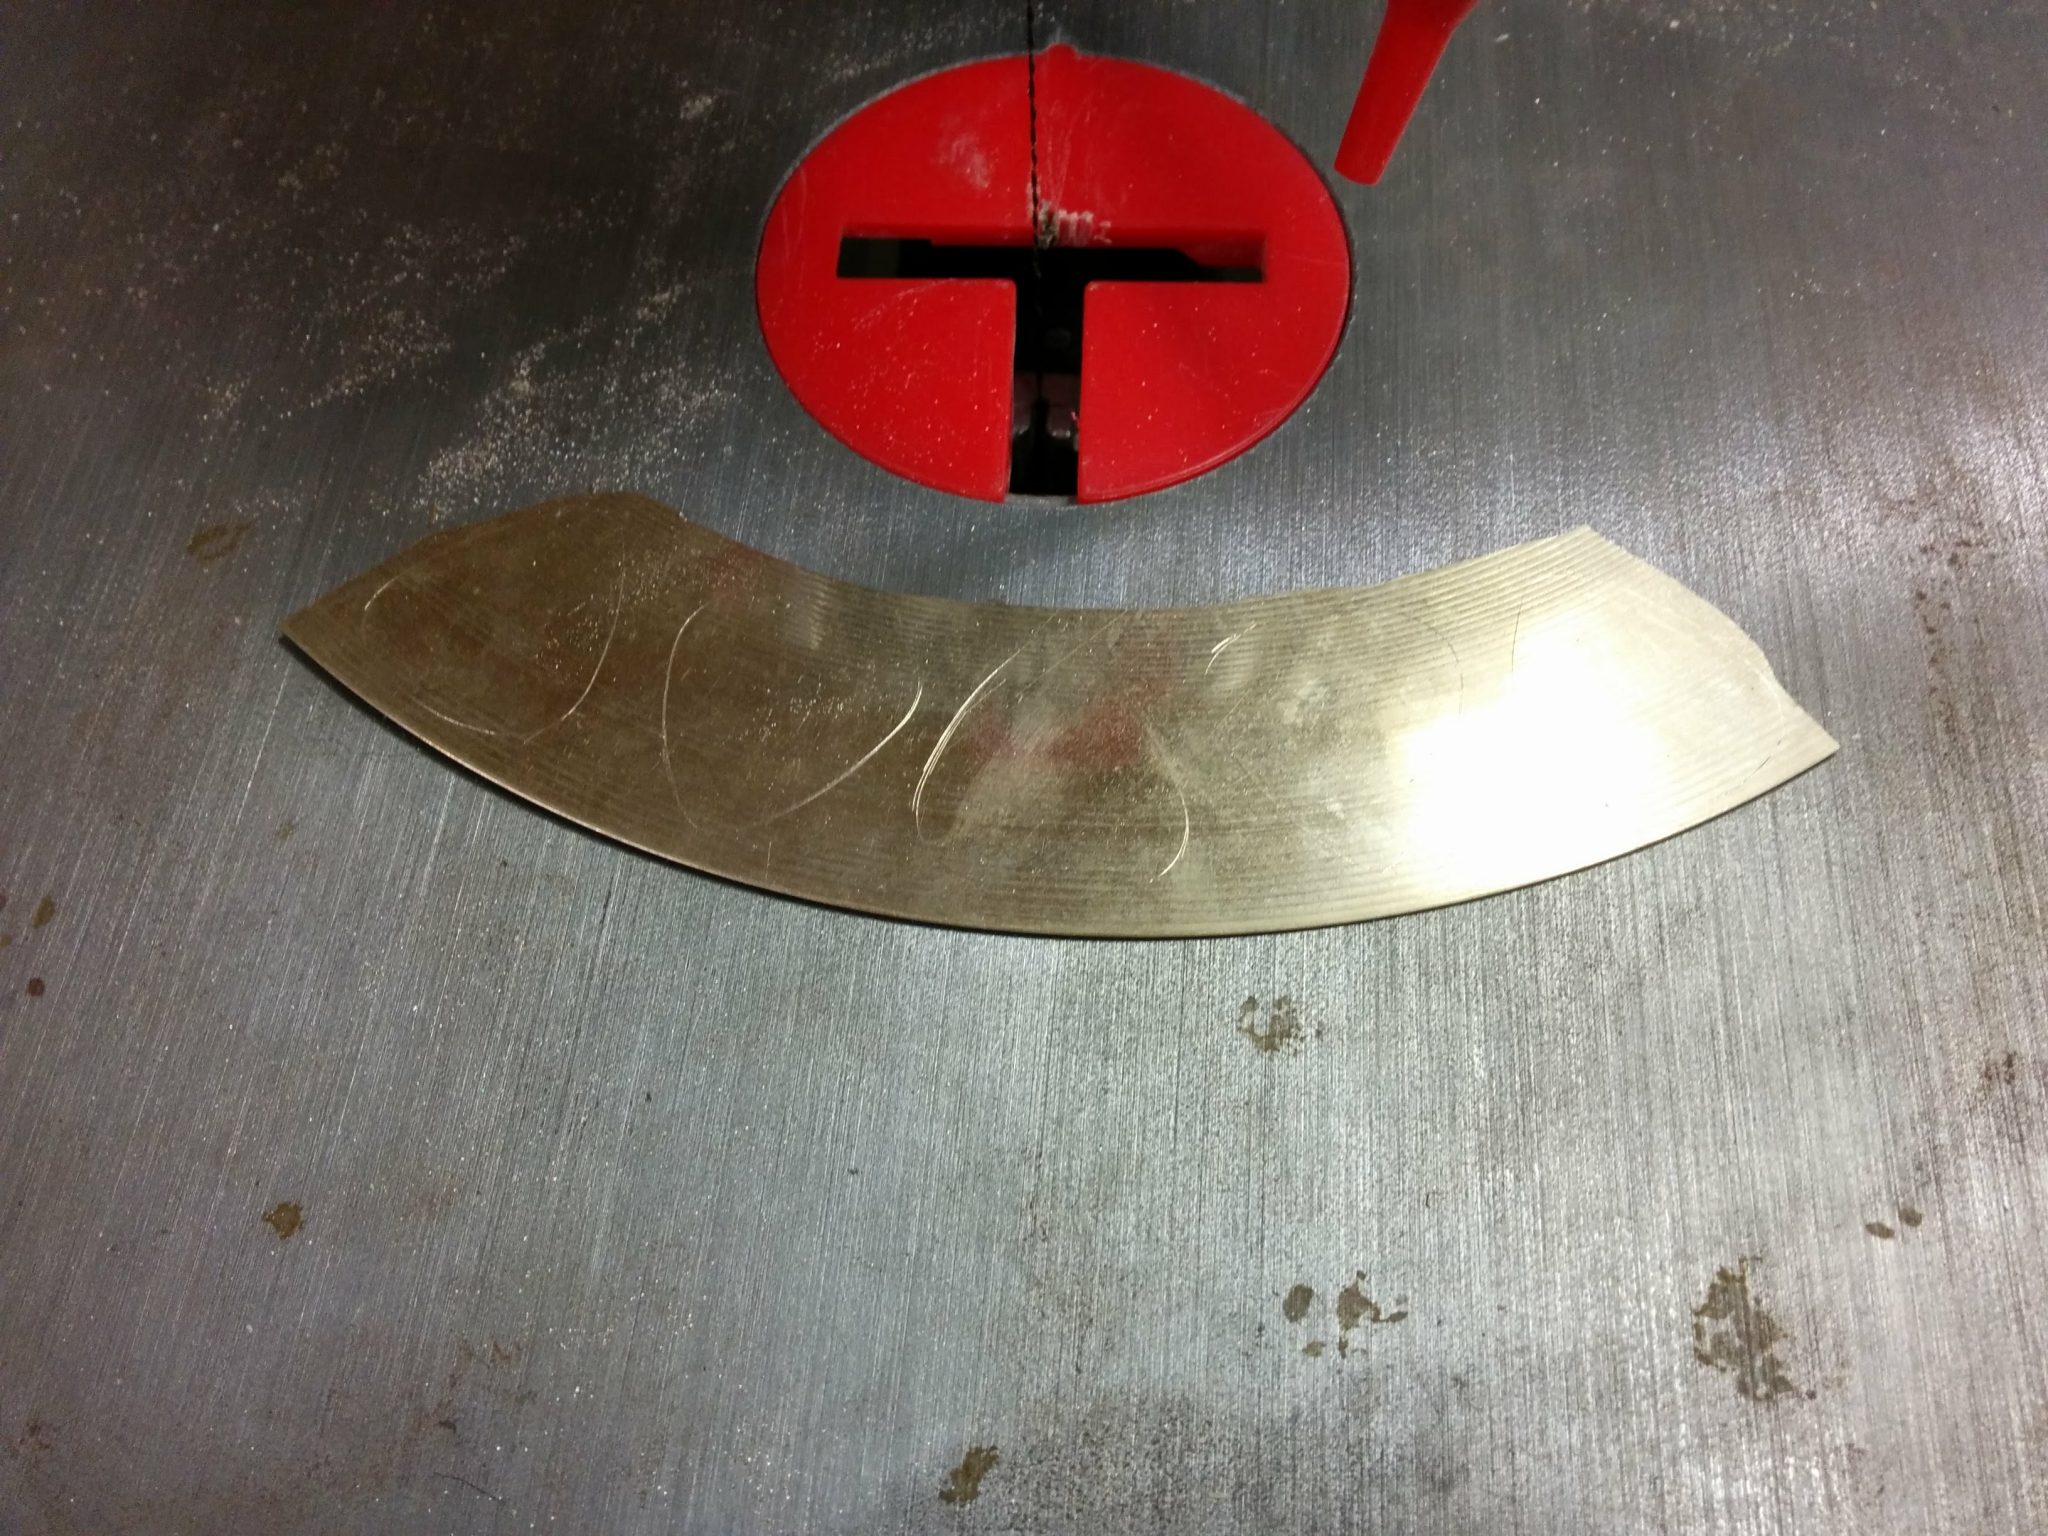
Cutting with the scroll saw was much easier. The important thing to remember was to let the saw do the work. I forgot this and got a little eager. I ended up breaking a blade on this cut as a result.
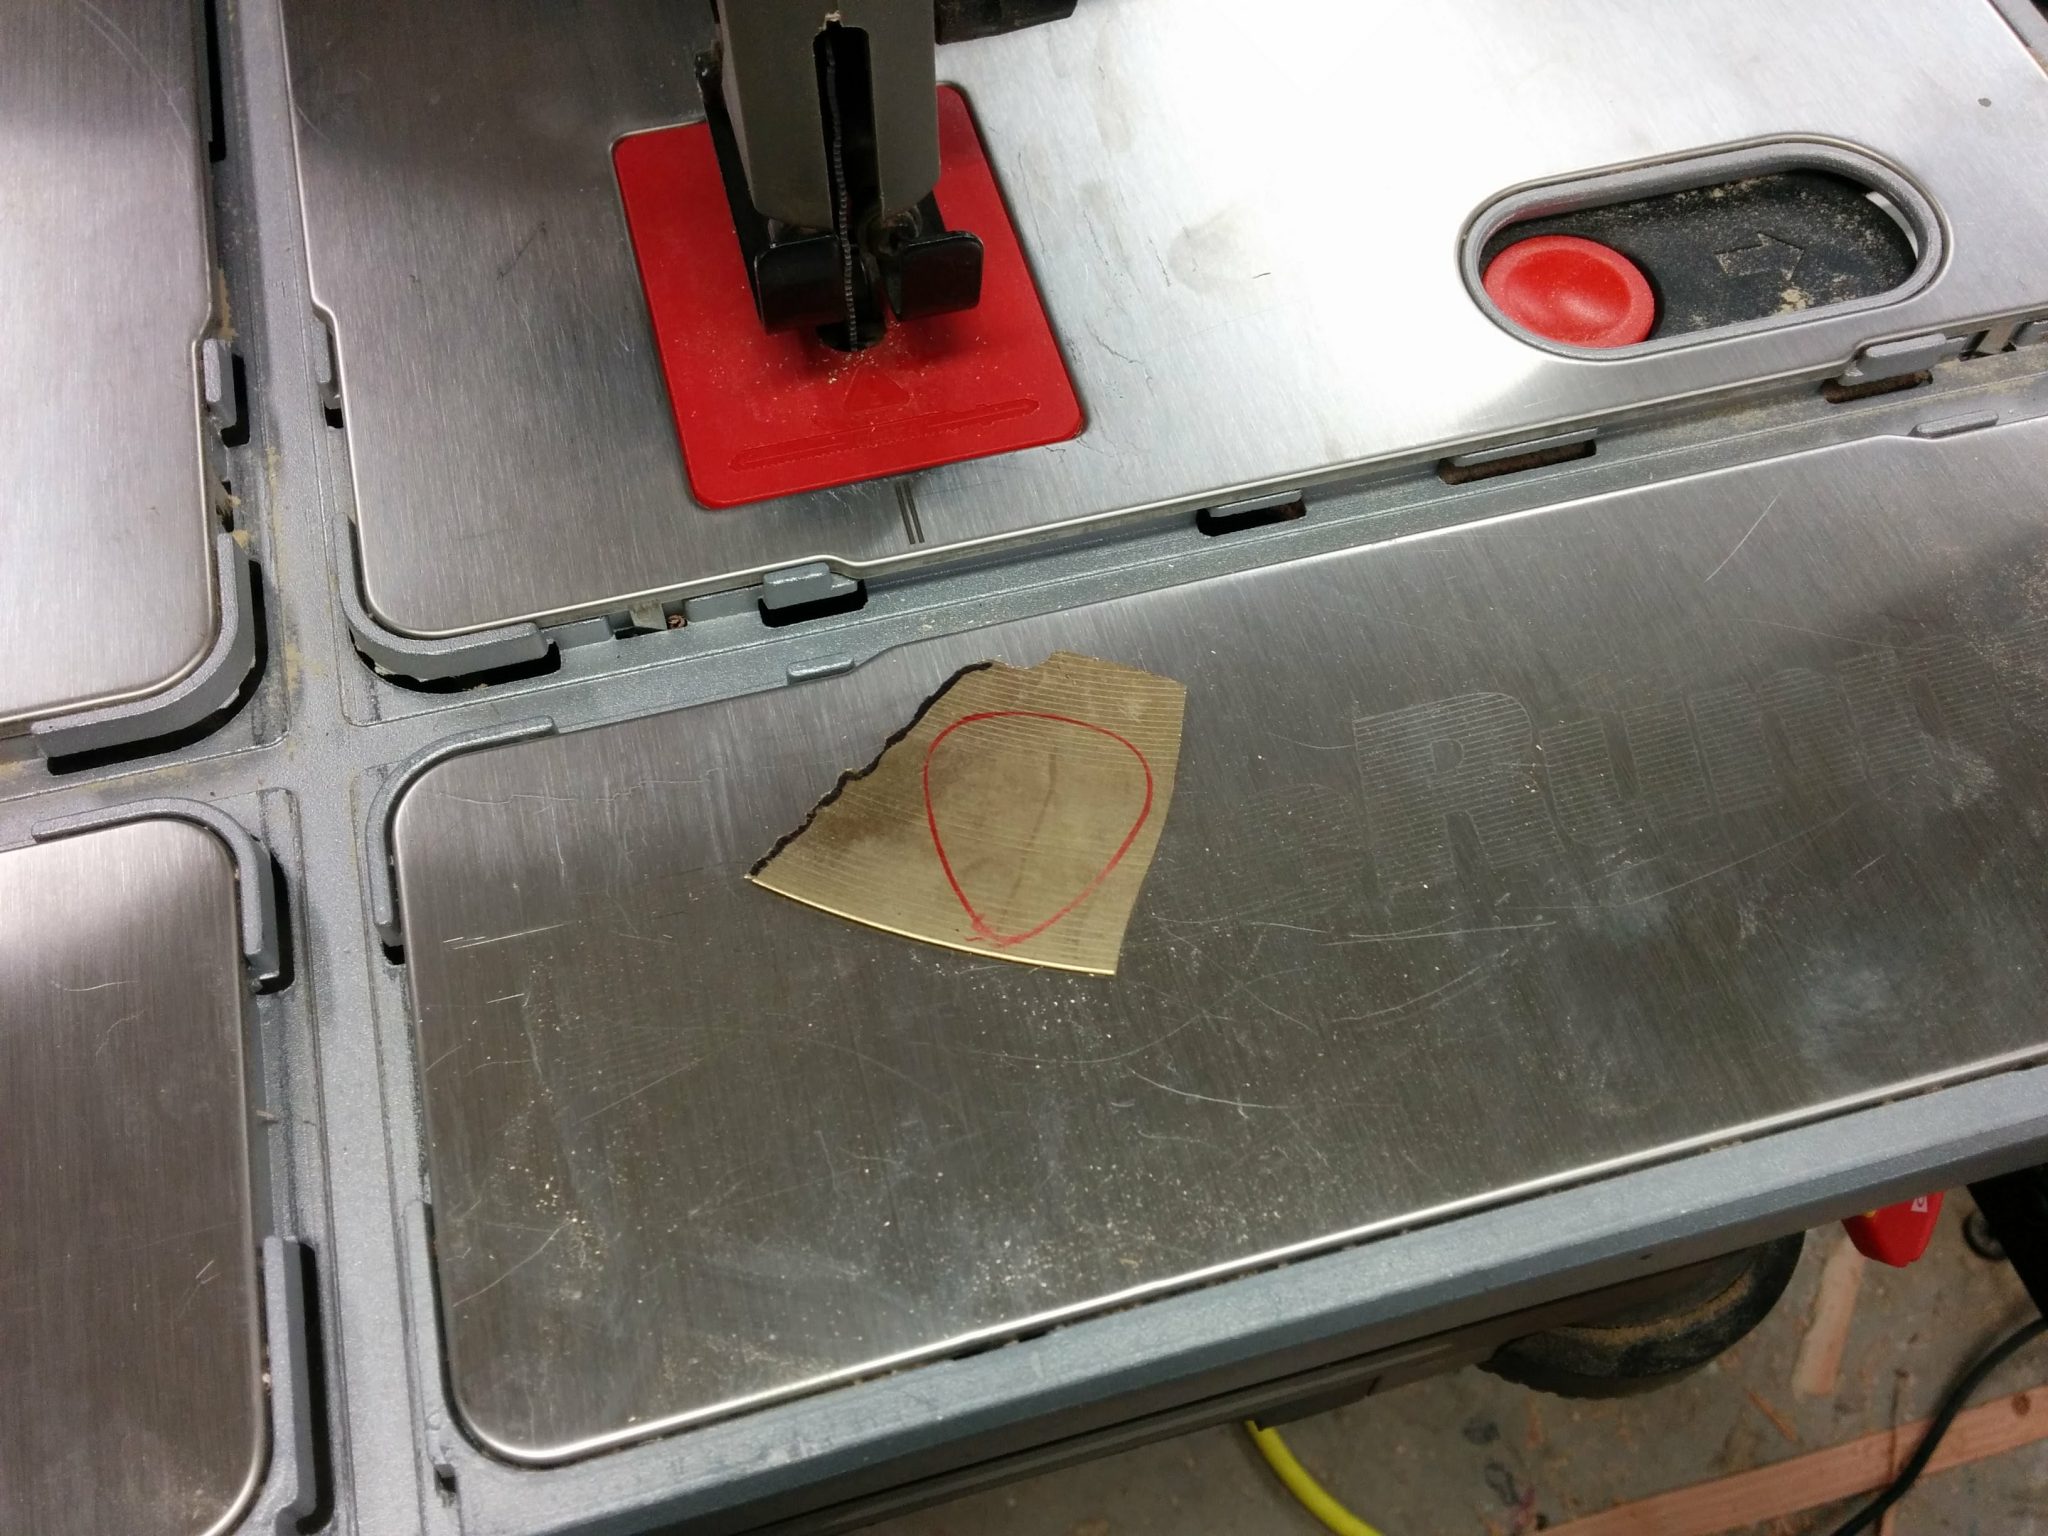
Cutting out a the material.
Now that I had a smaller piece to work with, I was able to more precisely cut out each pick. Once again, I ended up breaking a blade. At that point I switched to a Pegas No. 4 90.505 38-tooth blade which was a little more aggressive.
A more manageable piece to work with.
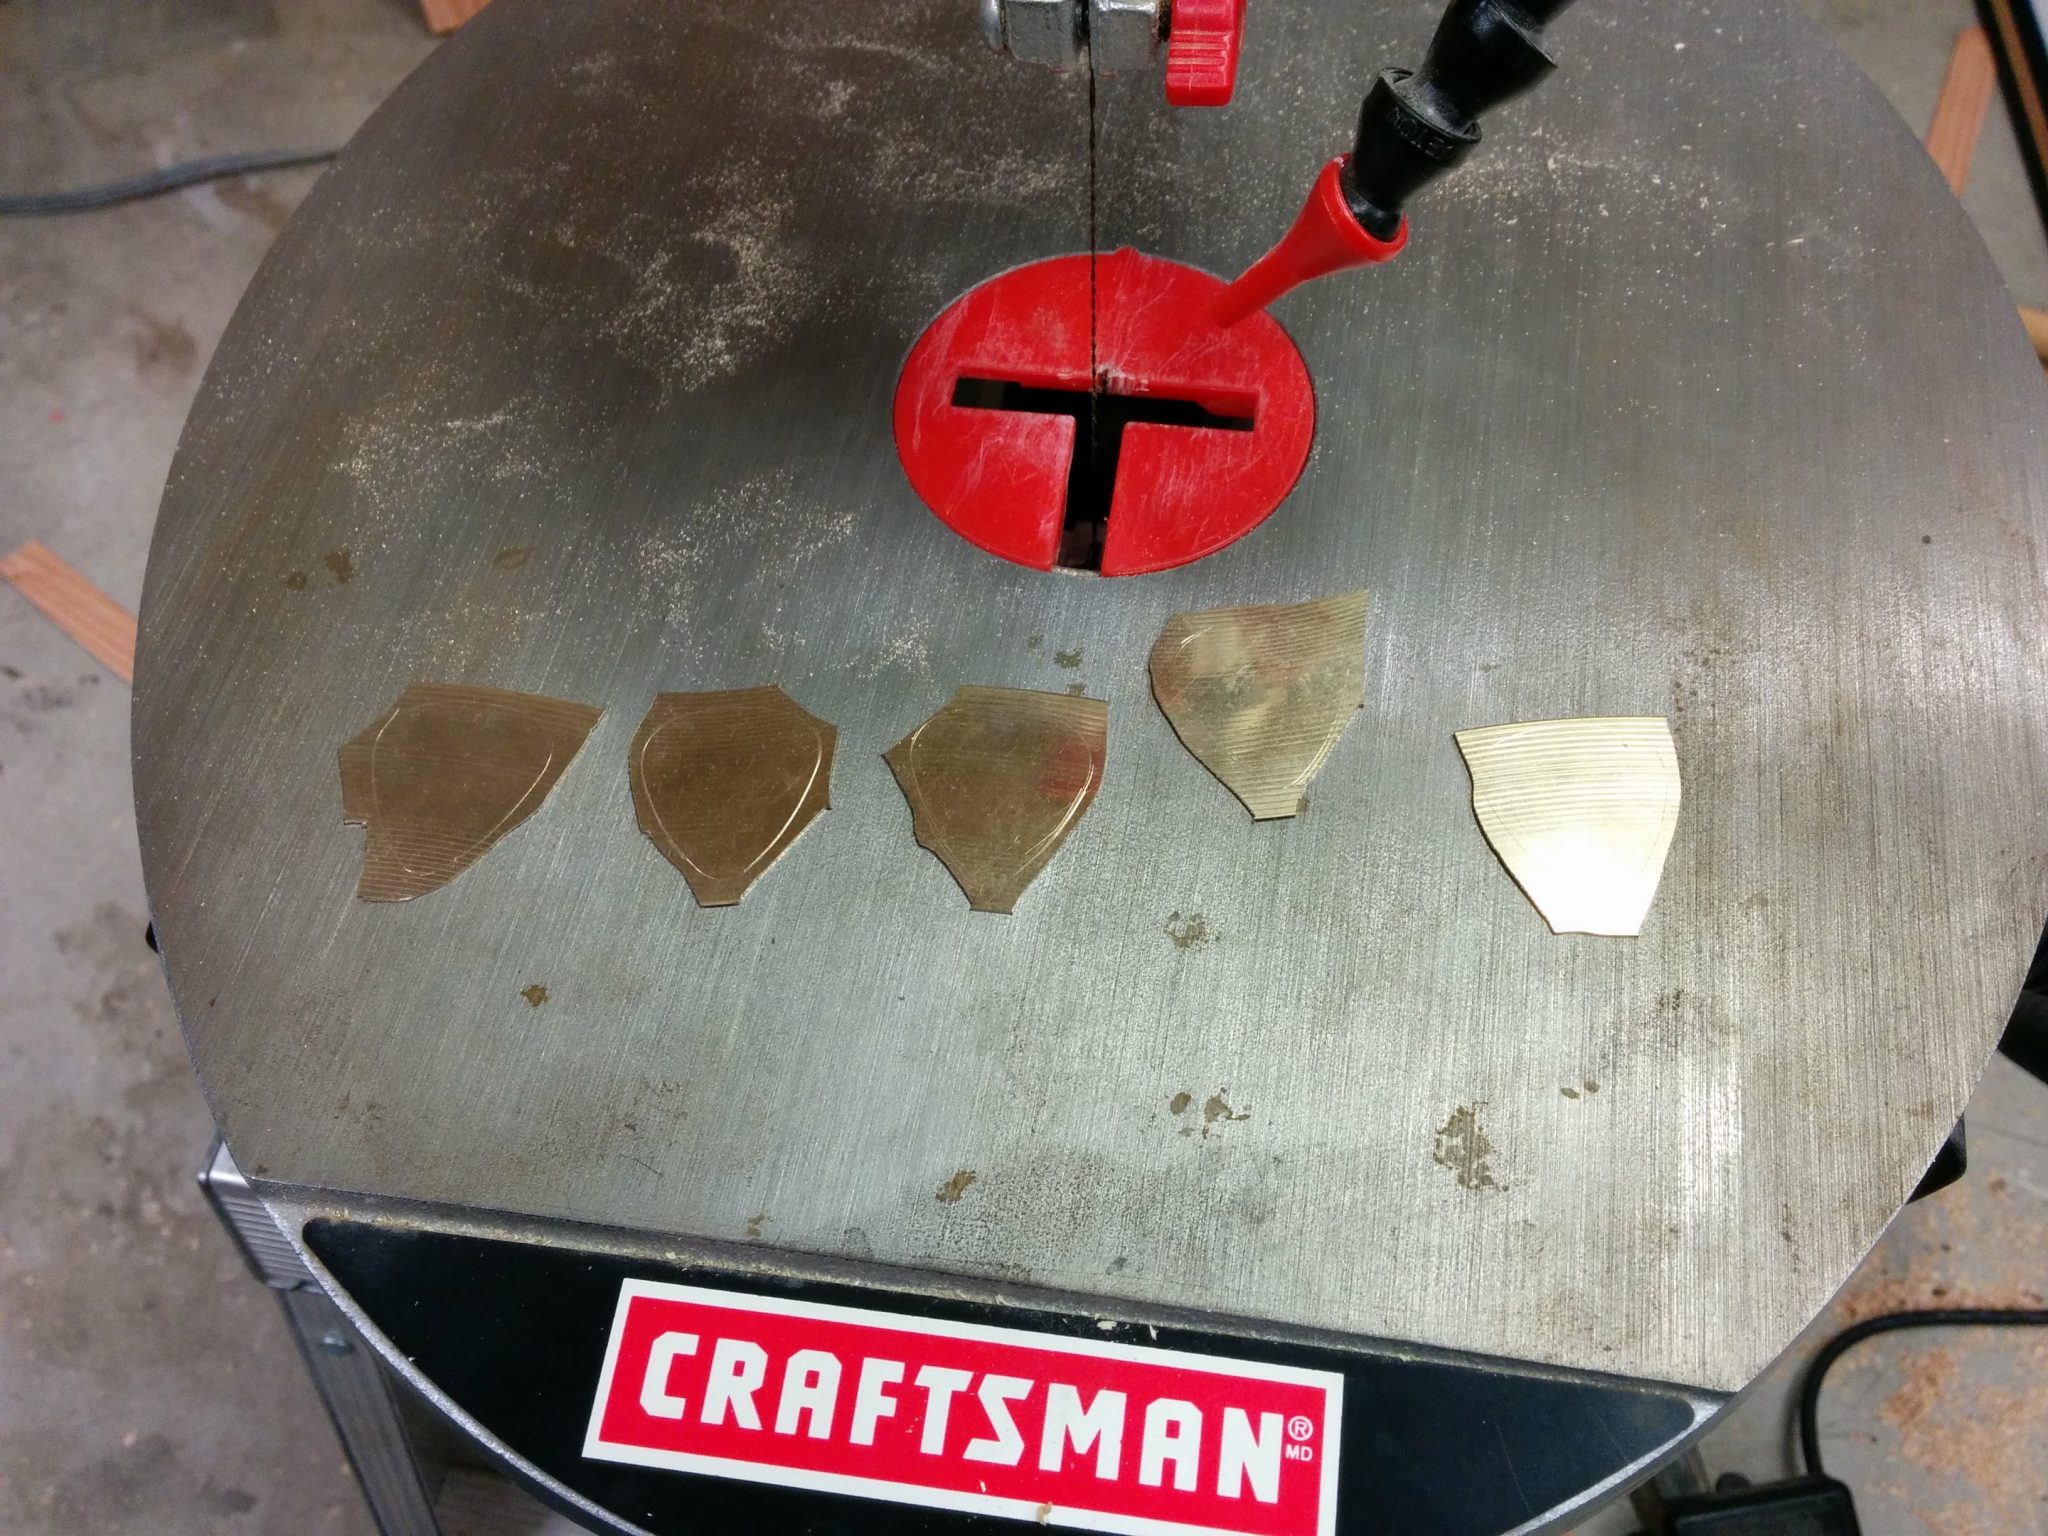
The scroll saw was able to get the pieces closer to the final shape, which allowed me to save some of the small scraps in between each pick. I’ll use these for something else, such as melting them down and casting them.
After rough-cutting on the scroll saw.
I found that it is actually easier to make several of these at a time simply because of the sanding process. The problem with the sanding is that the metal heats up fairly quickly. I got into a routine where I would sand one down and once it started to get warm, I would set it down to cool and grab the next one in line. I would sand that one down a bit then switch to the next when it got warm, and so on. I would just keep looping through the line until I got them pretty close to the final size.
After getting them close to the final size.
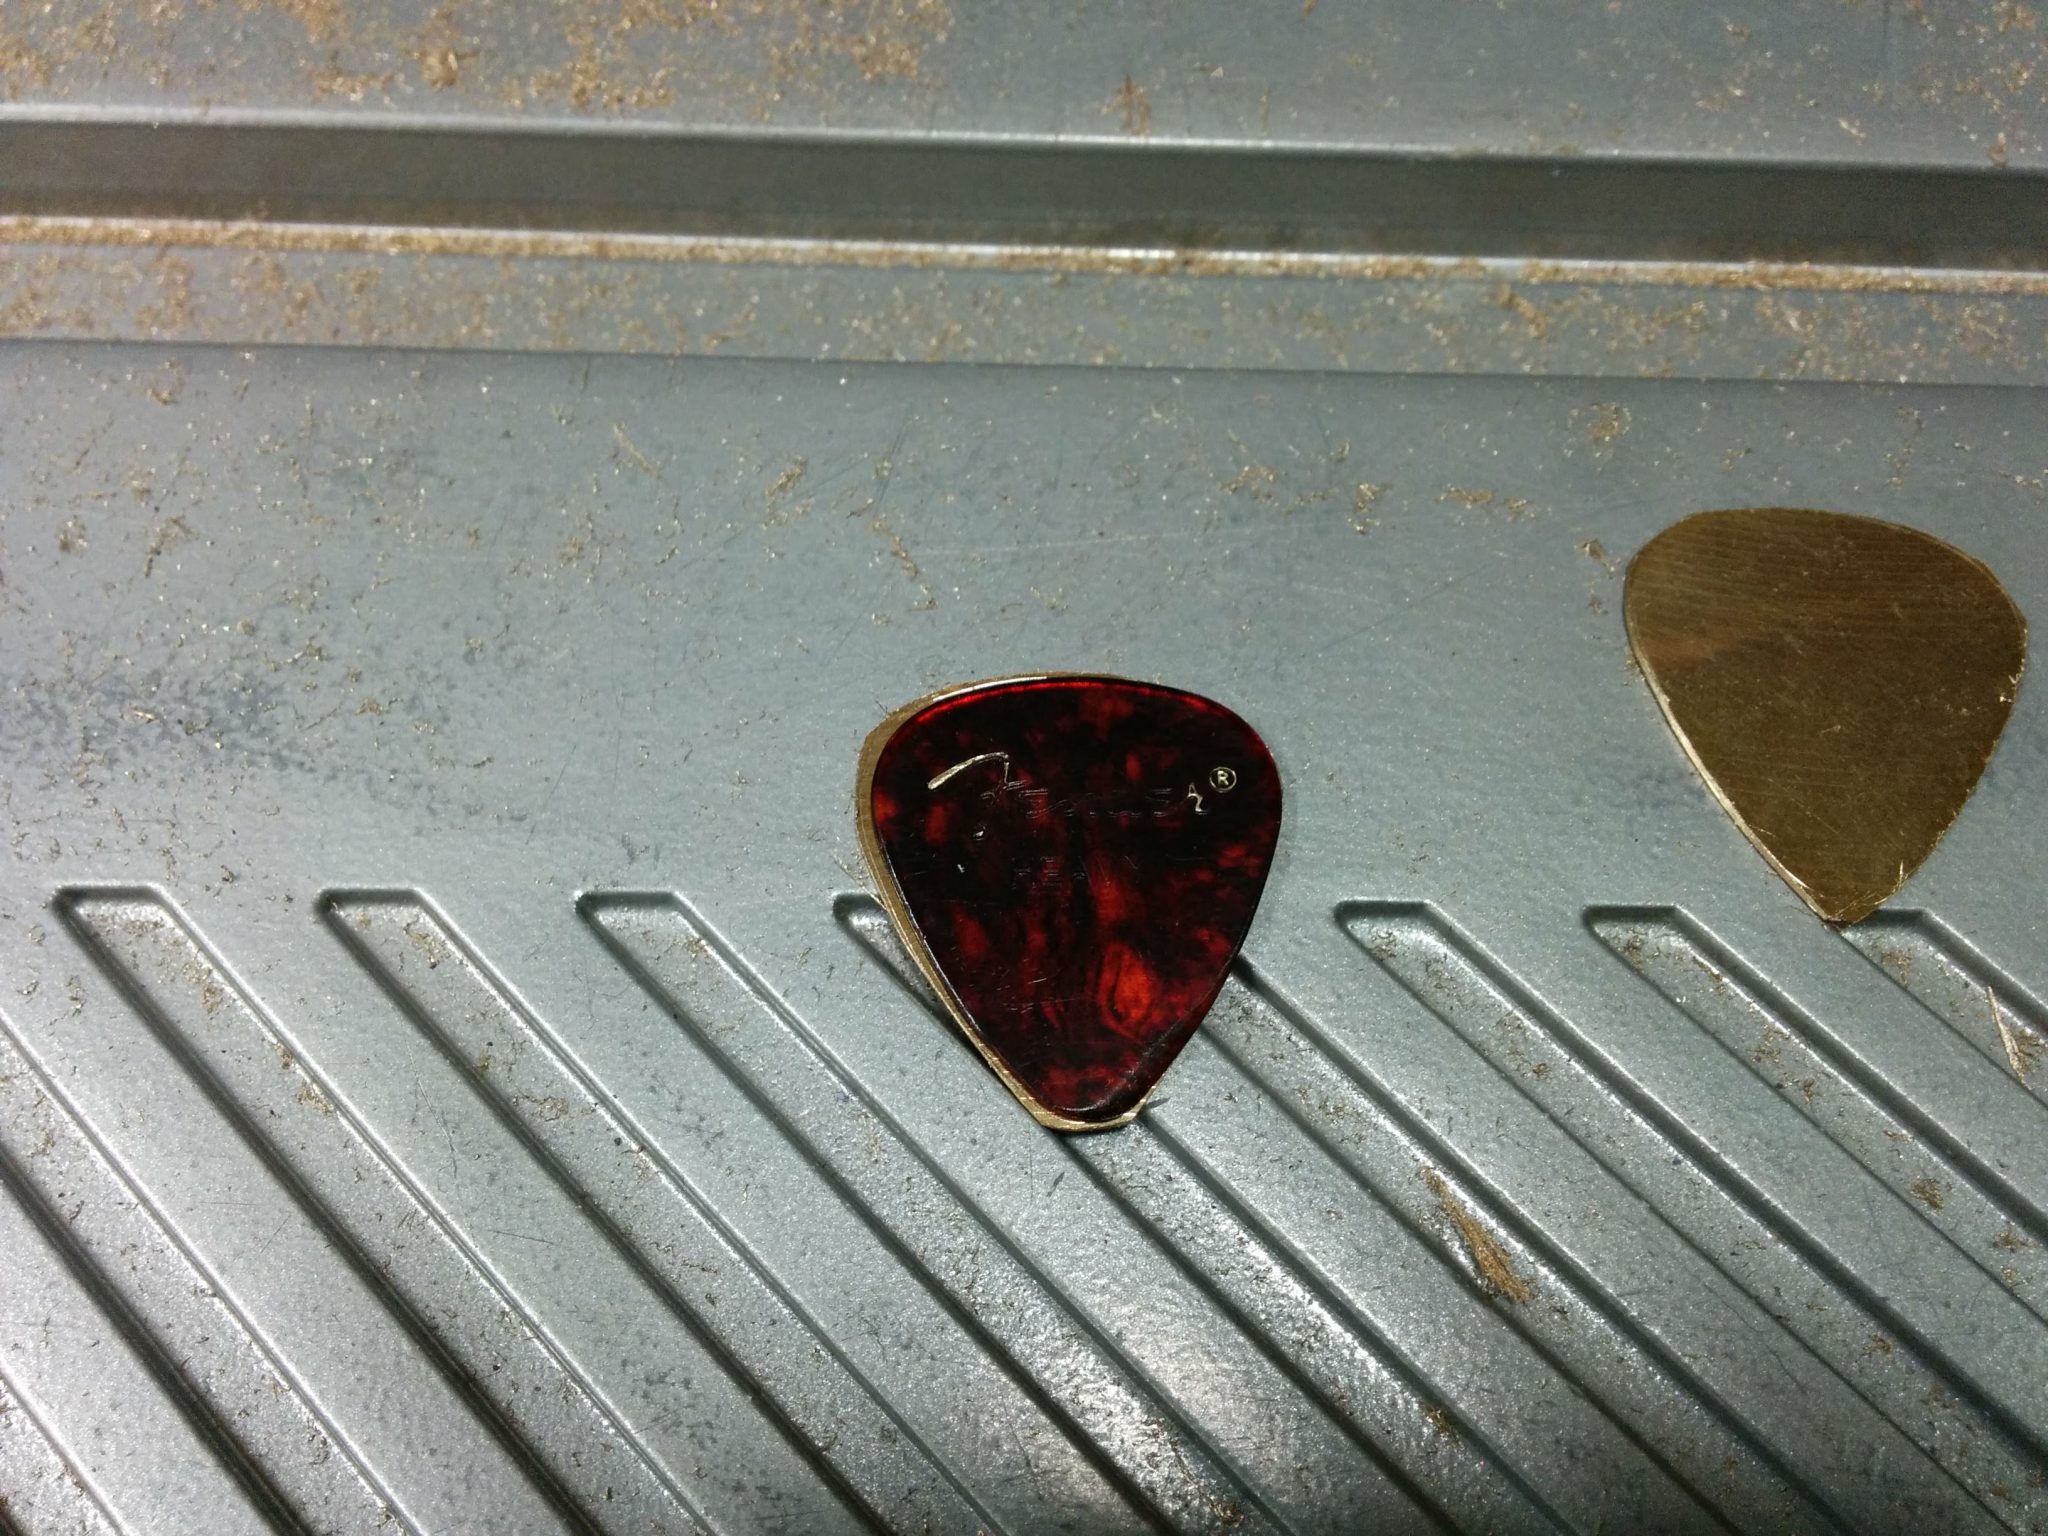
After getting them close to the finished size, I used the original pick as a template by holding it in front of the sanded shape and see where I needed to take it down some more.
Lining up the original pick as a template.
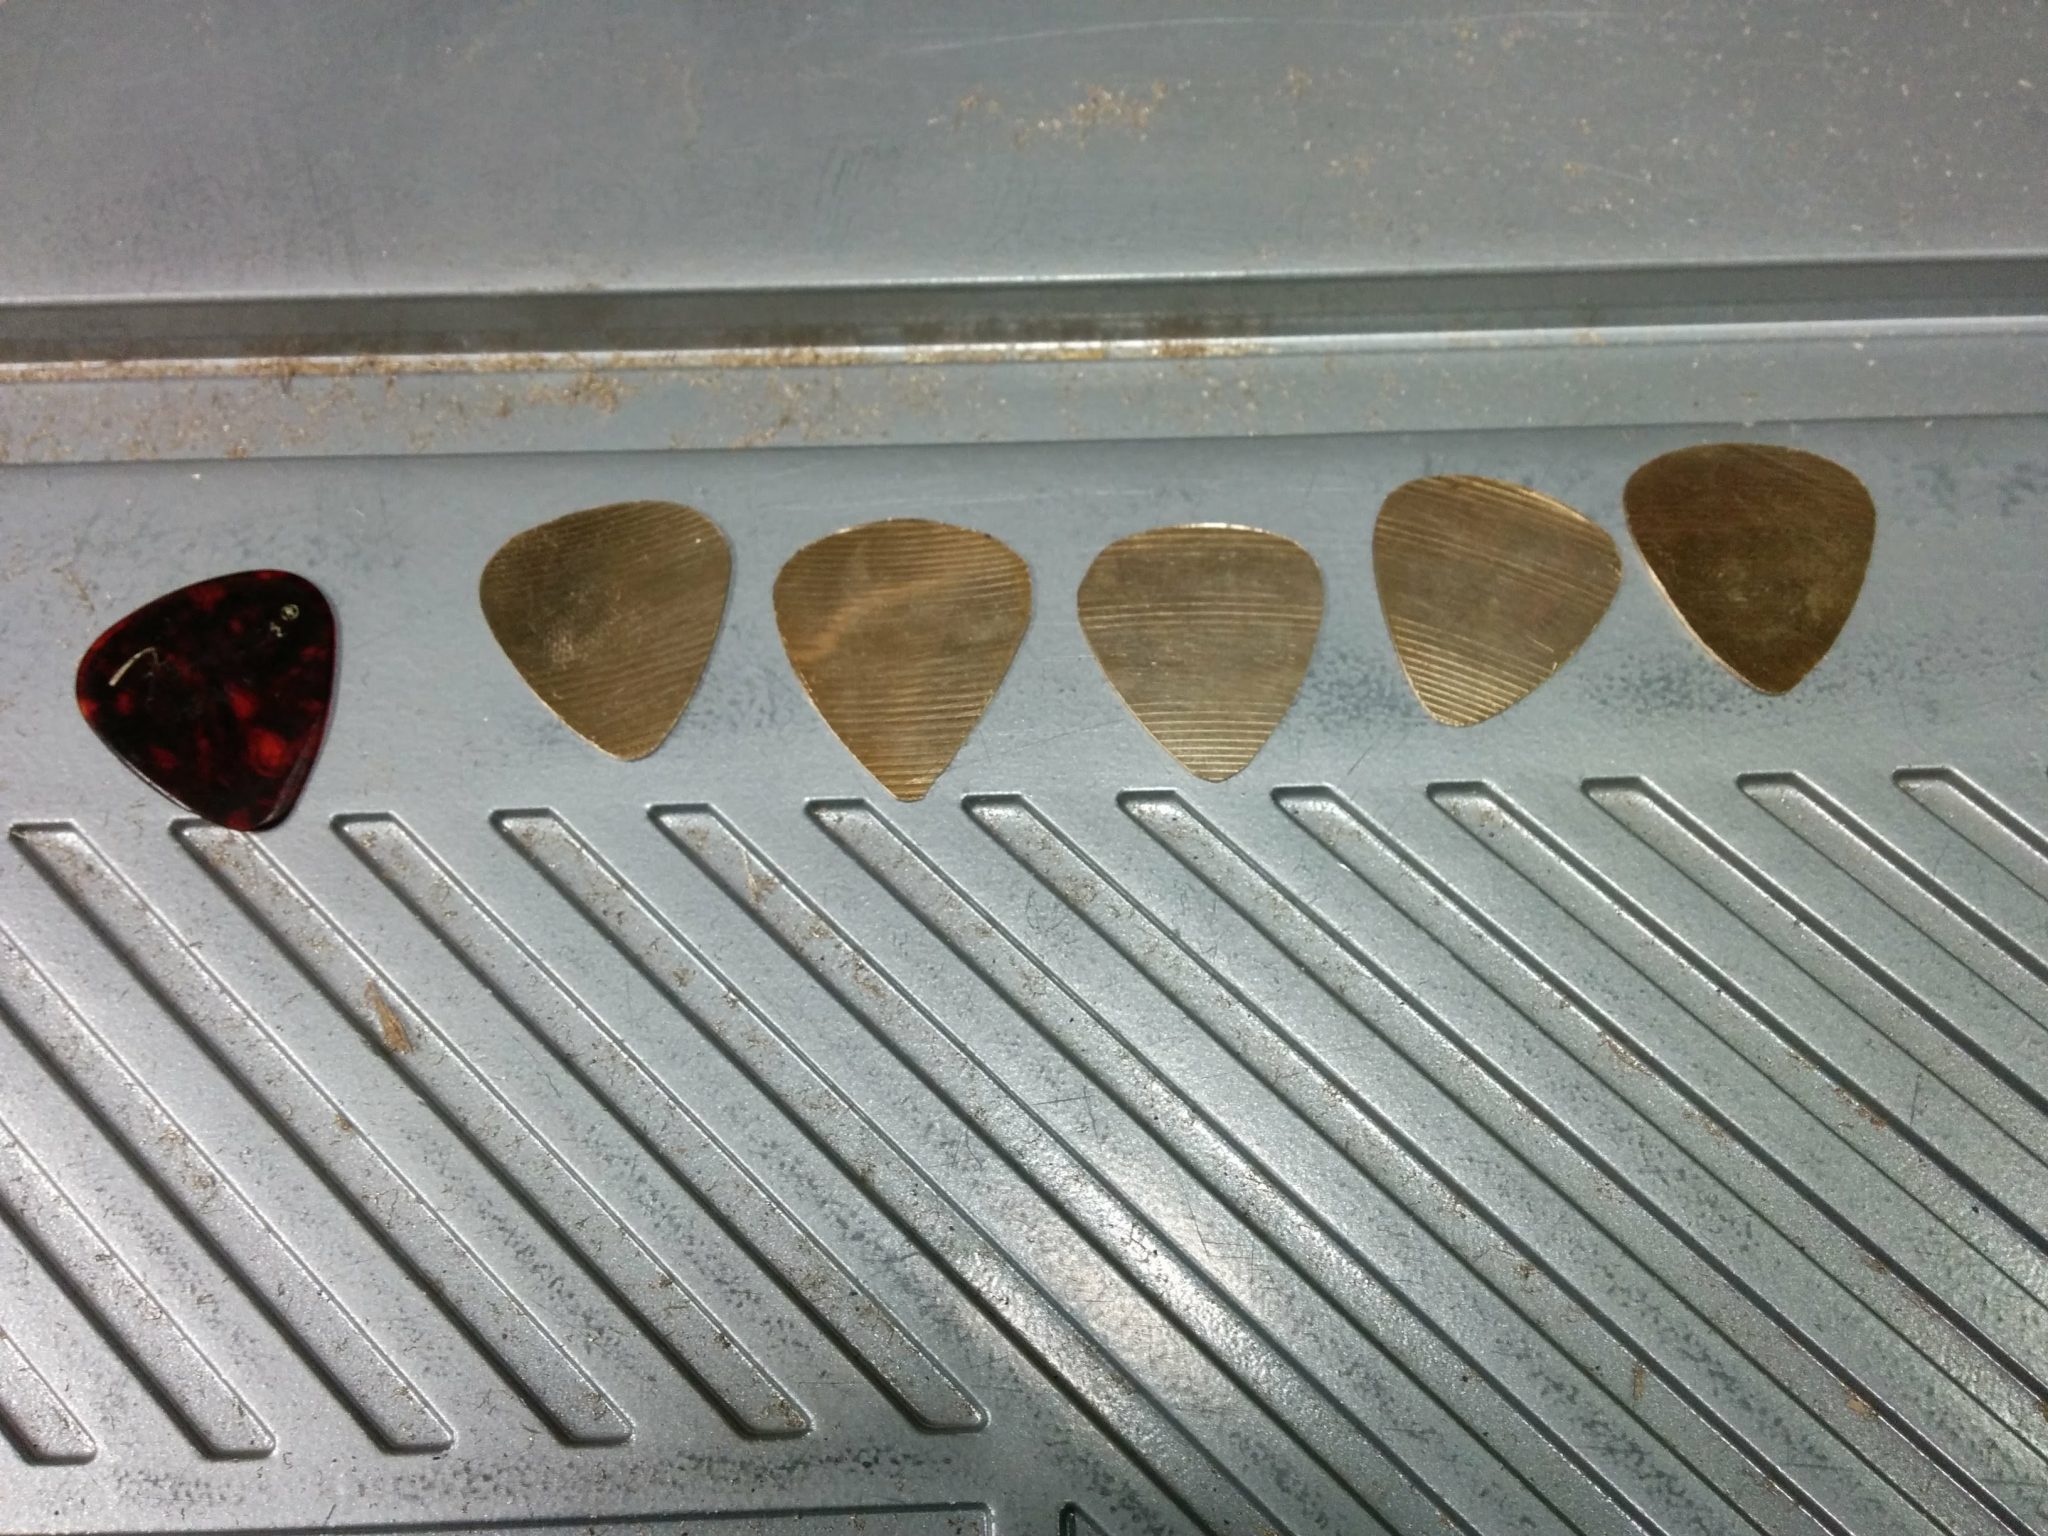
After using the pick as a template, they were really close to the final shape (the second pick in this photo had yet to go through this step).
After using the original pick as a template.
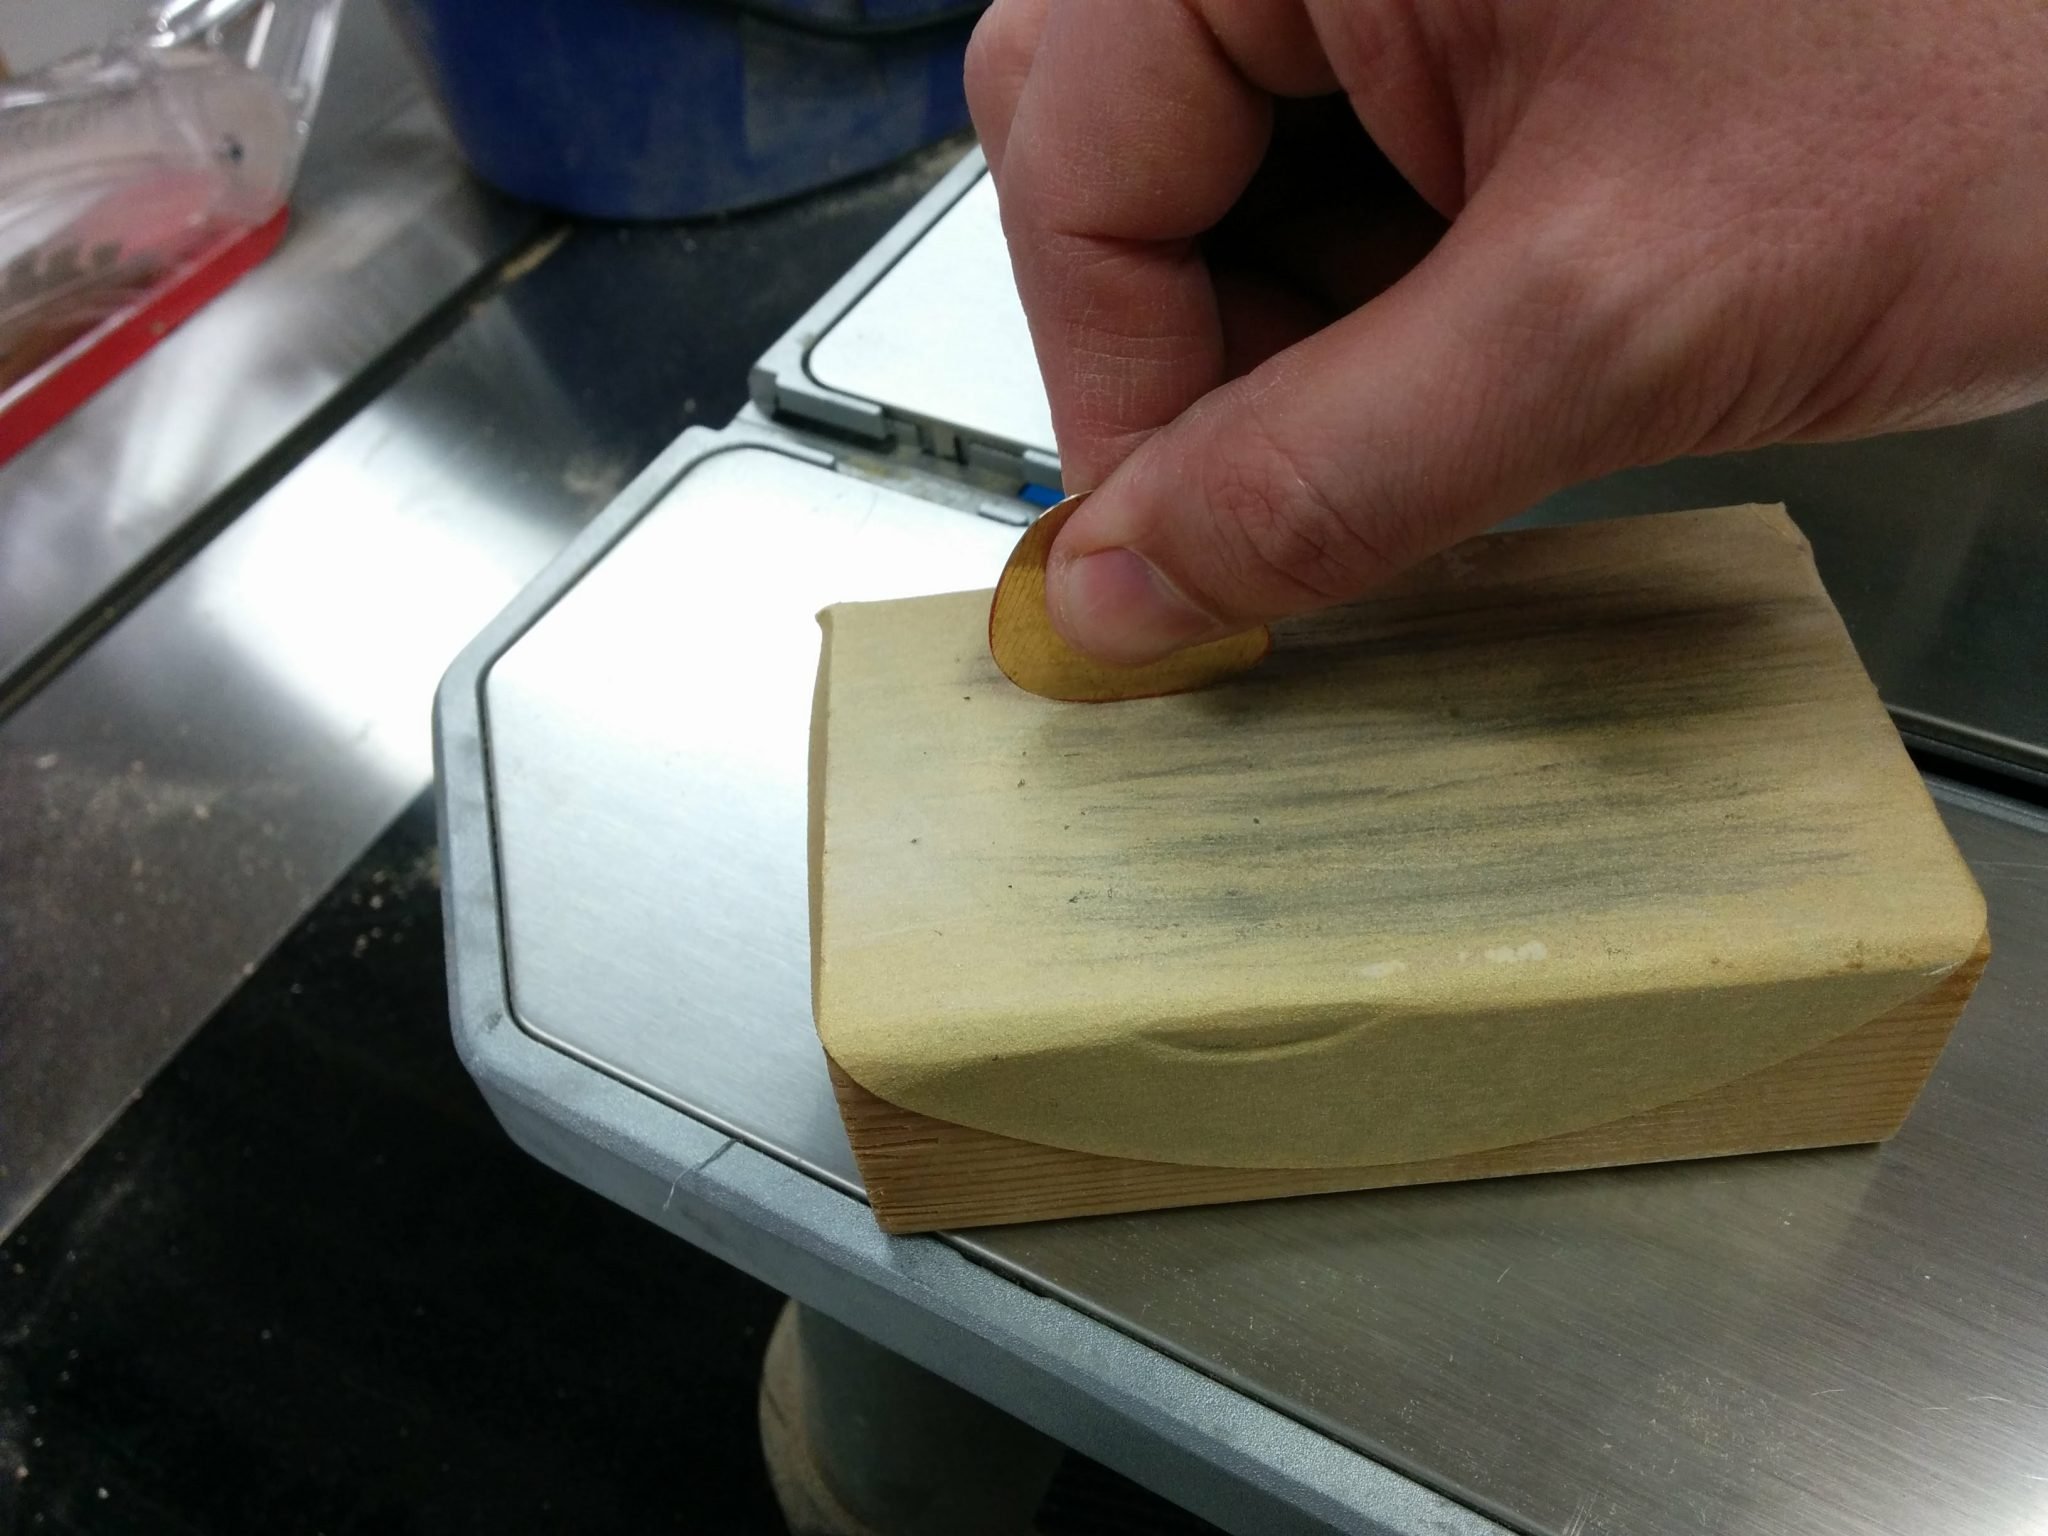
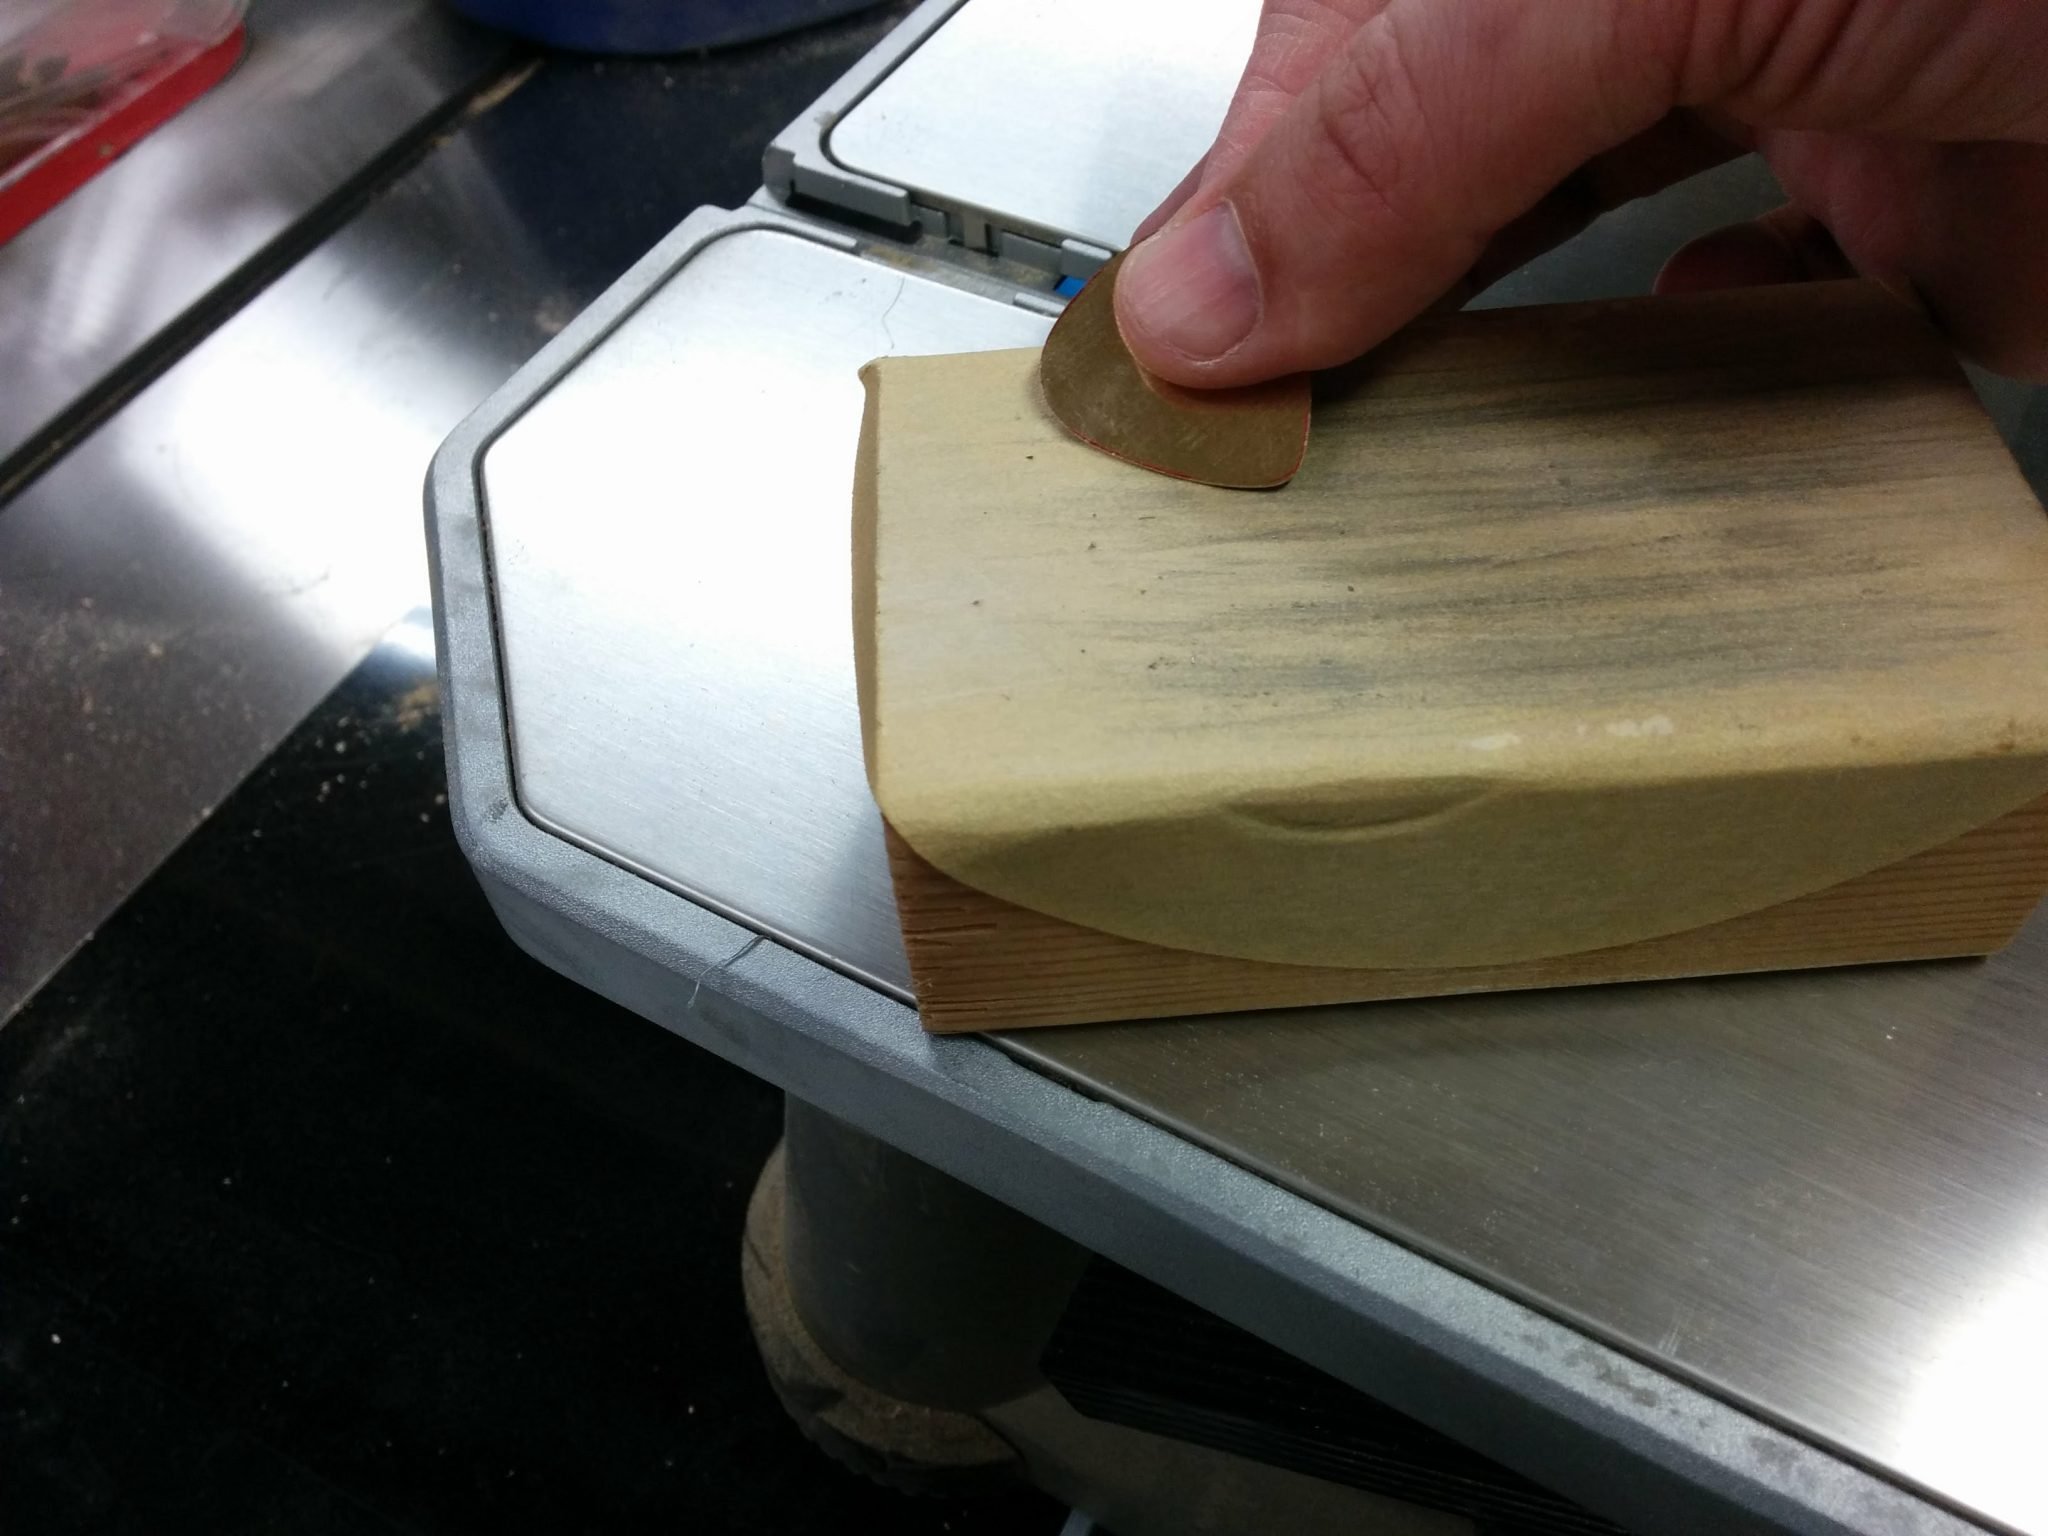
Then I took them to my sanding block and manually sanded them down so they would have smooth edges.
Ready to be polished.
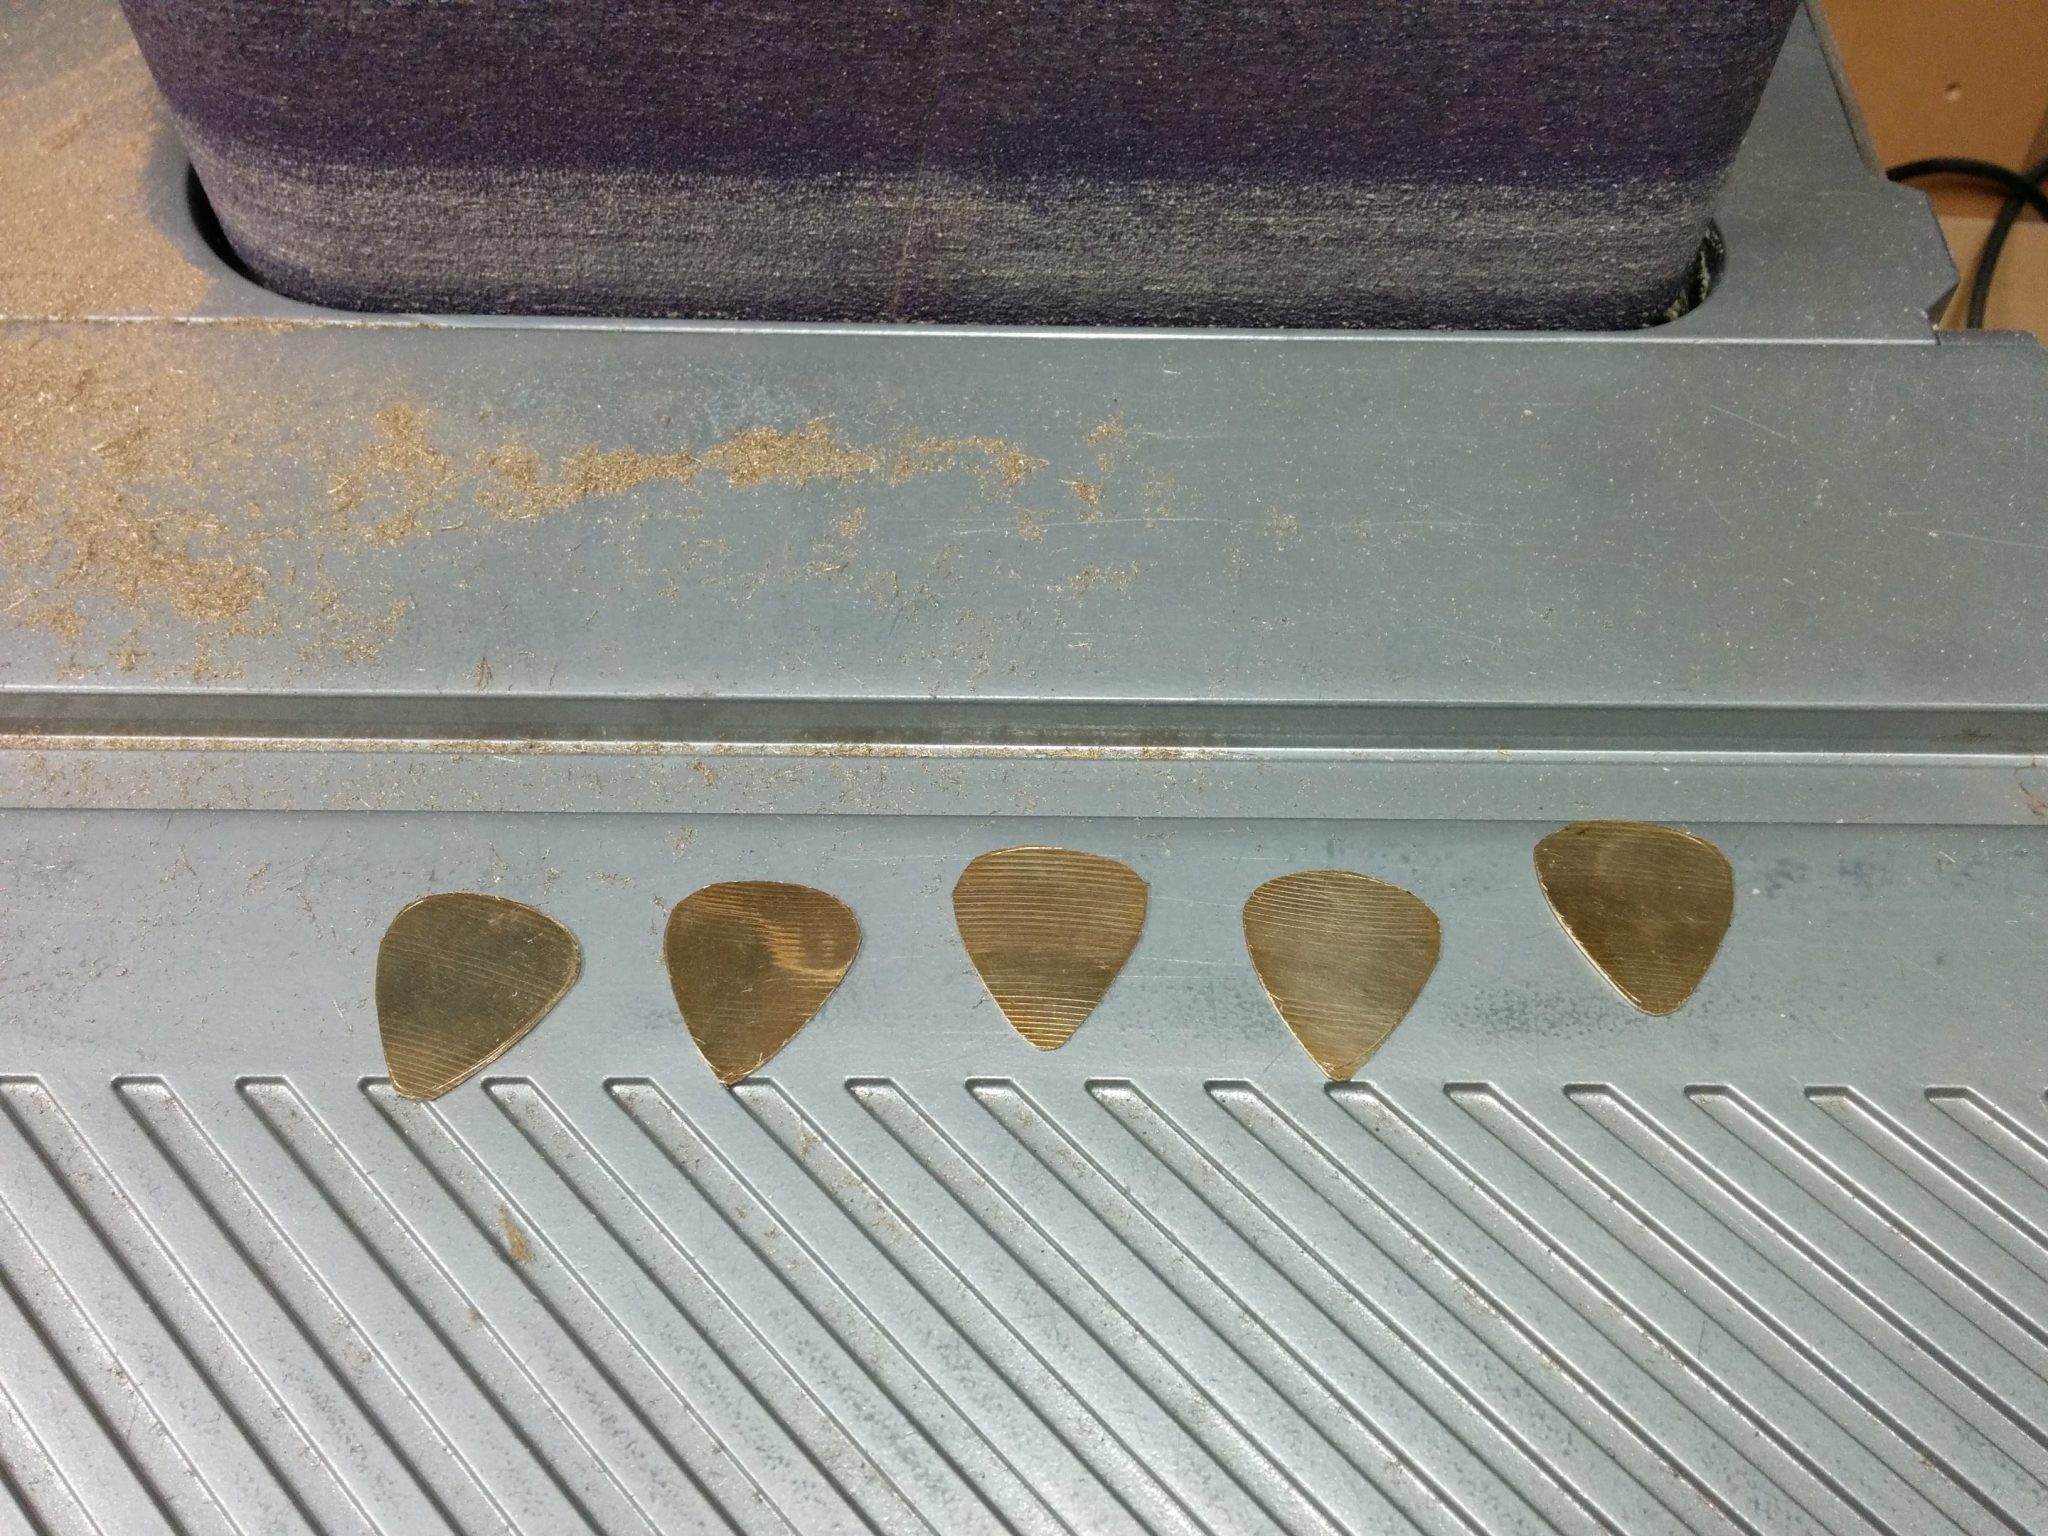
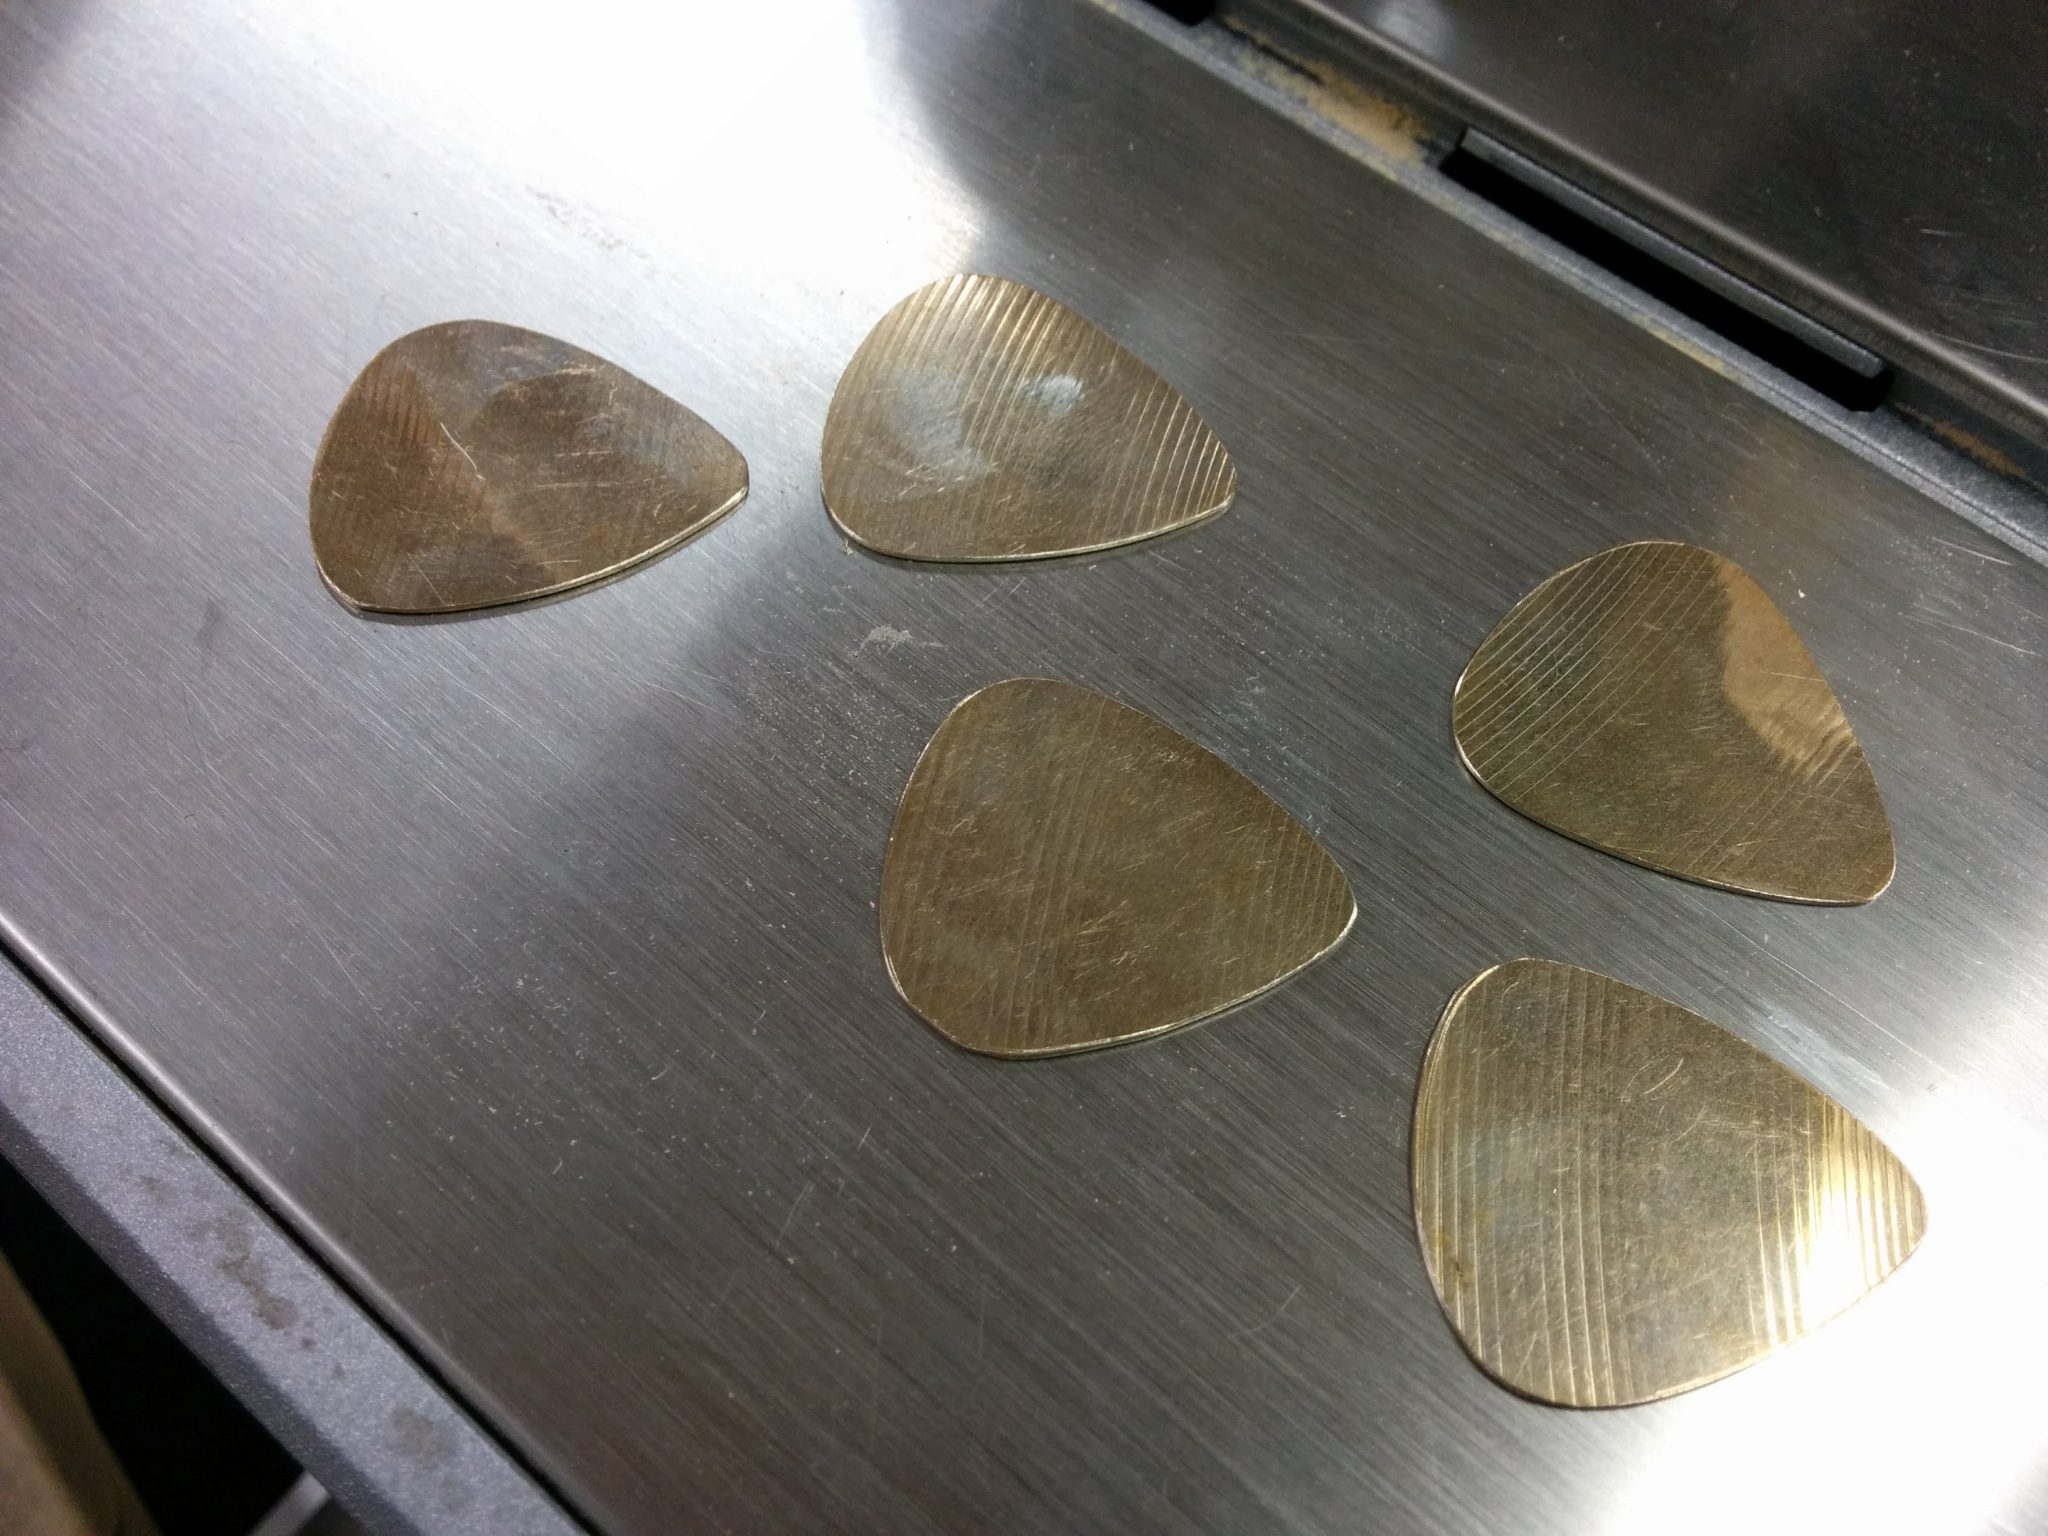
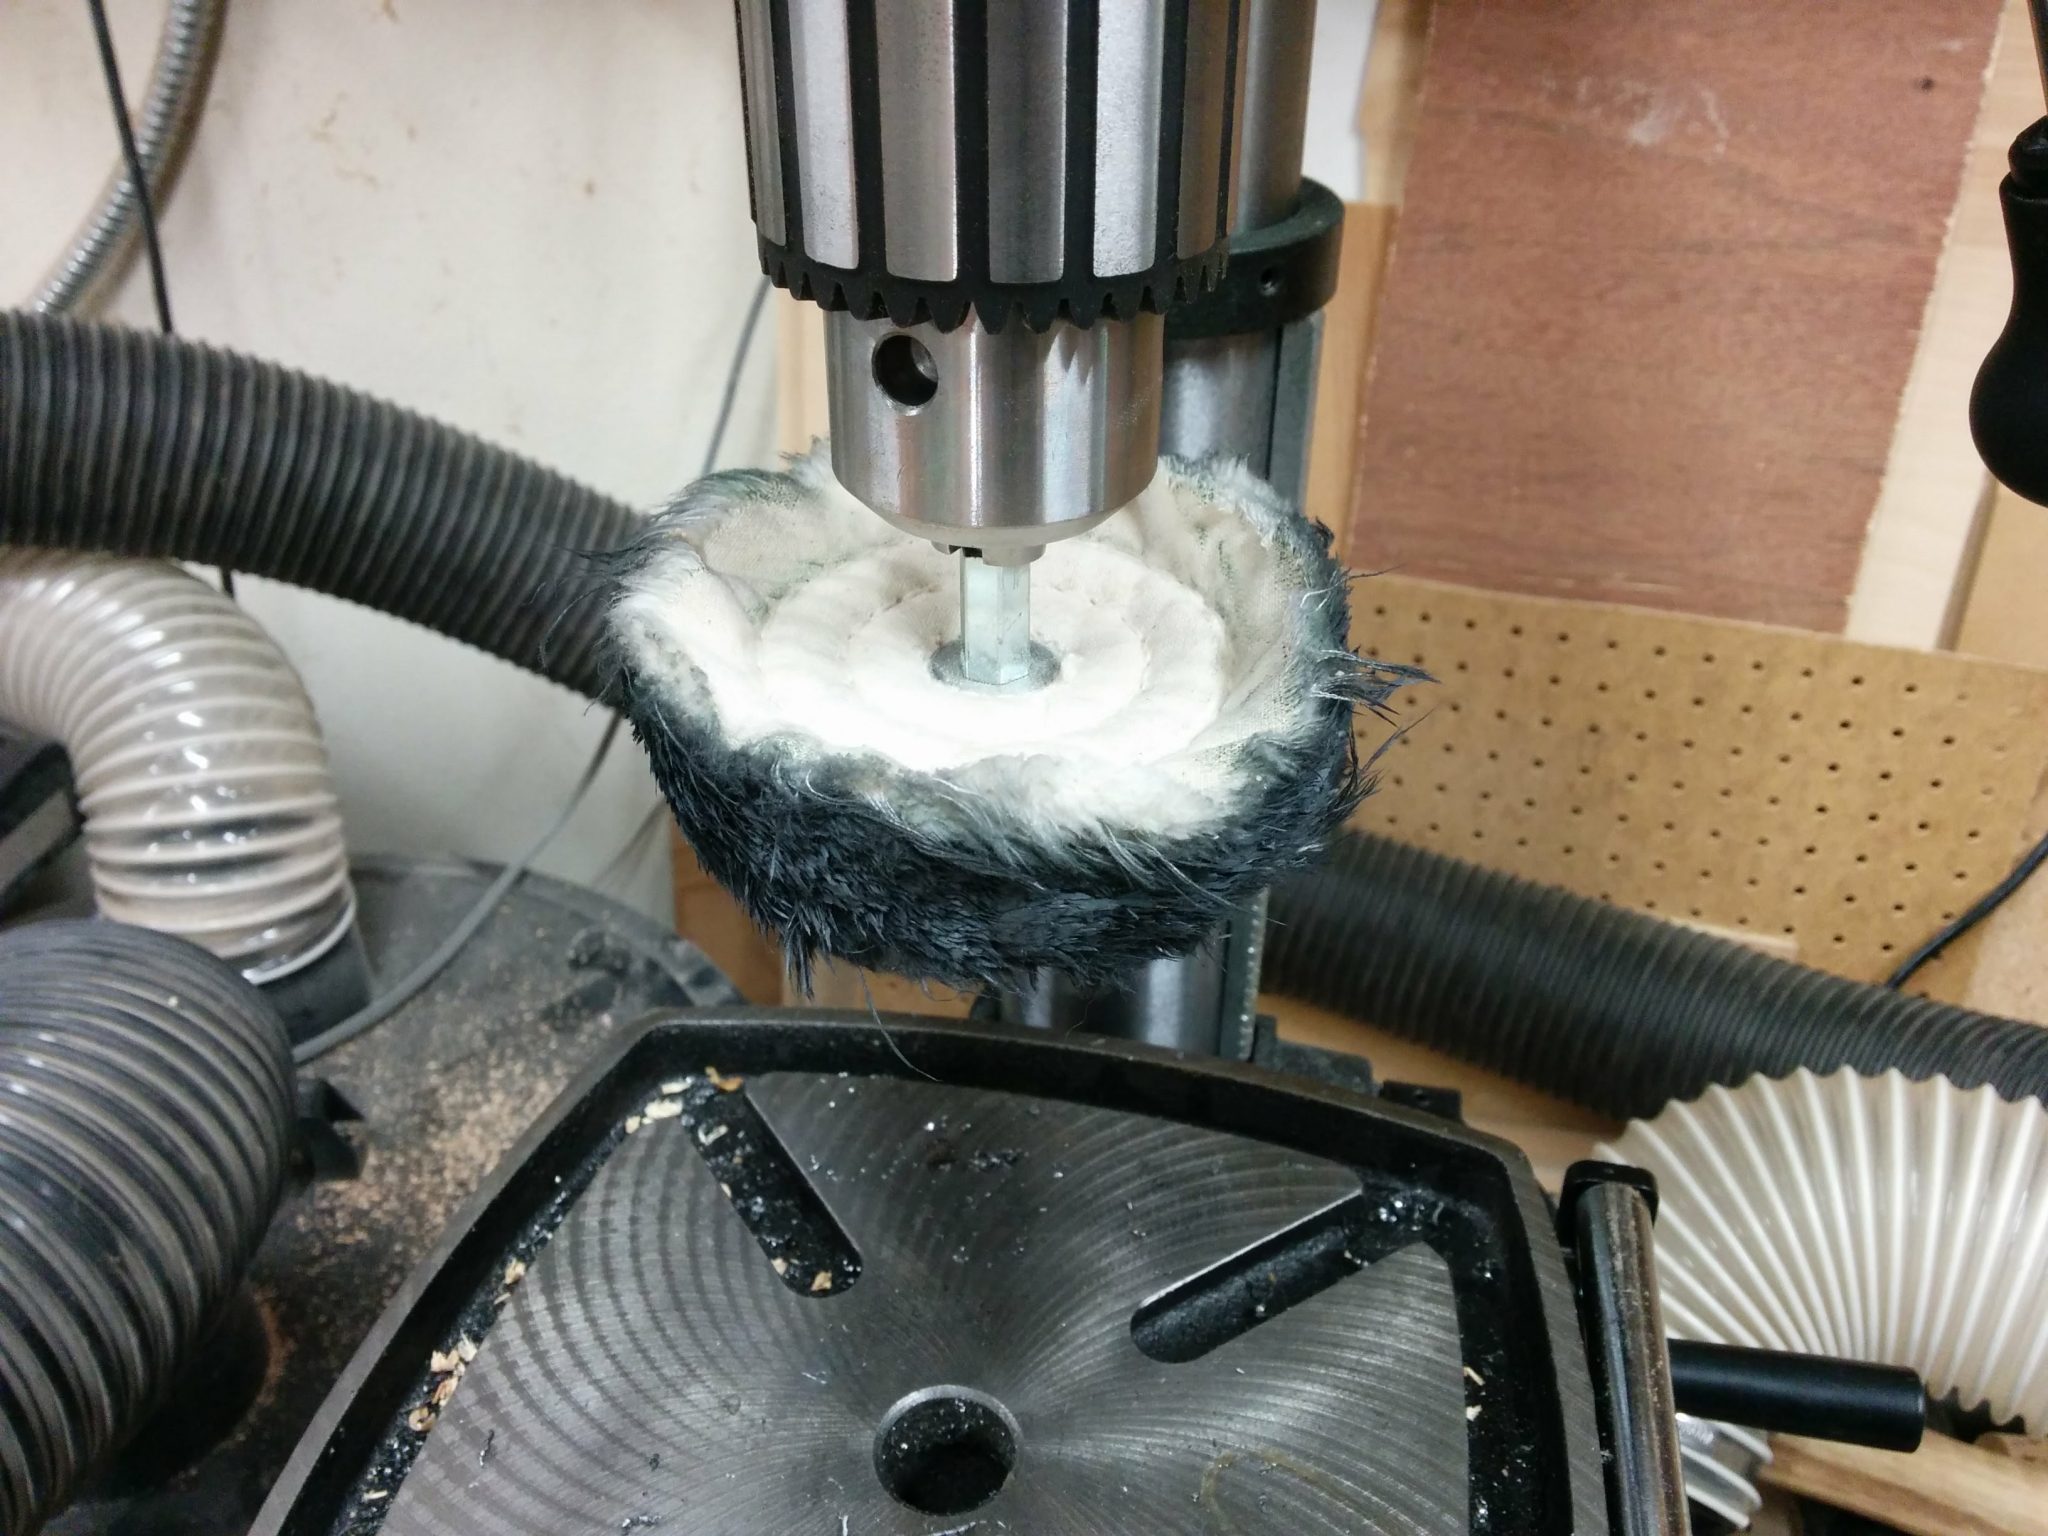
After that, I took them to the buffing wheel on my drill press.
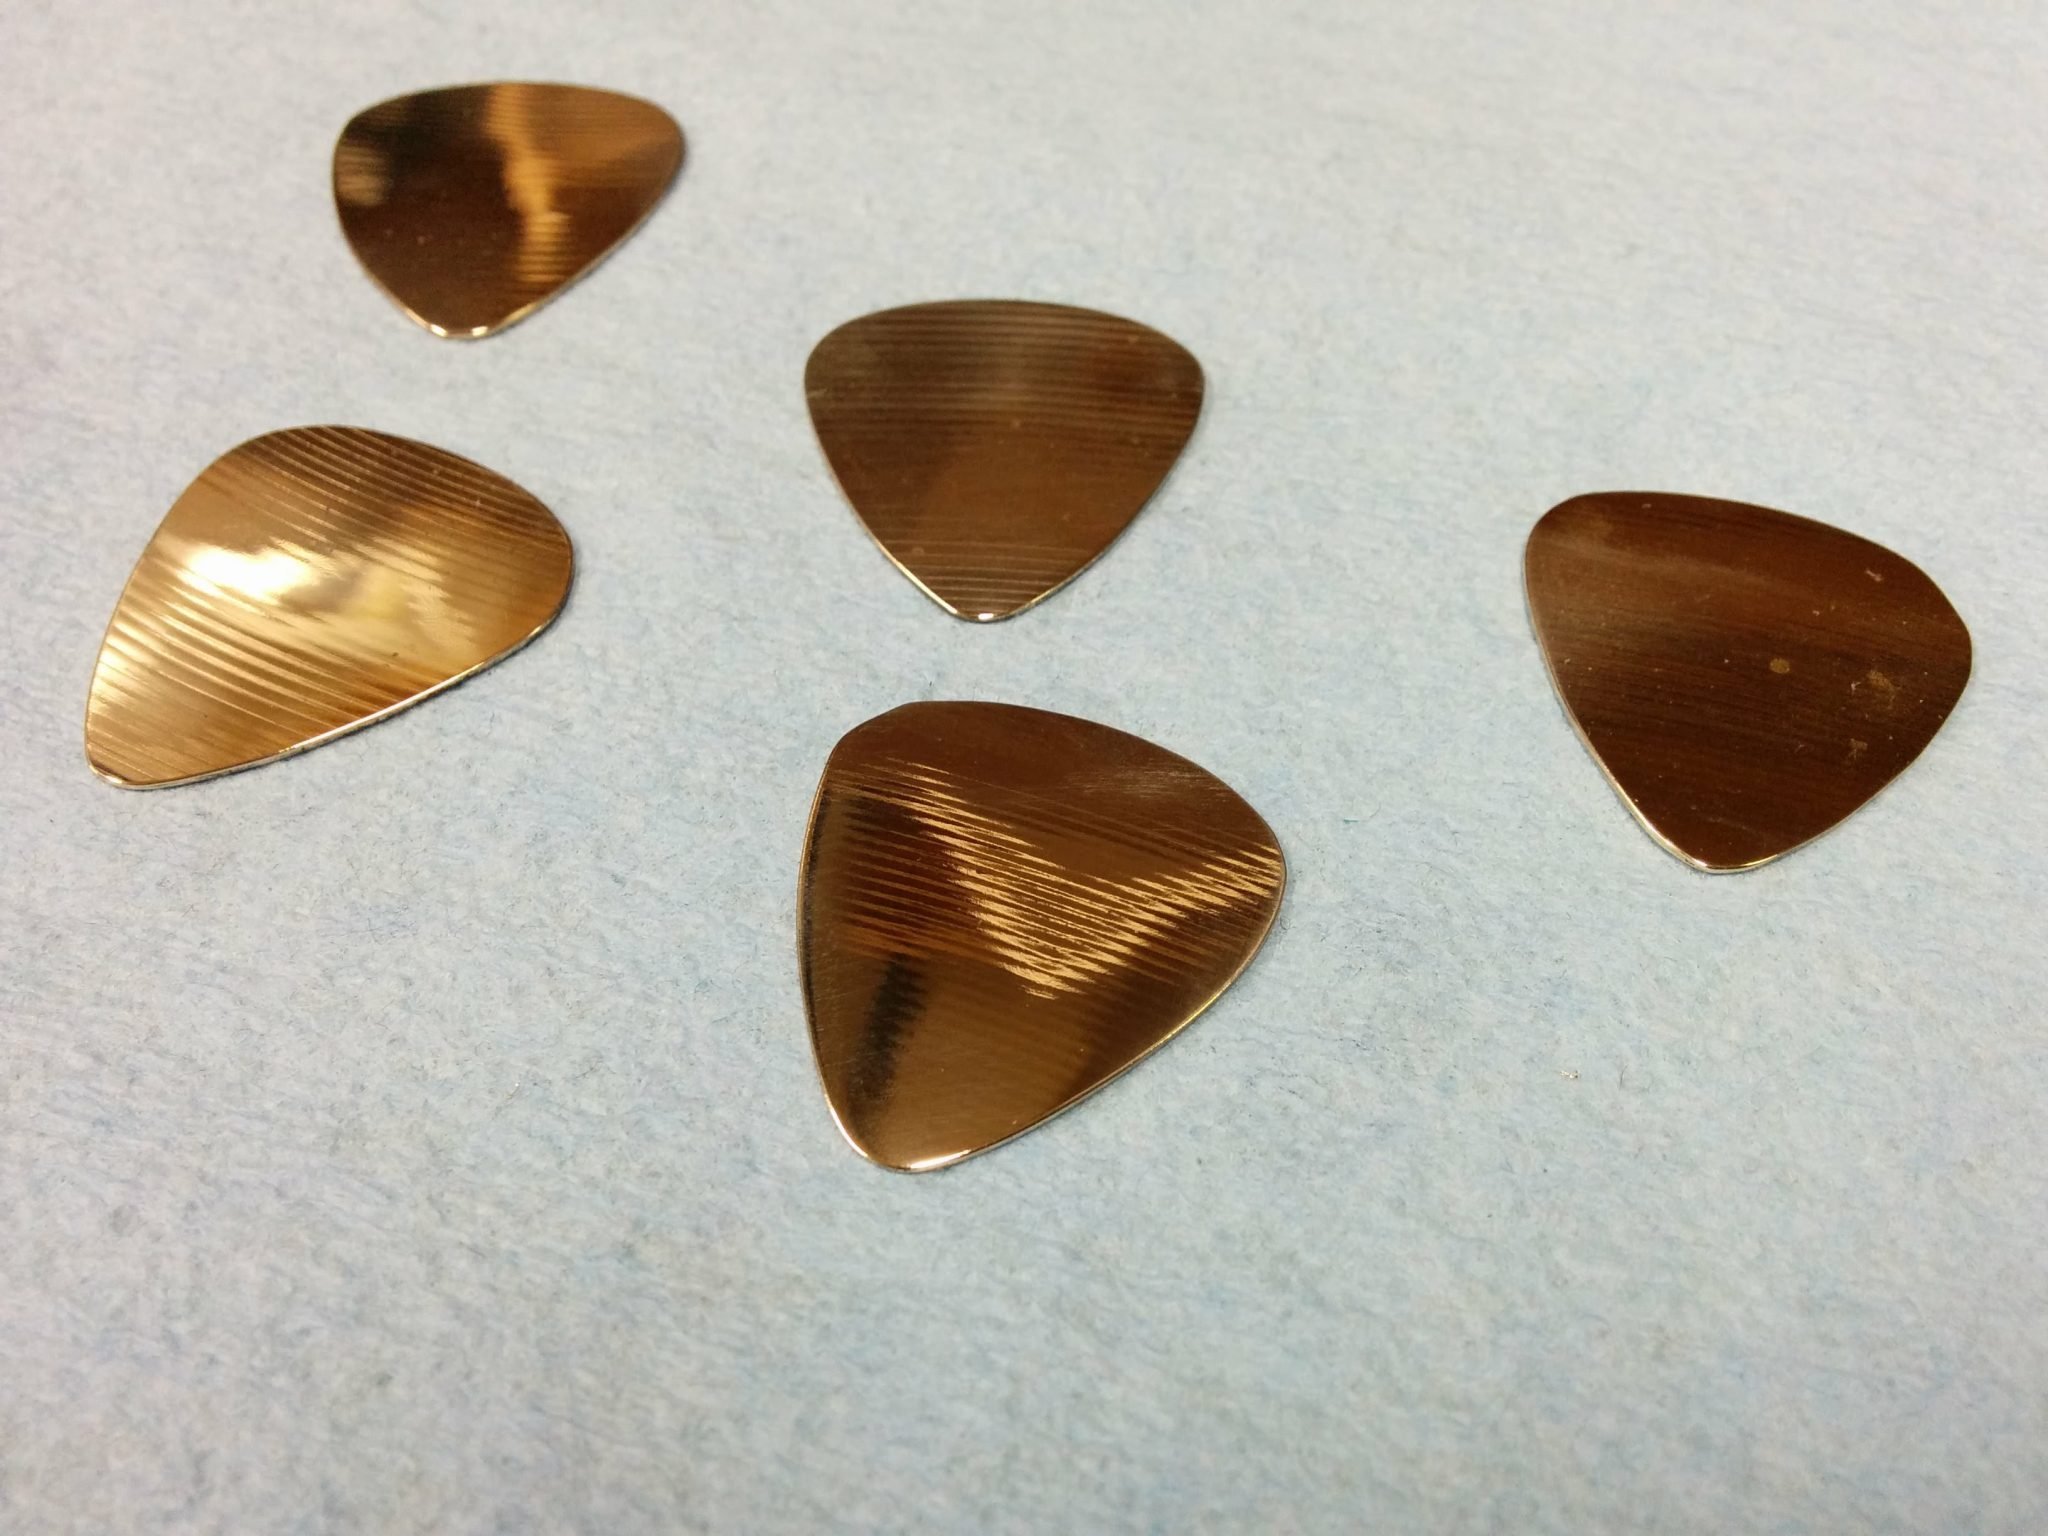
5 more picks almost done being polished.
And that’s it. I think I’ve got this process down. I’ve got a few picks being tested by other guitarists so I’ll compile the feedback and see how people like them.
Update: I created a follow-up post with a few things I did differently. You can find that here.
I started with the remnant from a cut-down cymbal. I chose a cut-off from a Zildjian A Custom 10″ Splash because of how thin it was and how it didn’t have much of a bow to it.
Zildjian A Custom 10″ Splash.
Using a red extra fine point Sharpie, I traced the outline of one of my existing guitar picks.
Outline of the pick traced on the cymbal.
This worked out okay but the red ink started to come off pretty quickly. I think for future picks I will carefully scratch the outline with an awl.
Once the outline was traced, I took the cymbal to my Rockwell BladeRunner equipped with a metal cutting blade.
Rockwell BladeRunner
I didn’t need to cut it exactly on the lines. In fact, it wouldn’t be possible with this type of tool.
Ready to rough cut the pick out of the cymbal.
All I was going for was a smaller section that I can take to my sanding tools for the final shaping. When cutting something like a small cymbal remnant, it’s difficult to safely get it down to it’s final size using larger tools. This was definitely an exercise in finding the right tool for the job, as you’ll see…
The rough cut.
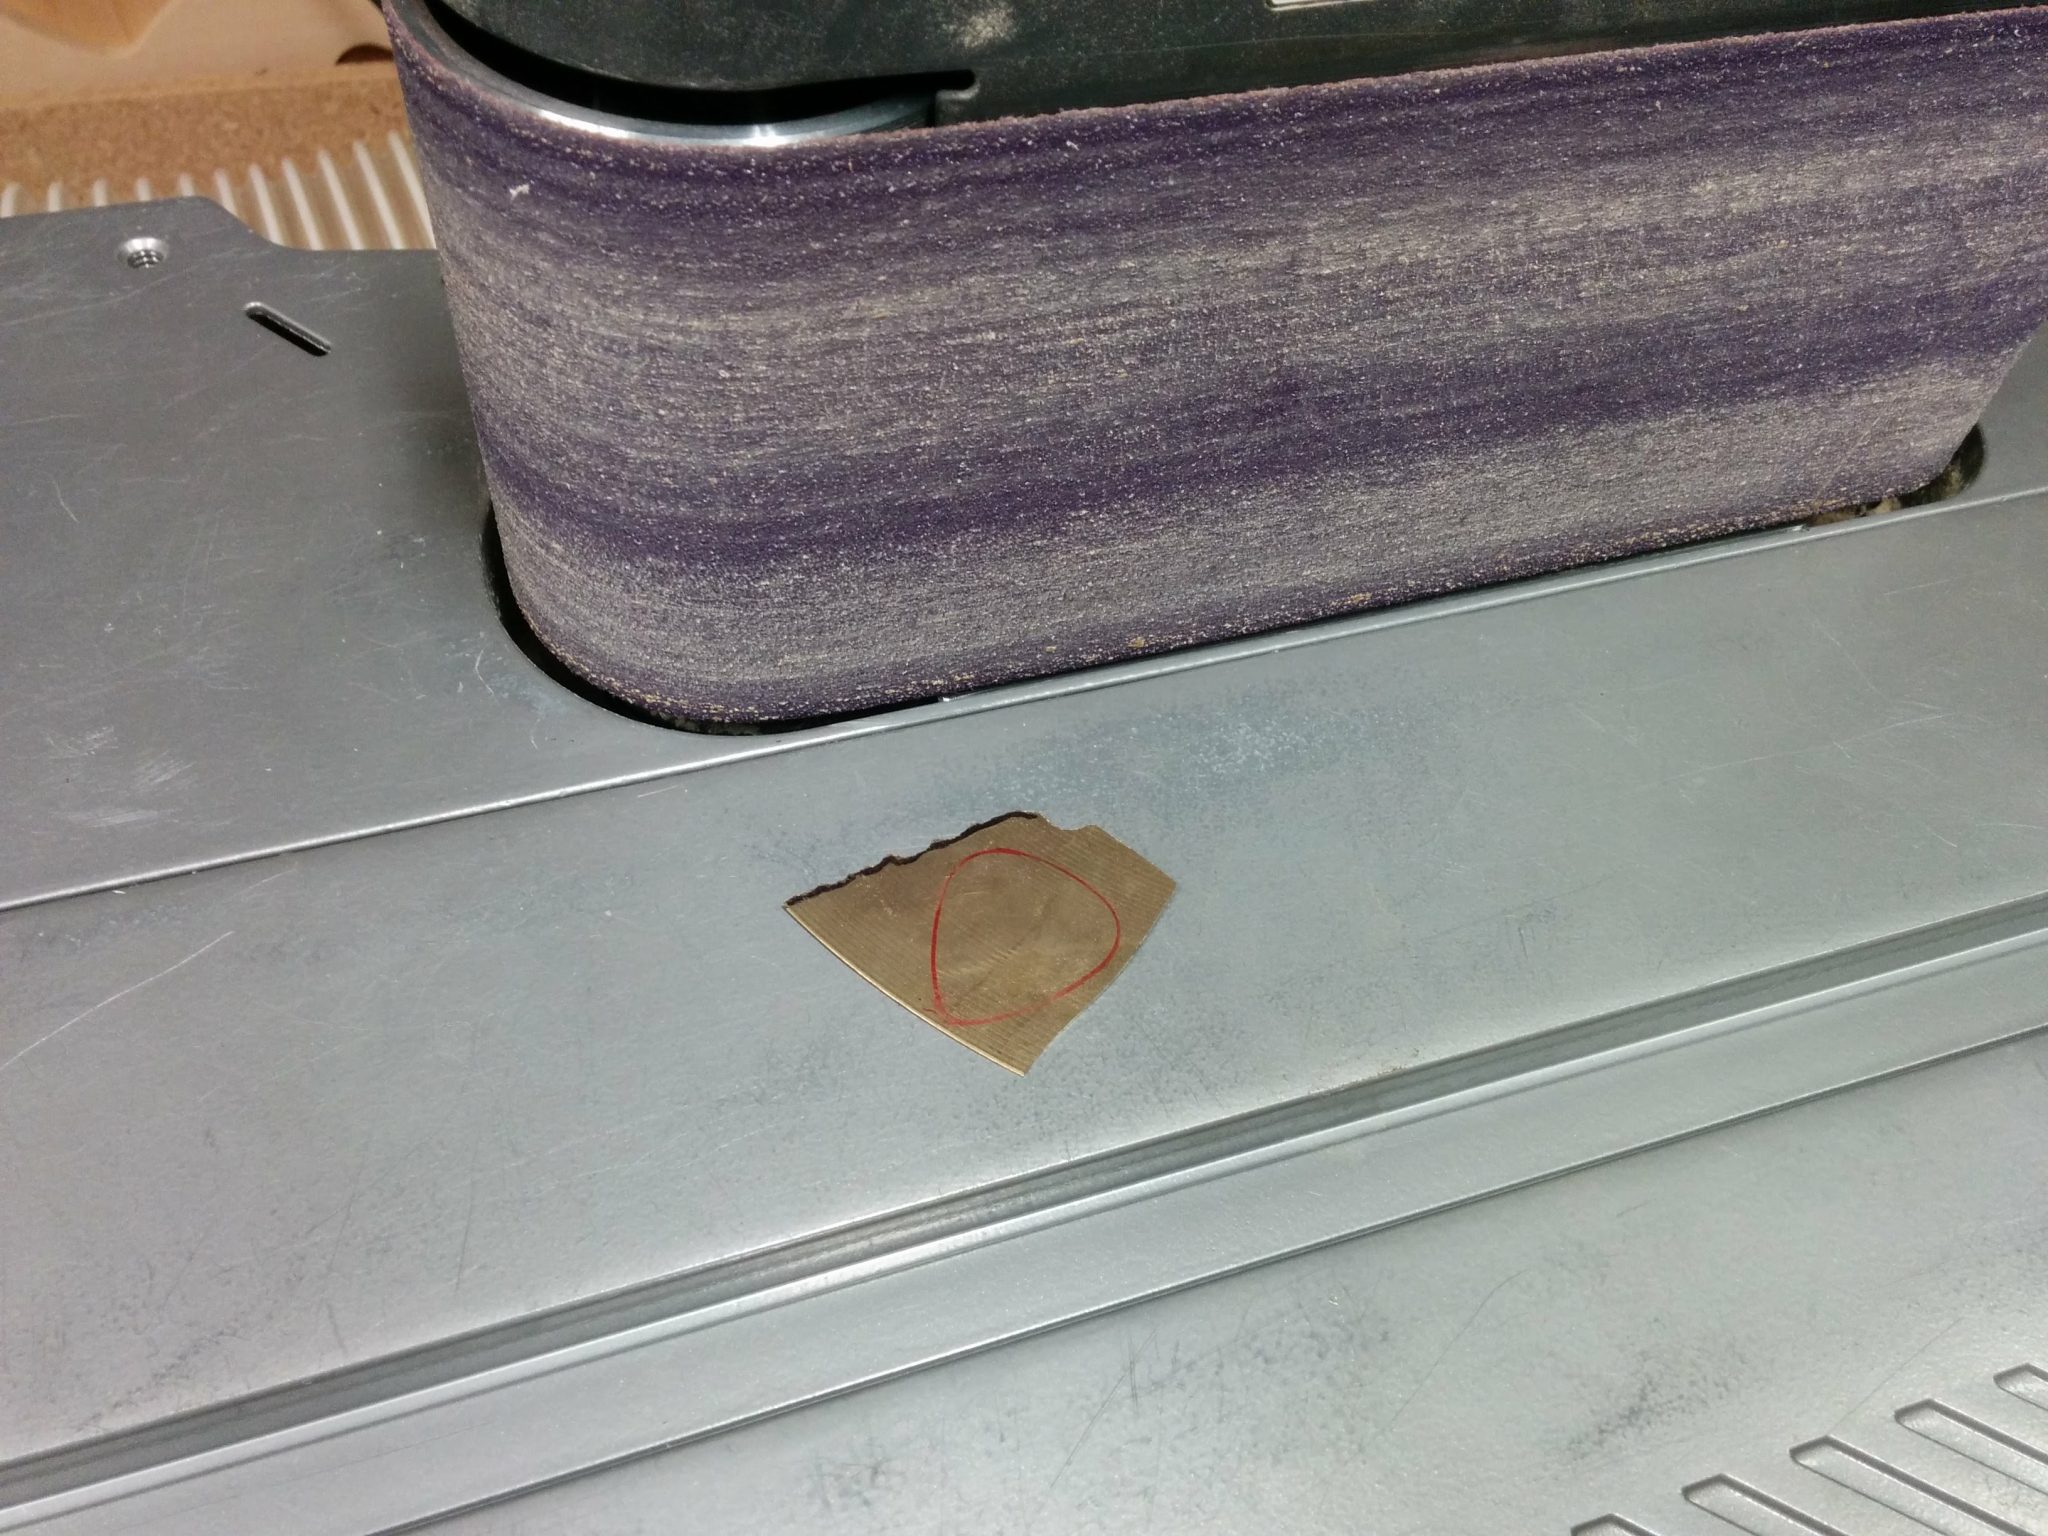
After getting it cut to a manageable size, I took it to my Ridgid oscillating belt sander. My plan was to use this to get it to it’s final shape.
Taking the rough cut to my Ridgid Oscillating Belt Sander.
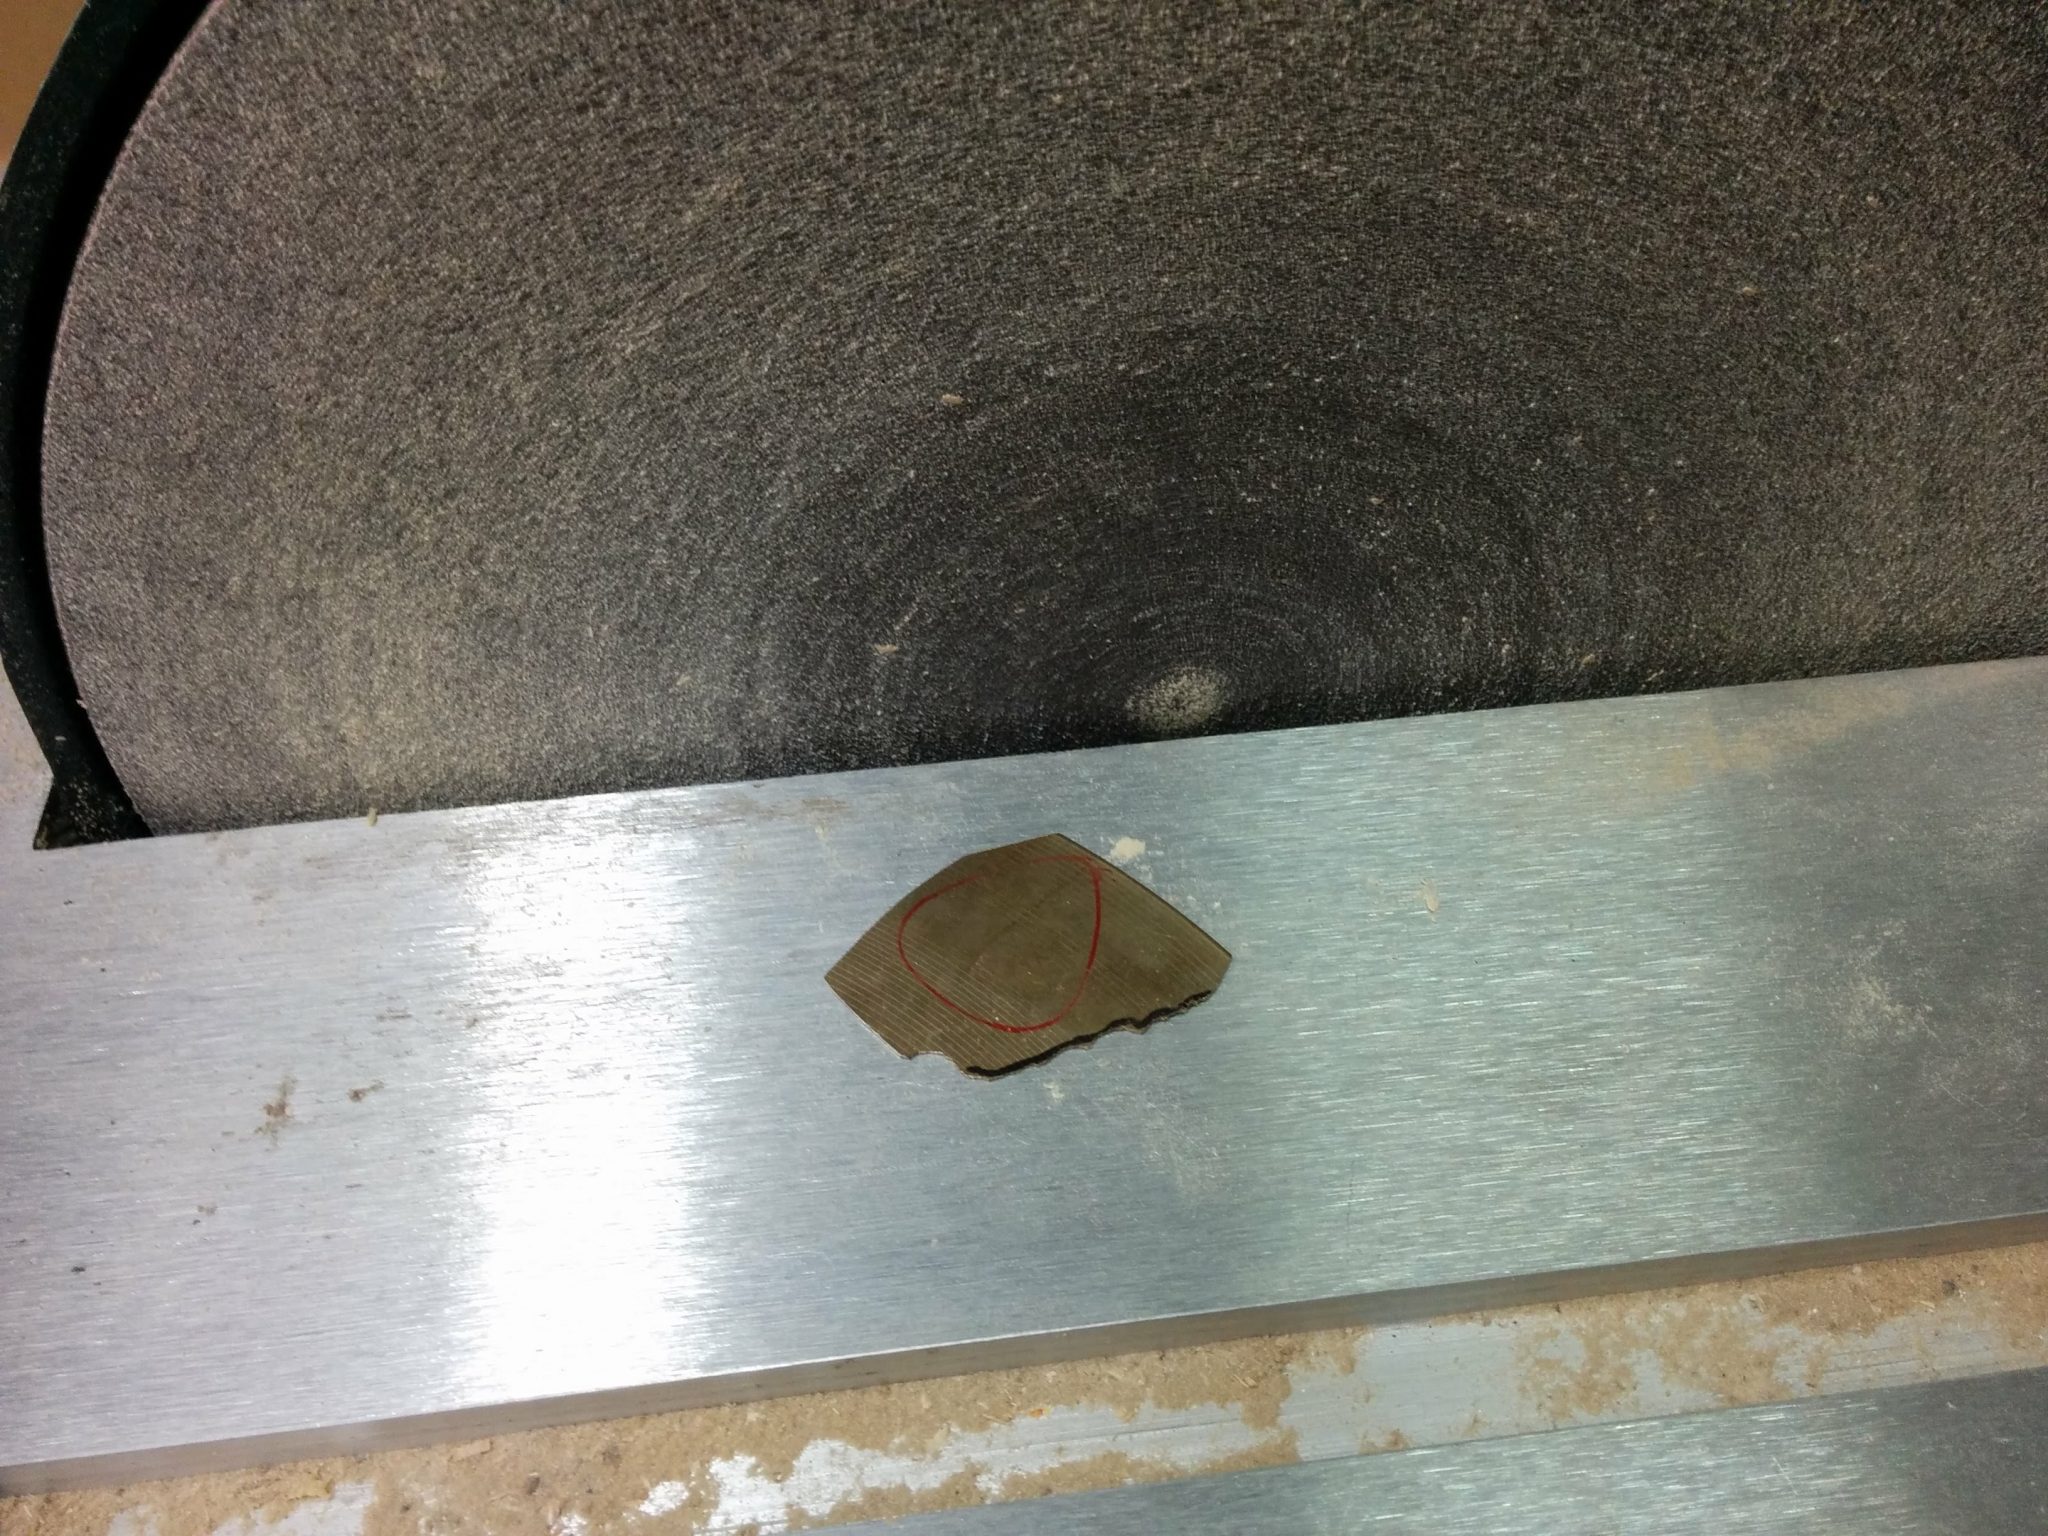
This proved to be too slow so I tried taking it to my disc sander instead.
Trying the disc sander instead.
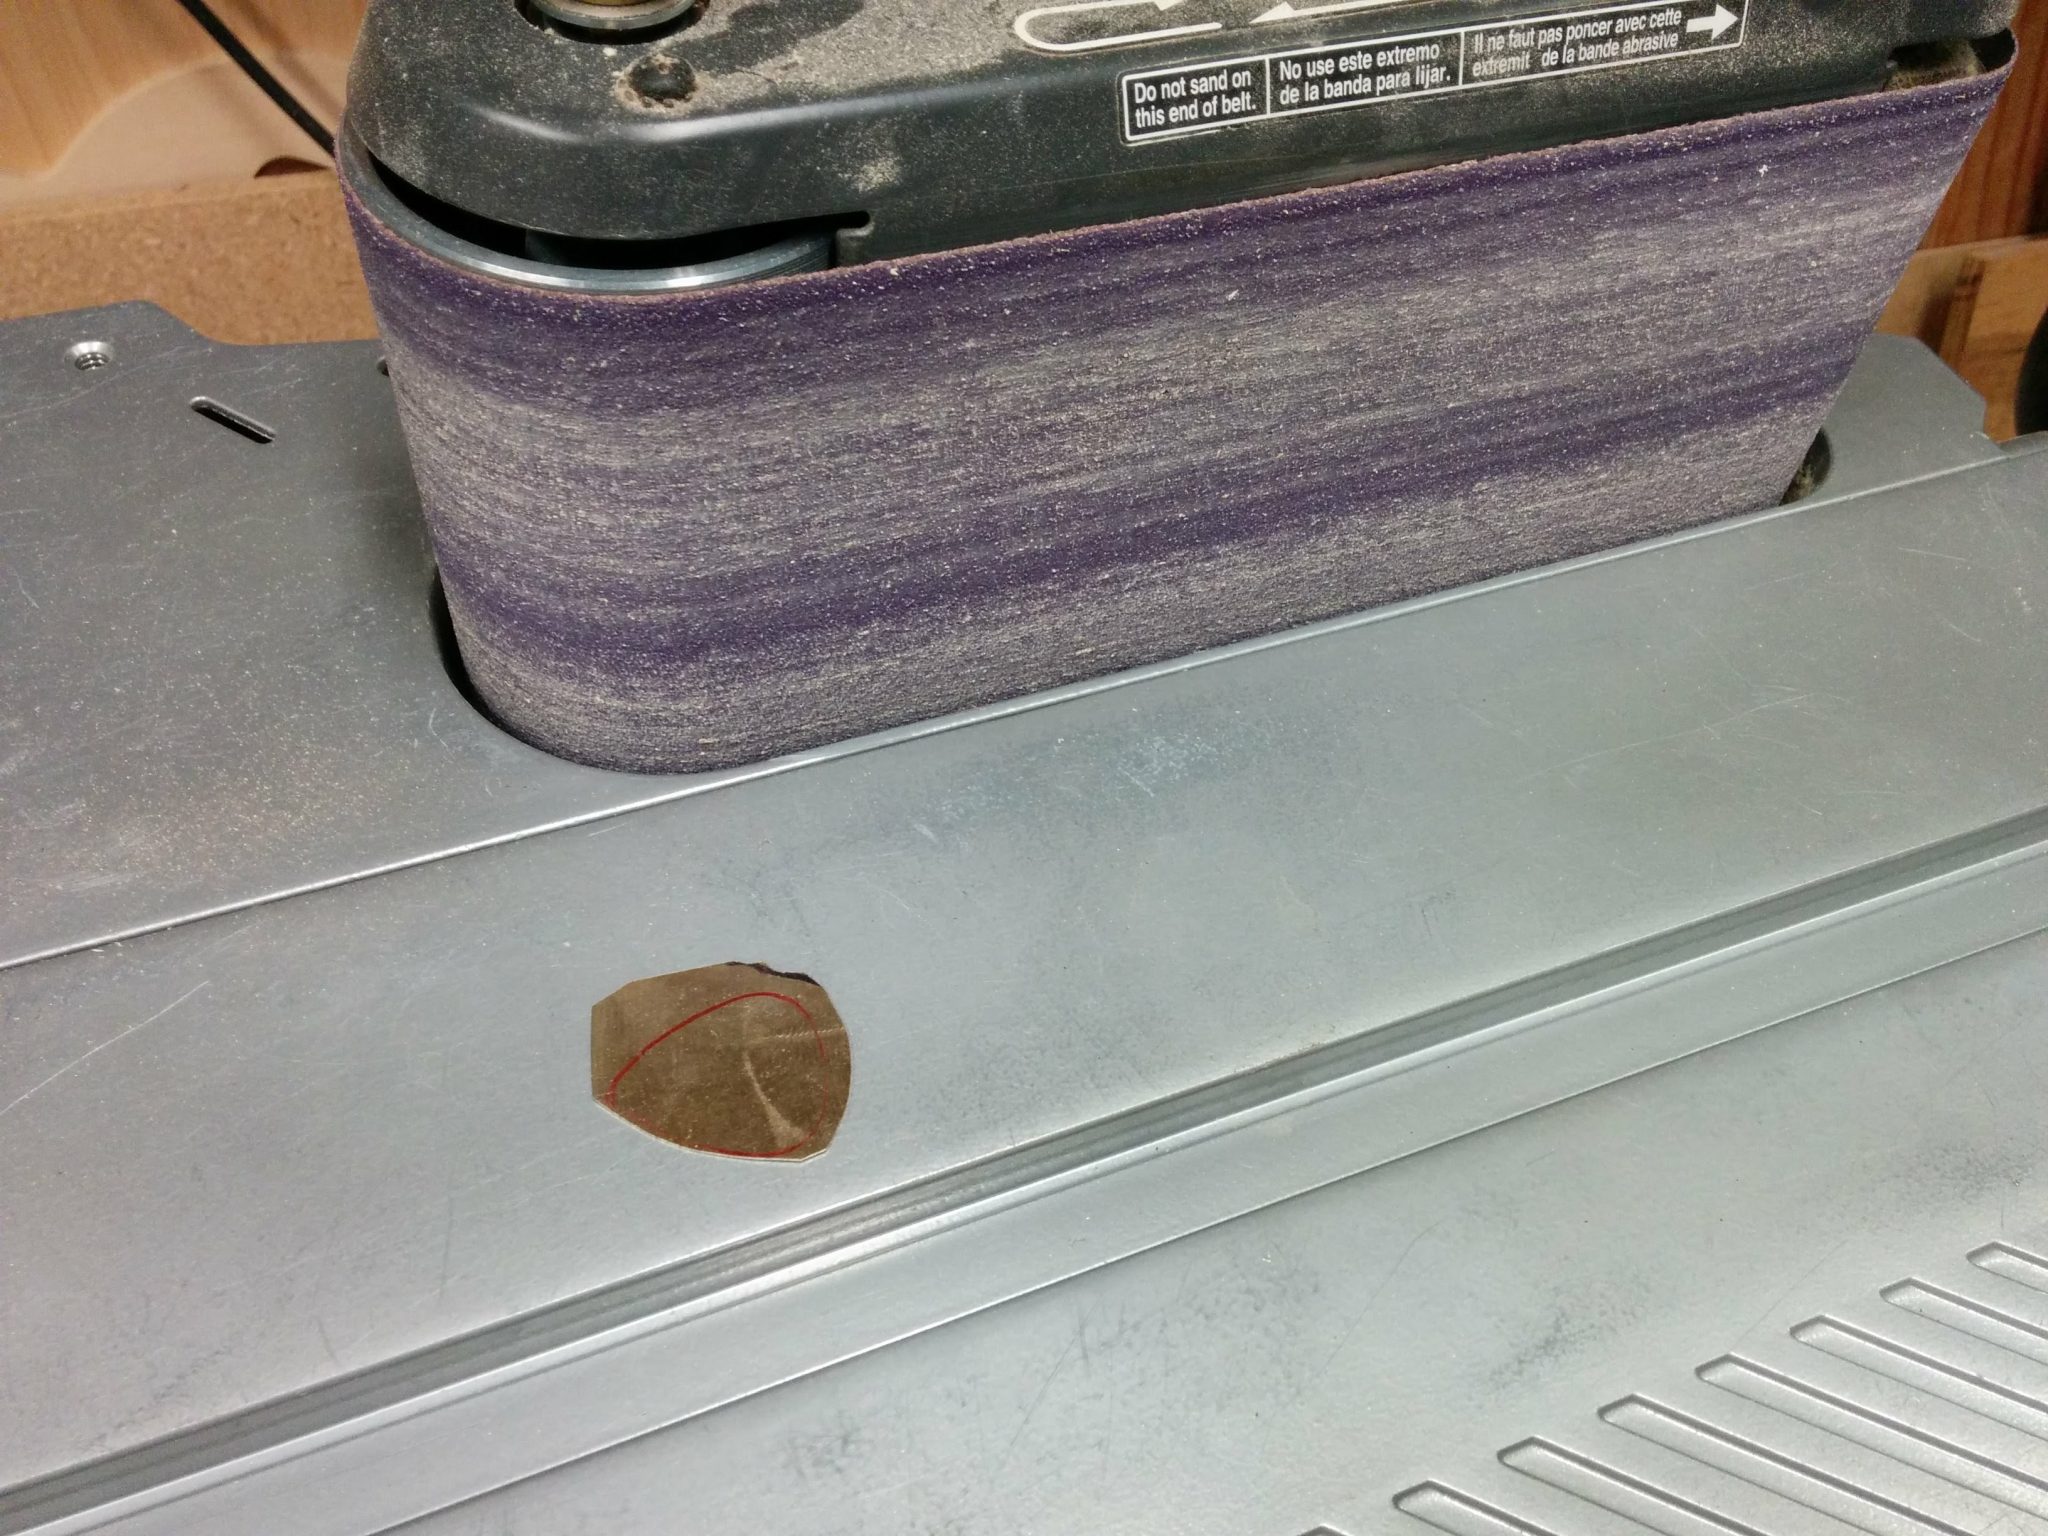
The disc sander was too aggressive and not quite precise enough so I took it back to the oscillating belt sander.
Back at the belt sander.
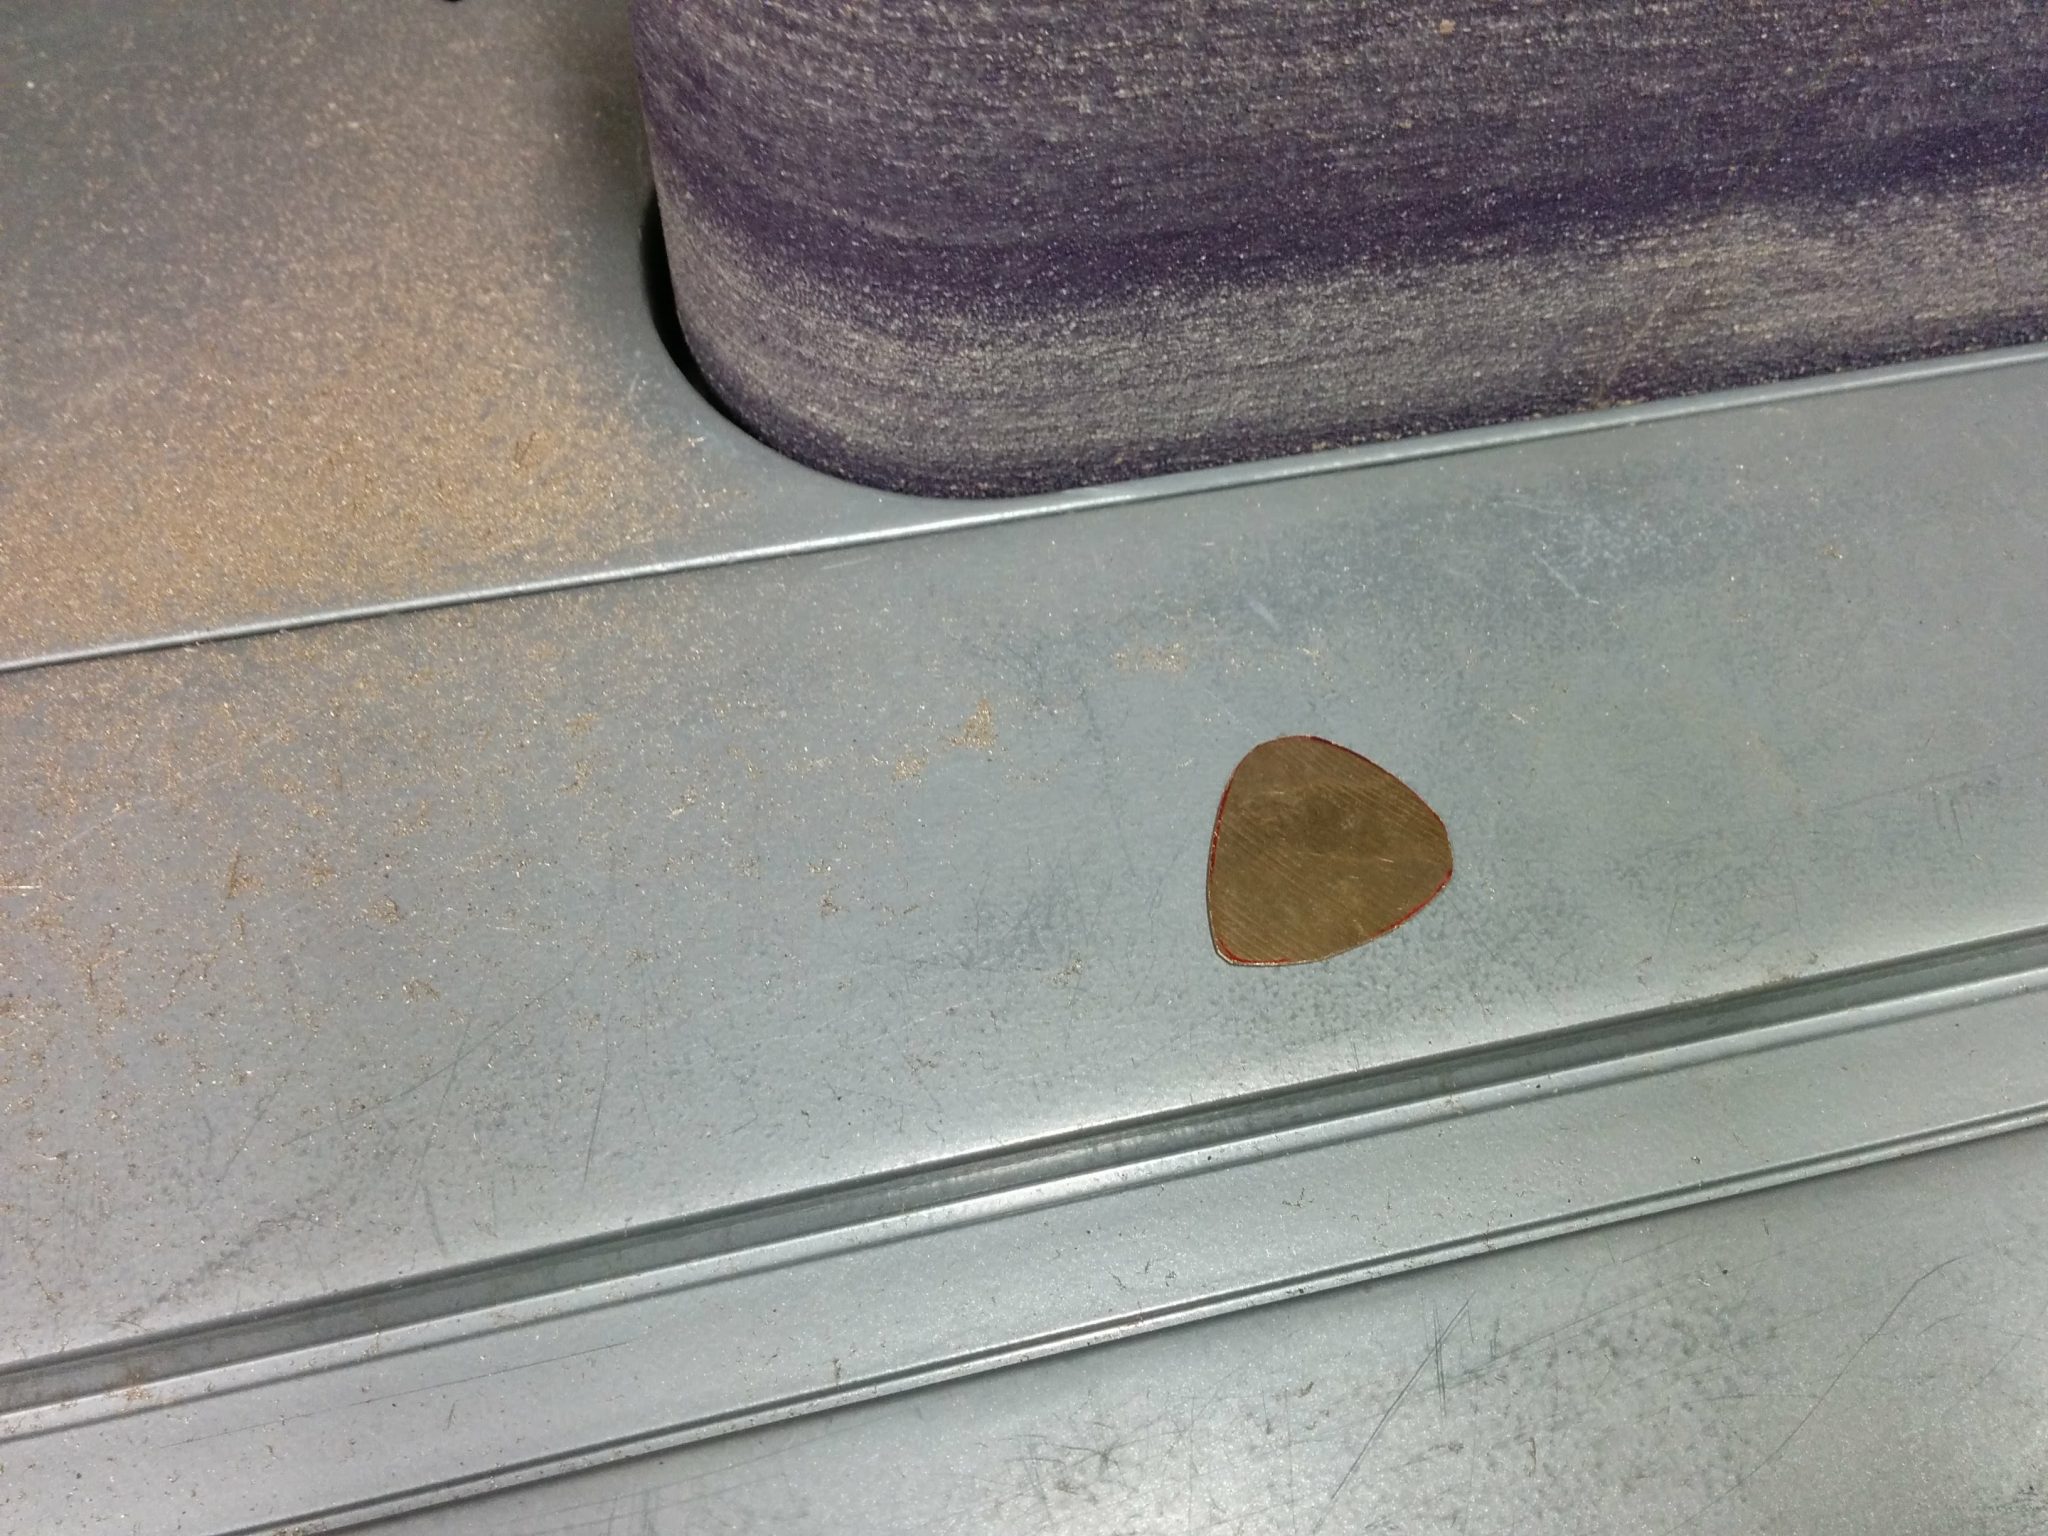
I found the trick to getting it just right. I would hold the pick in my hands a few inches off the table, rather than right on the table top. This gave me more control but I needed to stop every few seconds to let the pick cool off since the friction would make it get extremely hot pretty quickly.
Rough shaping is done.
This got the pick to be pretty much the right shape, but the edges weren’t all that smooth. I decided to do the final shaping by hand so I would have more control. For this I used a sanding block. I believe this block had 220 grit on it but I’m not entirely sure.
Final shaping is done on a sanding block.
After getting the edges nice and smooth, they were left with a slight burr that was fairly jagged. For this I just angled the pick so I could break down those burrs and get a smooth edge.
Knocking back the burr.
The final result was nice and smooth. Now it just needed to be polished.
Final shaping is done.
I equipped my drill press with a buffing wheel.
Buffing wheel on the drill press.
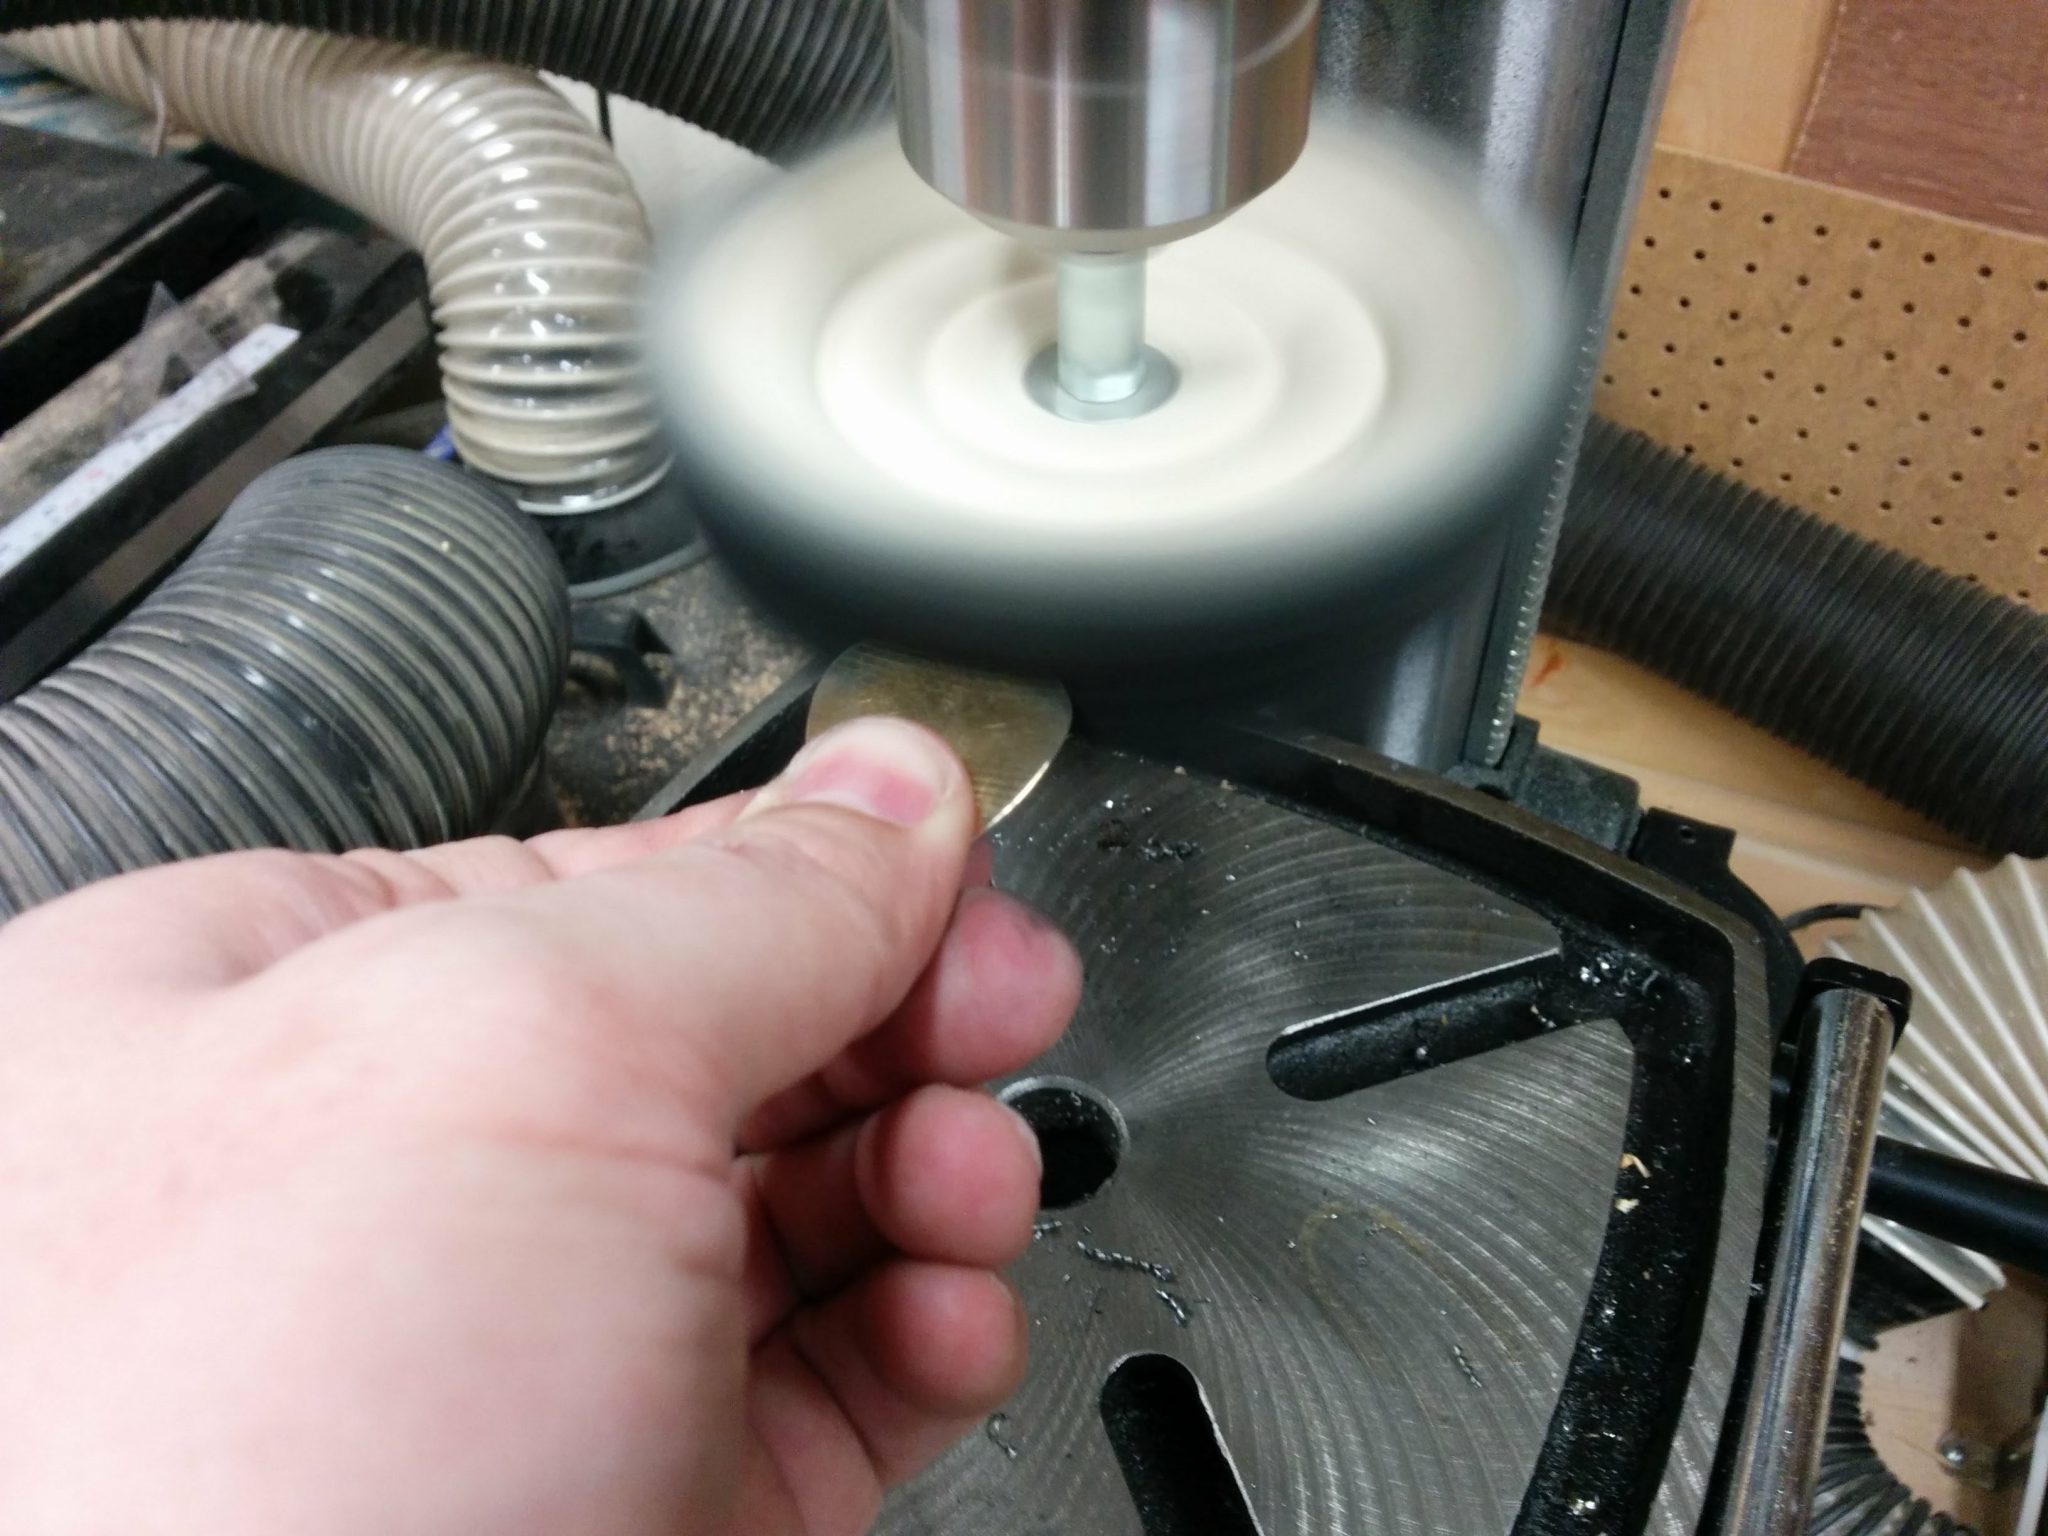
I started with the edges. I did this in case I found any jagged spots that I missed. If I did, I would take it back to the sanding block before finishing the pick on the buffing wheel. After the edges were polished, I did the same thing to the front and back faces.
Polishing the edge.
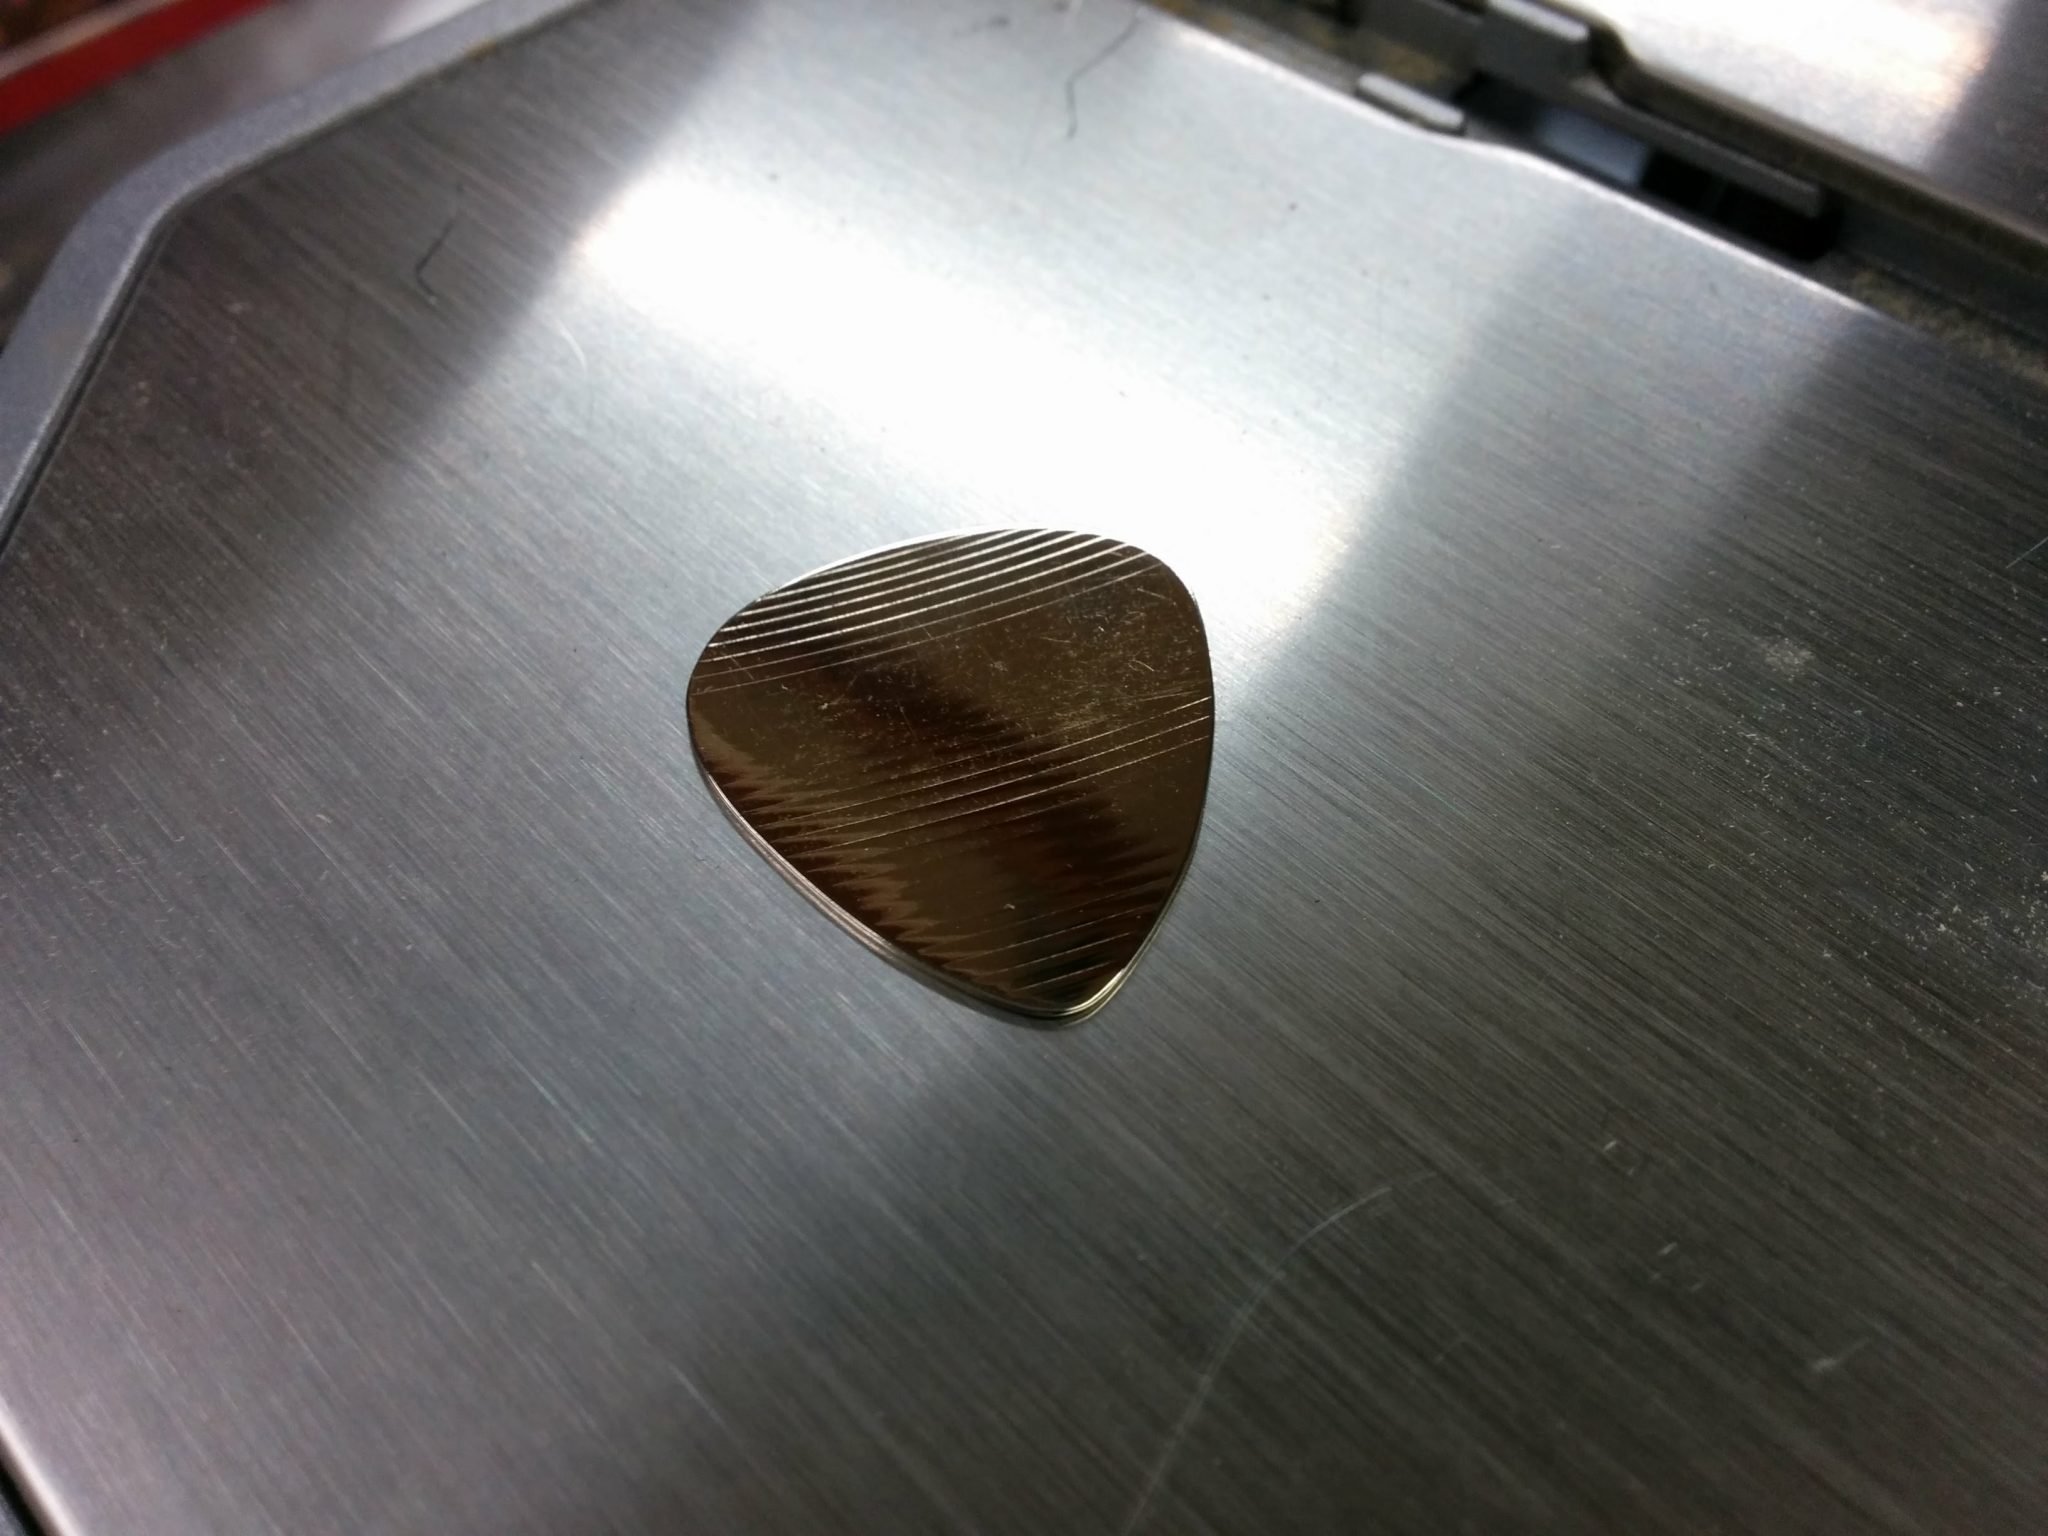
All done.
The final product.
All in all, this worked out better than I expected. Now it’s time to get into production mode and crank out a bunch more.
I’m going to test these out but I don’t have a lot of experience playing with metal picks. They almost feel too slick so I may need to experiment with adding some texture somehow.. Have any of you made these before? If so, how did they work as actual guitar picks? Let me know in the comments below.
Update: I created a follow-up post with a few things I did differently. You can find that here.
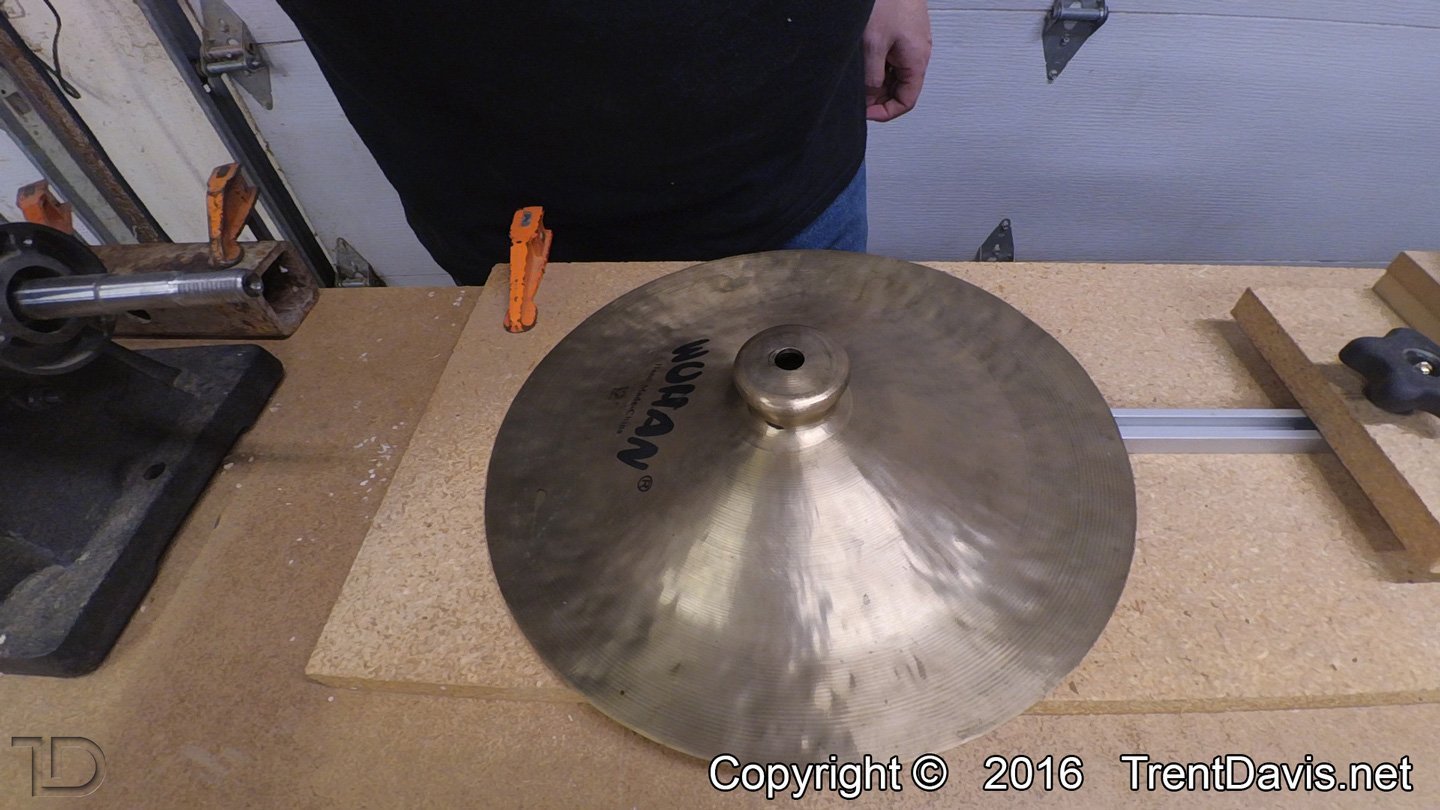
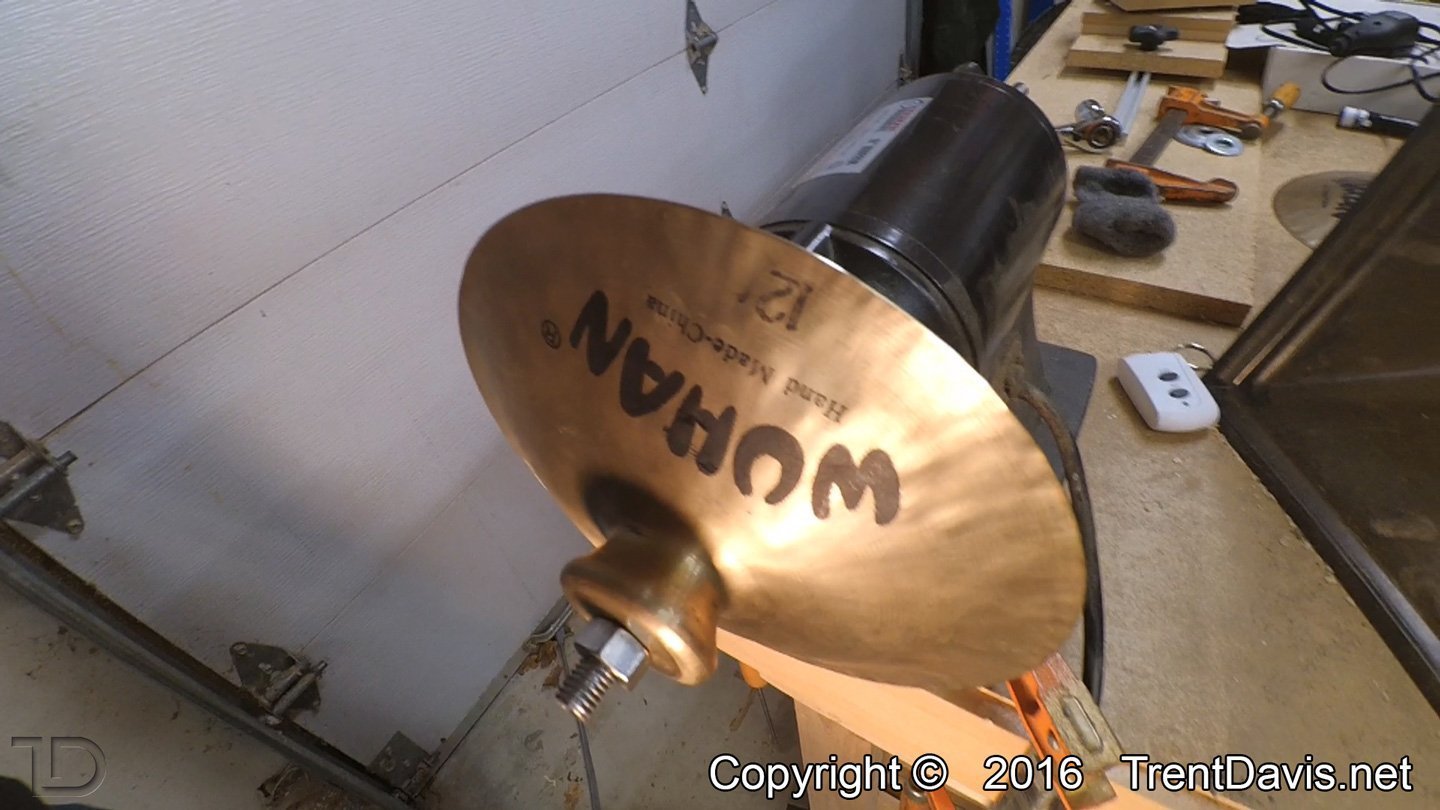
I was asked by a friend of mine to cut down her pair of 12″ Wuhan China (or “Lion” cymbals, as they call them) into a smaller set to use as hand cymbals.
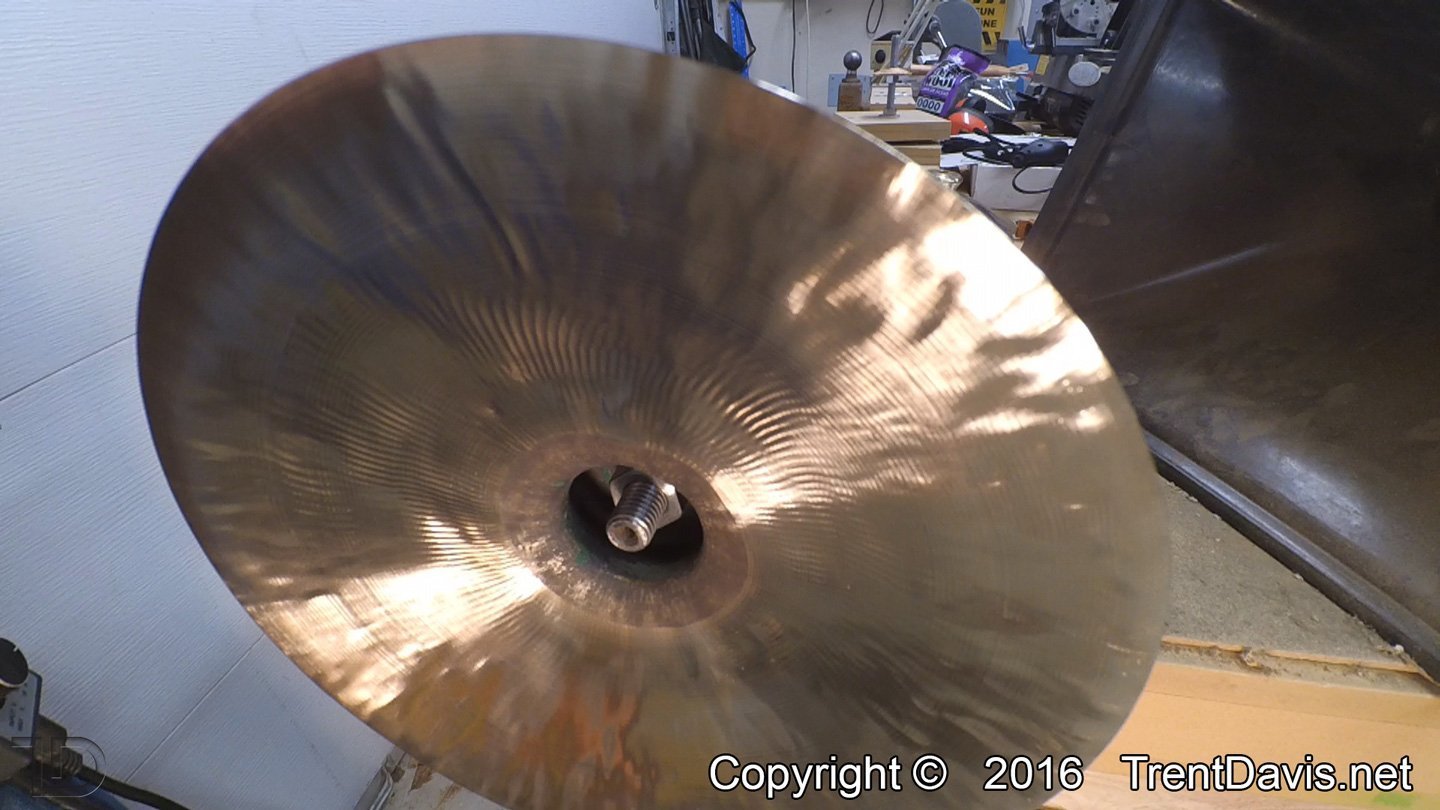
Fig. 1 – One of the unaltered Wuhan “Lion” cymbals.
There was one slight problem. Years ago when I first got into repairing cymbals I took my own version of the Hippocratic oath where I swore to “do no harm” to a set of undamaged cymbals. I was a little conflicted but I figured that since these cymbals aren’t for me and that the owner really wanted this to be done, I was okay to do this procedure. Plus, she had been using these as a set of hand cymbals already and they sounded truly awful. Therefore, I was only making improvements. Much like adding rivets to a cymbal.
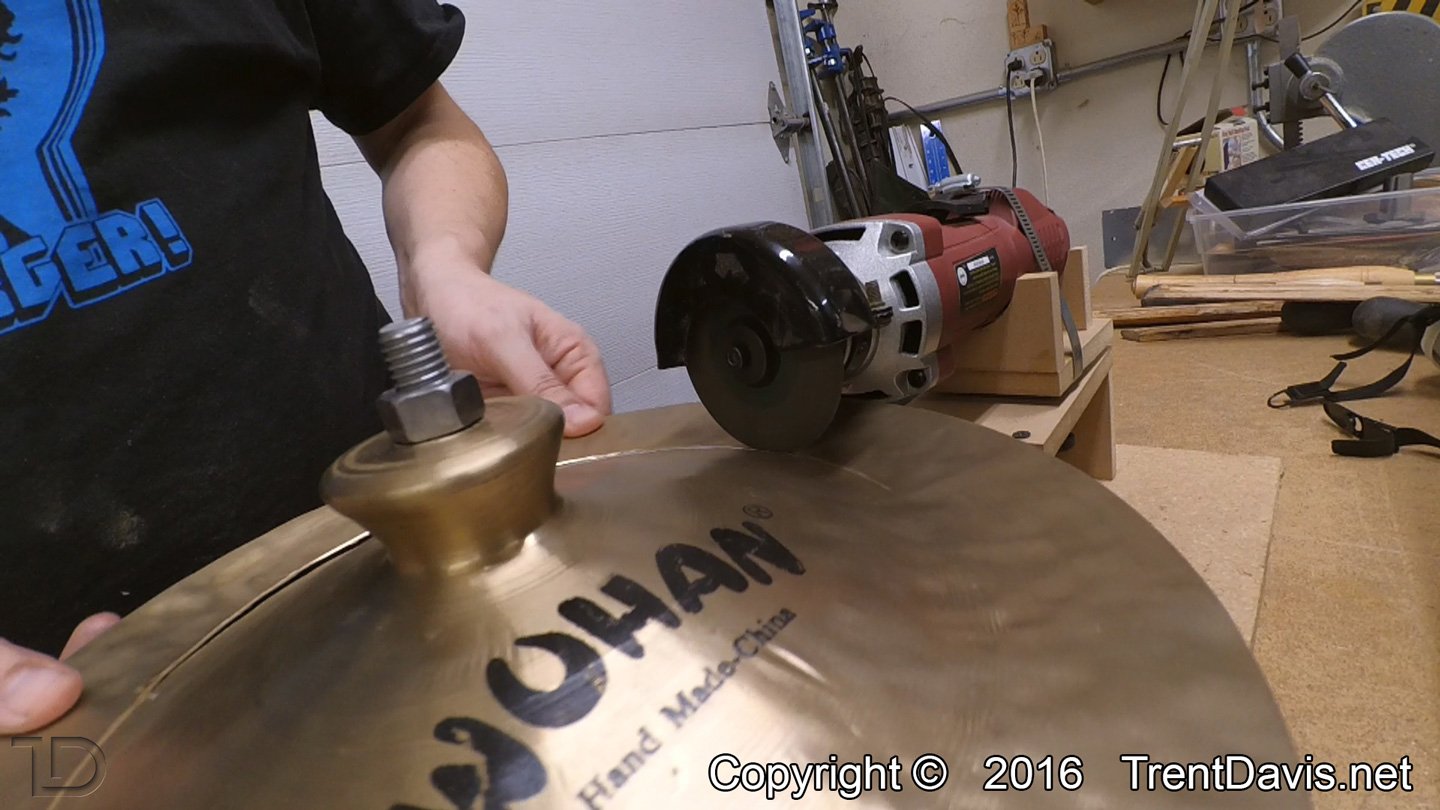
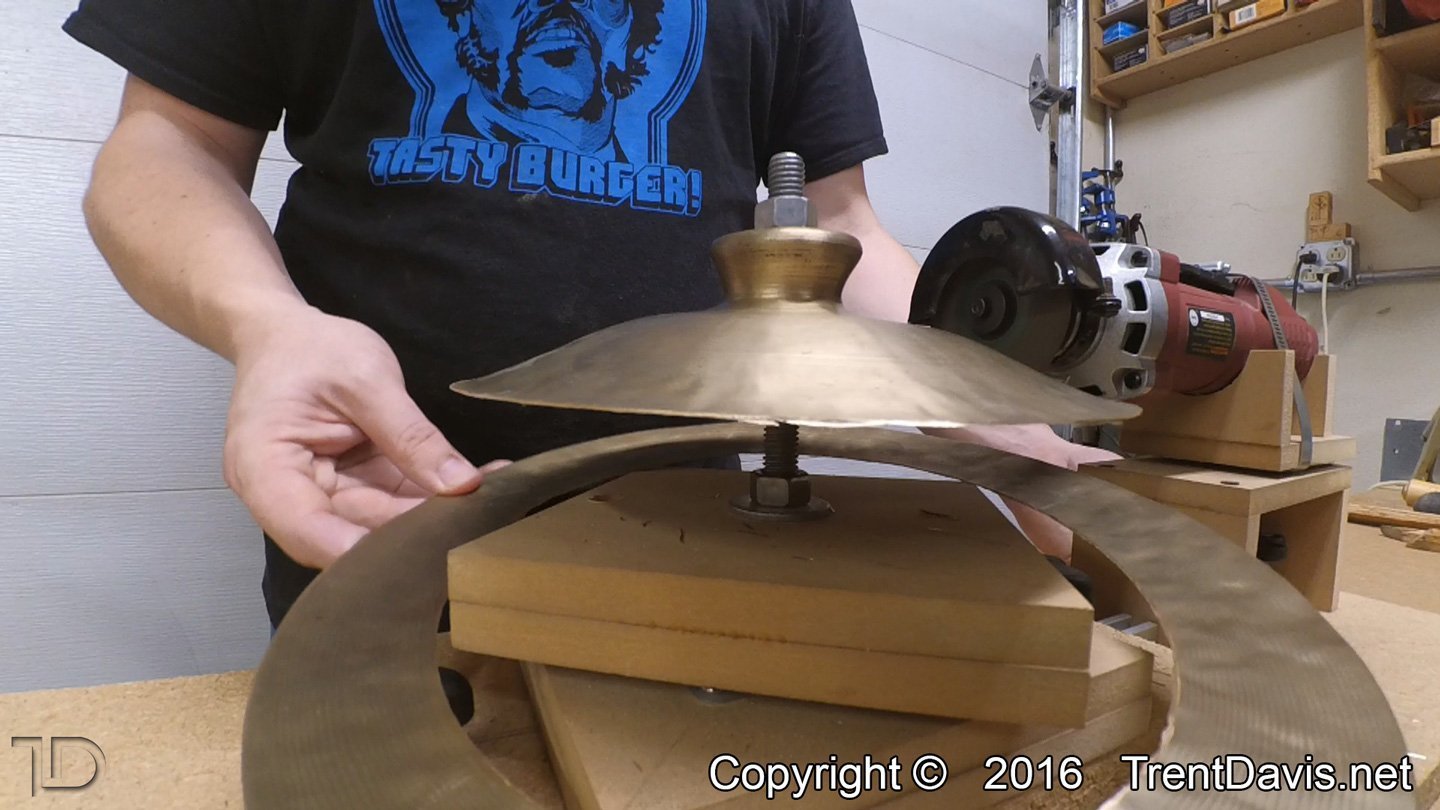
I started by putting both cymbals on my cutting jig and finding the best diameter to use. I wanted to retain as much of the cymbal as I could but eliminate the flare. Once a diameter was decided upon I started cutting.
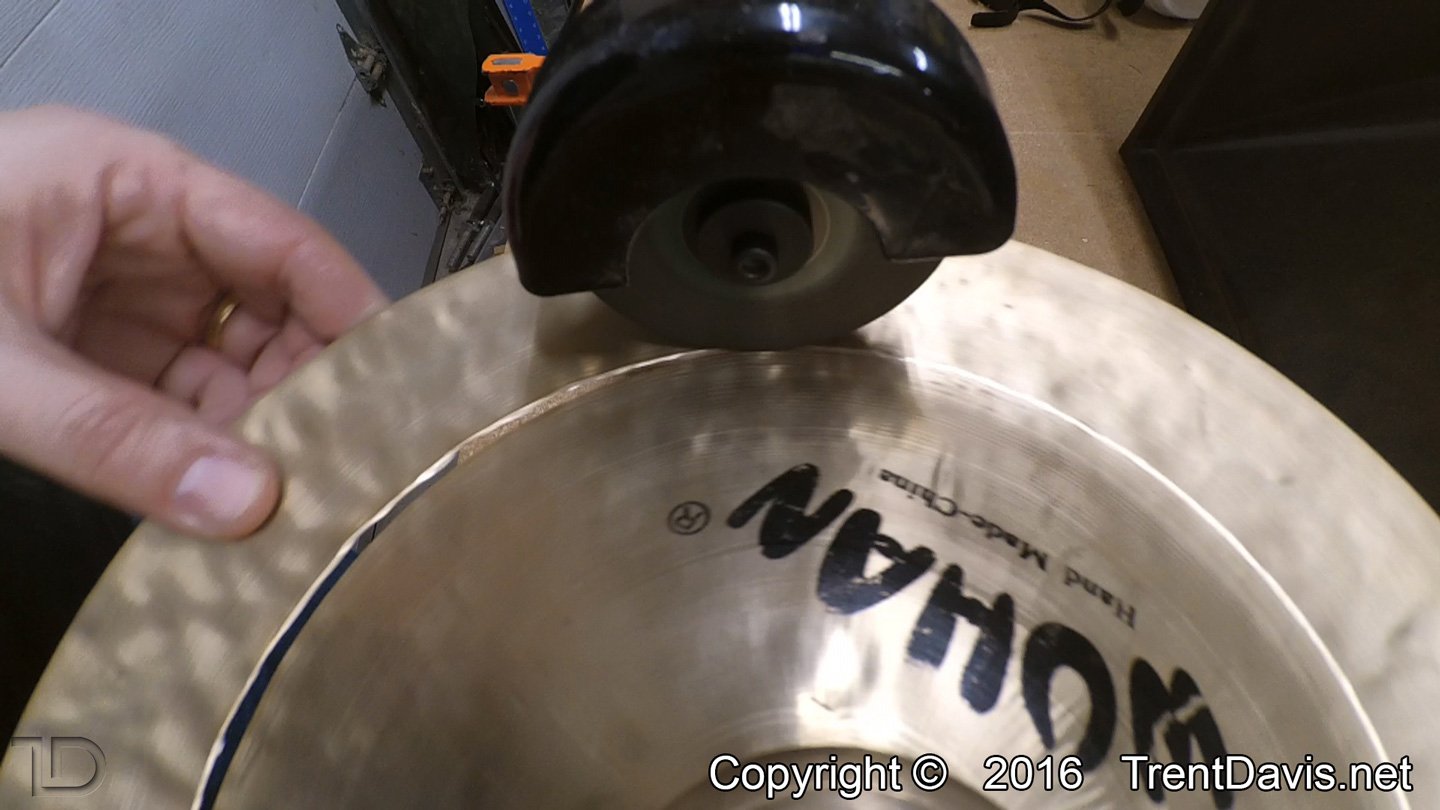
Fig. 2 – The first cymbal on the cutting jig.Fig. 3 – Getting close to finishing the cut on the first cymbal.
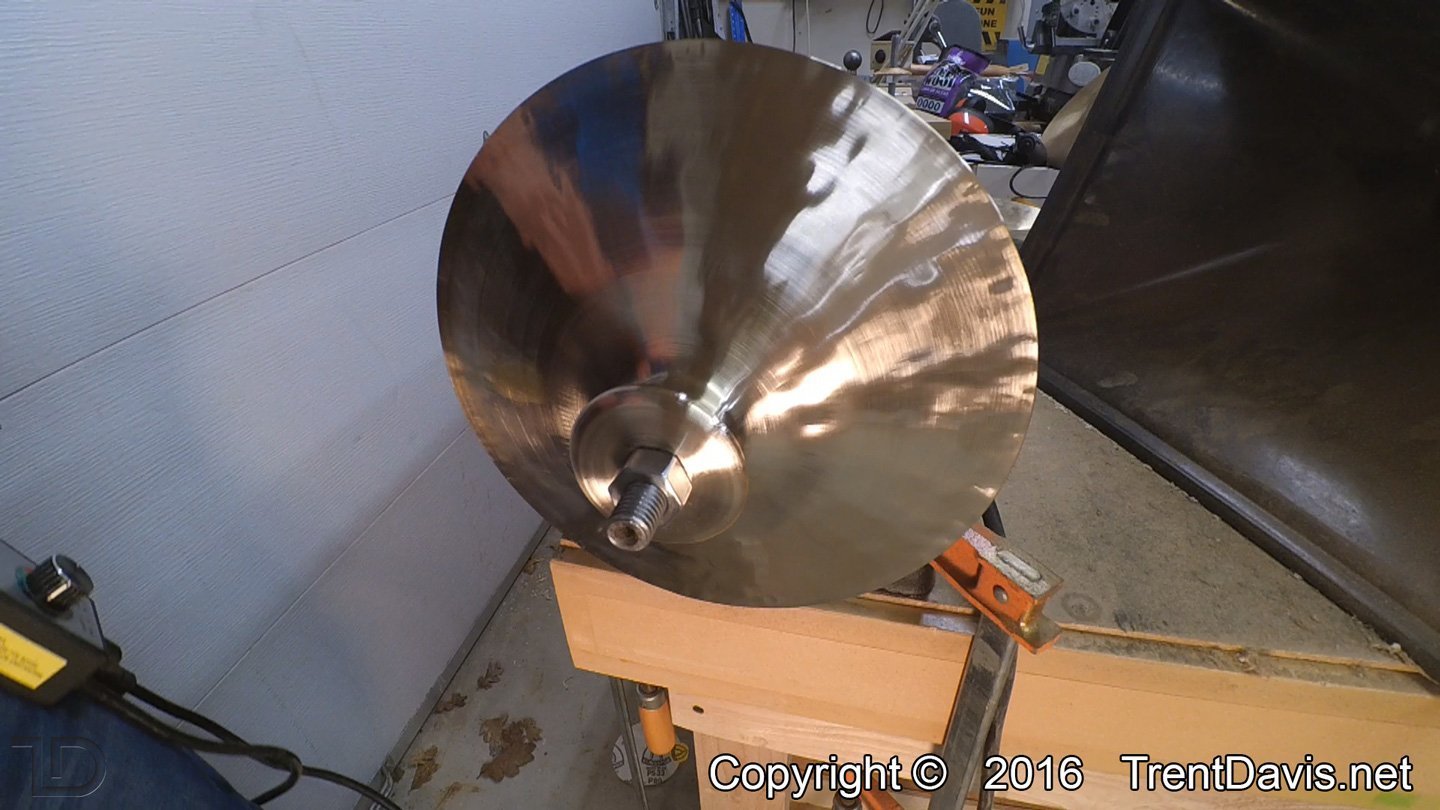
The cutting went pretty smoothly although the imperfect nature of Wuhan cymbals tends to affect how balanced the cut-down cymbal is. For example, the mounting hole was off-center on each cymbal which really caused a lot of warping and vibration. You can see this in some of the pictures.
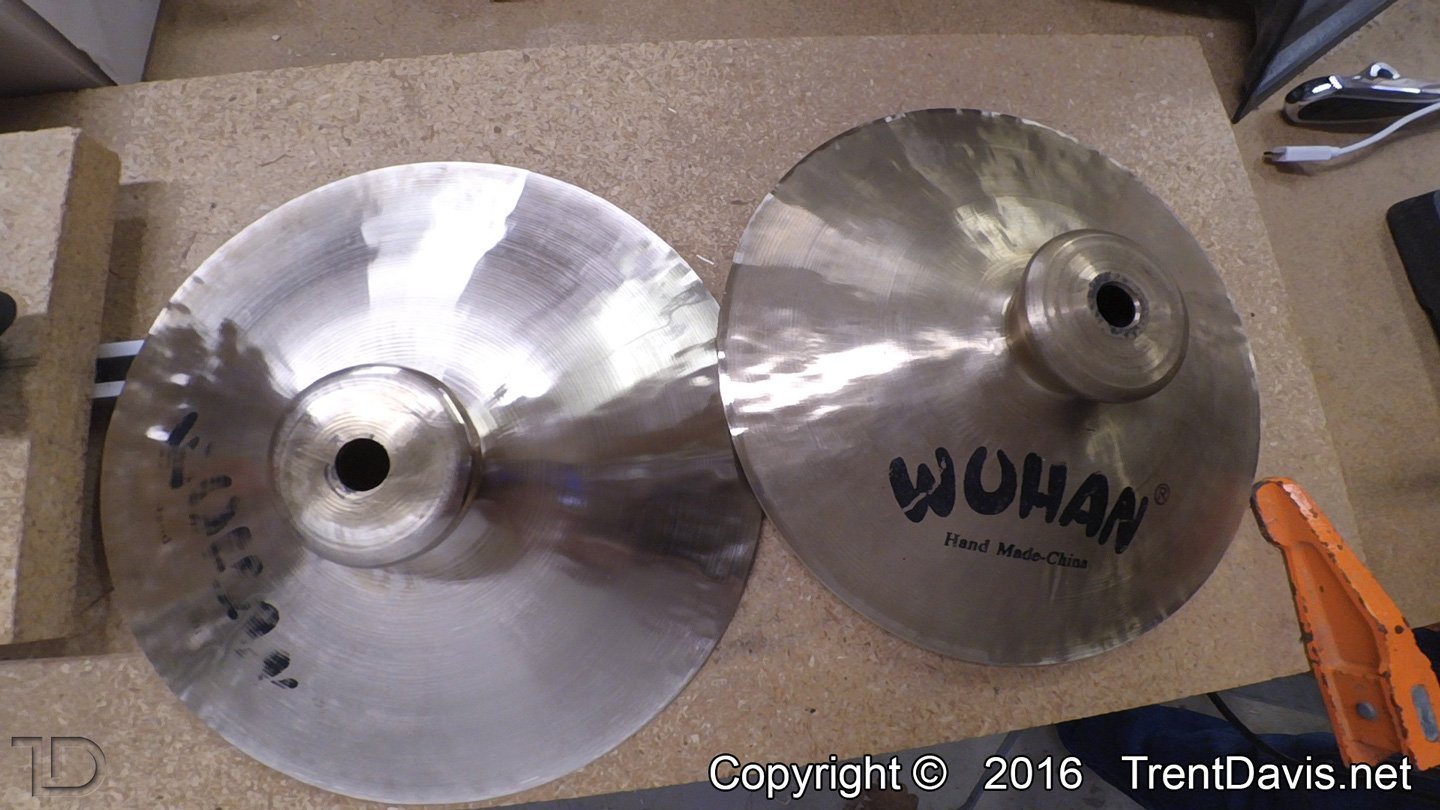
Fig. 4 – Just finished cutting down the second cymbal.
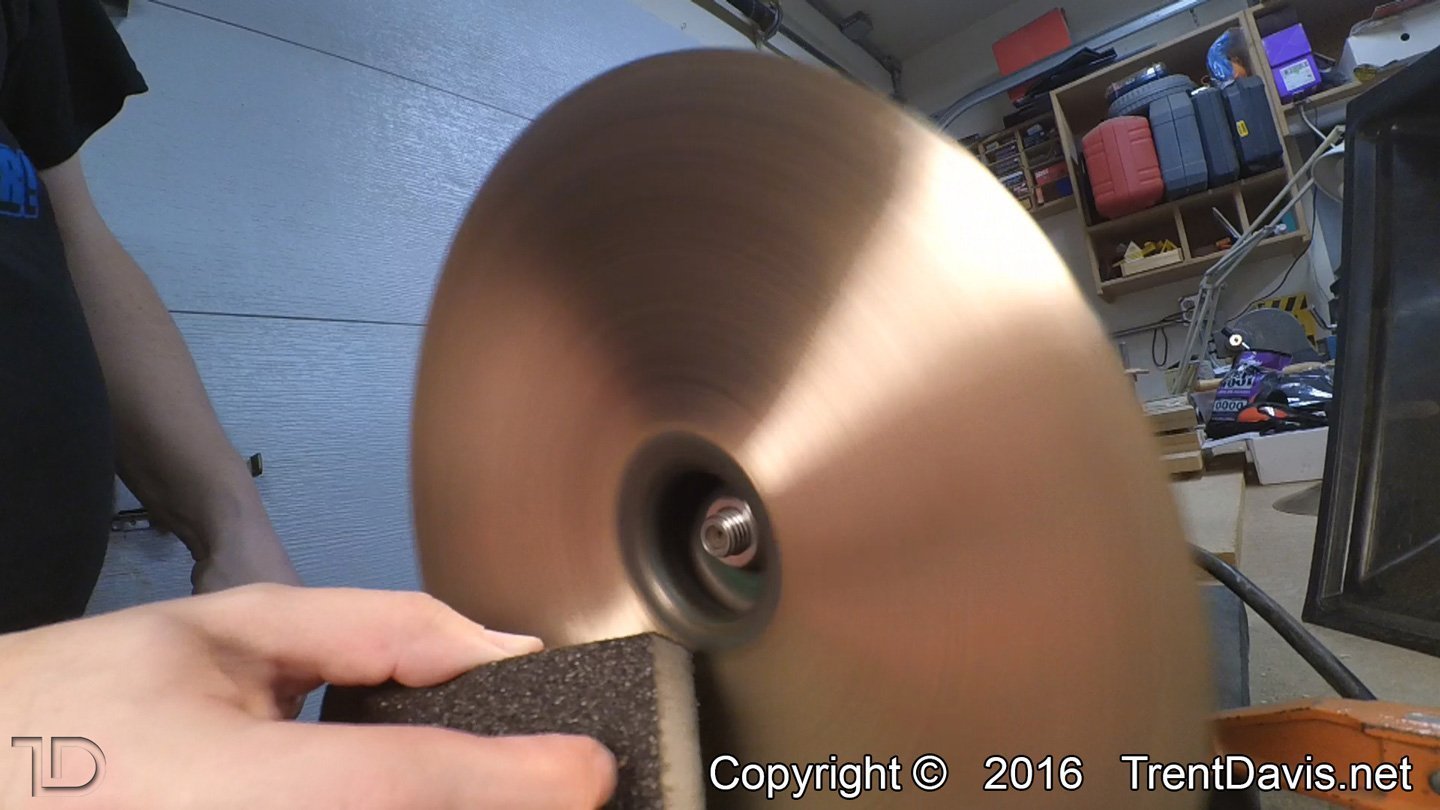
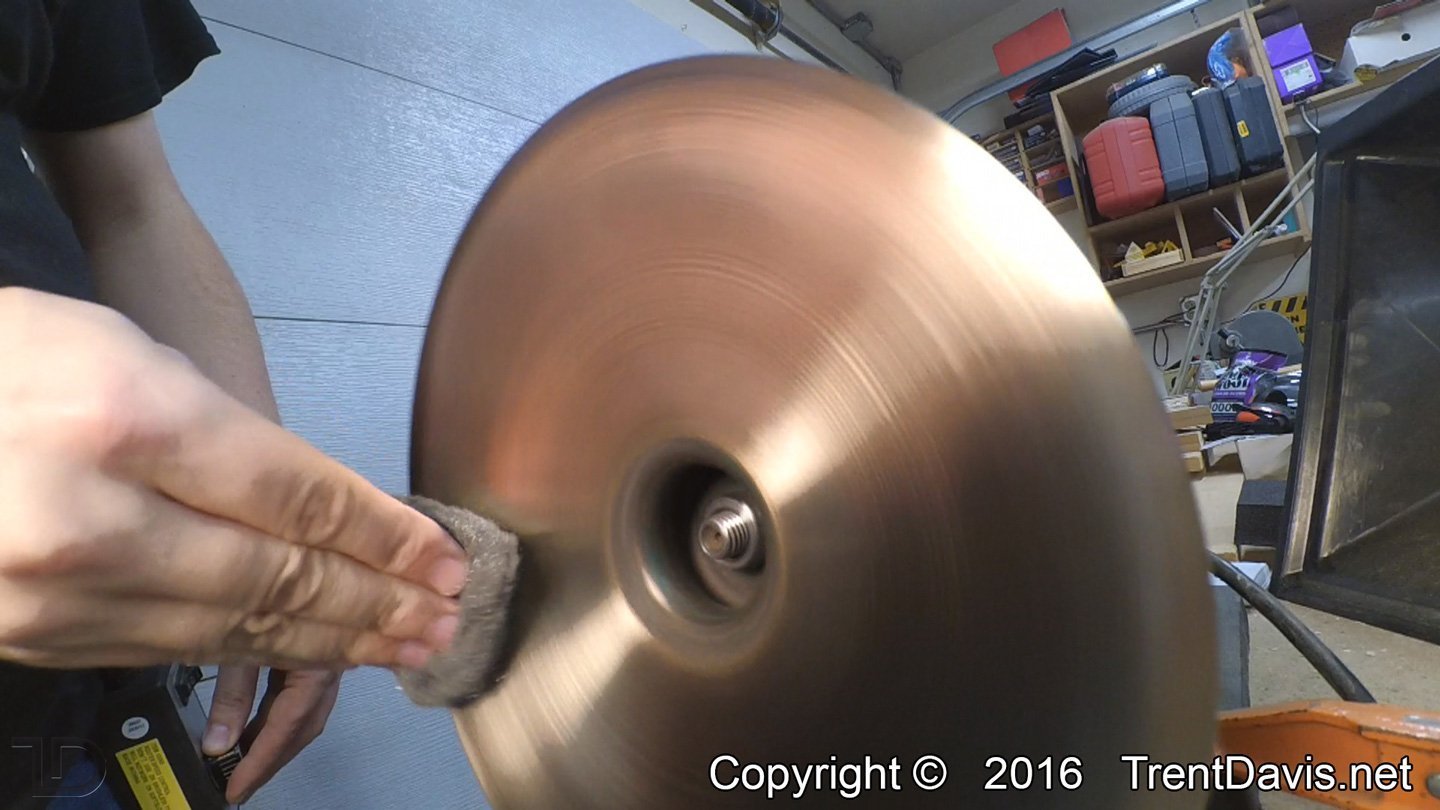
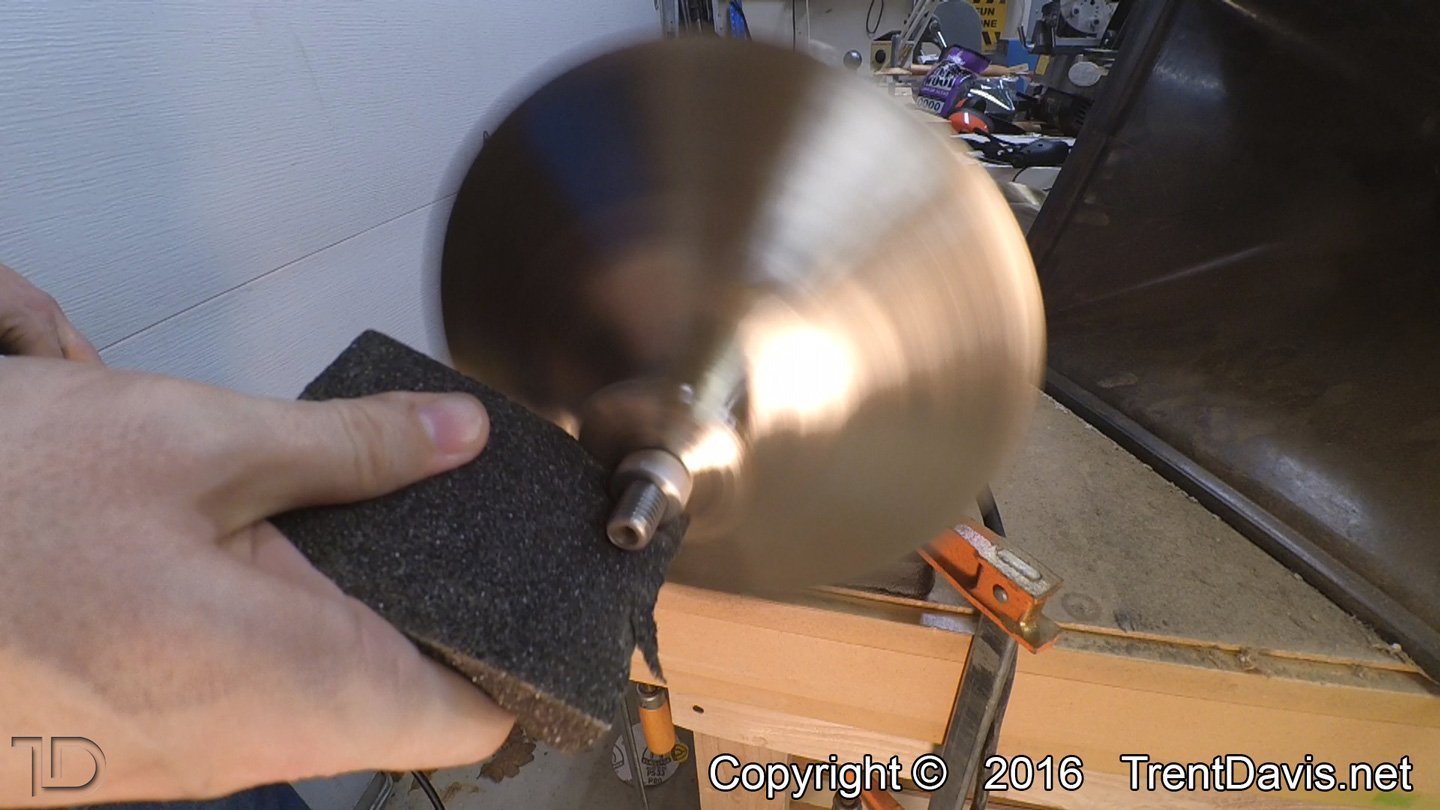
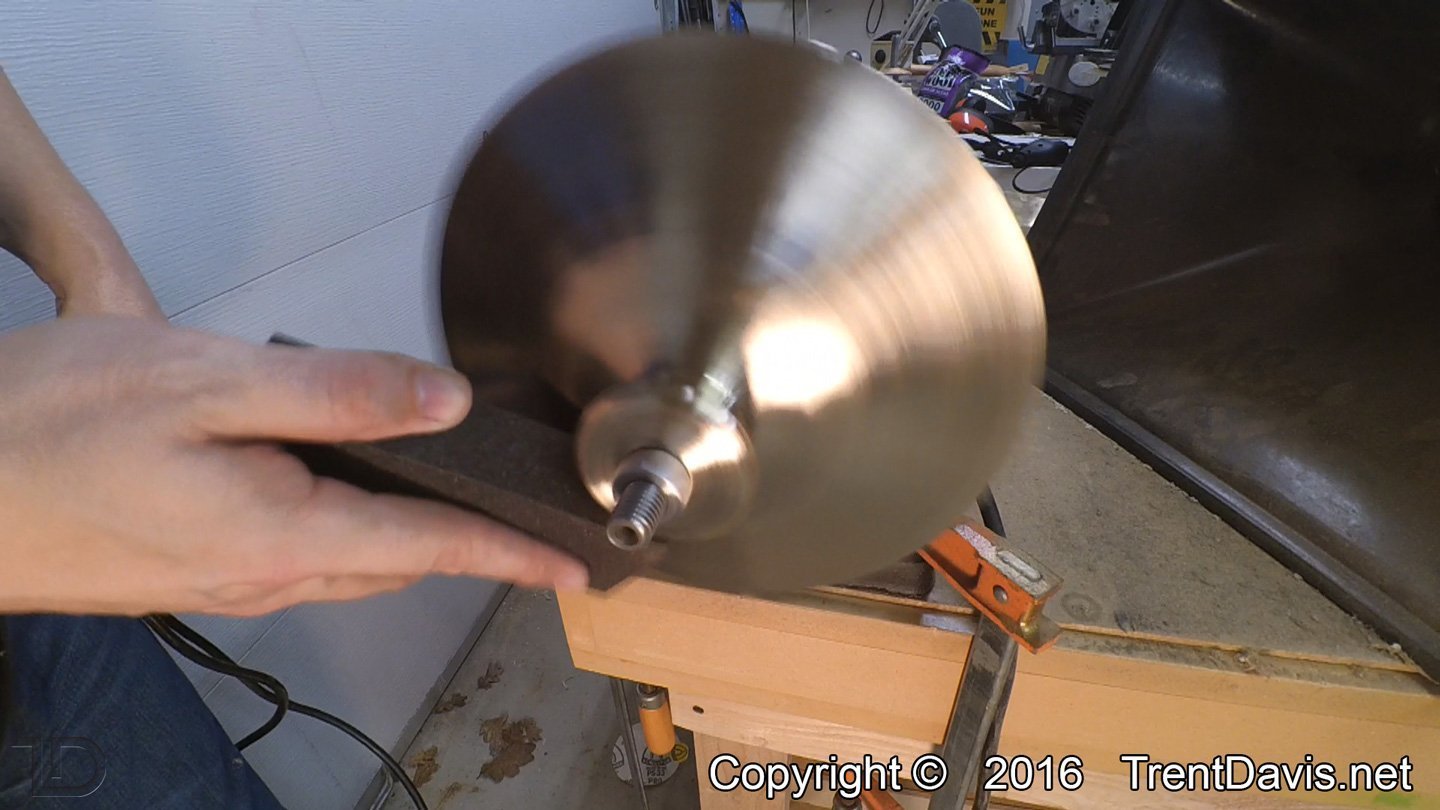
After they were cut down I mounted them on my buffing wheel and de-burred the edges. My friend also wanted me to polish them and remove the logos. This was more trouble than it usually is since these cymbals are so out of balance. I used both a coarse and fine grained sanding sponge then finished up with 0000 steel wool. I finished that up with a thin coat of polyurethane to protect them and they are ready to go.
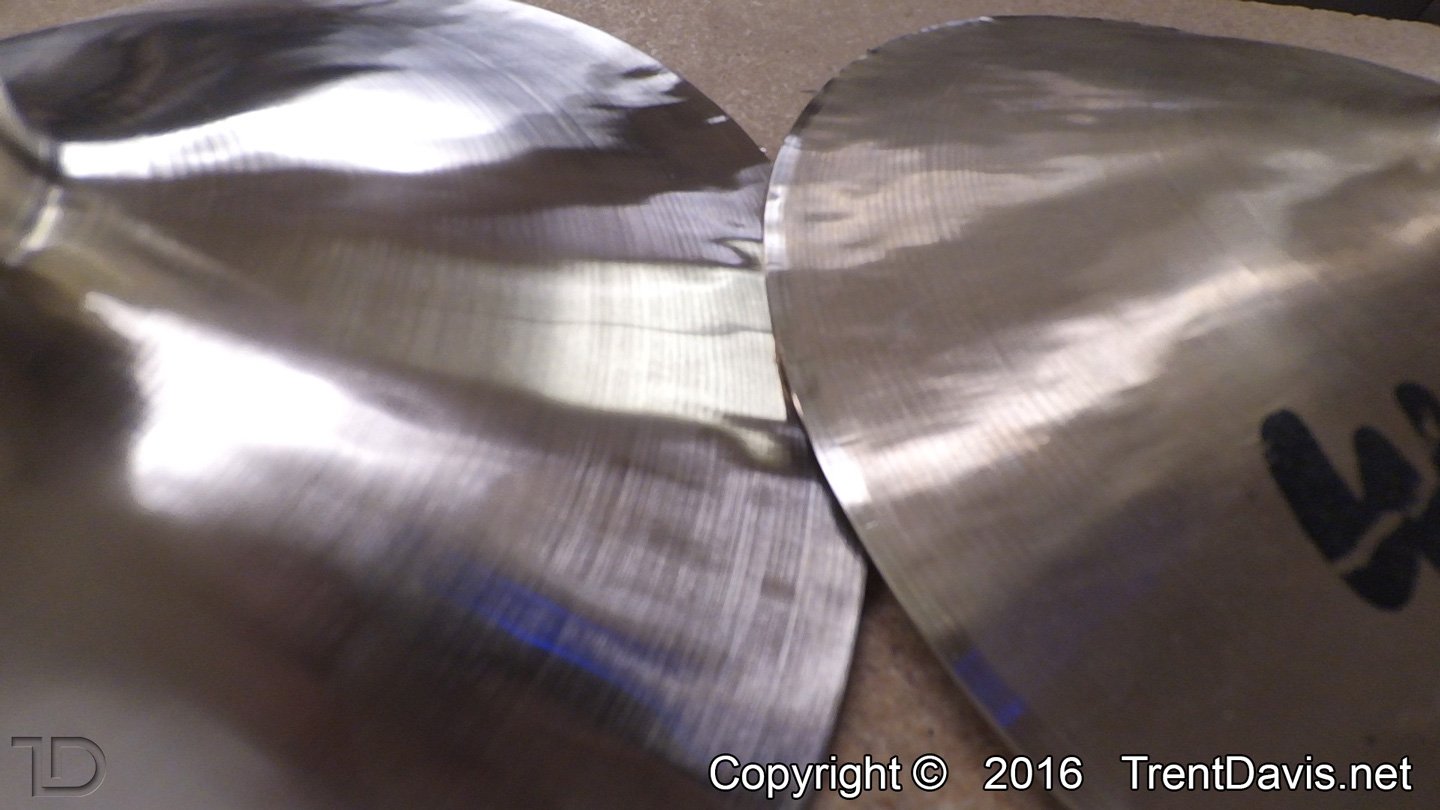
Fig. 5 – Taking the coarse sanding block to the underside of the first cymbal.Fig. 6 – Finishing up the underside of the first cymbal with some 0000 steel wool.Fig. 7 – The top of the first cymbal ready to be polished.Fig. 8 – Taking a coarse sanding block to the top of the first cymbal.Fig. 9 – Following up with a fine-grit sanding sponge.Fig. 10 – All done after finishing up with some 0000 steel wool.Fig. 11 – Time to start cleaning up the second cymbal.Fig. 12 – Cleaning up the top of the second cymbal with a coarse-grit sanding sponge.Fig. 13 – the underside of the second cymbal. Before…Fig. 14 – … and after.Fig. 15 – This is a shot of both cymbals. The one on the left is halfway through cleaning up the top. This was problematic due to the imbalance in that cymbal which is caused by the mounting hole being so far off-center.Fig. 16 – A close-up of the two cymbals. The one on the left has been polished up a bit. The one on the right only has the edge de-burred which actually polishes up the area around the edge a bit.
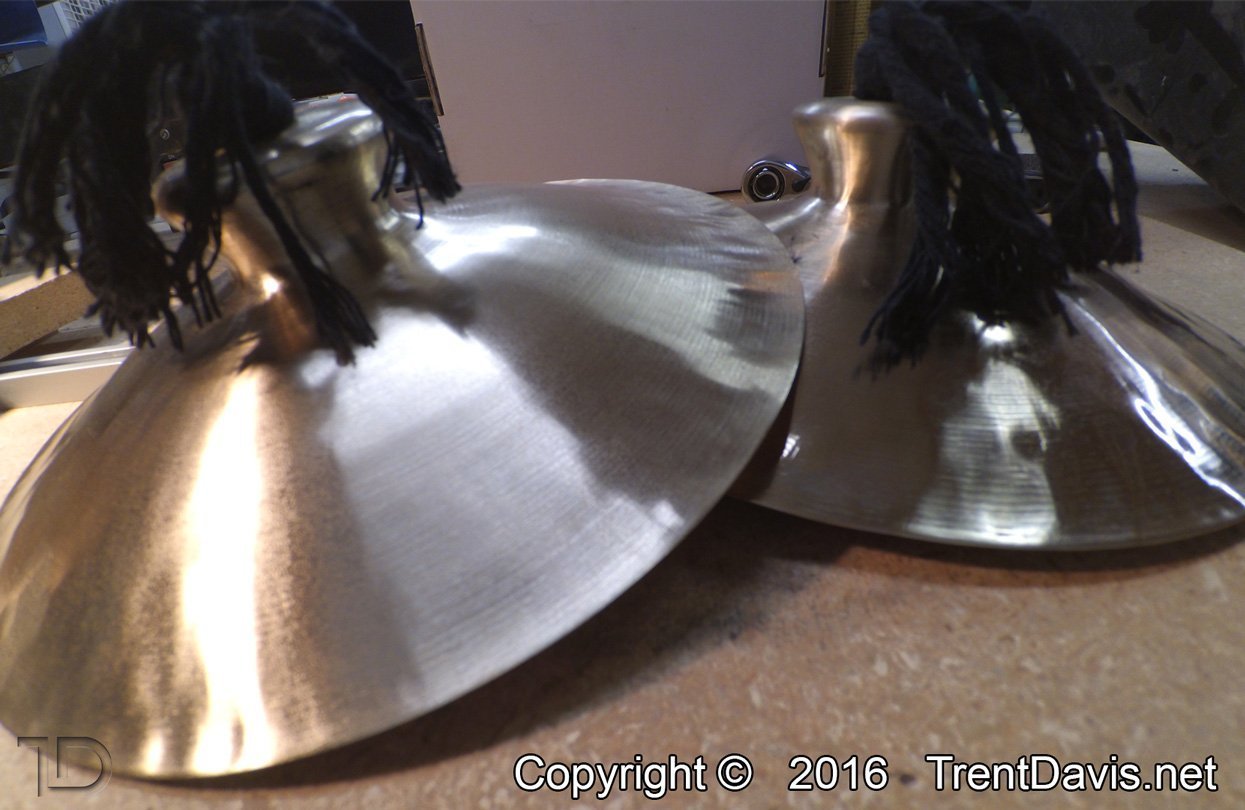
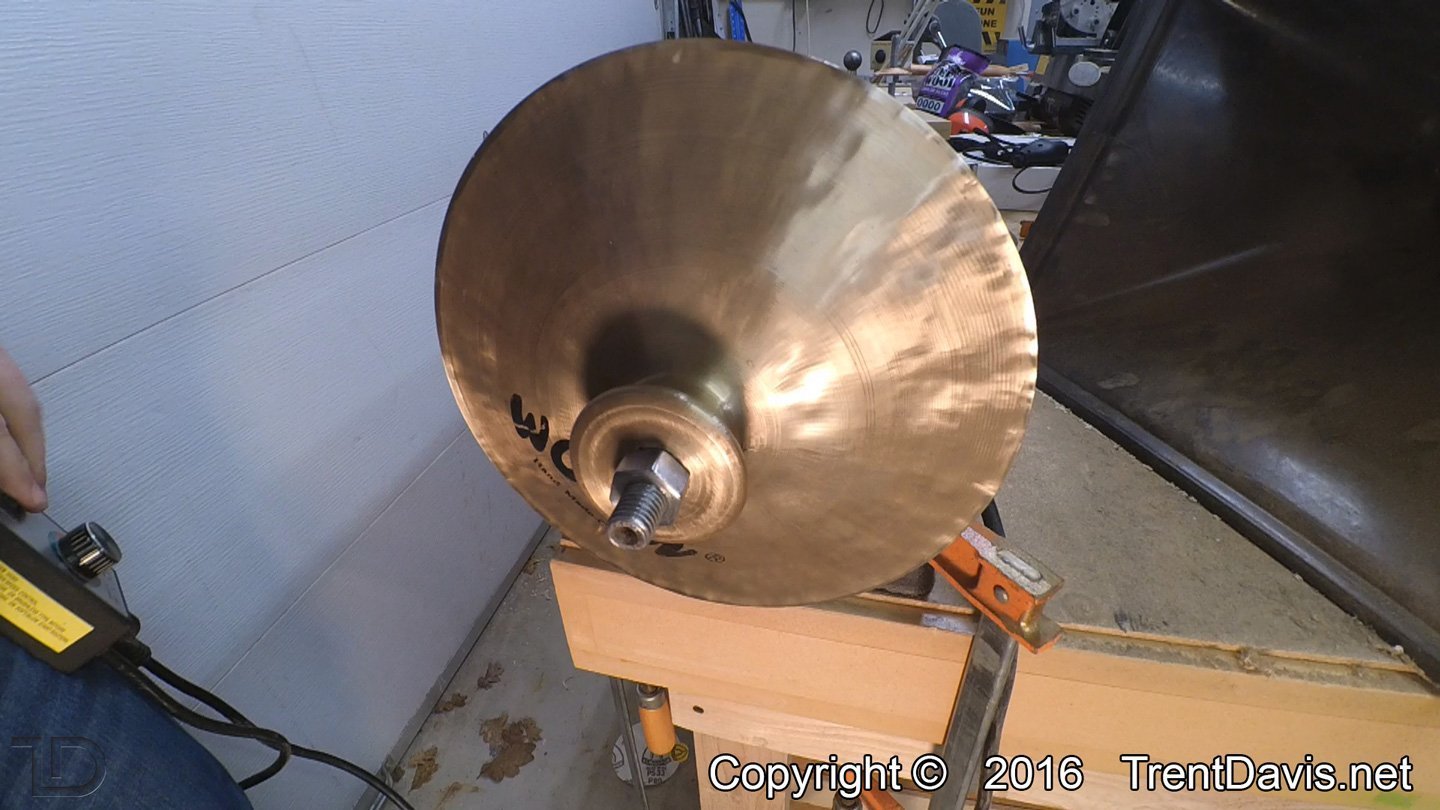
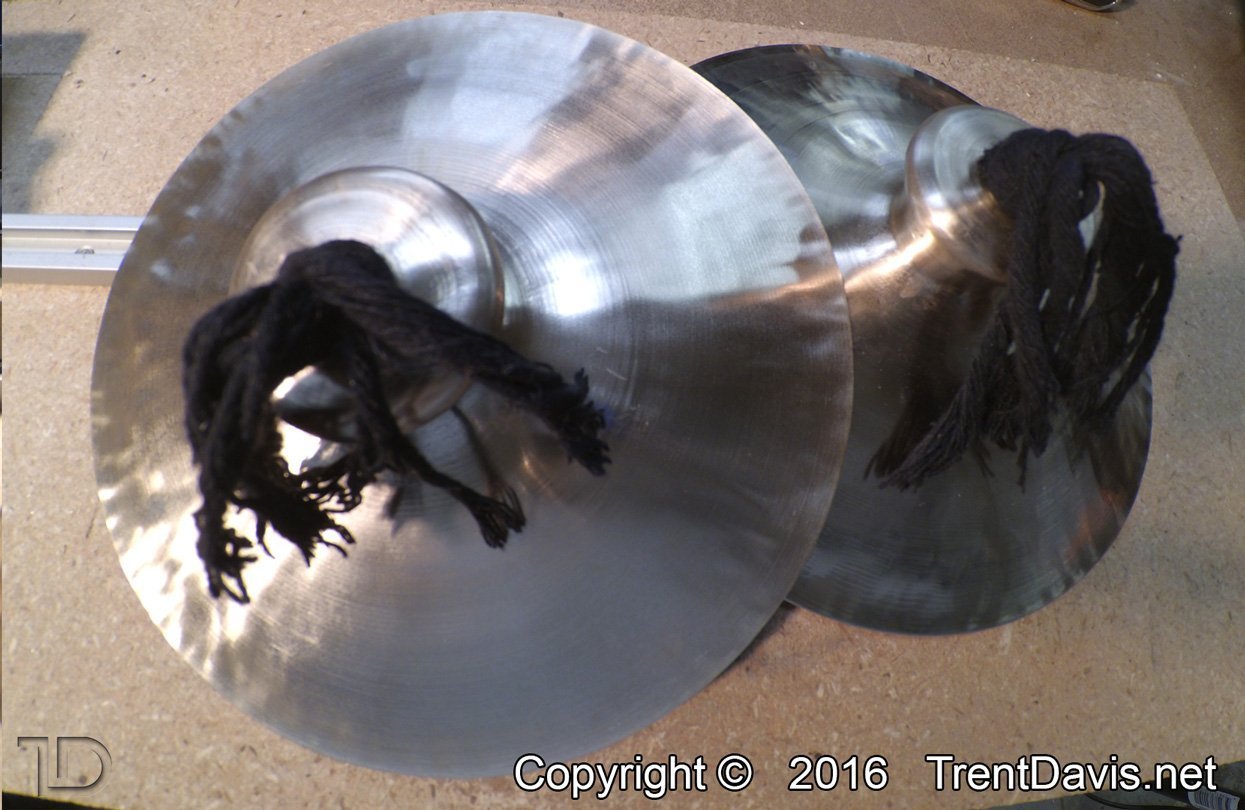
The finished product ended up being 8 1/4″ in diameter. They look cool and they sound a lot better.
Fig. 17 – Top-down view of the finished product.Fig. 18 – The finished product.
Let me know in the comment section below if this was helpful and if you have any questions. Also, if you cut down your own cymbals, feel free to share your techniques.
I recorded the drum tracks for Every Time I Fall, a song I’m working on with Jongwon Kim.
I have a somewhat peculiar way of recording.
I actually record the drum tracks a total of eight times, one after the other without any breaks in between. Typically, the first two tracks are throw-aways. I use them as a chance to warm up while also re-familiarizing myself with the structure of the song and the ideas that I wanted to incorporate into it. The reason I like these takes to be recorded rather than just playing it a few times on my own is because I might spontaneously (or accidentally) play something that is just perfect for the song that I may not remember afterwards so it’s nice to have it documented.
I don’t actually expect to have a “keeper” take until the fifth or sixth time through the song. Once I get these, I use them as my safety net. Now I have two more takes where I can get crazy and try things that may not work but would be fun to at least attempt and listen to later. These two takes are usually filled with screw-ups but every now and then I hear something that I really like and I will actually incorporate it into the song, either with editing or doing a few more takes.
On this particular song, I had gotten a keeper take by the fifth run-through. The sixth and seventh were nice but didn’t really speak to me. Then on the eighth take I just didn’t worry about anything and focused on just playing comfortably. I wasn’t going for flashy. It was just one of those moments where you realize you know the song well enough to play it without even thinking about it. Actually, while I was doing this take, I believe I was thinking about a few metalworking projects I have planned. In my subconscious I was just enjoying the song. It was like background music that I was controlling. This ended up being the take that I’m going to use for the final recording.
Anyway, here are a few videos. I recorded the tracks in Ableton and didn’t do any real mixing or mastering other than the basic levels that I have set up for my drum recording template. The first version includes the temporary guitar backing tracks. The second version is only the drums.
This is just a test of the over-the-head GoPro setup. The audio was recorded in Ableton and edited into the video.
This was when we were auditioning a new keyboard player so it’s a pretty low-key performance. I was also just getting over the flu so I didn’t have a lot of energy. To top it all off, I was also breaking in a new pair of Doc Martens, which I normally really love to wear when I’m playing but which are rather unforgiving when they’re fairly new.