There are several options when choosing a SawStop router table but I’m going to attempt to clear up some of the confusion. Let’s go over your options and figure out what is best for you.
Inline vs. Standalone vs. Benchtop
Inline
Description
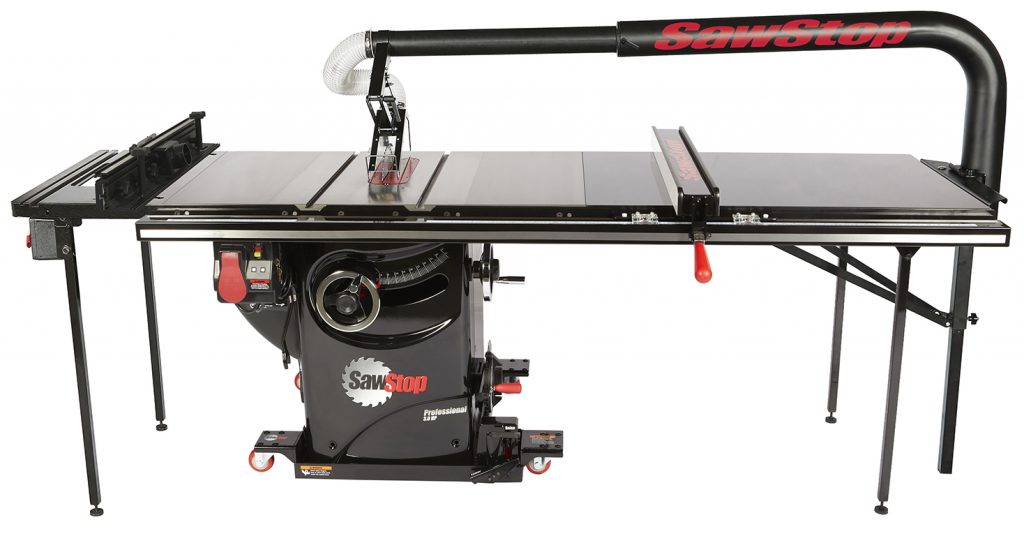
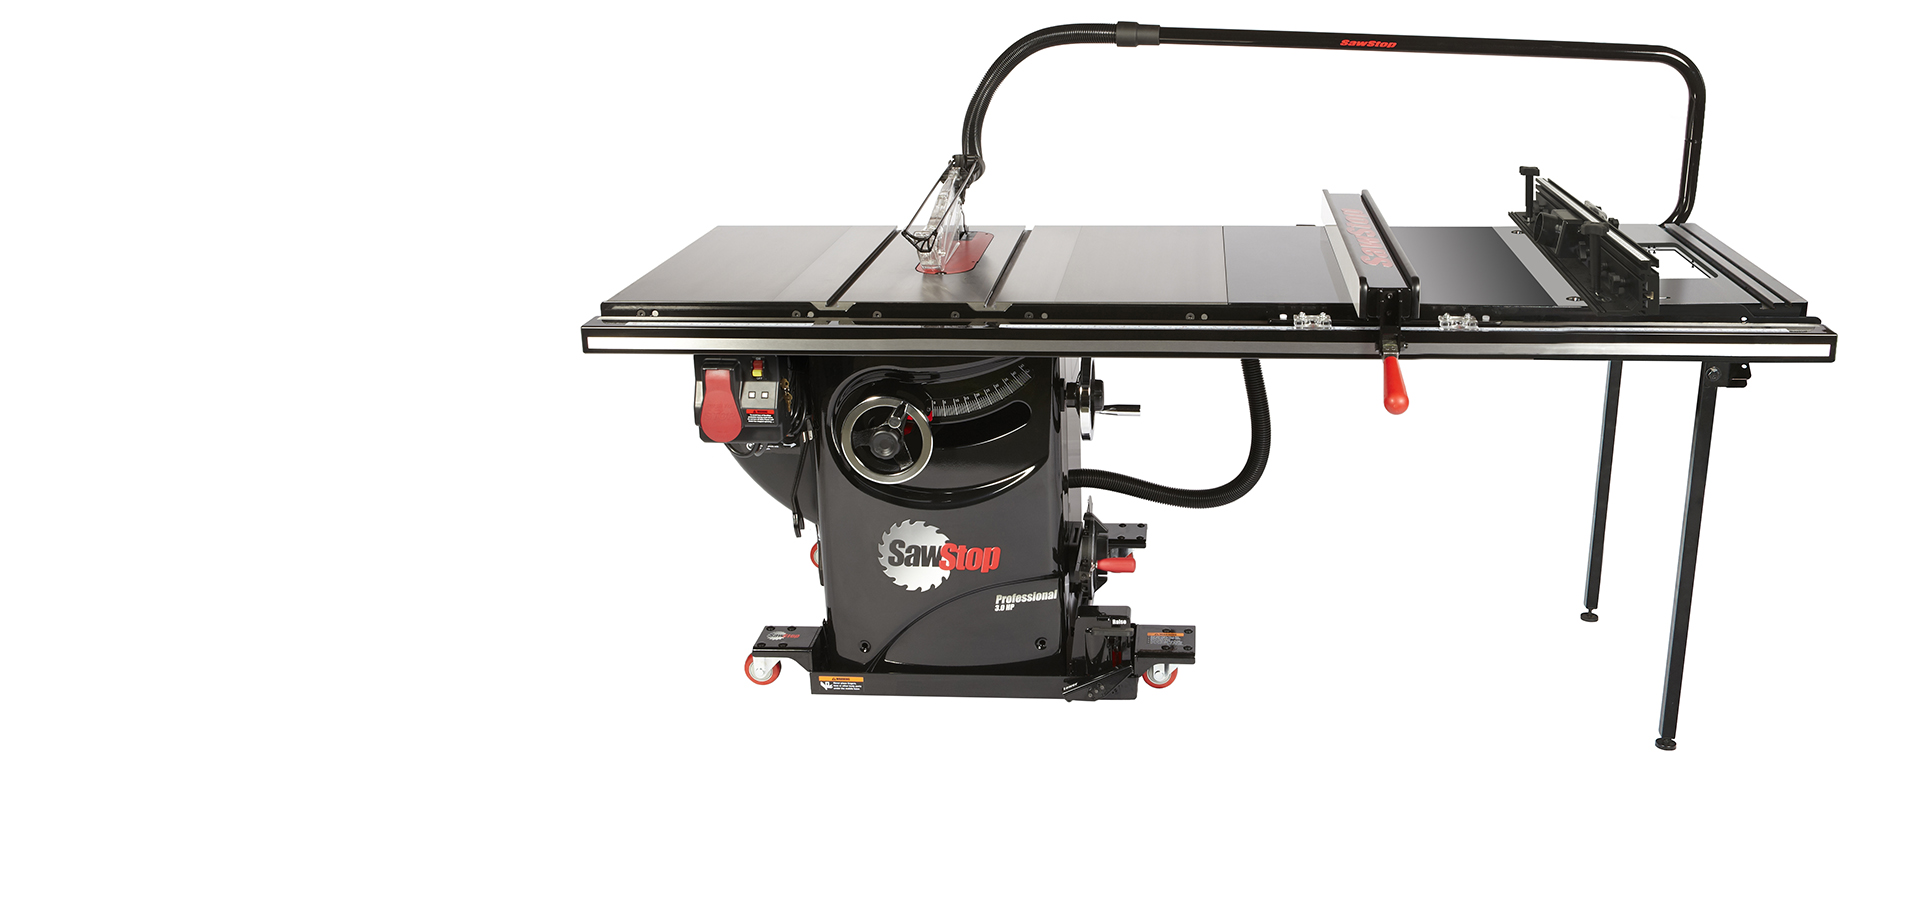
The inline router table is definitely the most popular option. It is available in two versions: a 27” wide table for the PCS and CNS; a 30” wide version for the ICS.
Availability
They are sold as a kit which includes: the cast-iron table; the legs; the power switch; and the fence.
Some things to remember about the availability…
- The main table only contains the hardware used for leveling the insert, not the bolts for attaching to the wing or rails.
- The brackets for attaching the legs to the underside of the router table, along with the rail, wing, and leg mounting bolts, washers, and nuts, are all packaged with the power switch. This means that if you just buy the table, you’re going to either need to provide your own table mounting hardware or get it from SawStop Service.
Compatibility
The Inline Router Table is not compatible with the CNS Mobile Base or PCS Integrated Mobile Base due to the weight. That’s not to say that you can’t install the router table if you are using either of these mobile bases. It simply means that the mobile base can’t reliably support the weight of the saw and the router table.
Also, the Inline Router Table cannot be installed on the right side of your saw if you are using the Floating Dust Guard, which mounts to the far right edge of the extension table.
On the same note, the Inline Router Table cannot be installed on the left if you are also using either of the Sliding Crosscut Tables.
All this being said, these compatibility issues might be able to be overcome with some ingenuity and the willingness to drill some holes. Just know that you do so at your own risk and that SawStop does not support this.
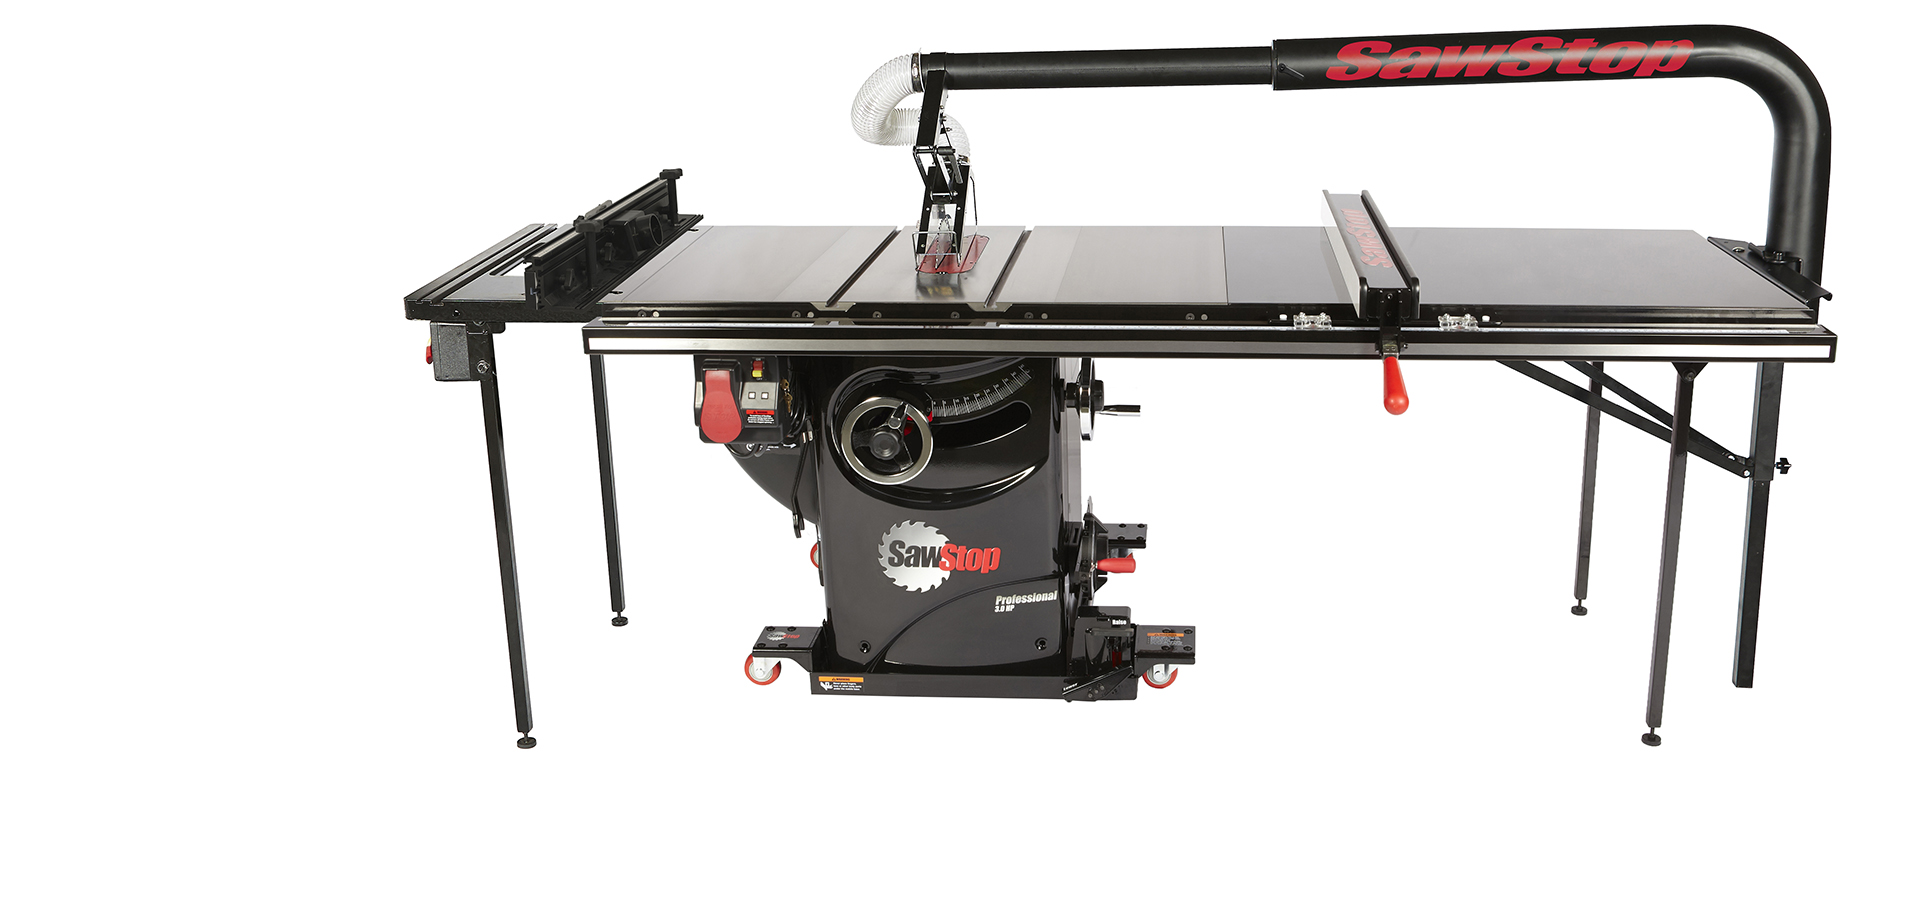
Left or Right
Both inline tables can be mounted to either the left or the right of the table saw.
Left
There are no real modifications you would need to do if mounting the router table to the left. It simply attaches to the left edge of the left cast-iron wing.
Advantages:
- Easier to install.
- Doesn’t require modifying or replacing older fence rails.
- Adds an additional 16″ of material support to the left of the blade.
Disadvantages:
- Router table feet won’t lift off the ground when using a mobile base, since the mobile base lifts the right side of the saw higher than the left.
- The router table fence will probably be in your way when making cuts on sheet goods or making crosscuts.
- Adds 16″ to the entire width of your saw.
There are a few things to keep in mind when mounting to the left.
- If you are attaching this to a Contractor Saw (CNS) then you will need to have the optional Cast-Iron Wings rather than the stock Stamped-Steel Wings.
- If you are attaching this to a Contractor Saw (CNS) then you can technically install this in place of the left cast-iron wing, although this is not officially supported. If you do, however, you won’t have any way to attach the switchbox. Also, the Router Table Dust Collection box may get in the way of your switchbox if you somehow manage to attach it to the router table.
- If you are attaching this to a Professional Saw (PCS) then you will not be able to attach it in place of the left cast-iron wing since the motor for the PCS is on the left. The dust collection box will still work in this configuration.
- If you are attaching this to an Industrial Saw (ICS), you may be able to install this in place of the left cast-iron wing but you won’t be able to attach the dust-collection box since it will interfere with the blade angle handwheel. It will also prohibit you from opening the belt access door.
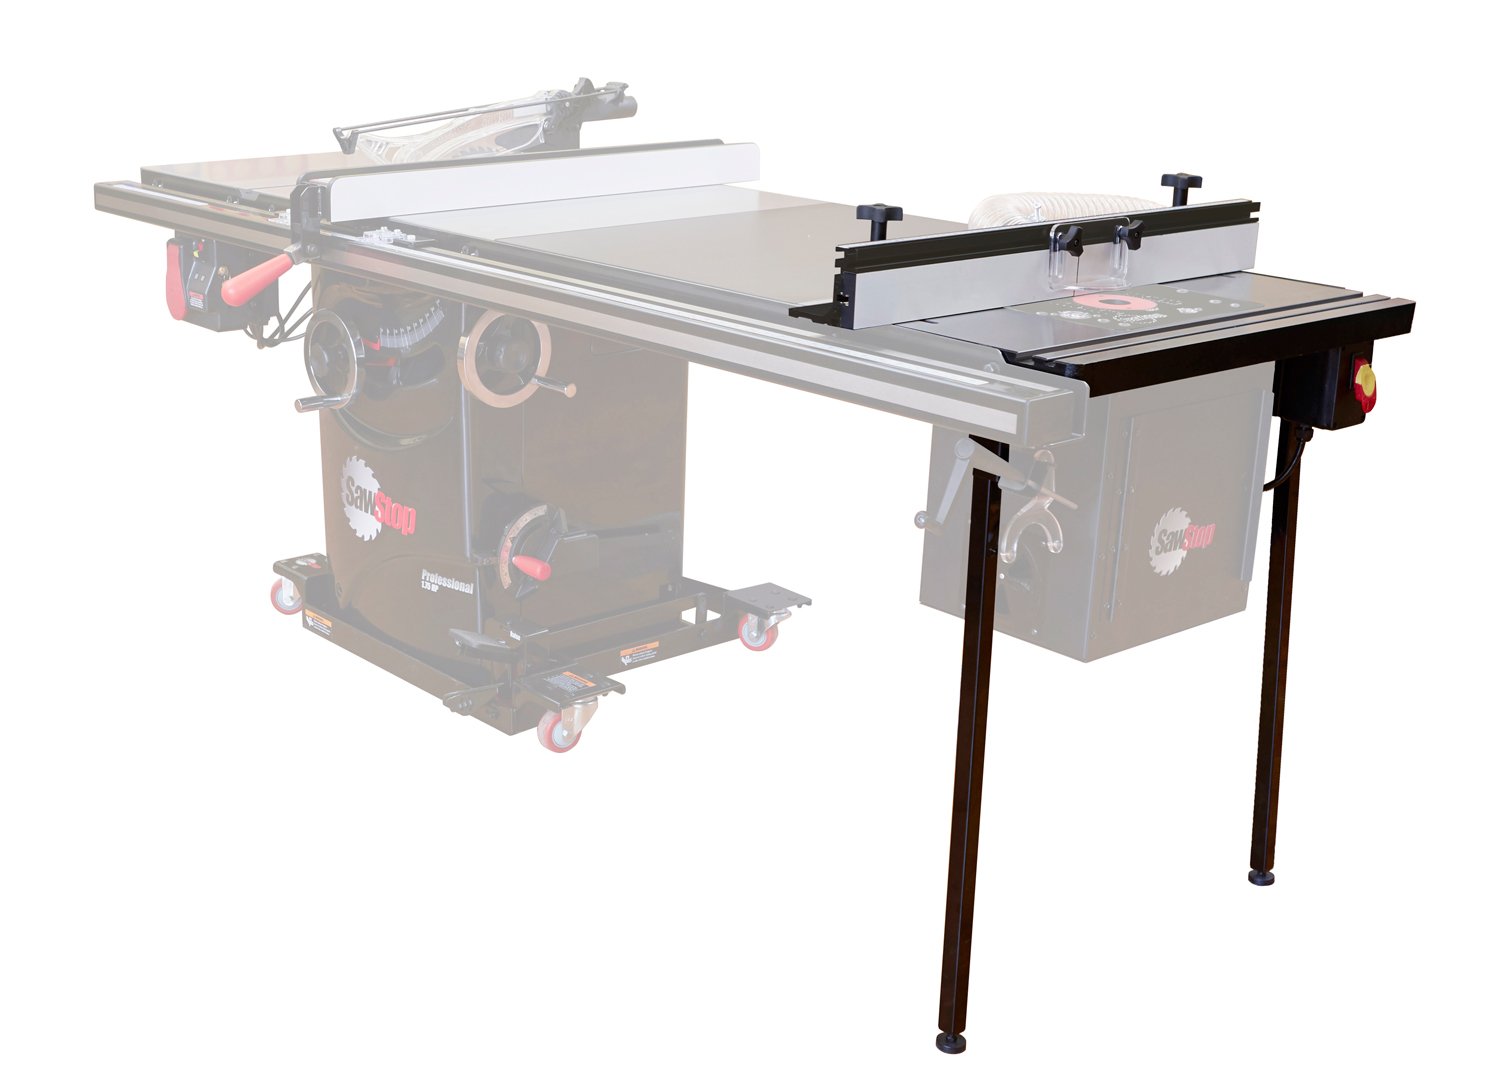
Right
Advantages:
- Space saving.
- Router table fence is more likely out of your way when using the table saw, especially with the 52″ fence system.
- When combined with the Intermediate Cast-Iron Wing, you can convert a 36″ fence system to an all cast-iron work surface.
Disadvantages:
- Greater weight on the far right requires attaching hold-down brackets when utilizing the Industrial Mobile Base, even when attached to an Industrial Saw (ICS).
- Not compatible with the Floating Dust Guard which regularly attaches to the far right end of the wooden extension table.
- You will need to either replace or modify your existing fence rails if they are not the newer router table compatible rails.
Standalone
SawStop also makes a standalone router table that is available with either a cast-iron or phenolic table top.
The standalone router table is an excellent option for those who have the available floor space to dedicate to something like this. The standalone router table top measures 31 ½” wide and 23 ⅝” deep. The fence attaches to rails on the side of the table rather than slots cut into the table itself. It uses the exact same fence that comes with the Inline Router Table for the ICS.
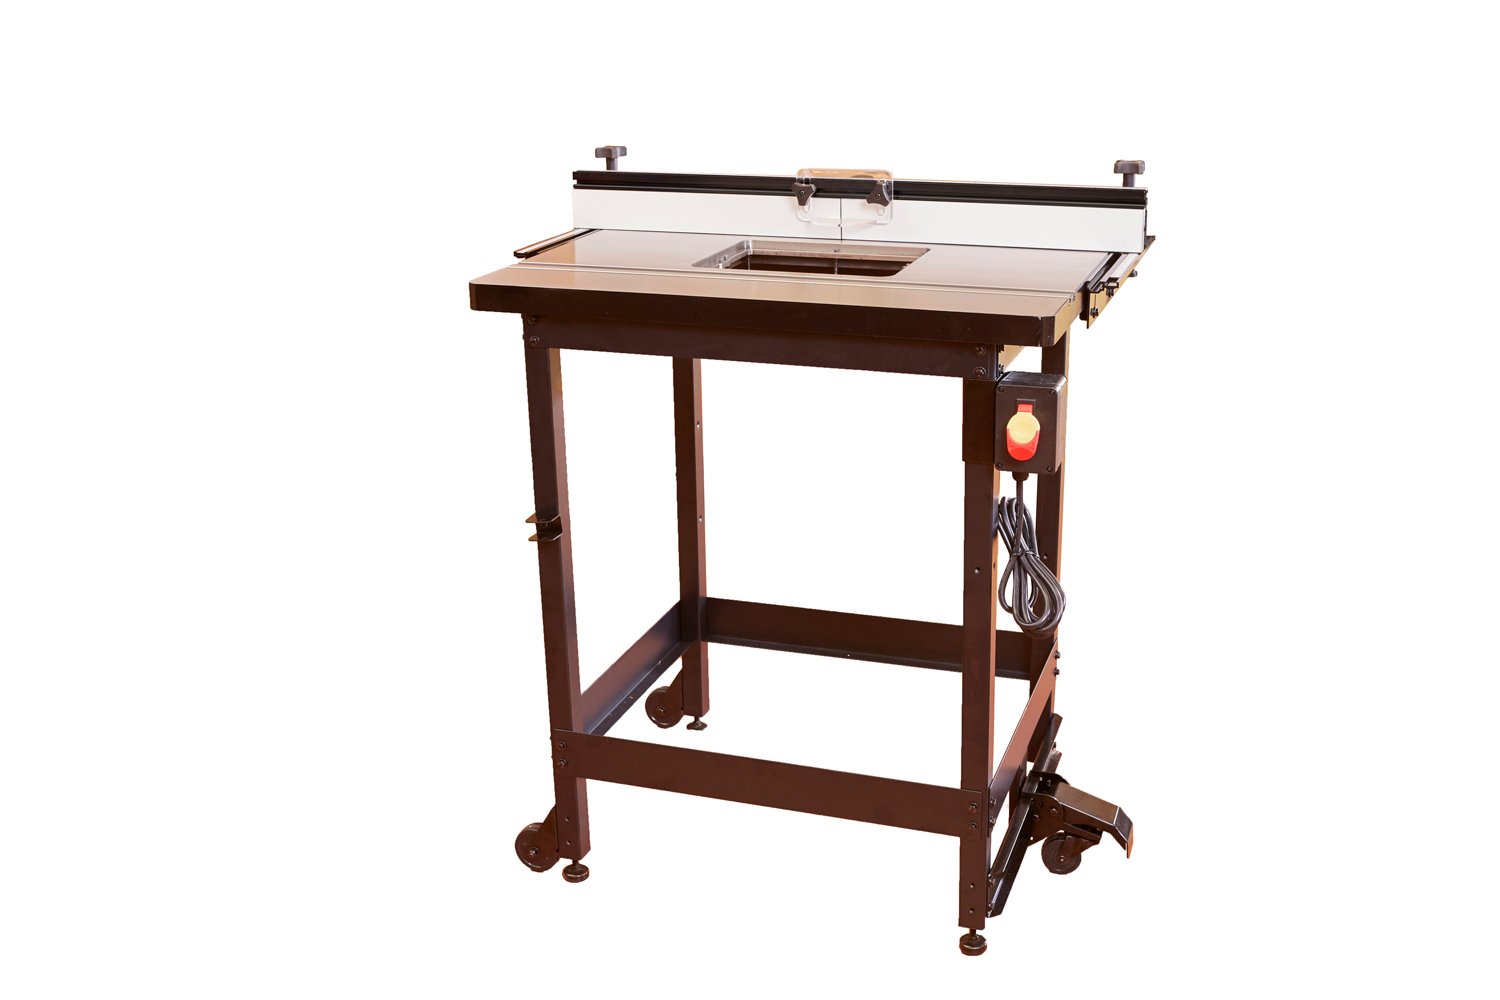
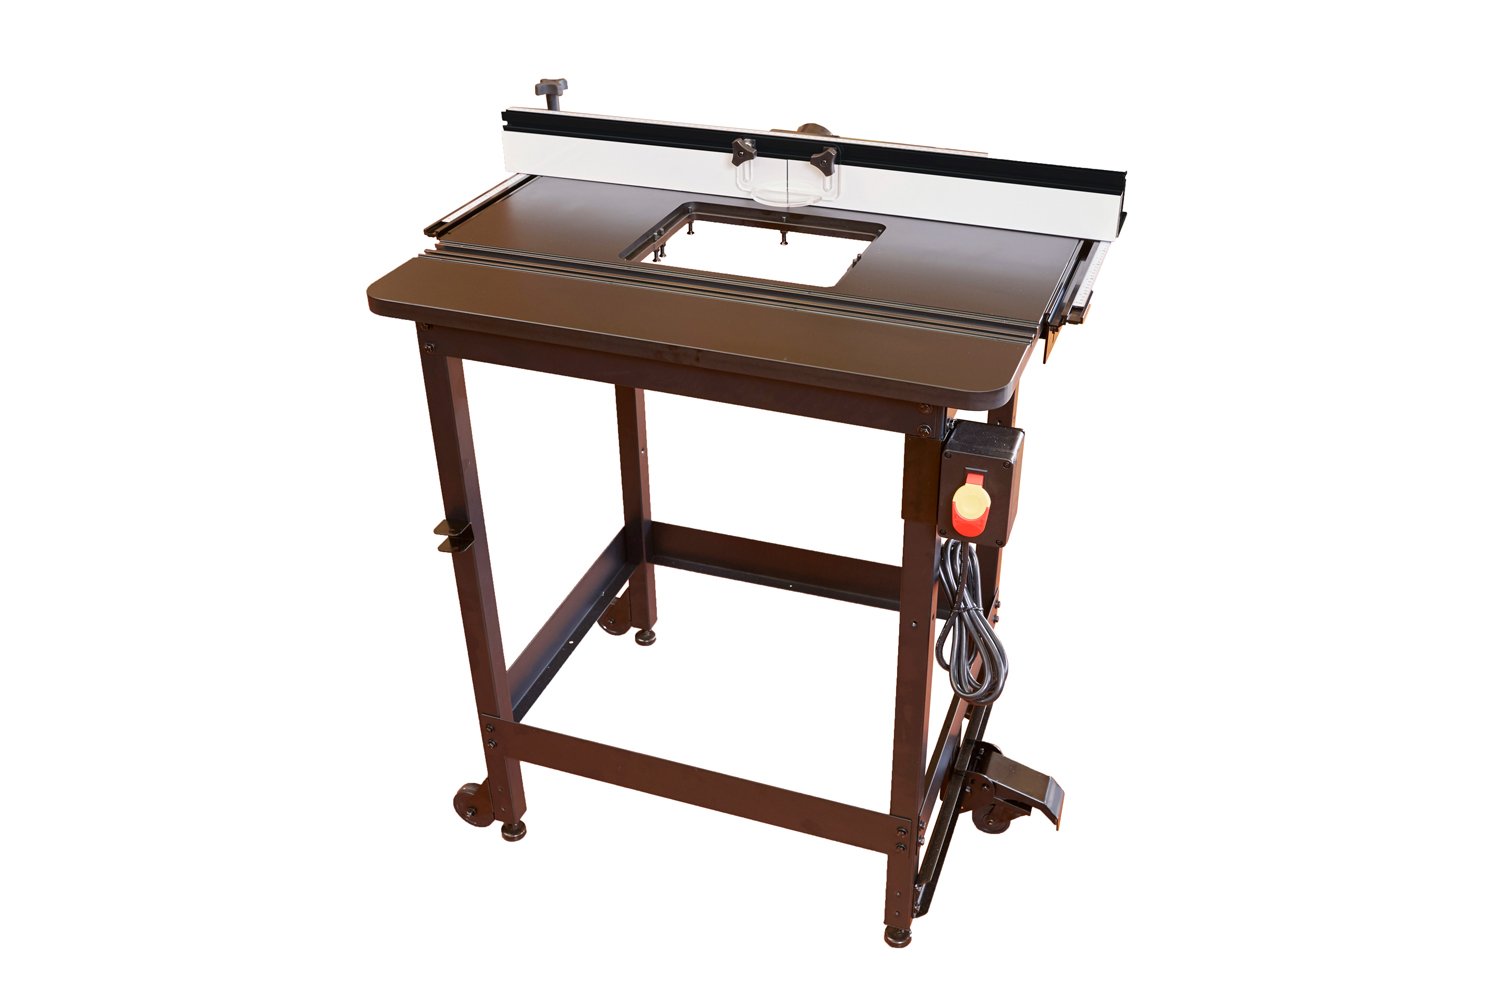
The differences between the two are mainly cost and weight, the cast-iron table weighing about 40 pounds more than the phenolic.
Both router tables include a mobile base.
Advantages
- Can be left set up and it won’t affect your table saw.
Disadvantages
- Takes up more floor space.
Benchtop
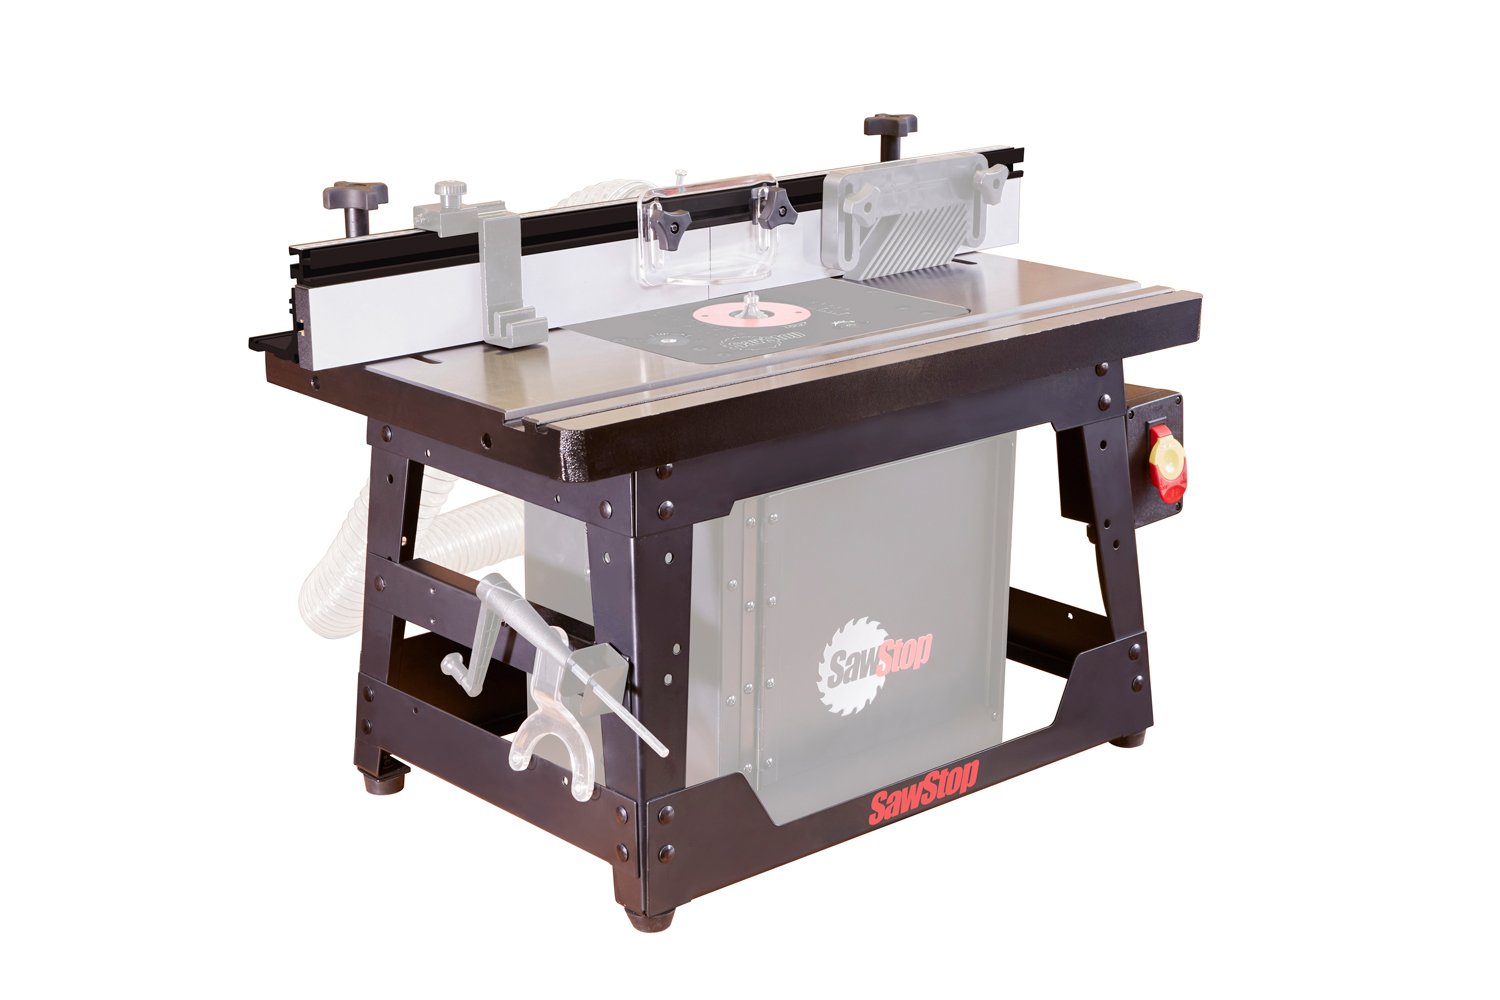
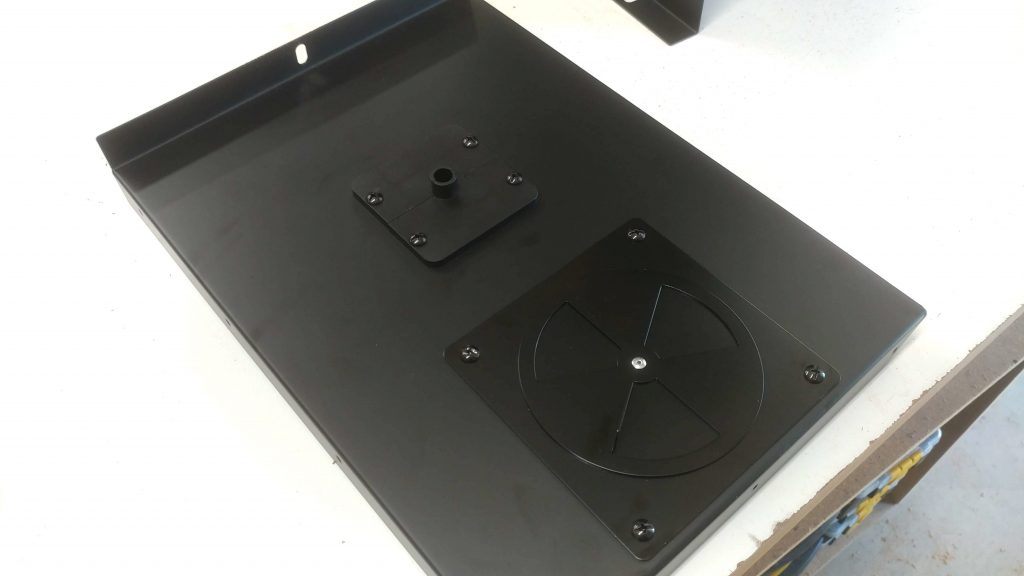
For those with less floor space SawStop offers a benchtop model of its router table. The actual table part is the exact same cast-iron router table that you would get if you purchased the Inline Router Table for PCS or CNS. This means that you can mount this router table to your saw, if you someday choose to.
As you can see in the photo above, the dust collection box is compatible with the benchtop router table but is sold separately just like it is for all of the router tables.
Fence
The fence for the router table is different depending on which table you get.
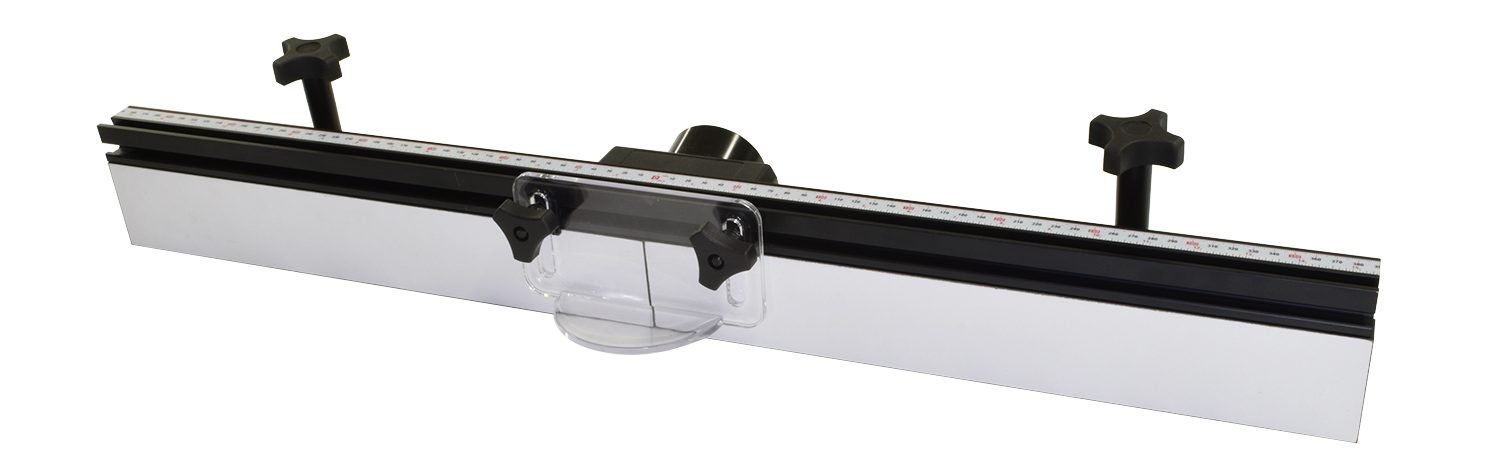
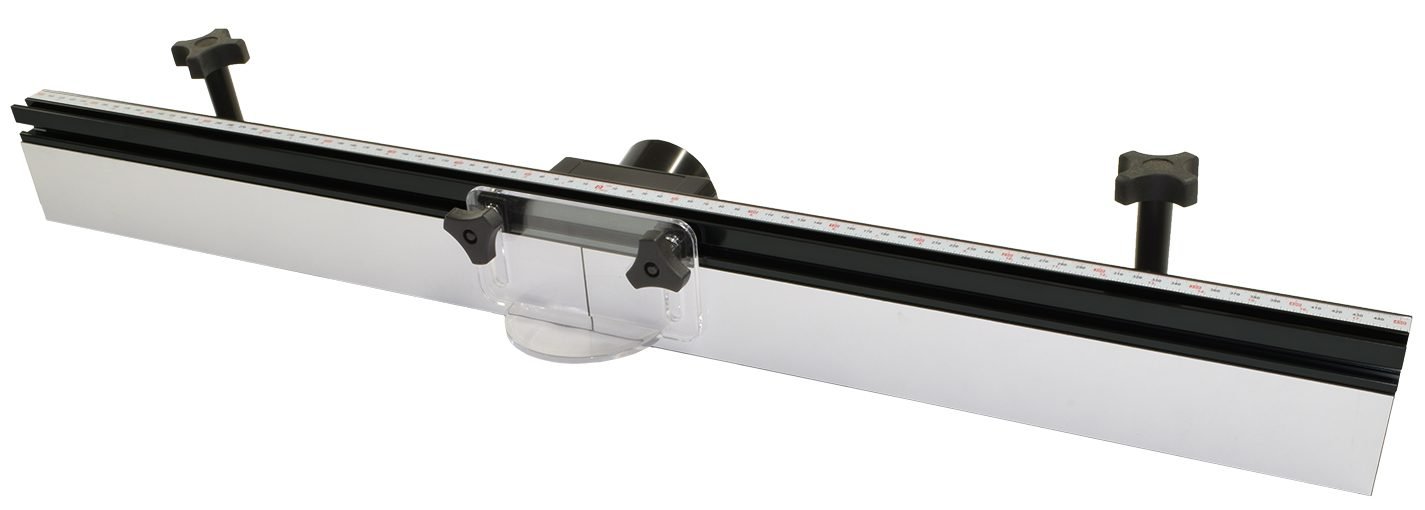
The router table fence system features:
- Split faceplates, allowing you to have dust collection at the fence.
- Shims which allow you to use your router table as an edge jointer.
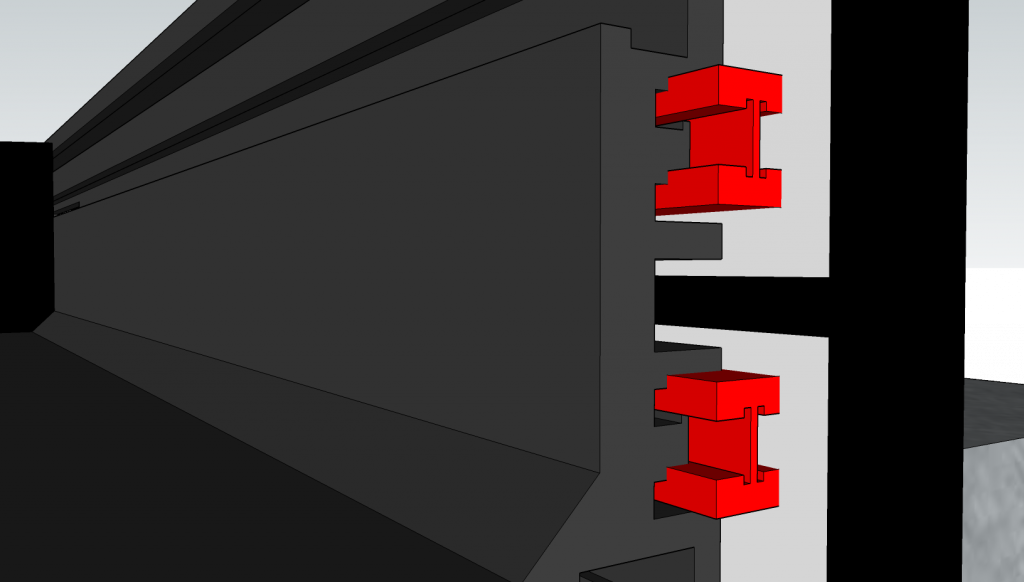
Dust Collection Box

The Dust Collection Box adds under-the-table dust collection to any of the SawStop router tables.
The two side panels each have two openings, the smaller of which is for the router power cable insert. This should be placed on the side where your power switch will be attached. The other insert is just a filler for the unused opening.
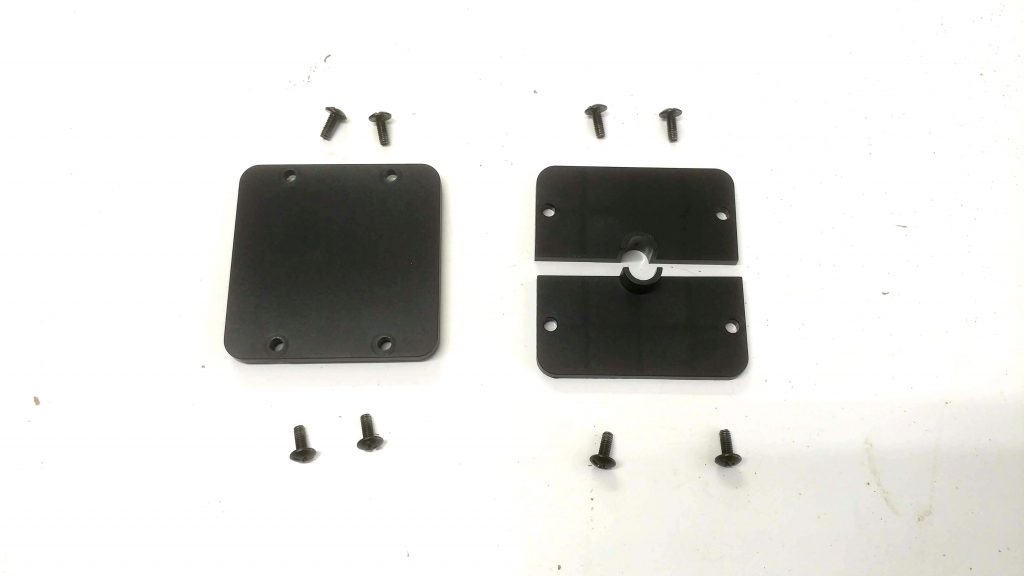
Both the side panels and the rear panel have a larger opening with removable inserts that are used to attach either the dust port or an adjustable vent. The third option is just a filler for the unused opening.
Note: The adjustable air vent is used to provide a release for excessive suction. Without this vent, you may have difficulty sliding your material across the router table as it will be held down because of the excessive suction.
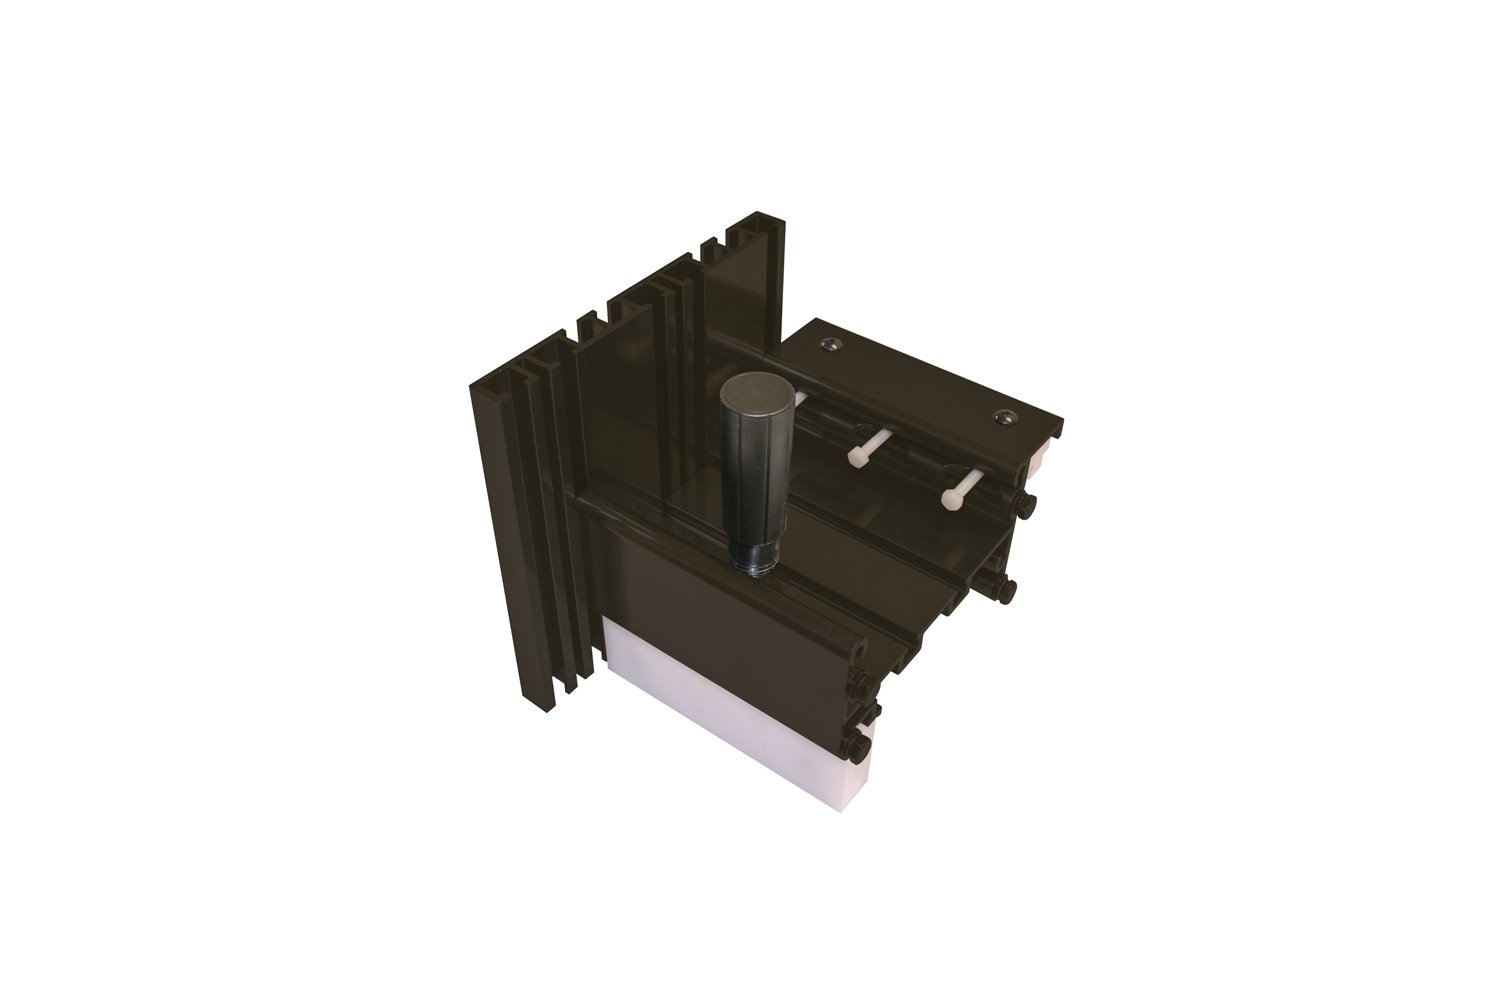
Lift

The SawStop router lift uses a 4-post chain drive design.
Insert
The router table inserts are phenolic discs that drop into the 3-¾” lift opening and accommodate different diameter router bits. The stock table insert has a 1-½” opening but you can buy additional insert packs.
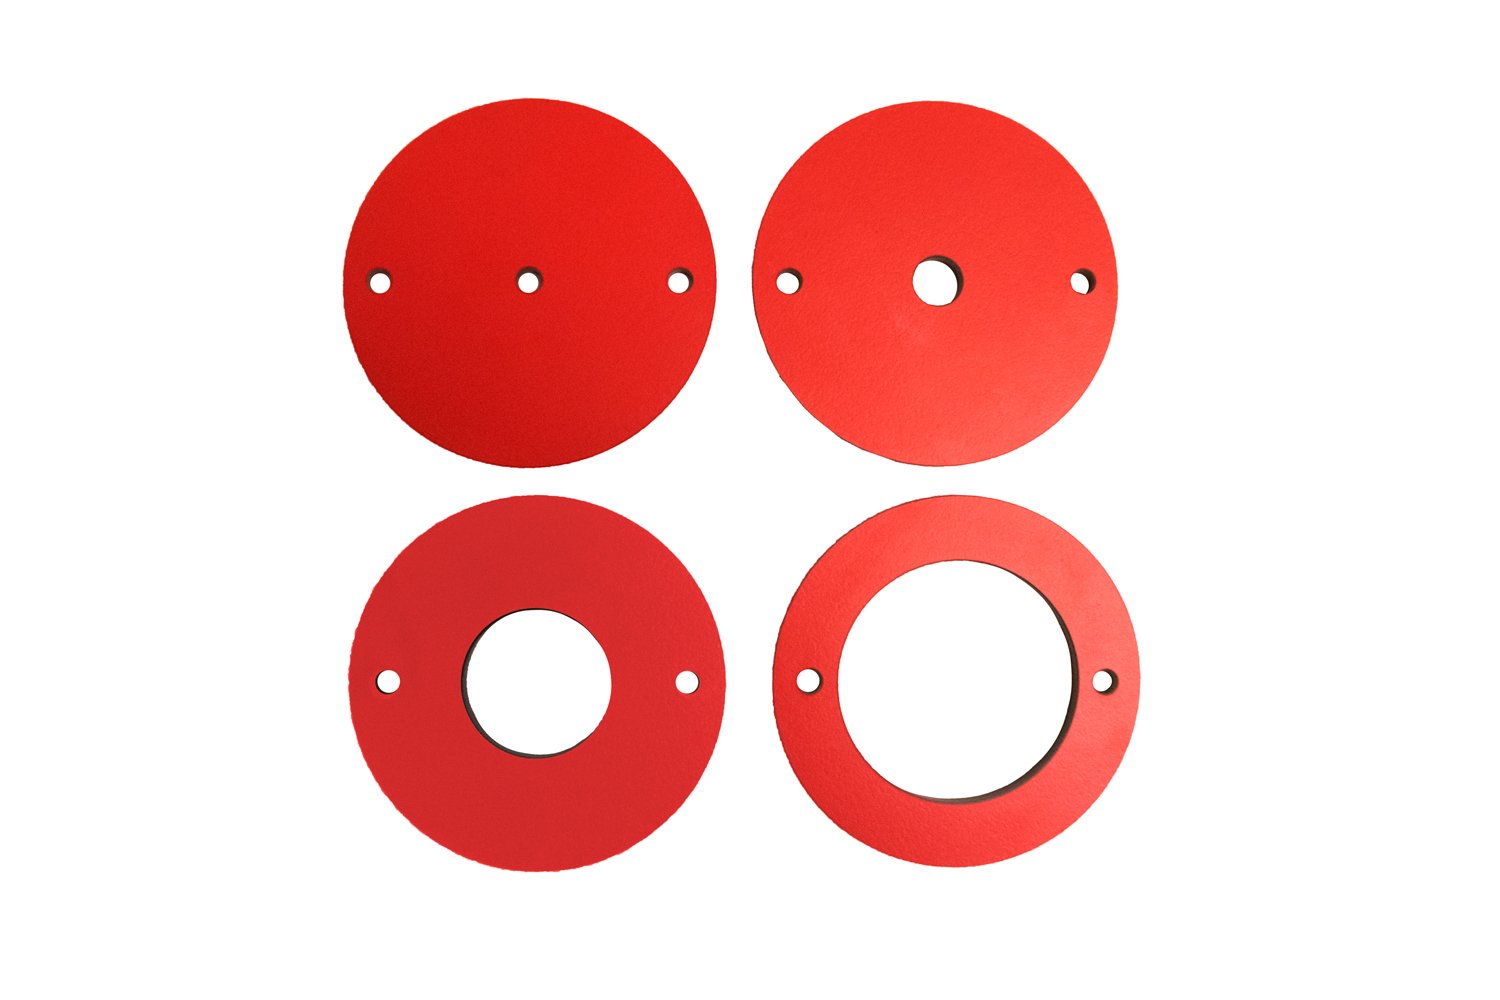
The RT-PIR insert ring set comes with four inserts with pre-made openings of ¼”, ½”, 1-⅜”, and 2-½”.
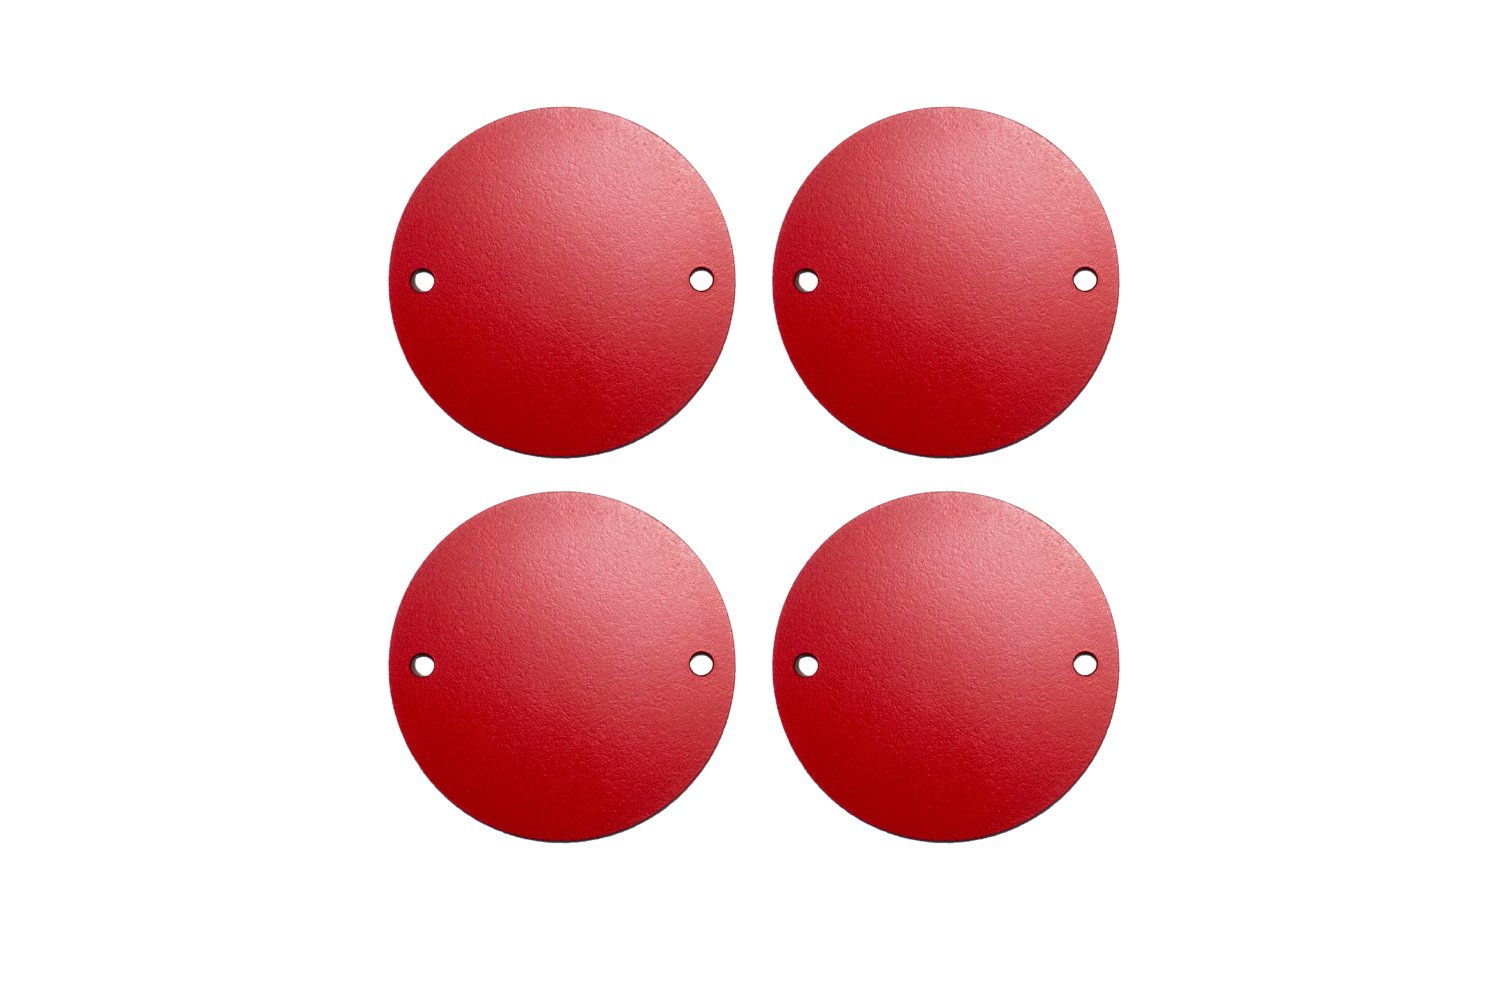
Zero-Clearance Insert Ring Set
The RT-PZR insert set comes with four inserts that have no openings, allowing the user to use a drill press to make their own openings in the custom sizes they may need. There are small pilot holes on the underside of each insert, ensuring that the opening is perfectly centered.
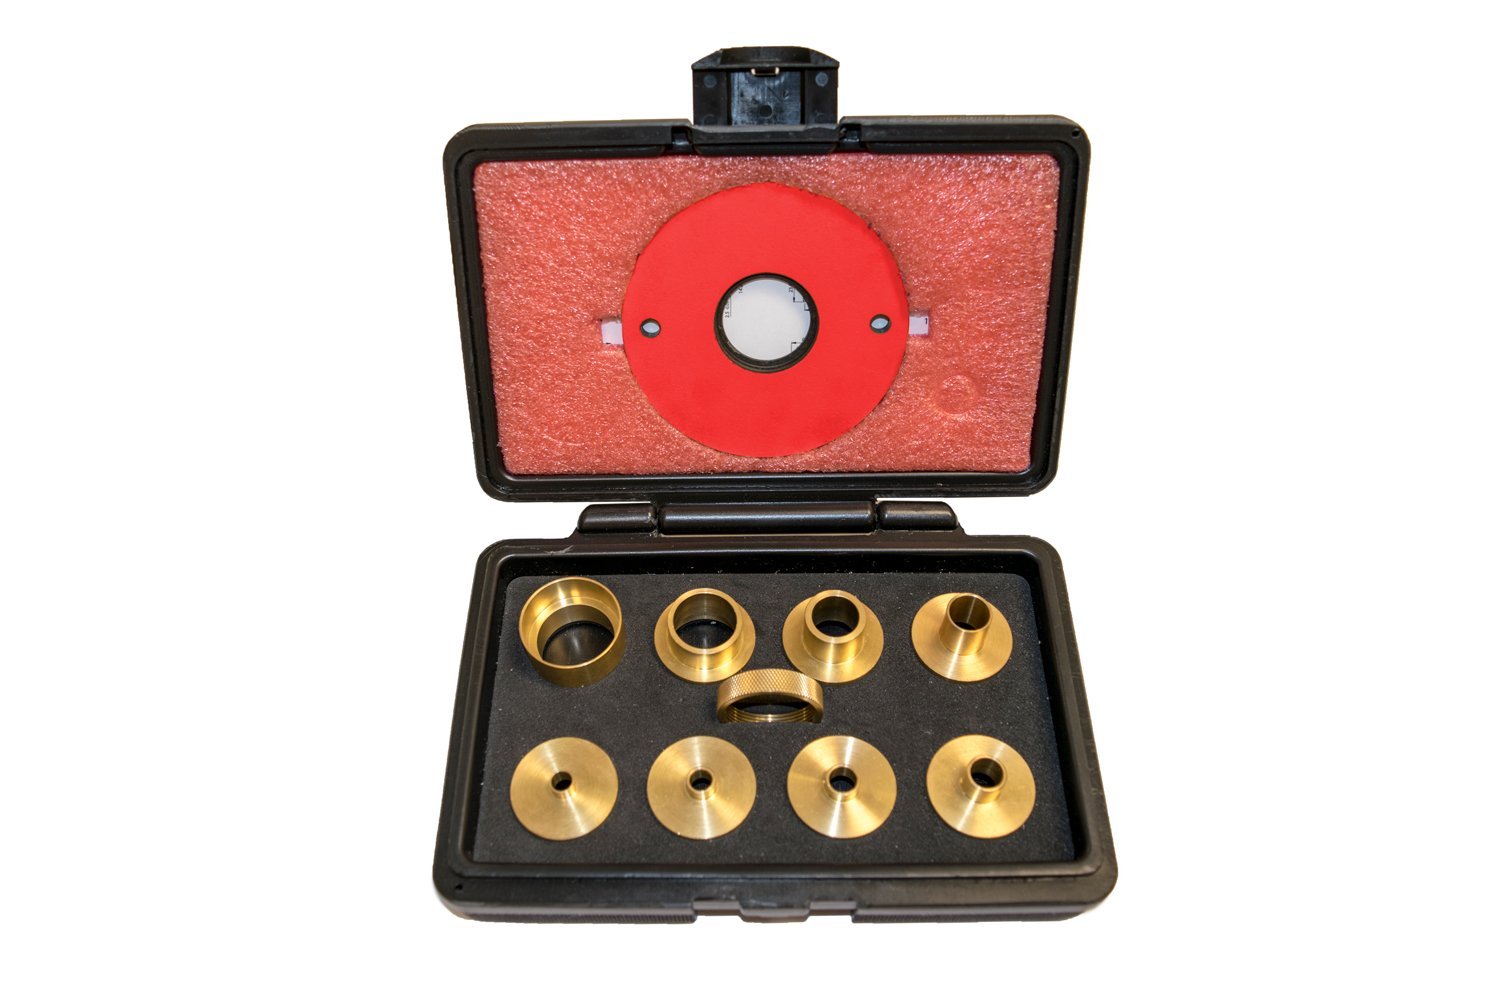
Template Guide Set
The RT-TGS allows you turn turn any router bir into a pattern bit and includes eight template guides in 1-19/64”, 5/8”, 27/32”, 17/32”, 17/64”, 9/32”, 11/32”, 13/32” diameters along with one one locking nut, and a 1 3/8” insert ring.
Stock Guide