

This is a continuation of Workbench: Part 2 – Gluing up the top.
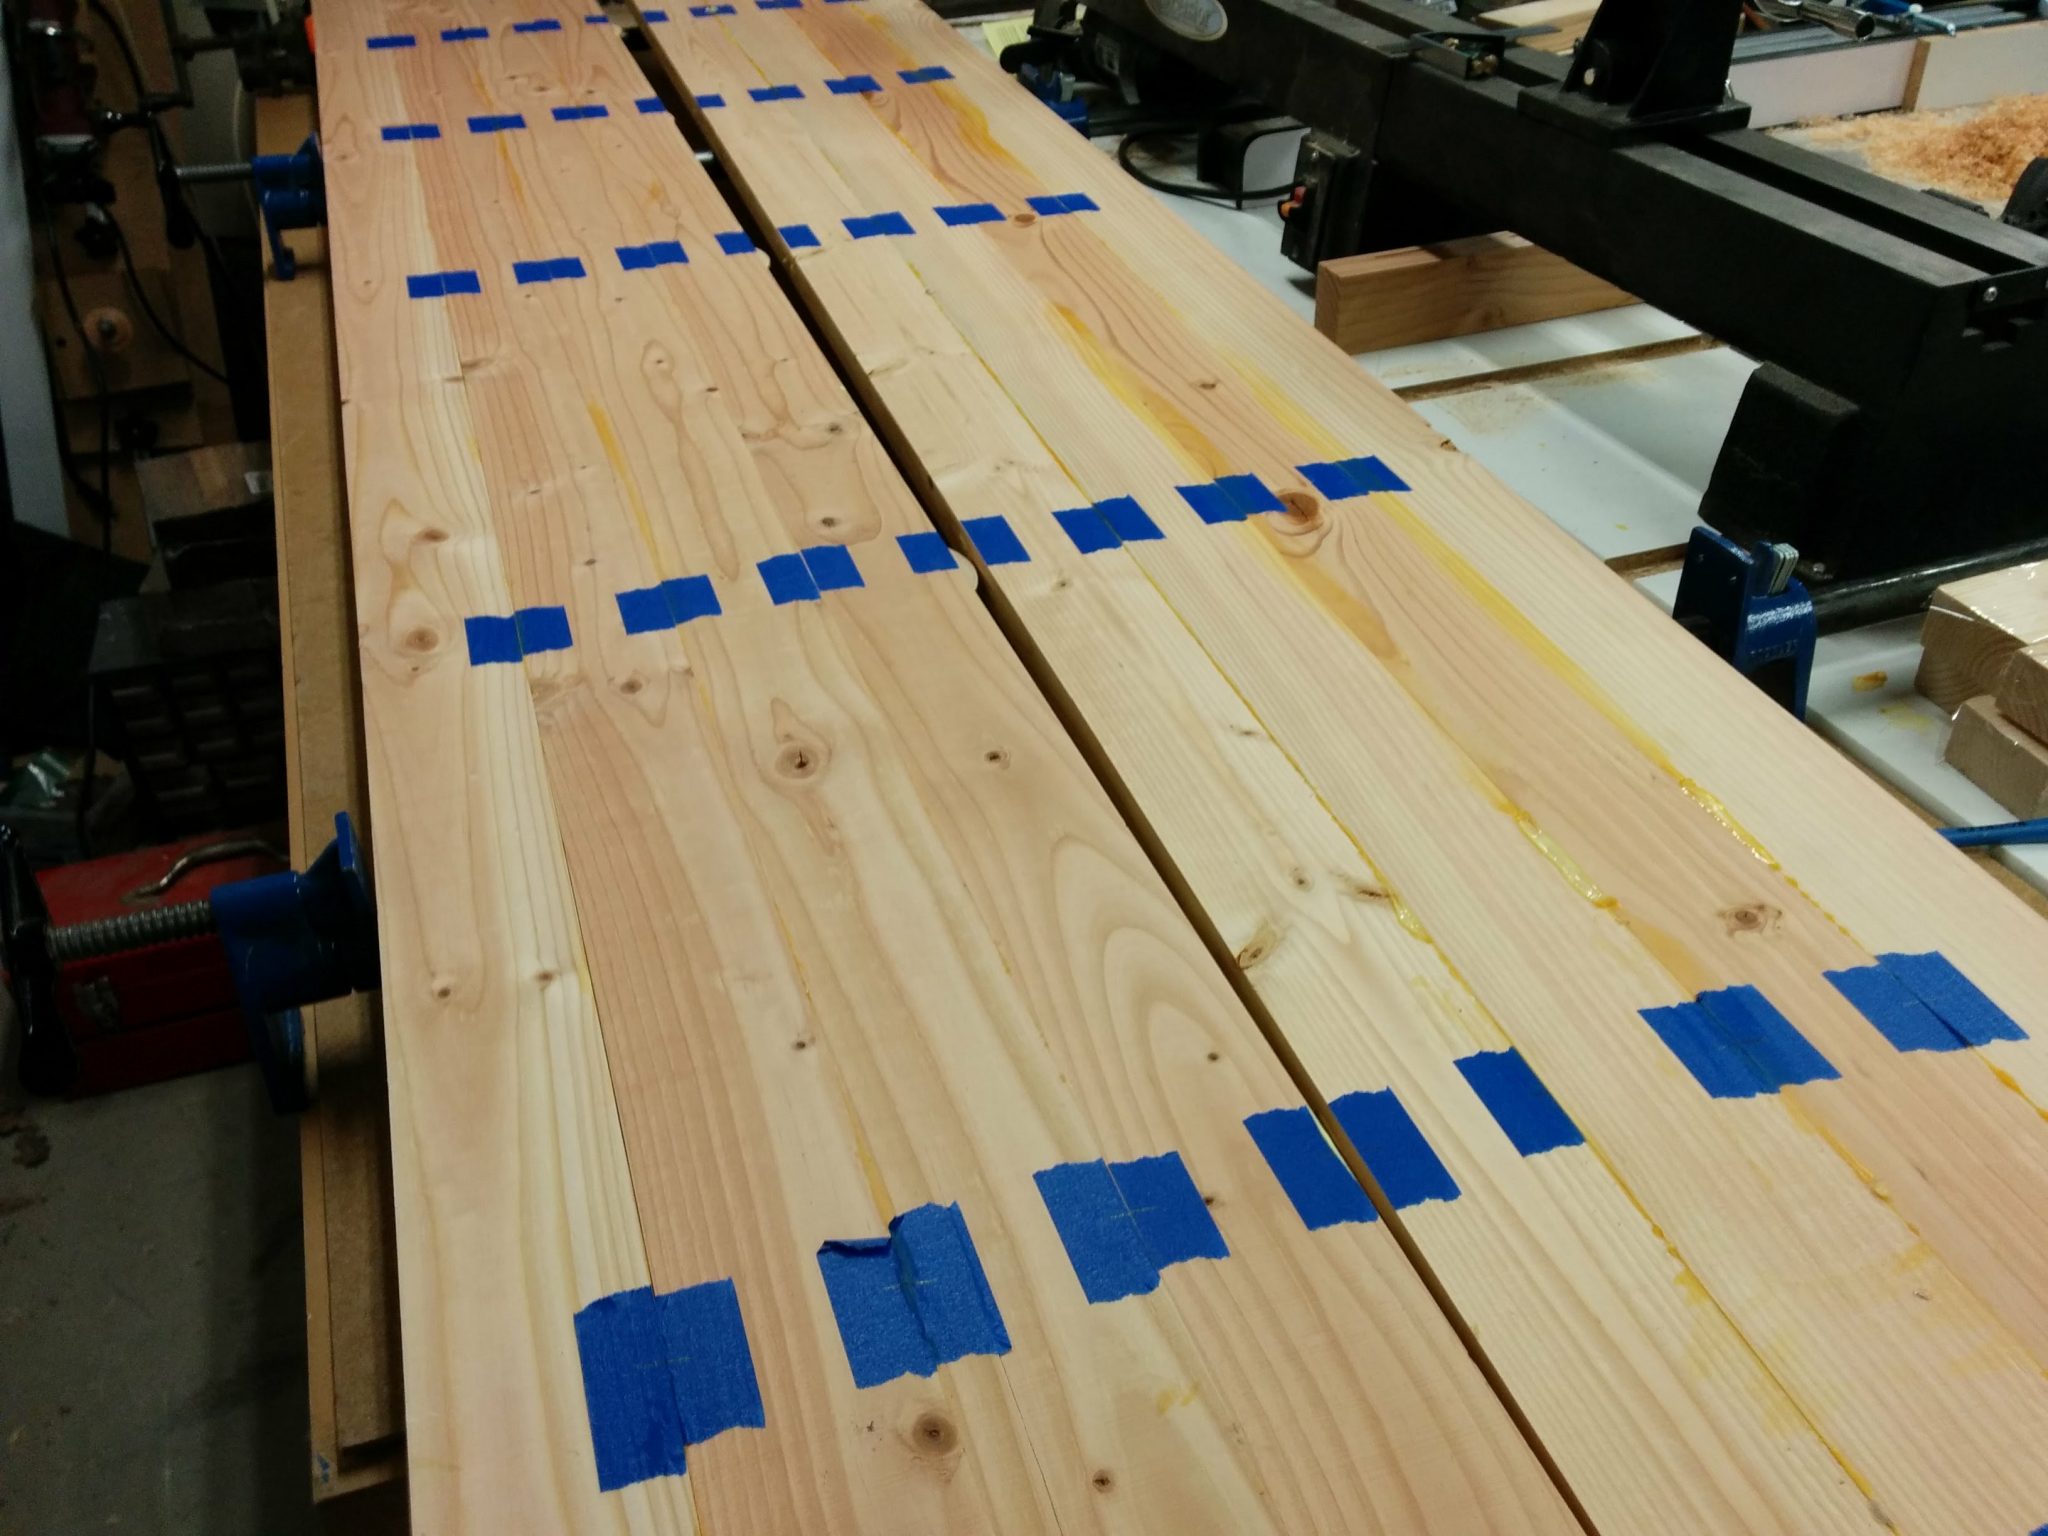
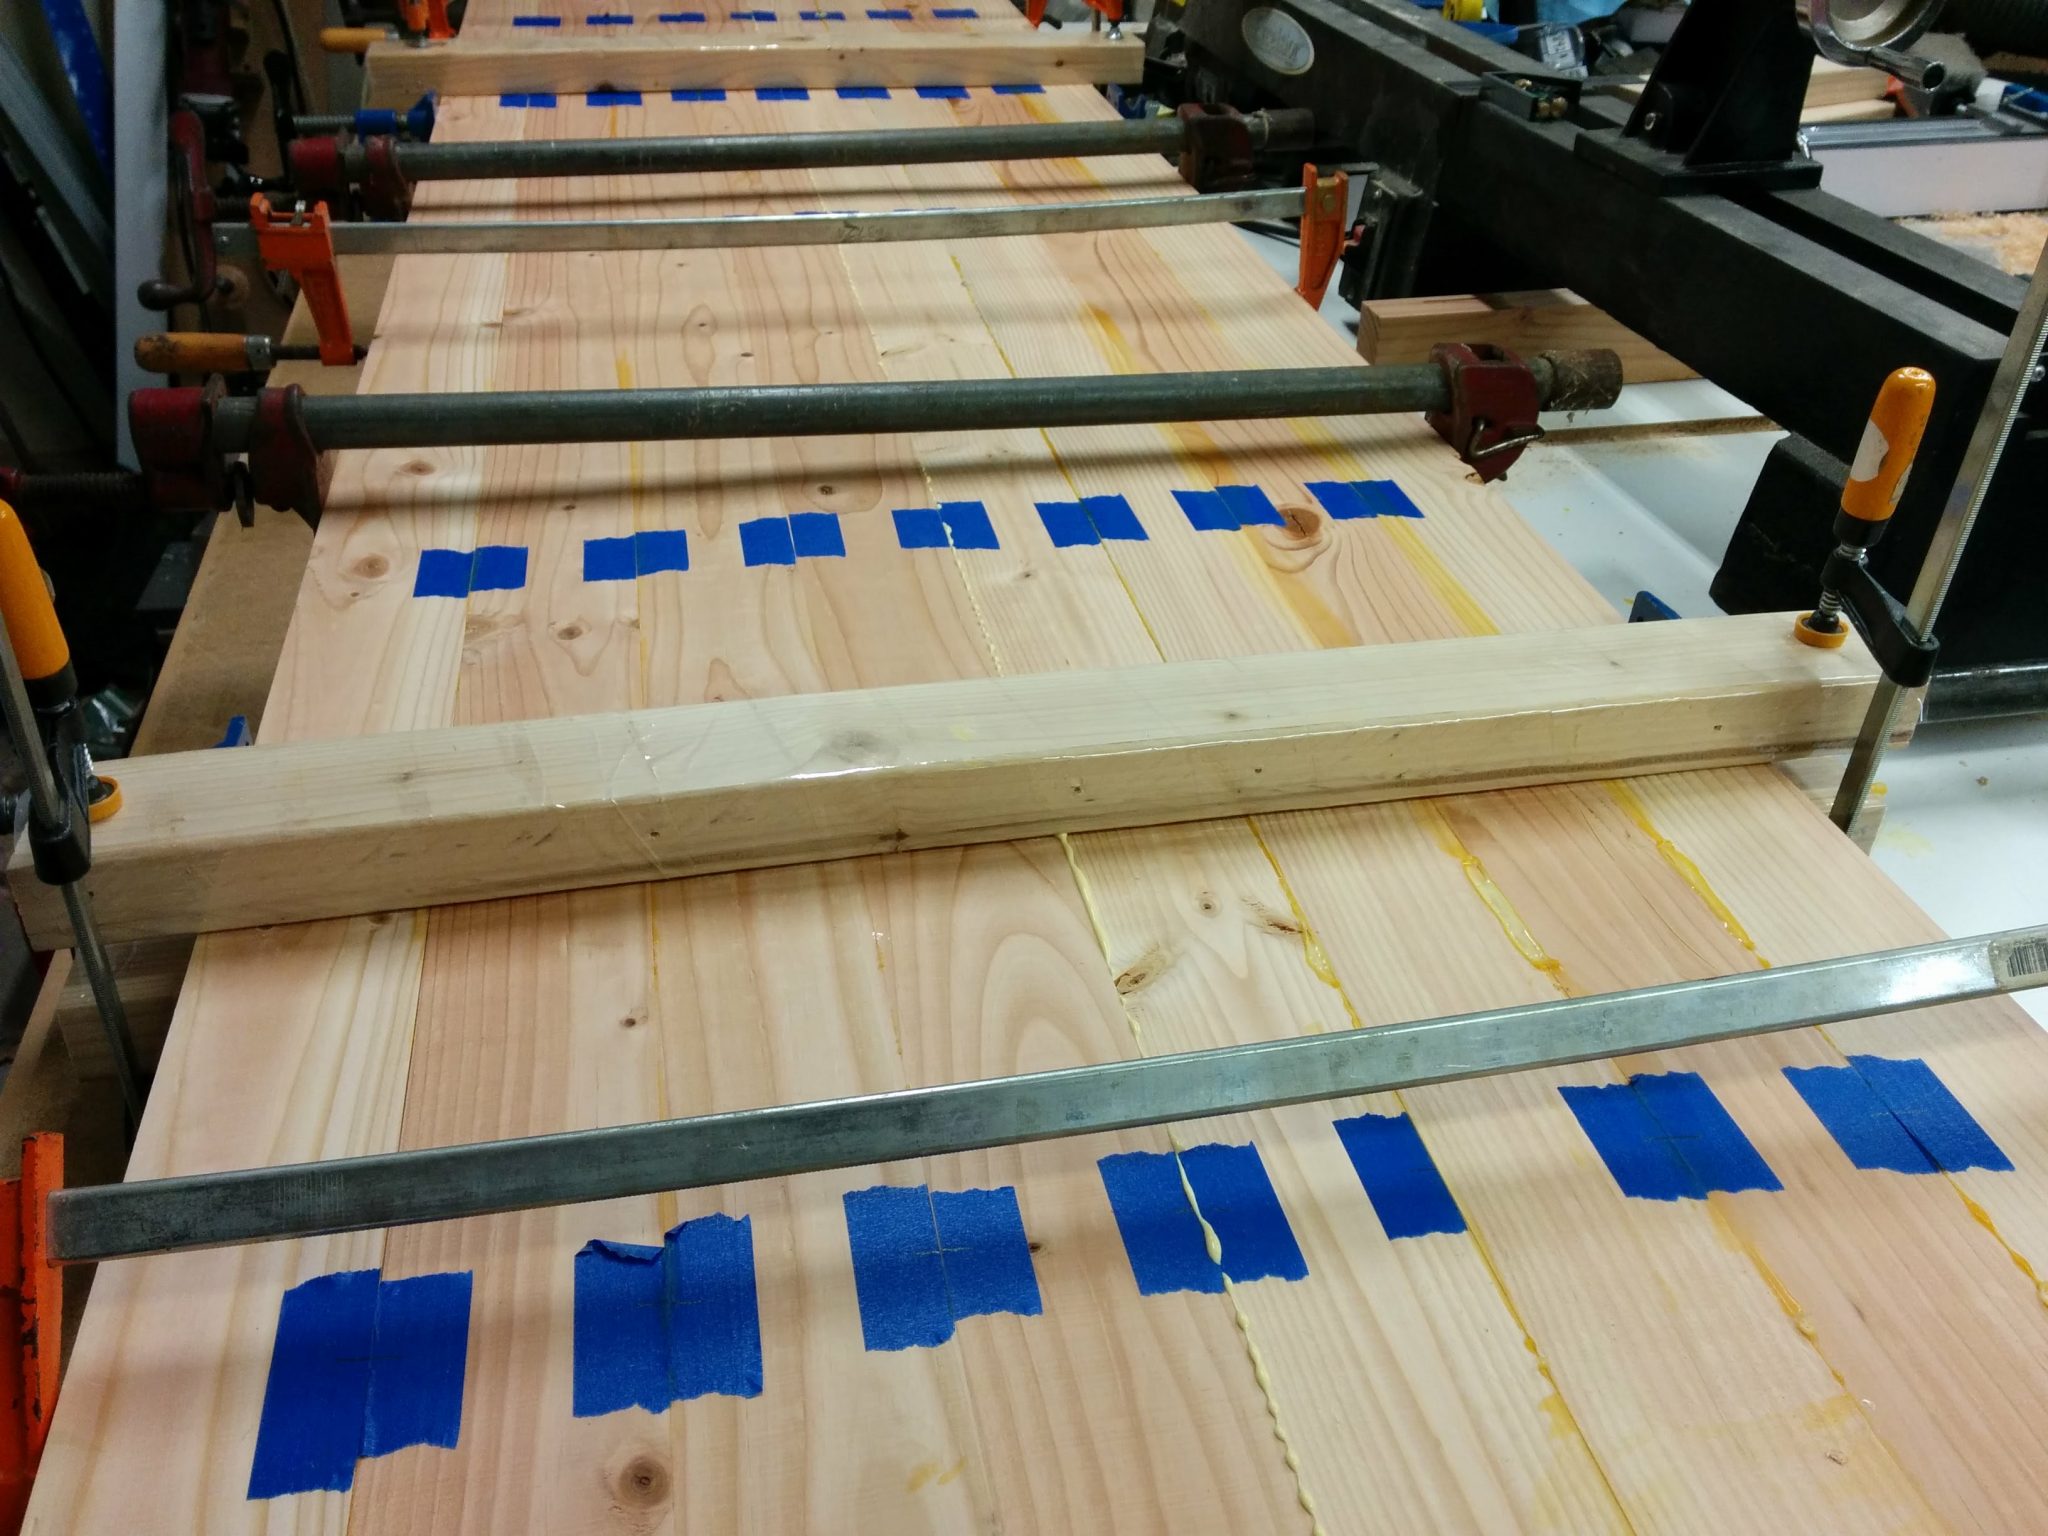
After gluing up half of the top, I repeated the process and got the other half glued up as well.

Once it was dry I joined them together with glue and biscuits just like I did for the individual boards.
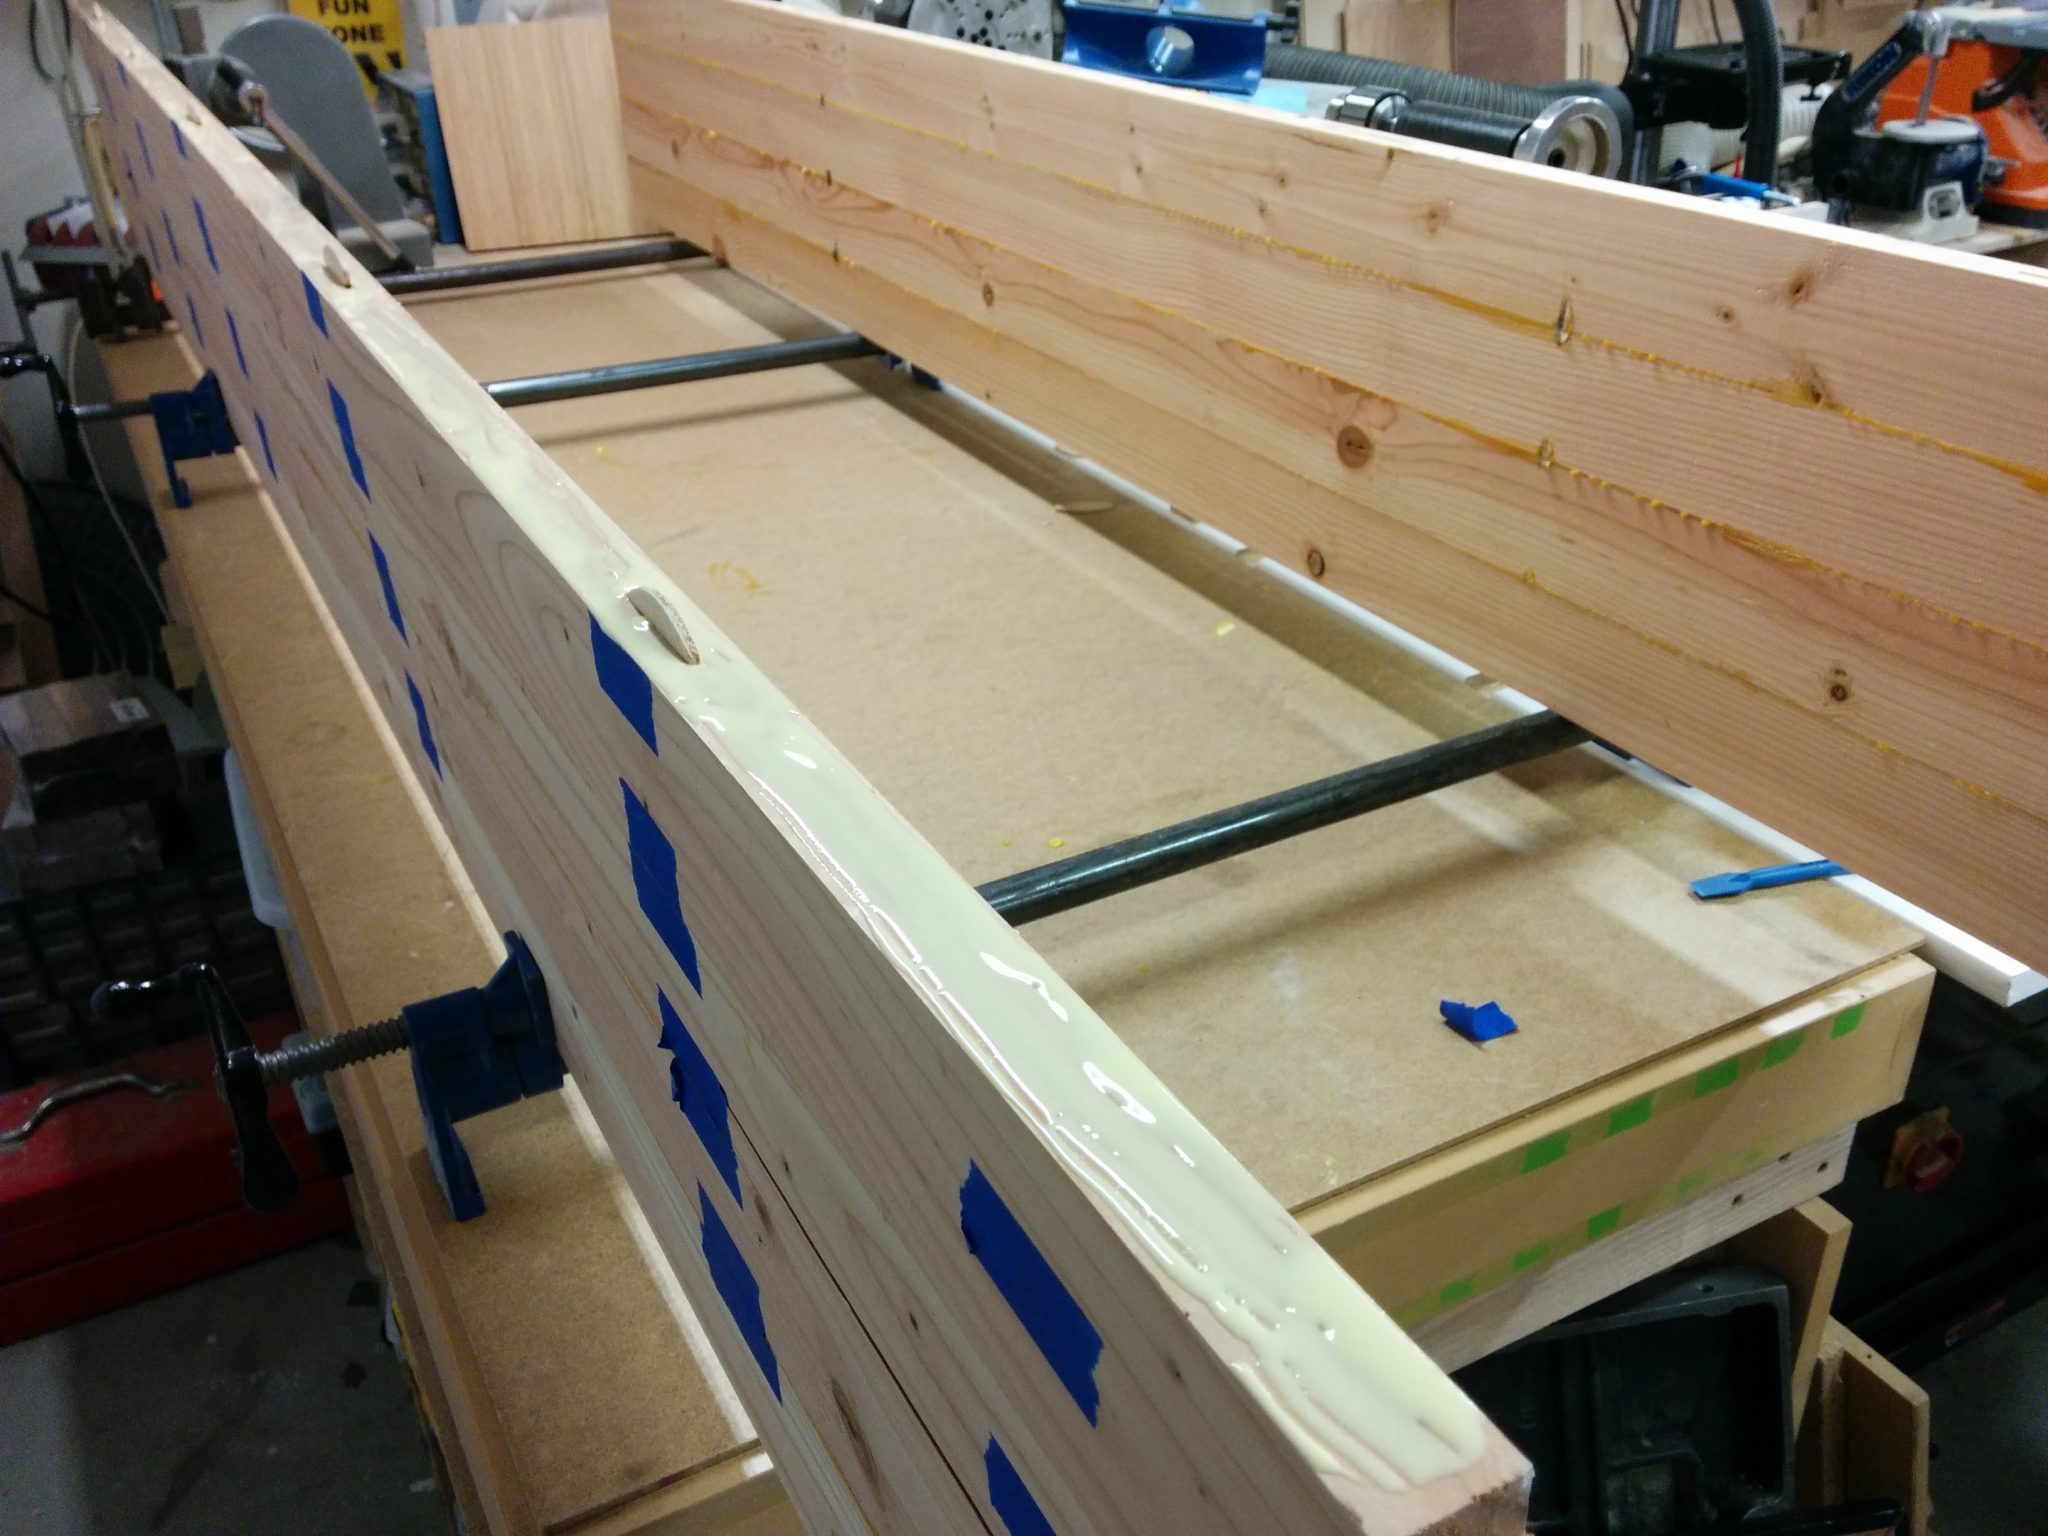
After taking the clamps and cauls off I was left with a fairly warped but completely glued up benchtop.
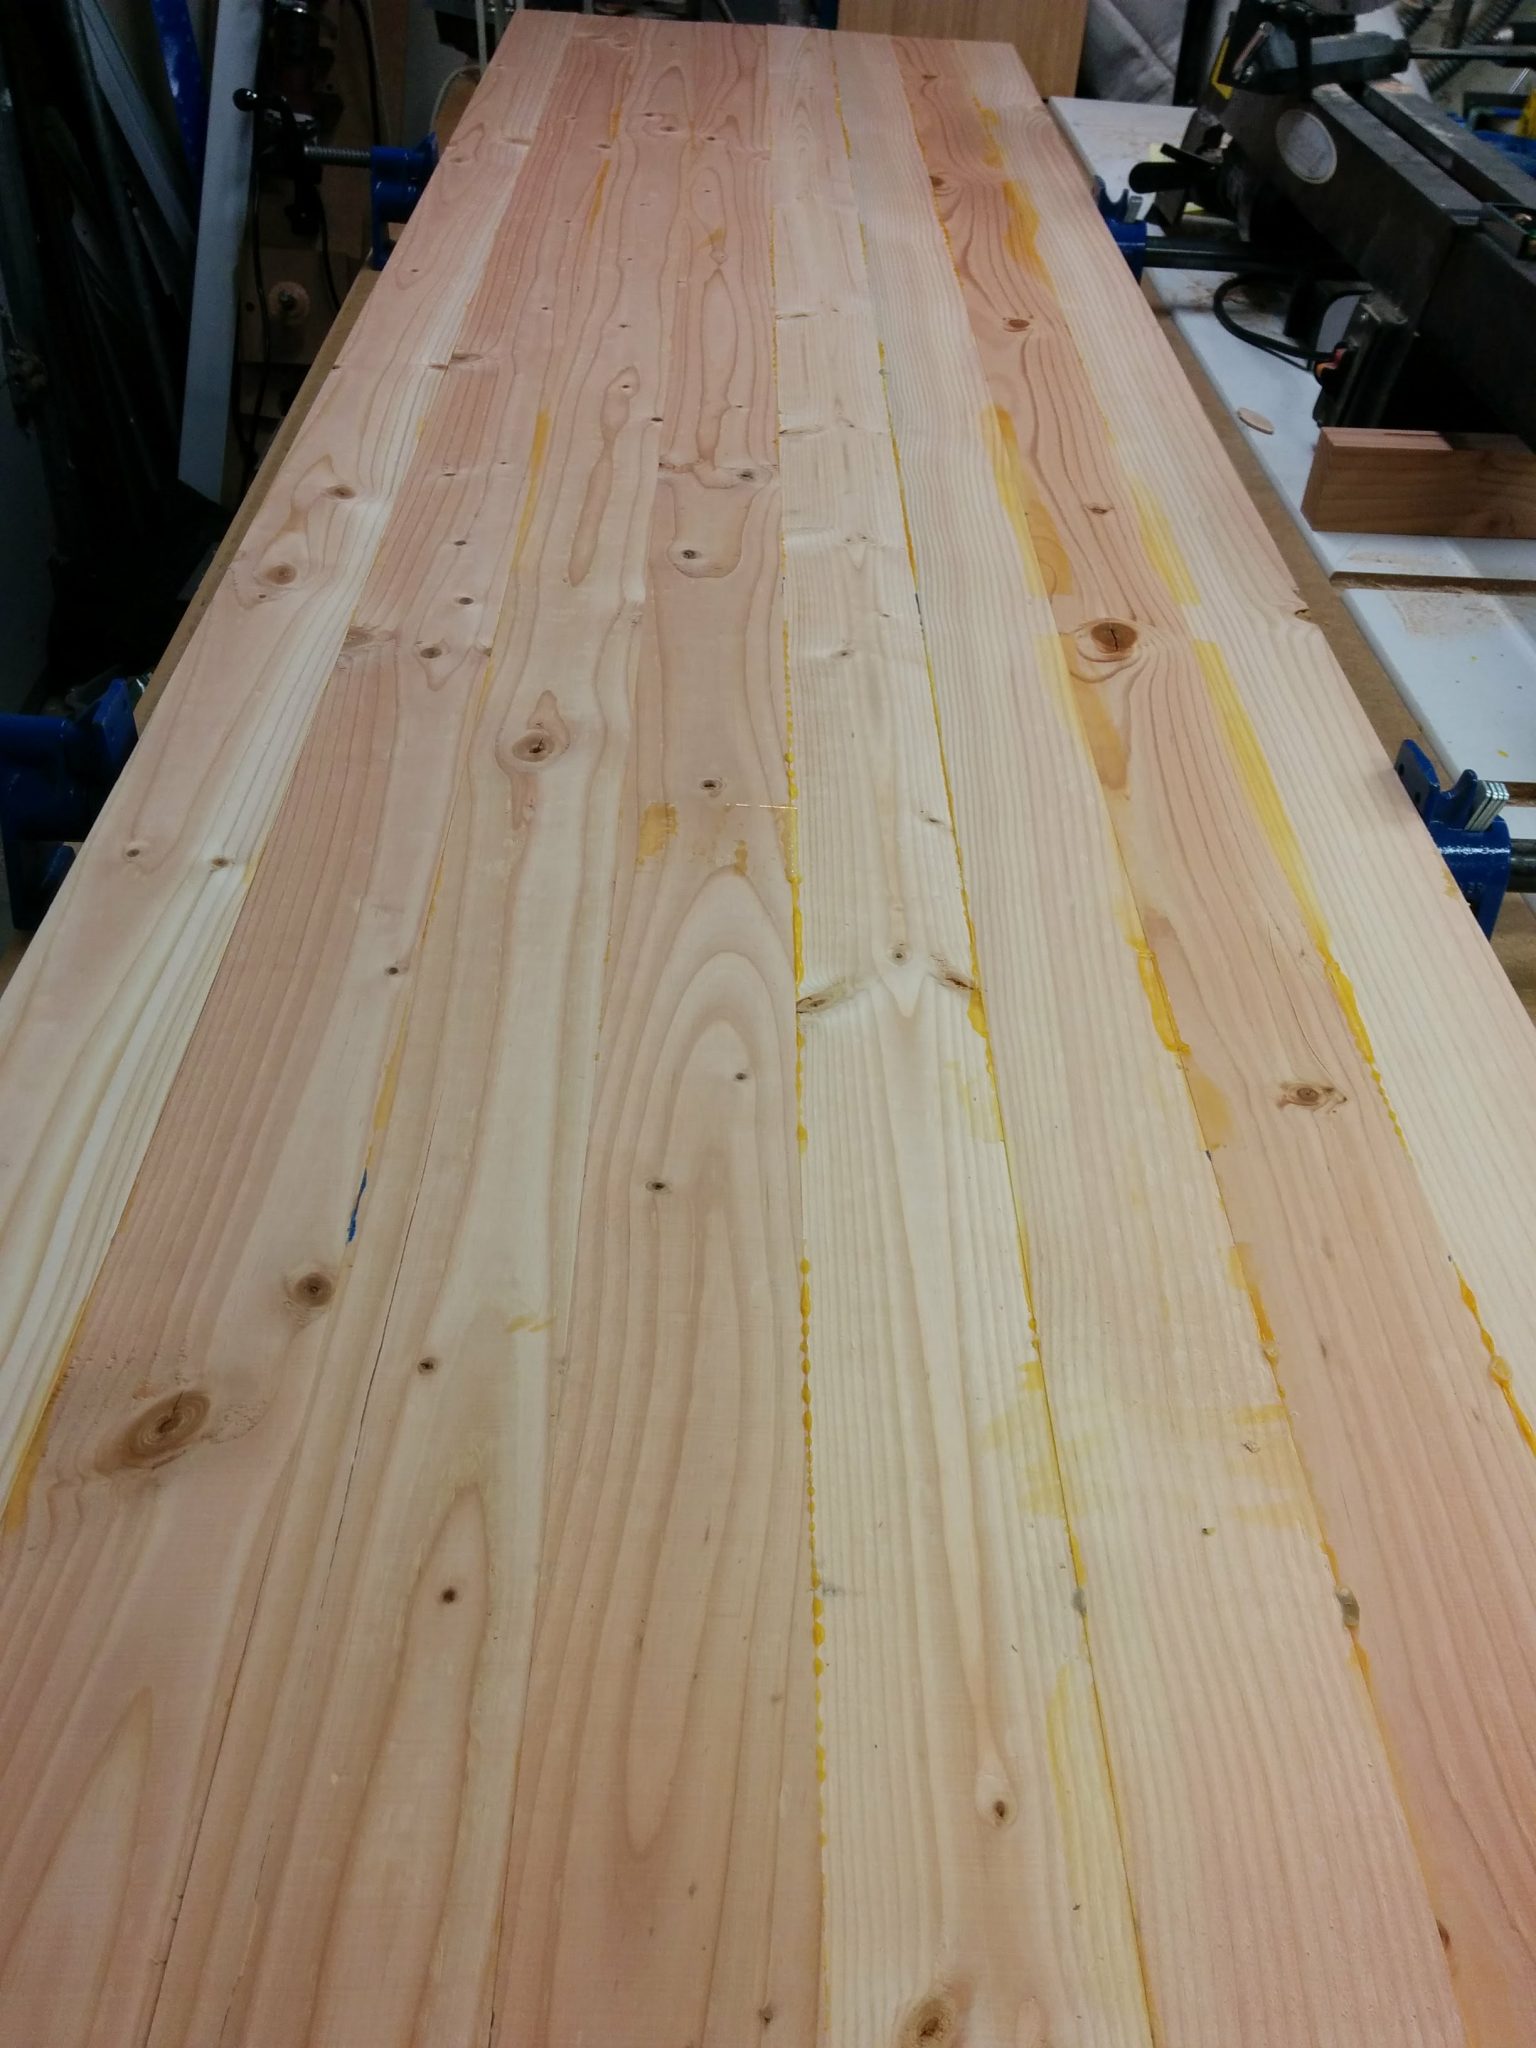
At this point, the project wasn’t looking too promising. My goal was not only to make a benchtop but to see if it can be reasonably accomplished using common 2 X 4 material. Unfortunately, they are so dimensionally unstable that they do a lot of twisting and warping as they dry. Maybe if I had these sitting in my shop for a few seasons so they can thoroughly dry then the end result would have been better. Still, I was somewhat determined to make this work.
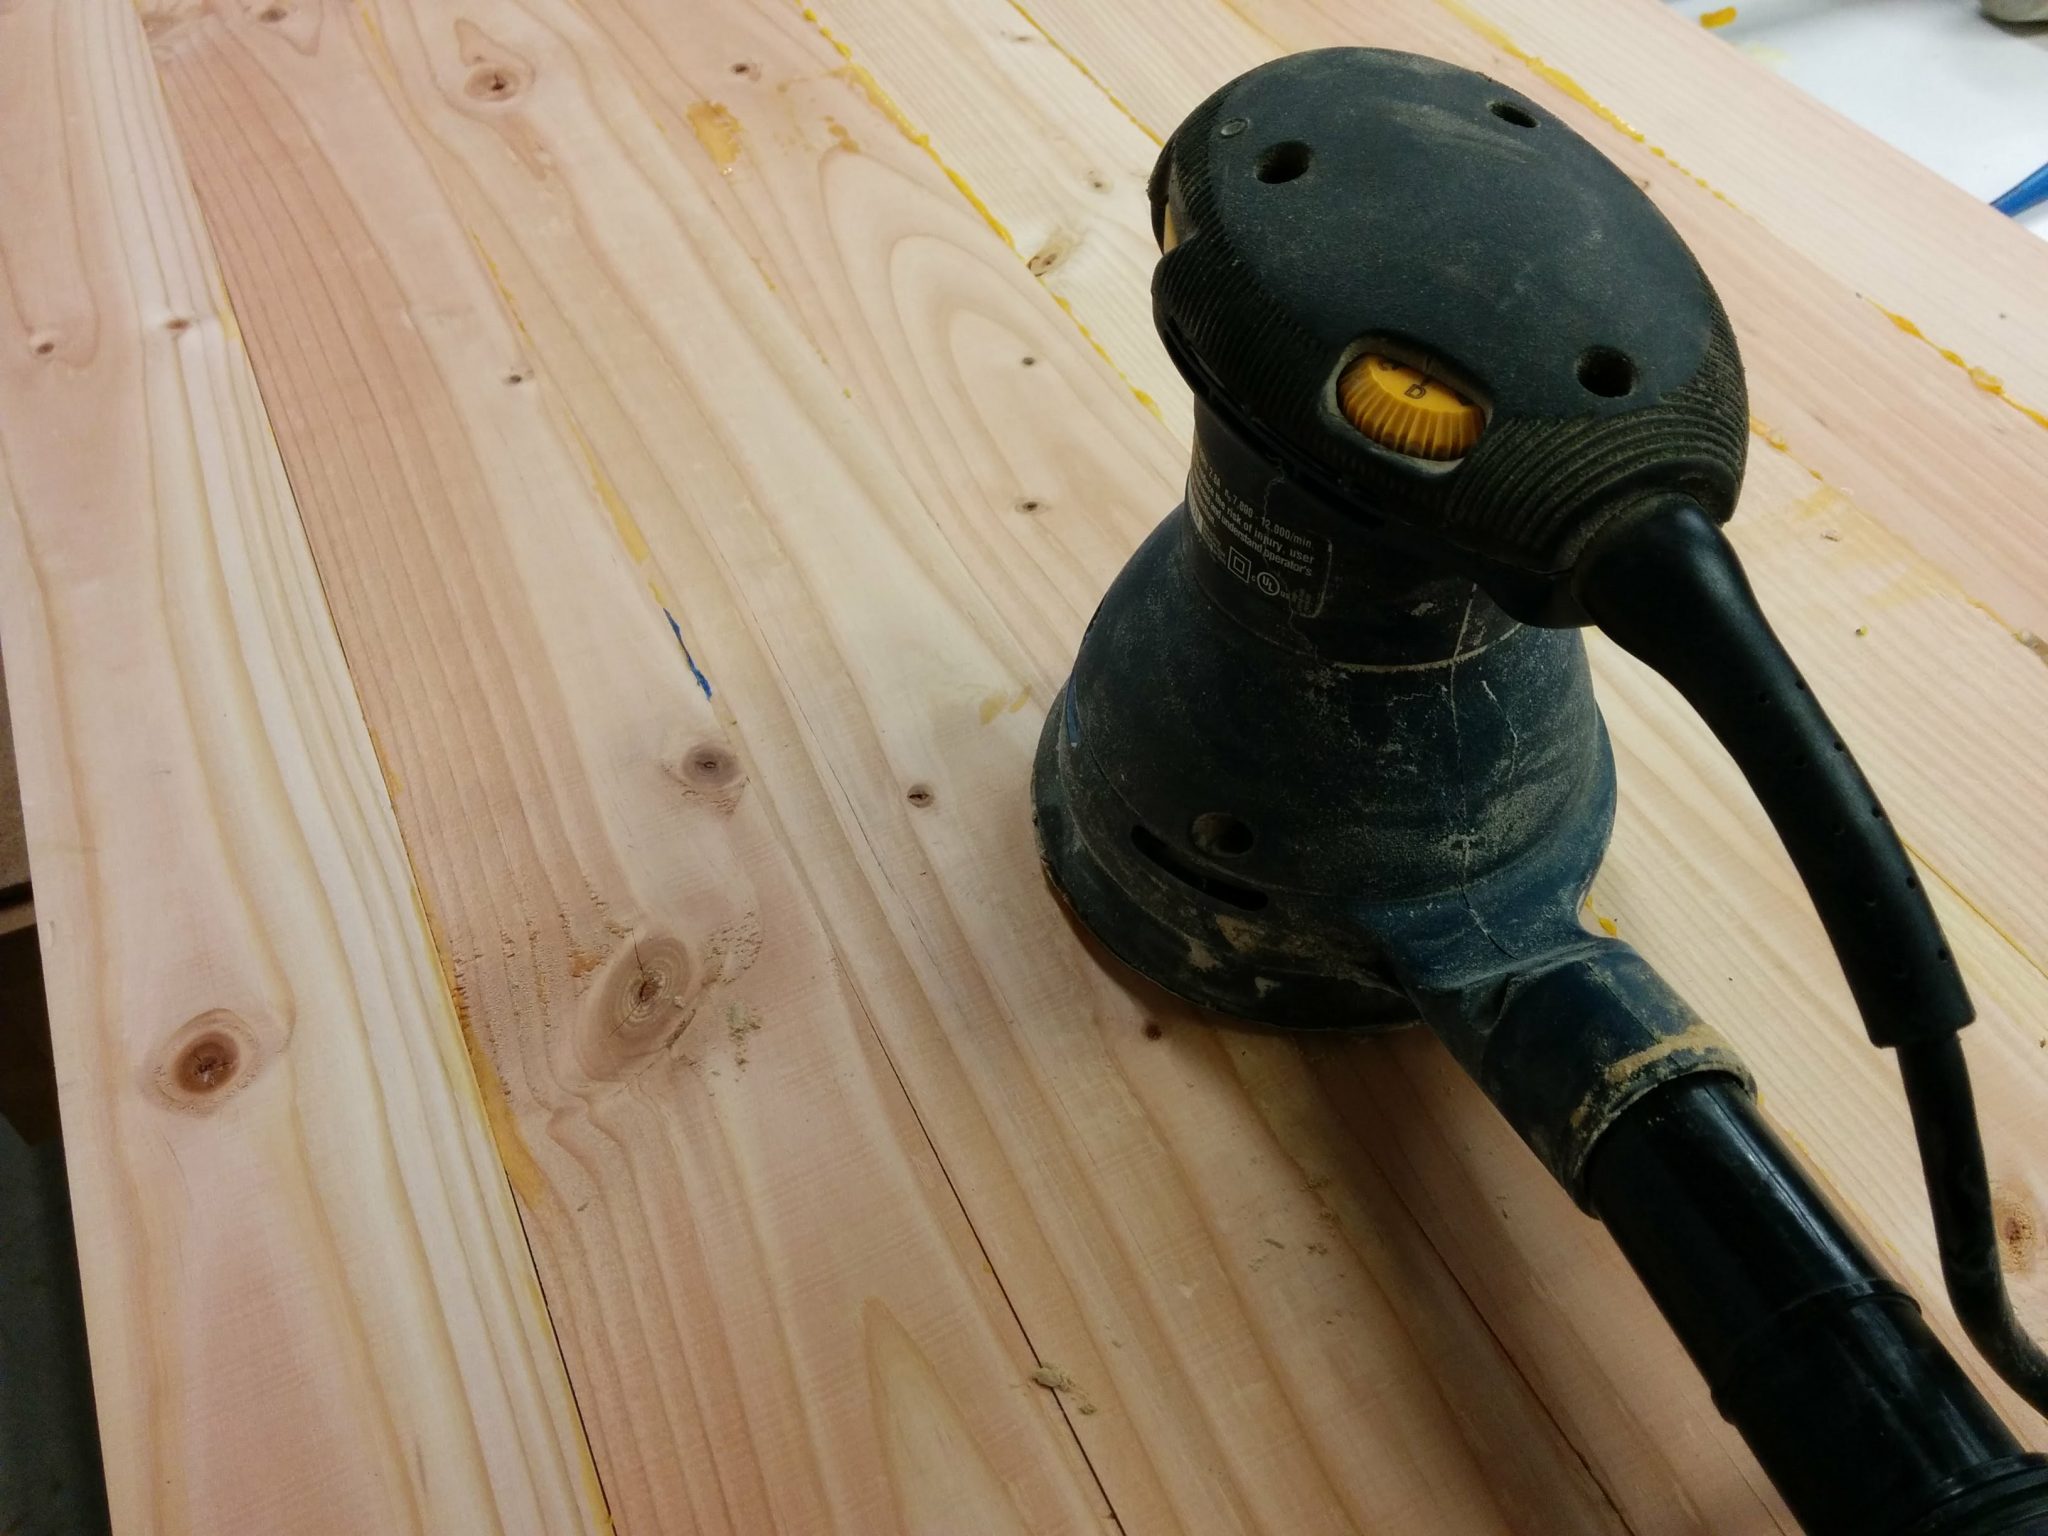
I started sanding it using a random orbital sander.
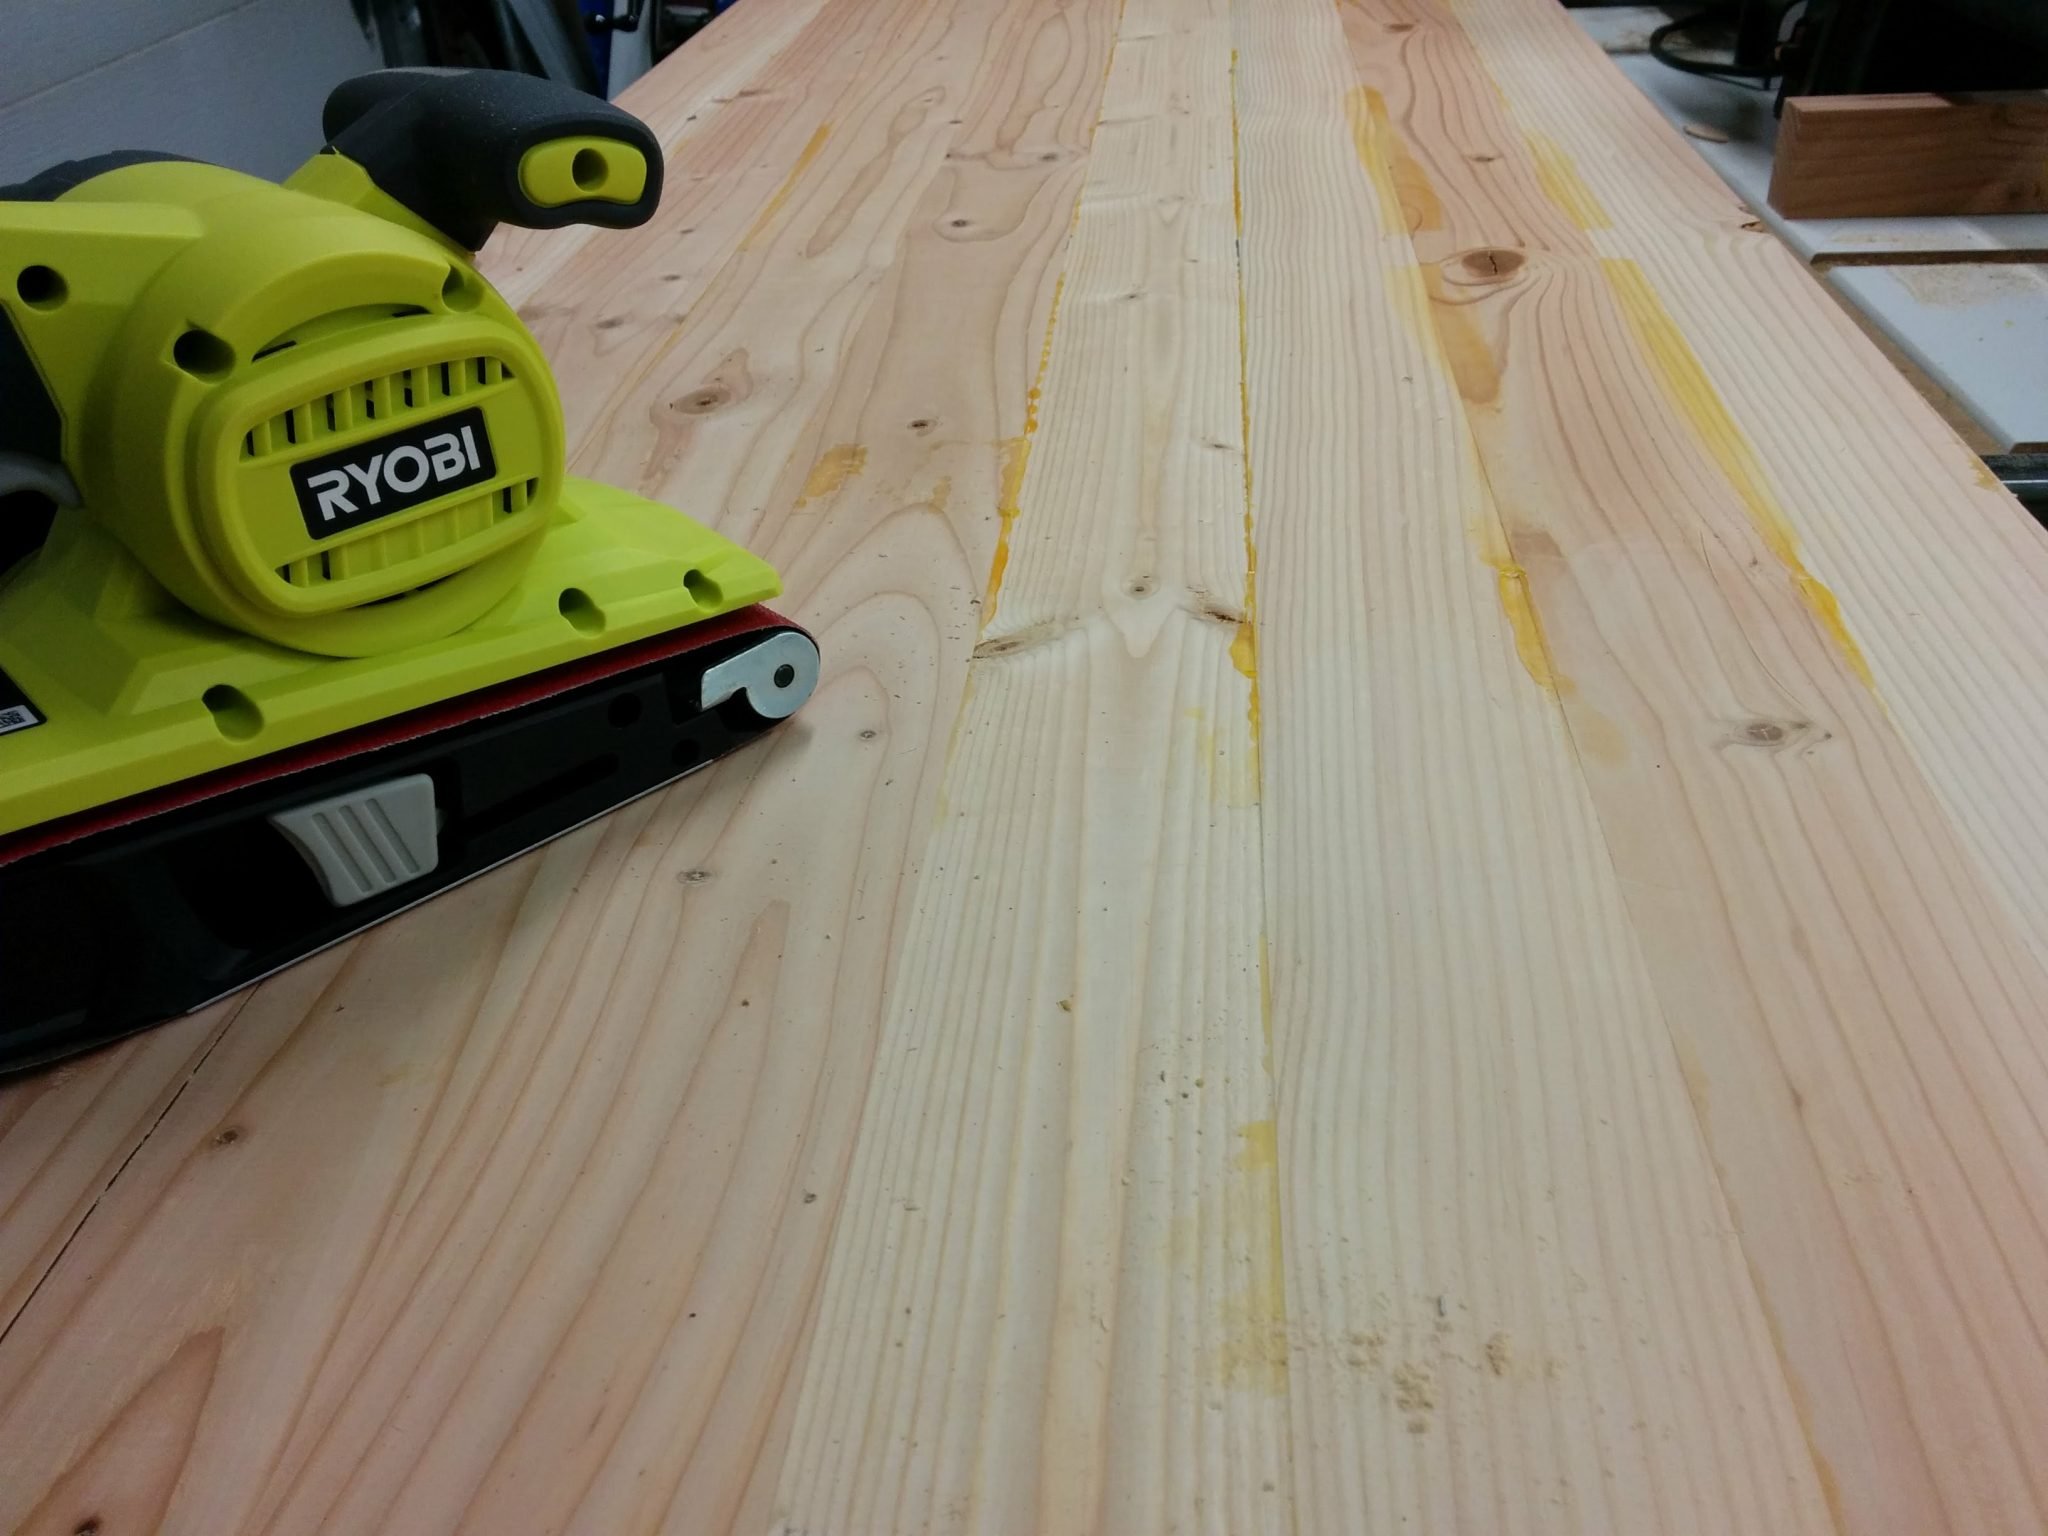
This was taking a long time so I switched to a belt sander. This want a lot faster but I was still unhappy with the results since there was so much warpage to this. I know I can eventually get it to work but I’ll have to remove so much material that it won’t be as sturdy as I want it.
It was at this time that my wife asked if I had any of the leftover wood from our newly installed hard-wood floors. She had the idea that I can just use that since it already has the tongue-and-groove in place, plus she likes the look of oak more than fir. Normally, I’m not a fan of oak but I had to agree that this would look better and be stronger even though the tabletop would be 3/4″ rather than 1″.
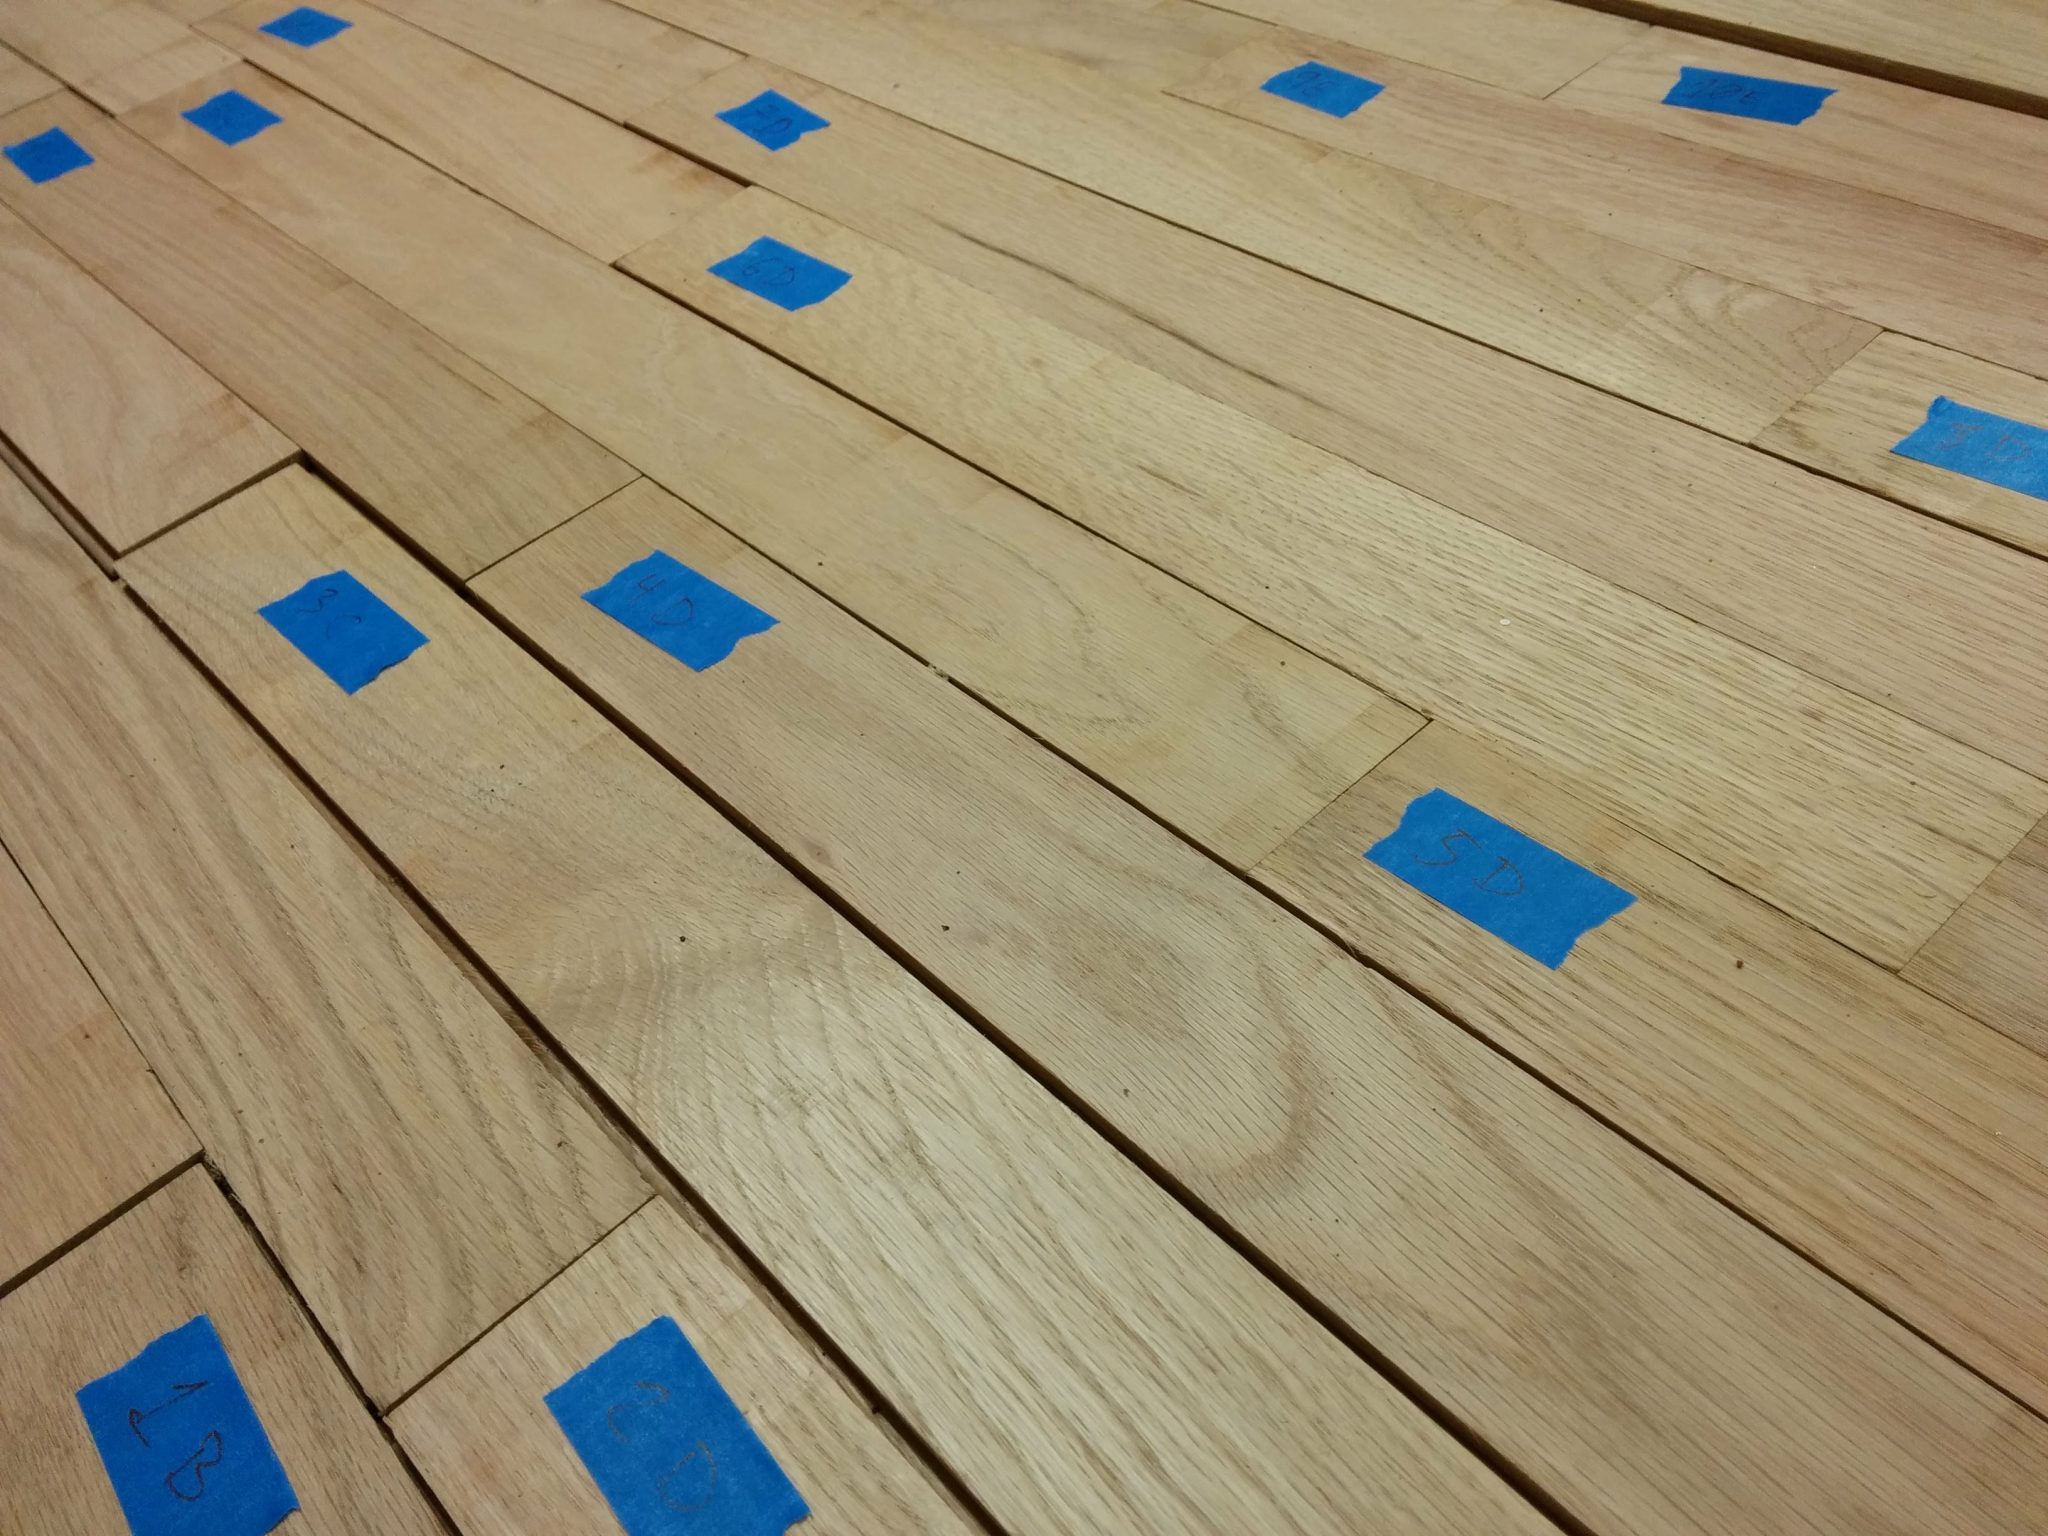
I decided to give it a shot. I gathered up the scrap wood flooring and started laying it out. I needed to get enough material to make a 7′ X 2′ section. The plan is to have a 5′ wide bench with a 2′ wide flip up extension.
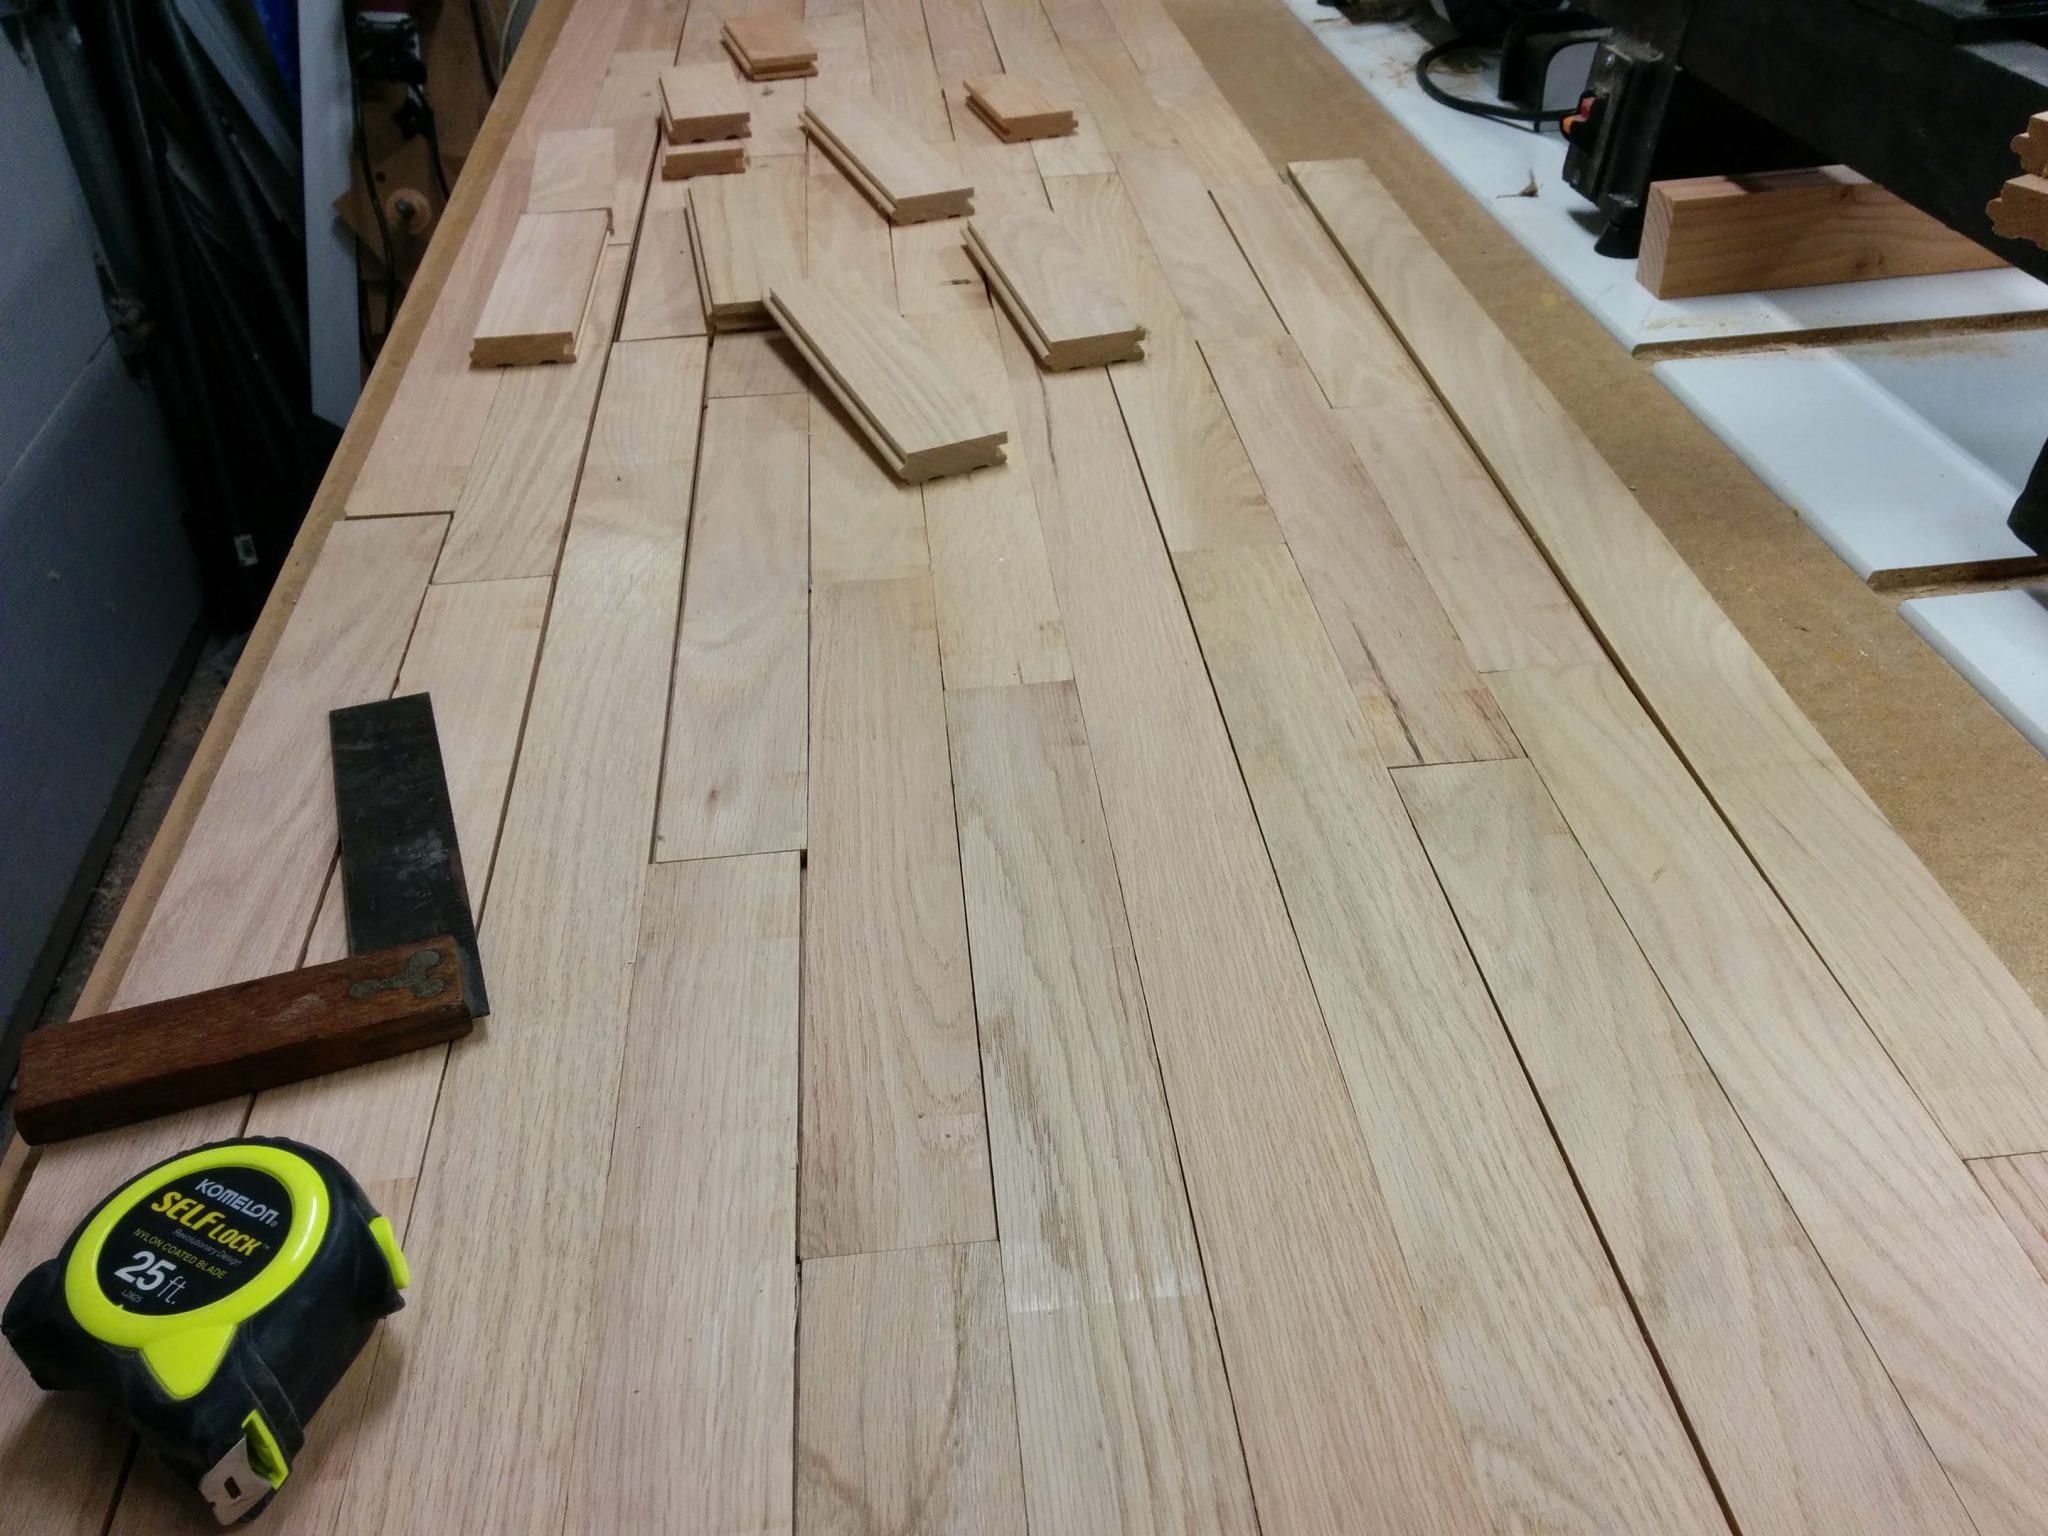
I had to cut some mating grooves in a few of the pieces but I was able to get enough material. Once it was laid out, I attached a piece of blue painters tape to each piece so I could label them.
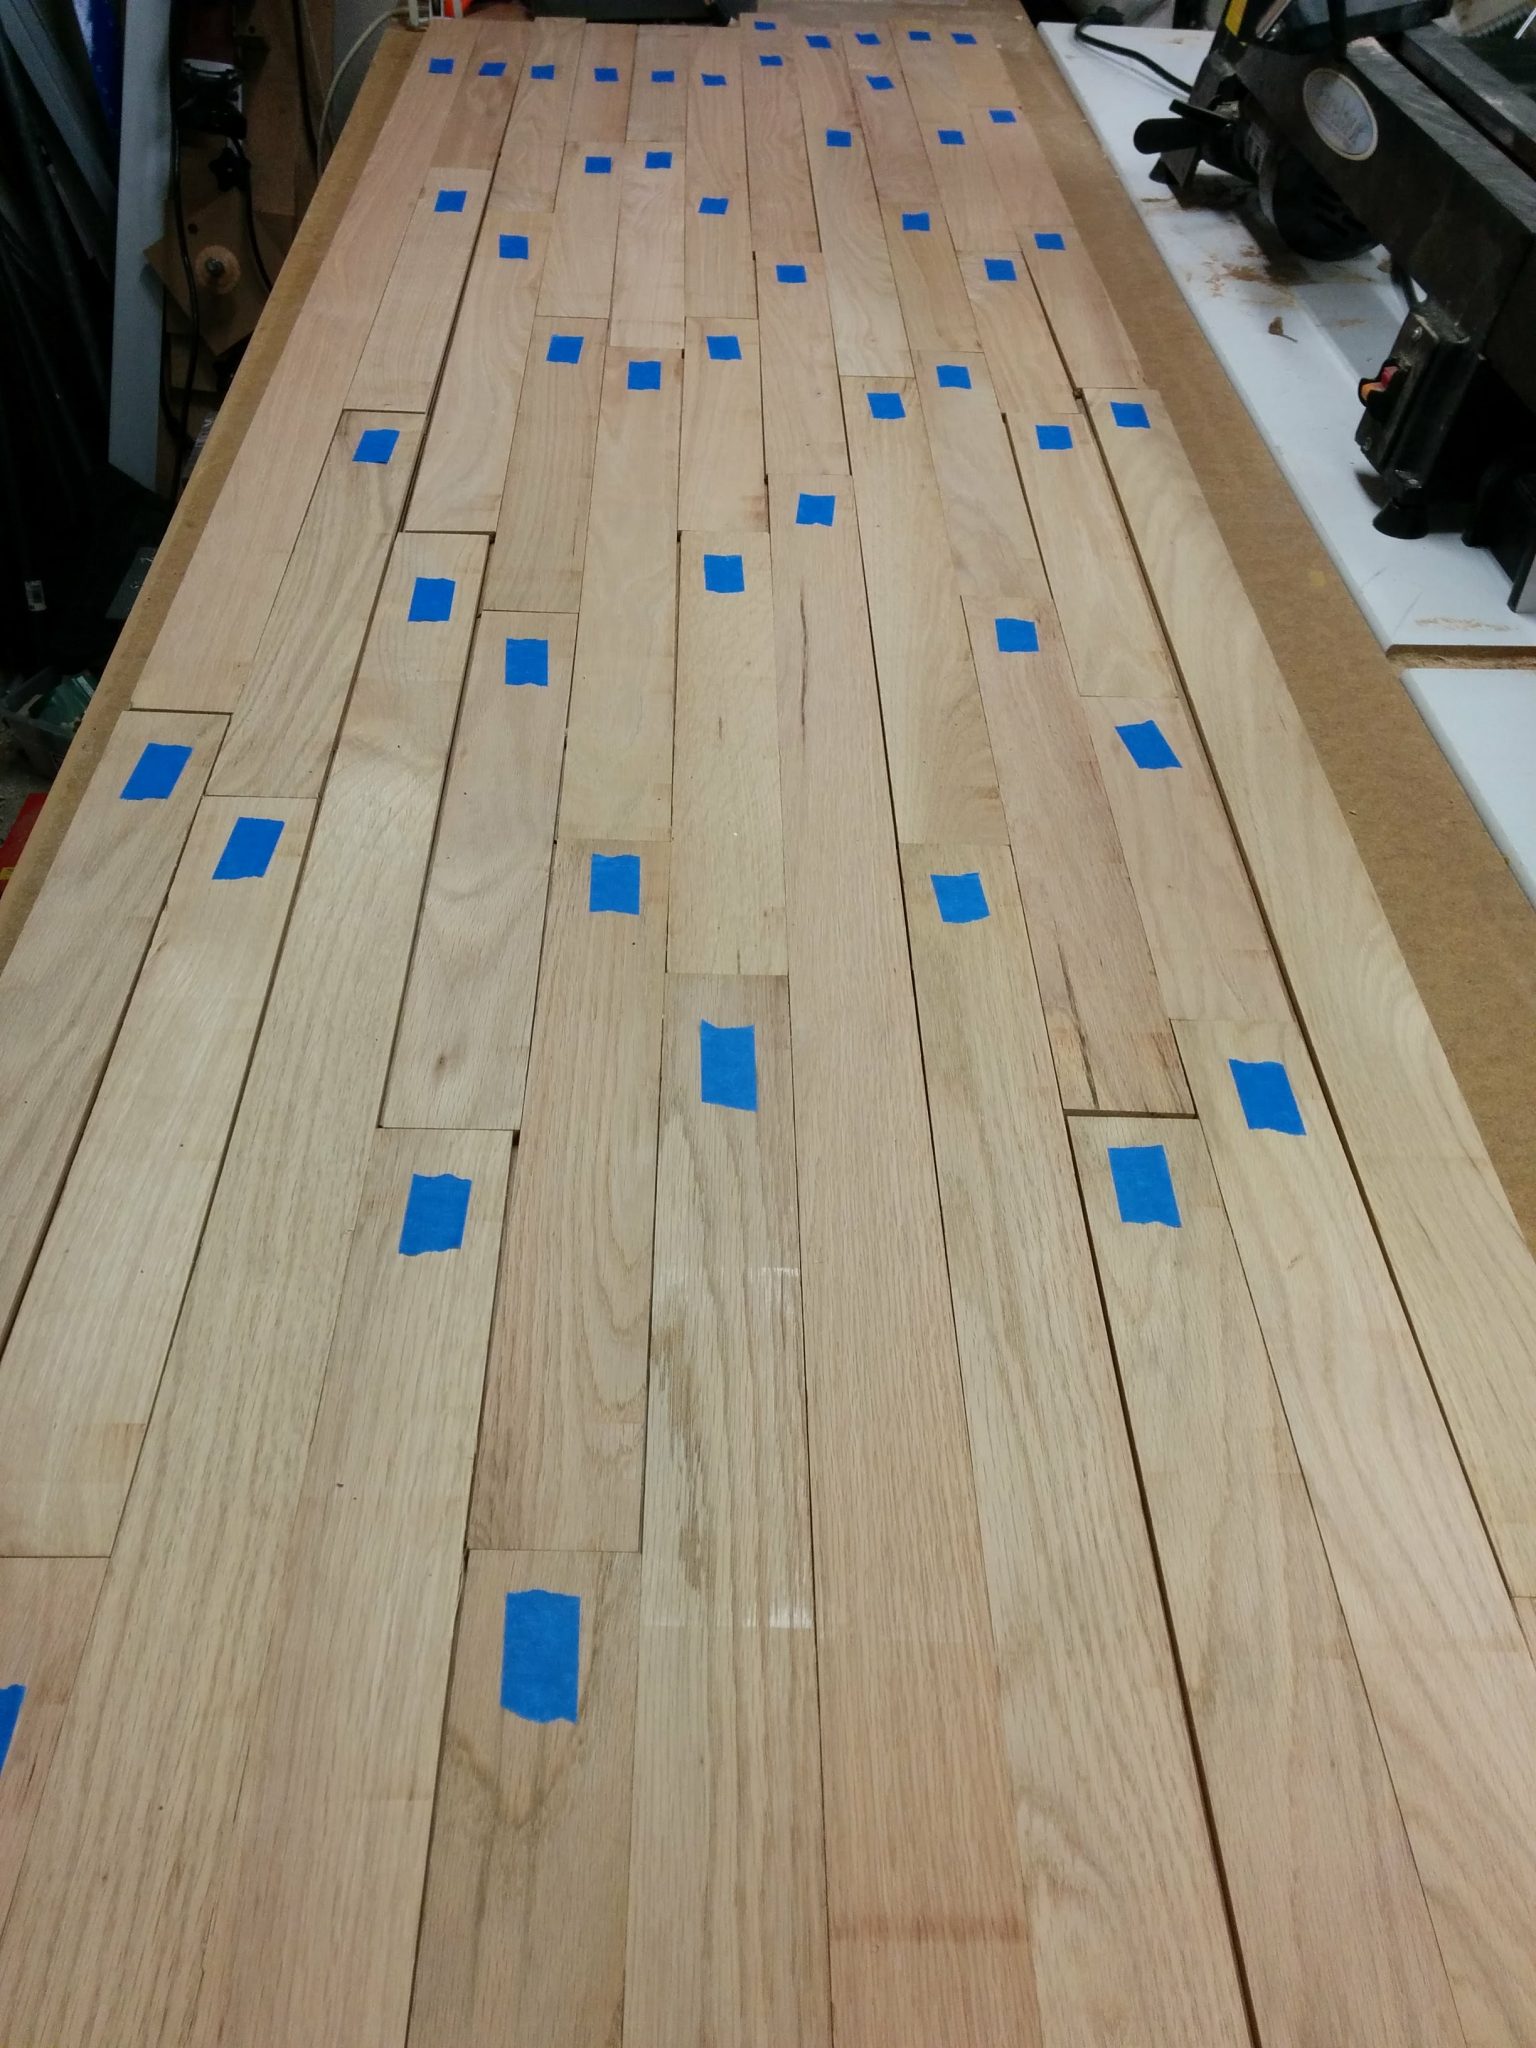
I labelled each piece with the row (number) and which order it is in from left to right (letter)
Now, this is where this gets interesting. One of the reasons my wife wanted me to use the oak flooring is because she wanted me to try to get “mill marks” on some of the boards. Normally, I’m not a fan of faux-finishes and antiquing techniques, but this was an interesting challenge.
I tried approximating it by hand with 24 grit sanding pads and the result wasn’t pretty (as I expected). The other technique I wanted to try was to put actual milling marks on the wood.
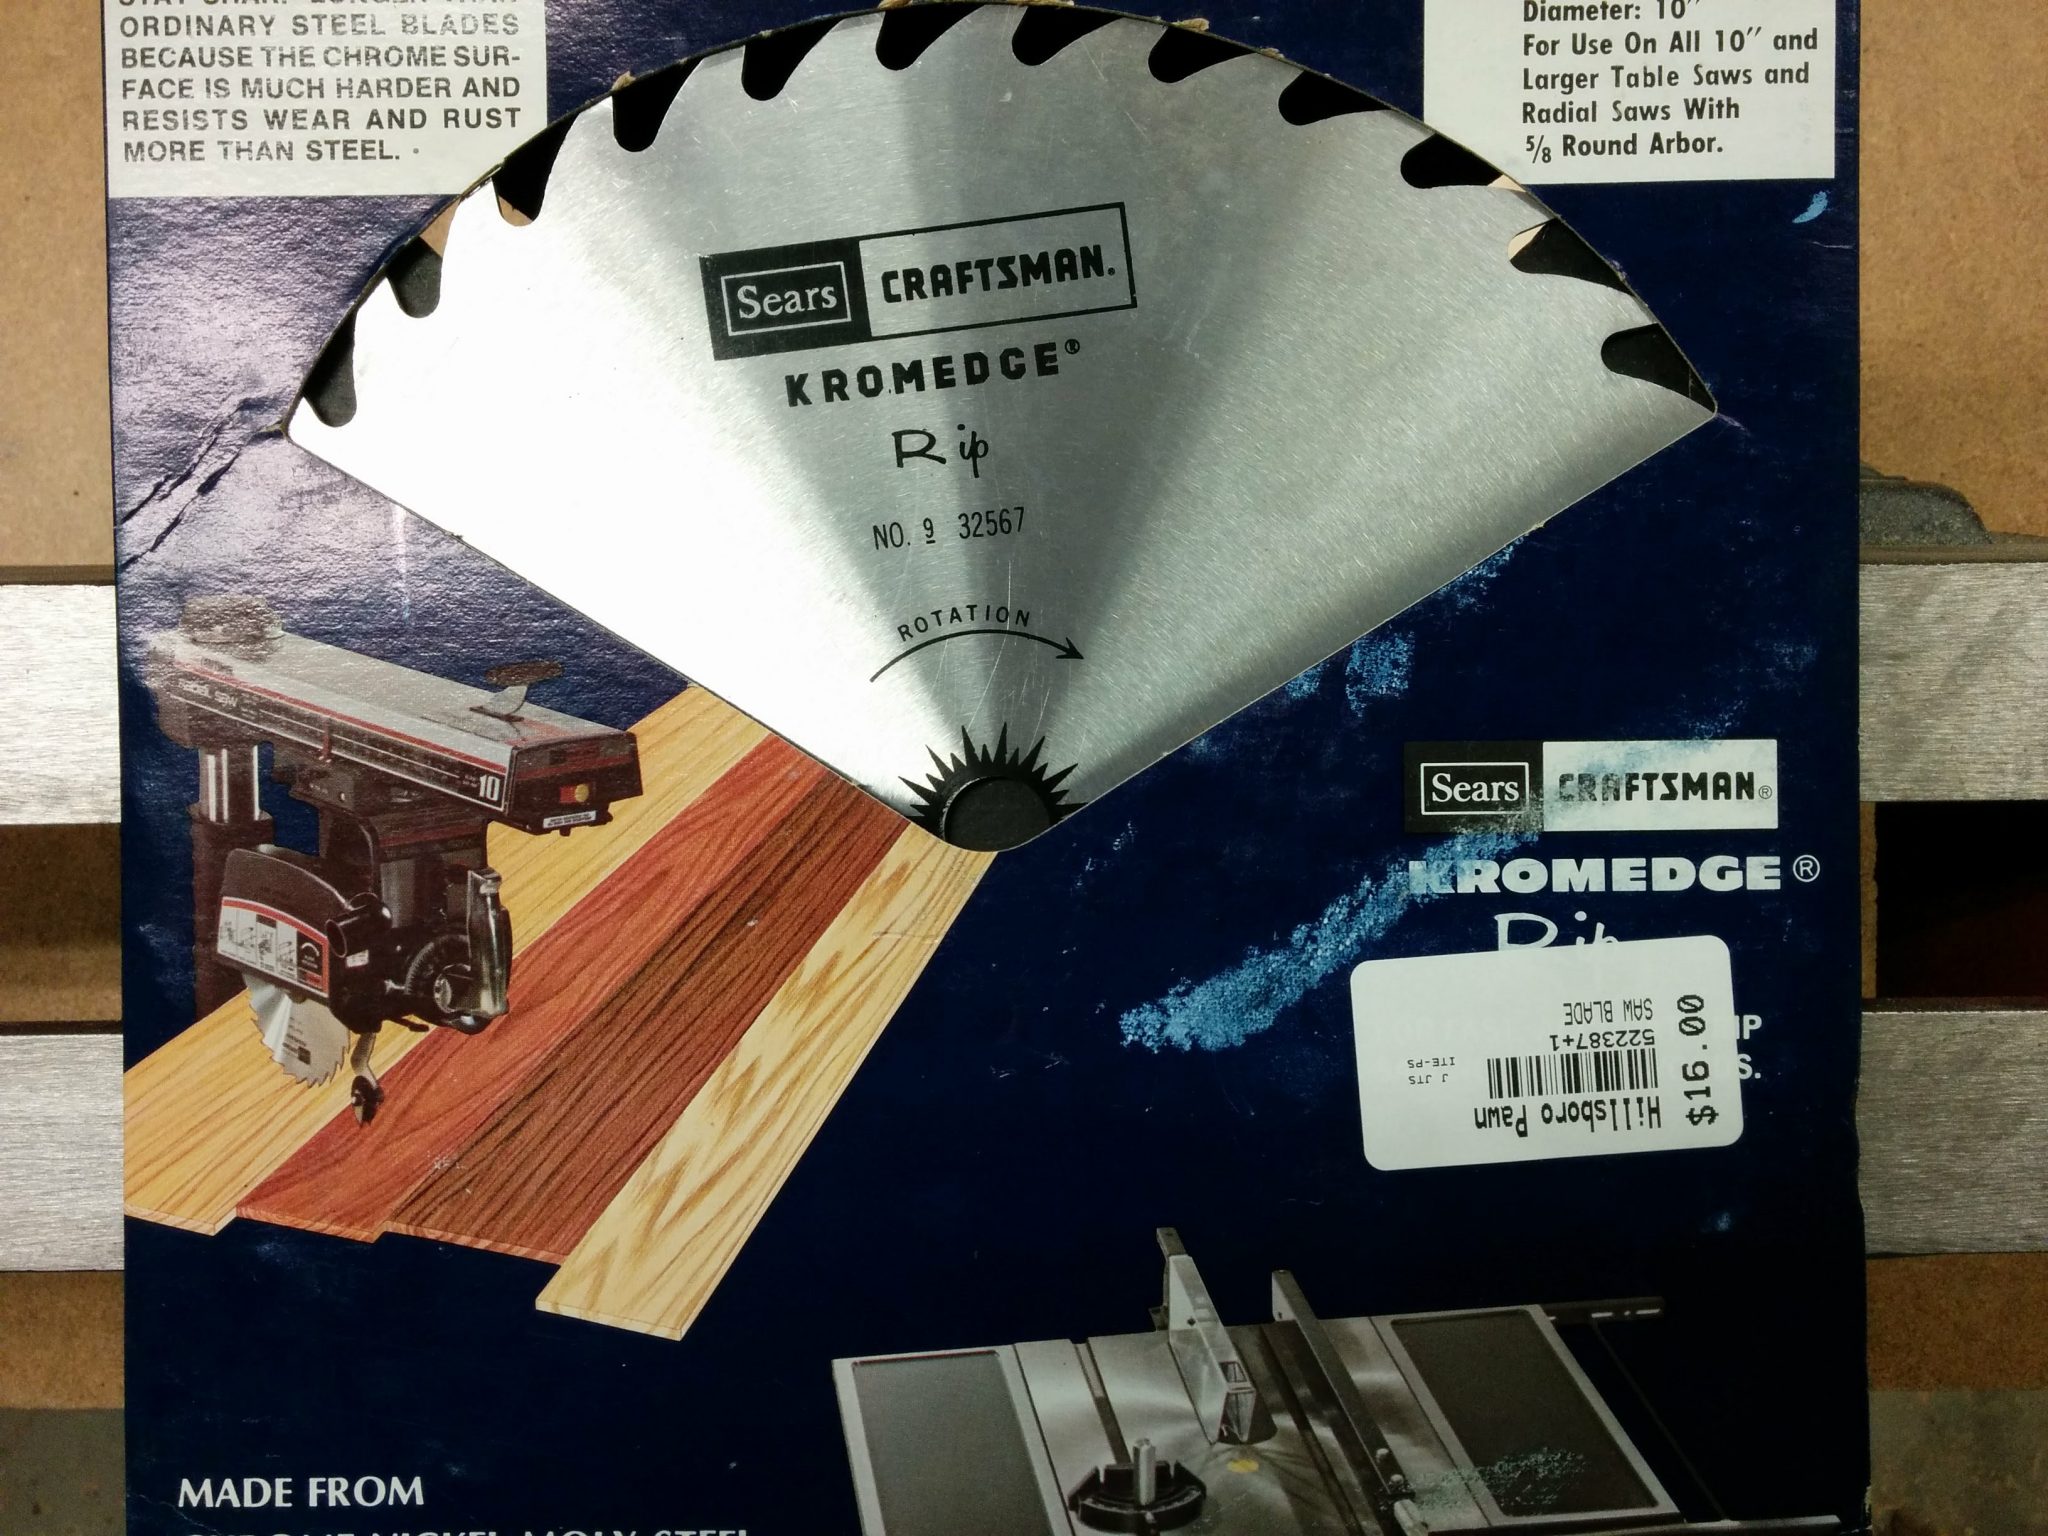
To accomplish this, I needed to get a blade that I could damage. Specifically, I needed a 10″ table saw blade without carbides. I knew I wasn’t going to find this in the store so I would have to look for a used blade. I started my search at Habit for Humanity ReStore. I couldn’t find anything there that was 10″ so I decided to try at a pawn shop. I eventually found an old Craftsman blade that had all of my requirements and was new in the box. To top it all off, after I told them why I was getting it, they knocked $6.00 of the price.
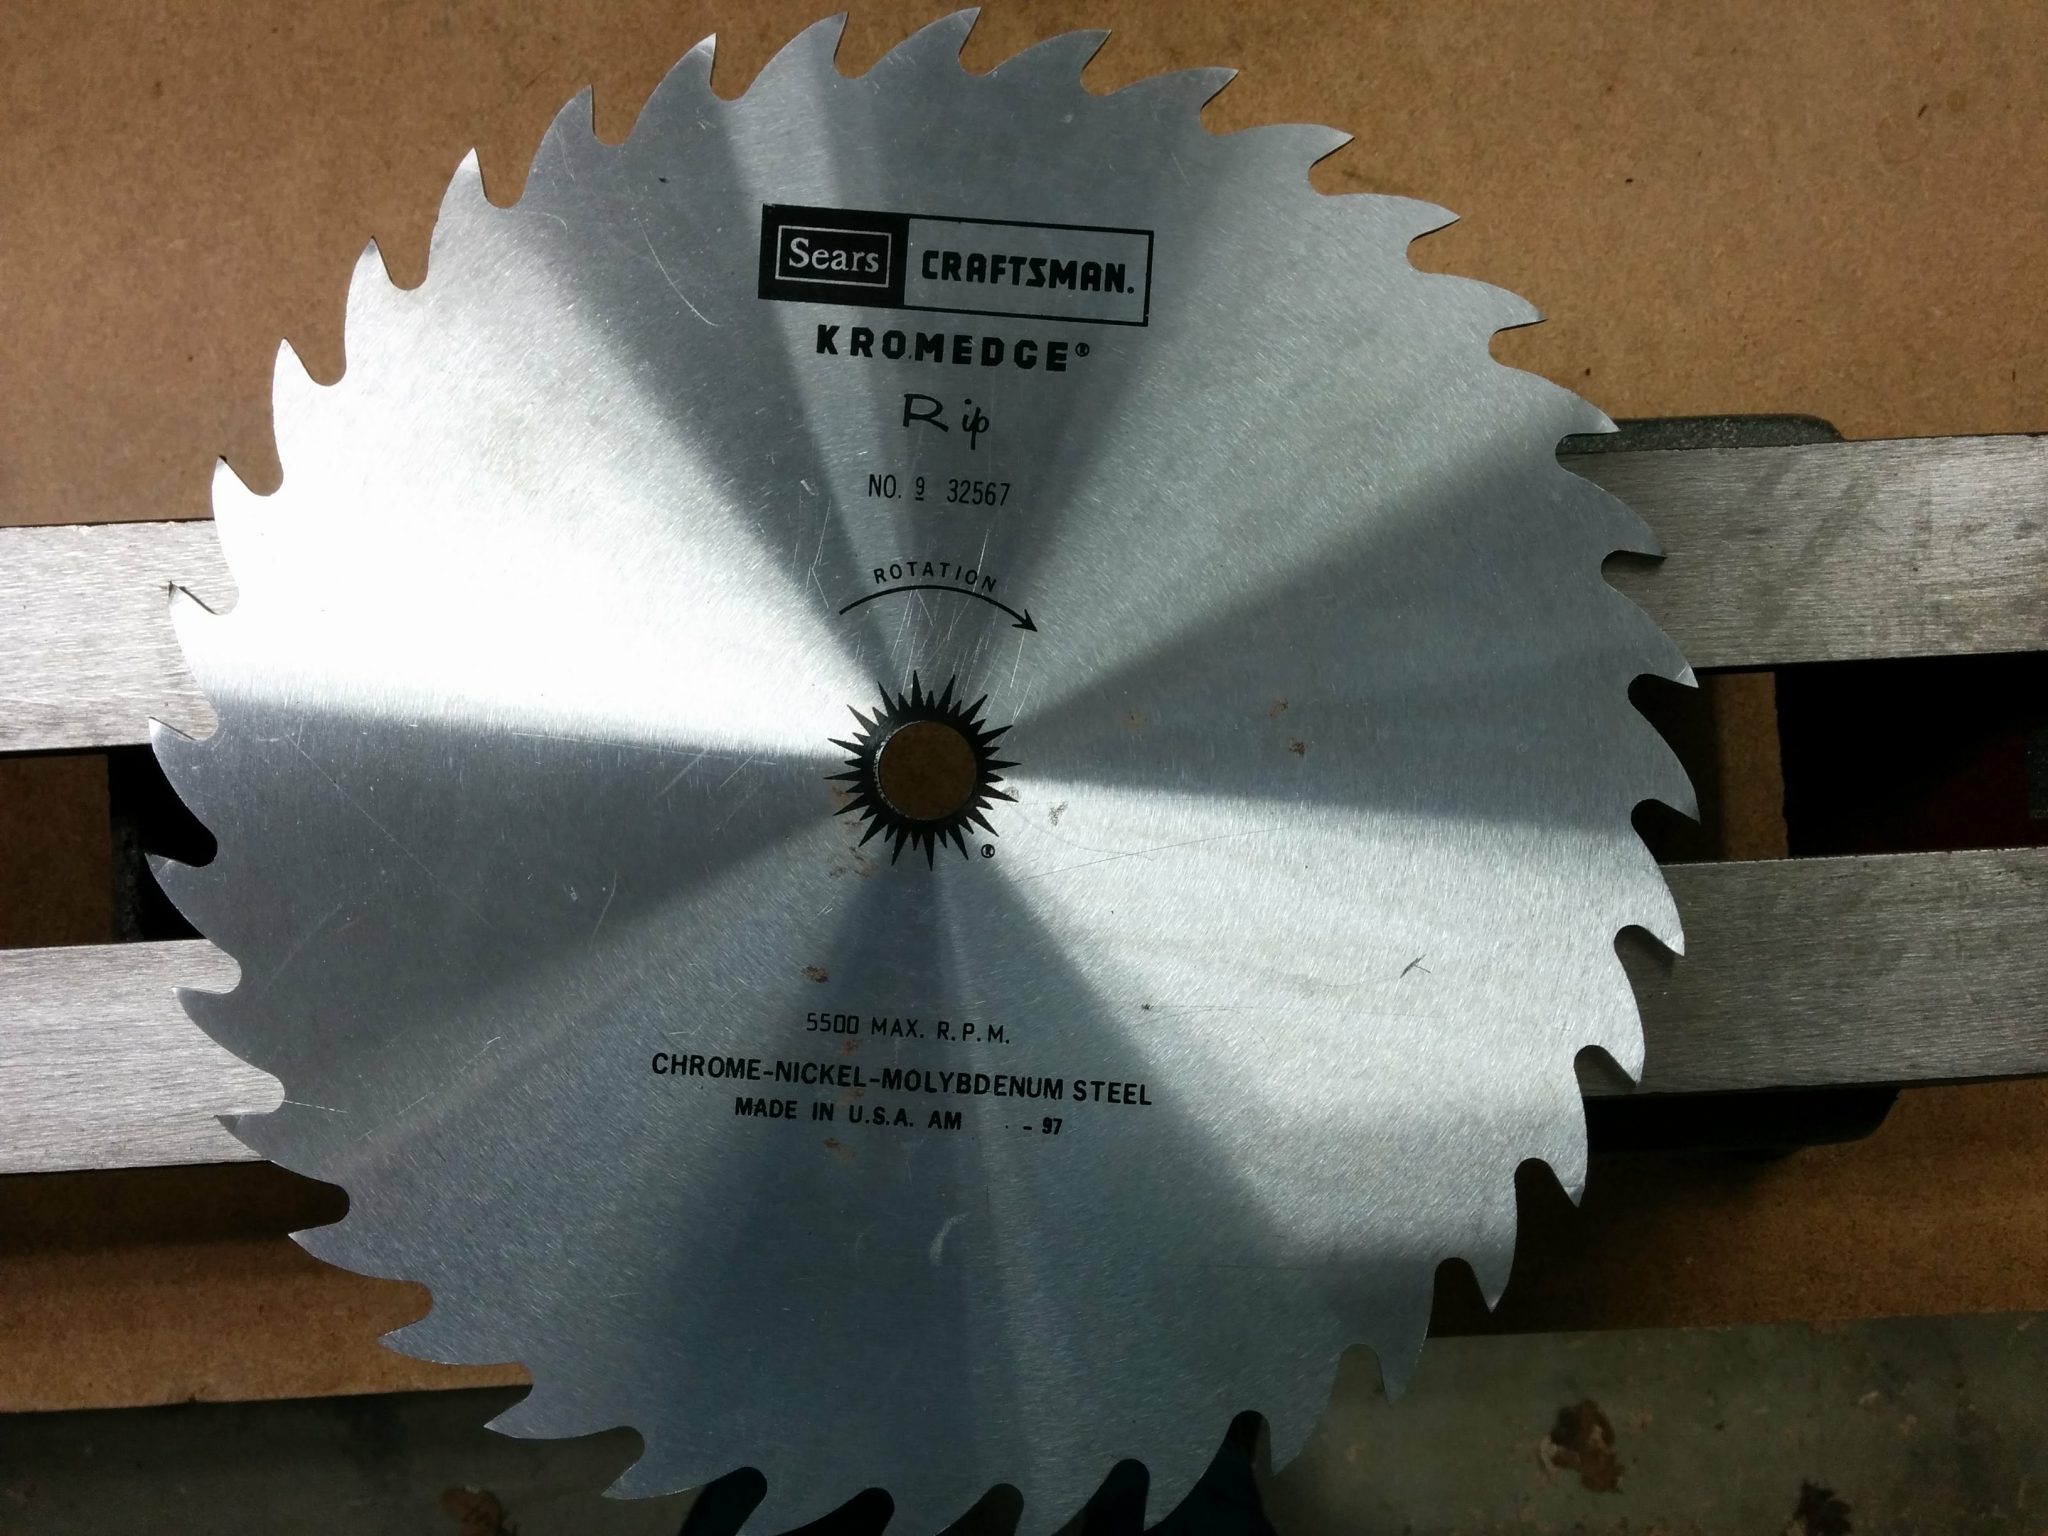
To add the mill marks I took one of the teeth and bent it towards what would be the right of the blade after it was installed on the saw.
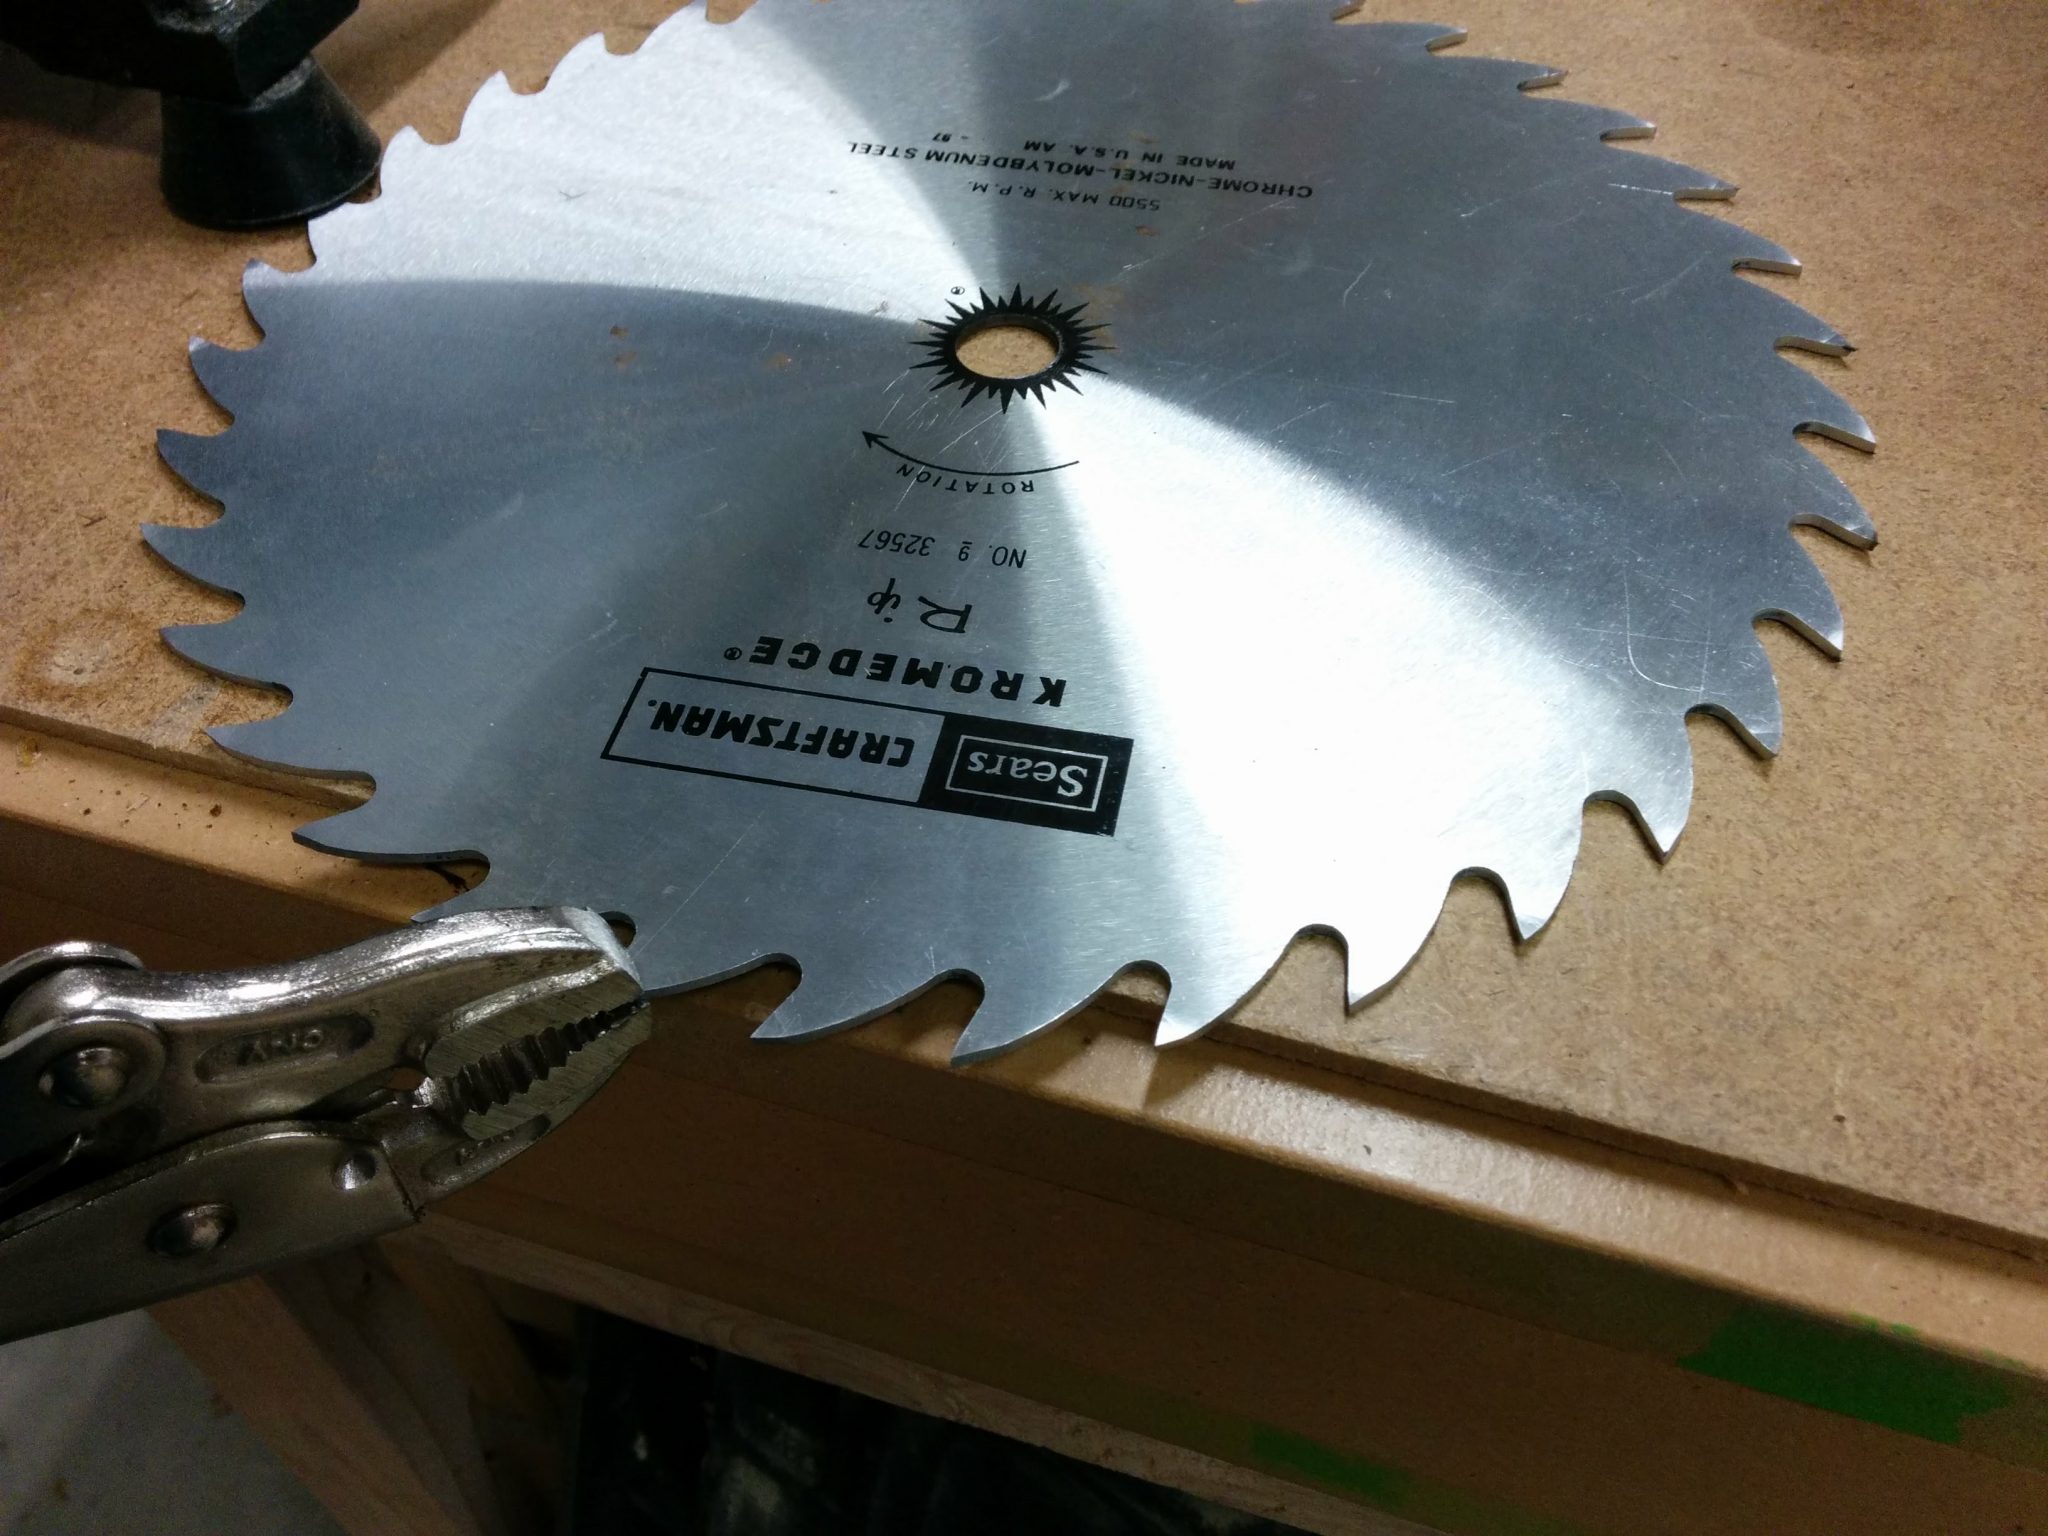
Then I installed it on my saw and made a few test cuts. I then bent it a few more times until I found the right amount.
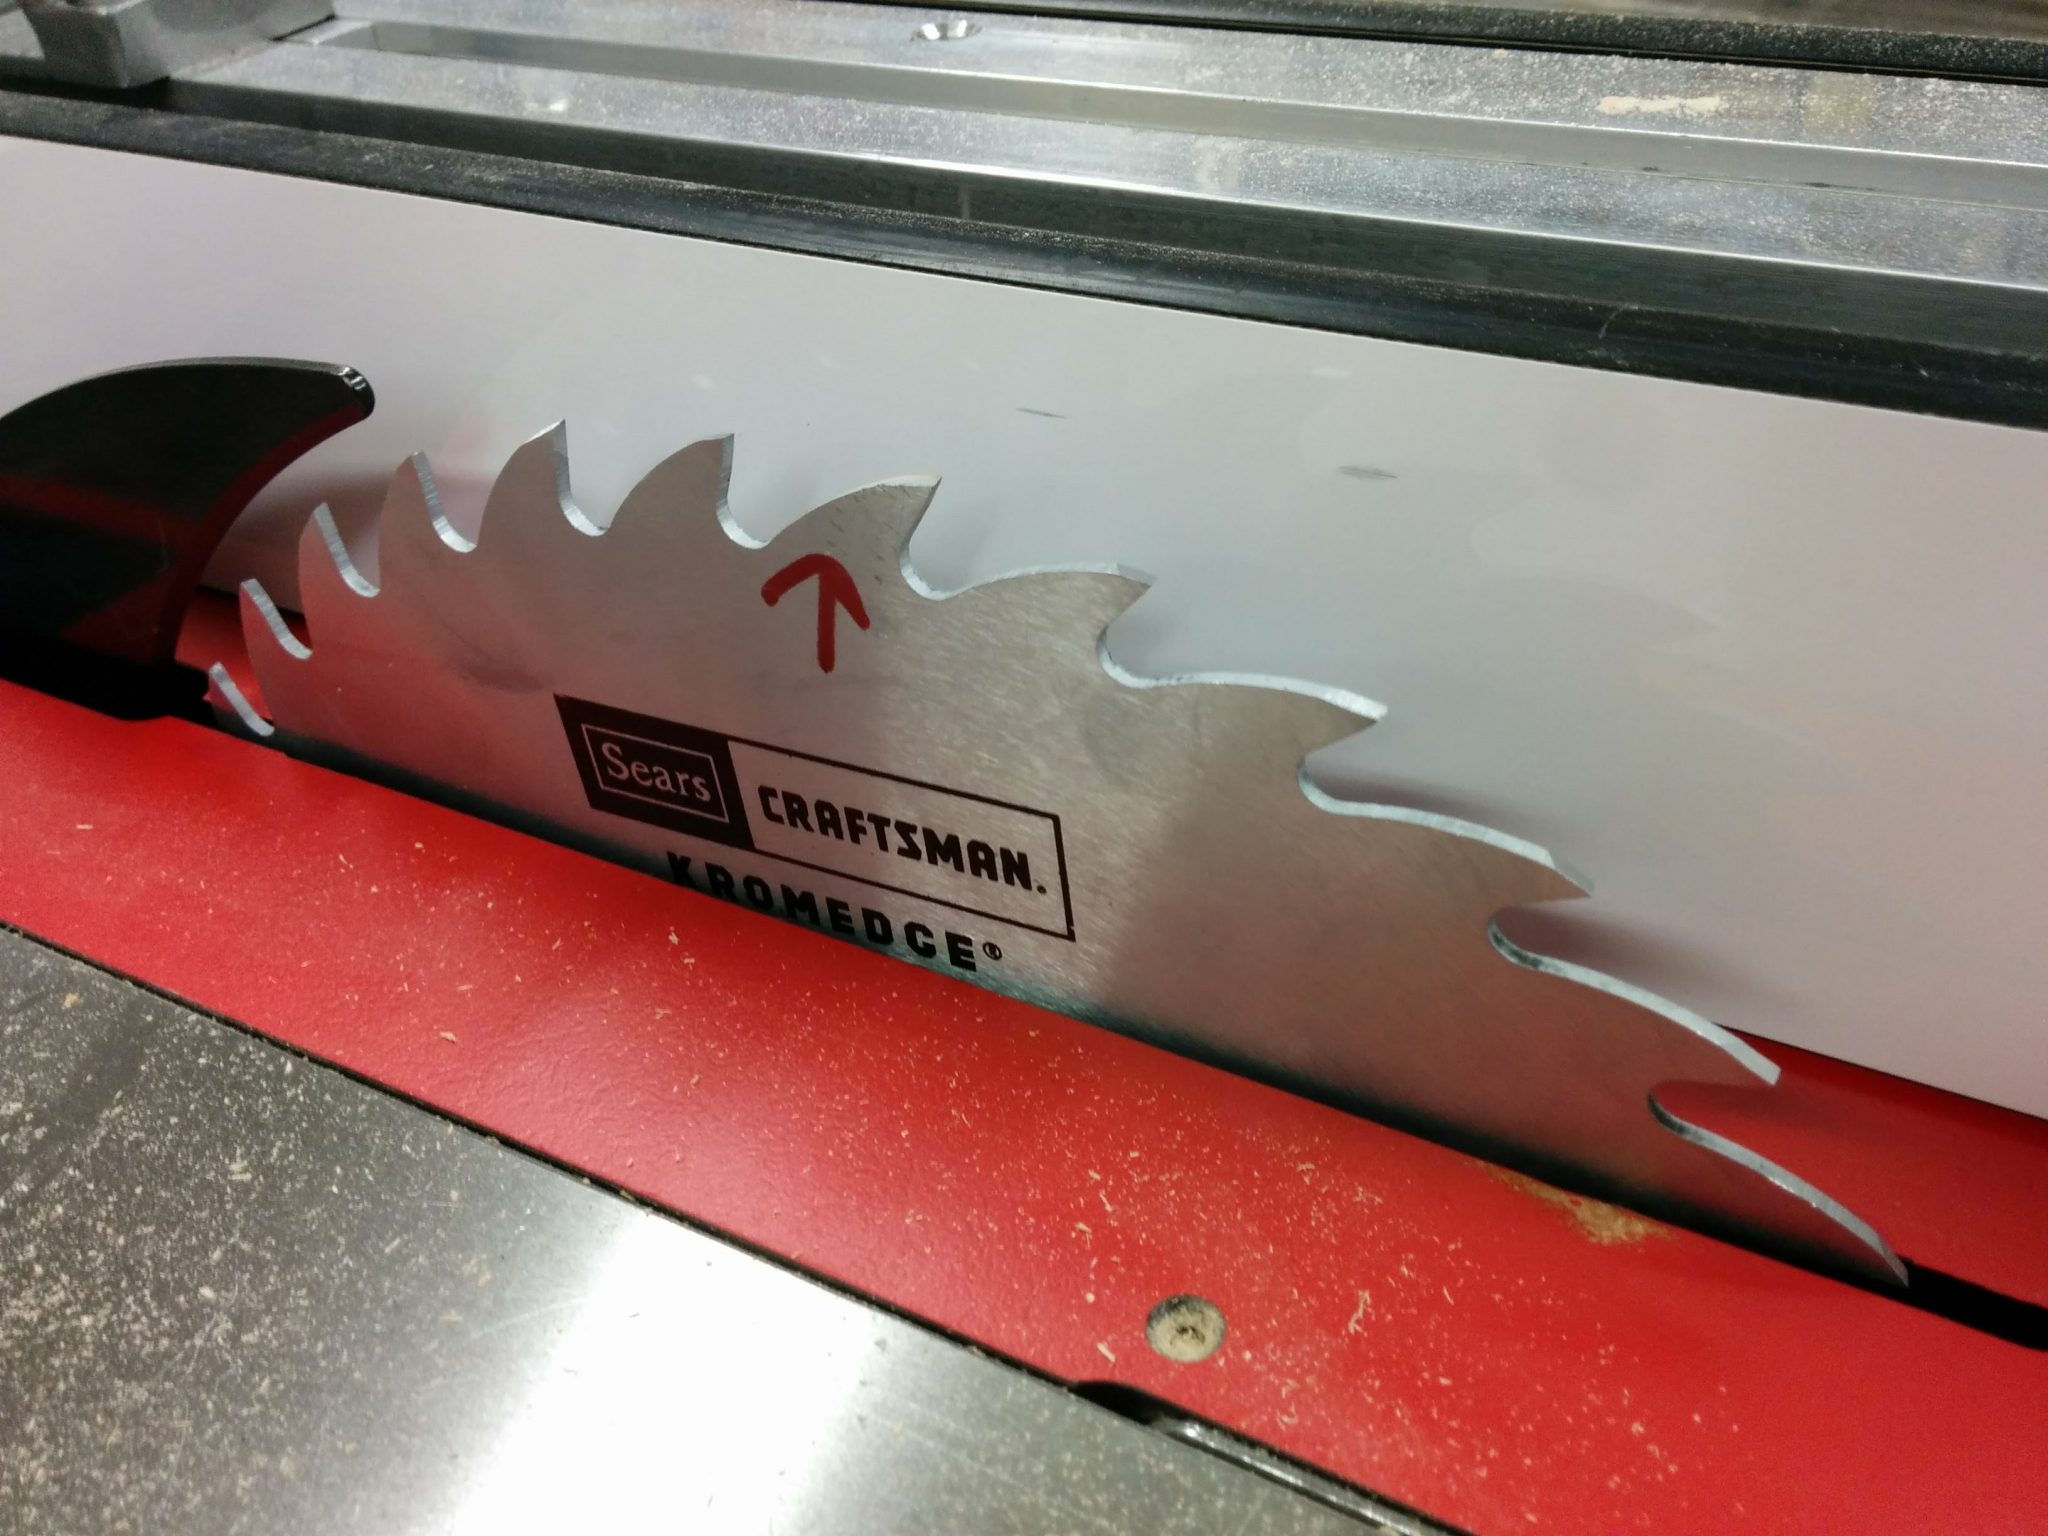
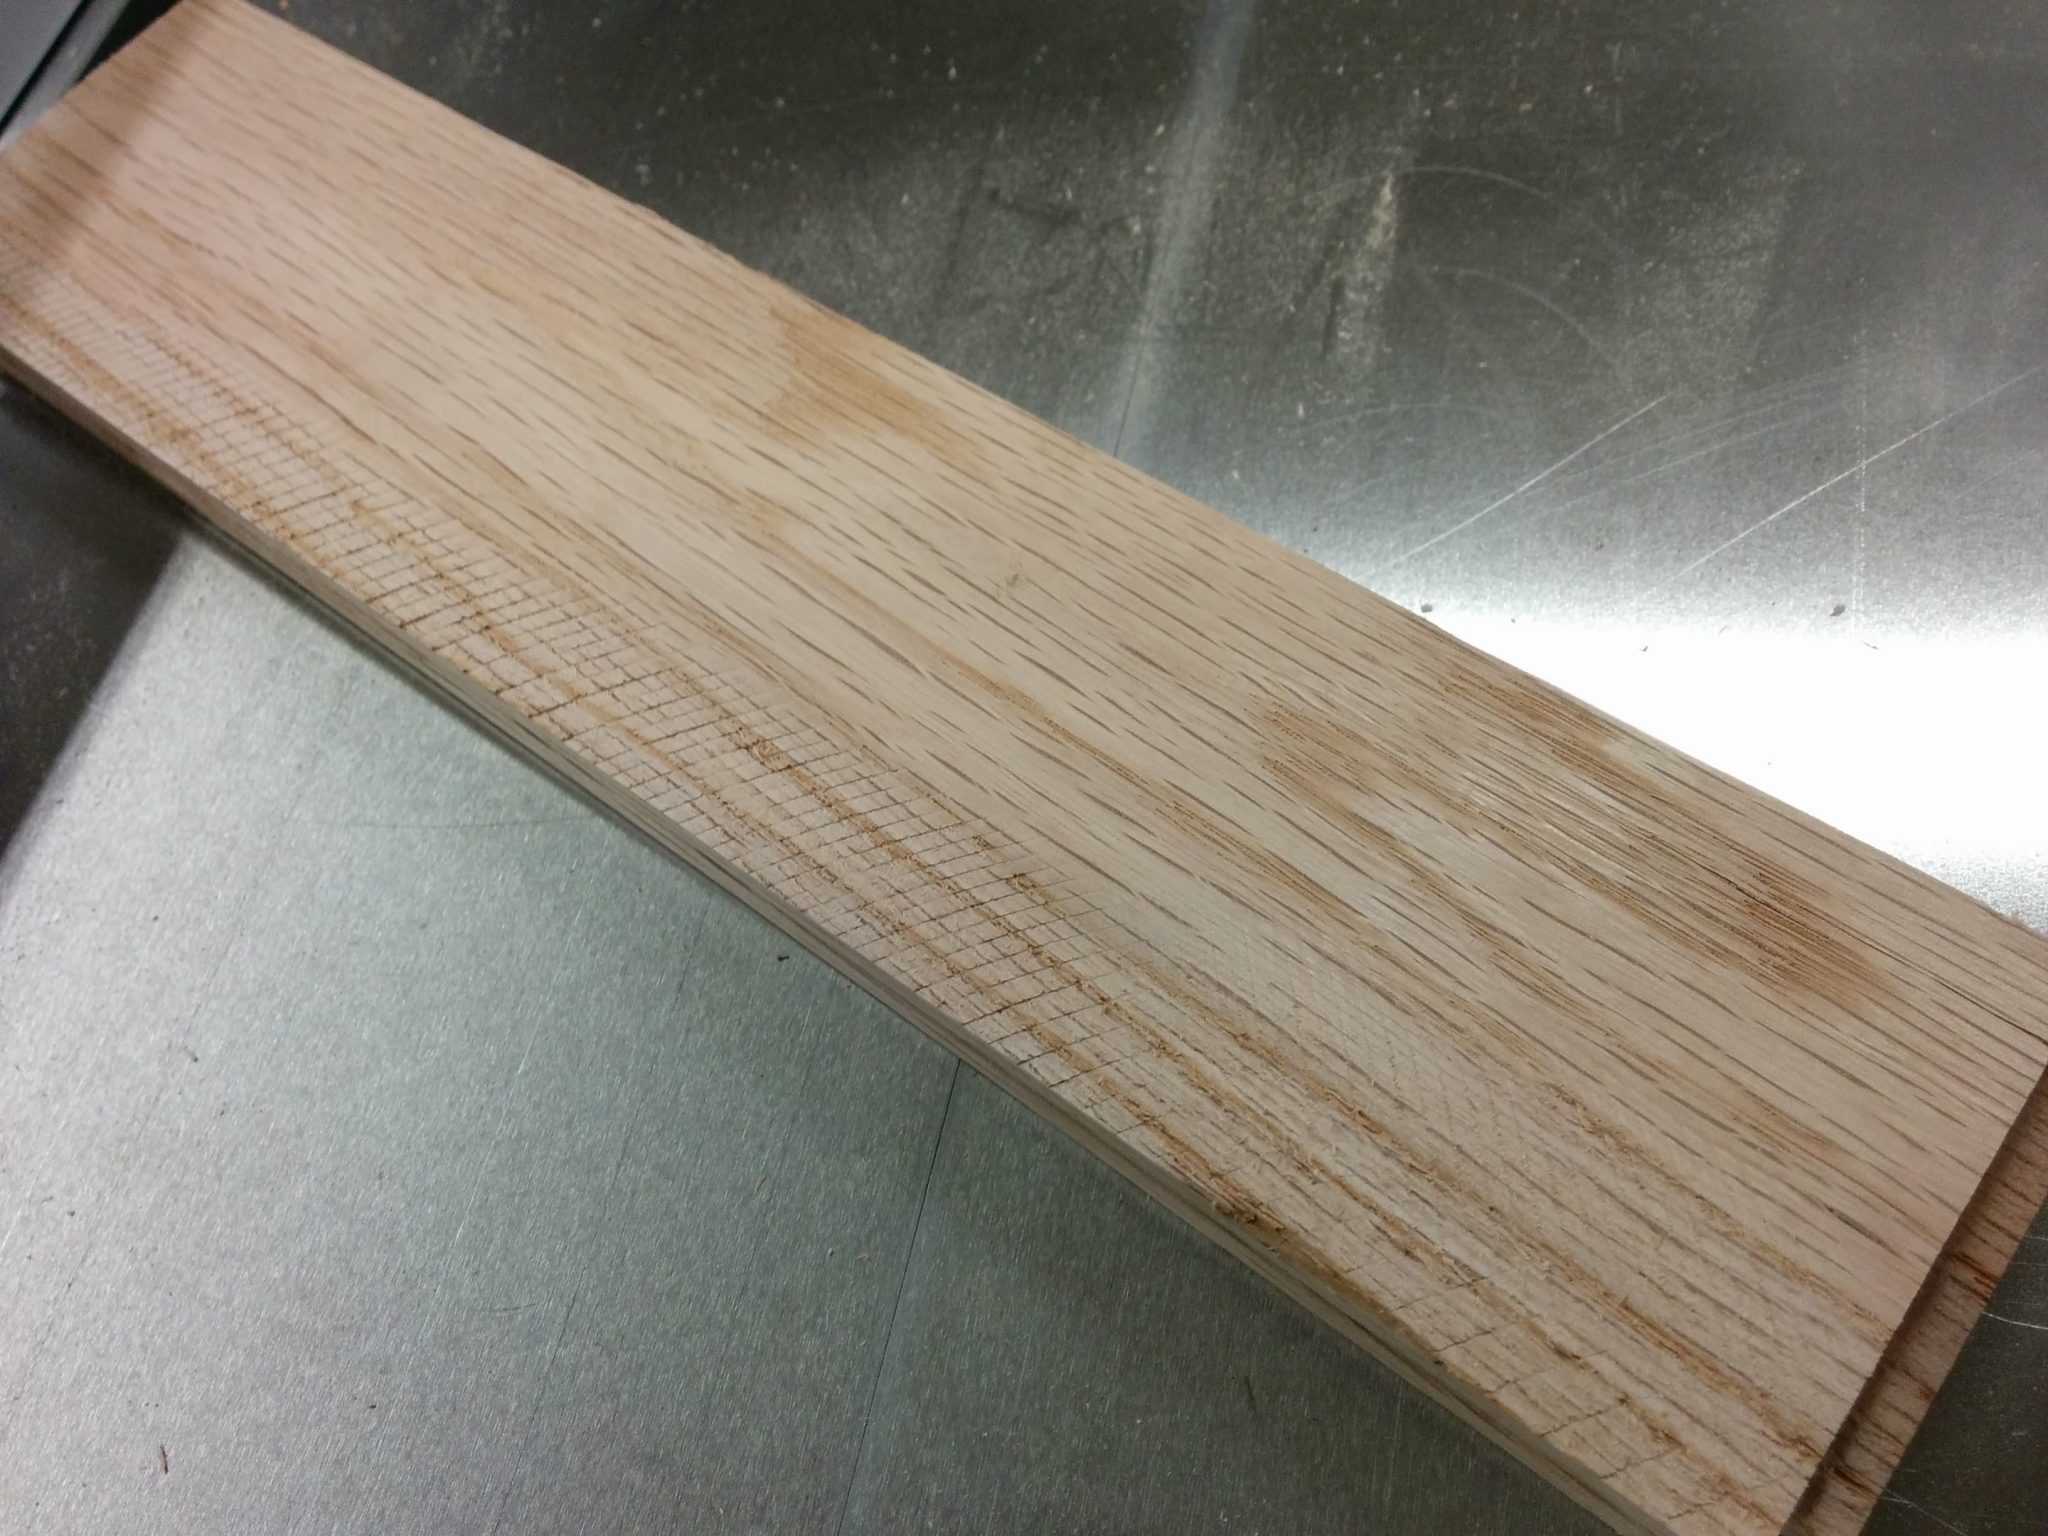
Here’s a test cut. I’m going to do a bit more distressing and see the final result after I stain this wood.
Feel free to leave a comment below and let me know if you’ve tried this technique or have any other ways of distressing wood that have worked for you.
Up next: Workbench: Part 4 – Gluing up the new top.
Back to Workbench: Part 2 – Gluing up the top.
Back to Workbench Part 1 – Milling down some 2 x 4s.
Pingback: Workbench: Part 2 – Gluing up the top – TrentDavis.net
Pingback: Workbench: Part 4 – Gluing up the new top – TrentDavis.net
Thanks for the posts. I first wanted to be sure the Kreg levelers worked with the Sawstop, you confirmed that! Then I happened across this post on the 2×4 top. I previously tried the exact same process with the same results- warped. But with some clamping force and screws it flattens out enough. I mean it is a workbench…