
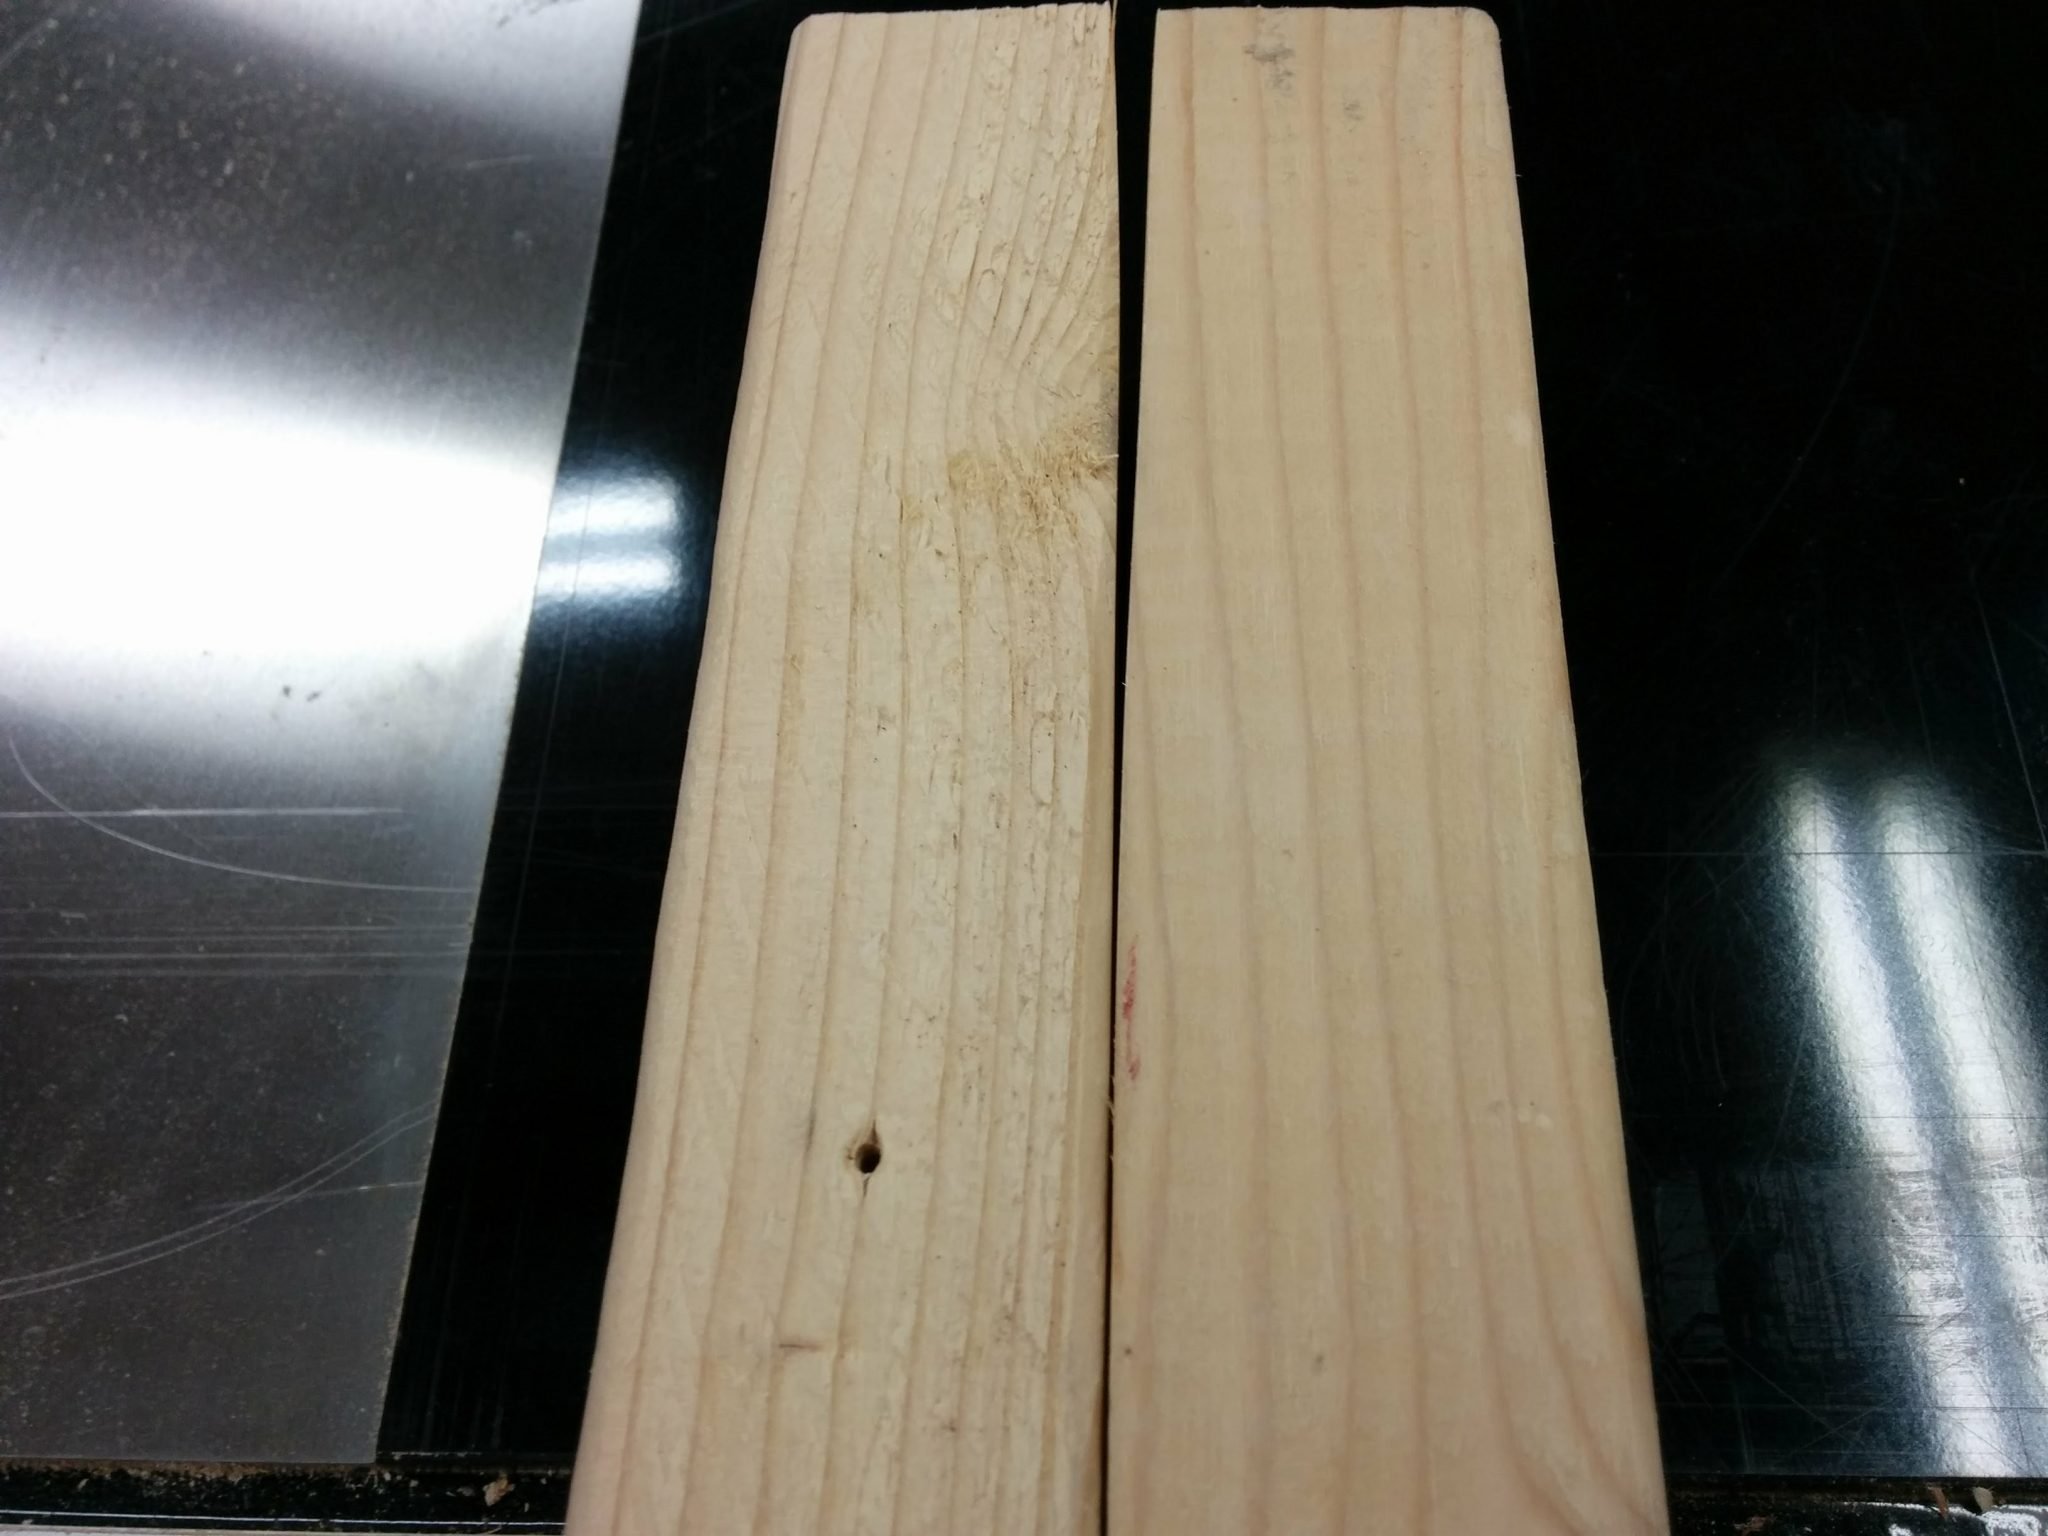
This is a continuation of Workbench Part 1 – Milling down some 2 x 4s.
We got another snow day so this gave me an opportunity to work some more on my wife’s workbench.
Now that the boards have all been milled down, it’s time to start gluing them together.
For this project, I knew I was going to need a few sets of cauls. If you are unfamiliar with a clamping caul, read on…
A clamping caul is simply a set of boards that are used to keep the top and bottom of a wide glue-up relatively flat. Their use will make sense at the end of this article. They are extremely easy to make. I made two sets for this glue up. I started with some 1 X 3 stock that I cut down to be a few inches longer than the width of the final glue up.
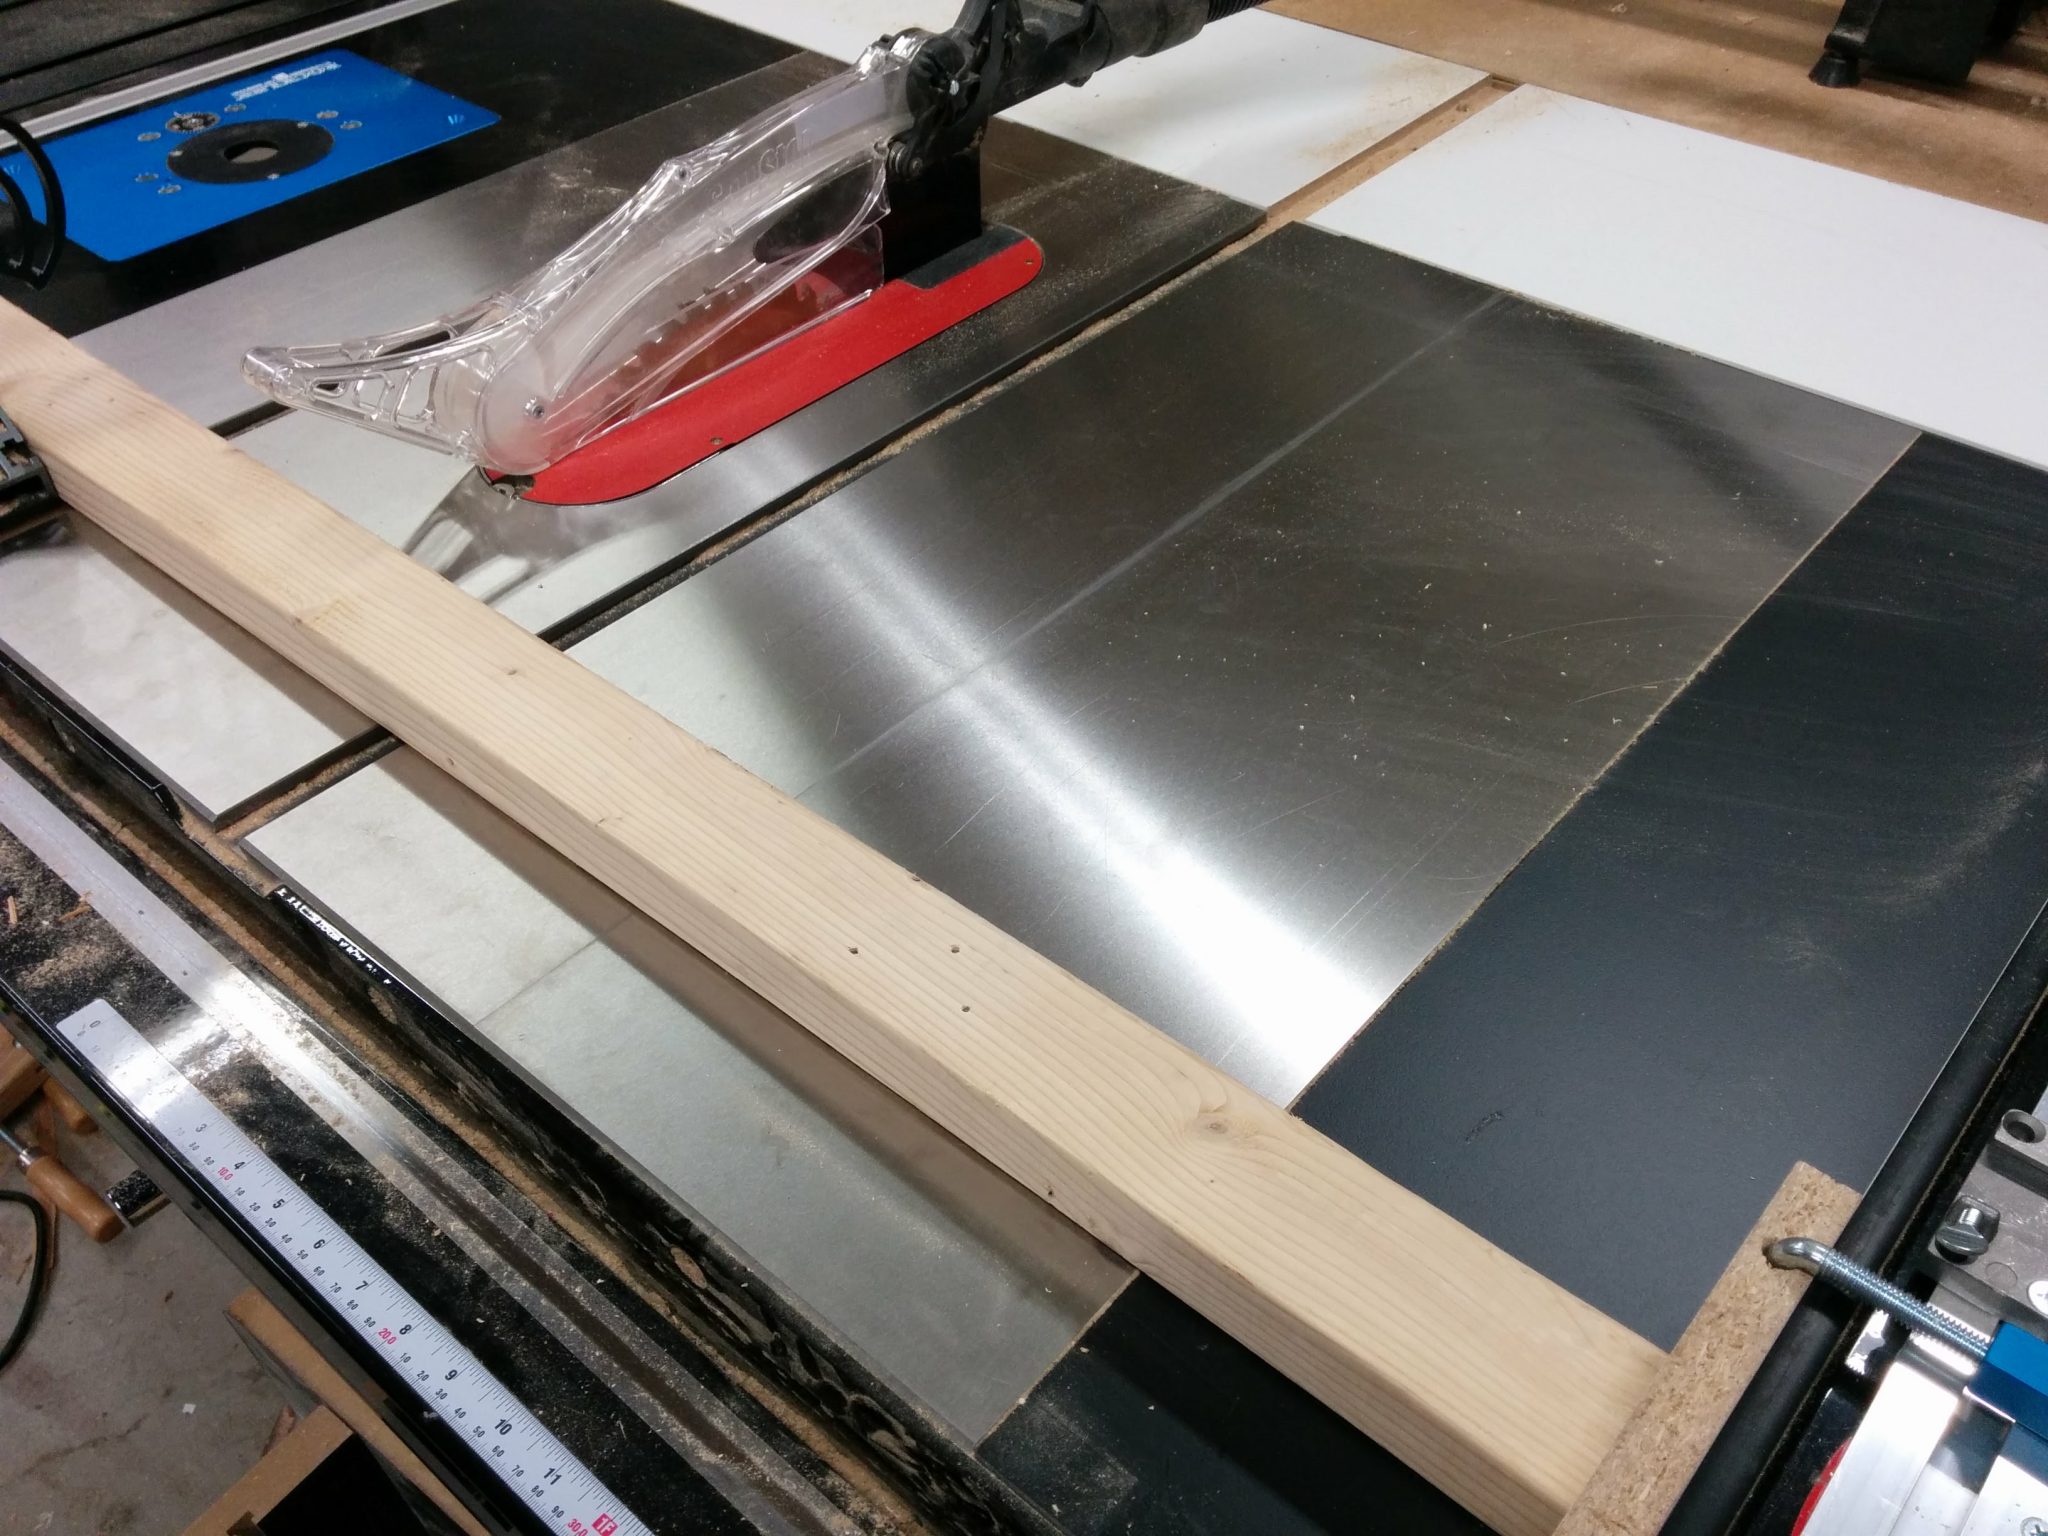
The benchtop I am making is going to be 24″ deep so I made my cauls about 28″ long. There’s no need to be exact, just make it a bit longer than the final glue up.
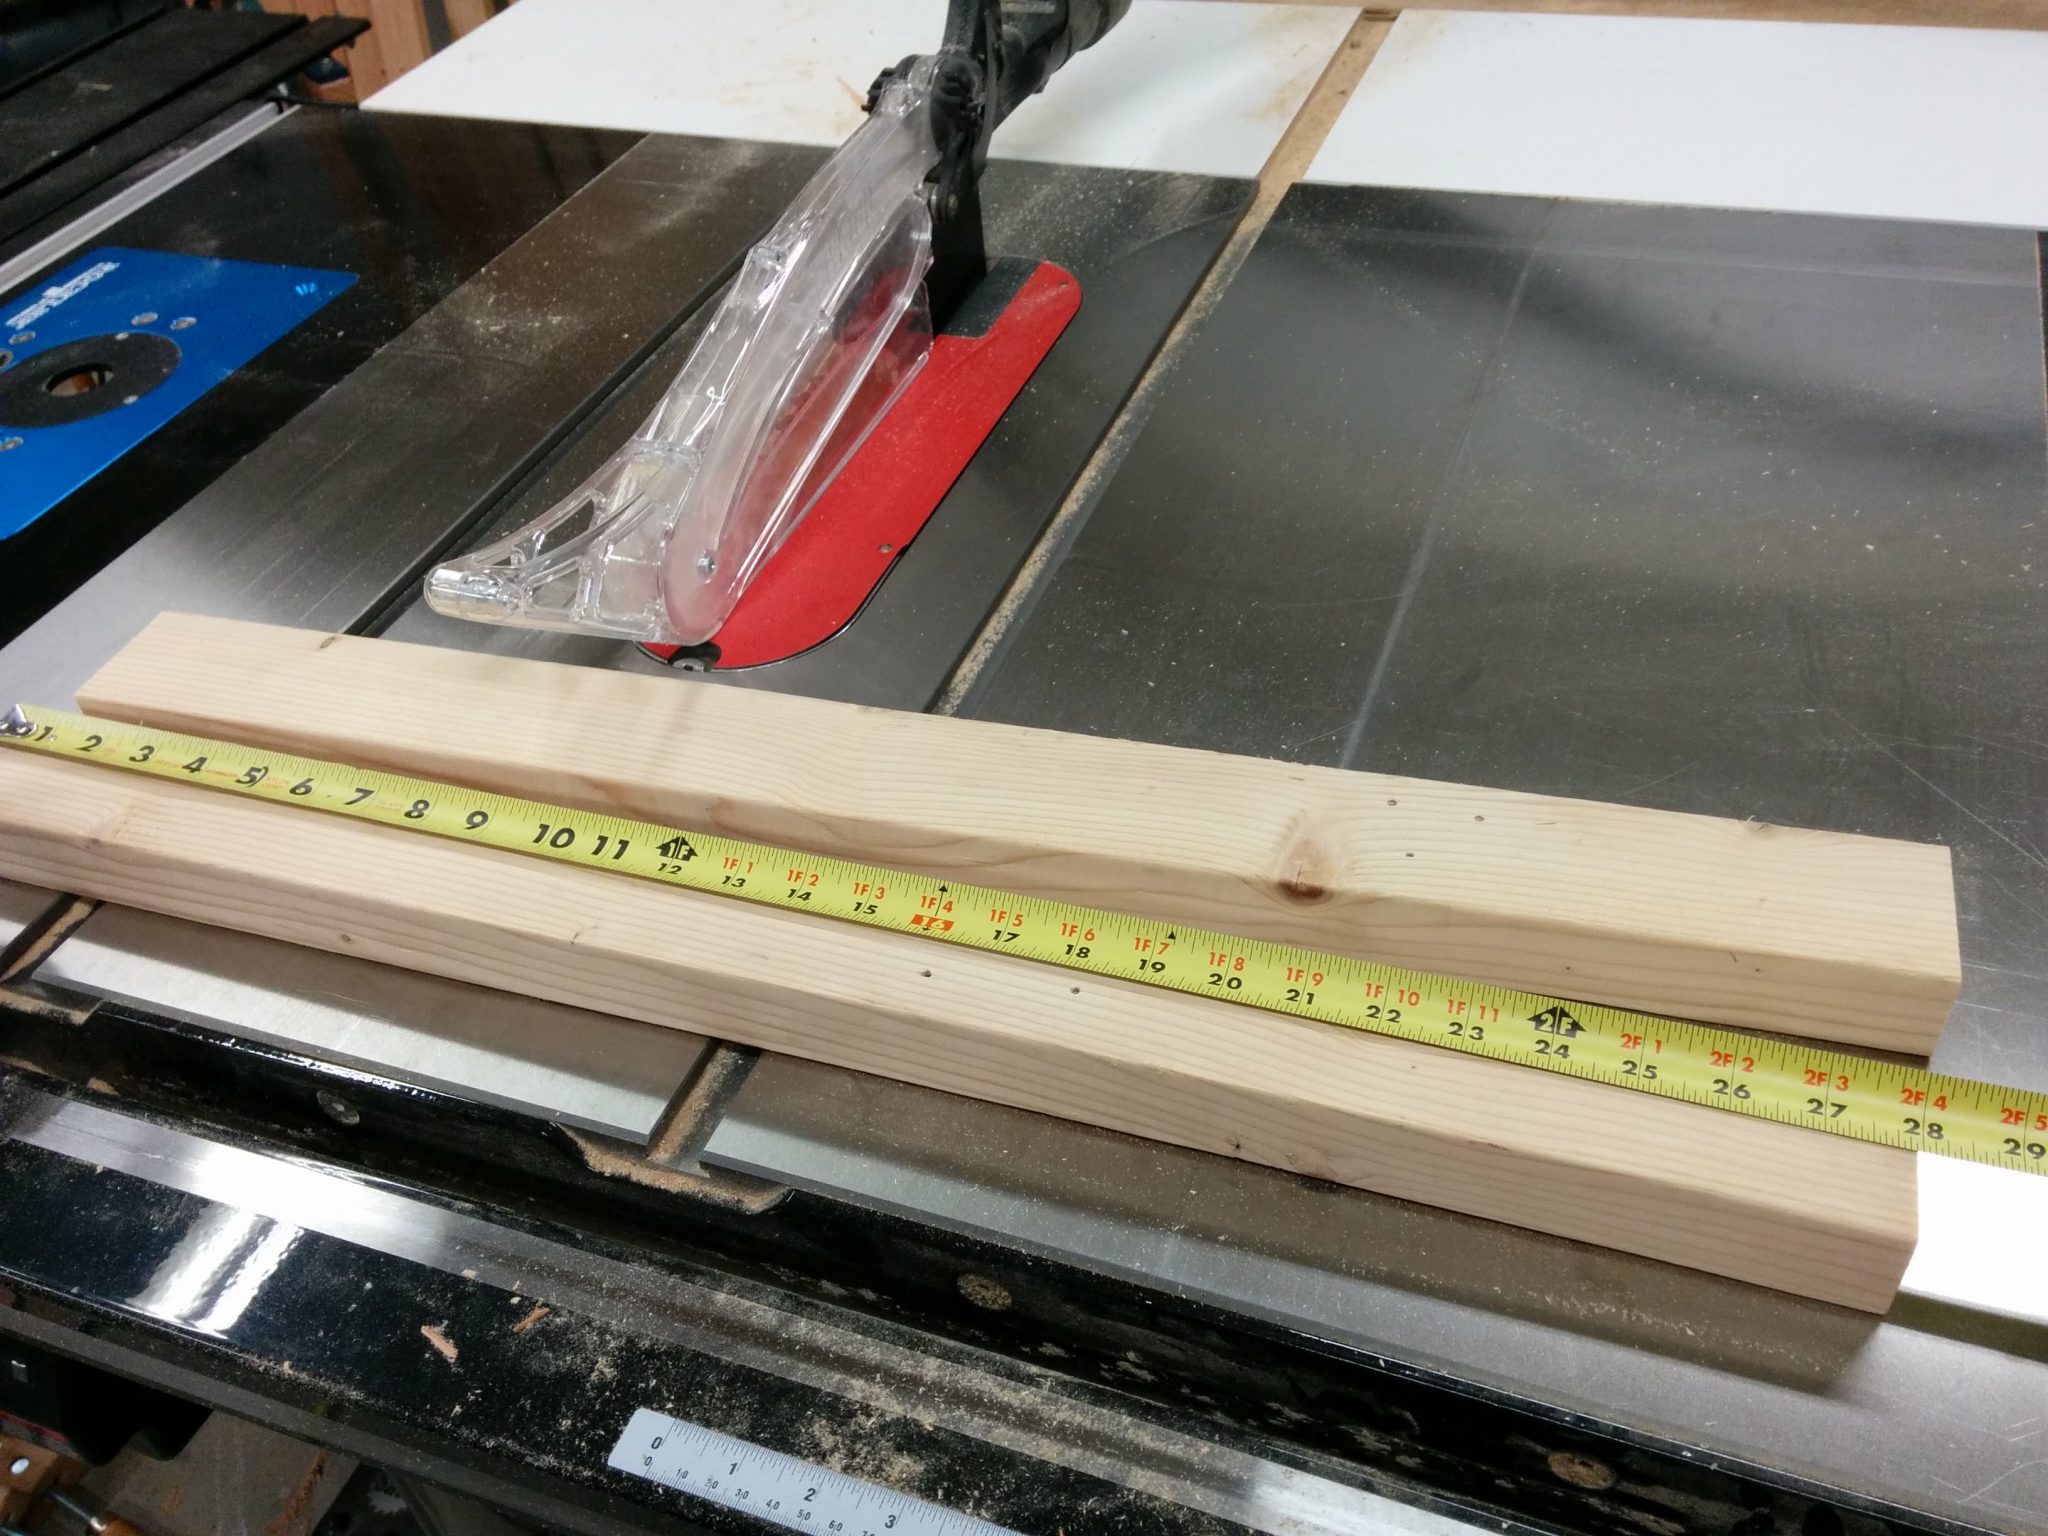
After cutting four pieces that are 28″ long, I took them to my oscillating belt sander. This step is optional but I find it really helps. What you want to do is add a little bit of a slope at both ends of one side of each caul.
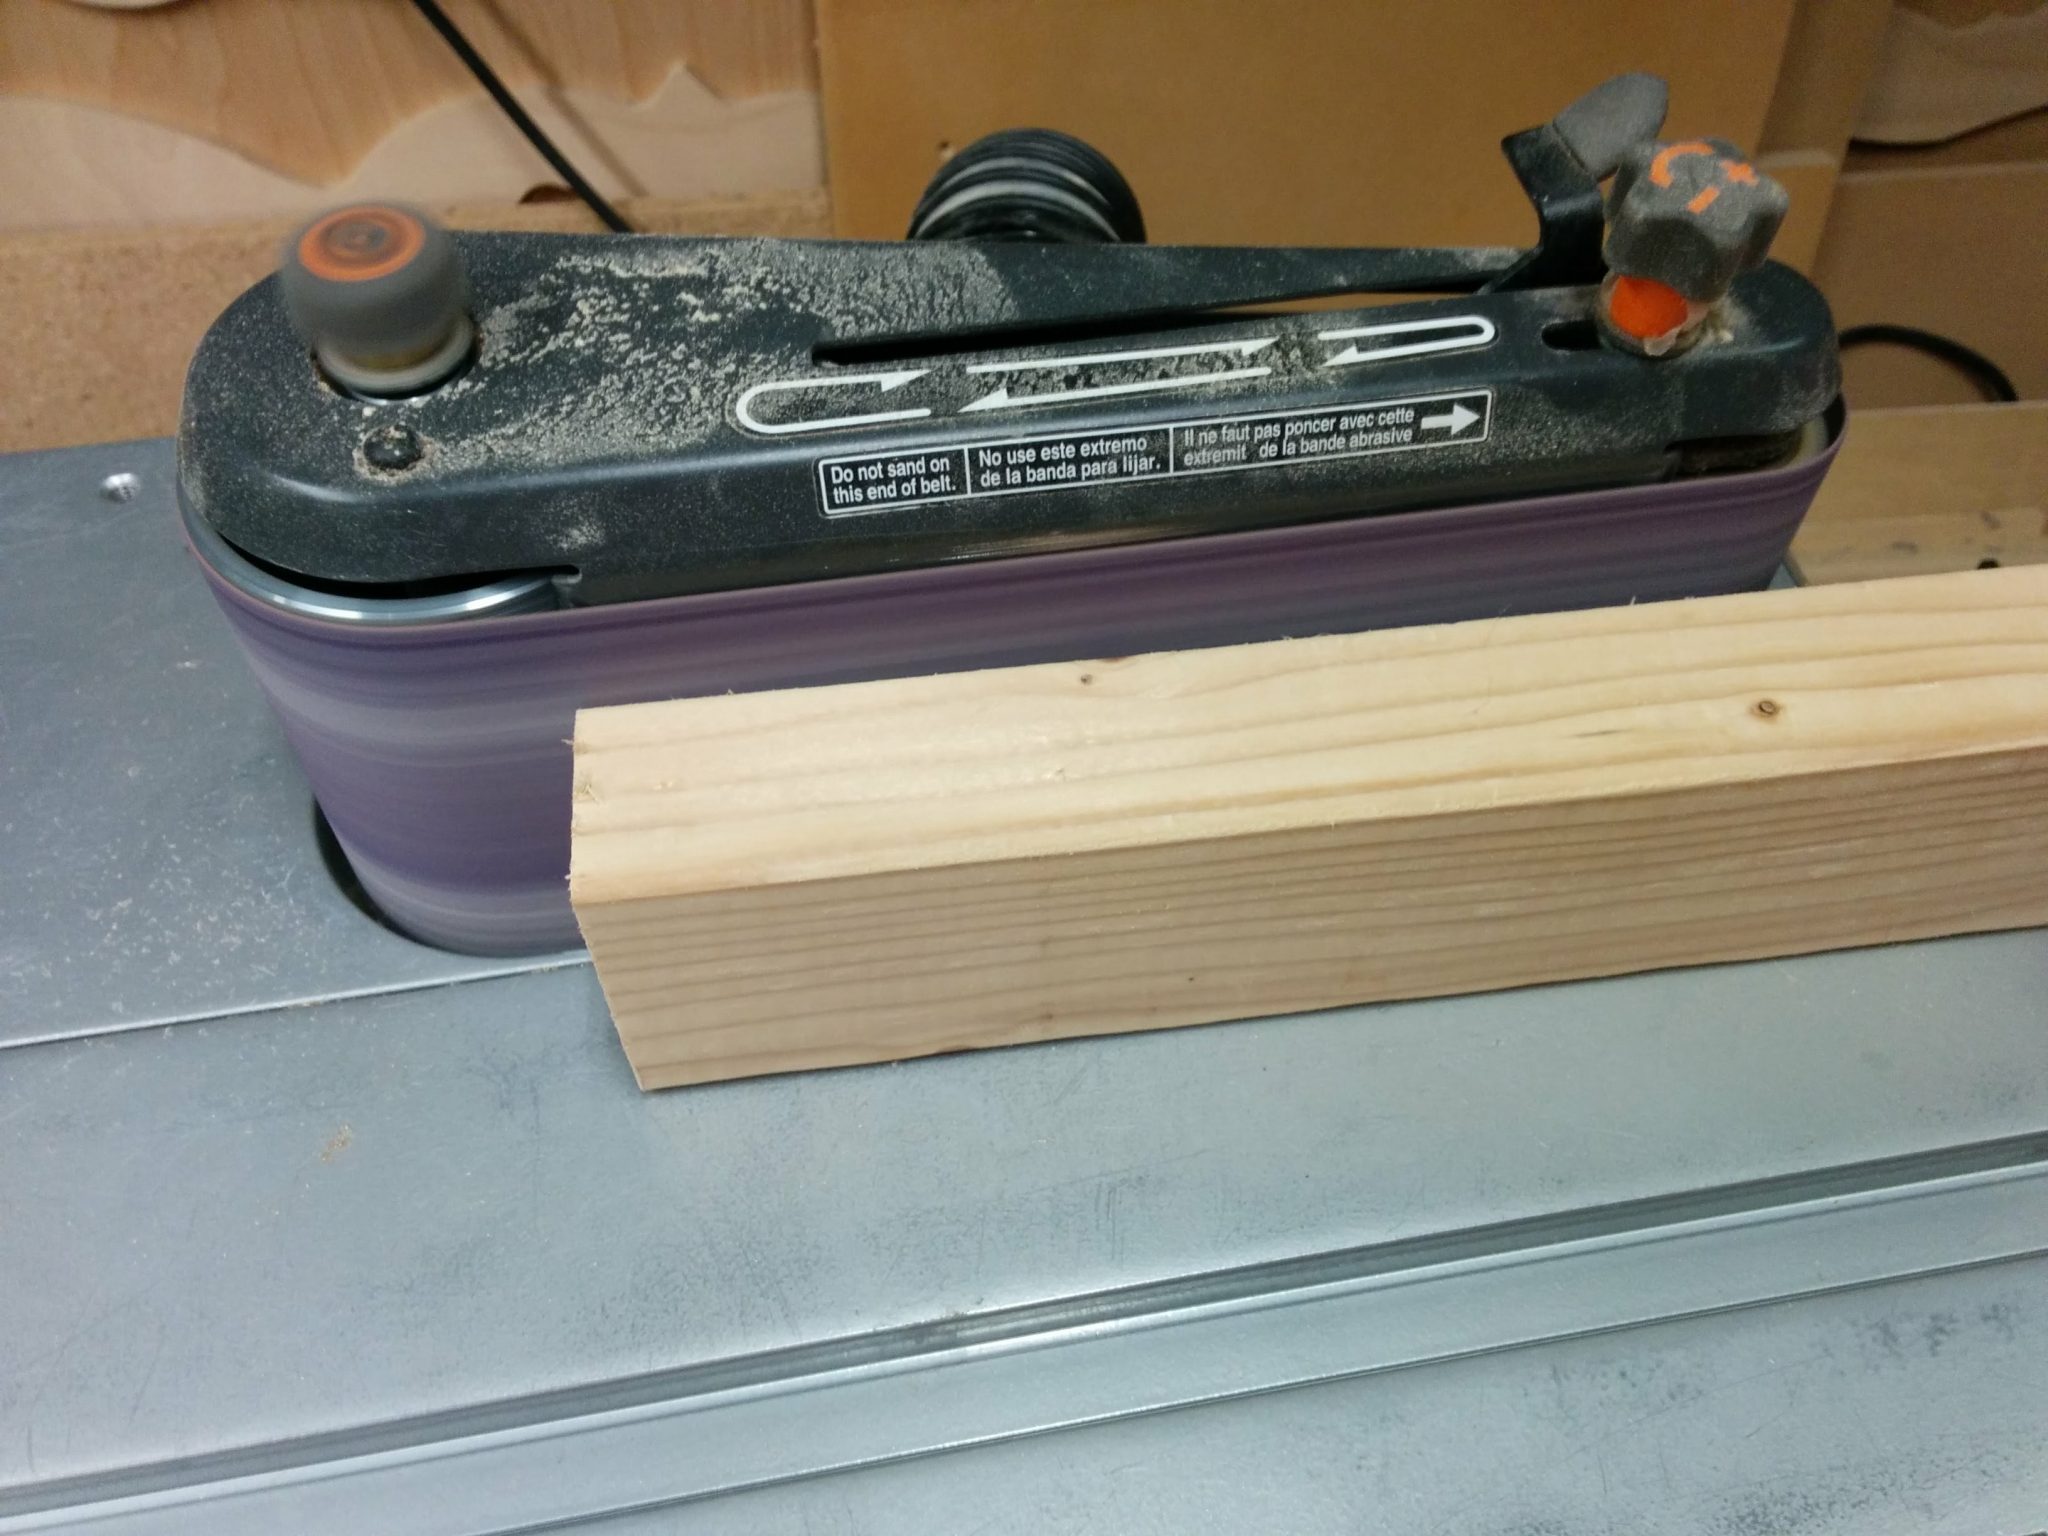
The end goal is a set of boards that have a gap between them at the ends. This is so when you attach them, the clamps will pull them together but it won’t bow up in the middle.
After I shaped them with the sander, I covered them in packing tape so the glue won’t stick to them.
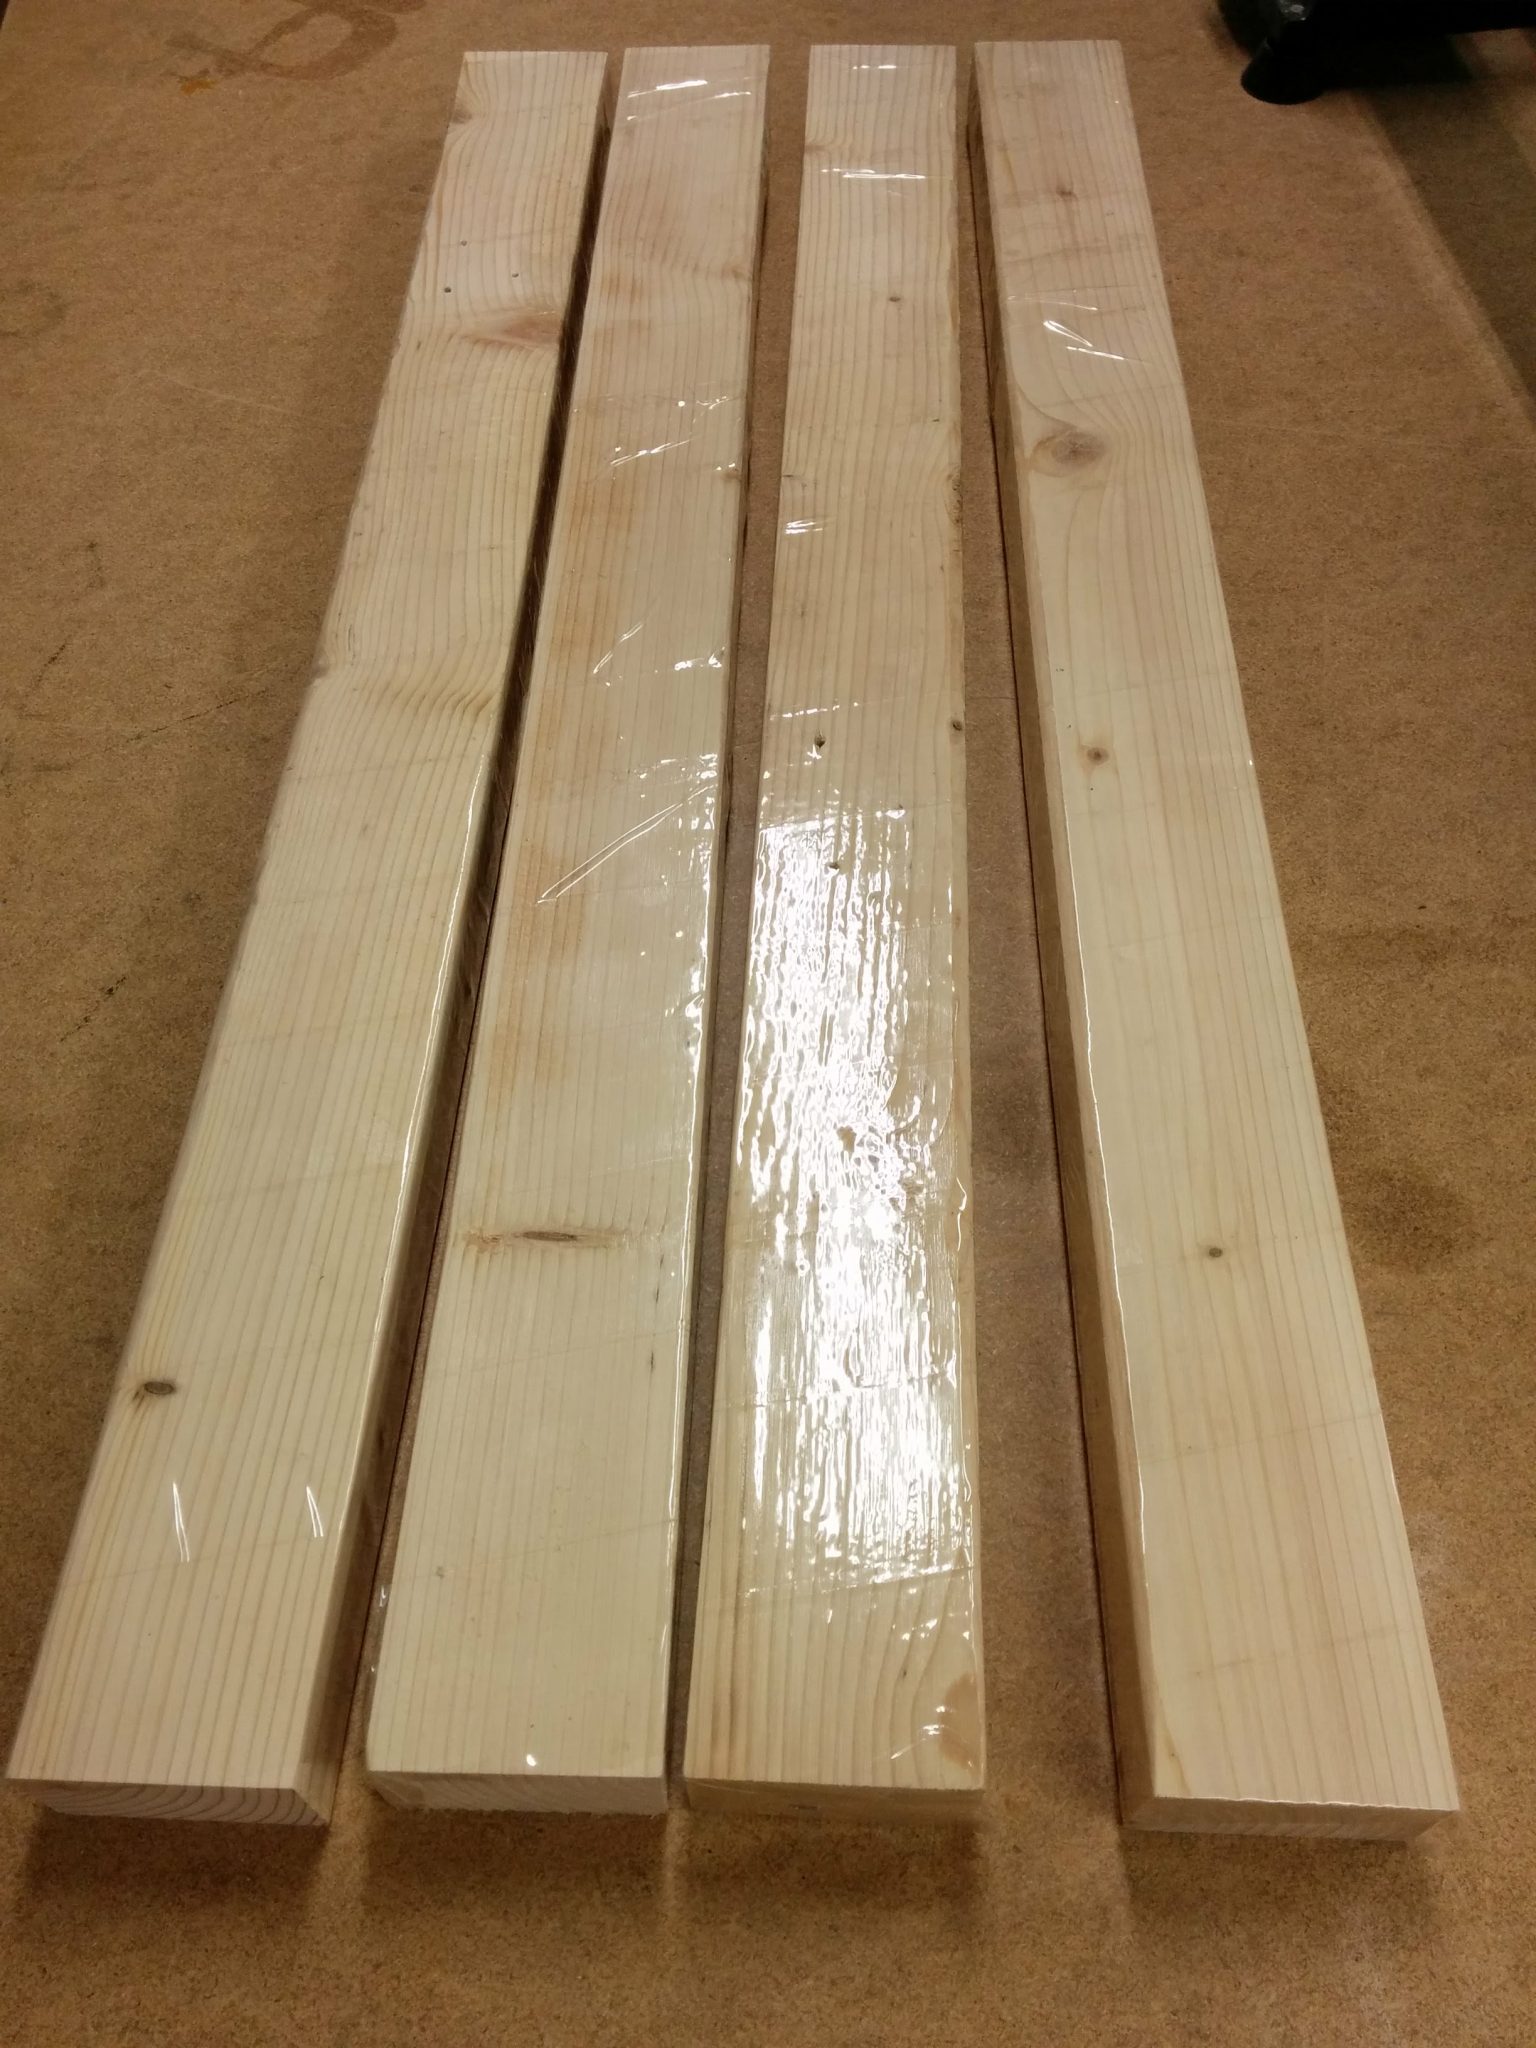
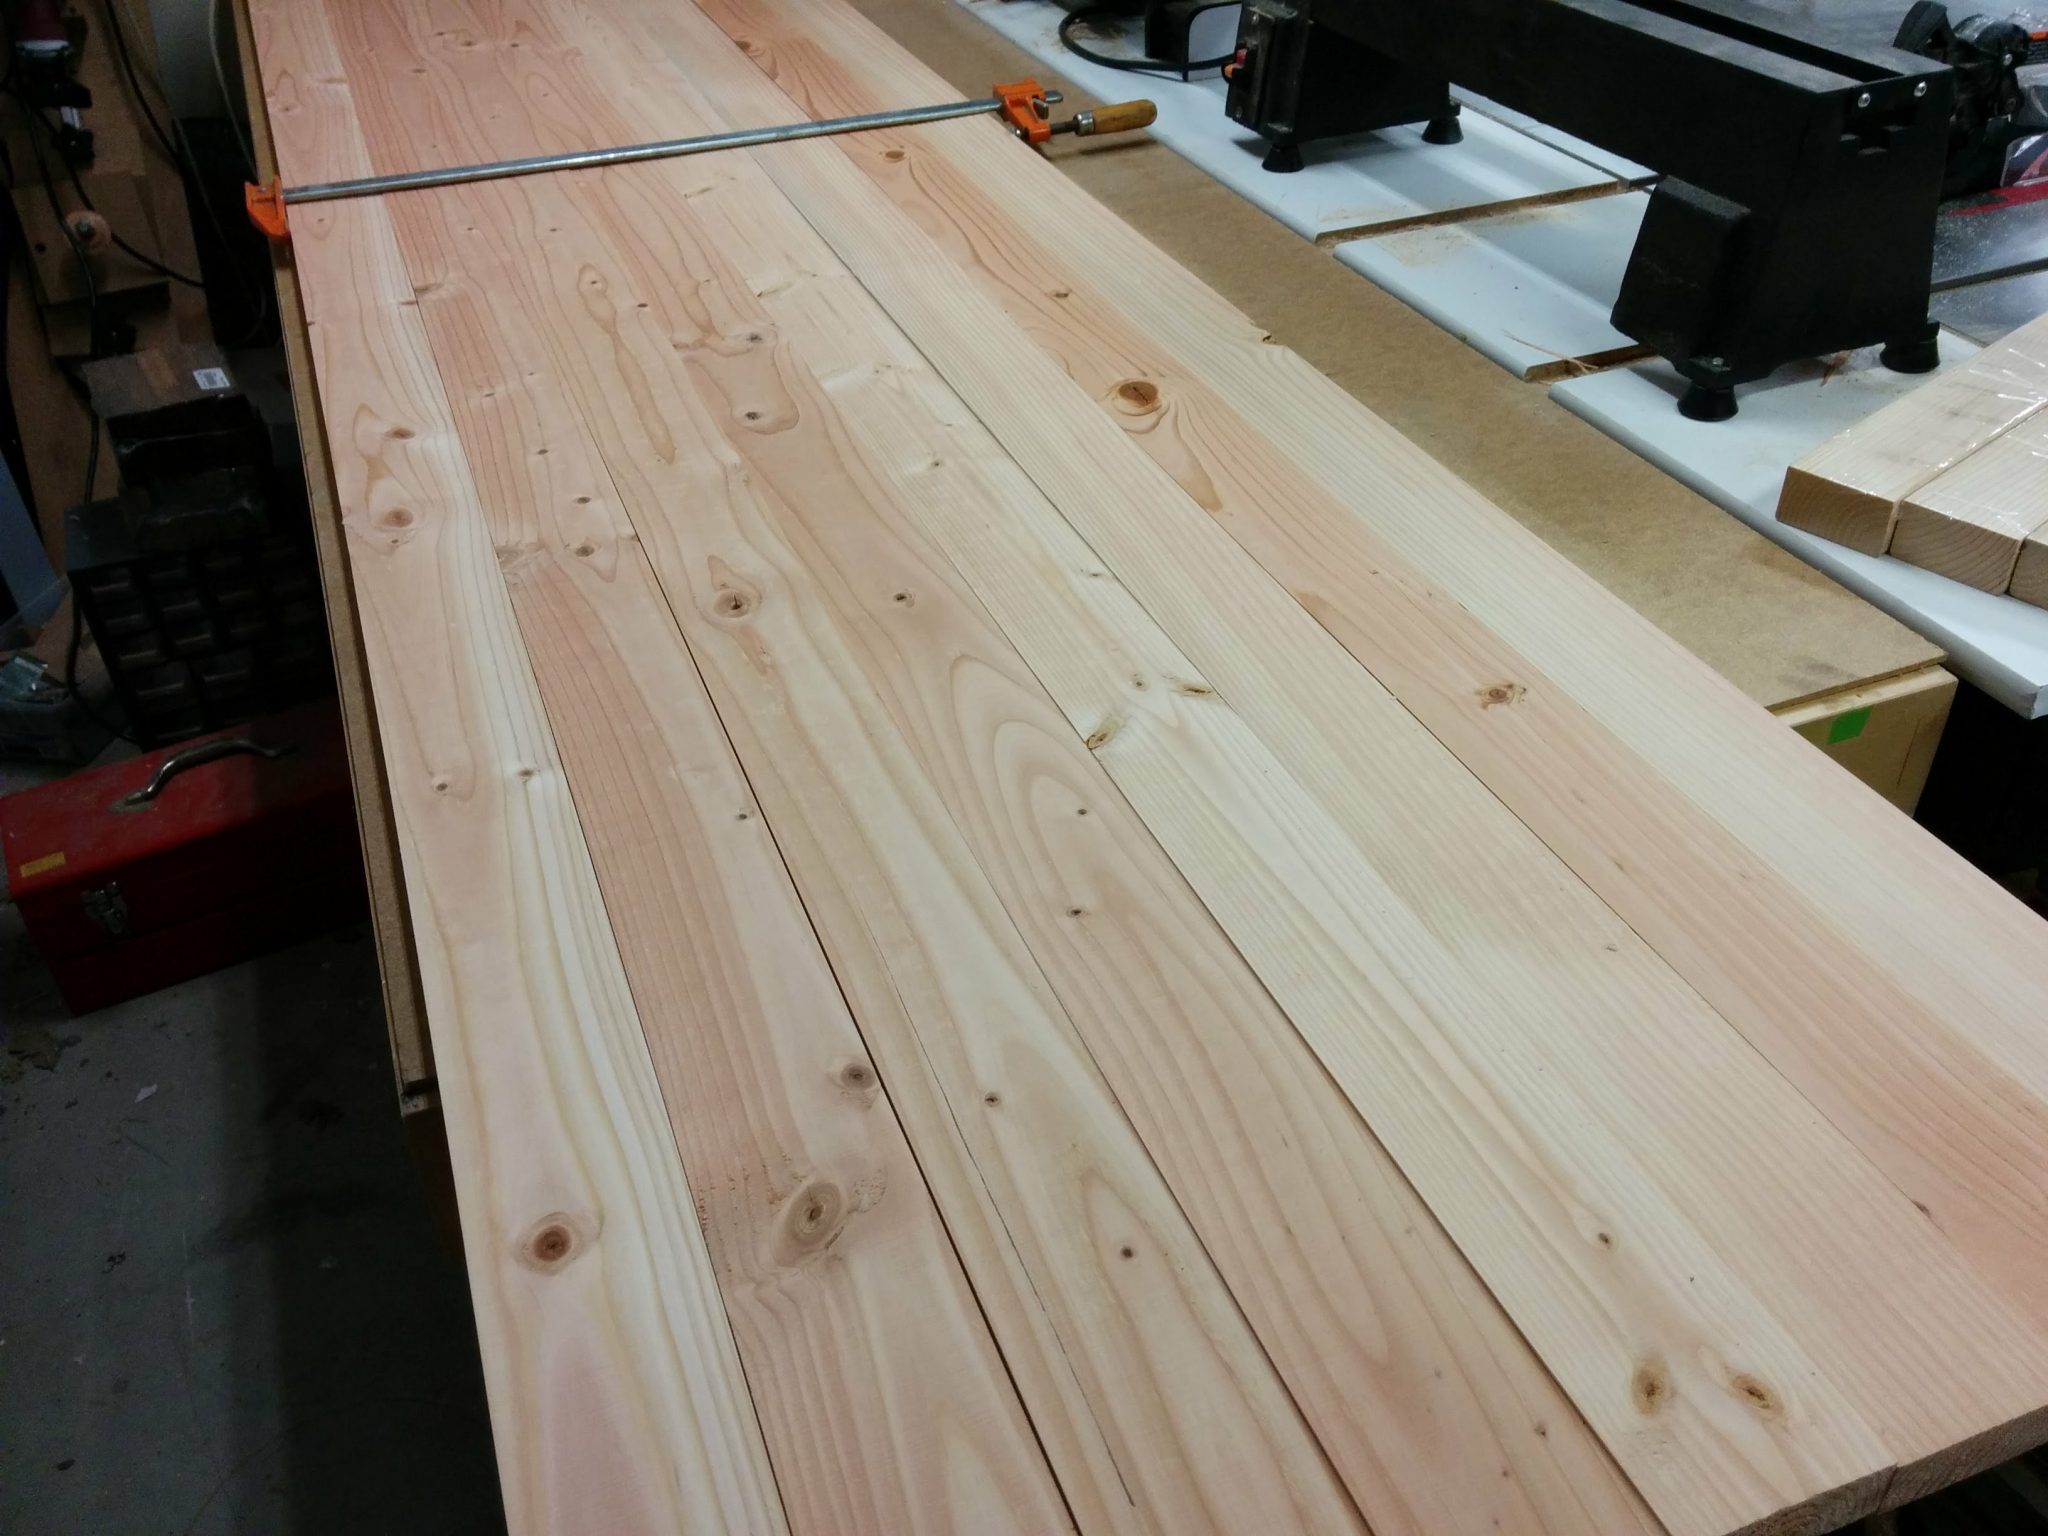
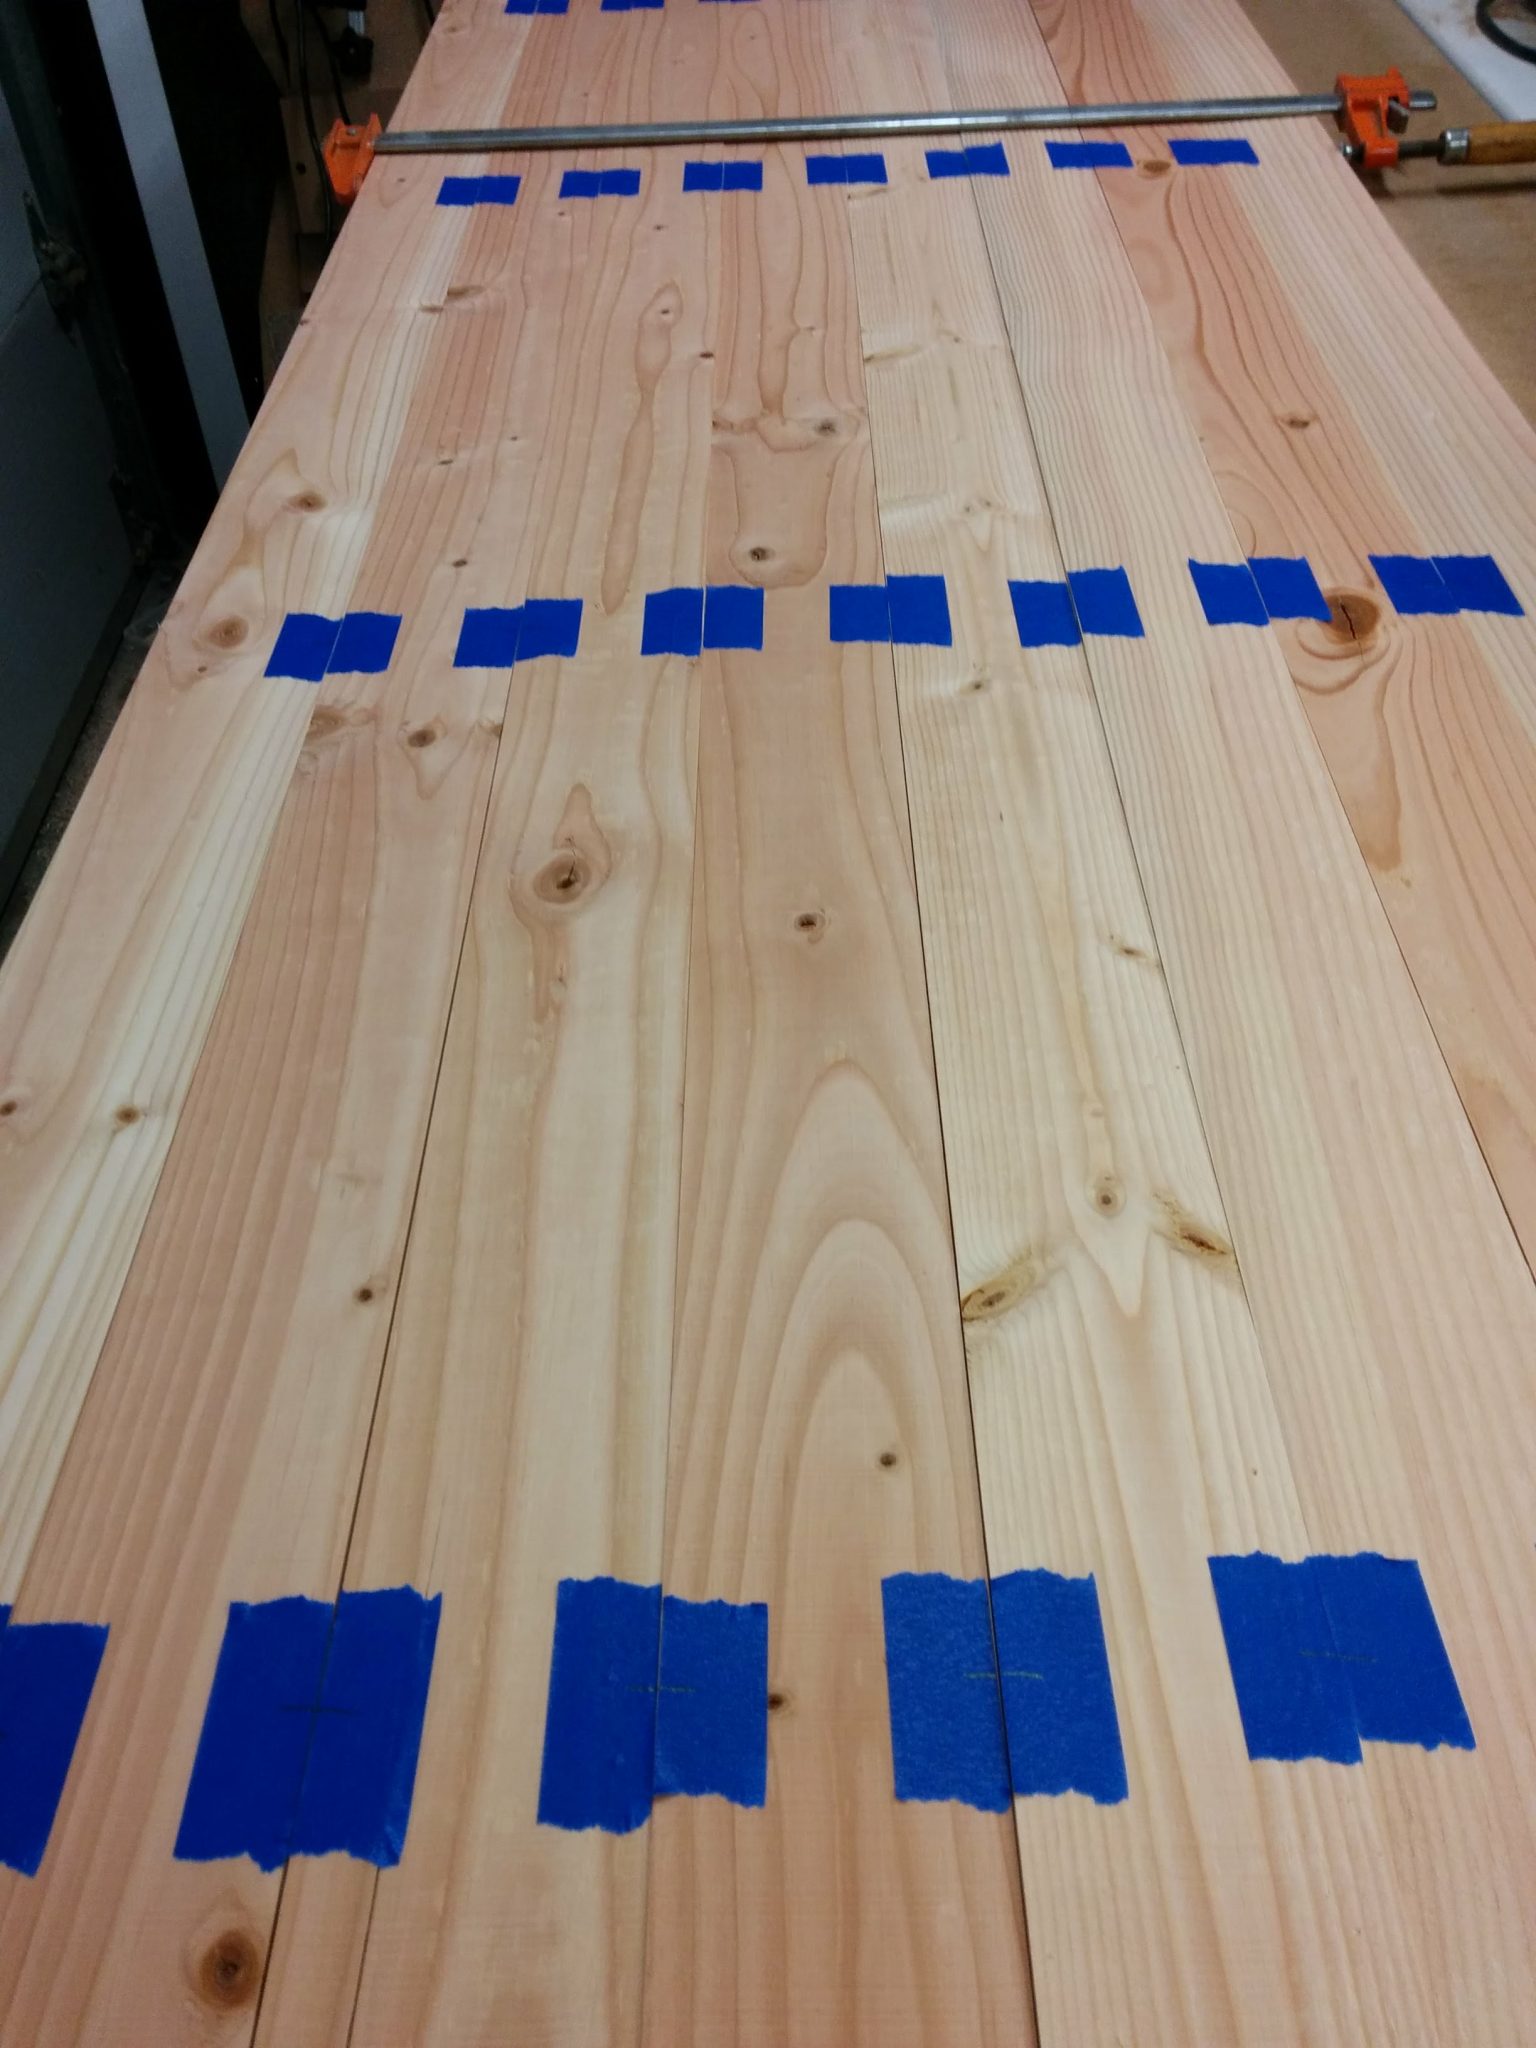
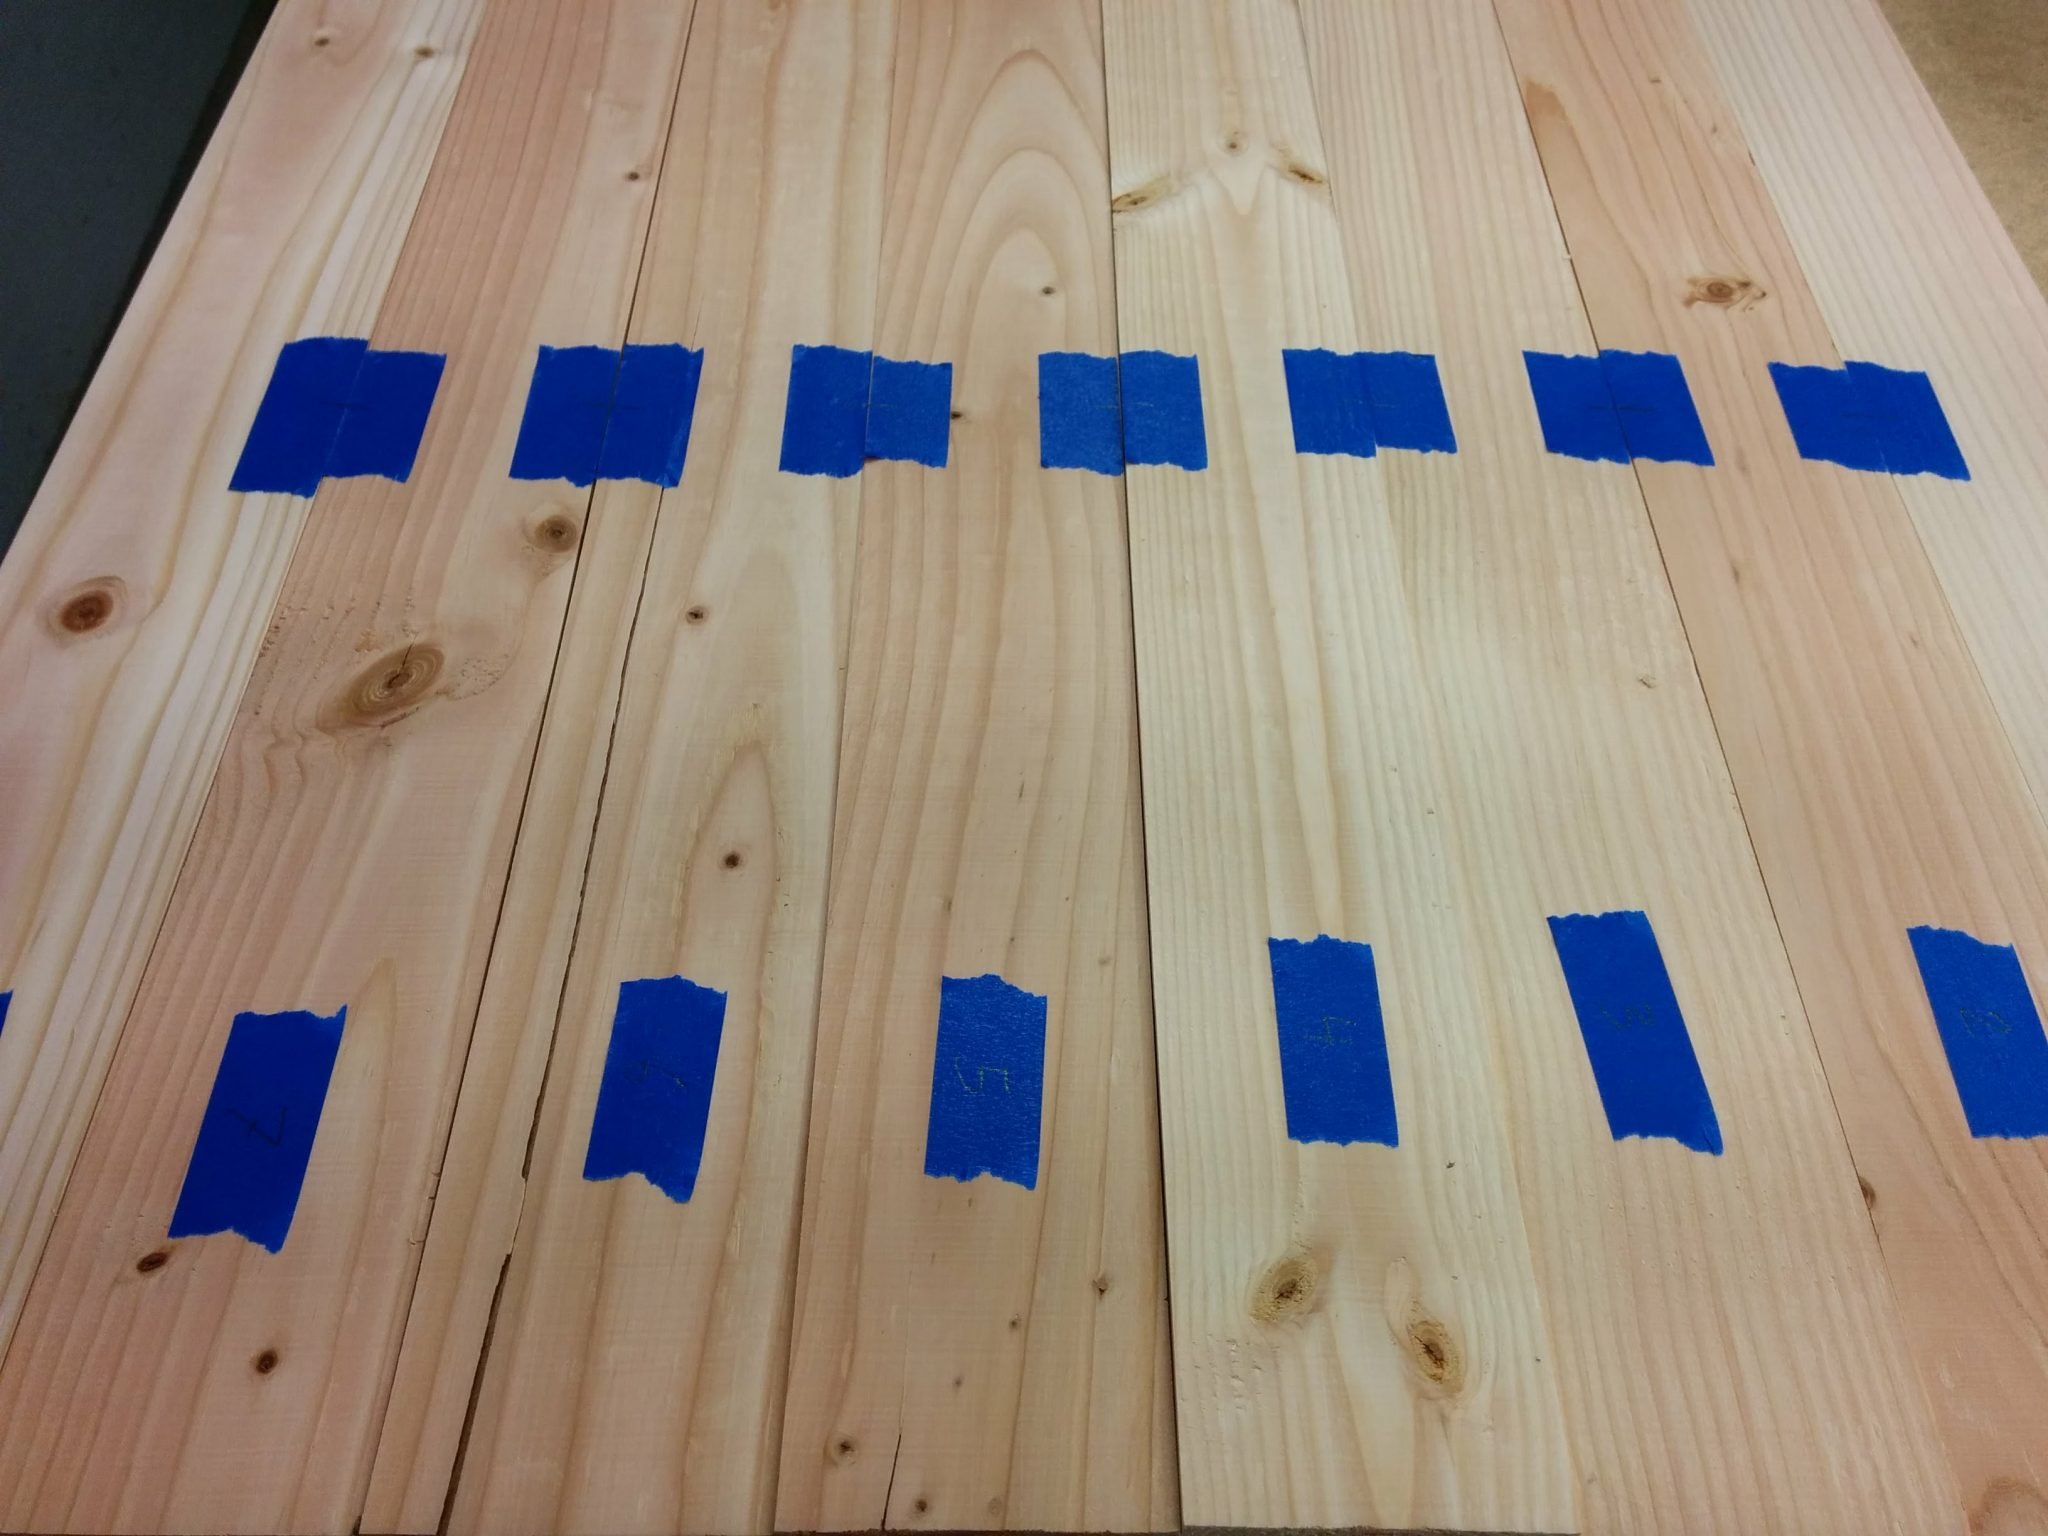
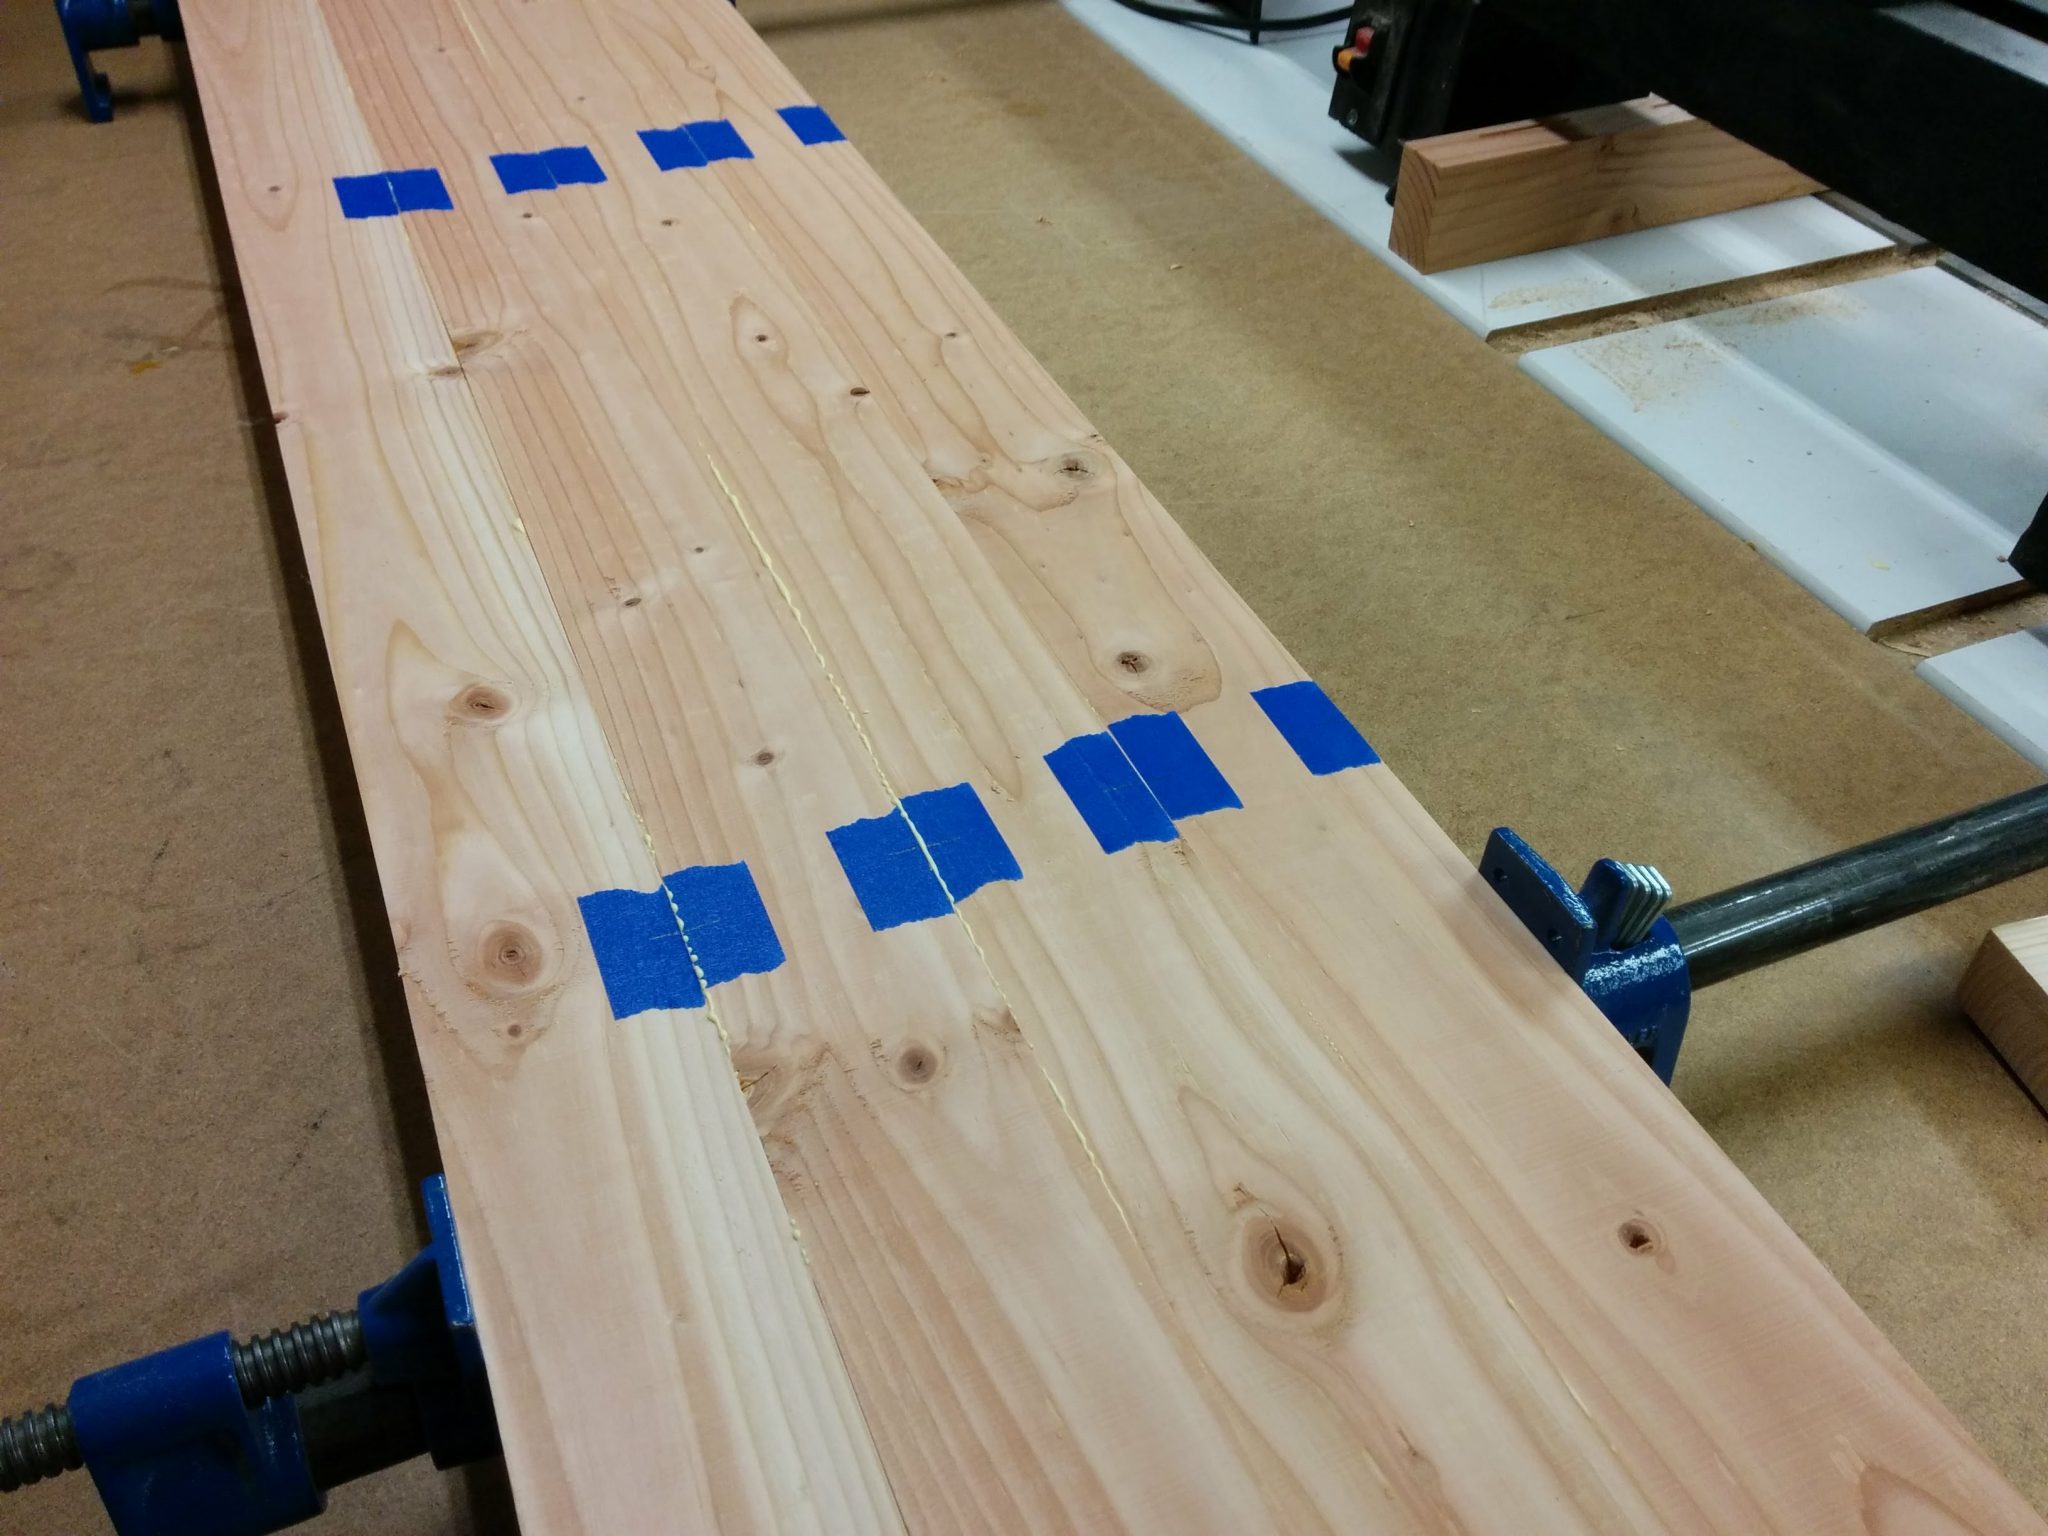
Now, time to work on the actual benchtop. First I laid the milled boards out how they will be glued together.
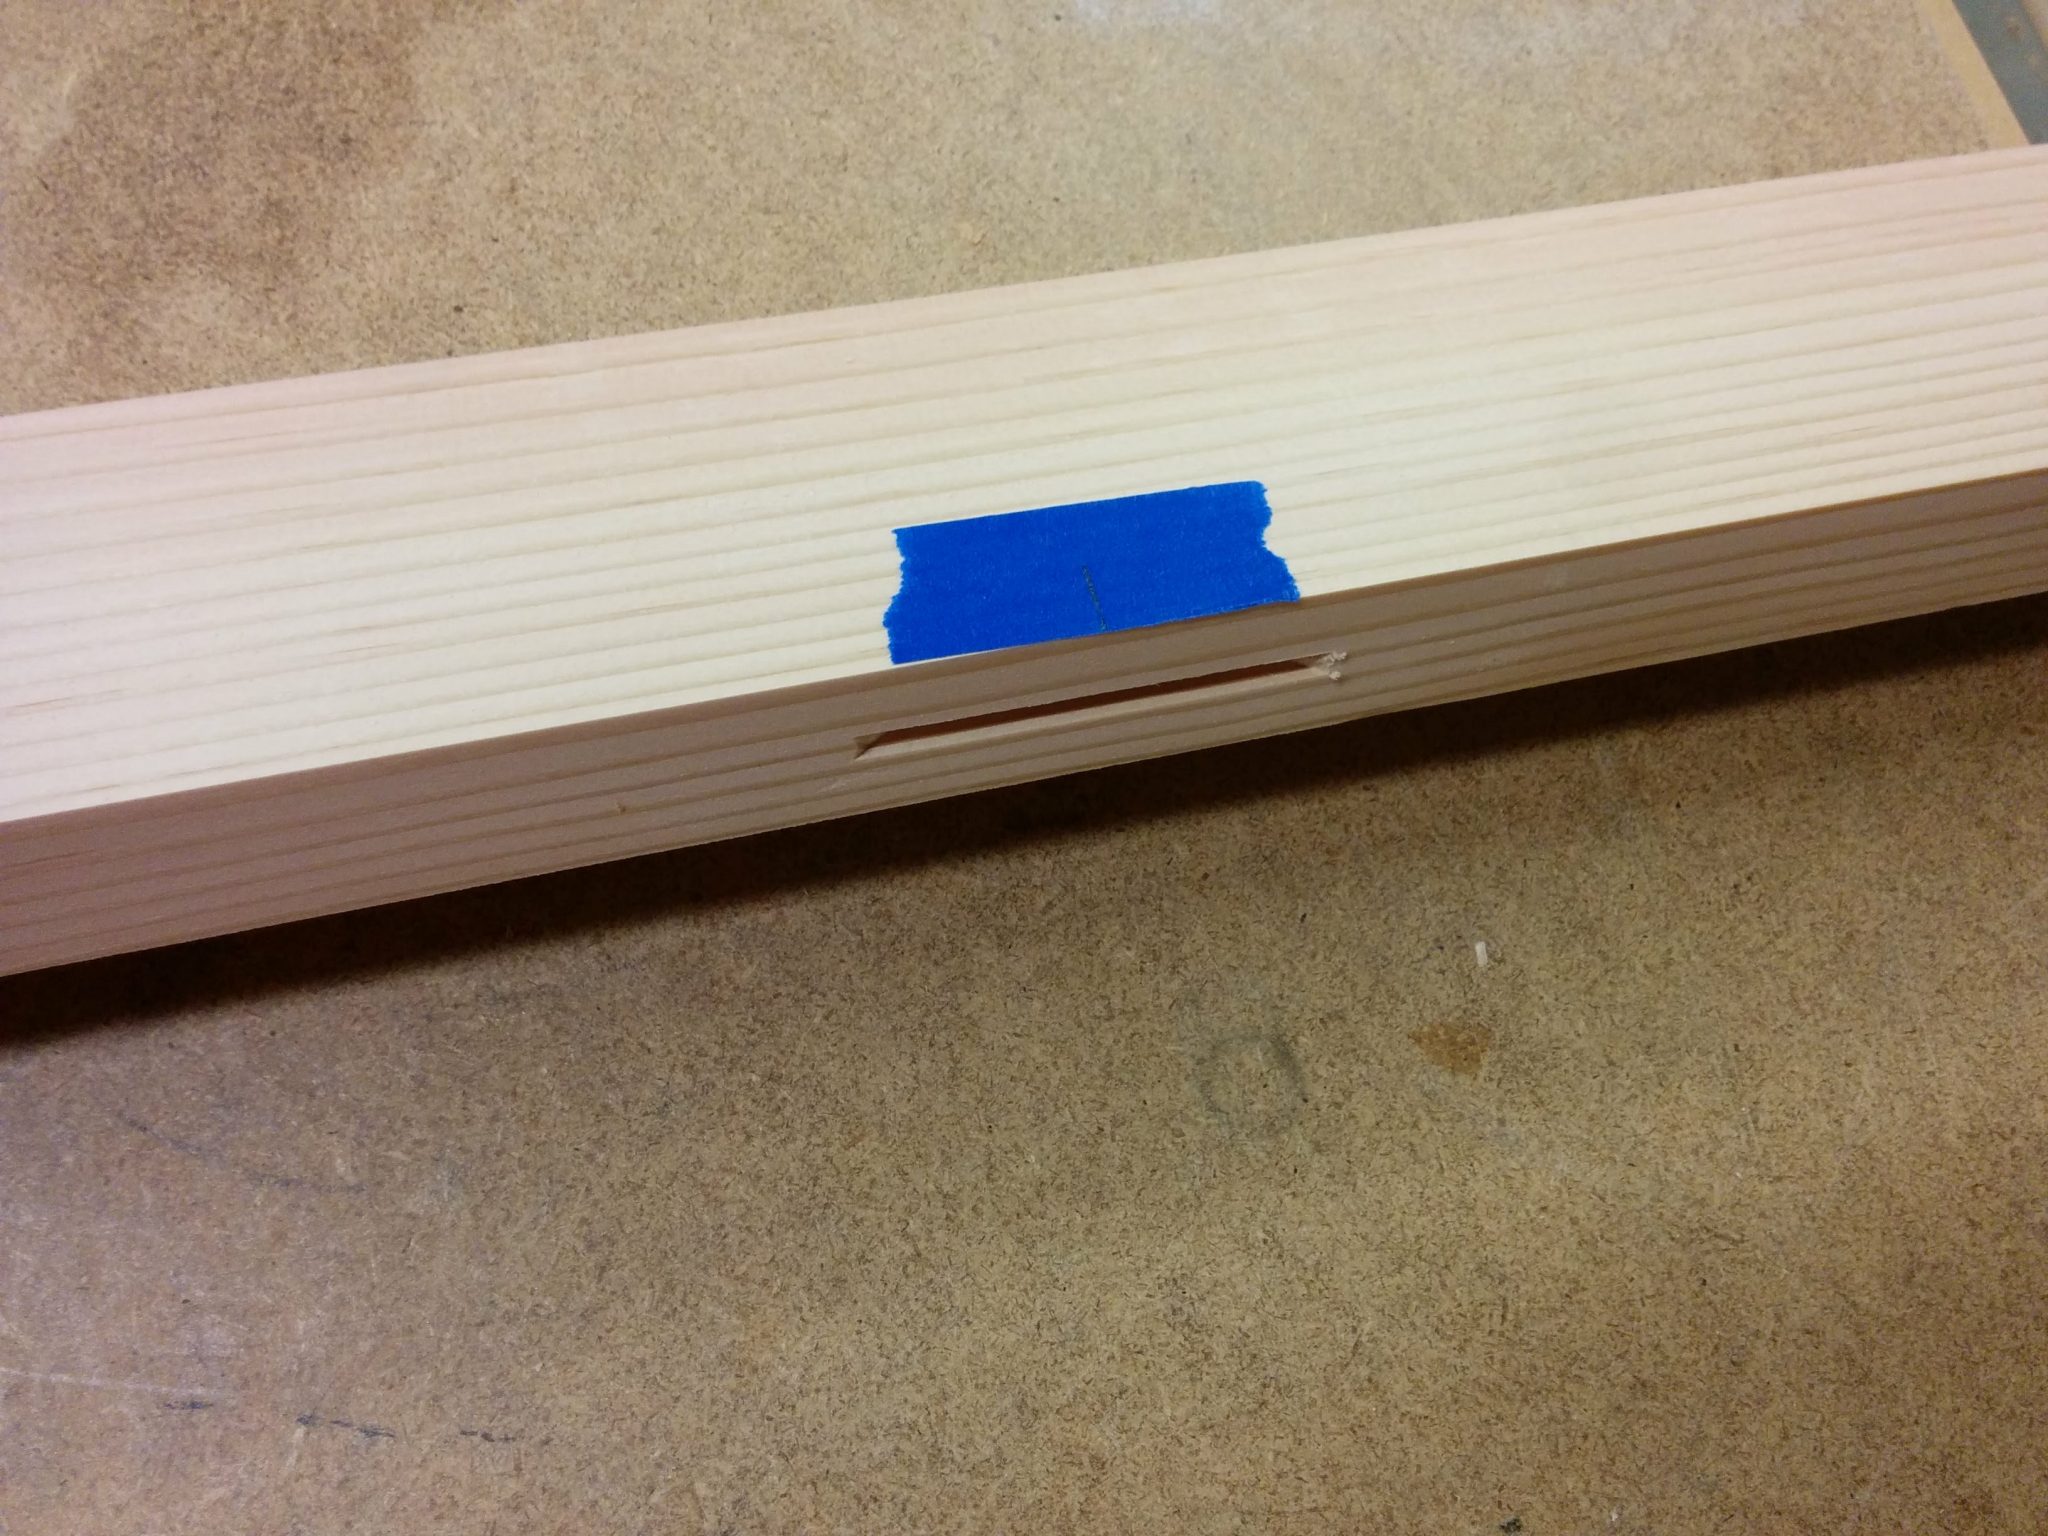
I am going to be using biscuits to align everything so I put little pieces of painters tape on the edges of the boards where I was planning on putting the biscuits.
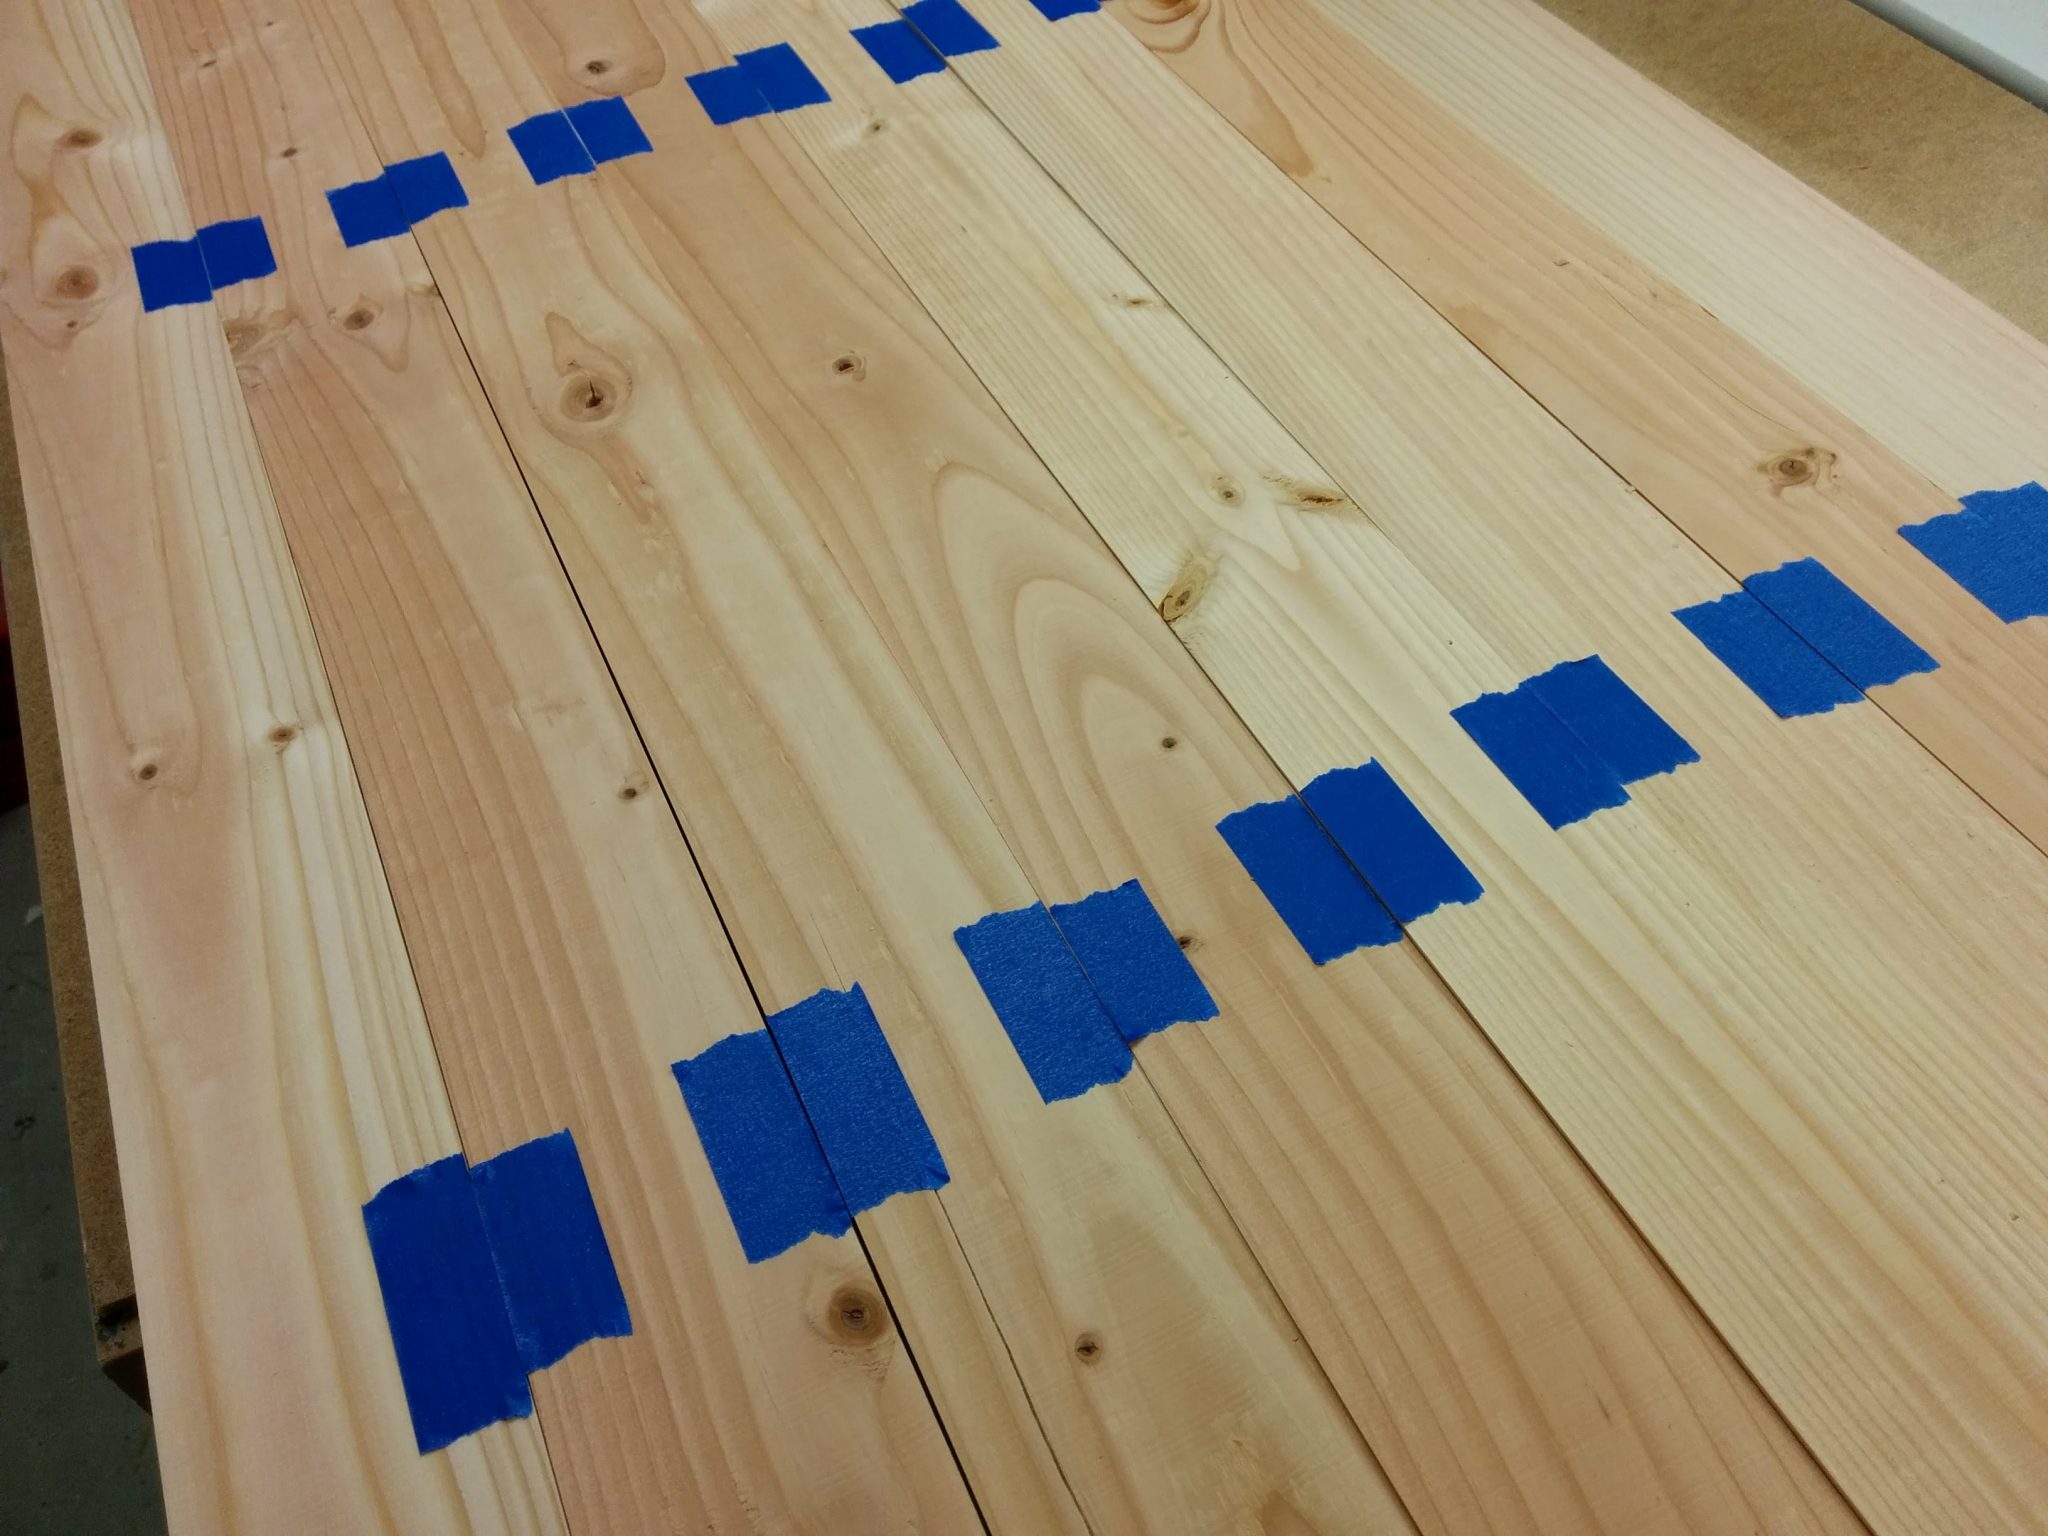
Afterward, I made marks where I should center the slot for the biscuits. The placement here isn’t critical.
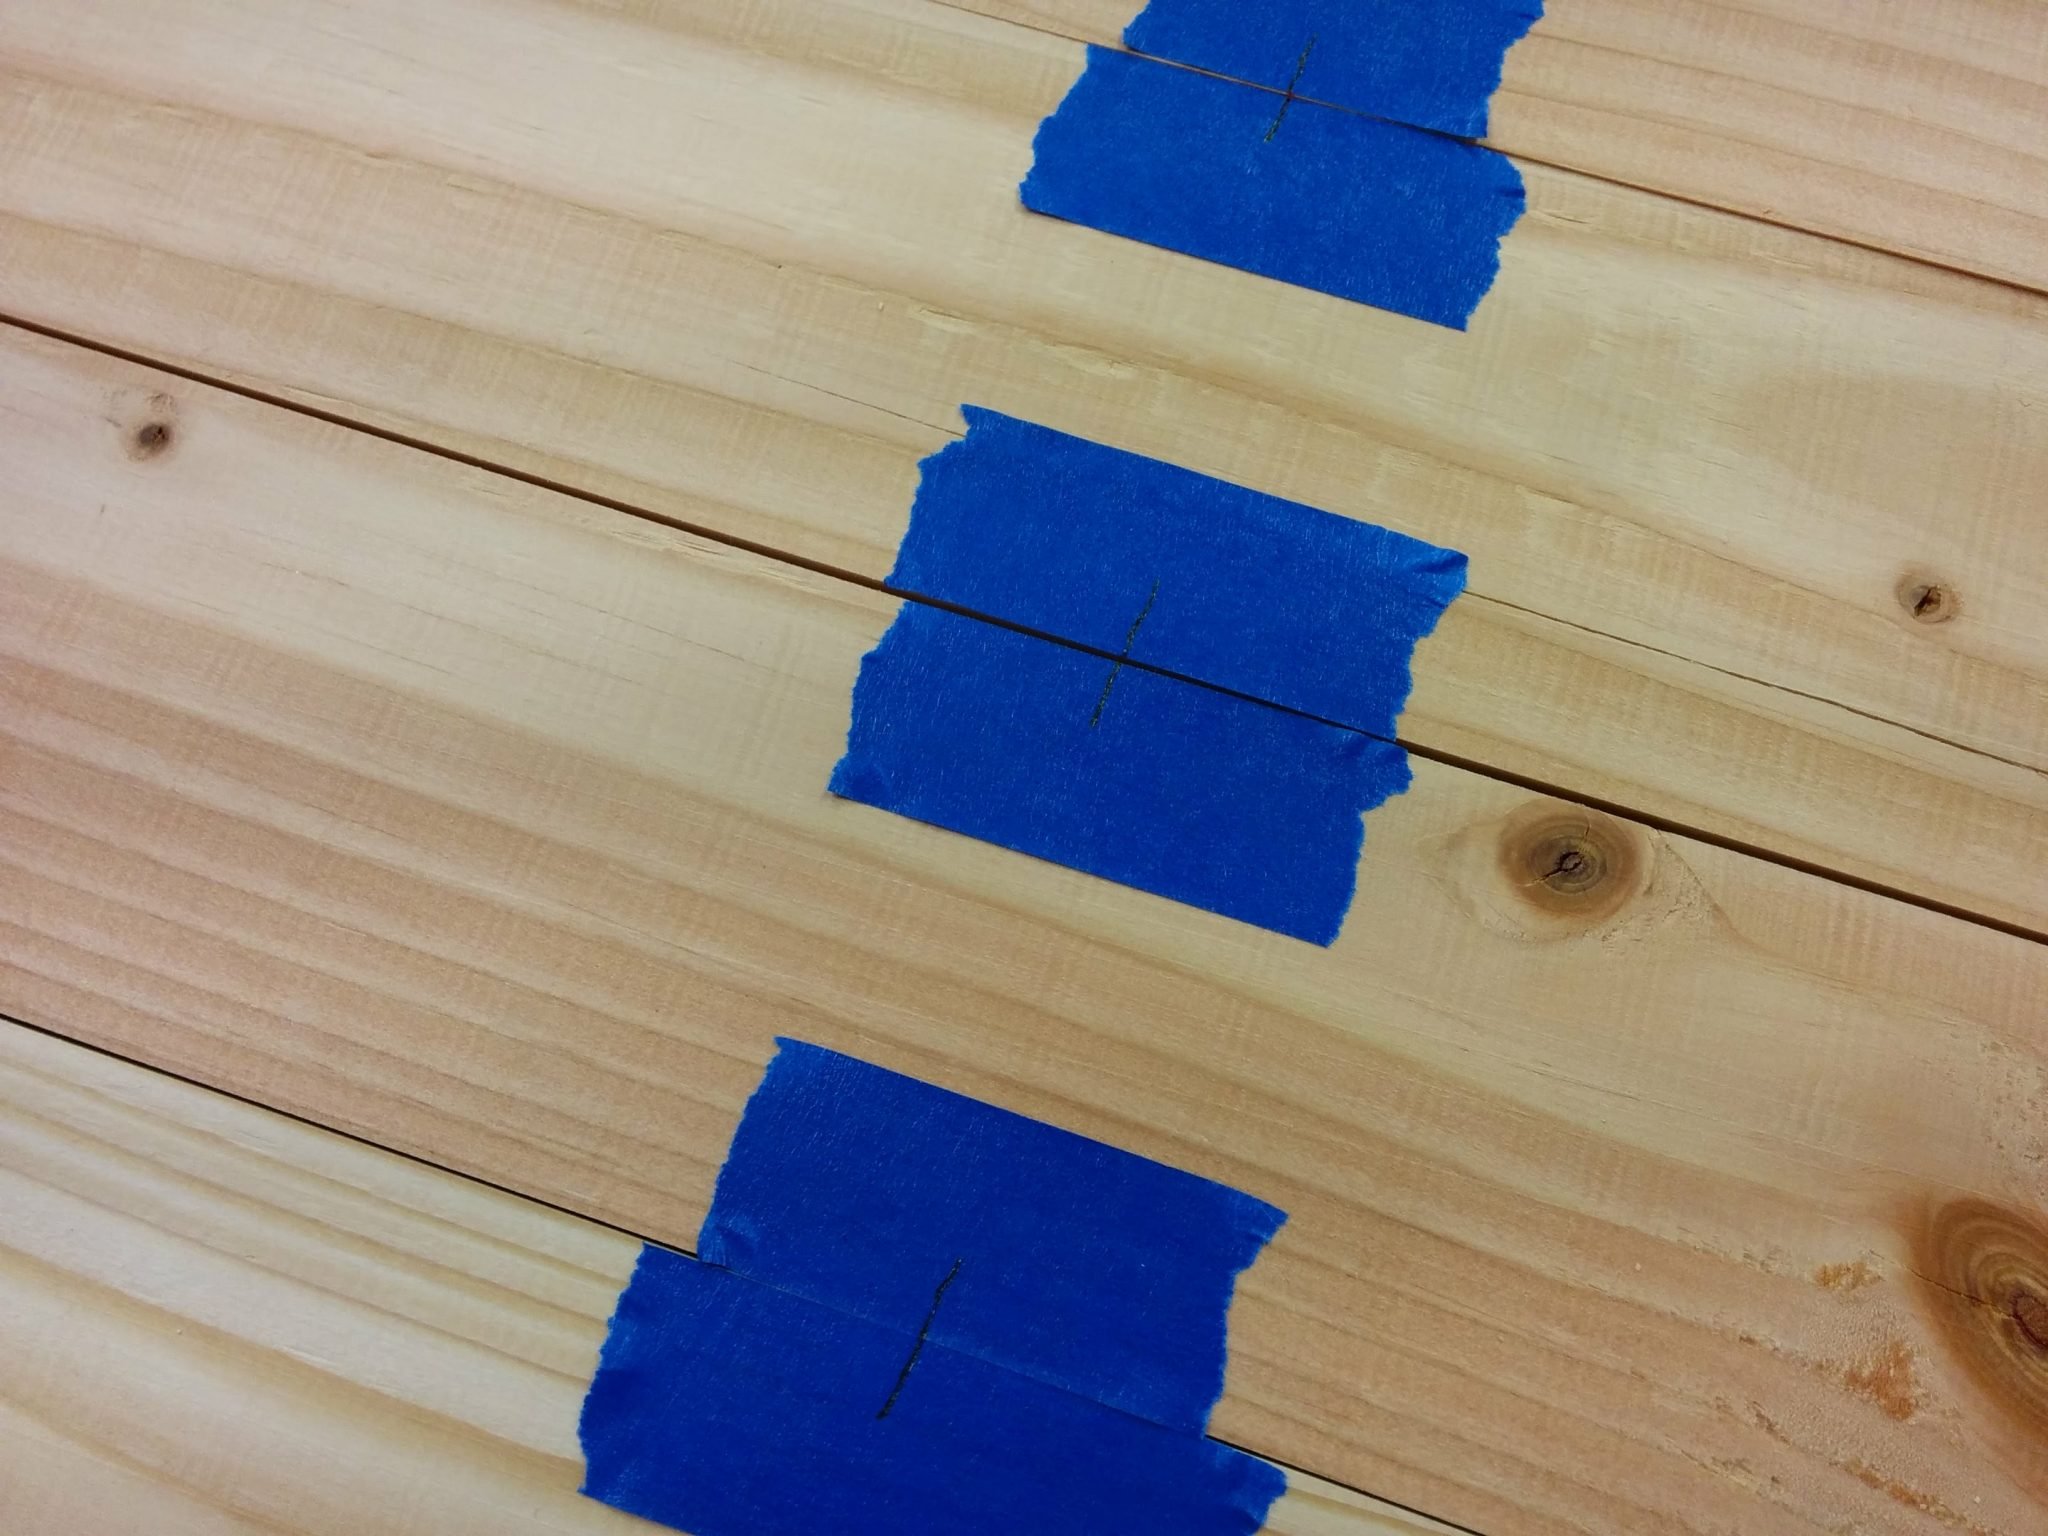
Next I added some tape so I could number each board. The reason I’m doing this with tape rather than just writing directly on the boards is because these boards are douglas fir and are pretty soft. I didn’t want to make indentations from a pencil on them if I could avoid it.
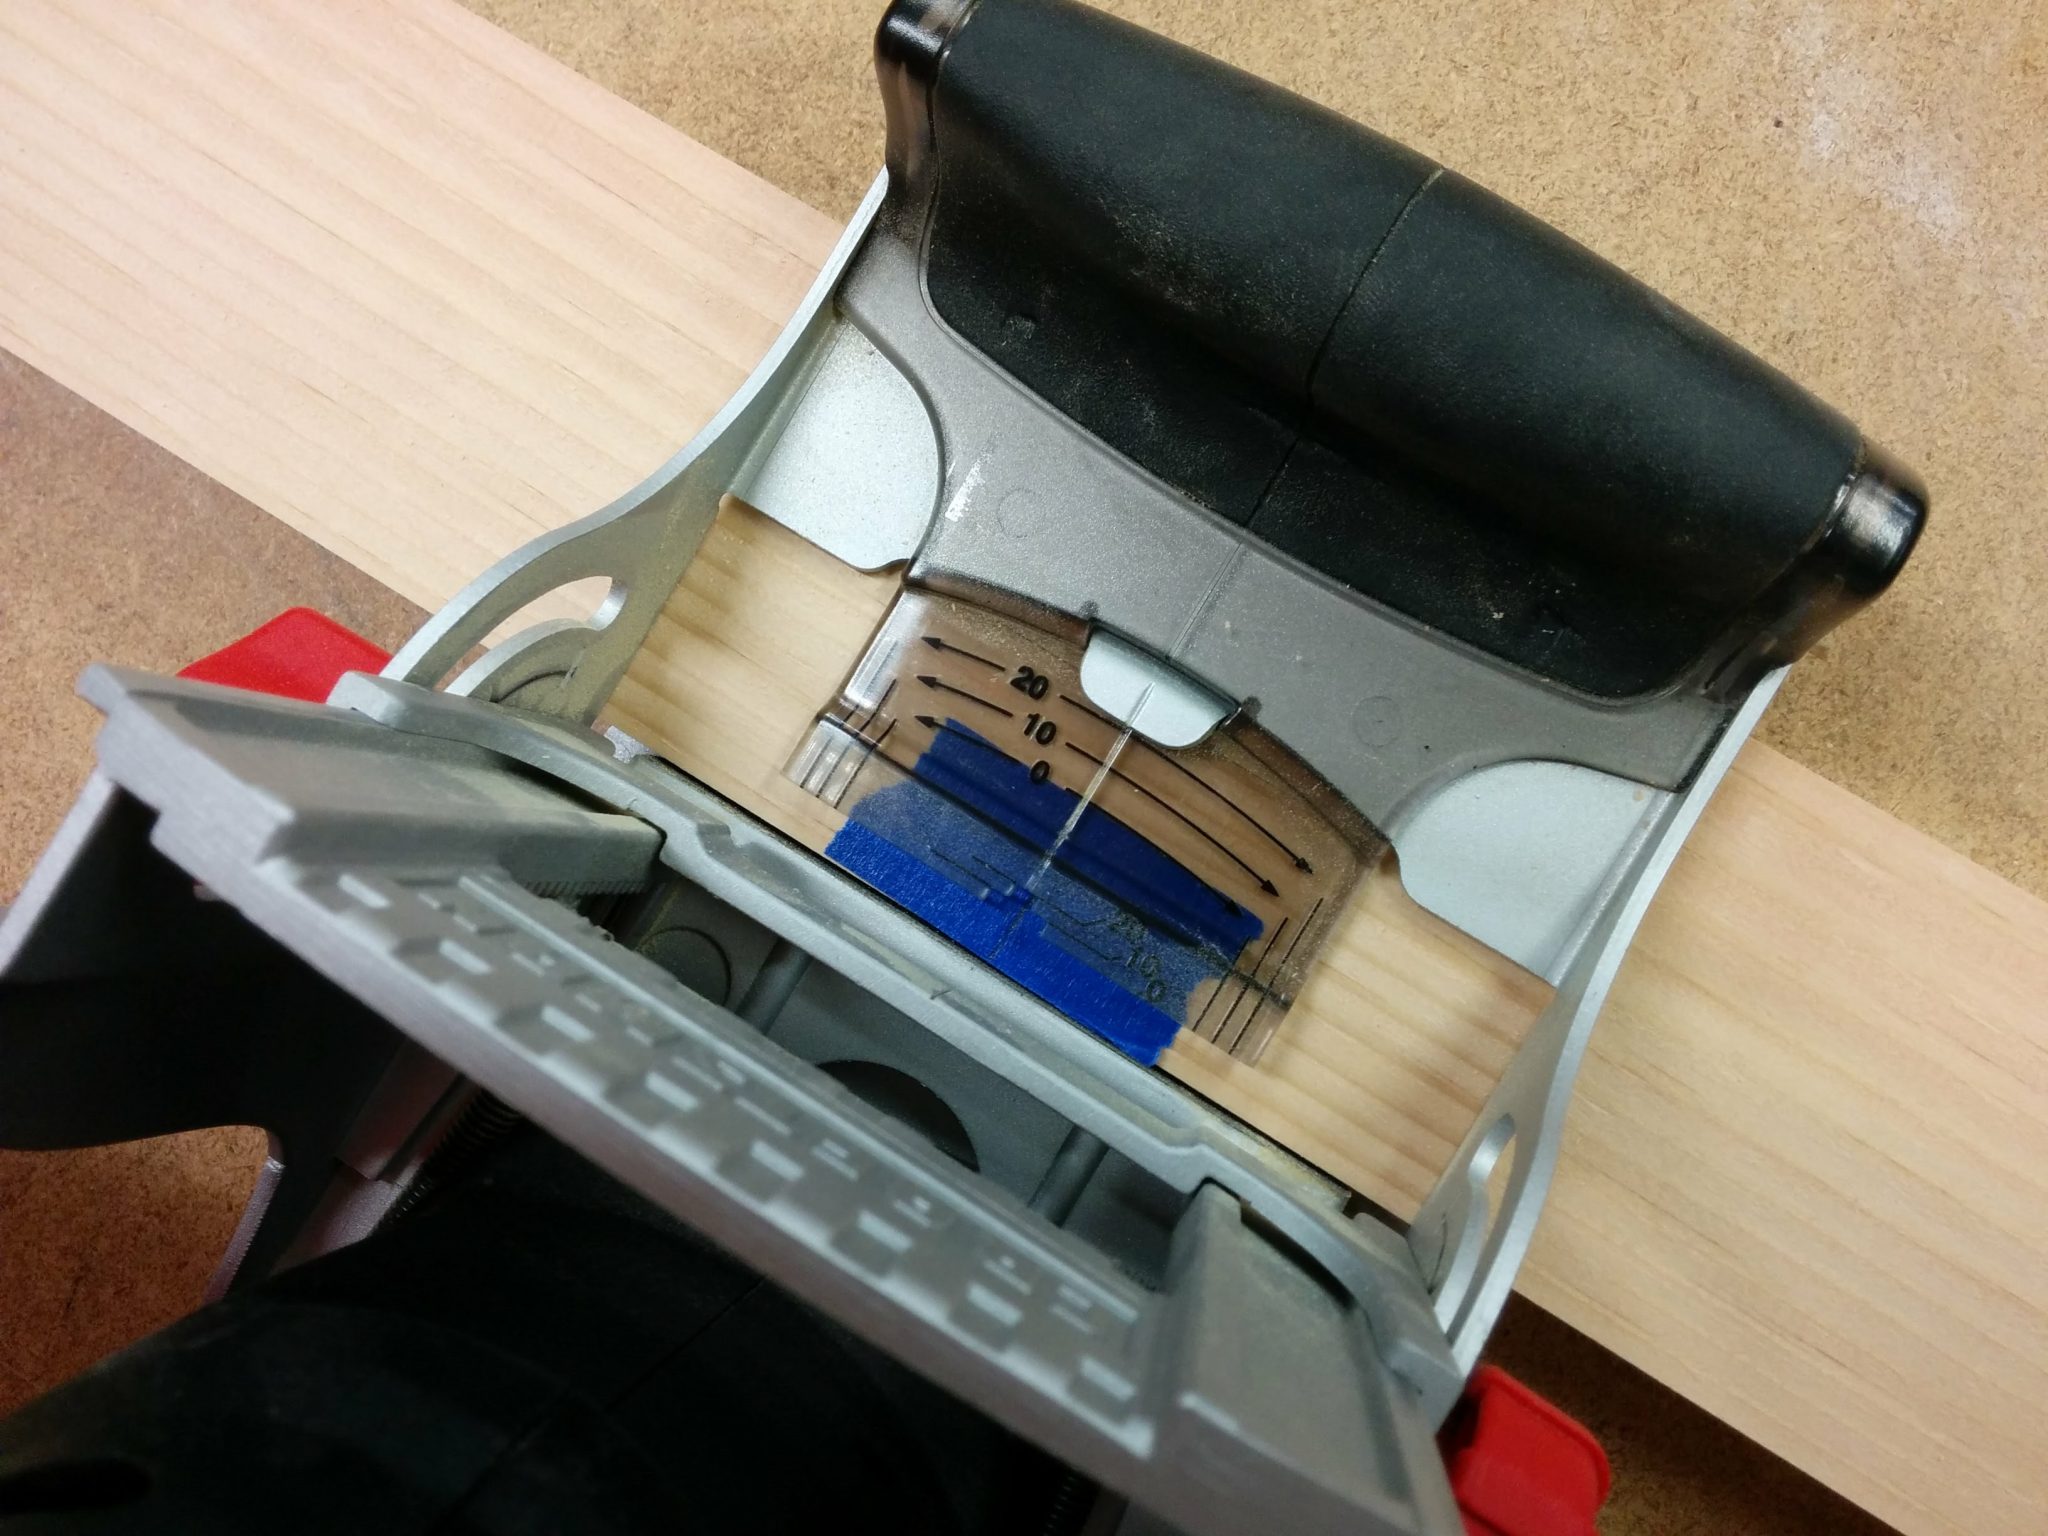
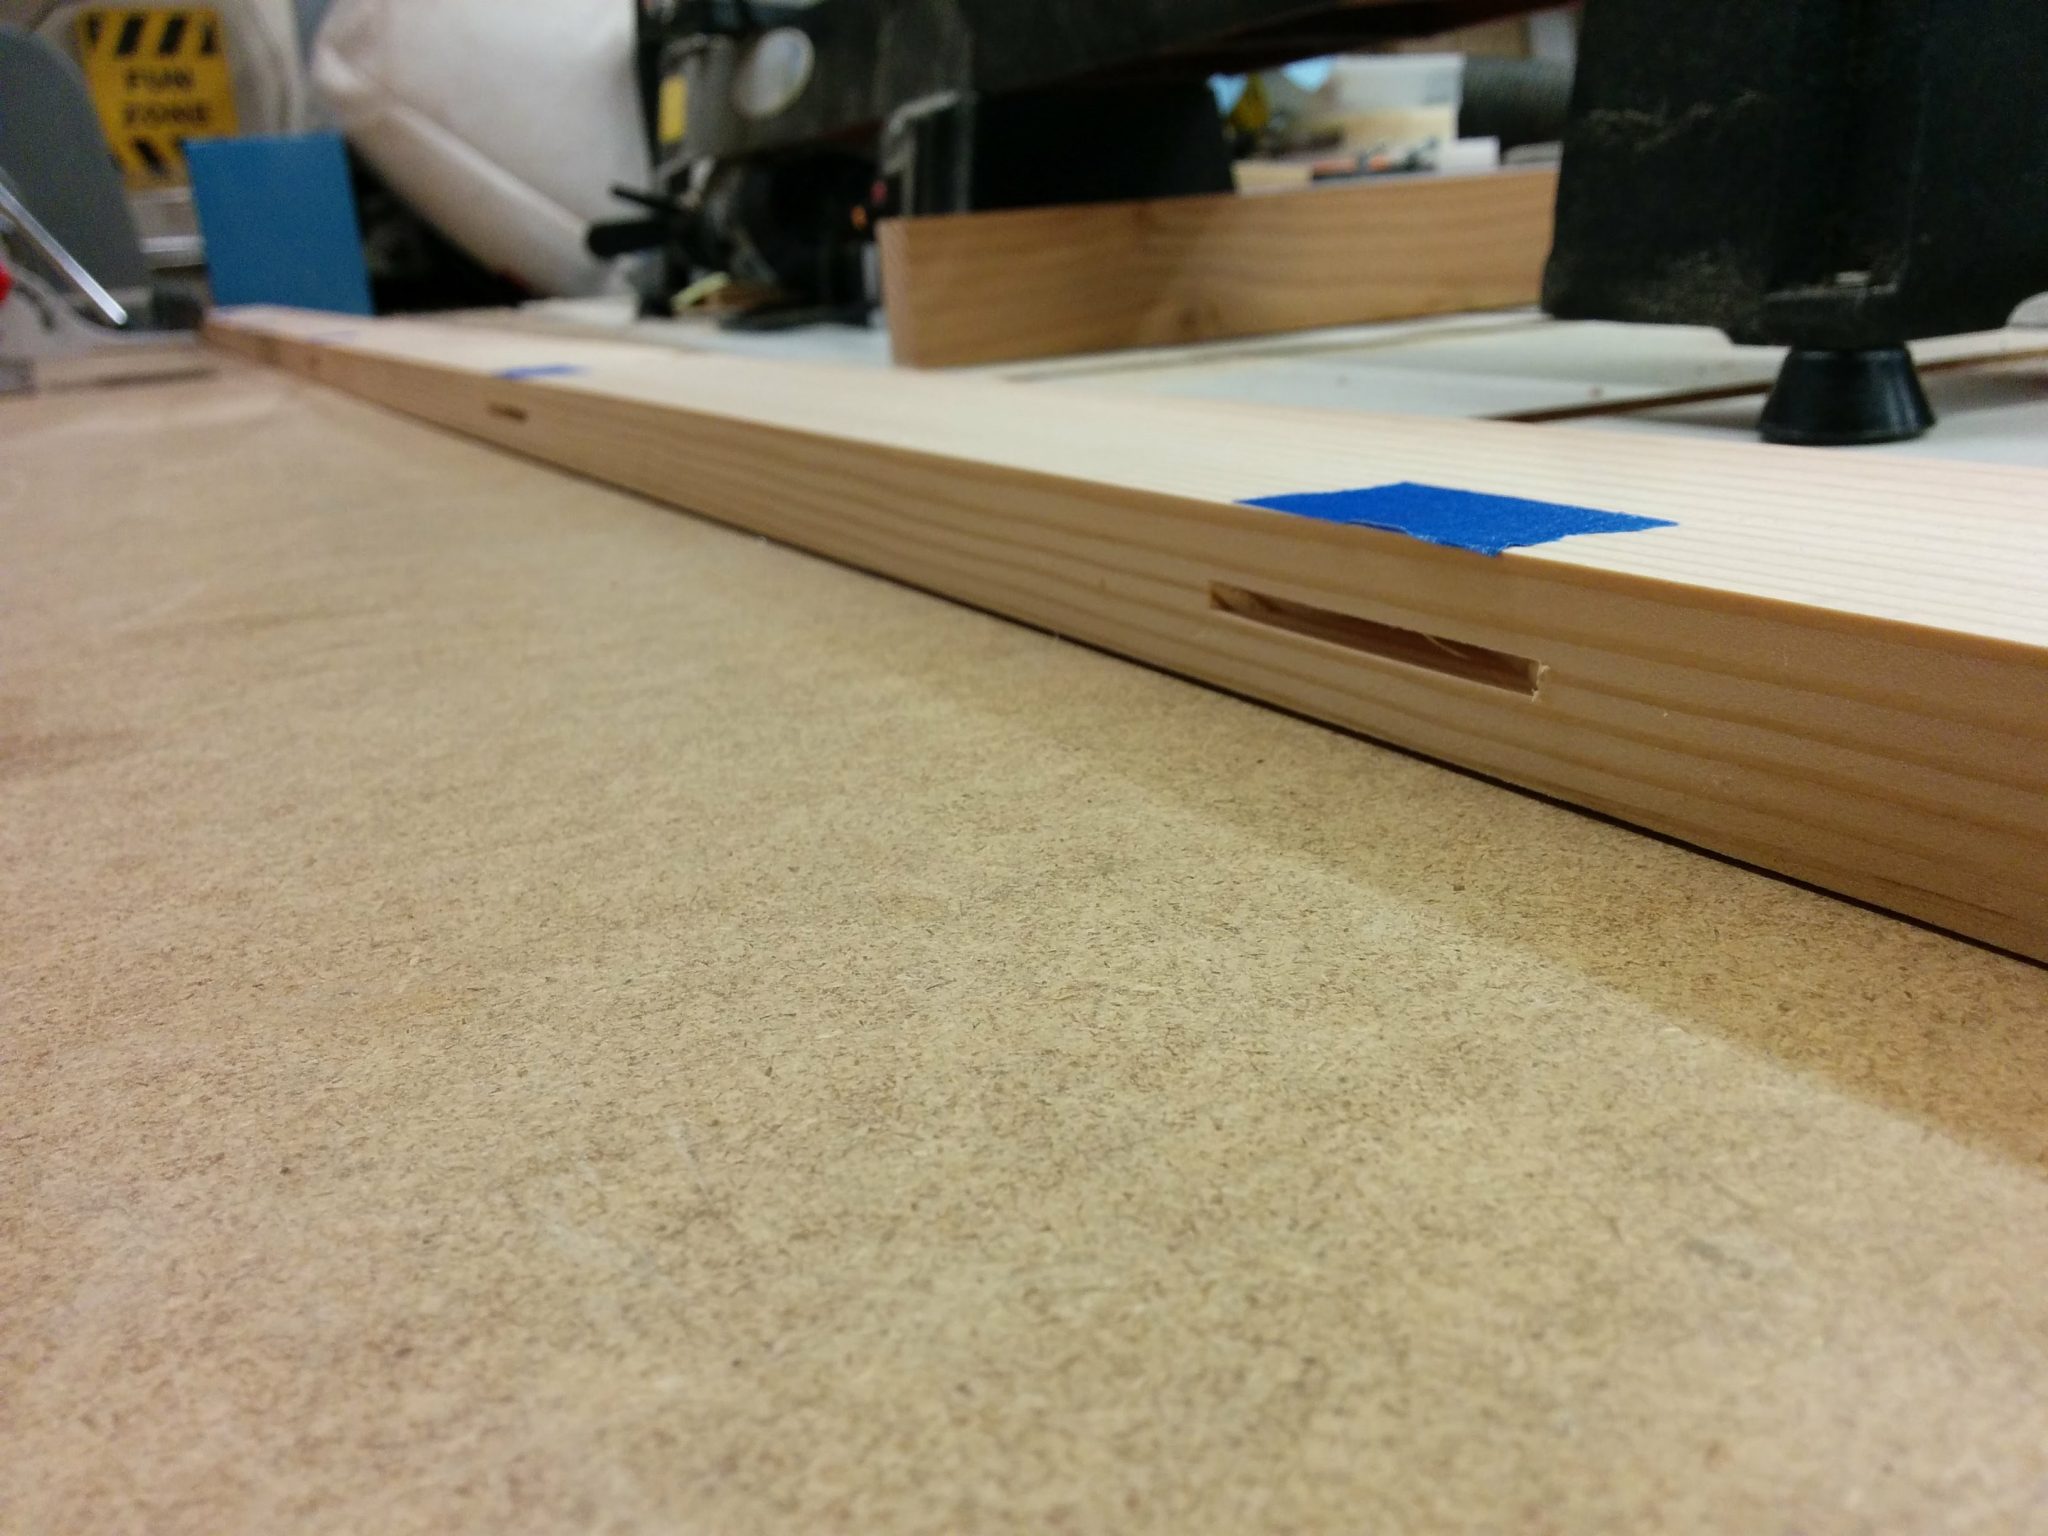
Using the marks I had drawn, I used my biscuit joiner to make slots at all of the marks.
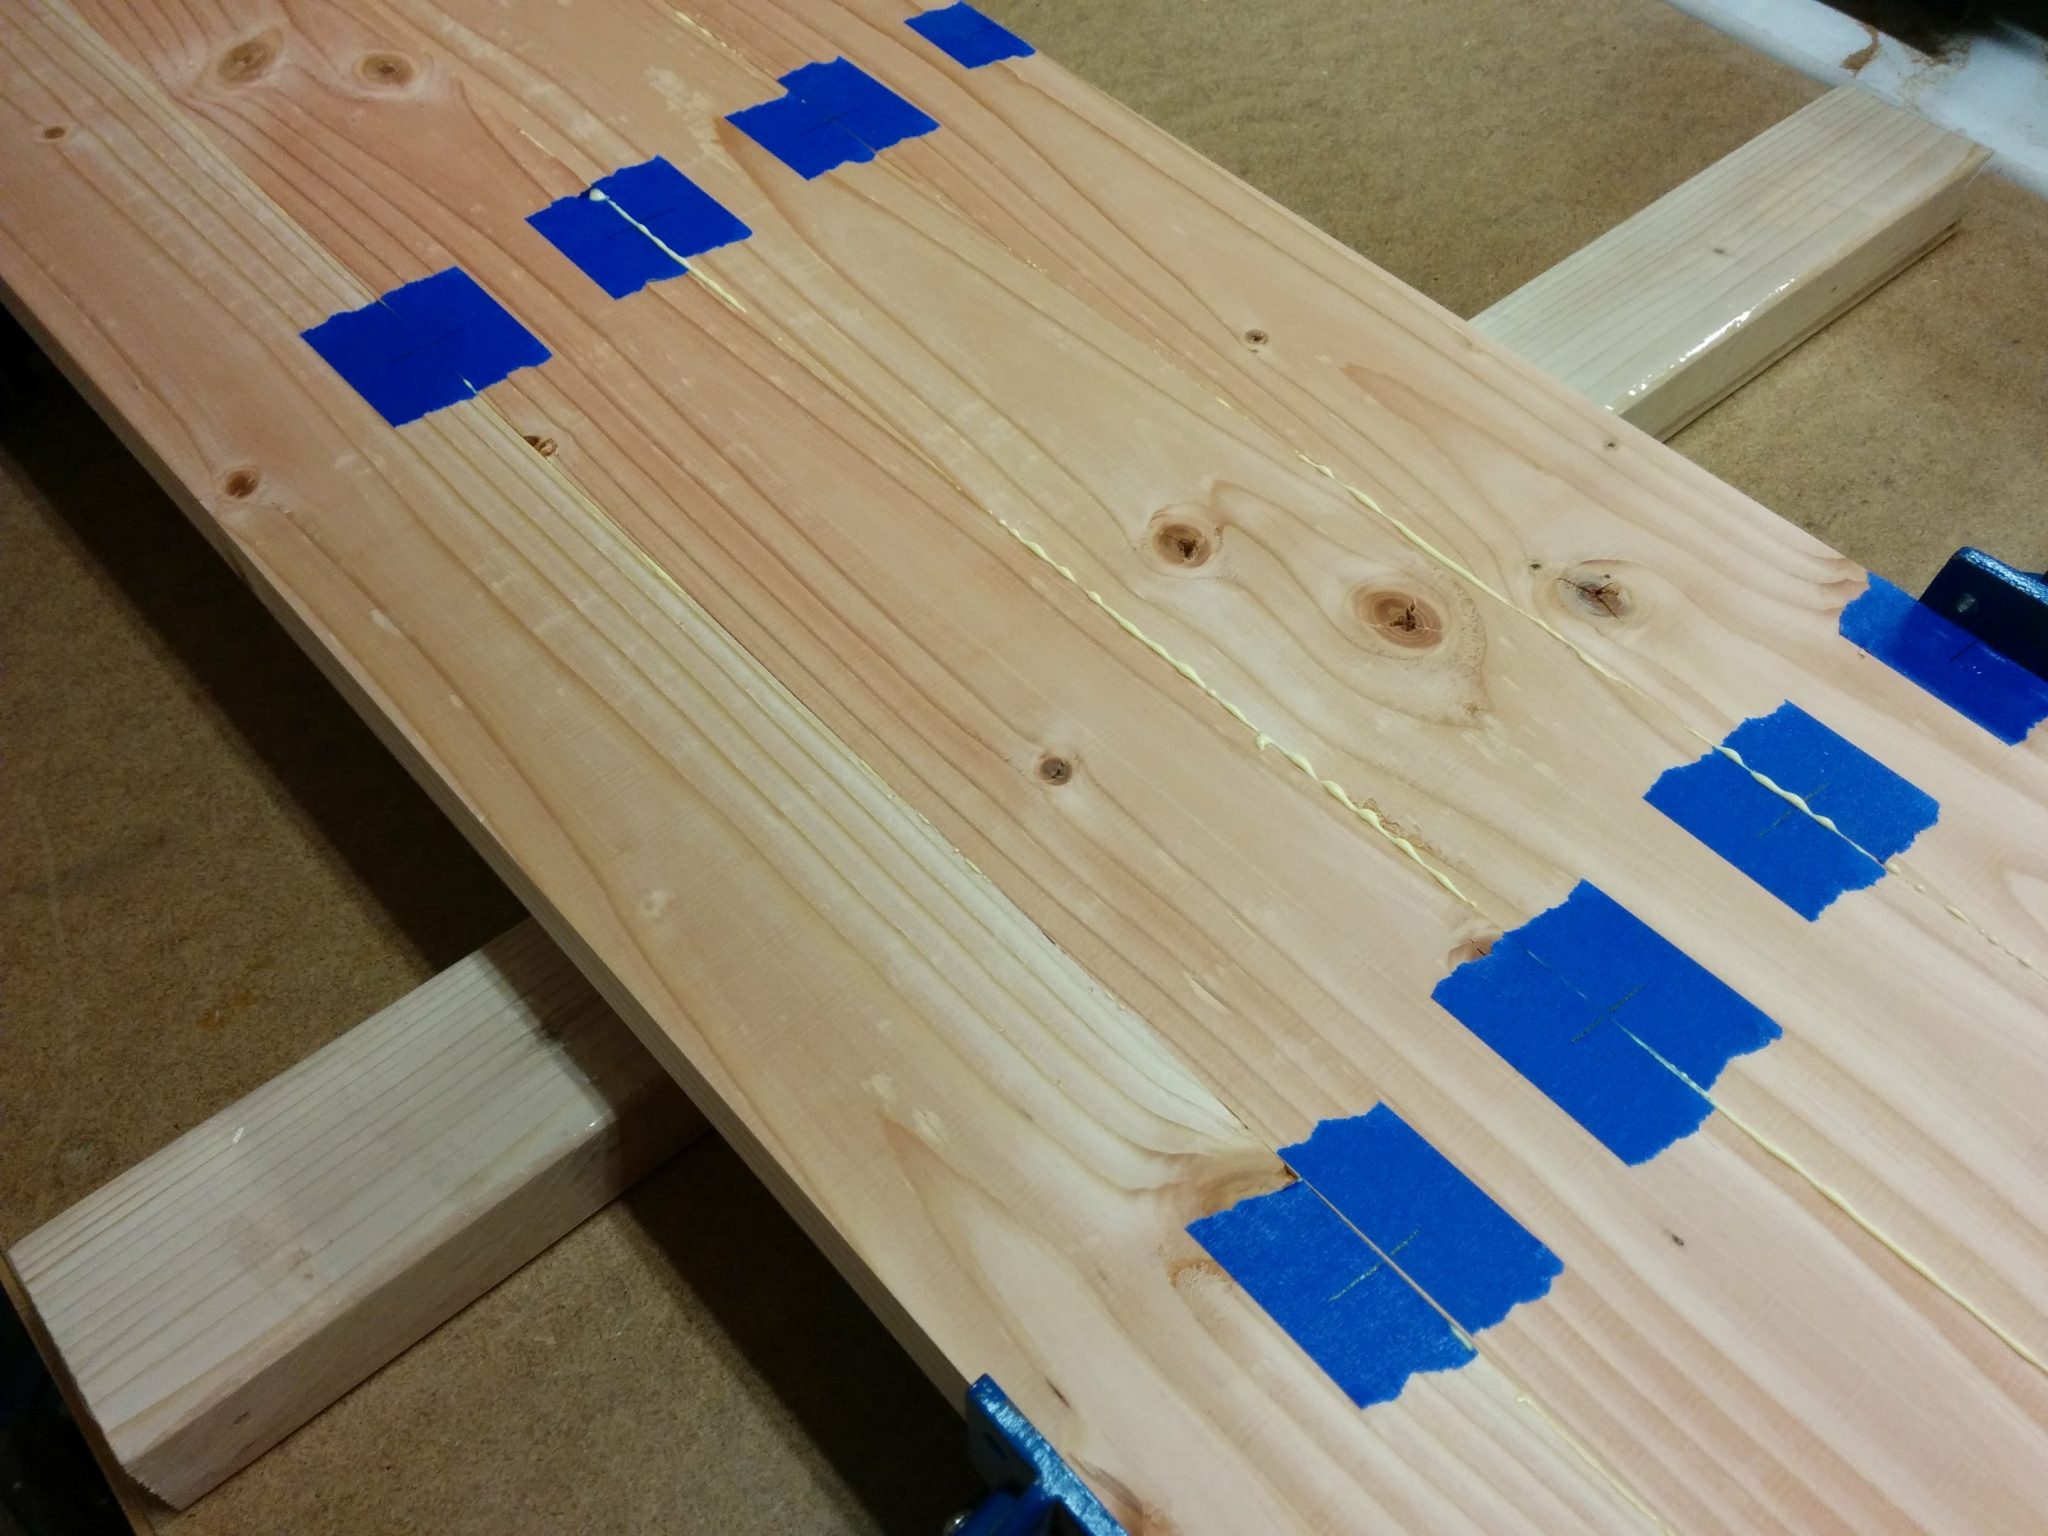
Now it’s time to try gluing this all together. I decided to do this in sections, gluing up half at a time. Setting up a few pipe clamps, I arranged the boards up so I could glue up four of the eight boards.
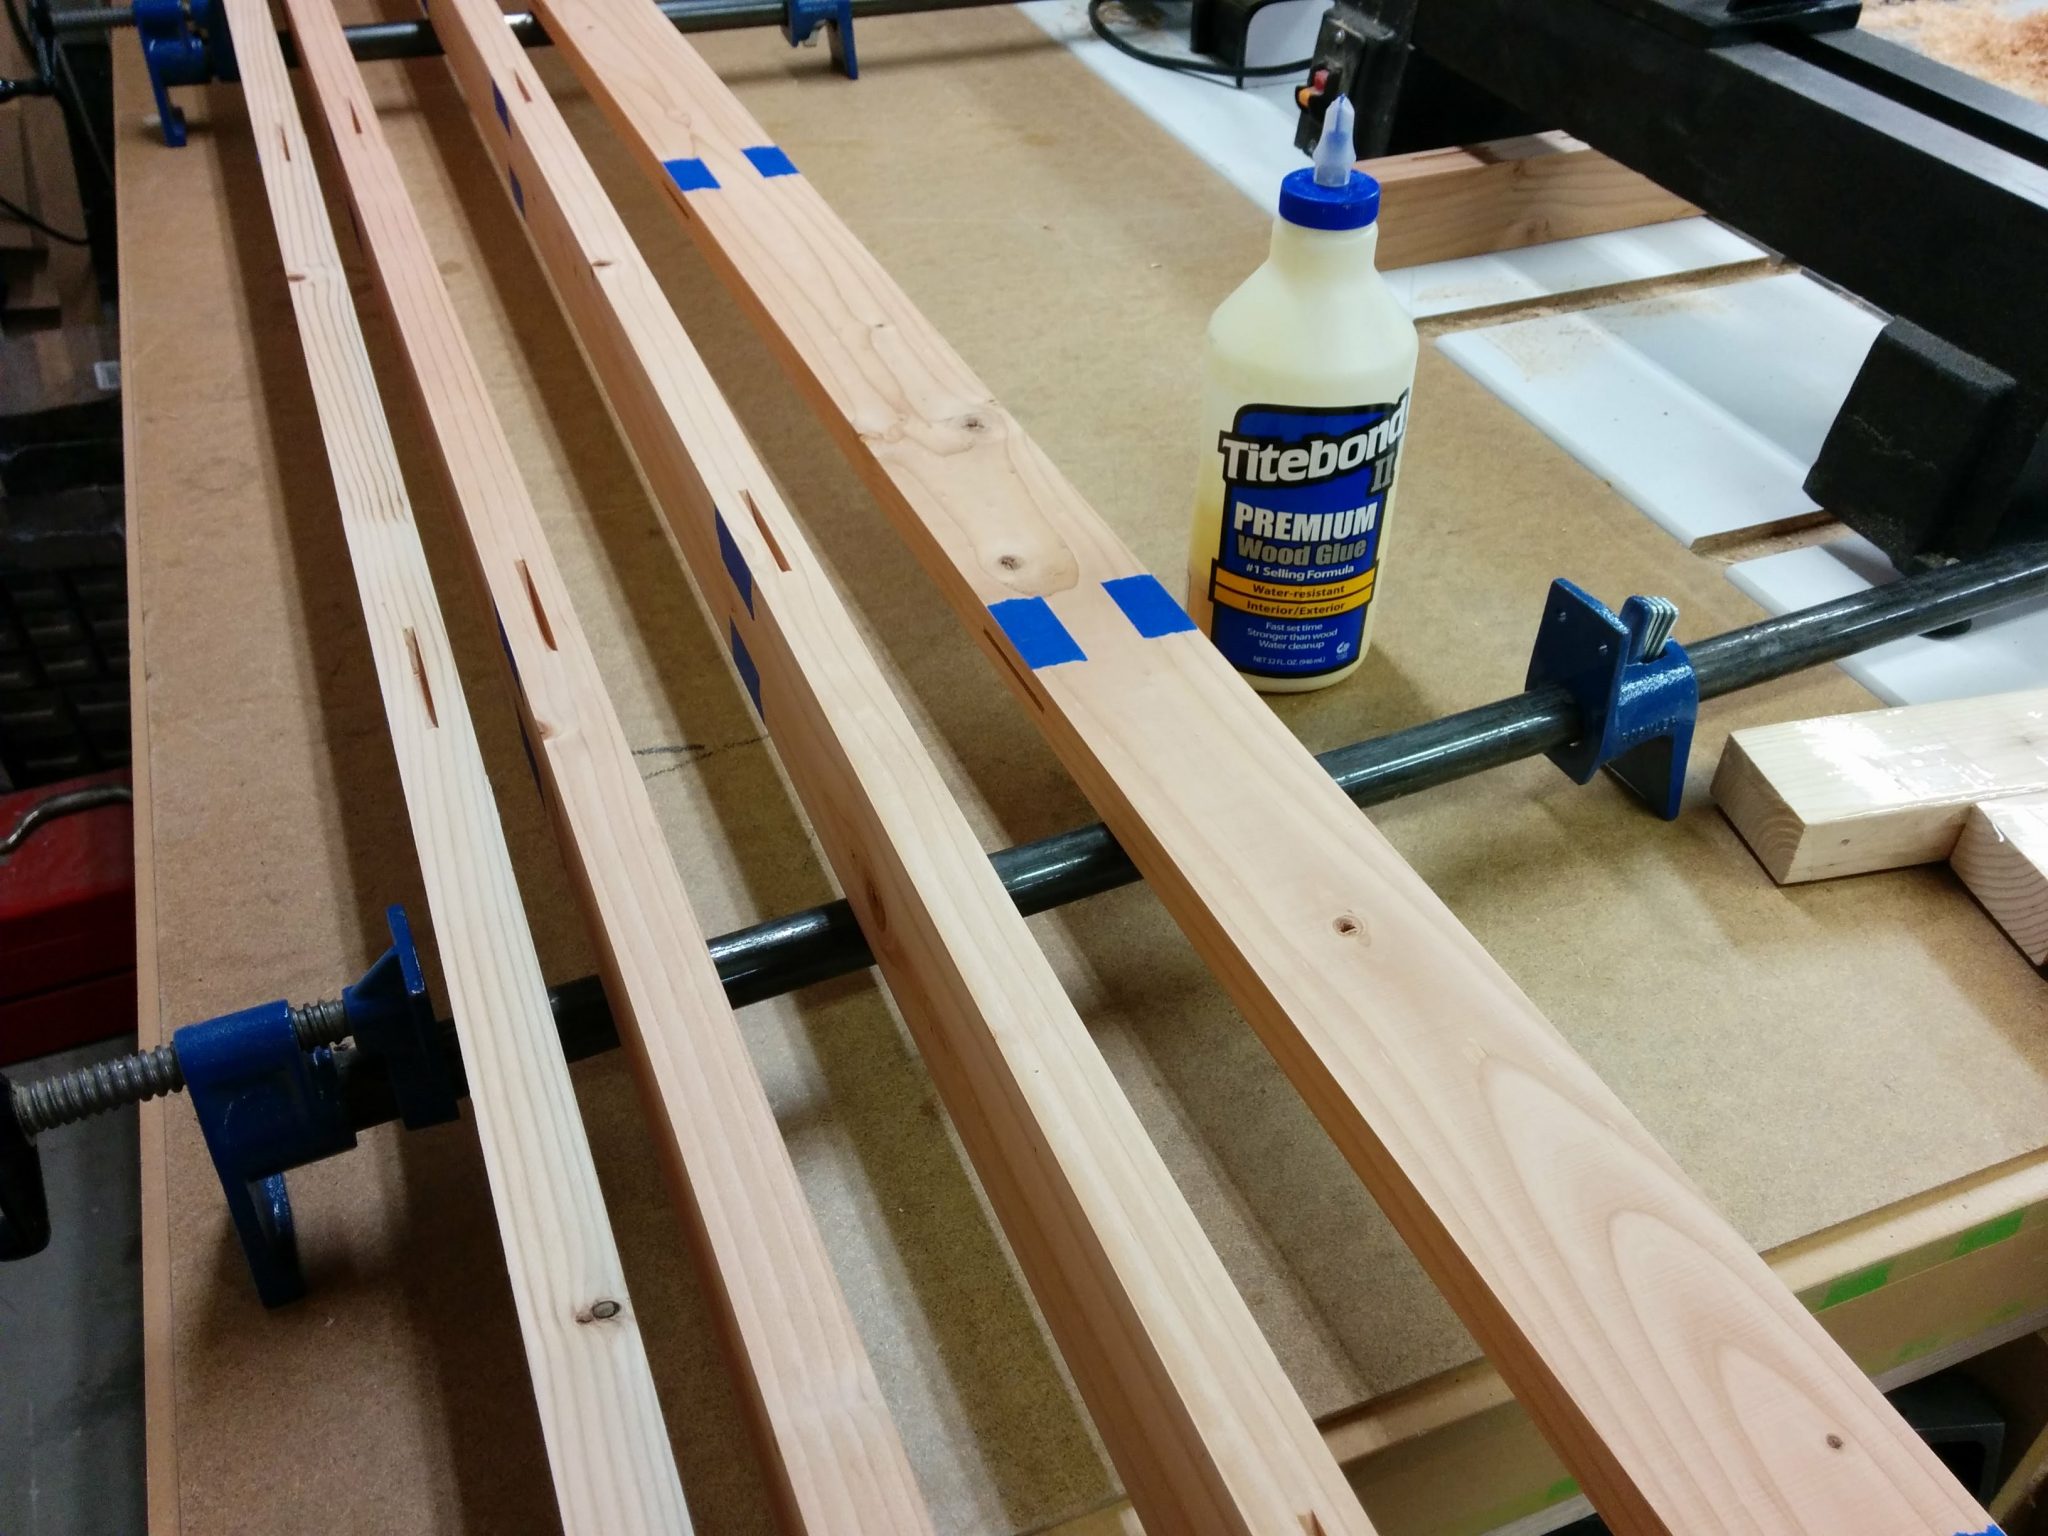
I applied a liberal amount of glue to the edges of three of the boards, including some extra glue in the biscuit slots. Then I inserted a size 10 biscuit in each slot on the three boards with glue applied.
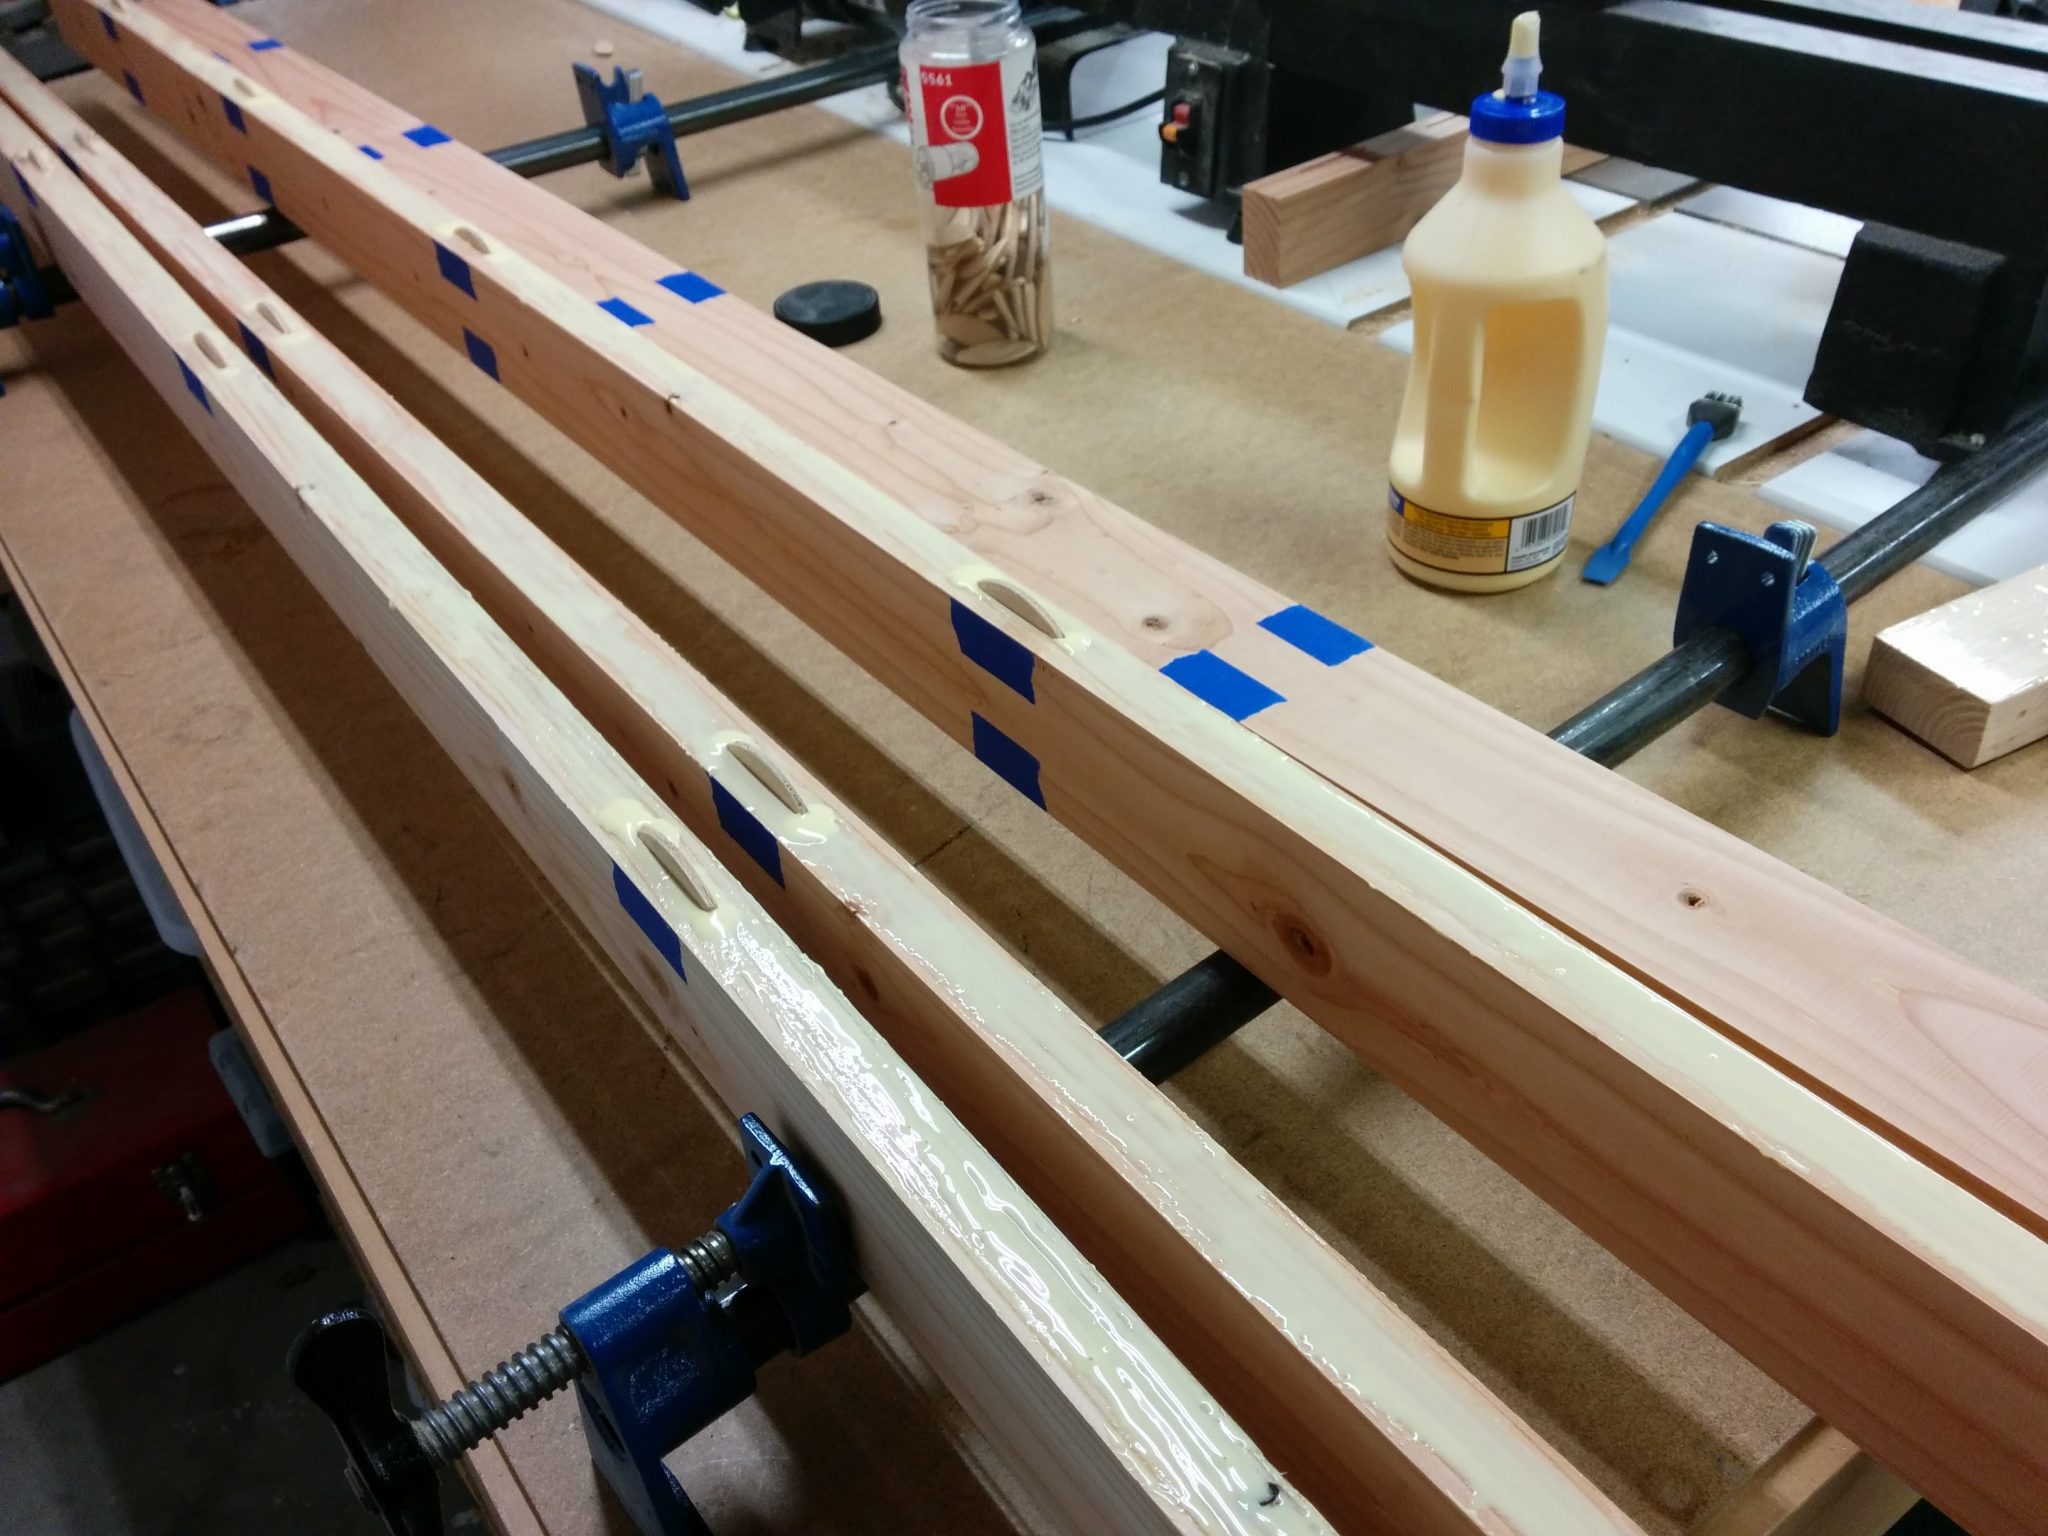
Then I carefully rotated the second, third, and fourth board and inserted some glue in those biscuit slots. After that, I laid the boards out on the clamps so the biscuits inserted into the slots on the adjacent board and started to bring the clamps together. I didn’t really tighten them that much since I needed to nudge a few of the boards with a rubber mallet to get the marks on the tape to line up again.
I got them all aligned and started to tighten up the clamps.
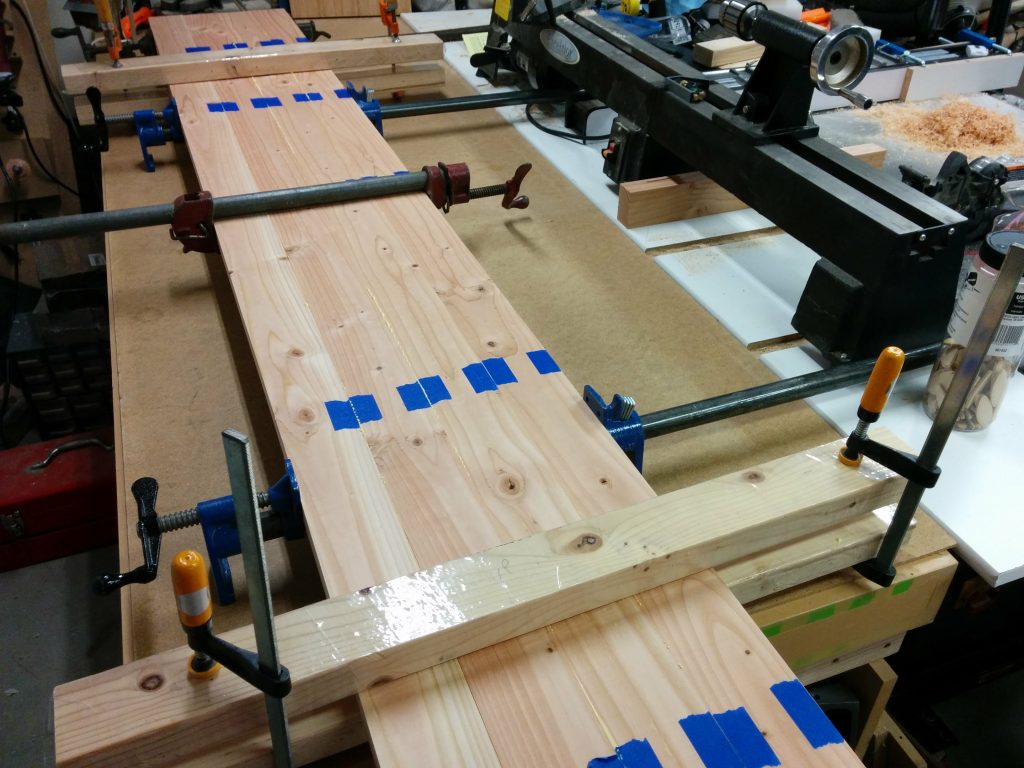
Now it’s time to attach the cauls. I started by sliding one of the cauls under the glued up boards. The side of the caul that I sanded the slope onto is facing up.
Then I set another caul on top of the glue up with the sloped edge facing down.
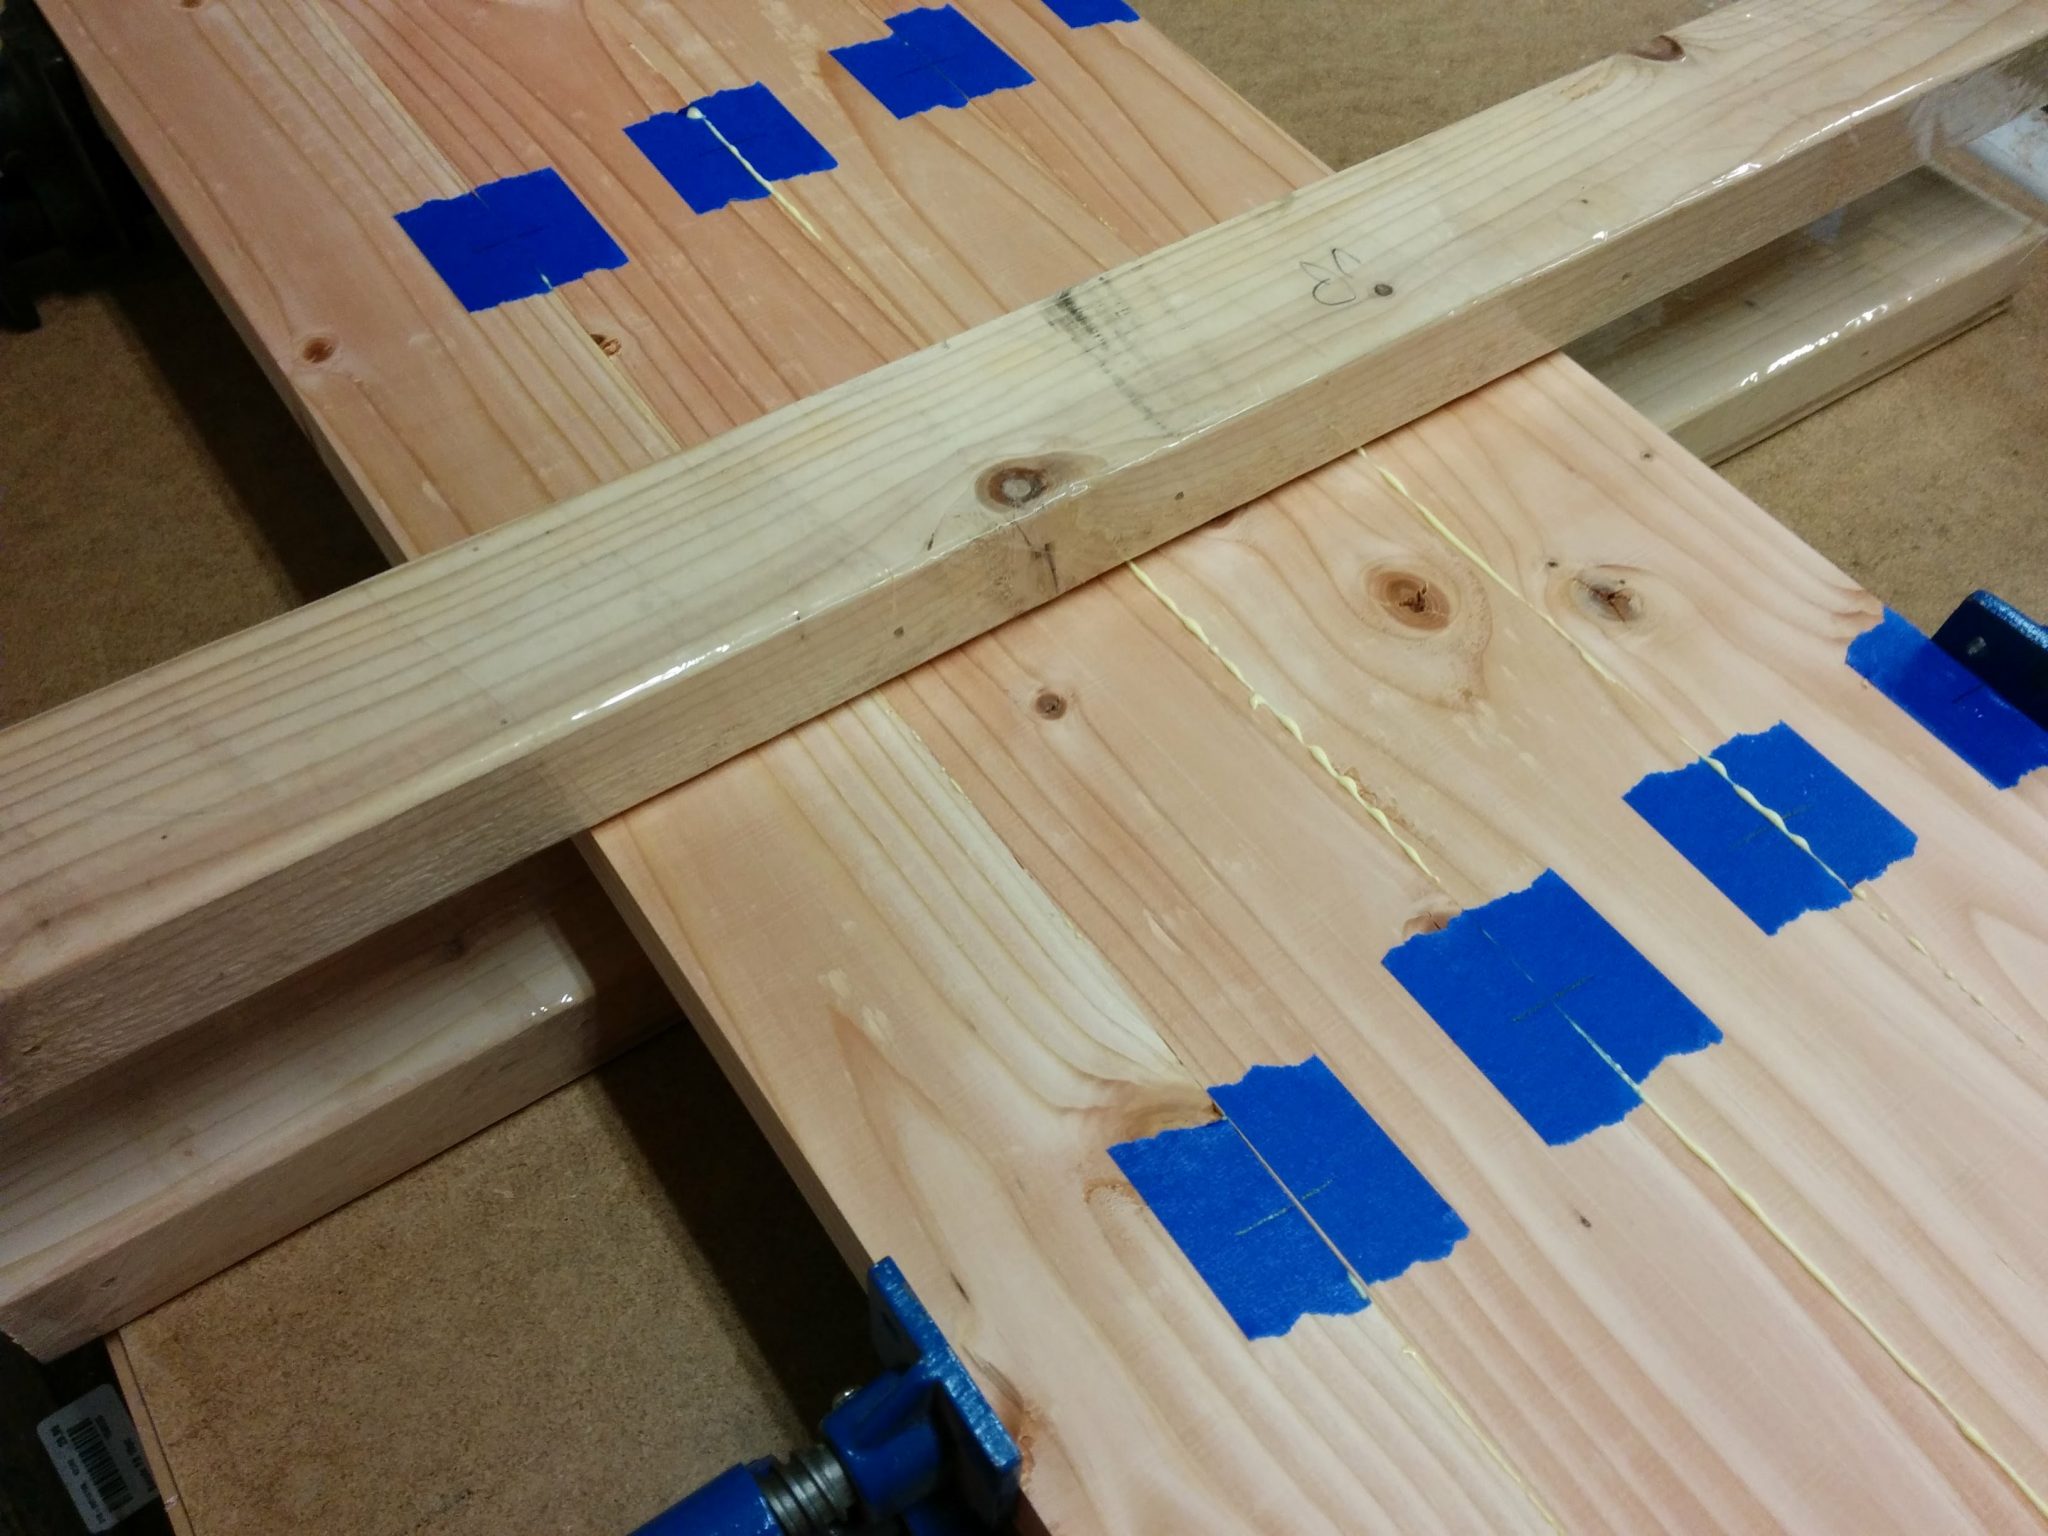
Then I clamped them together. The slopes on the edges allows the cauls to bend as they “give” a little bit but will direct most of that deformity to the edges of the cauls instead of raising up off the glue up in the middle.
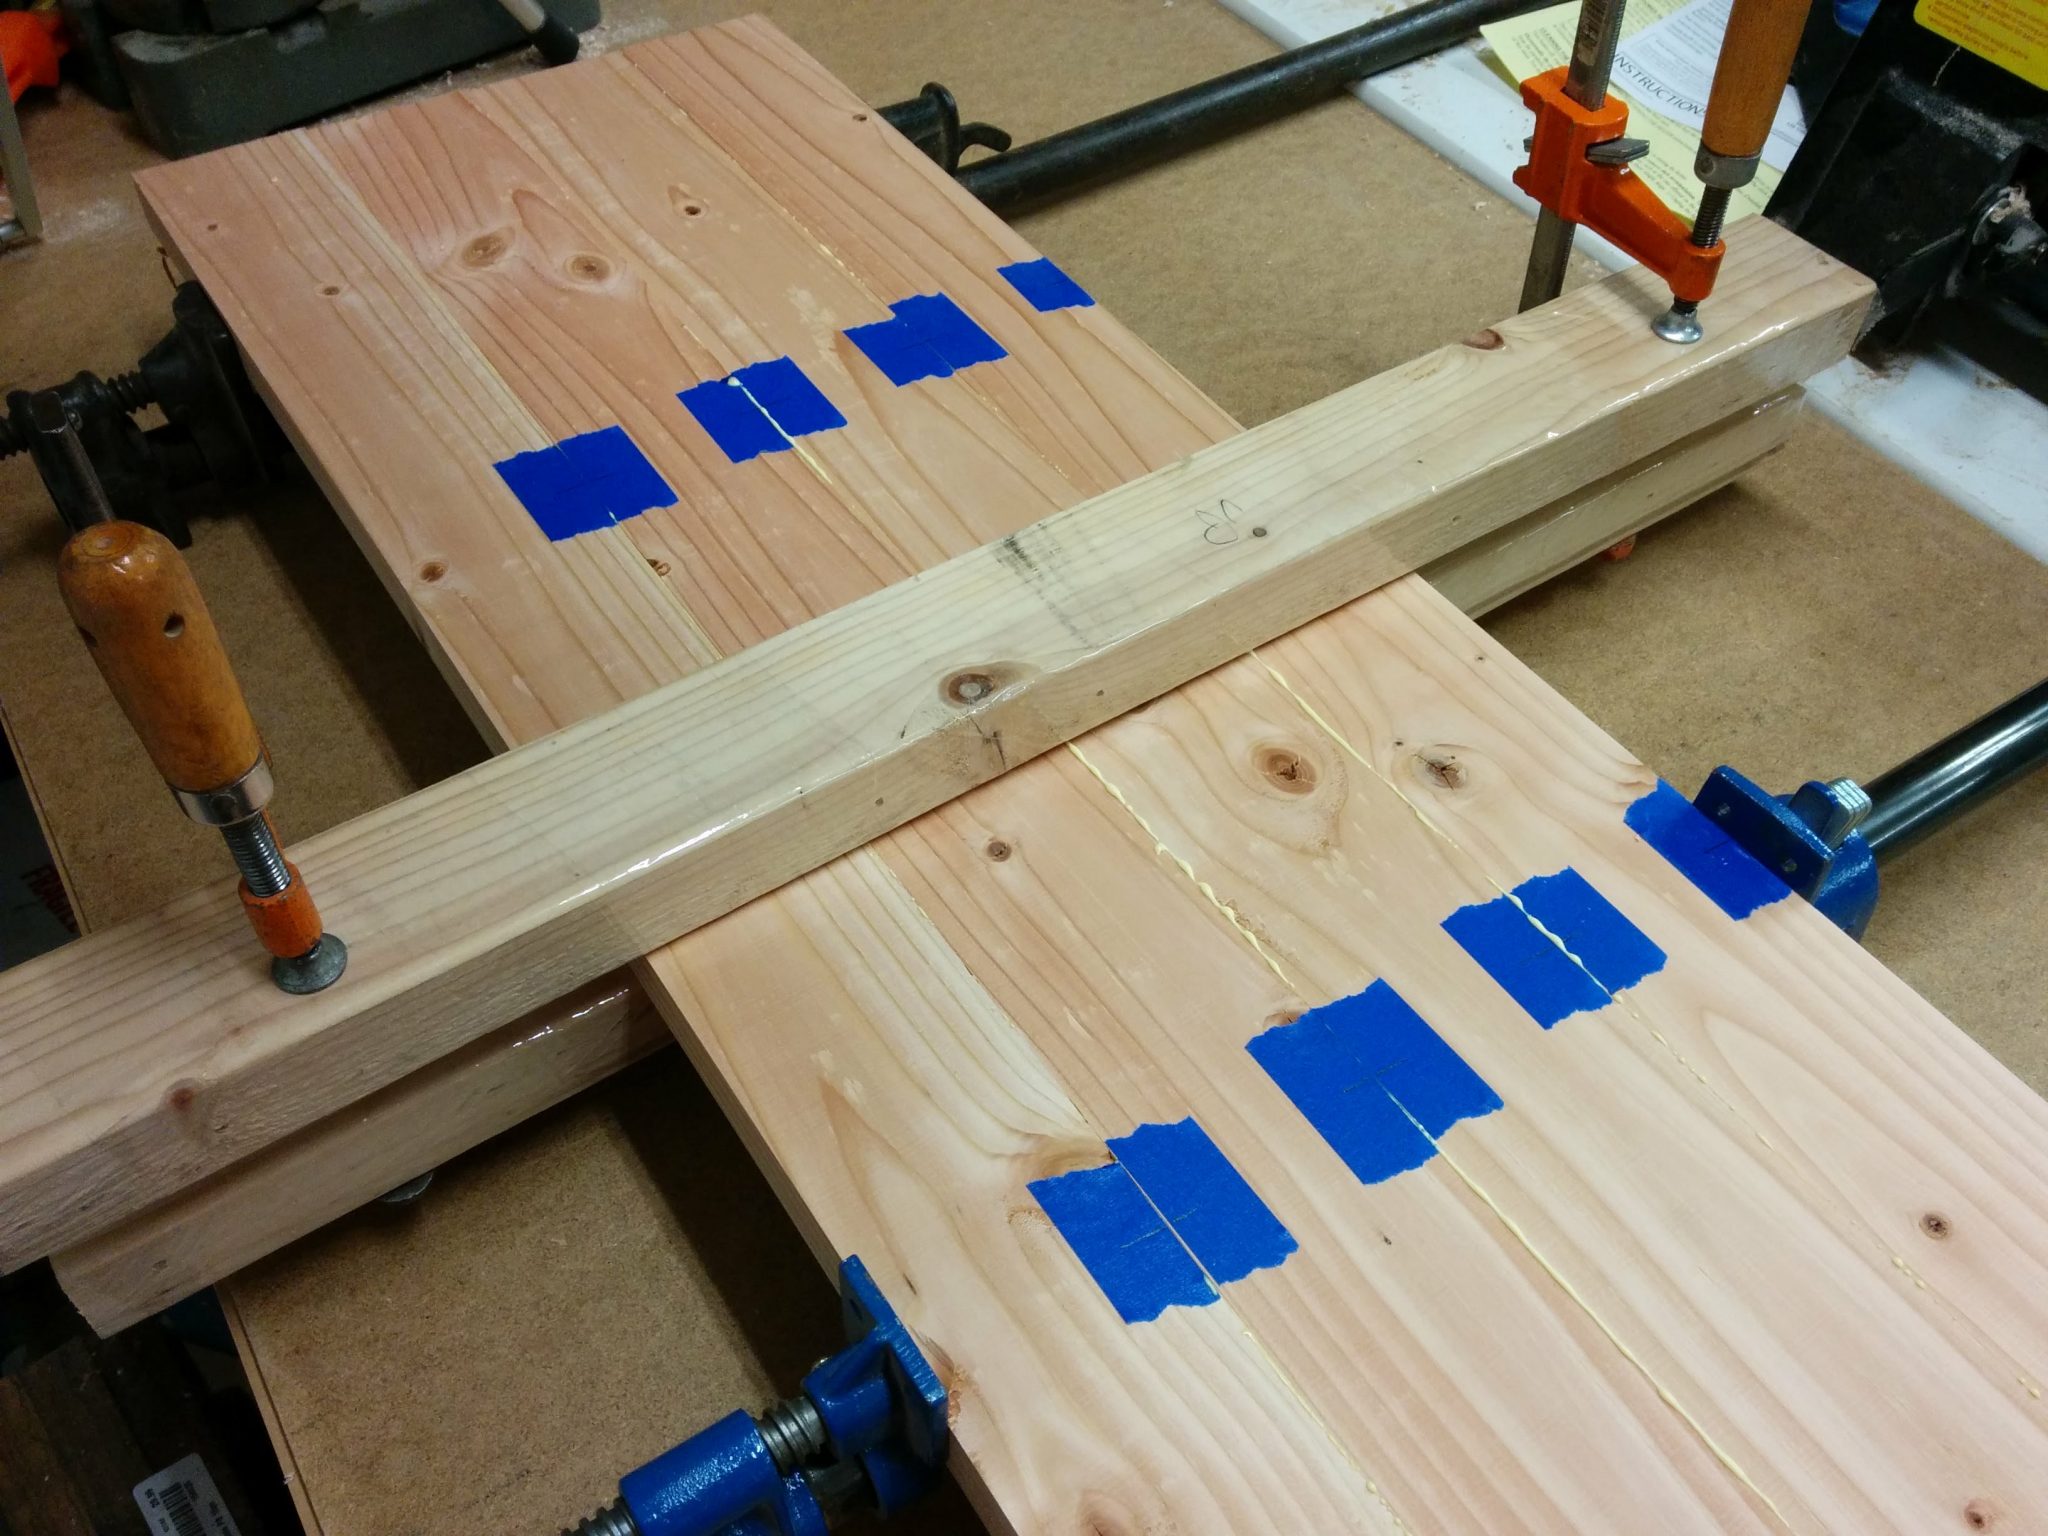
I attached the second set of cauls at the other end along with a few more clamps.

Time to wait…
After this sets up, I’ll do the same to the other half. That’s going to have to wait until another day.
Up next: Workbench Part 3 – Change of plans.
Pingback: Workbench: Part 1 – Milling down some 2 X 4s – TrentDavis.net
Pingback: Workbench: Part 3 – Change of plans – TrentDavis.net
Pingback: Workbench: Part 4 – Gluing up the new top – TrentDavis.net
Very interesting blog Trent……you are multi-talented!!! Thanks for all the information you gave me when I contacted you today regarding saw blades. I am going to read all the woodworking info on your site and am sure I’ll learn from it. I noticed you are also interested in music and wanted to suggest you check out the “Musical Instrument Museum” in Phoenix, AZ if you are ever in the area. You can google it for more information. It is a fascinating place.
Thanks for the heads up. I think I’ve heard of that museum. I would probably melt if I went to Phoenix but I’ll be sure to check it out if I’m ever down there.
Pingback: Workbench/Outfeed Table Work Surface - TrentDavis.net
Cauls can be made easy on a jointer, and also cauls should be on edges of boards not faces…
Thanks for the heads up. This was how I was trained so I never questioned it, but I looked into it and you are right about the cauls being on the edges.