
The tops and bottoms are cut to size and glued up. The next step is to fix a few mistakes and apply the roundovers so I can stain and finish them.
Fixing my mistakes
I make a lot of mistakes. More than I would like. I made a few while I was routing out the shapes of the desk bottom pieces.
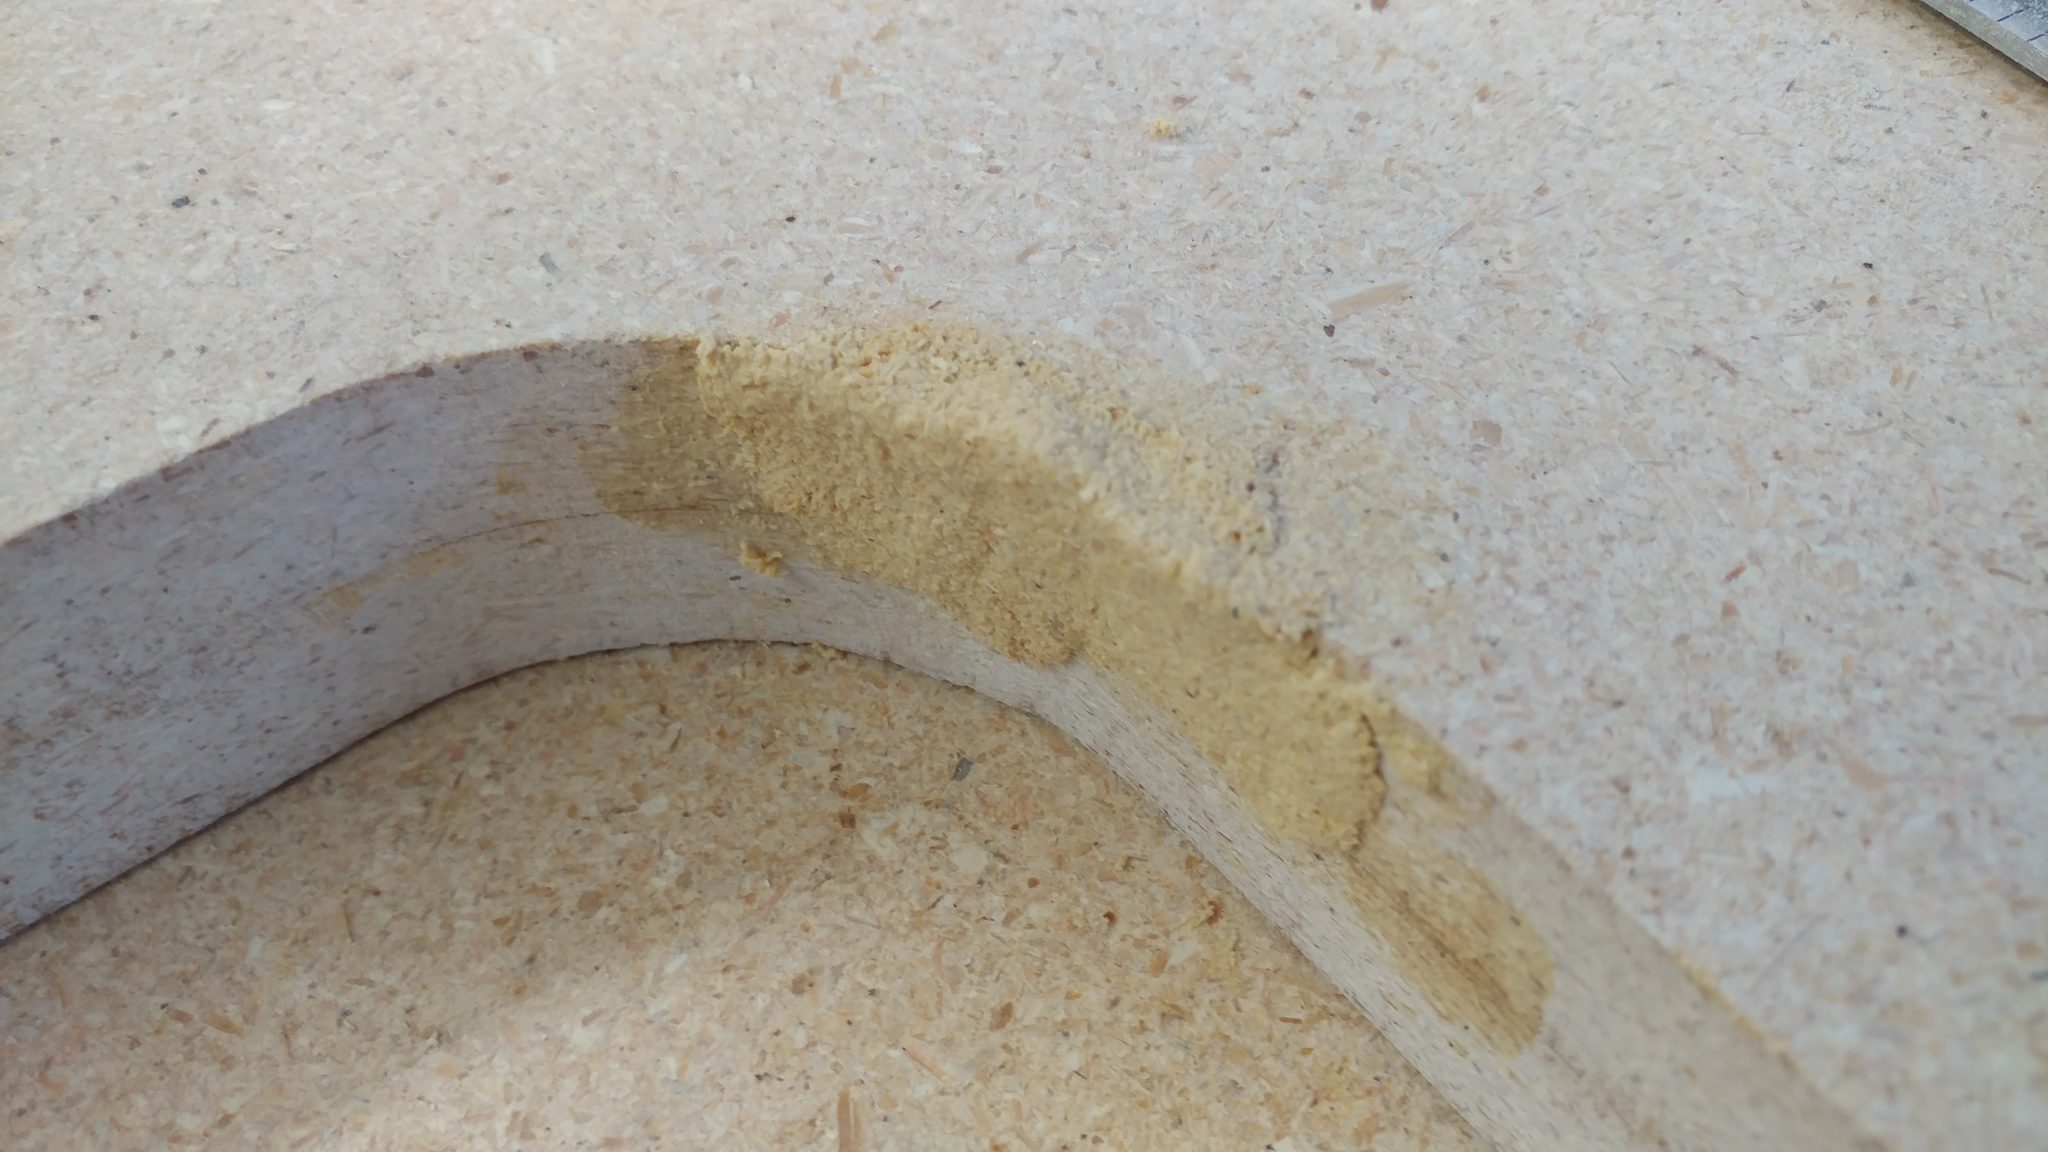
First I slipped up when modifying the outline for the bottom of the desk. I was able to correct this when cutting out the other half of the bottom but it left a nice gap that needs patching.
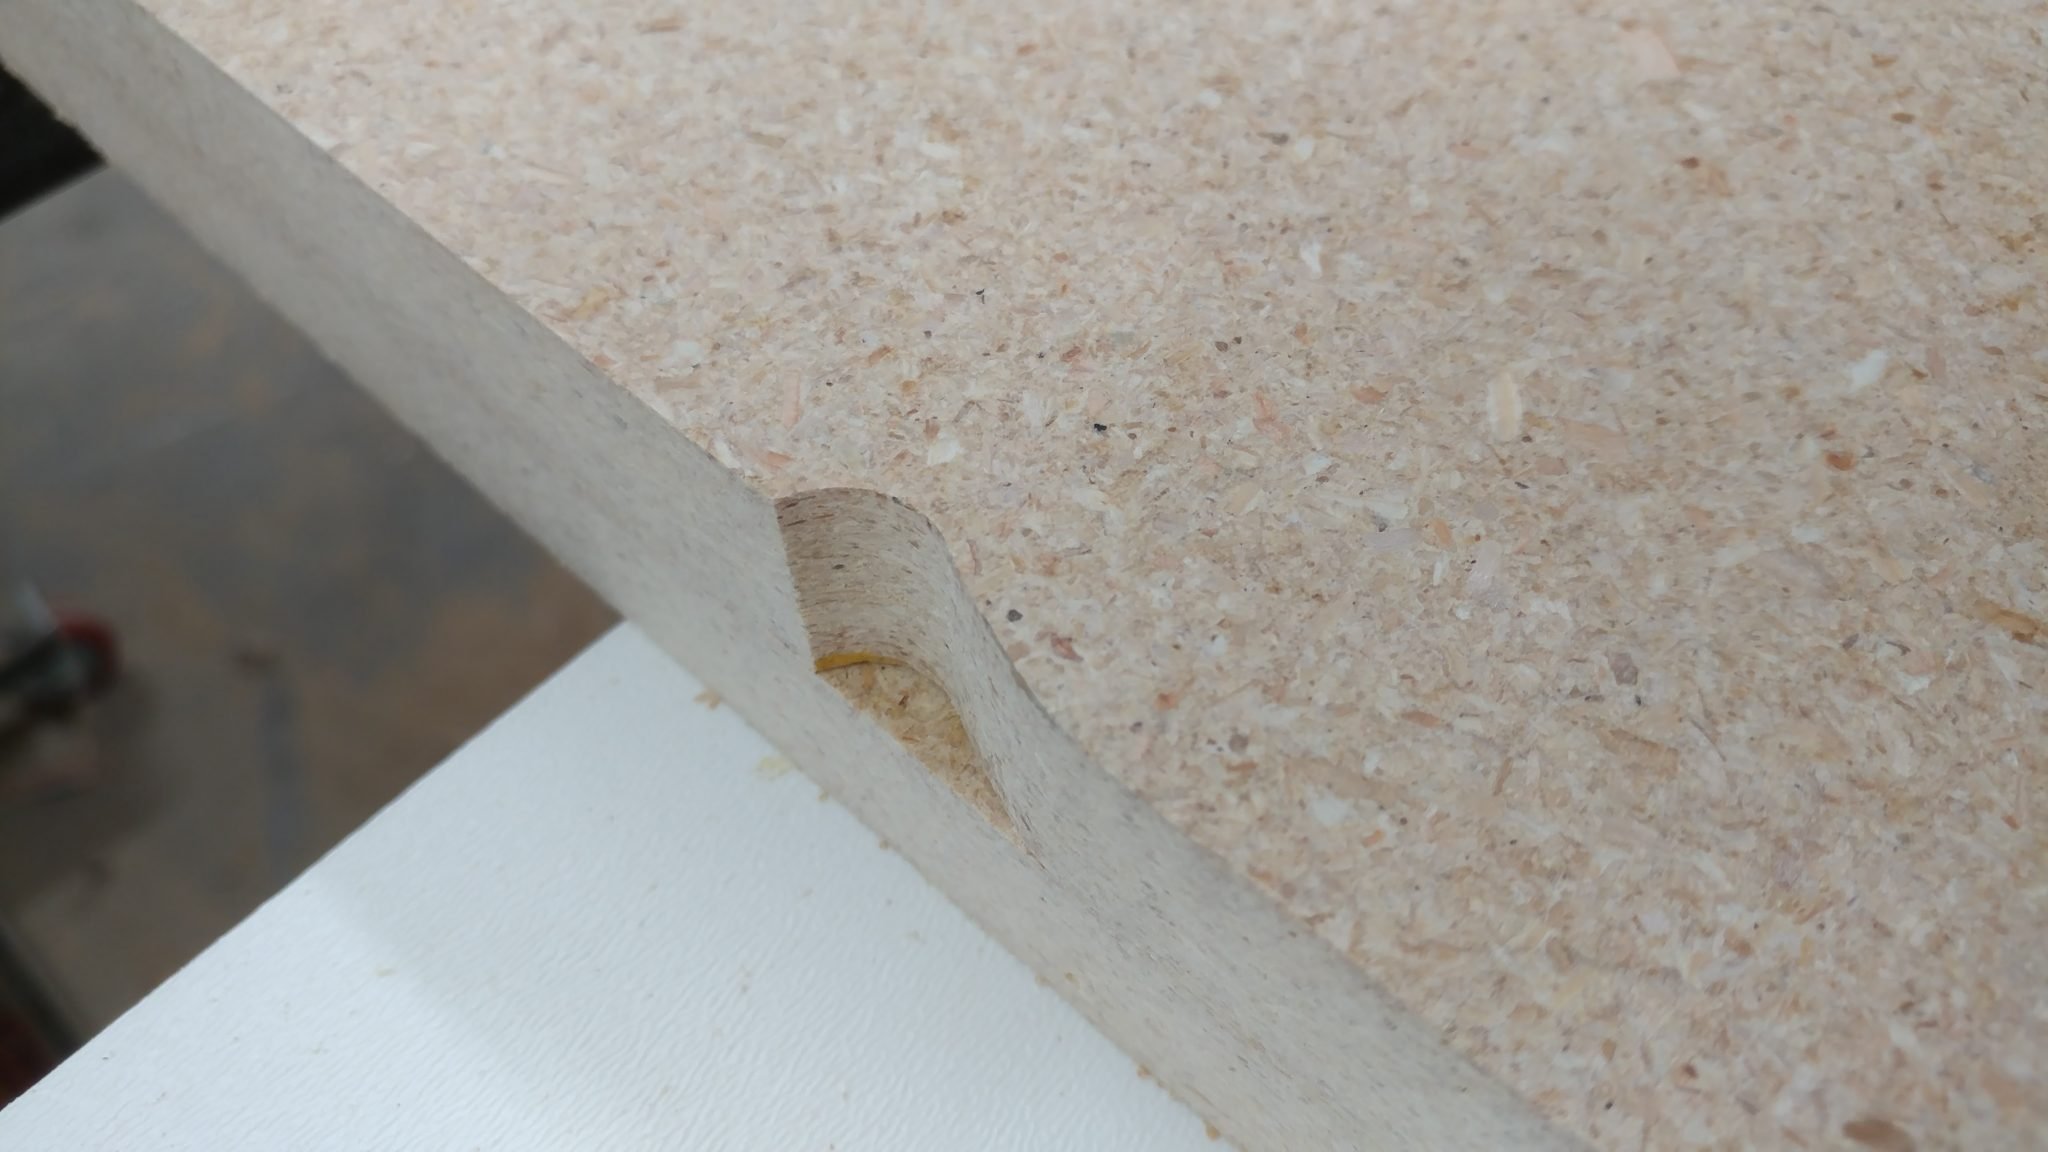
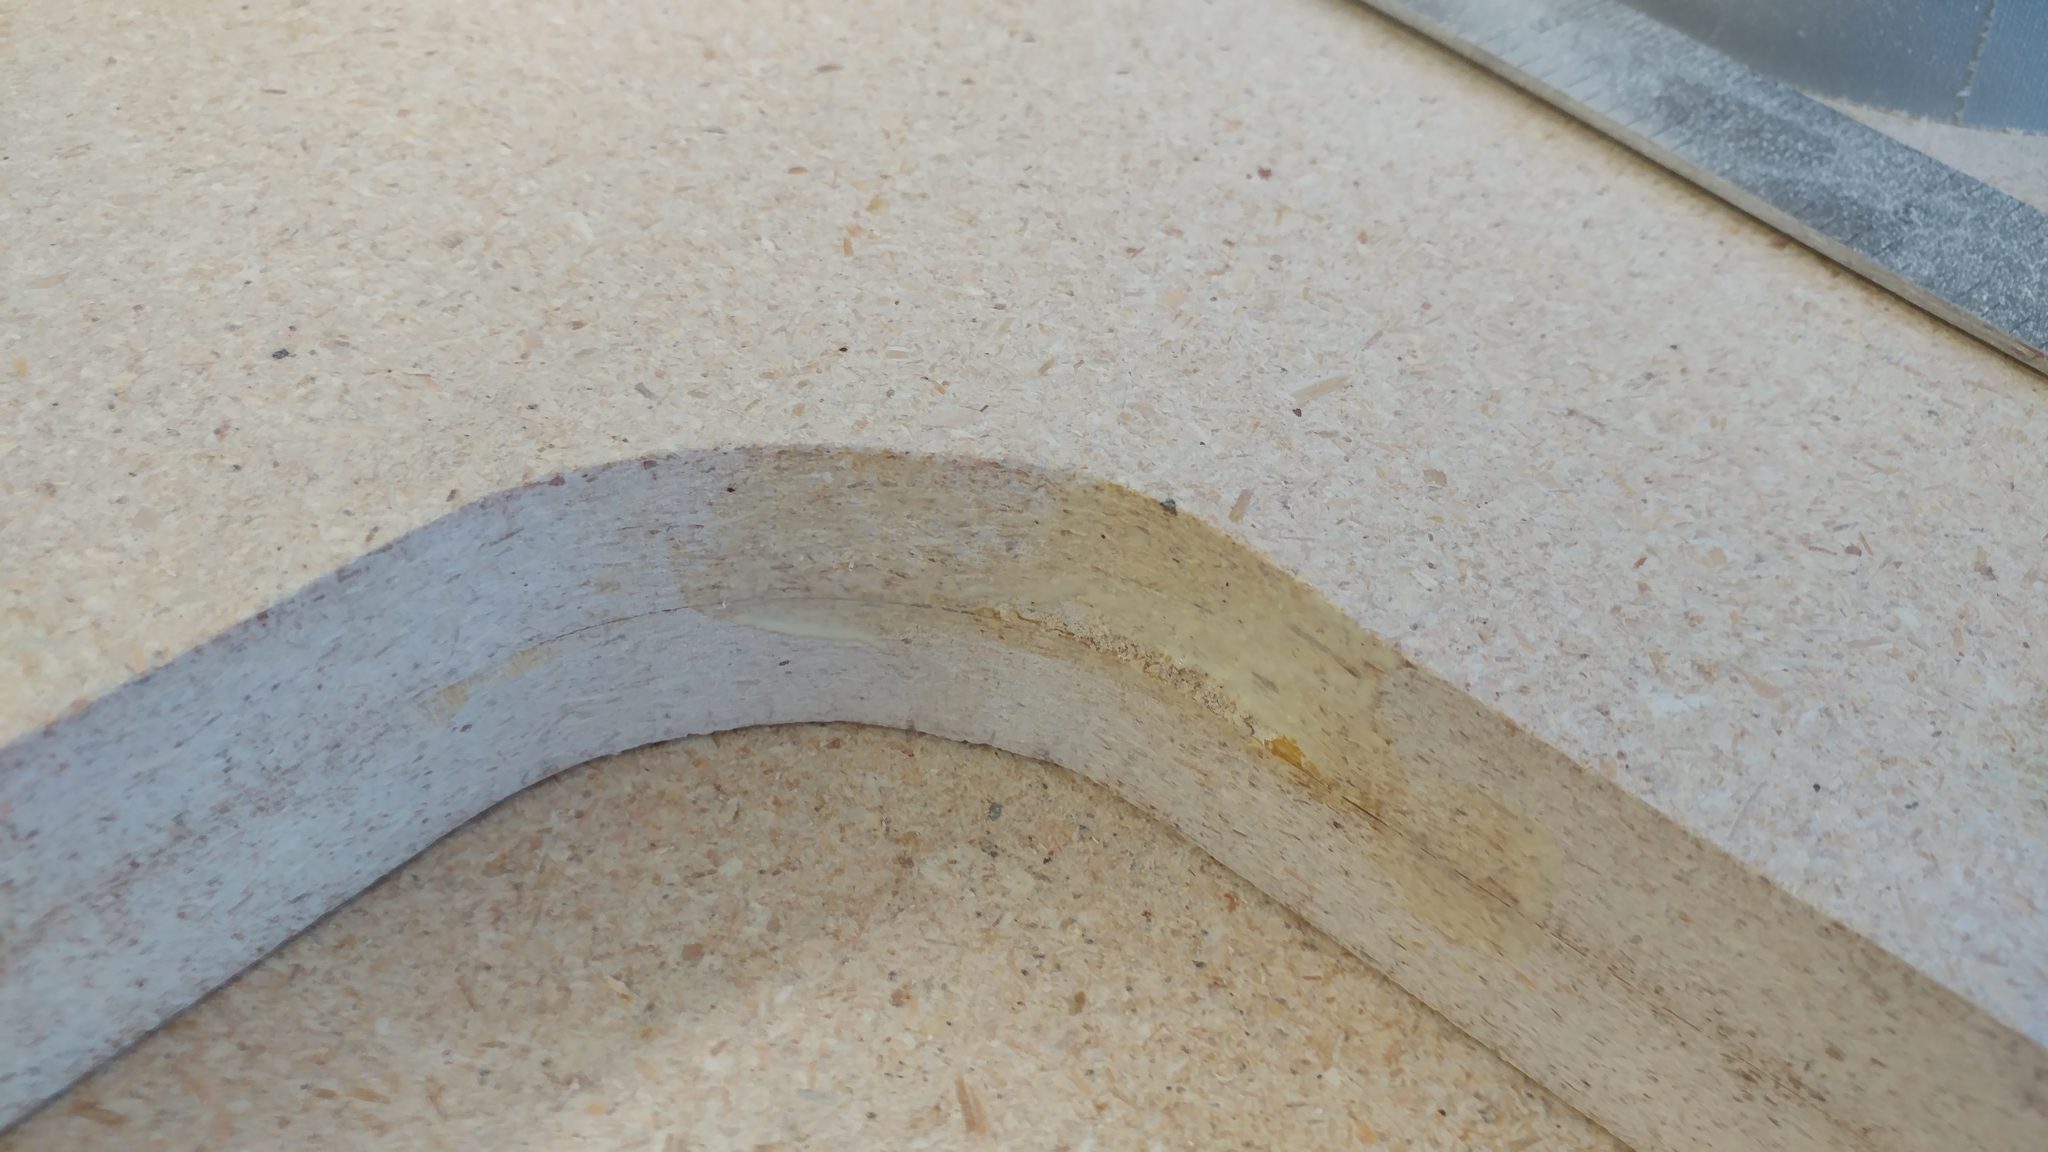
The second mistake was when I was cutting the aforementioned second half of the bottom. As I was coming up on the area where I had made the mistake on the first half, I guess I was focusing on correcting for the first mistake and I ended up making another slight mistake. You can see in the following photo that the inner corner is a little wonky. I think the router, whose base is a little unstable, tipped a little and it caused this.
The following technique won’t always work, especially if you will be staining the piece but I’m going for a more utilitarian/industrial look so I actually welcome this.
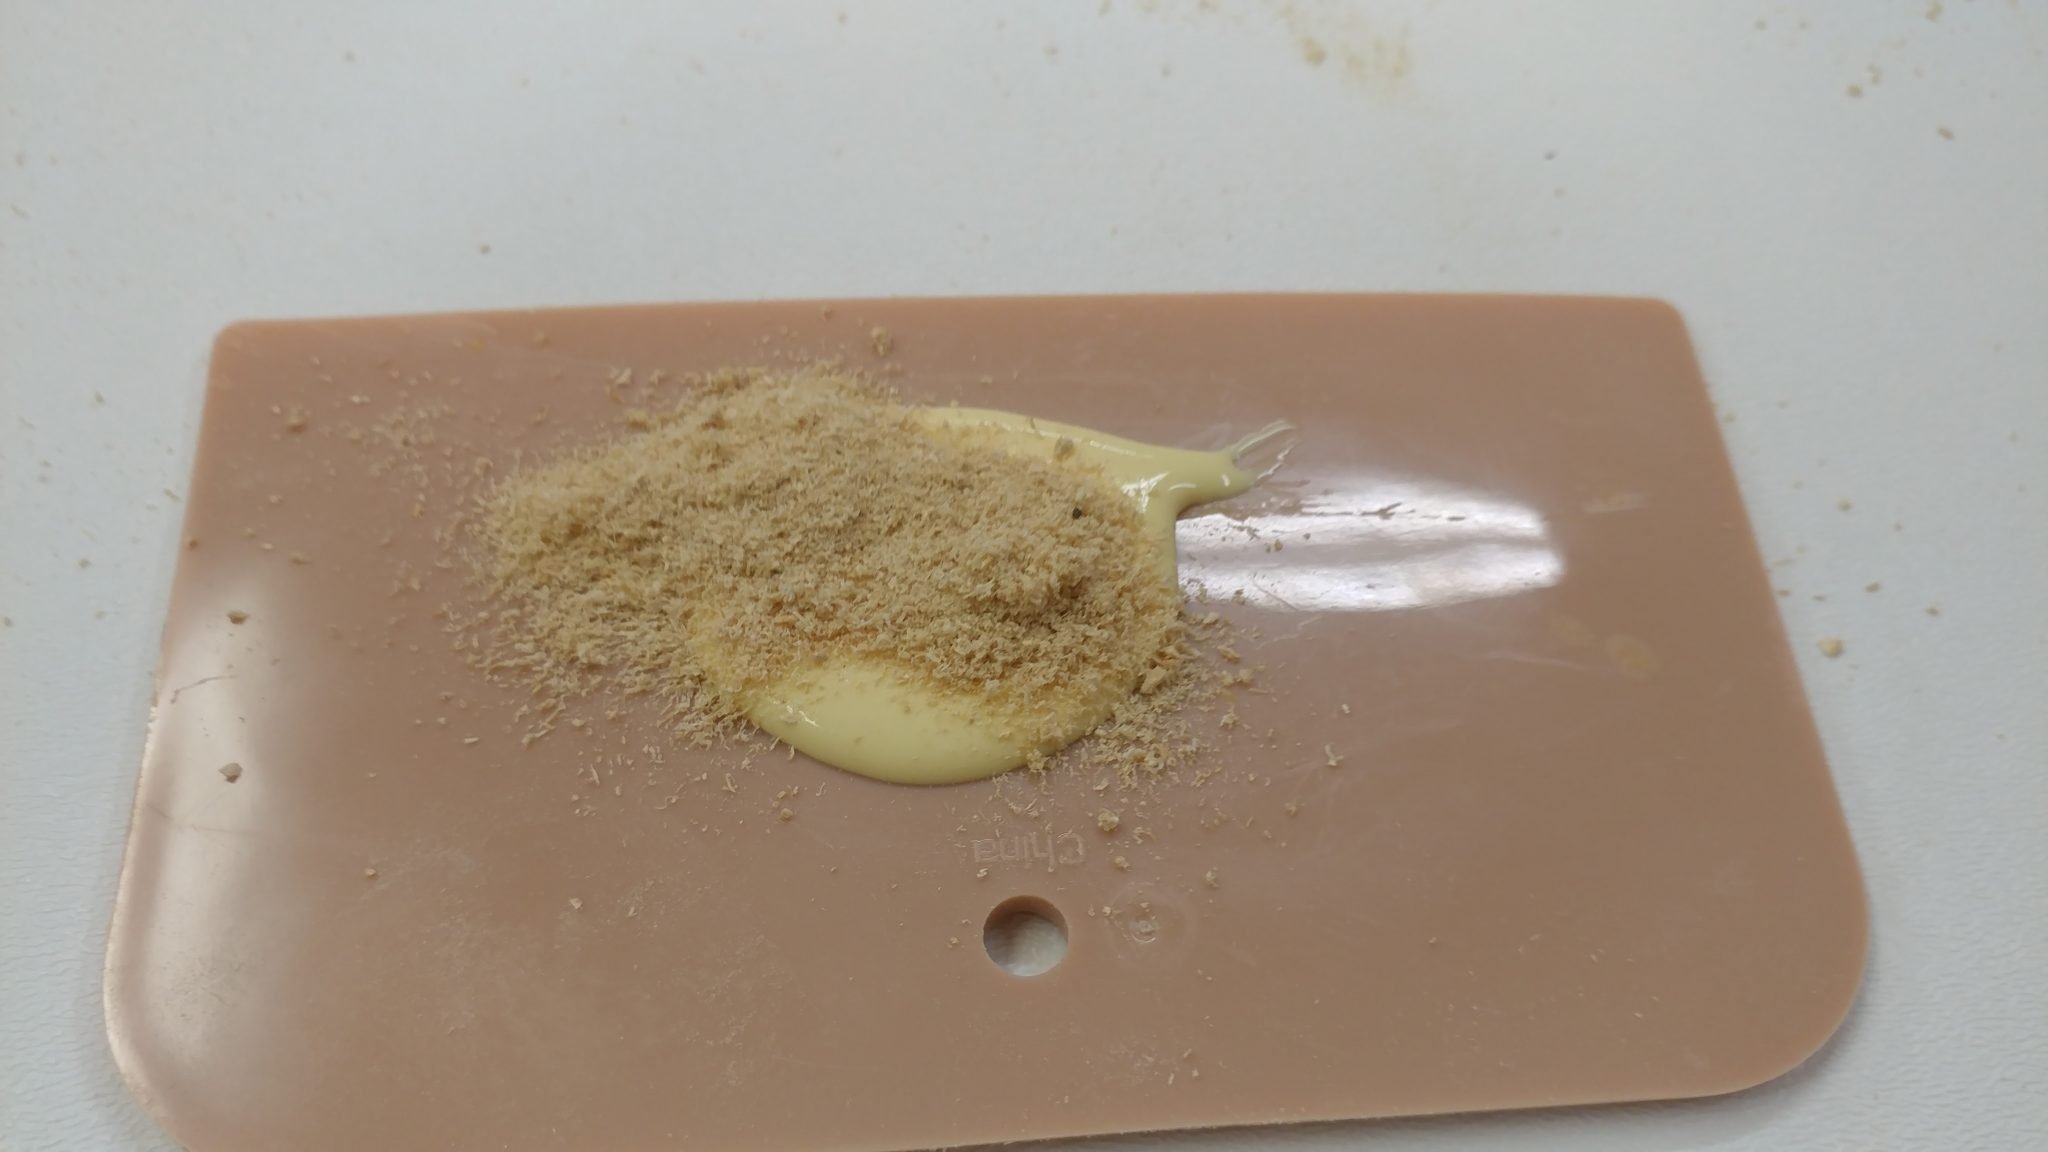
Start with a blob of wood glue. If you are wanting to stain this, I recommend trying stainable wood filler instead.
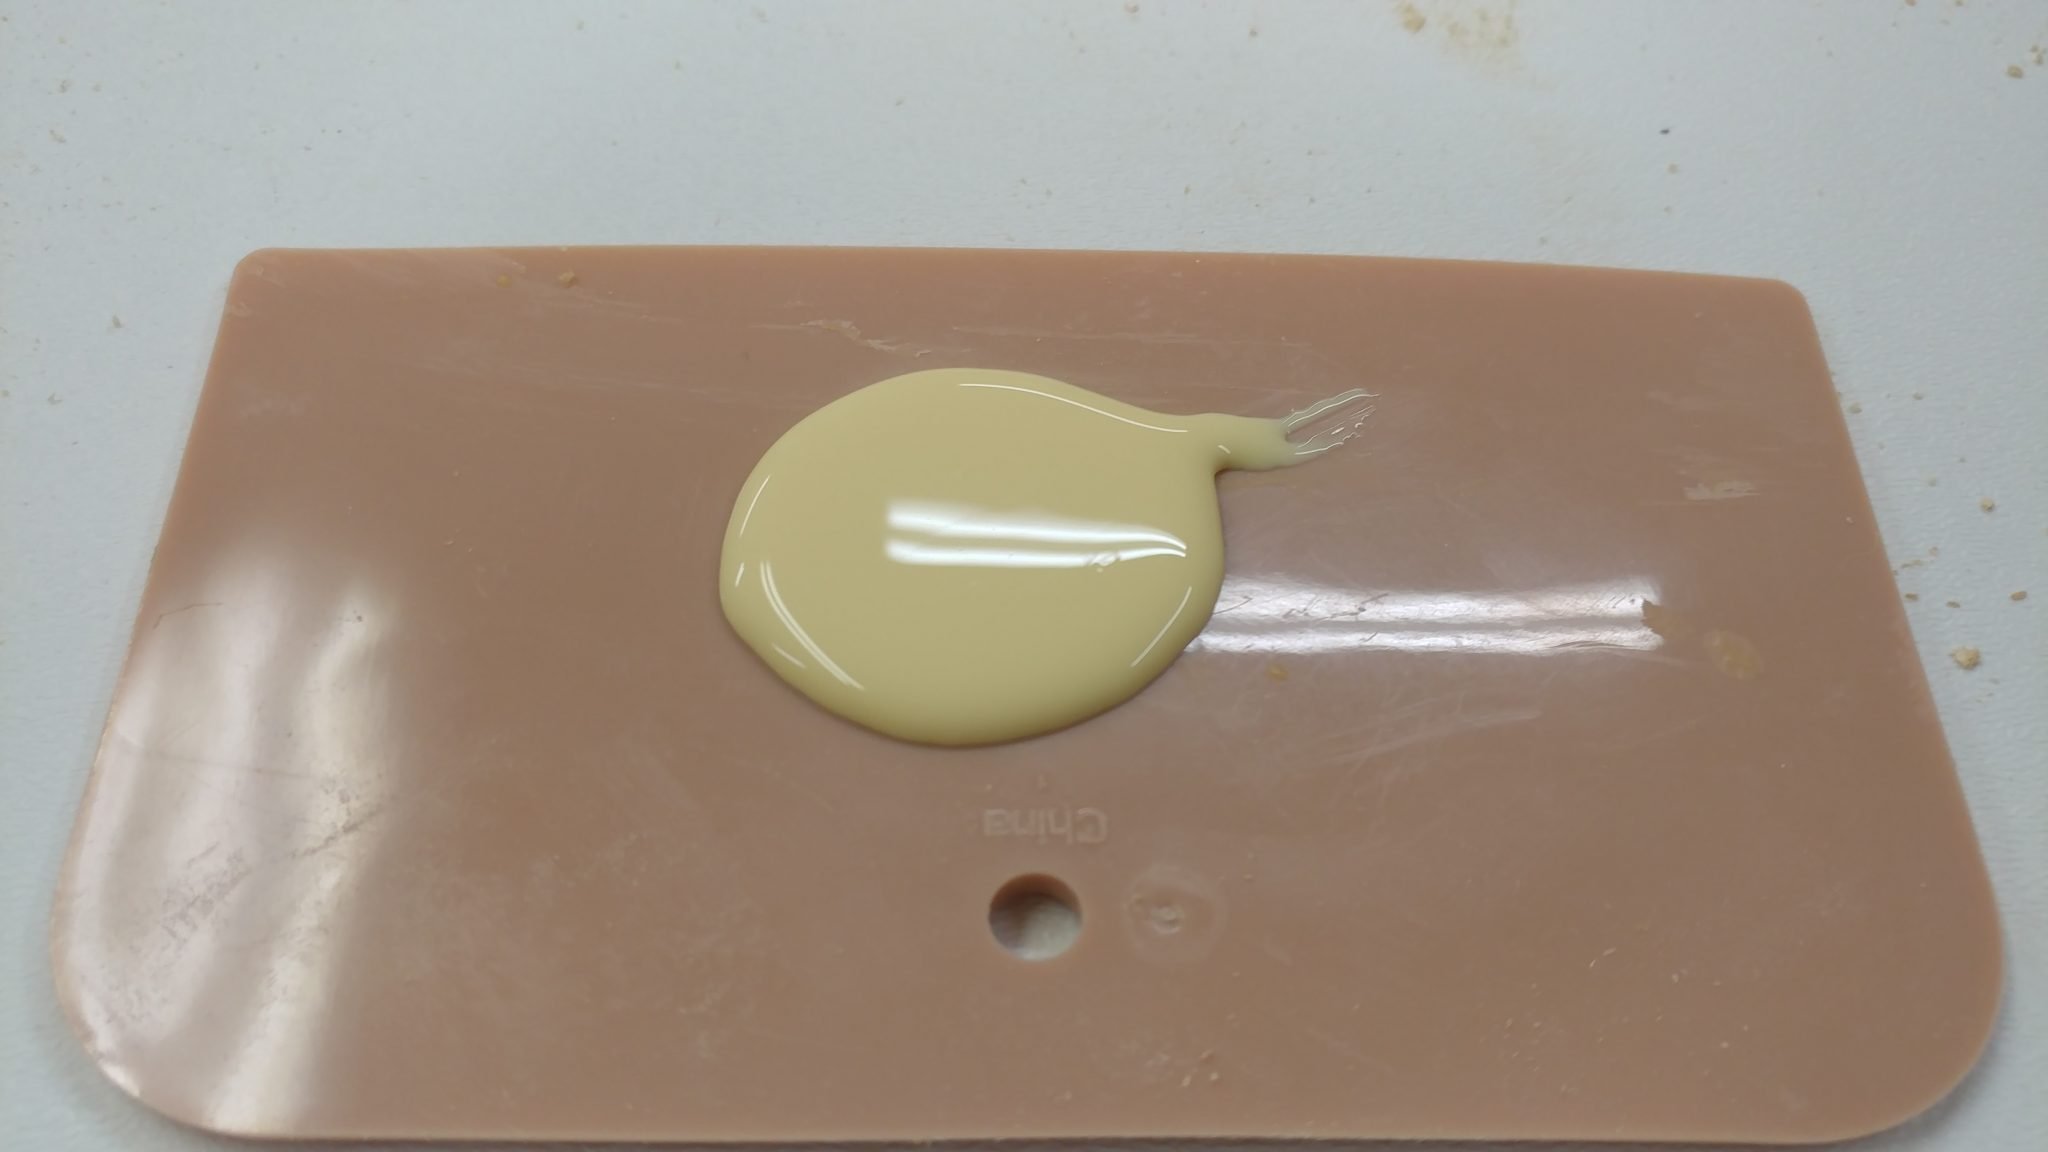
You’ll also need some sawdust, preferably from the same wood that you’re repairing.
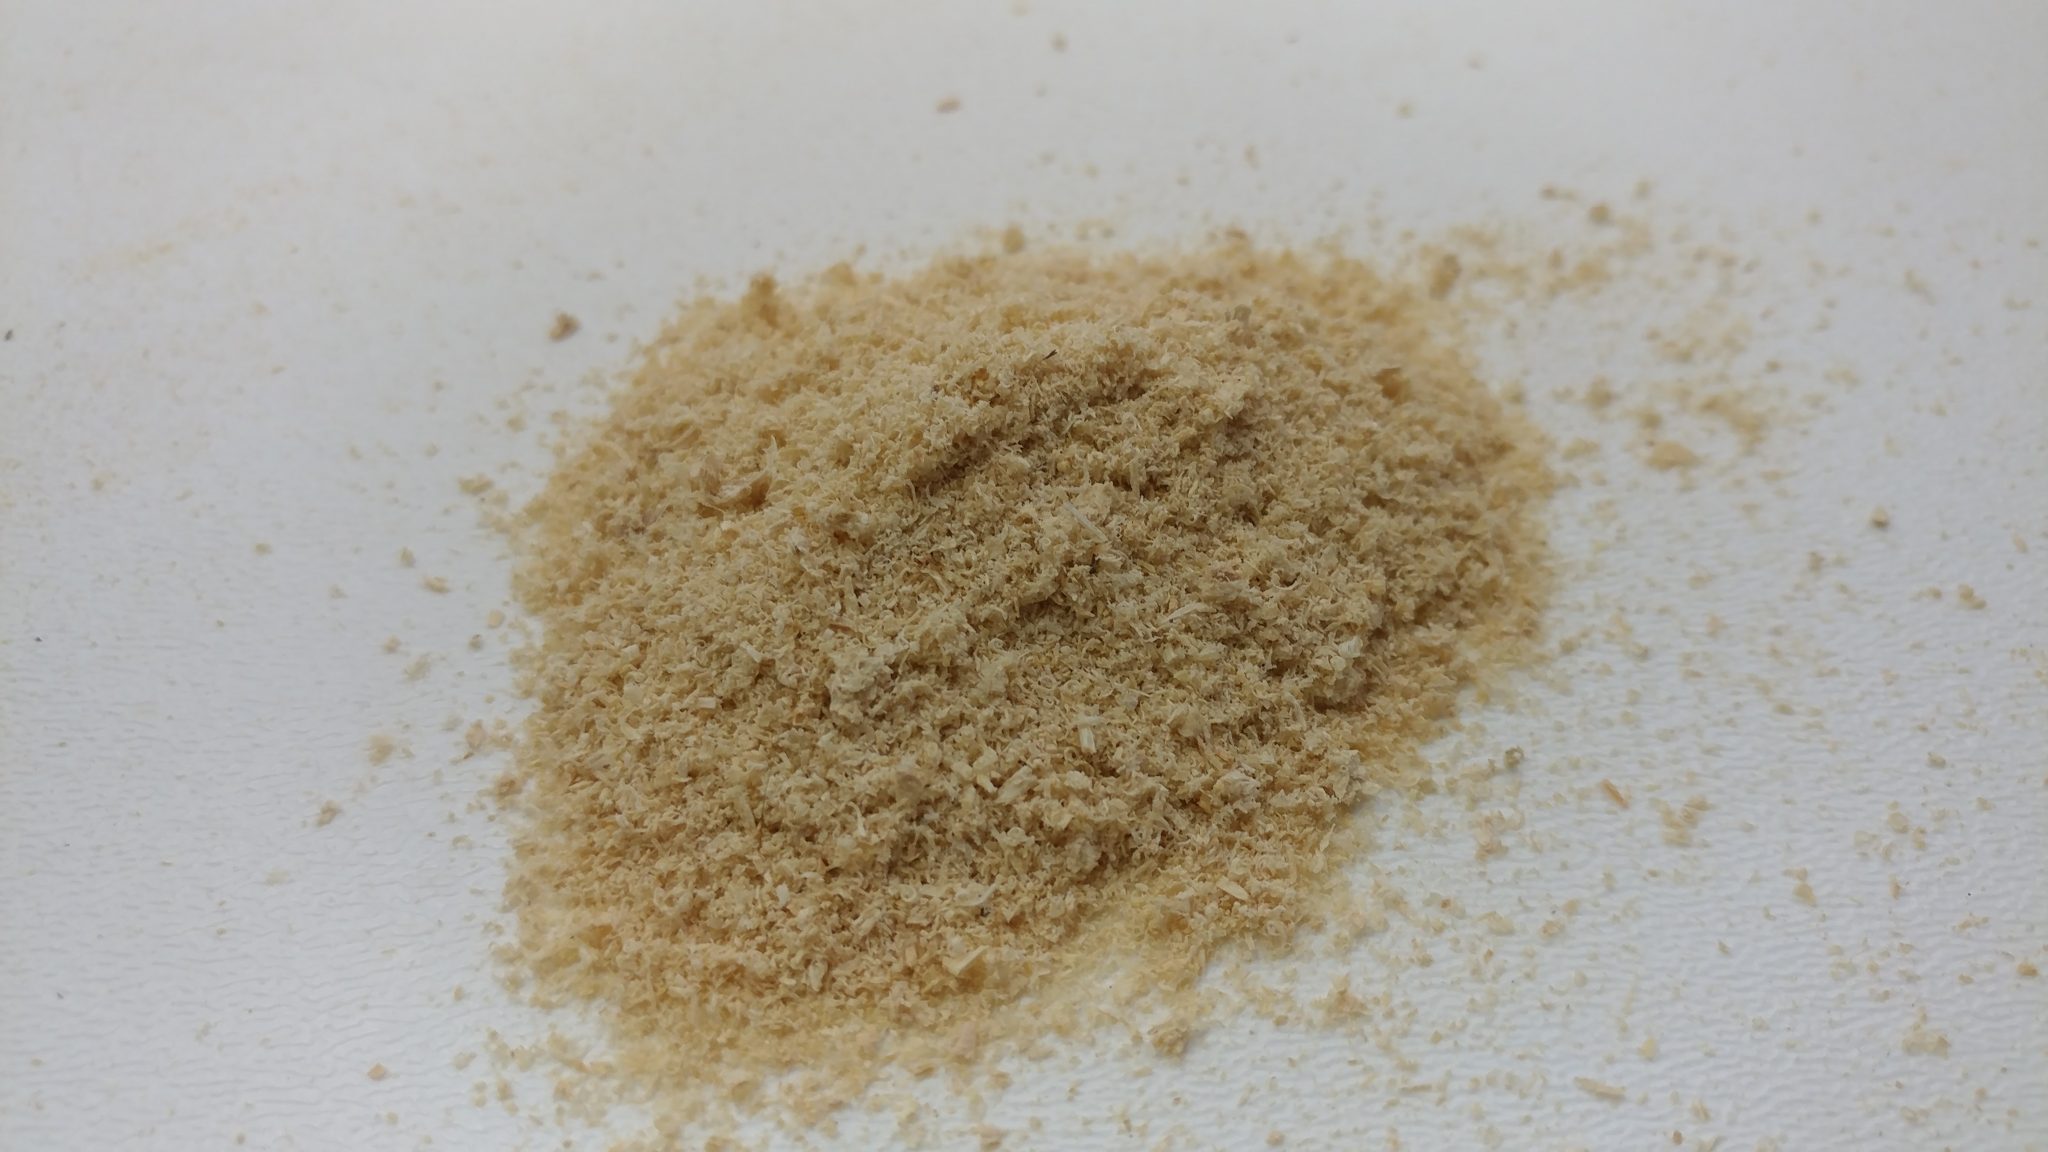
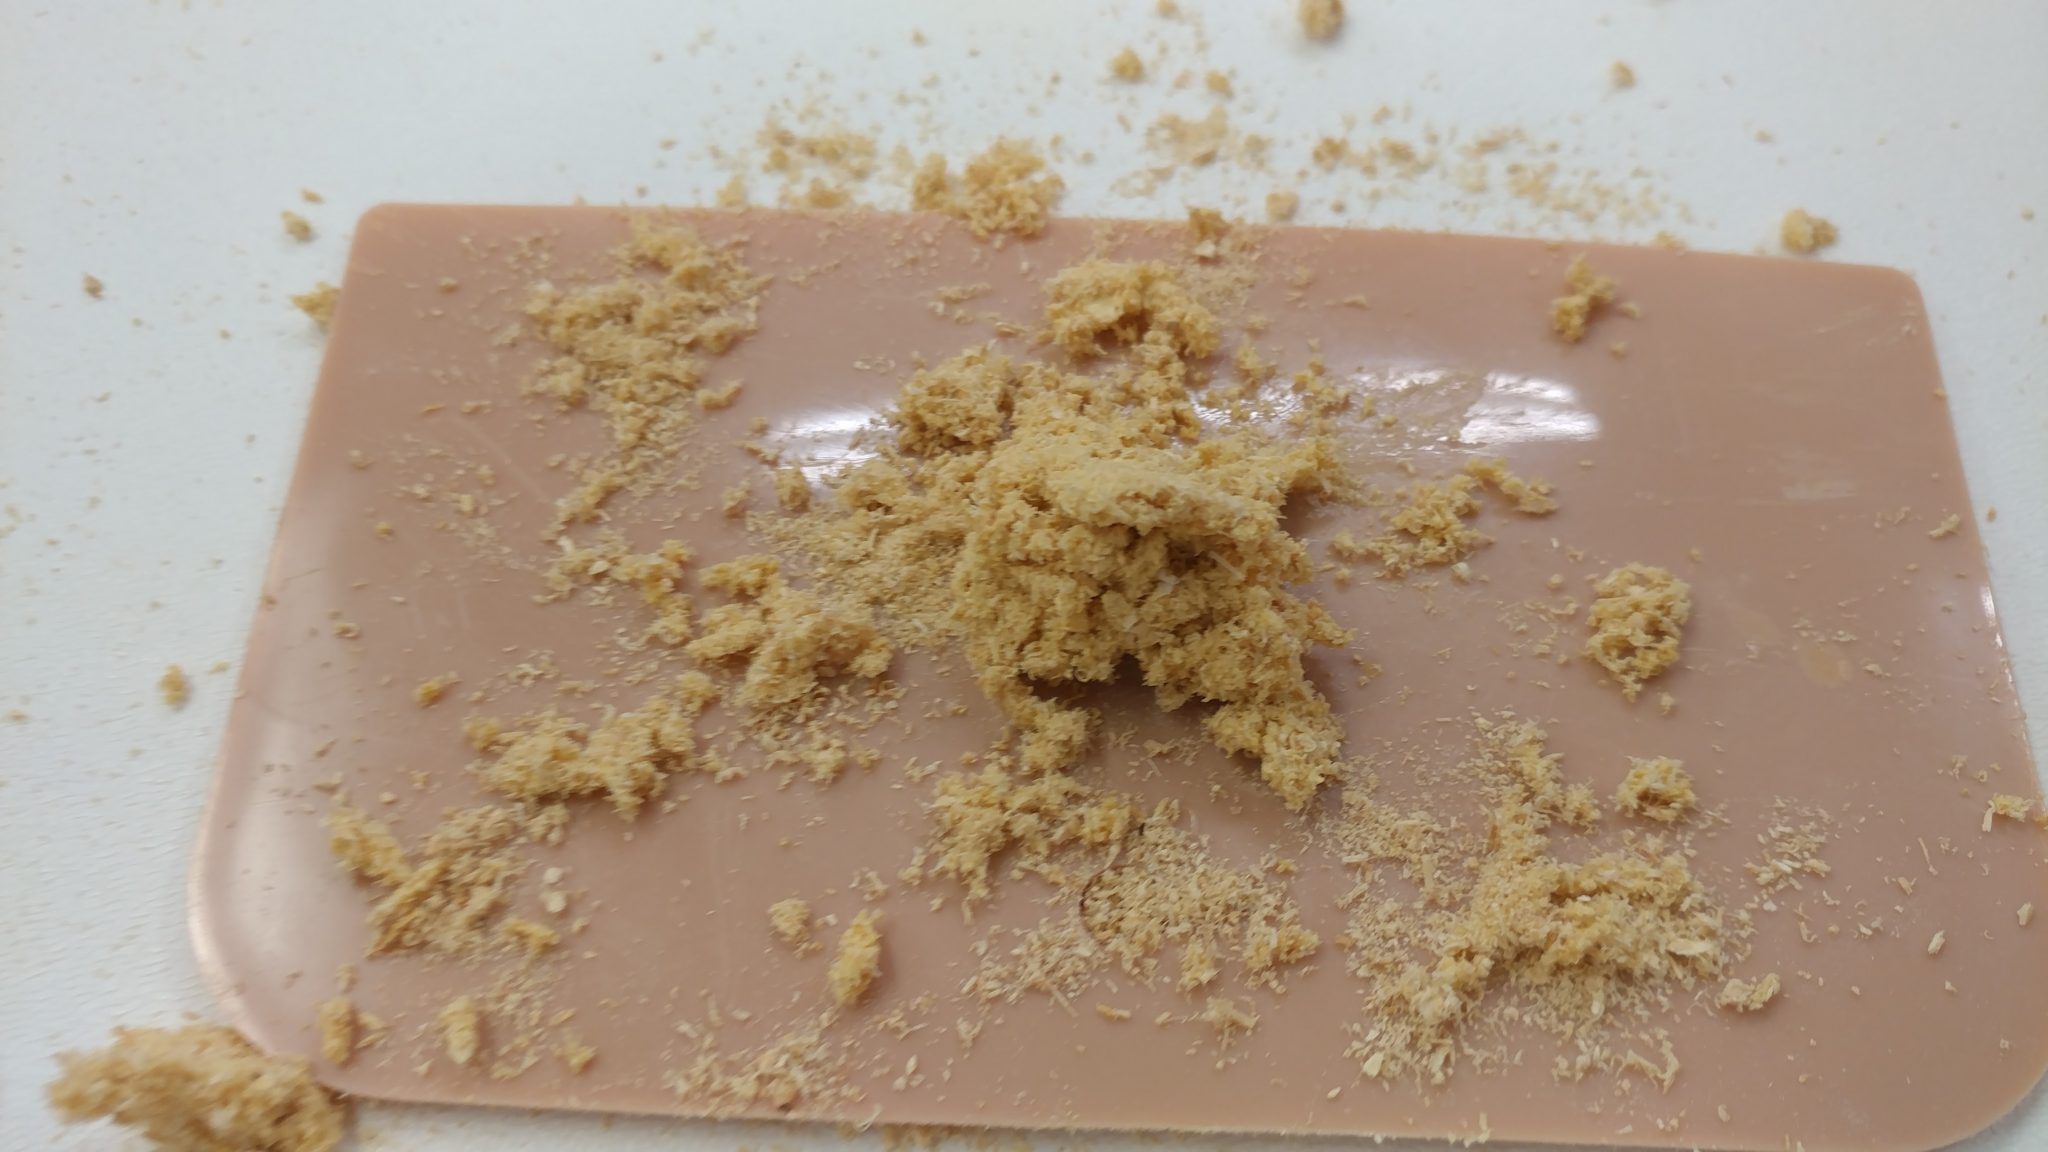
Add the sawdust to the wood glue and mix it together.
This will take some trial and error in order to get something that works for you. I was going for a dry yet pasty texture.
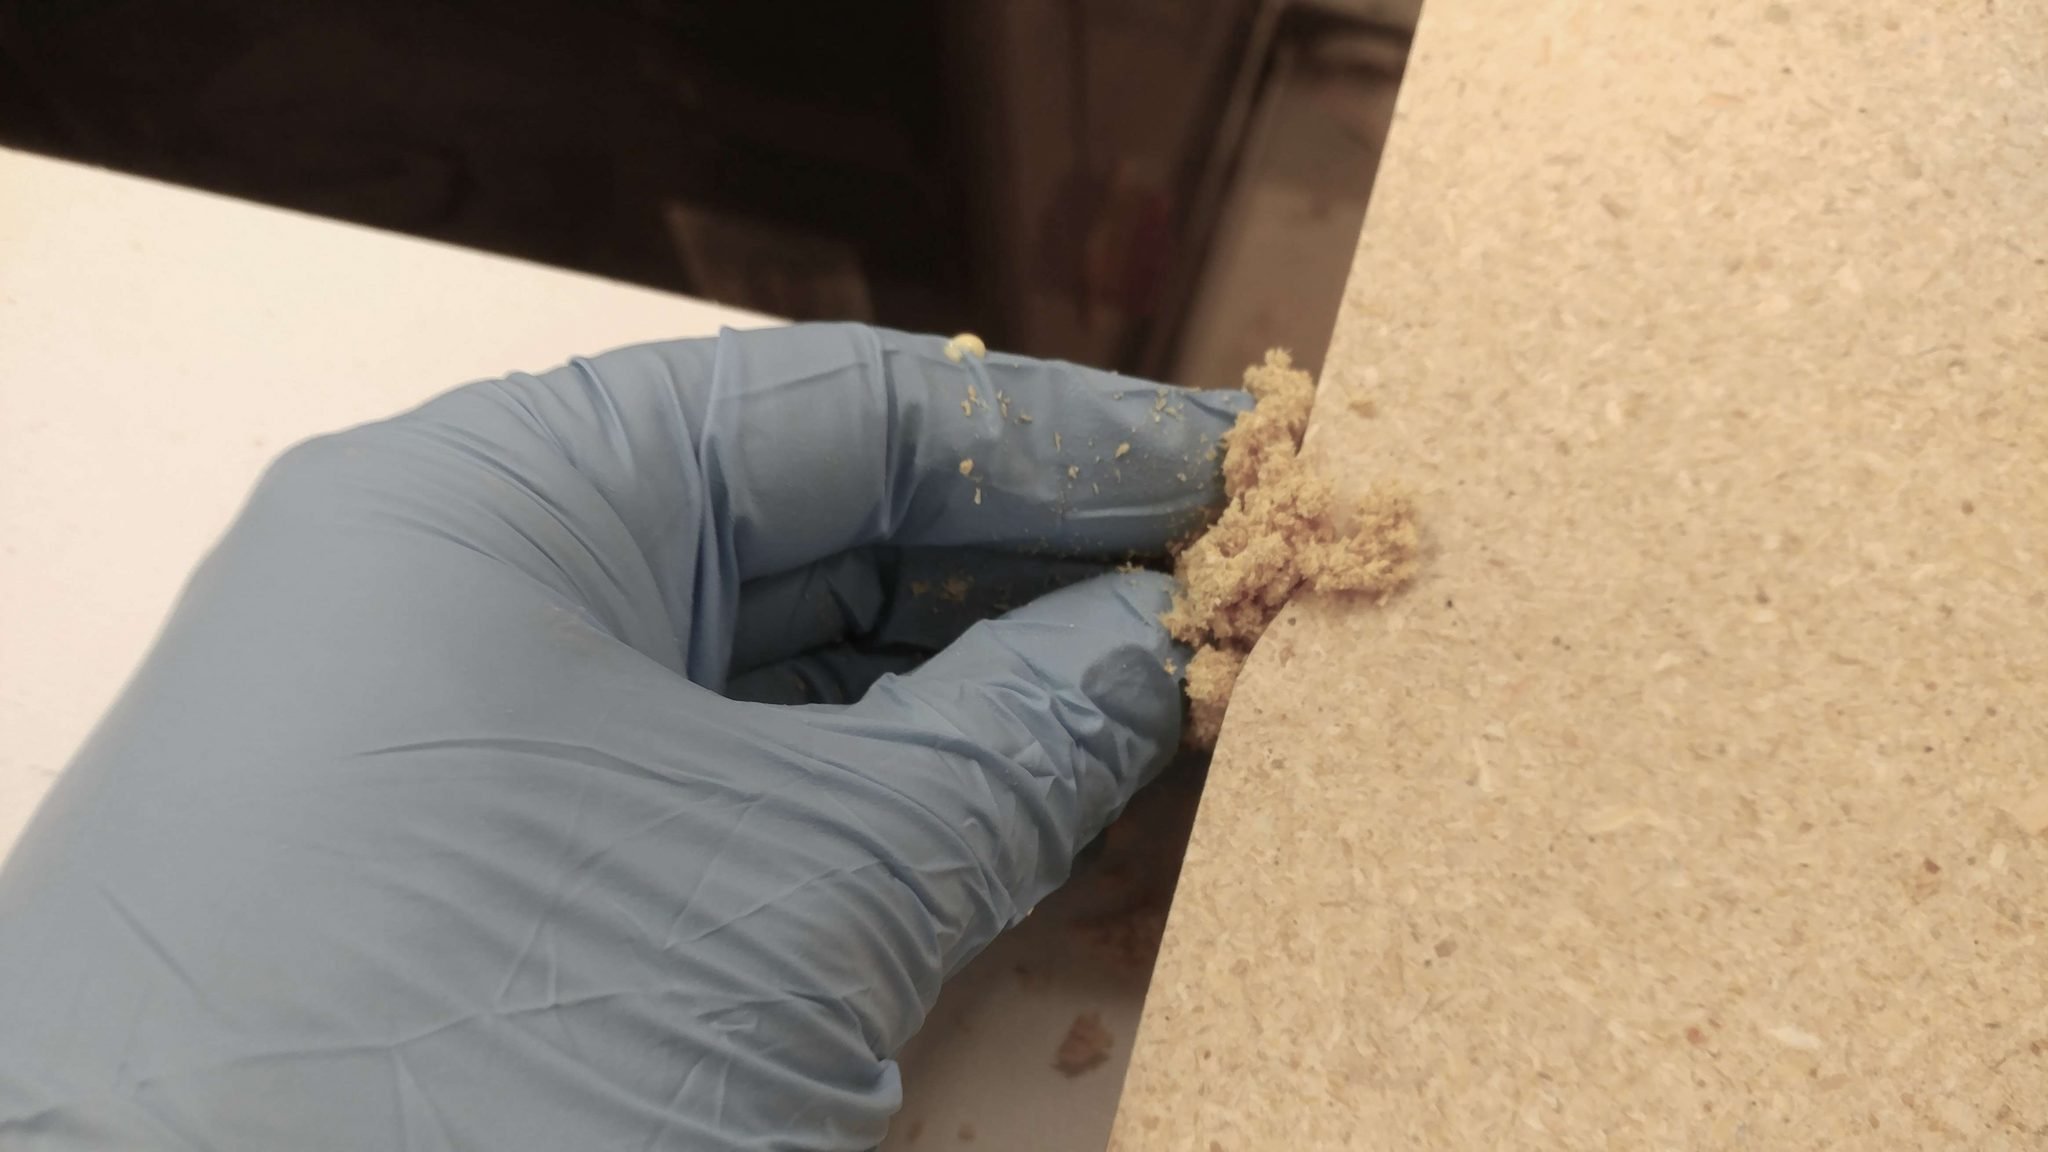
I rubbed a bit of wood glue on the spot that I needed to repair so the patch job can adhere to it better.
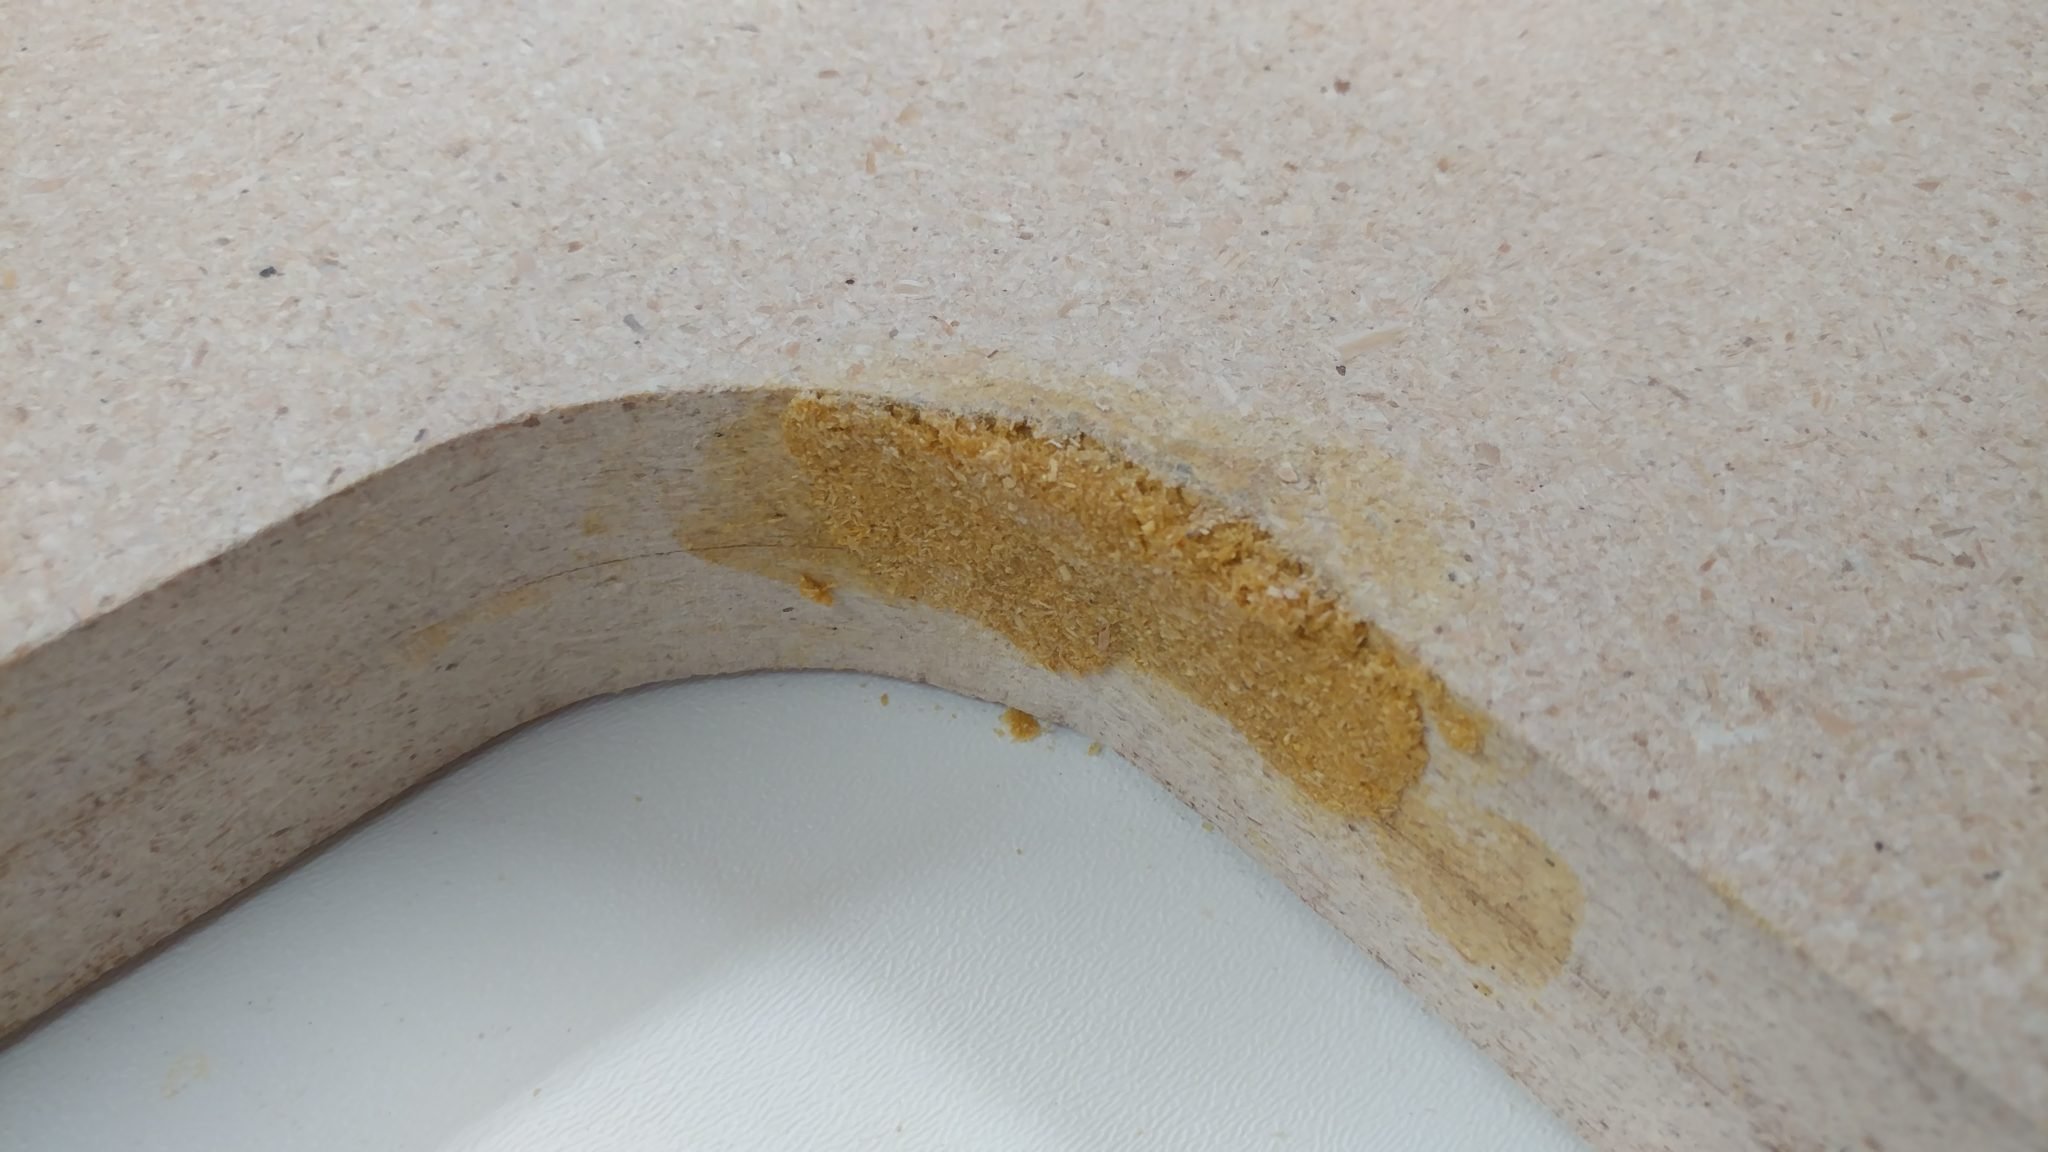
I then smushed (sorry for the technical term) a gob of the glue/sawdust paste into the repair spot, being sure to fill up all the space that needs to be filled.
When this dries, it’s going to be pretty hard. I also need to flip this piece so I can repair the other spot. To ensure that this wasn’t going to cause a problem, I waited till it had cured a bit then I took a utility knife blade and sliced off any of the filler that protruded from the top of the wood.
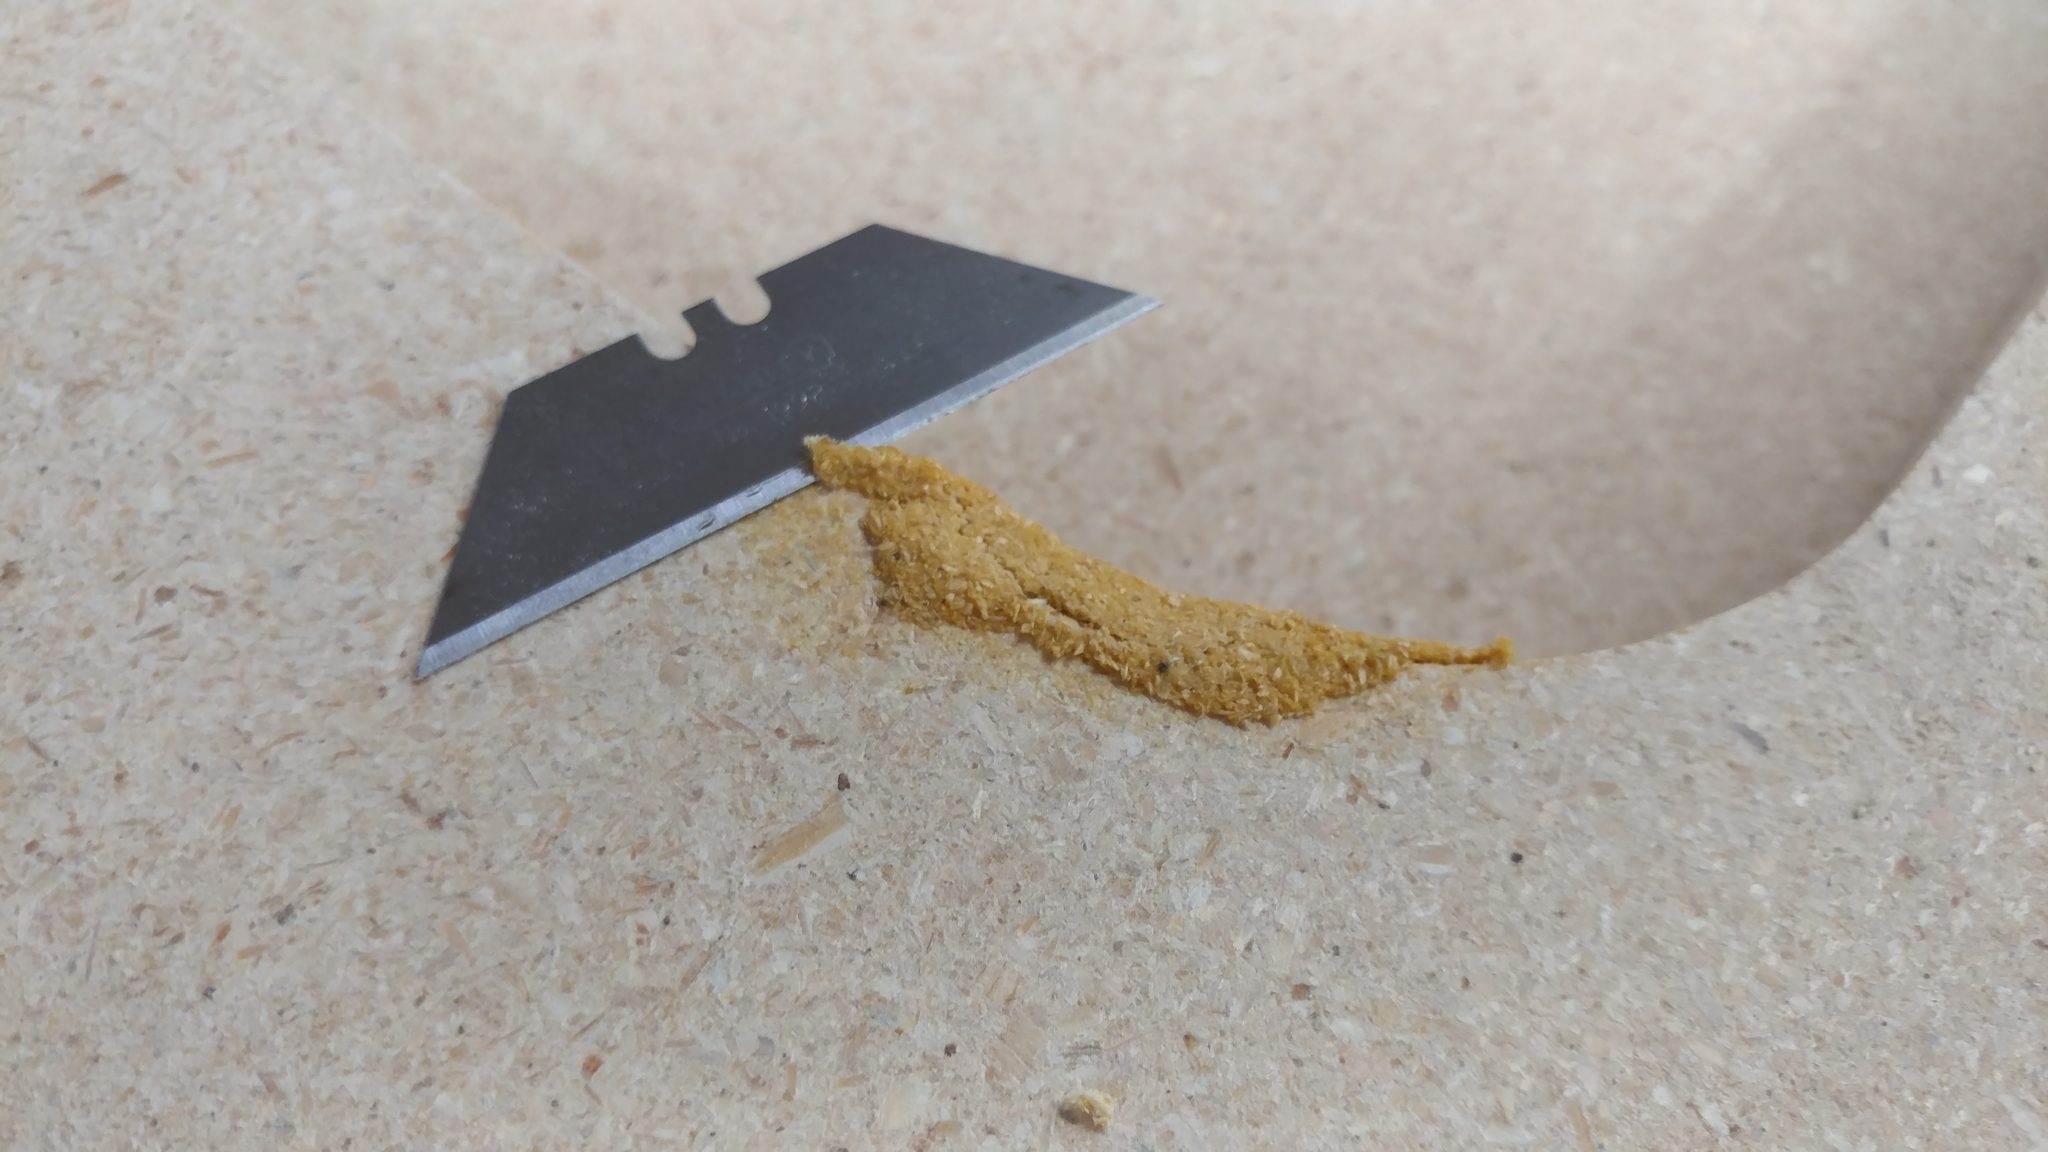
This left it flat enough to flip the piece without damaging the filler.

I did the same thing on the other mistake.
This one will be easier to hide since it is all on flat surfaces rather than an inner curve.

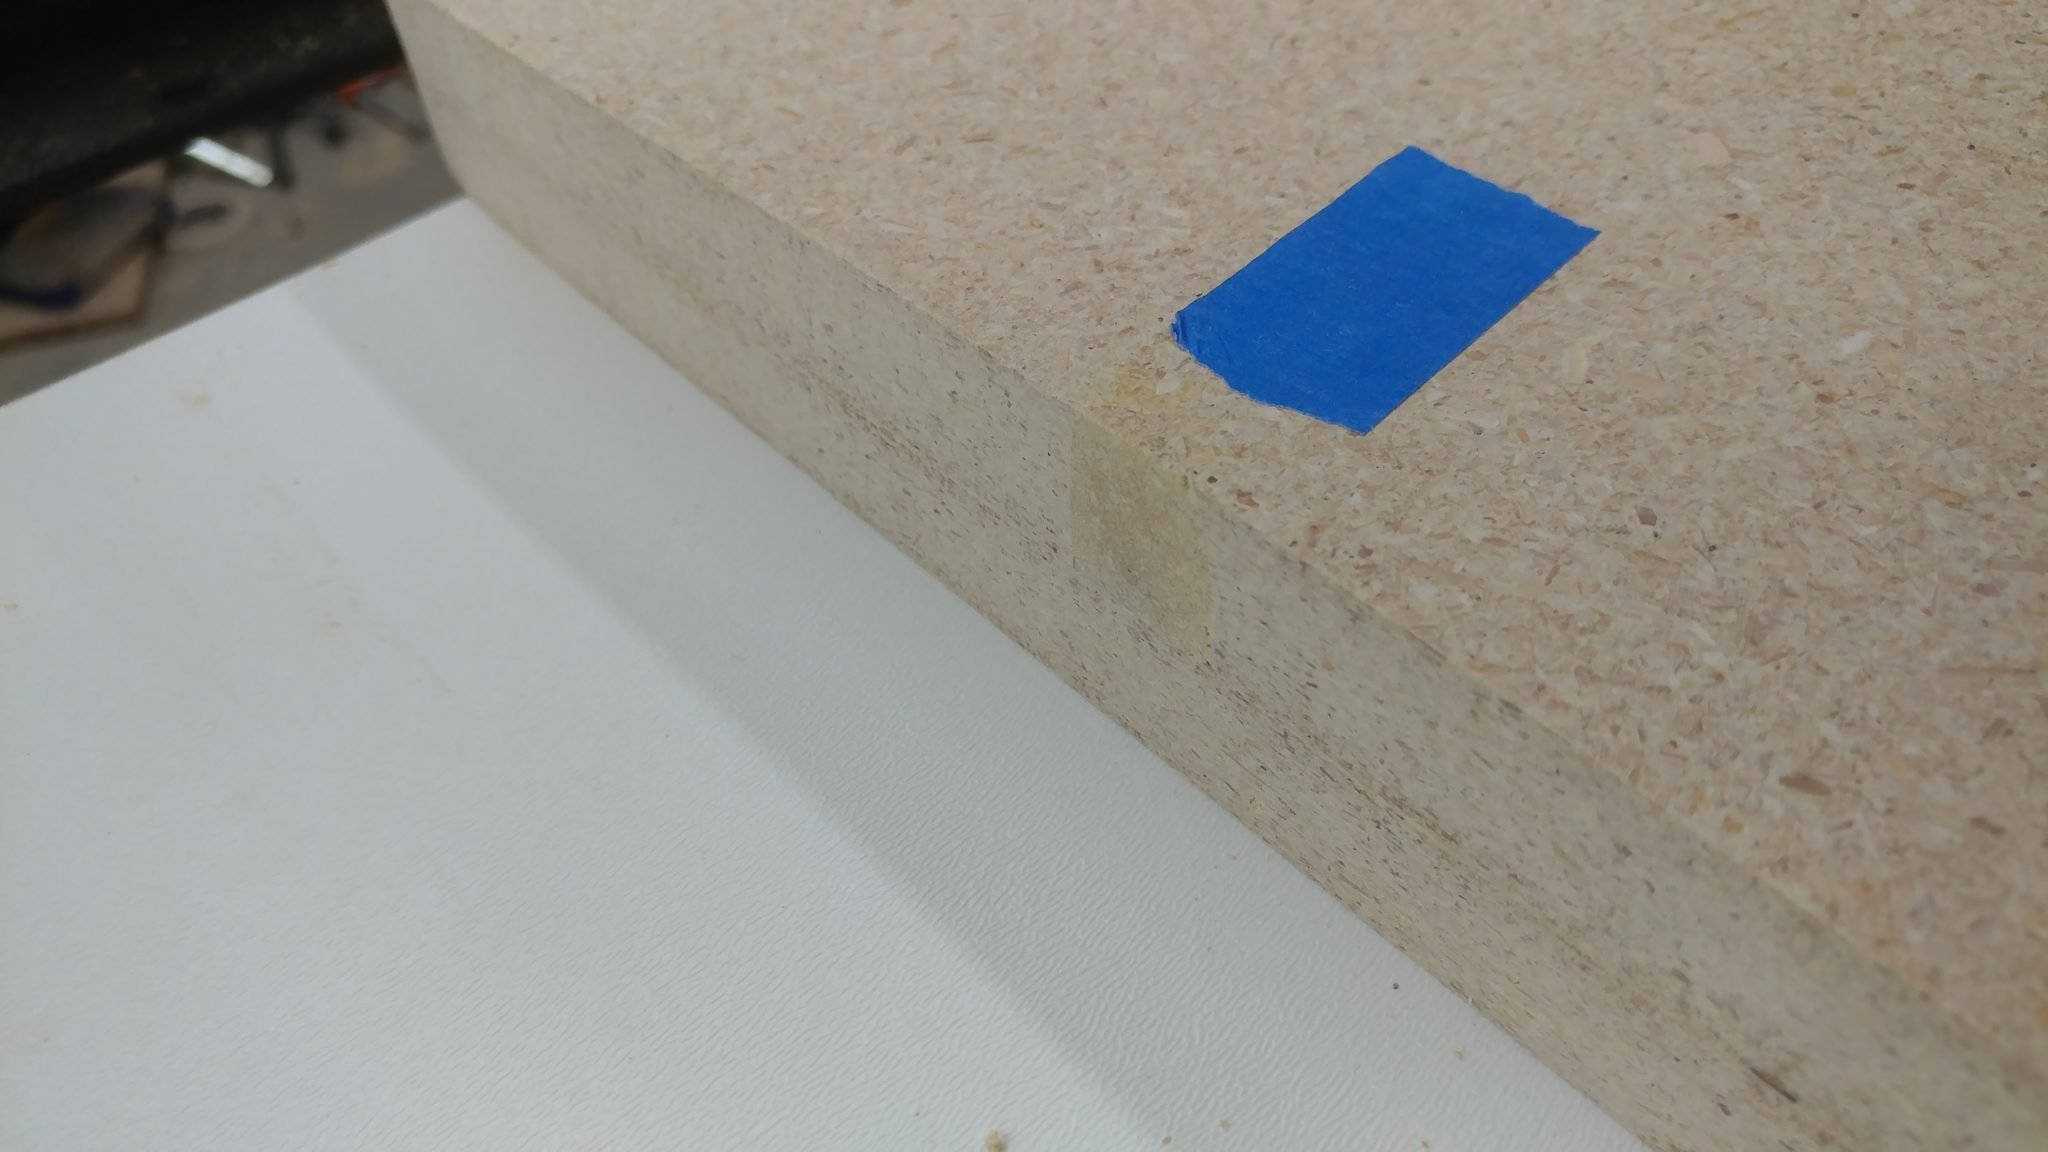
I let the filler fully cure for a day then I took my random orbital sander to it. I placed a piece of blue painters tape next to the filler so you can see how it blends in. It isn’t perfect but it’ll be good enough for this project.
The filler on the inner curve was a lot more difficult to deal with.
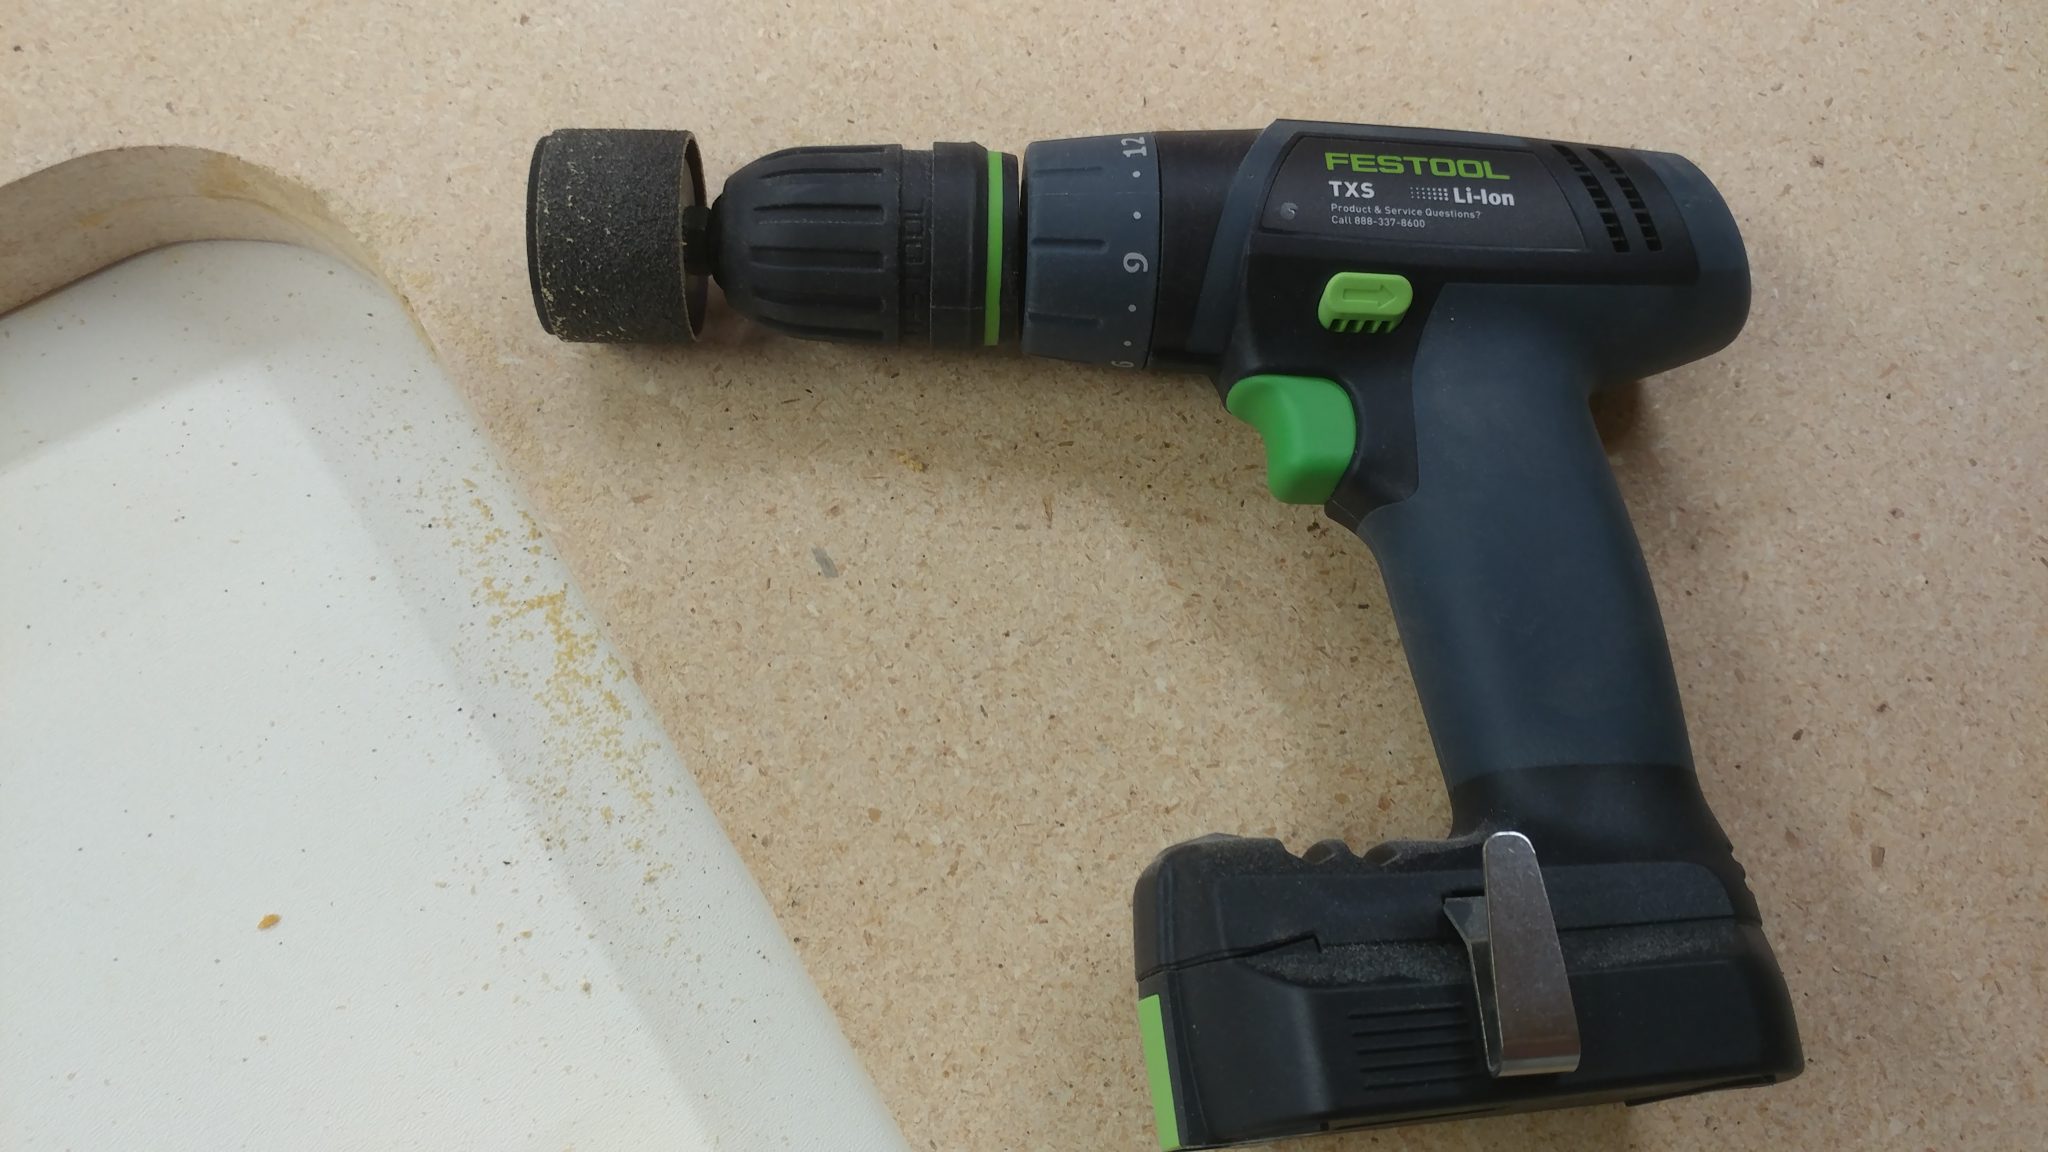
I ended up having to carefully use a drum sander attachment on my hand drill to get it smoothed out.
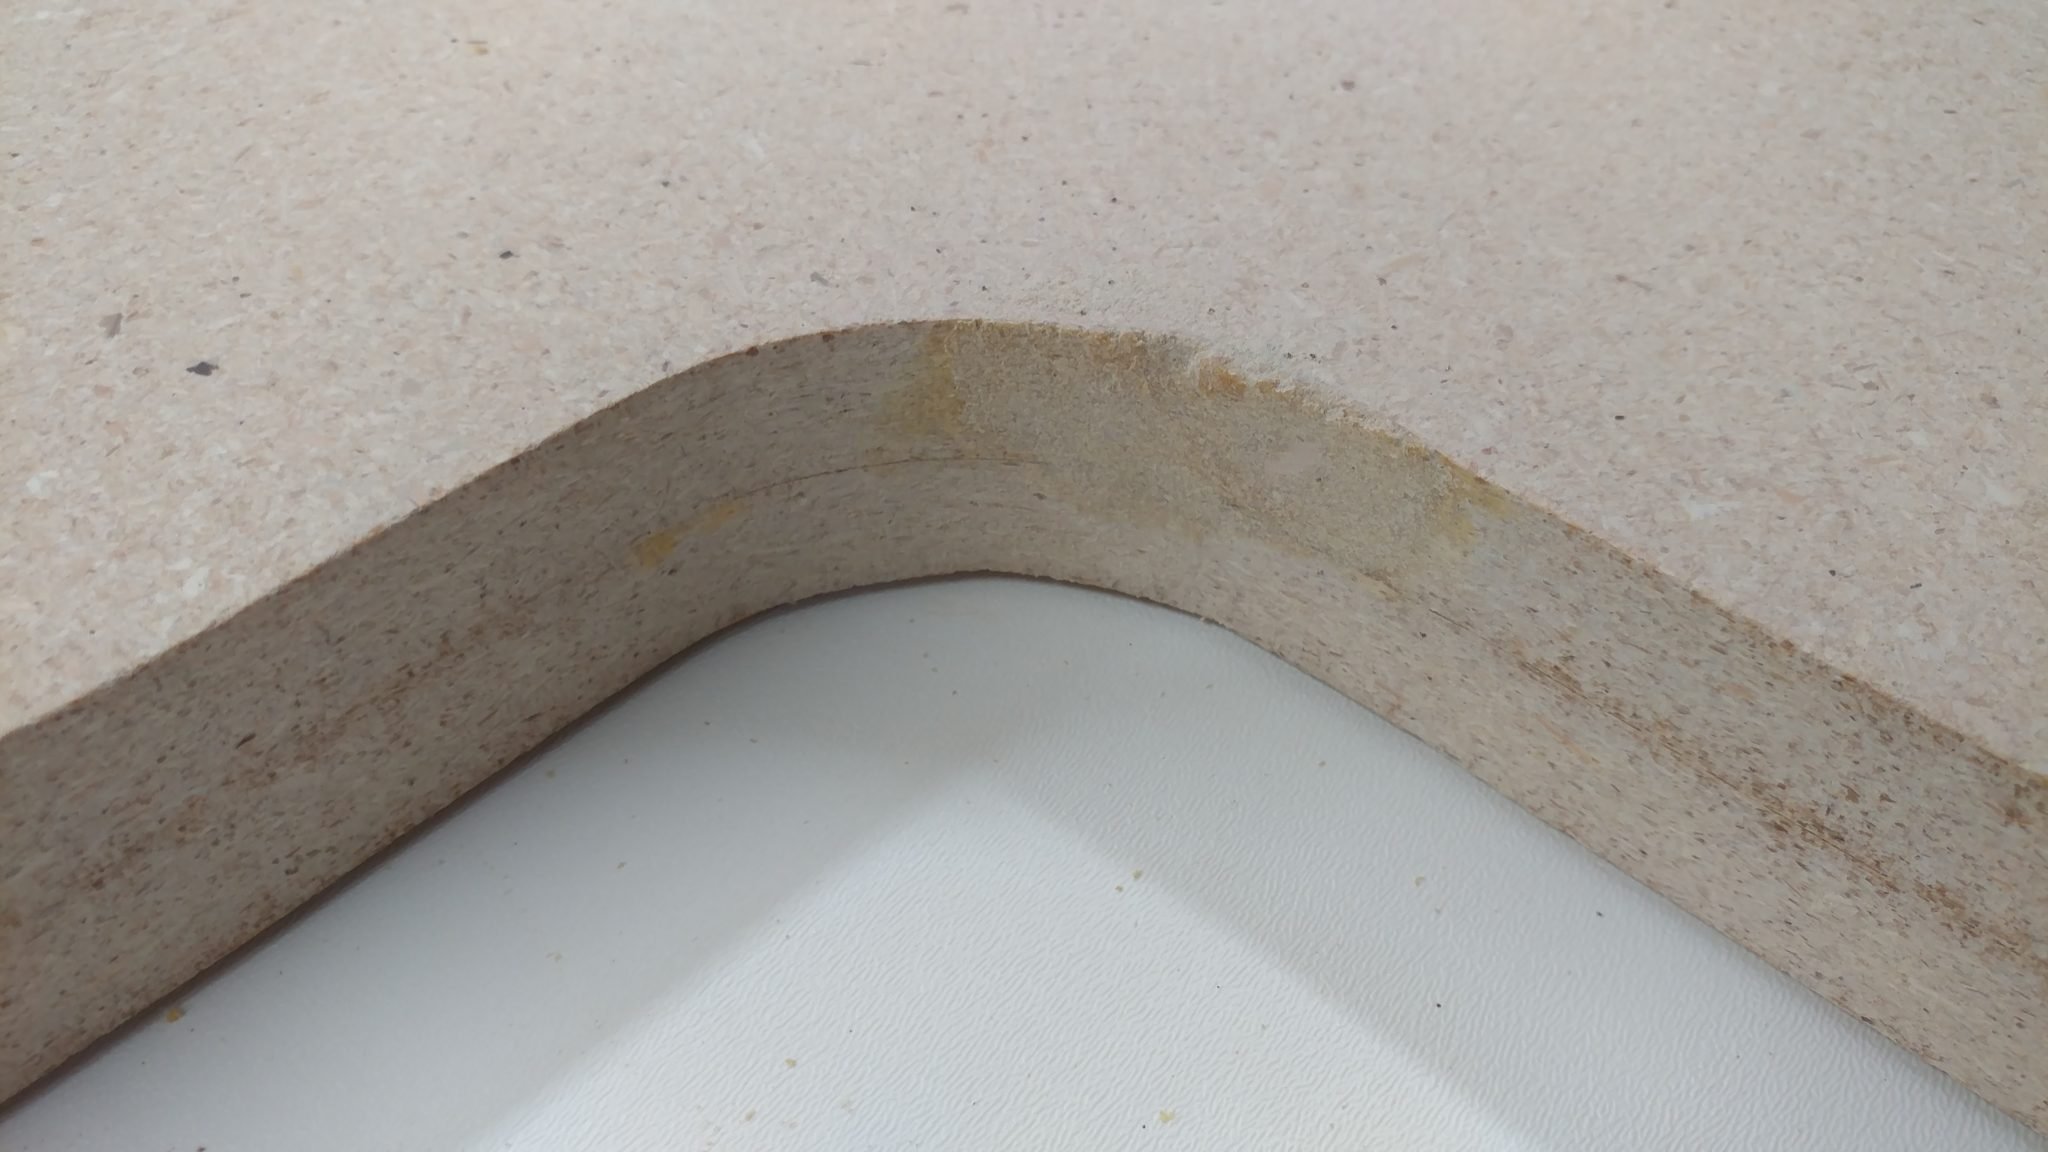
This one didn’t turn out as well but it’s good enough. I’m putting a roundover on the edges so I’m not worried with how jagged it is.
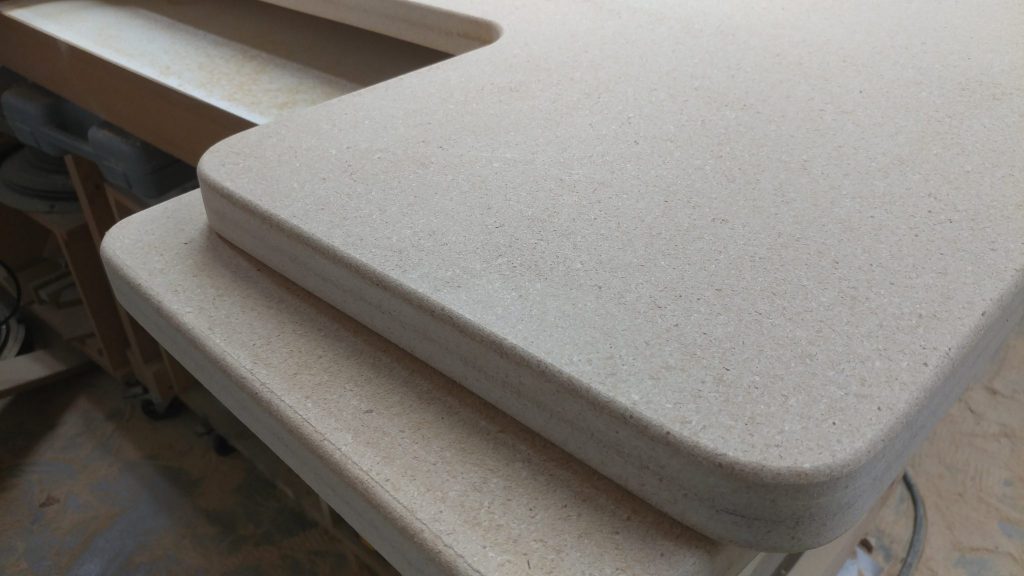
Applying the roundovers
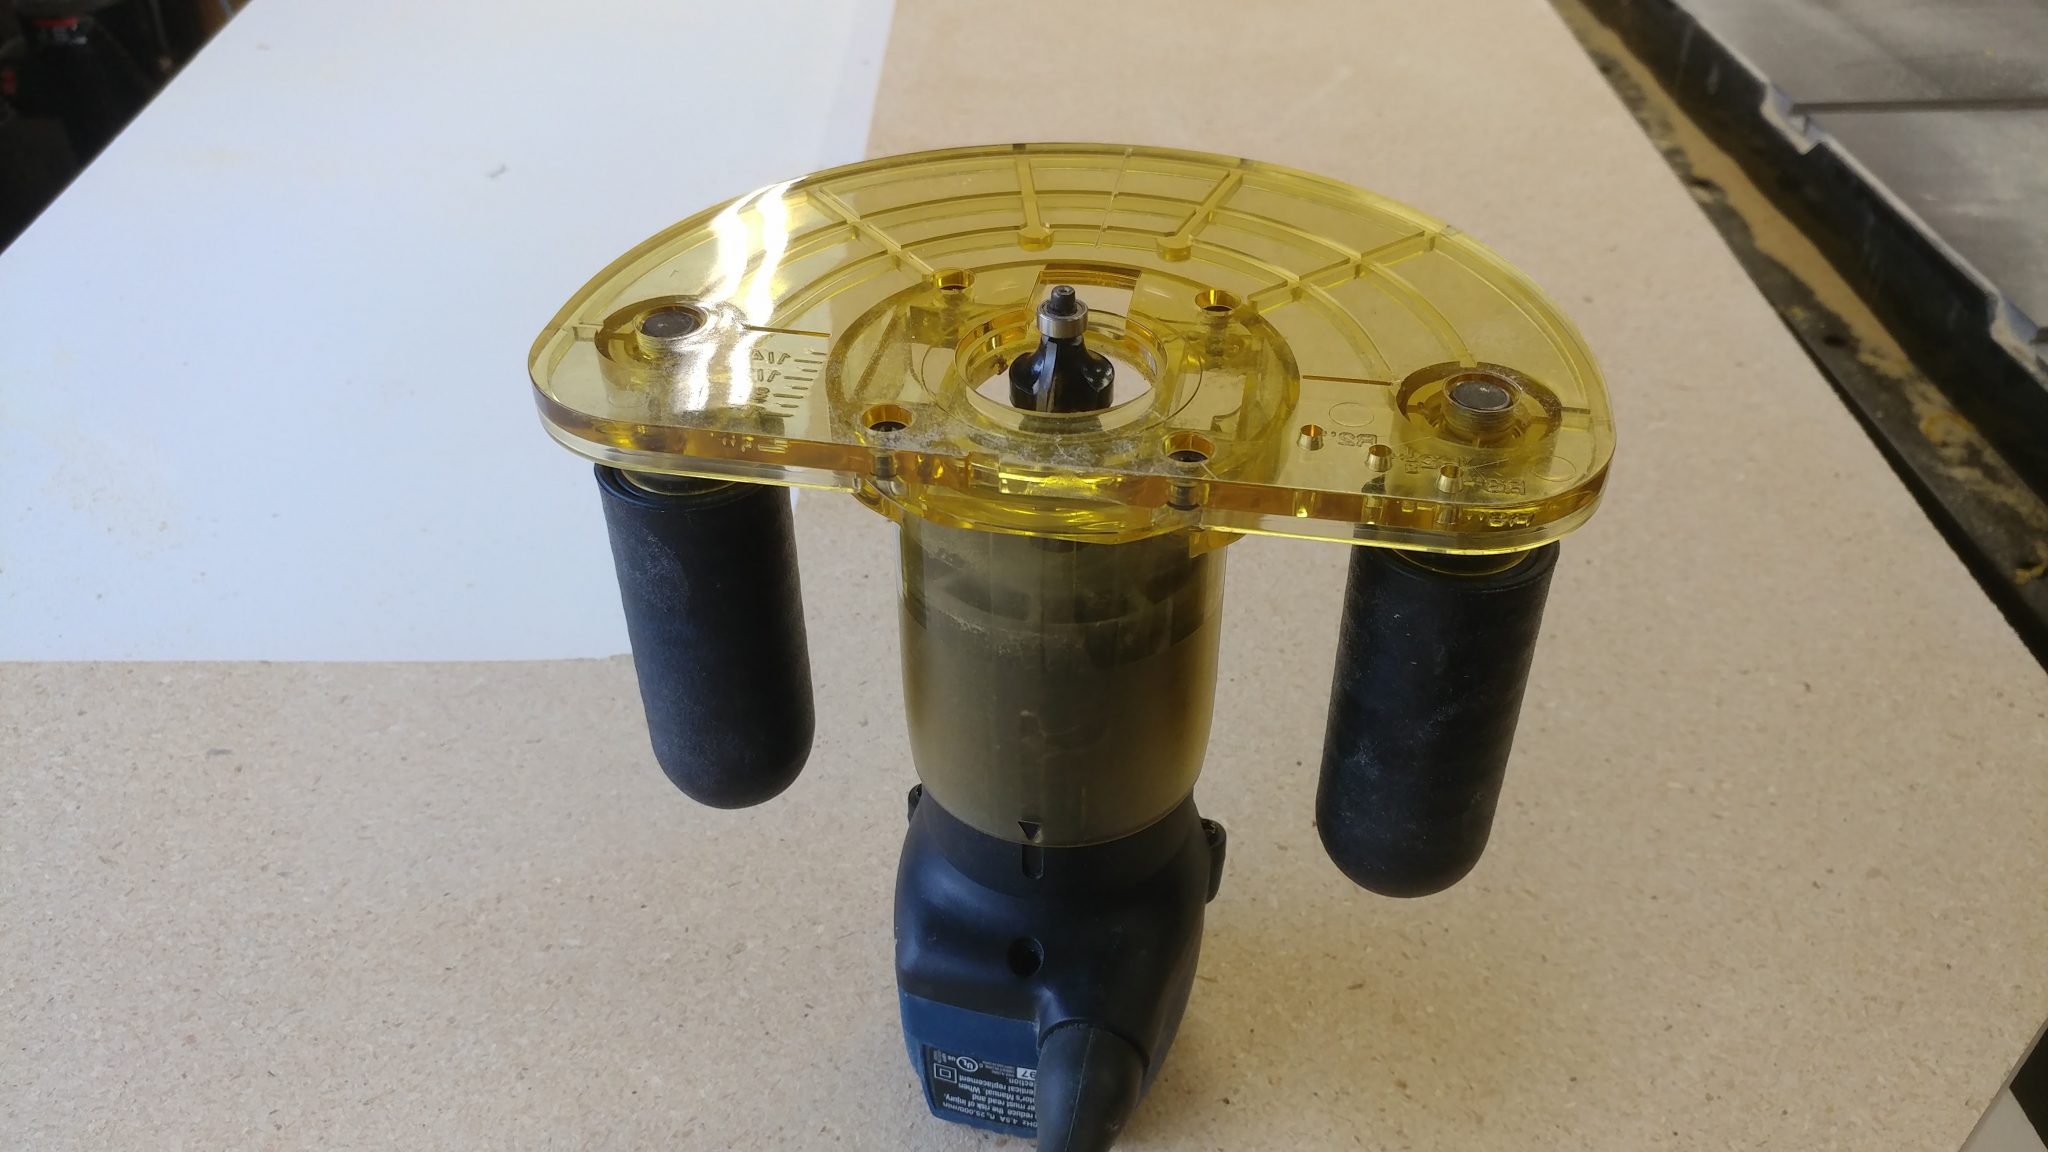
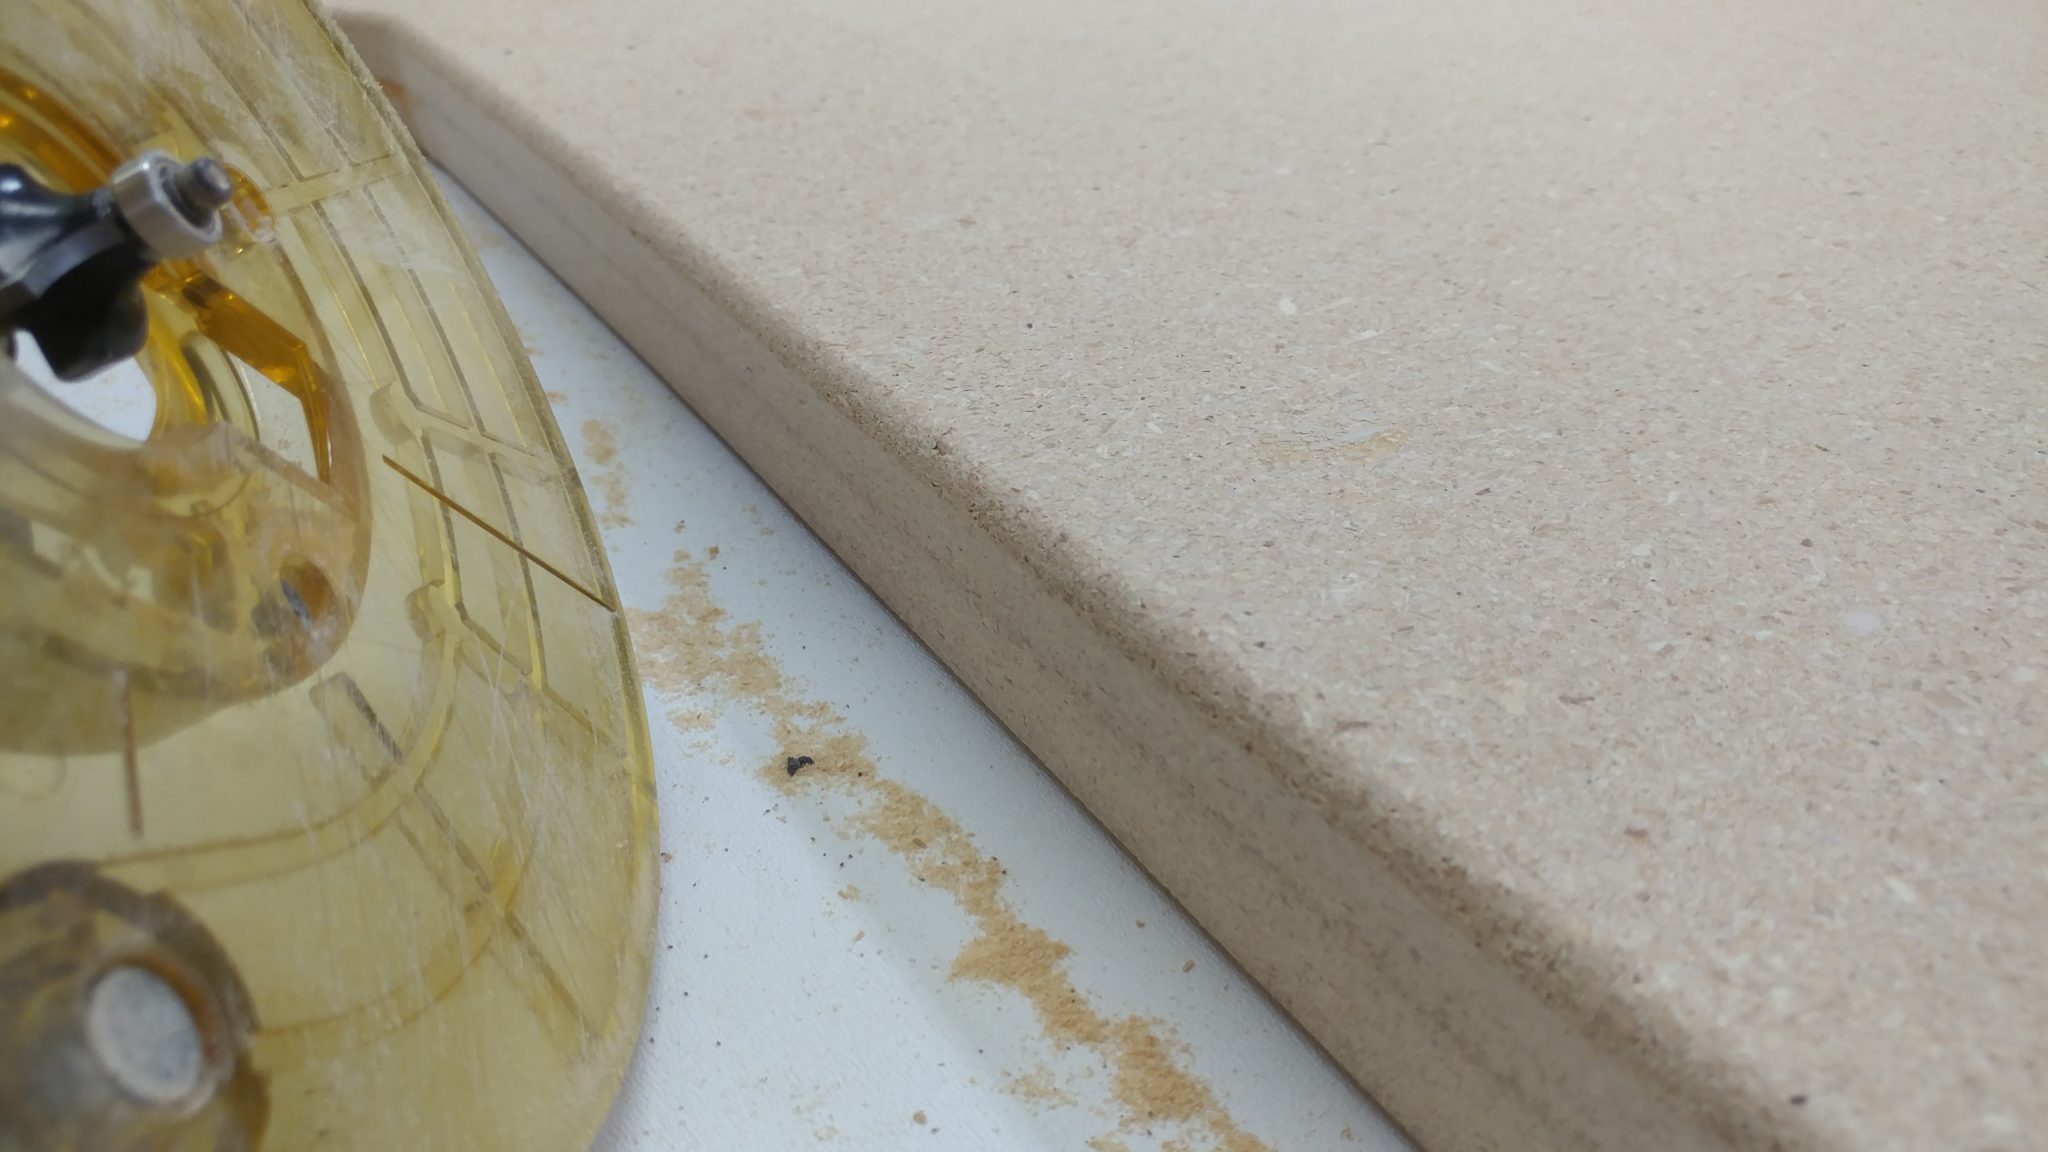
It was time to put the roundovers on the wood. I decided to just use one of my little trim routers in an effort to avoid the mistakes that I just had to fix which were caused by the unsteady base on my larger router. I outfitted it with a 1/4″ roundover bit.
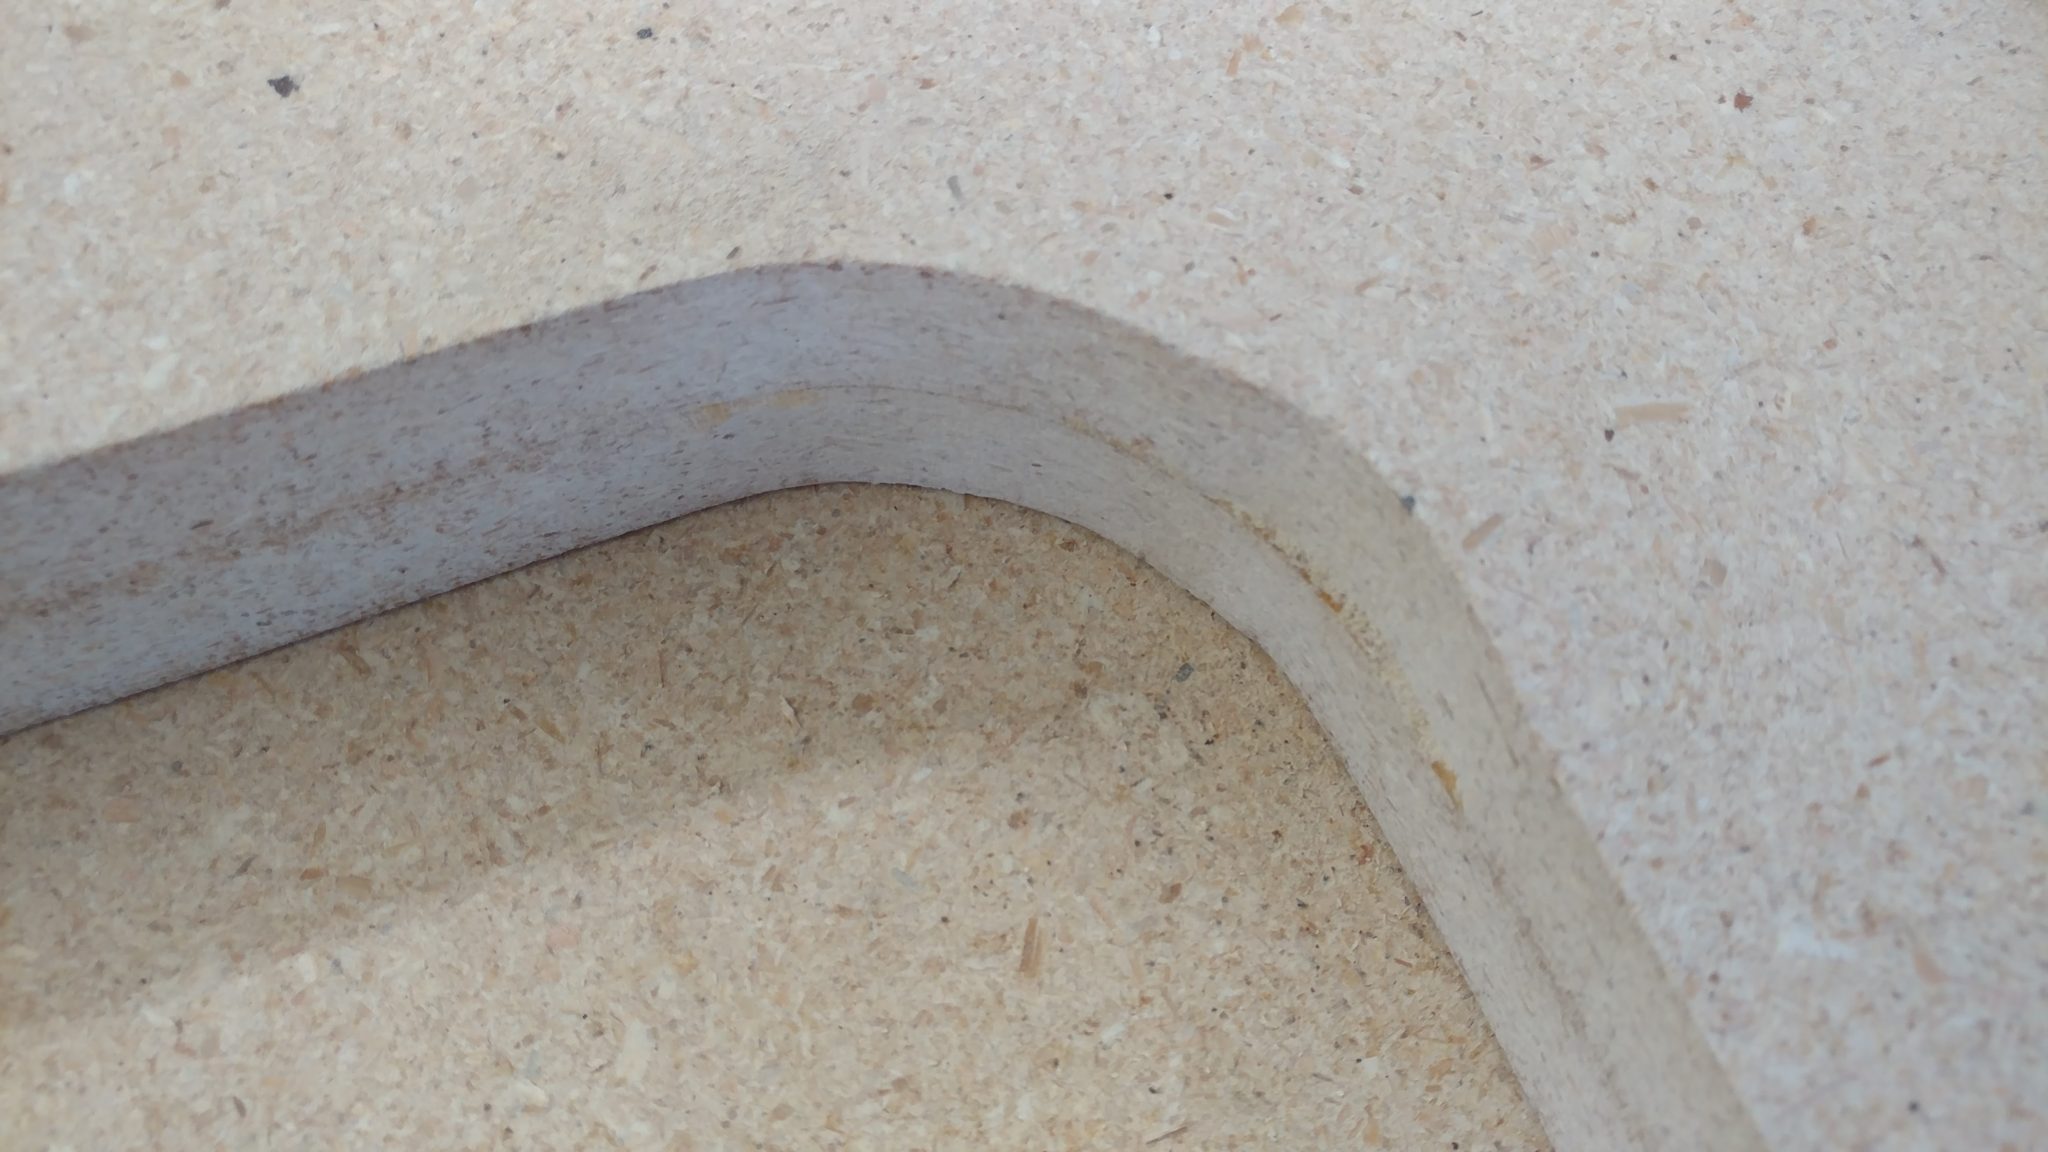
I applied the 1/4″ roundover with the intention of then applying a 1/2″ then finally a 3/4″ roundover. This is where I ran into a problem; I liked the look of the 1/4″.
I even liked how this looked in the corner where the patch job made an interesting little shape.
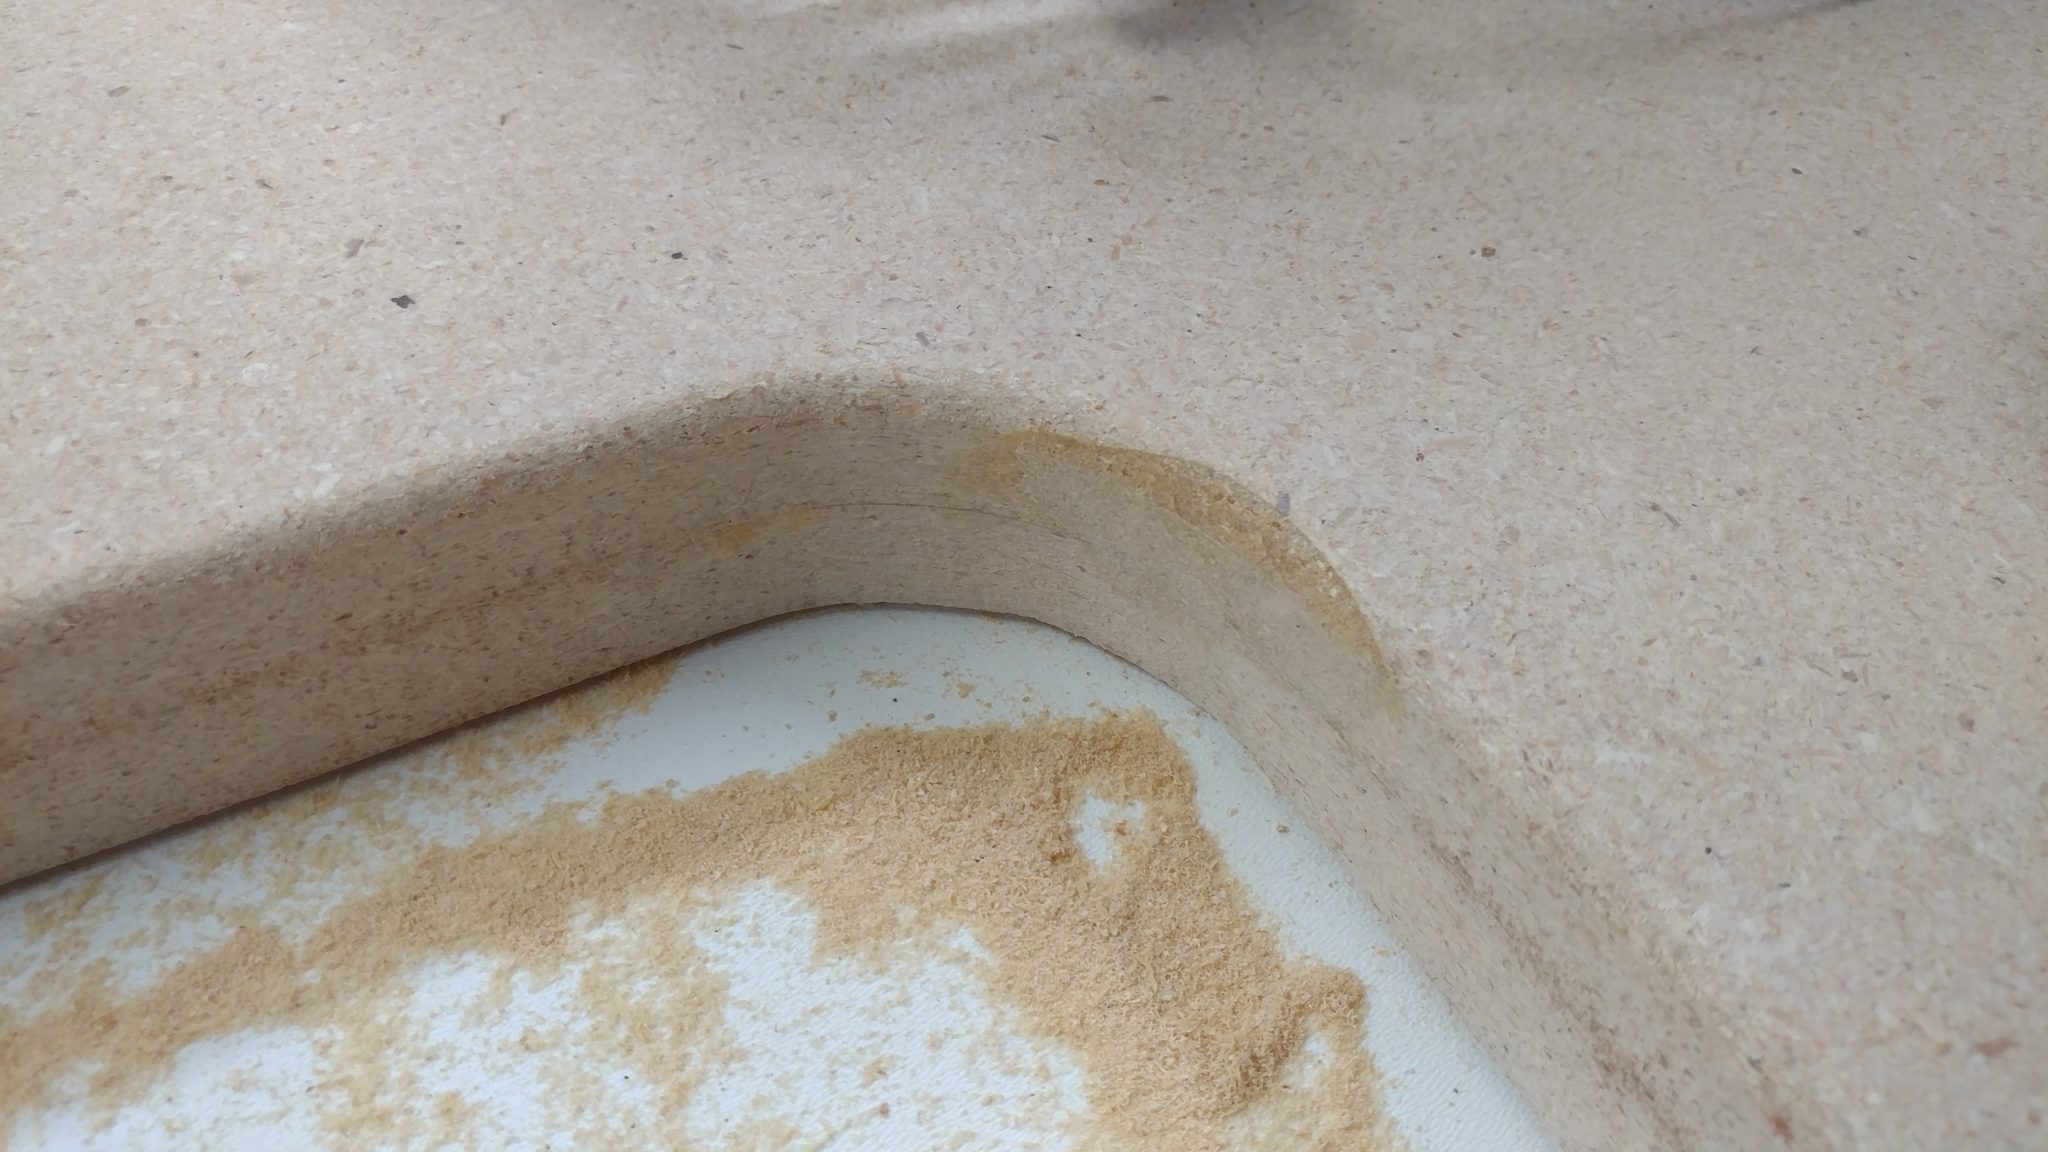
I really liked the look and feel of this roundover.
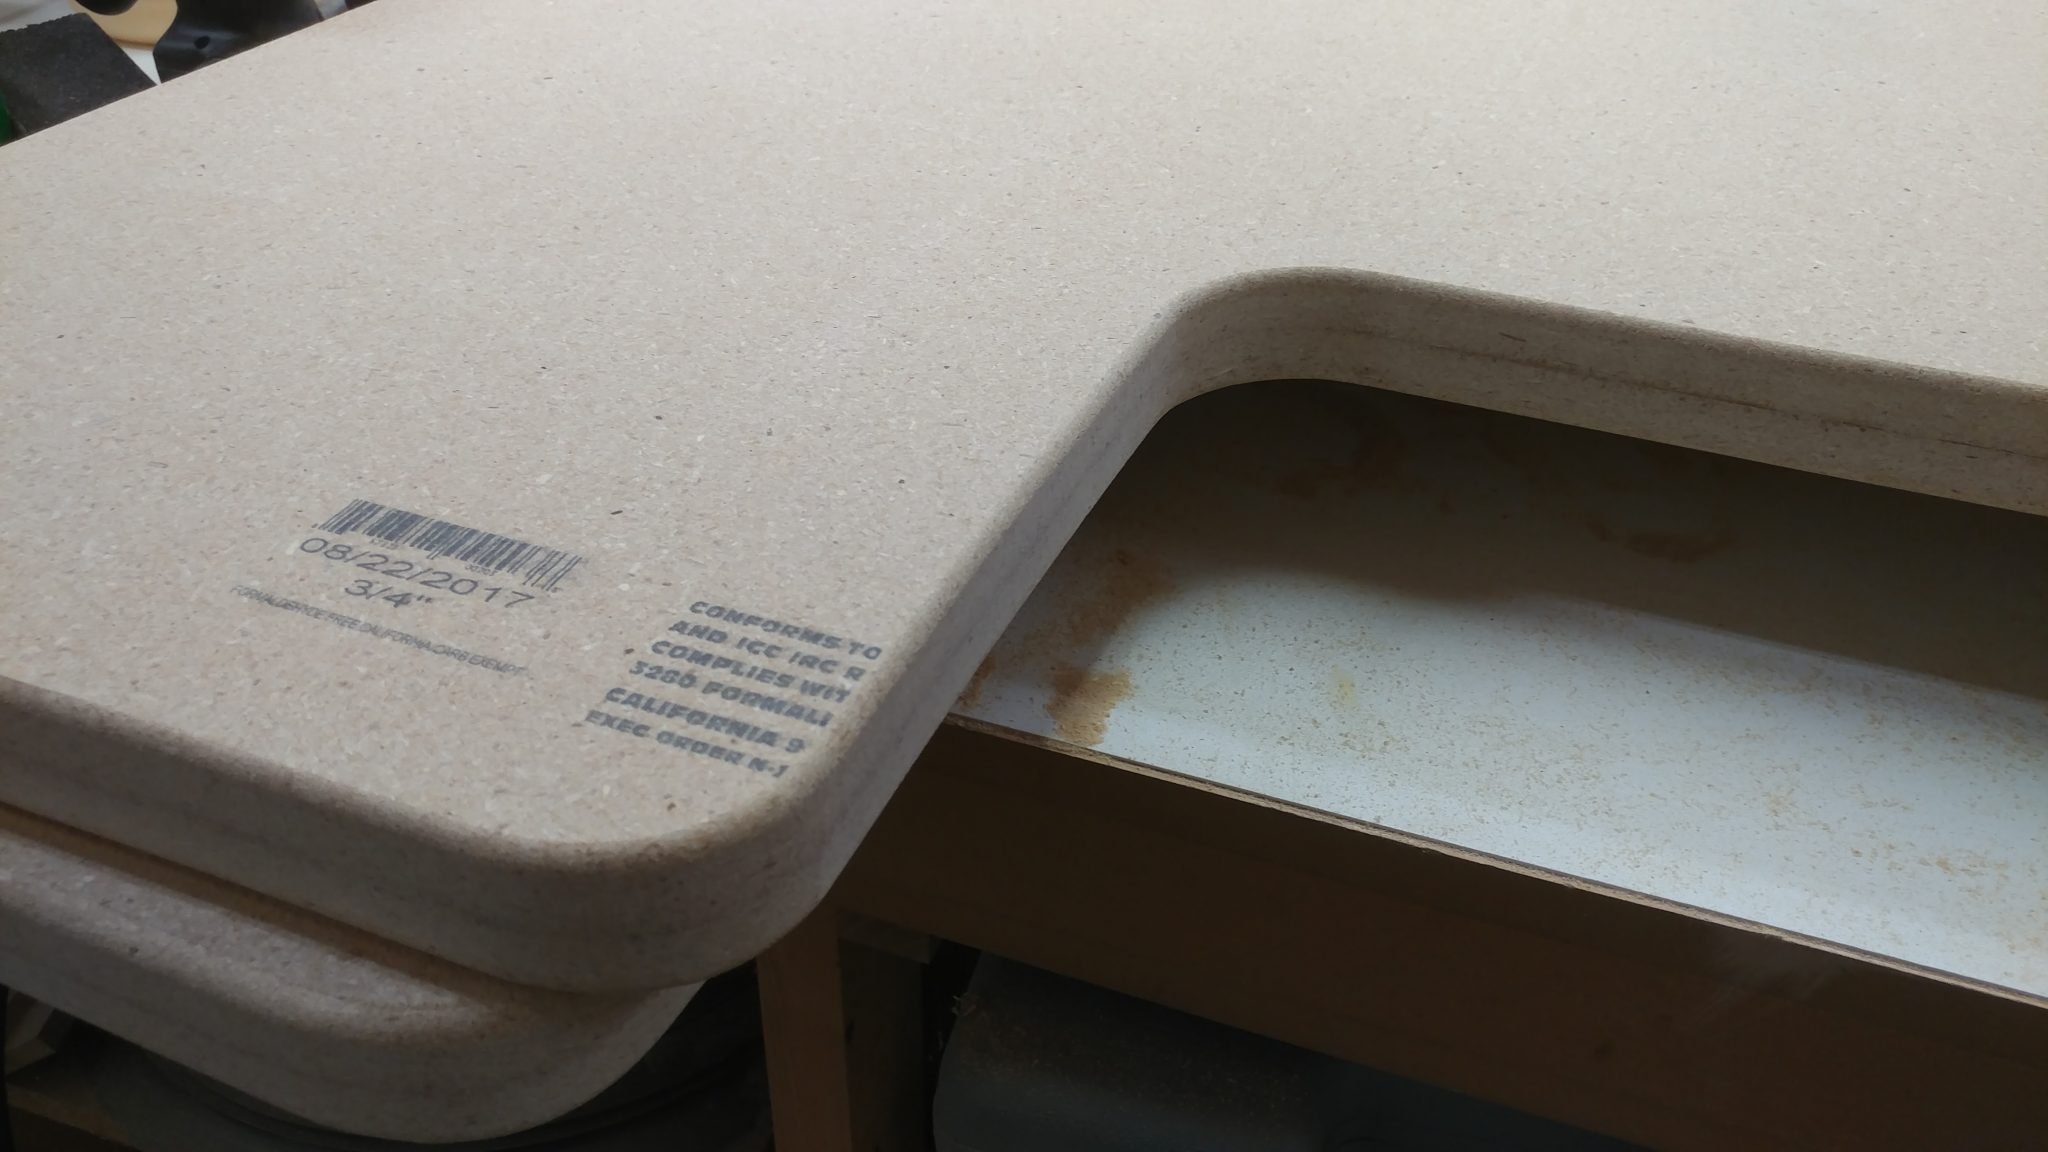
It looked especially nice when you backed off a bit and took the whole thing in.
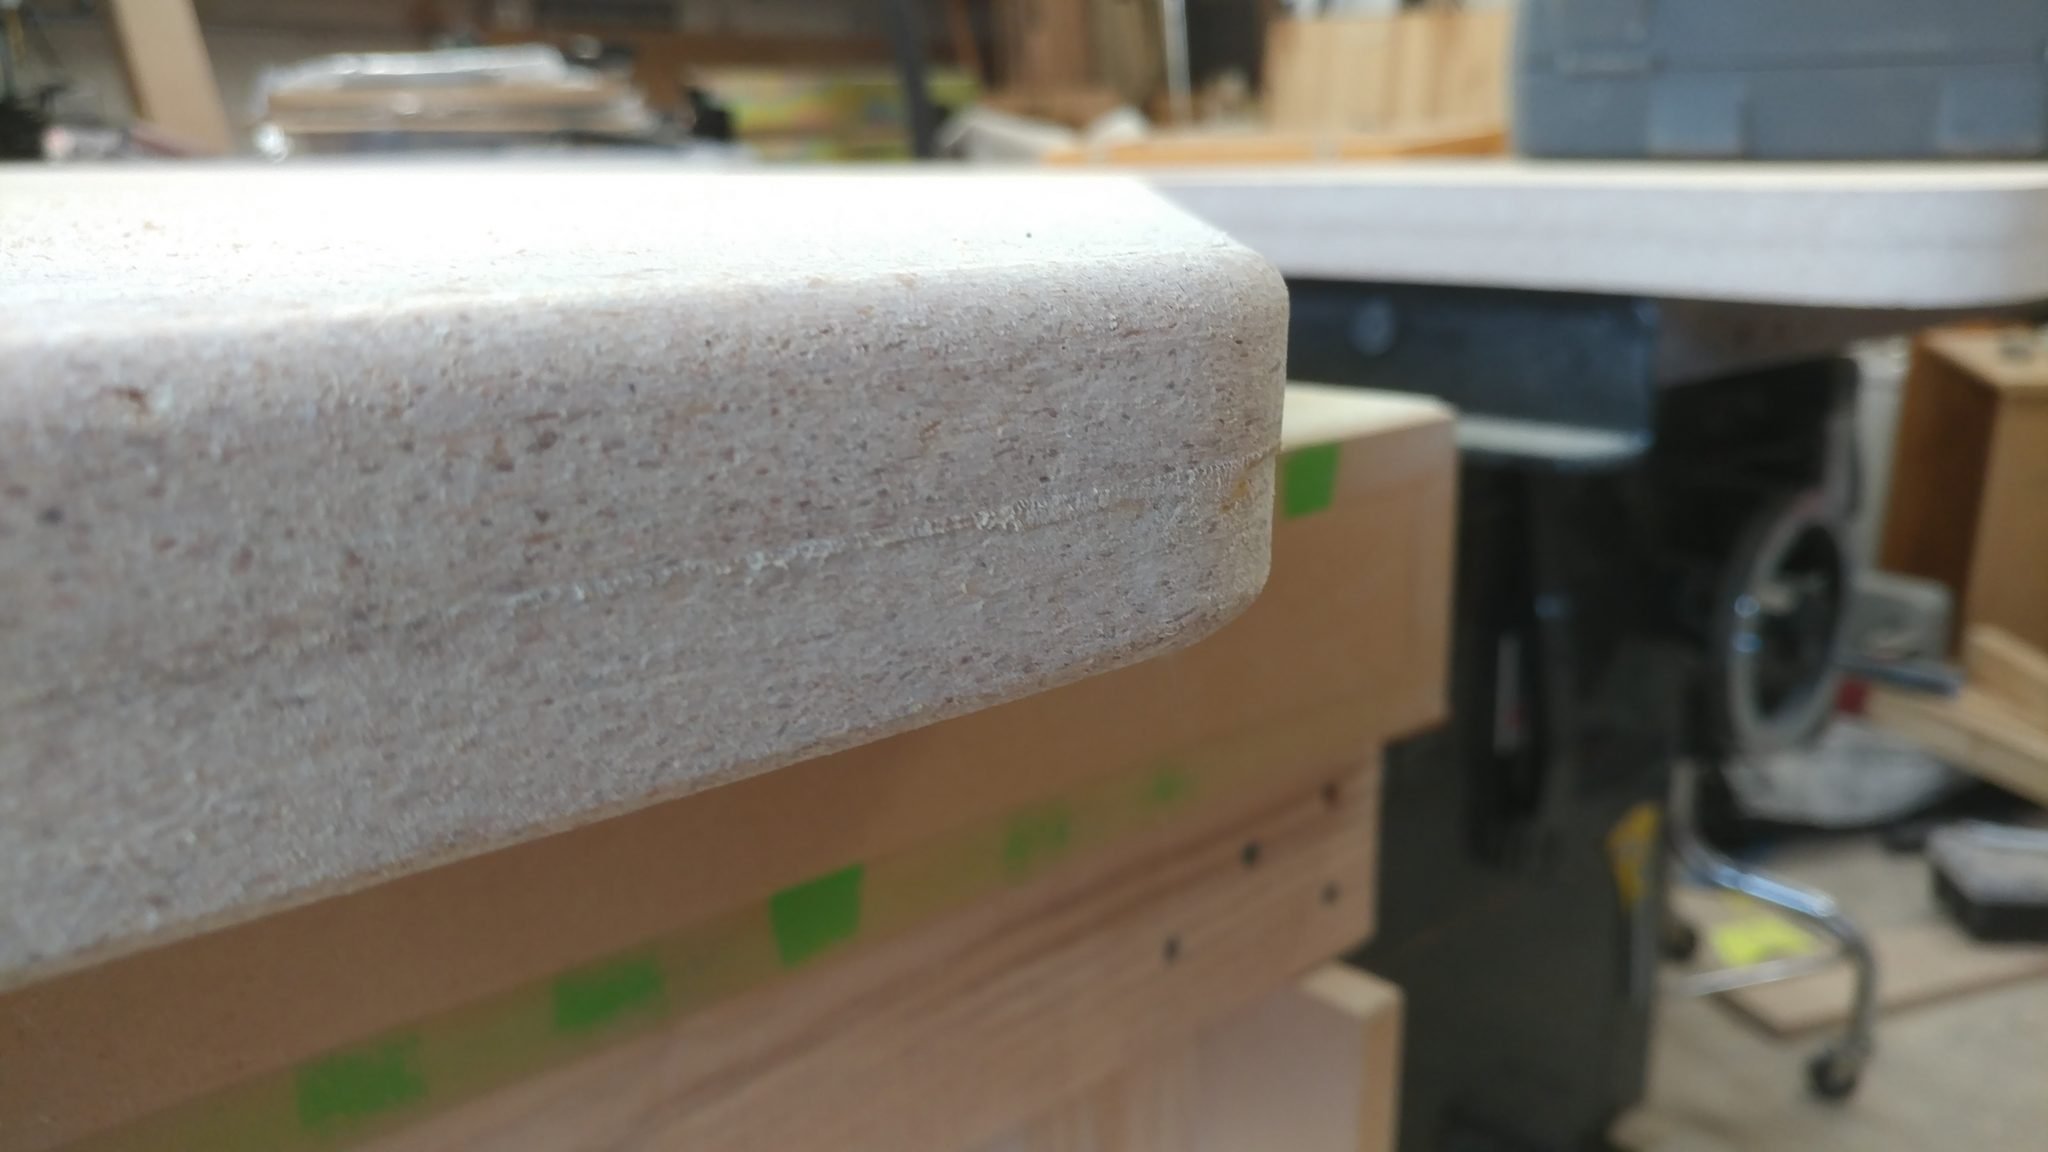
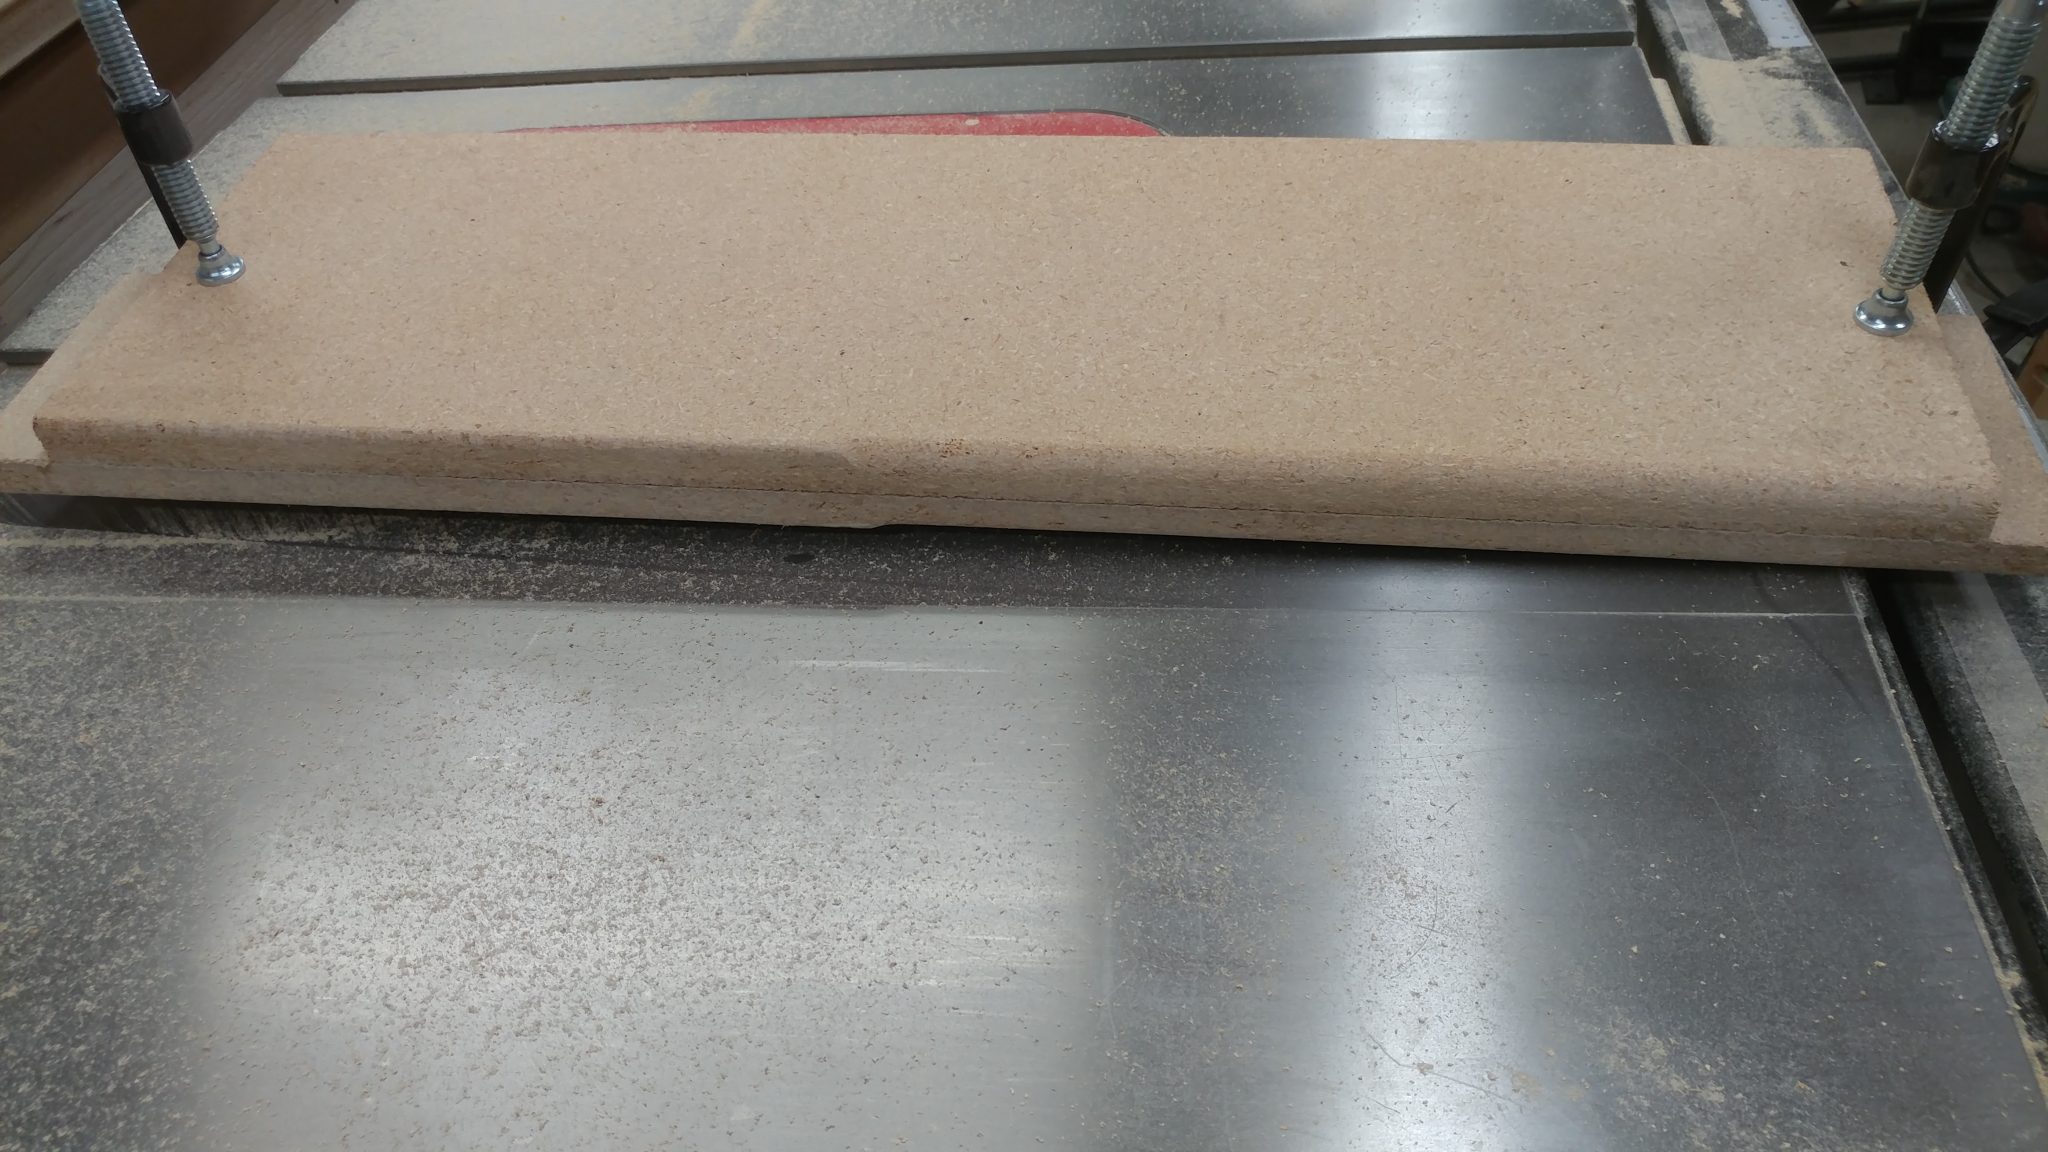
I couldn’t make up my mind, and I only have one shot at this so I decided to ask for more opinions. I took some scrap particleboard and did a mockup. The left half is the 1/4″ roundover and the right half is a 1/2″ roundover. I decided I didn’t want to do a full 3/4″ roundover. I posted this photo along with a few others to several Facebook groups, Google+ groups, Instagram, and Twitter. I wanted to see what others preferred. Most feedback seemed to be favoring the 1/2″ but two opinions in particular stood out to me. One was my wife, who said she preferred the 1/4″, especially since she sometimes attaches vices and jigs to the workbench that I made her and a big roundover would make that difficult. The other was from Paul Jenkins (a.k.a. The Wood Knight). He also favored the 1/4″. In the end, I agreed with these two so I left it as 1/4″
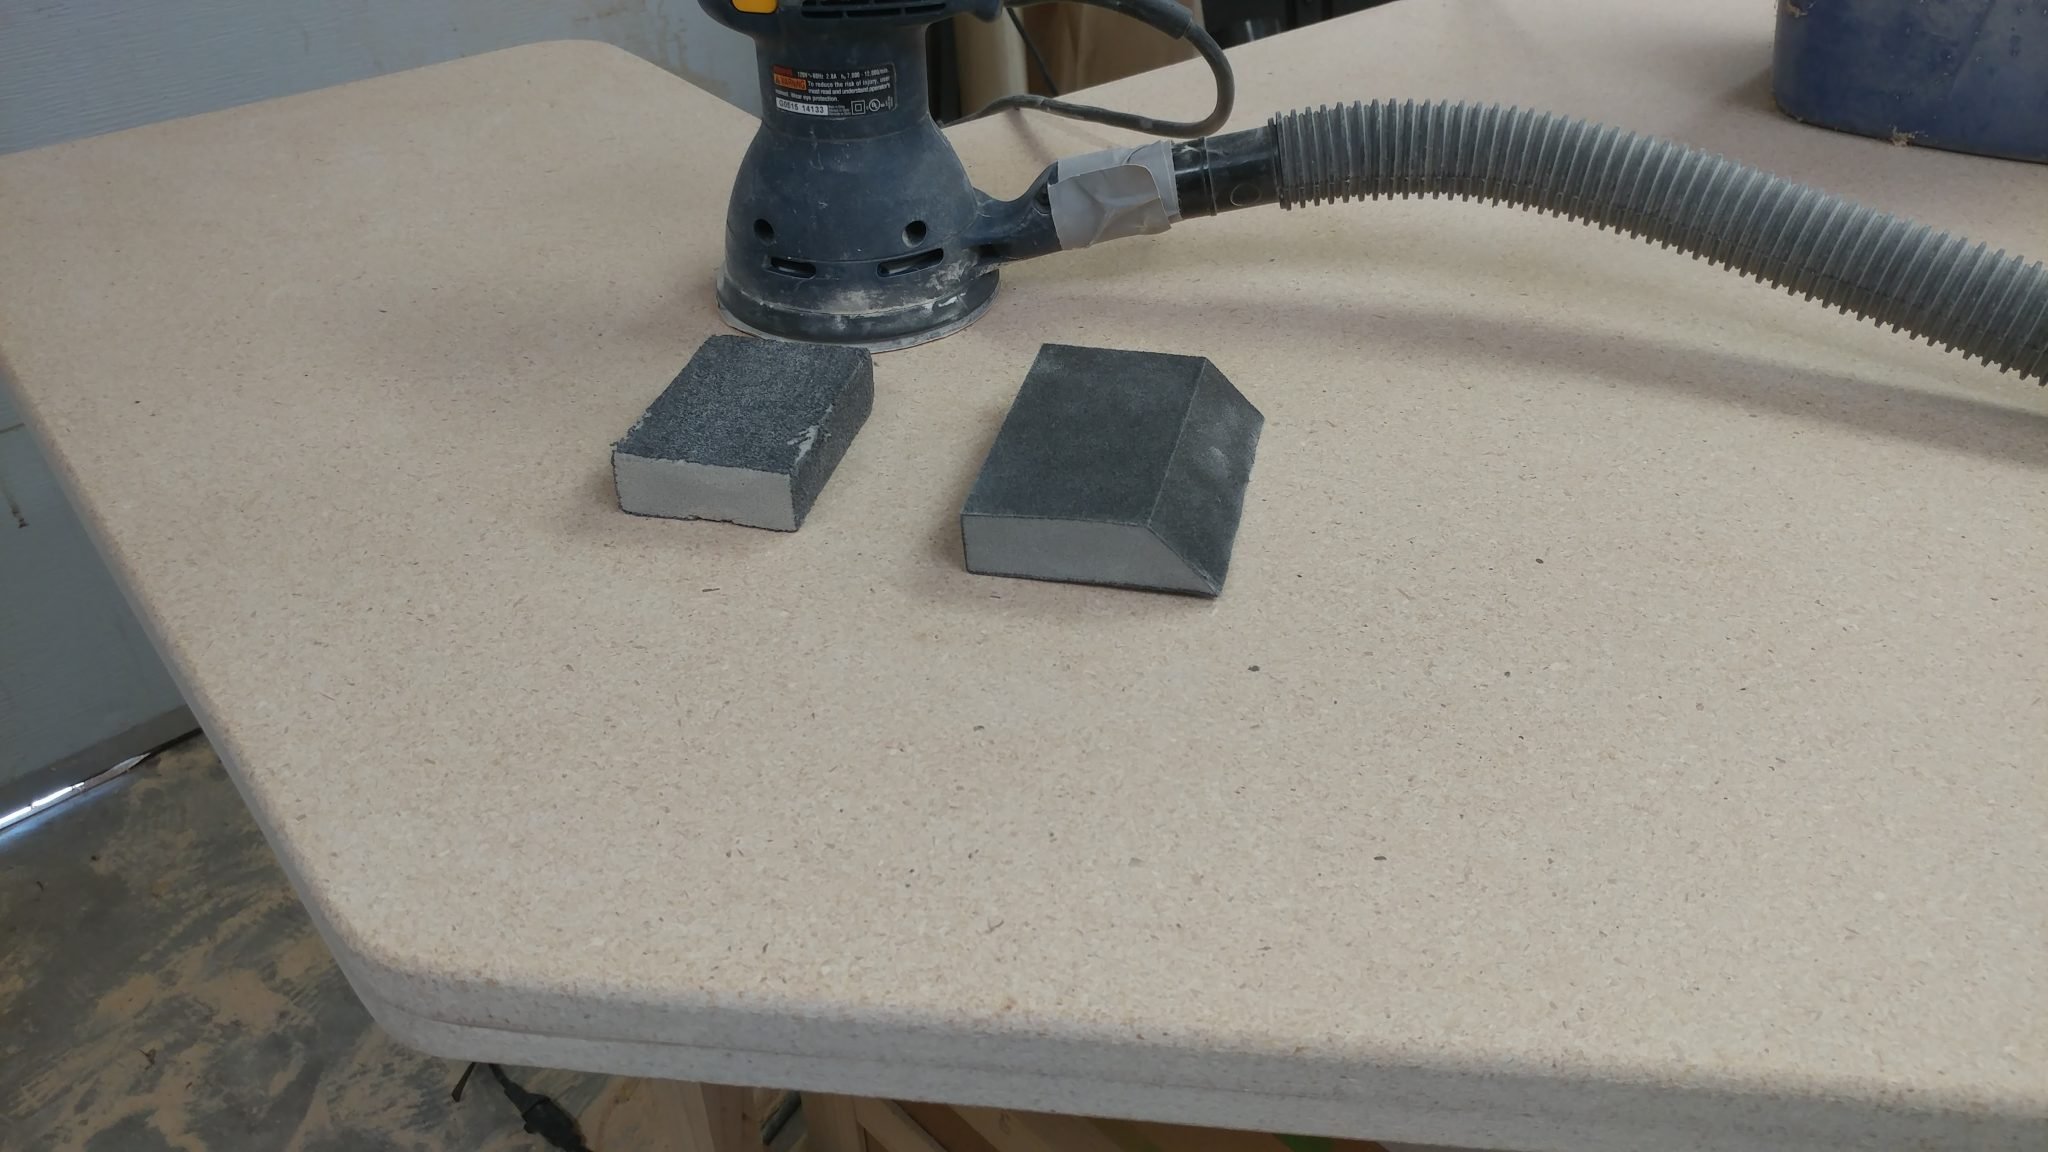
The last step for this part of the project was to clean the pieces up to get them ready for finishing. I sanded the top and bottom faces of each piece with a random orbital sander and 220-grit sanding discs. The edges were cleaned up first with a coarse and then a fine-grit sanding sponge.
This concludes part 2.
Closing remarks
This is a difficult project, not in a woodworking sense since it’s ridiculously simple in it’s construction but in that I don’t have a lot of room in my shop at the moment. My shop is currently difficult to walk in, much less build in.
I’m going to stain the wood next then apply several coats of matte finish polyurethane. This isn’t going to be particularly interesting and will be time consuming so the next update might not have much to it.
Before I attach the legs and set up the desk, I need to also build the racks that will store the computer and recording gear. These will determine the final placement of the legs since they are used to hold up the racks. I’m going to try to get these built while I work on the finishing but I also want to make sure that the finish is protected from sawdust from building the racks and like I said, I have very little room in my shop right now.
If you have any suggestions, please leave them in the comments below. I’d love to see any desk builds you’ve done. Also, if you haven’t already, please consider signing up for my mailing list so you get e-mail notifications when I post new articles.
Pingback: Studio Desk - Part 3: Assembling the Racks - TrentDavis.net
Pingback: News – February 11th, 2019 – Cymbal Cart, Wood Paste, New Docs, Studio Desk, and Router Table Article - TrentDavis.net