

The top is all glued up so now I need to strengthen it by attaching 1/2″ plywood to the underside. I can then cut it down to the final size to prepare it for finishing.
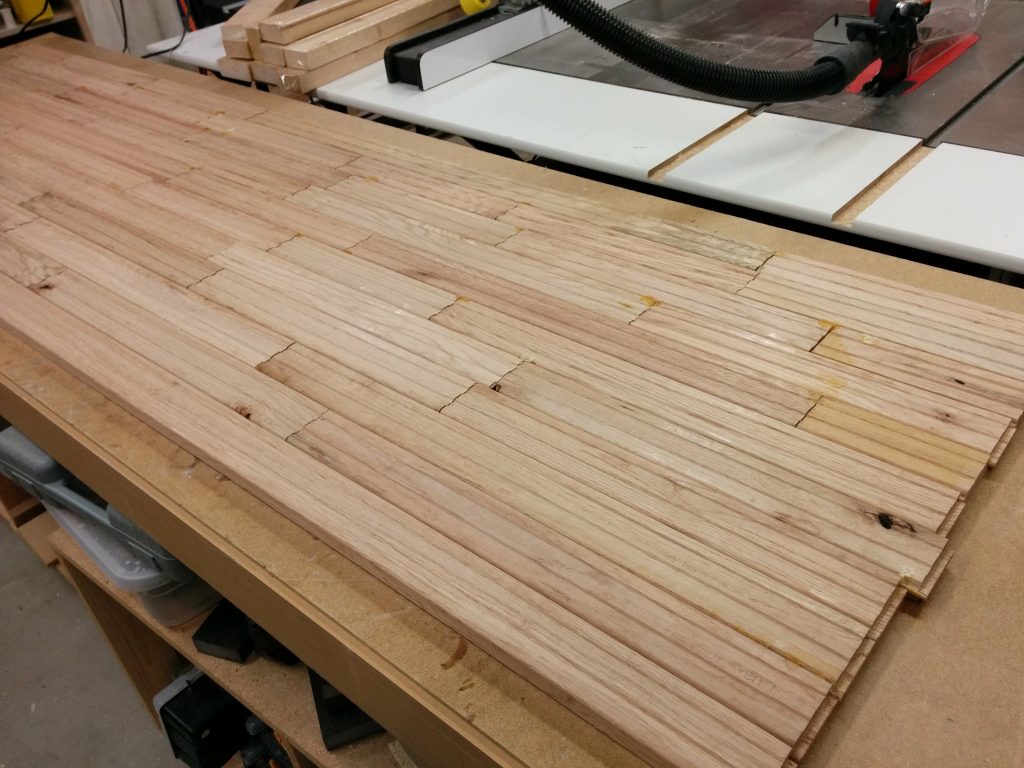
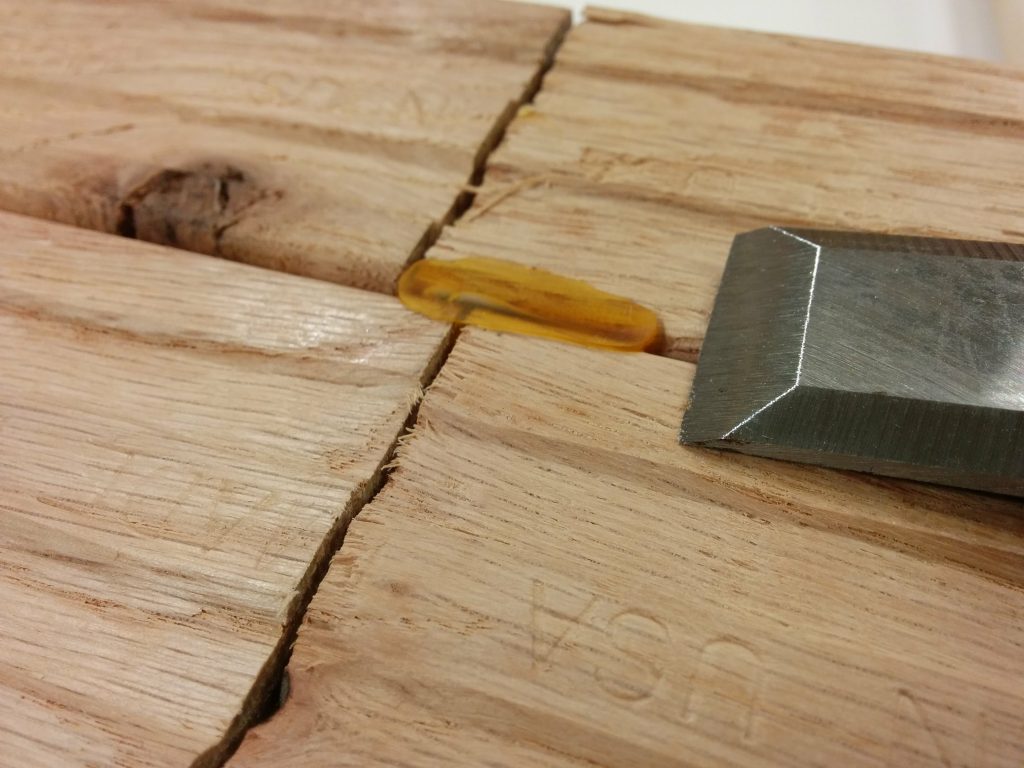
There were a few spots of glue squeeze-out that I decided to remove so they don’t interfere with attaching the benchtop to the plywood. I just scraped them flat with a chisel.
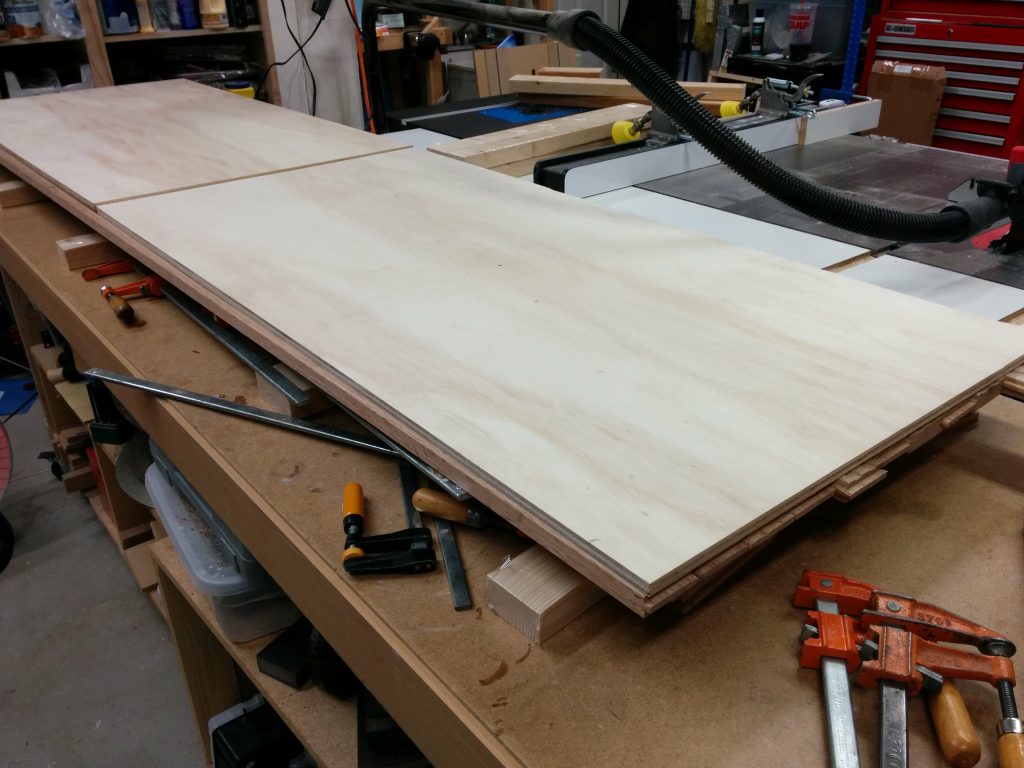
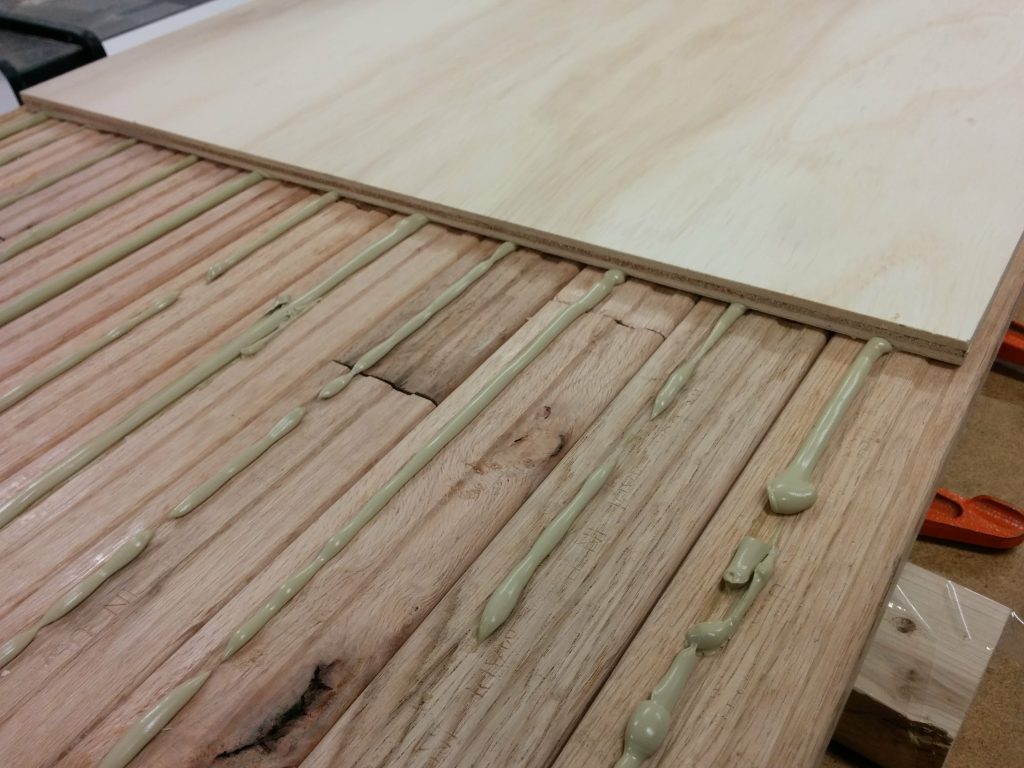
I am attaching two sheets of 1/2″ plywood cut to 2′ X 4′ pieces. I laid them out to see which would be the best placement for them. The benchtop so far is about 25″ deep so there will be a lip overhanging the plywood at both the front and back. My initial plan was to cut the front and back edges flat then attach a border, but that plan changed, as you’ll see in a moment.
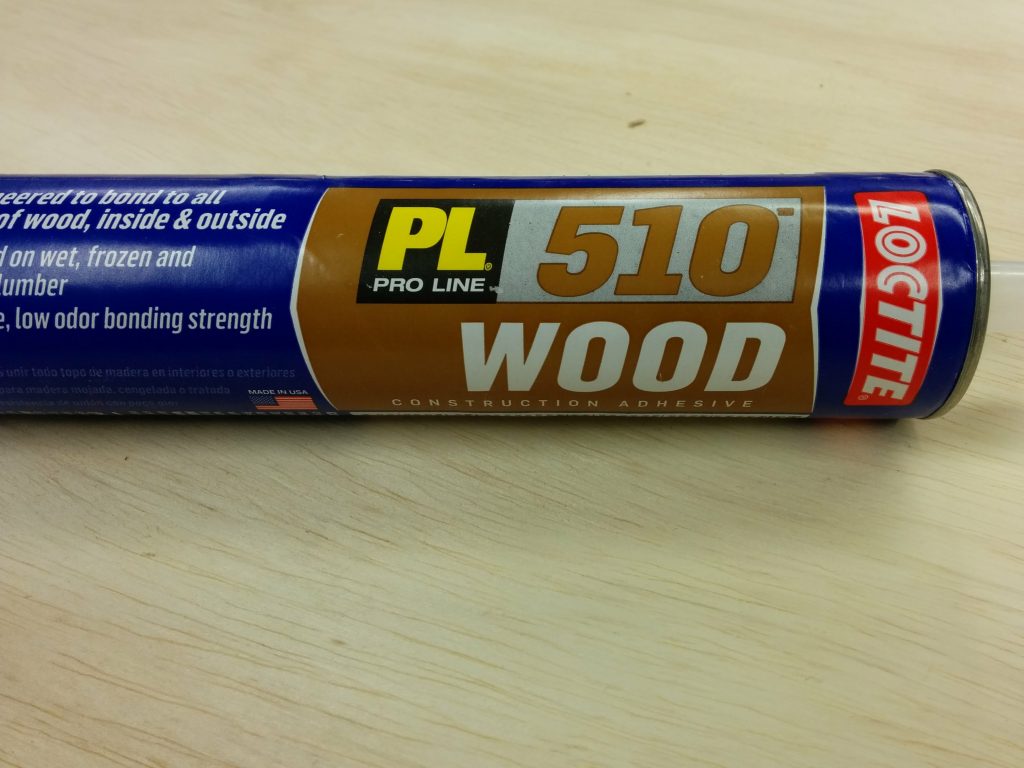
I am using Loctite PL 510 construction adhesive to attach the plywood to the benchtop.
I ran a bead of the construction adhesive down the length of each strip of flooring. This is, of course, working on the underside of the benchtop. Then I placed the plywood sheets on top of that. I tried to get it relatively centered.
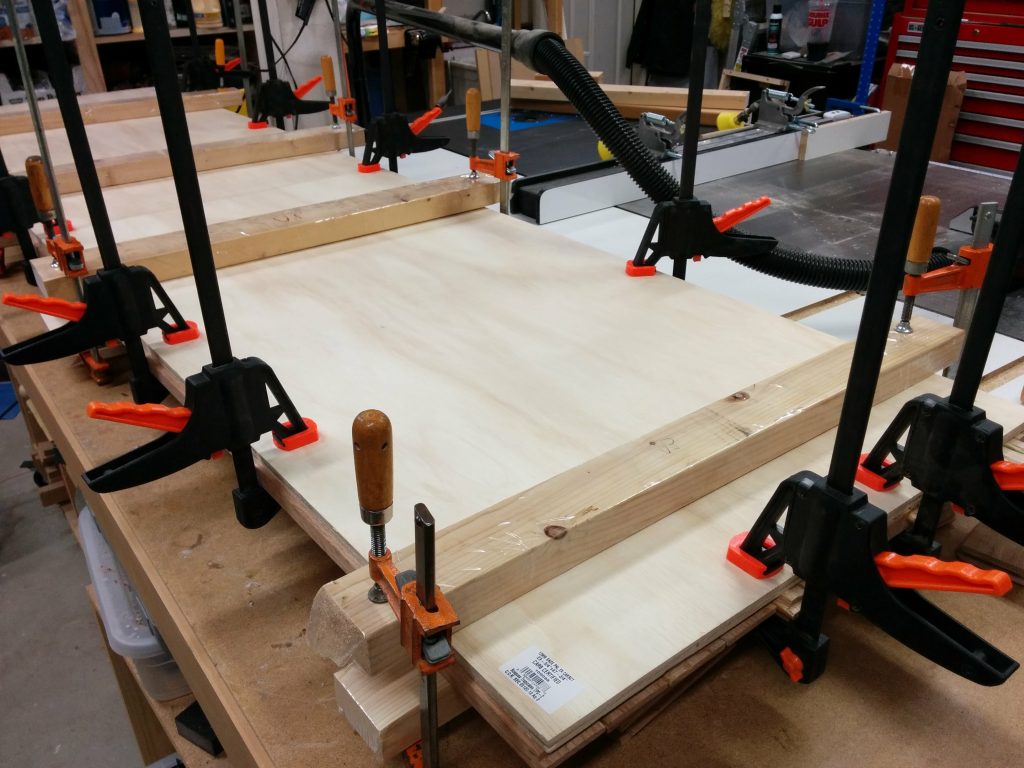
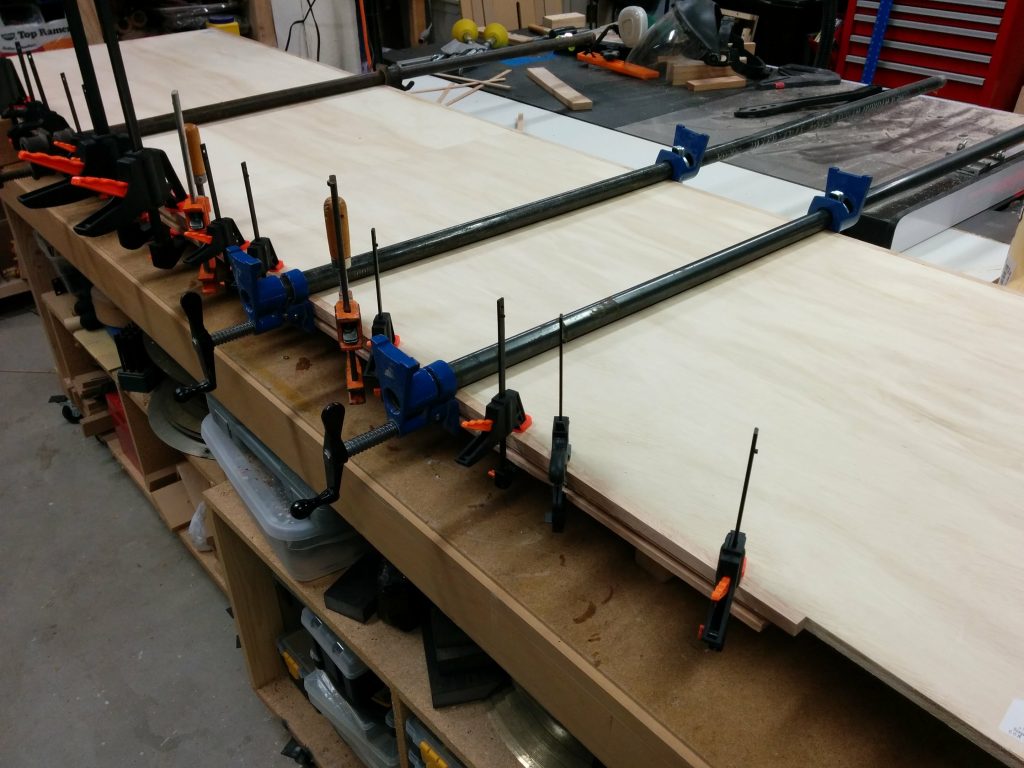
I clamped and cauled the plywood sheets to the benchtop and let it dry for 24 hours.
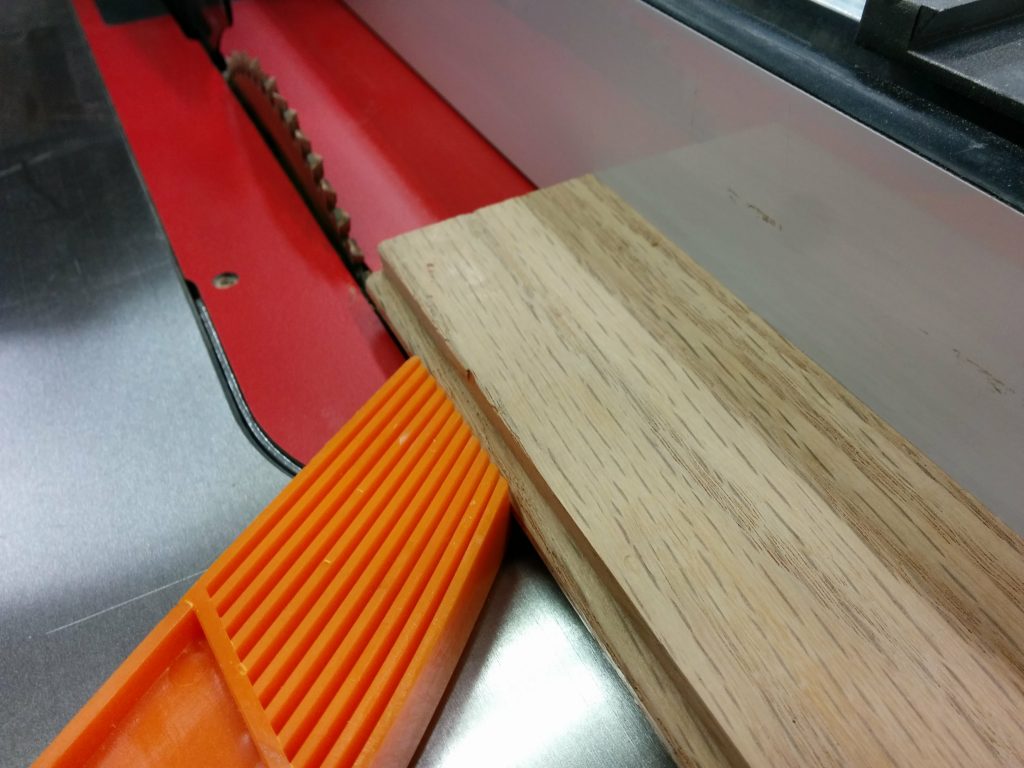
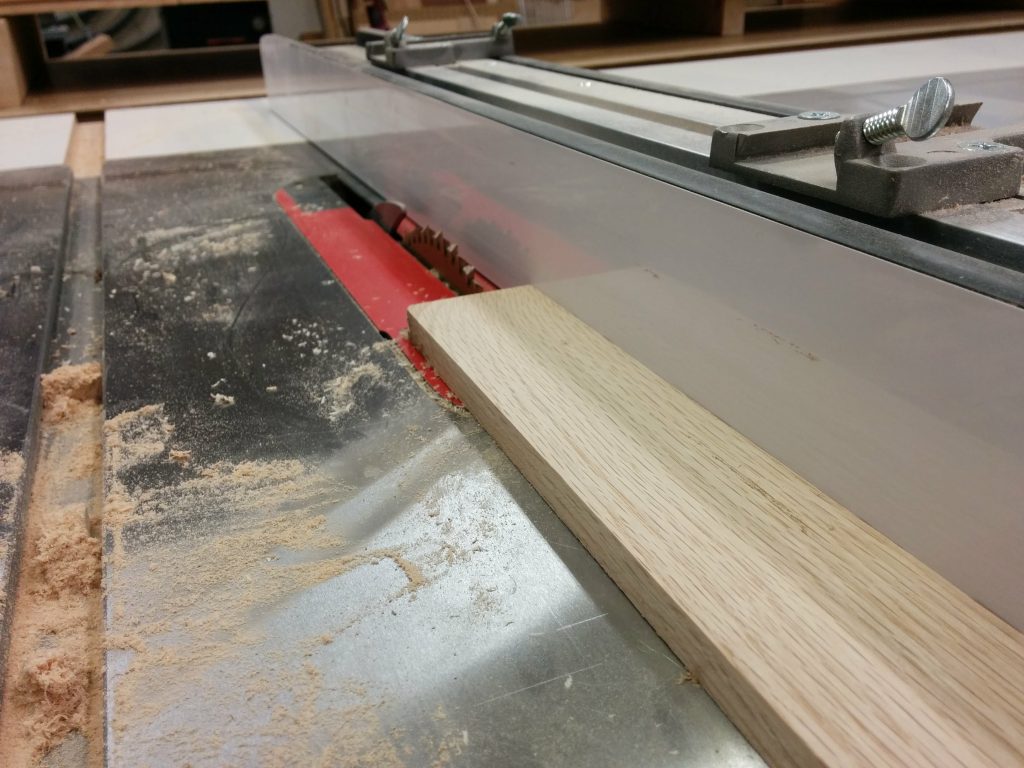
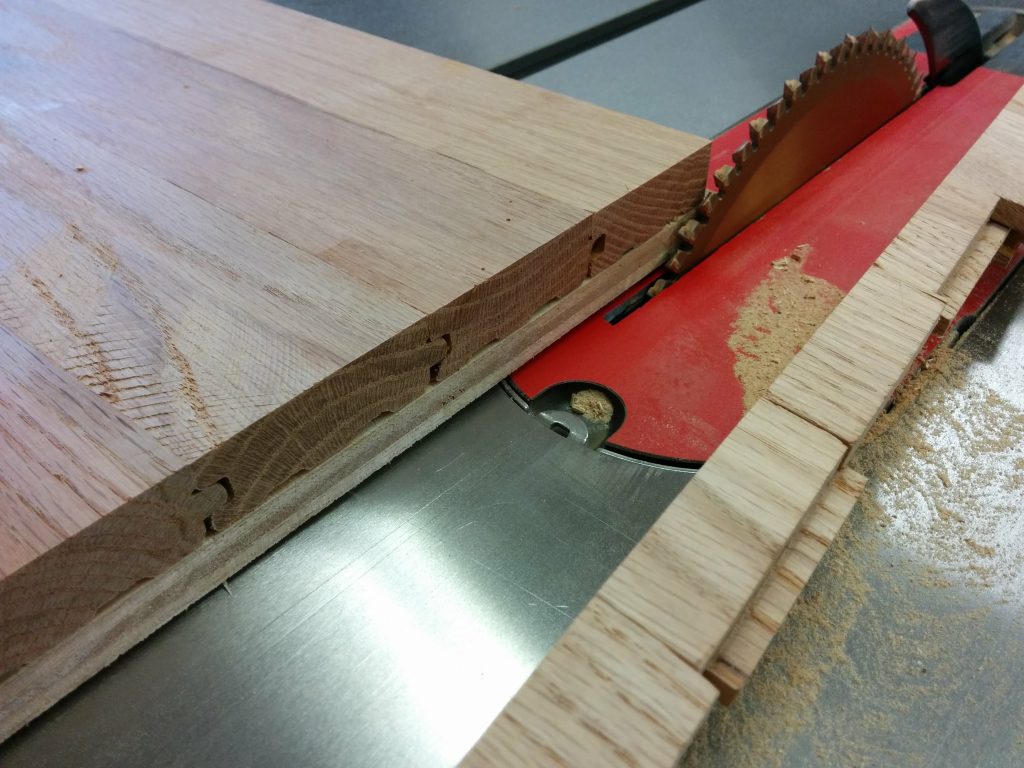
My original plan was to mill down some more of the flooring scraps and make a border along the front and back of the benchtop that was 1-1/4″ tall and 1/2″ deep. This was mostly to cover the plywood that is being attached to the underside of the benchtop. I started by cutting the tongue off the side of the flooring pieces.
After that I cut off the groove on the opposite side.
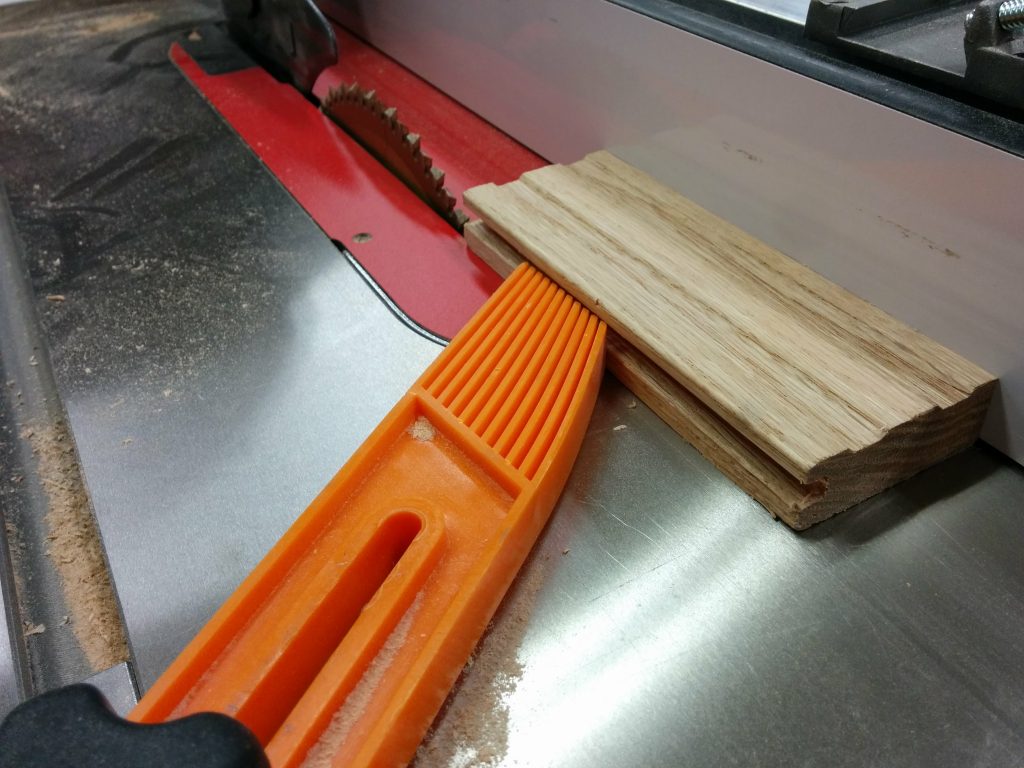
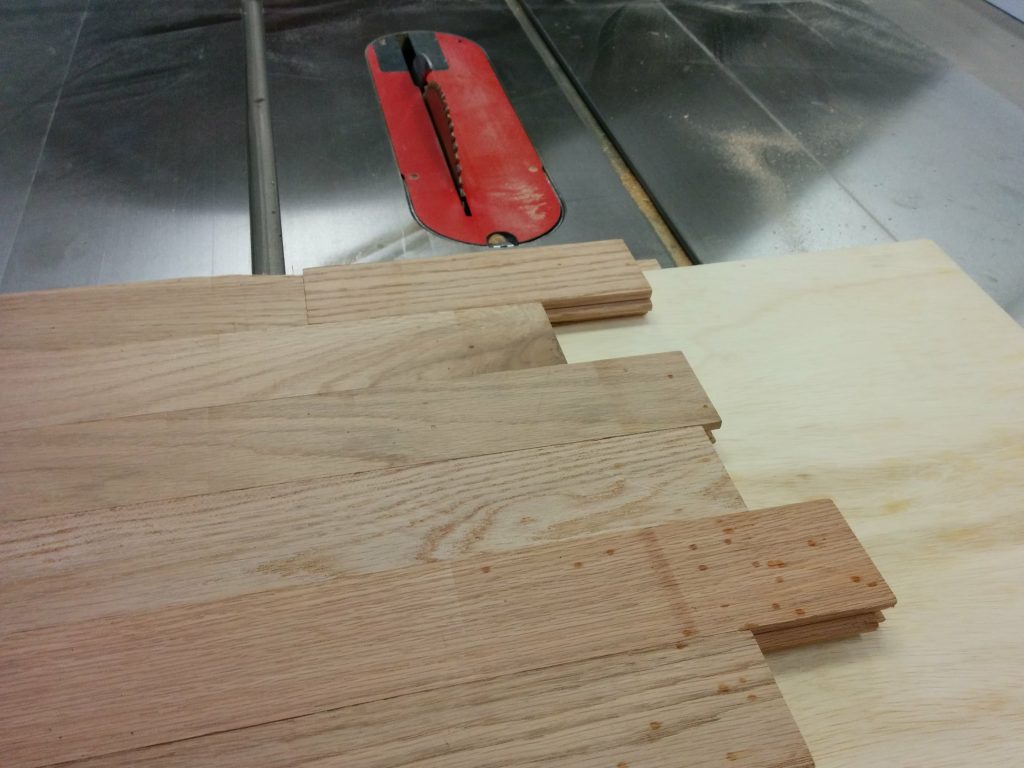
Then I trimmed the tongues and grooves off each of the ends.
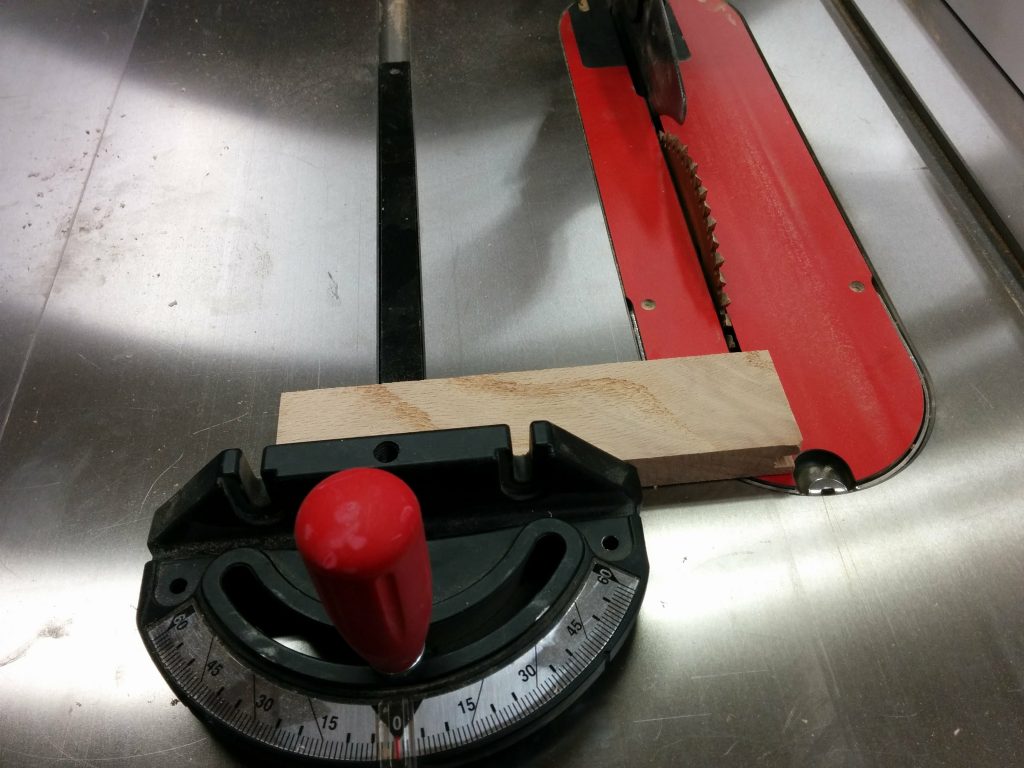
Finally I trimmed off the grooves along the bottom of the flooring pieces. I also ended up shaving a bit off the tops just to clean them up.

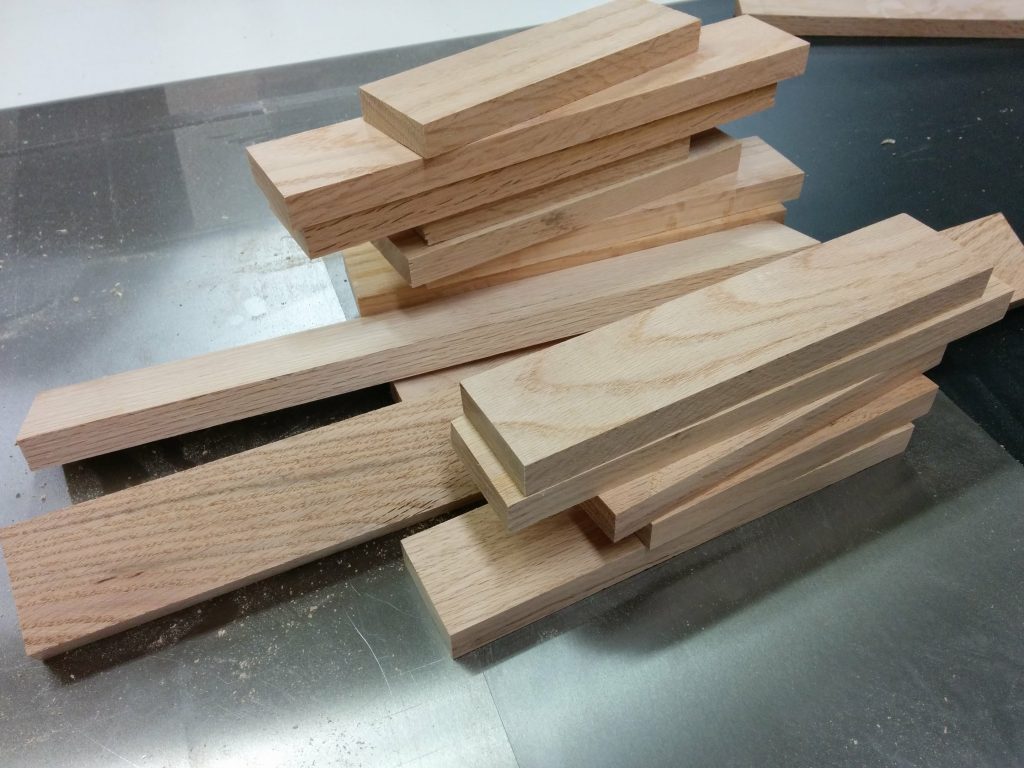
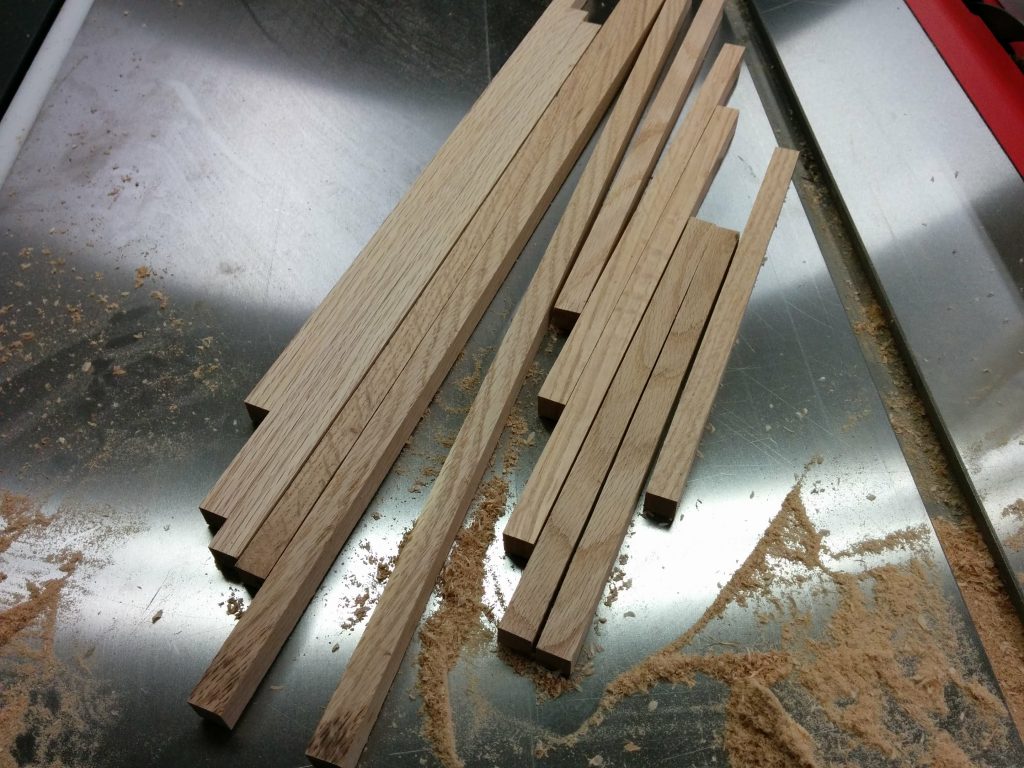
This left me with some nice oak stock to use for the front and rear trim.
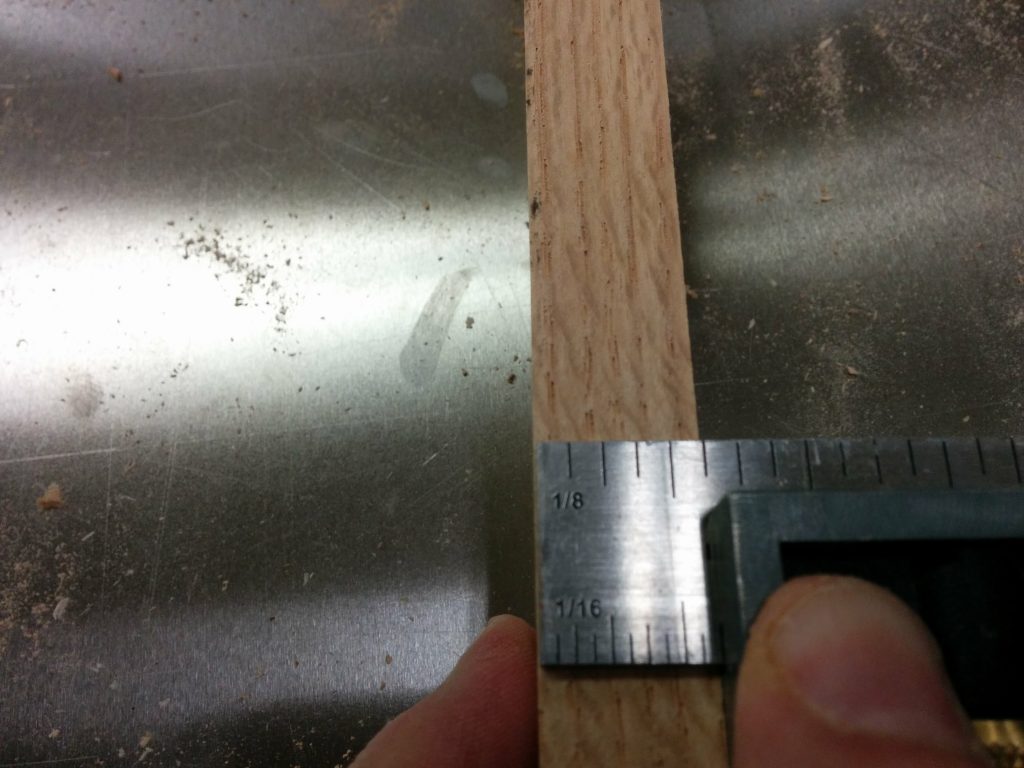
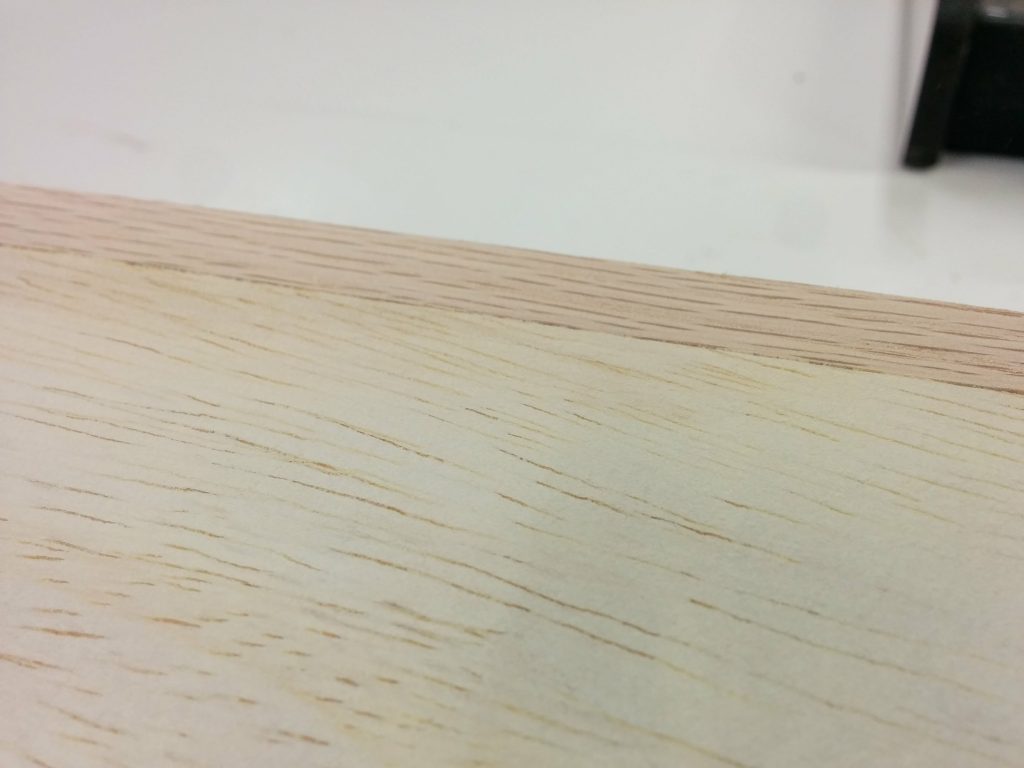
The final width of each piece was a little over 1-7/8″ wide…
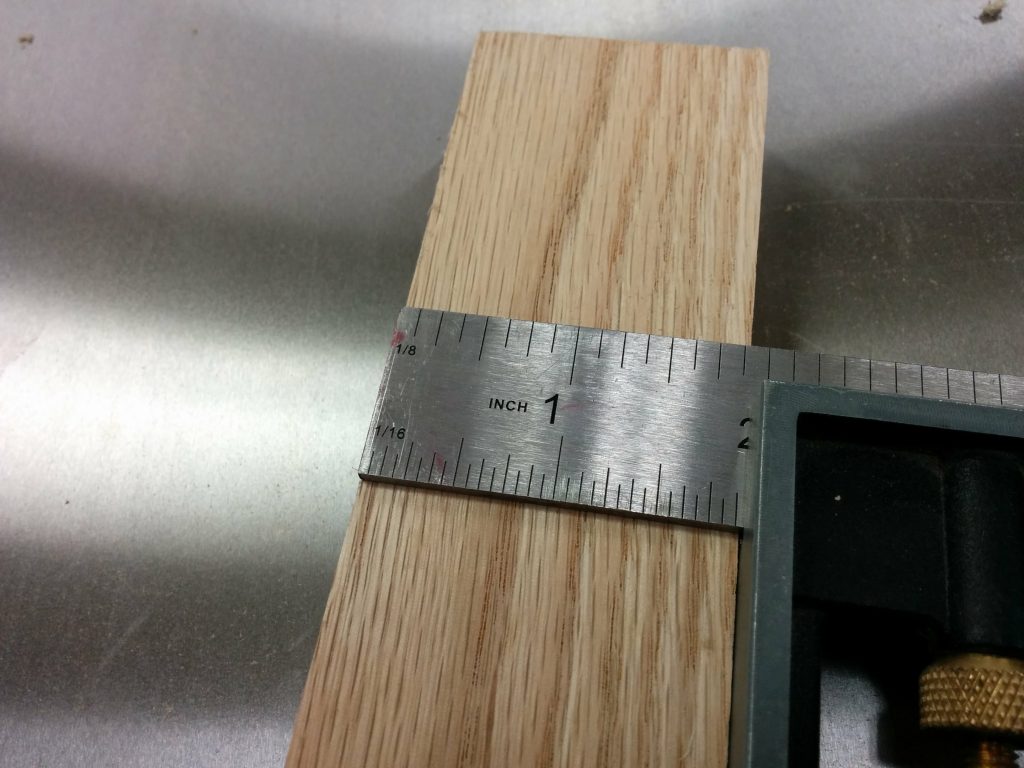
…and 5/8″ thick.
I removed the clamps and cauls and decided to get my wife’s opinion on the front and rear trim idea. I’m glad I did. She had the idea of just cutting the milled stock into strips and gluing them to the lip, therefore just covering the plywood and not the edges of the oak flooring.

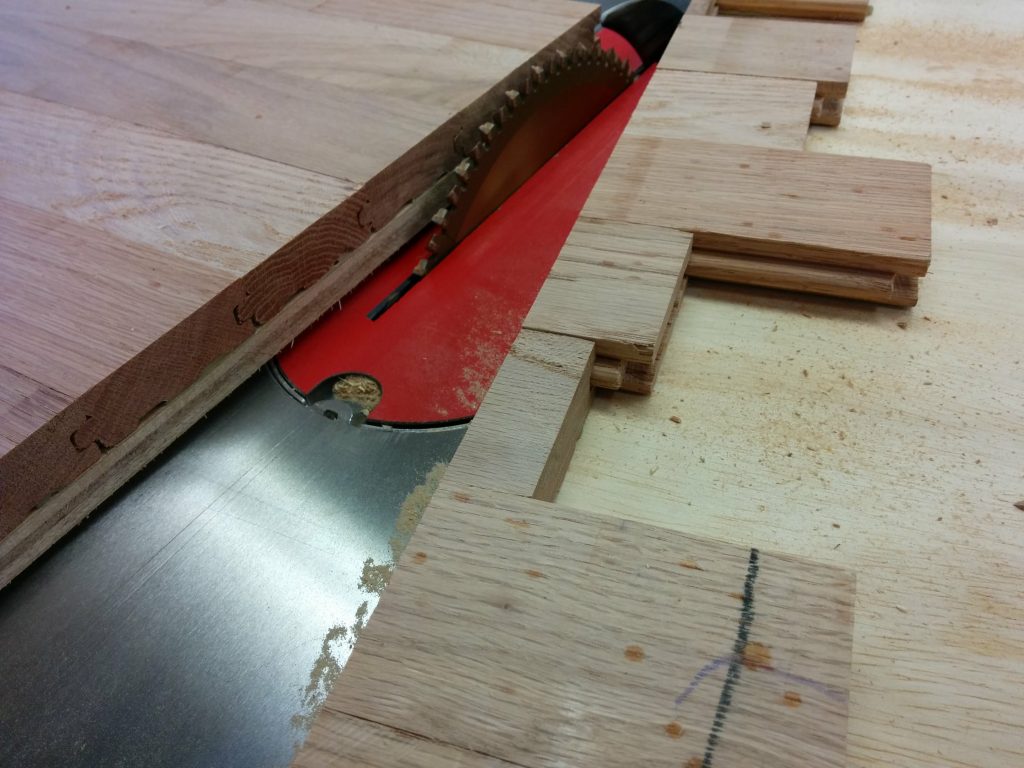
I cut some of the milled oak stock down to usuable pieces. I decided to just make them 5/8″ X 5/8″.
I was able to get enough strips by cutting down just 4 of the milled oak pieces. This leaves me with some more milled oak stock to use for other projects.
I laid out the pieces and applied a bead of Titebond 2 to the lip.
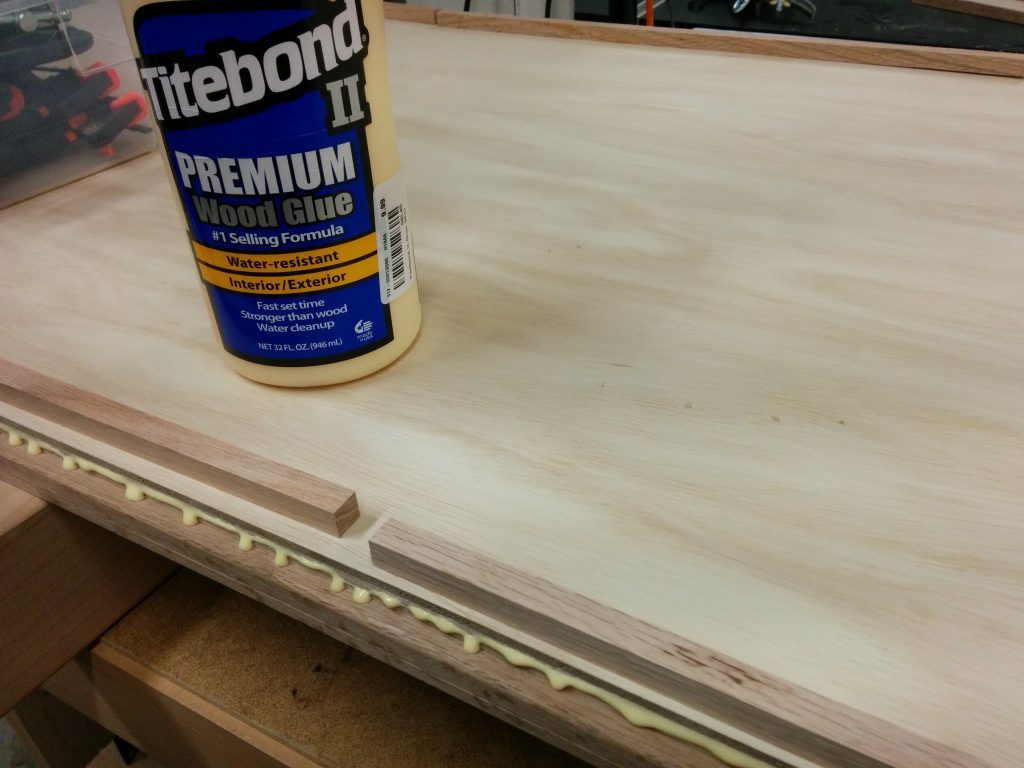
I attached the oak strips and clamped them in place with small quick-release clamps.
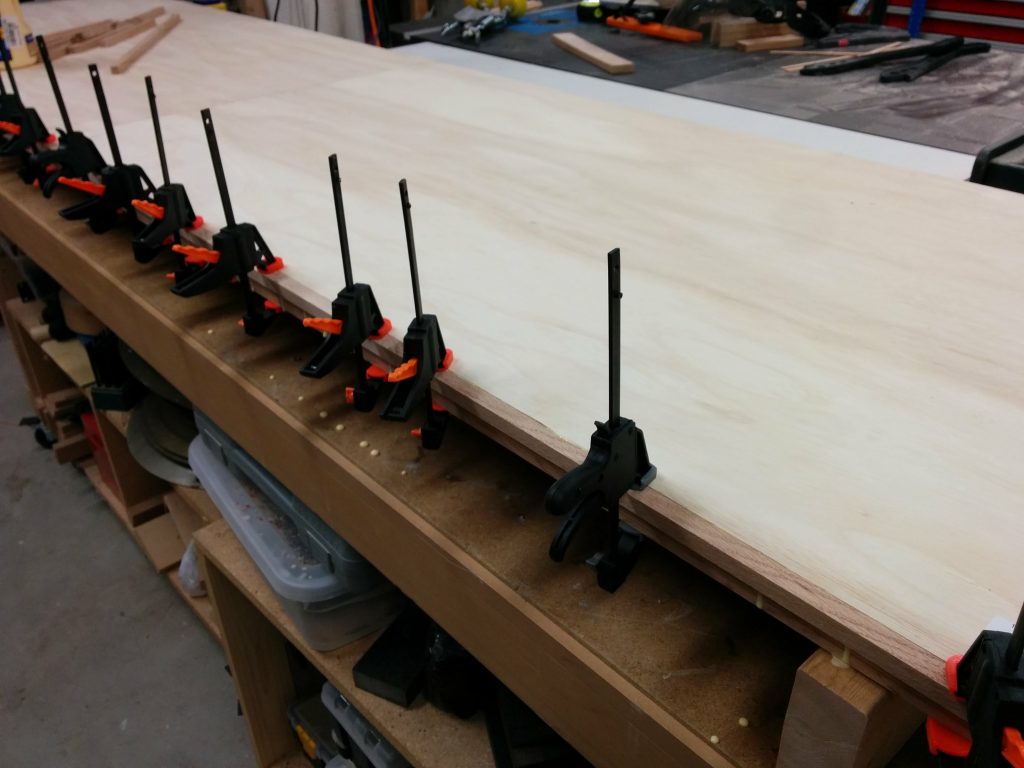
The strips wanted to pull away from the plywood in a few spots so I used some larger clamps to apply lateral pressure. I don’t have a lot of clamps that are over 24″ so I had to get creative with some of them, but it all worked fine in the end.

After the glue dried I did the same thing for the back of the bench.
There was some glue squeeze-out on the underside of the benchtop.

I used a random orbital sander on the entire surface of the underside and…
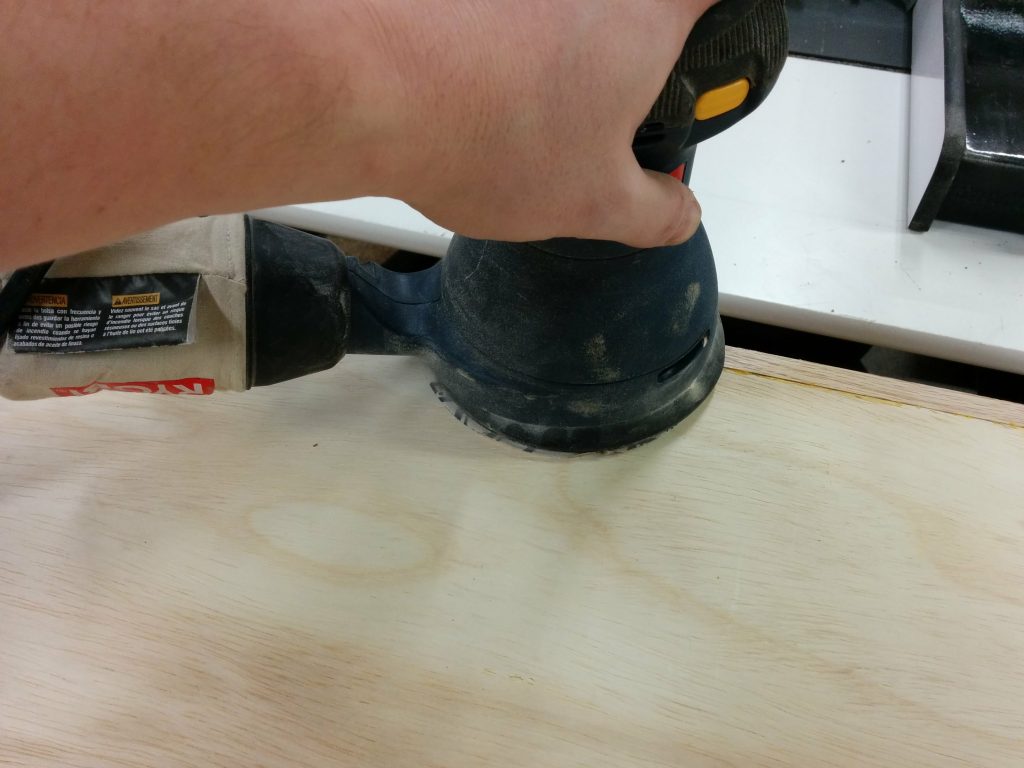
…it looks a lot better now.
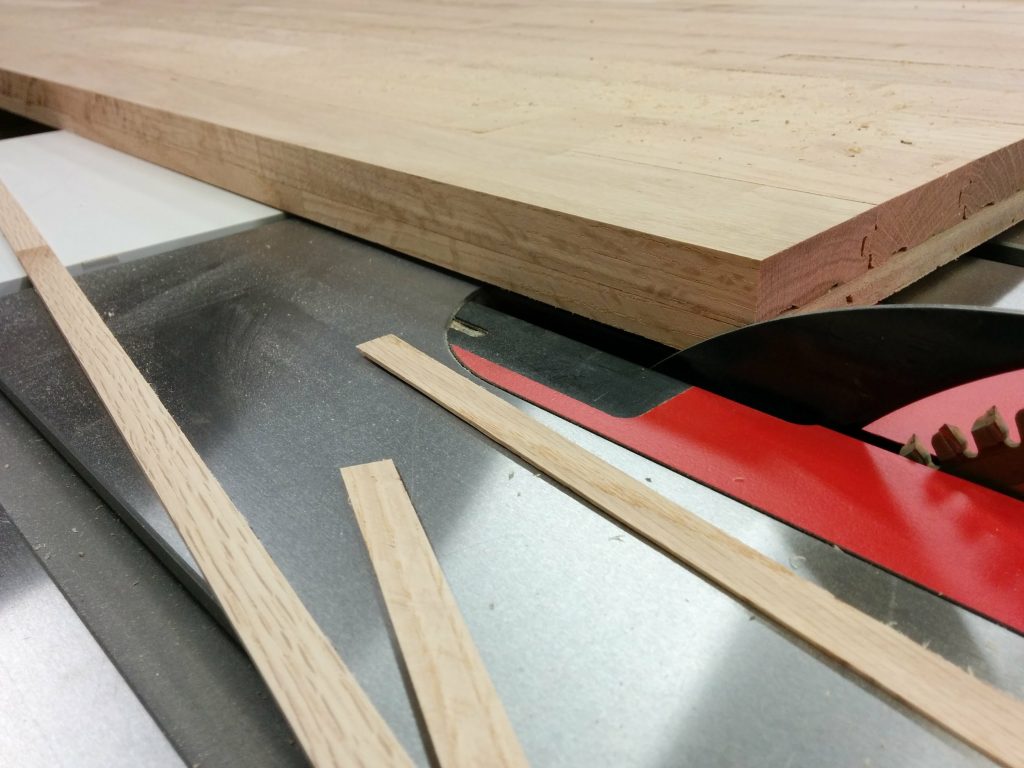
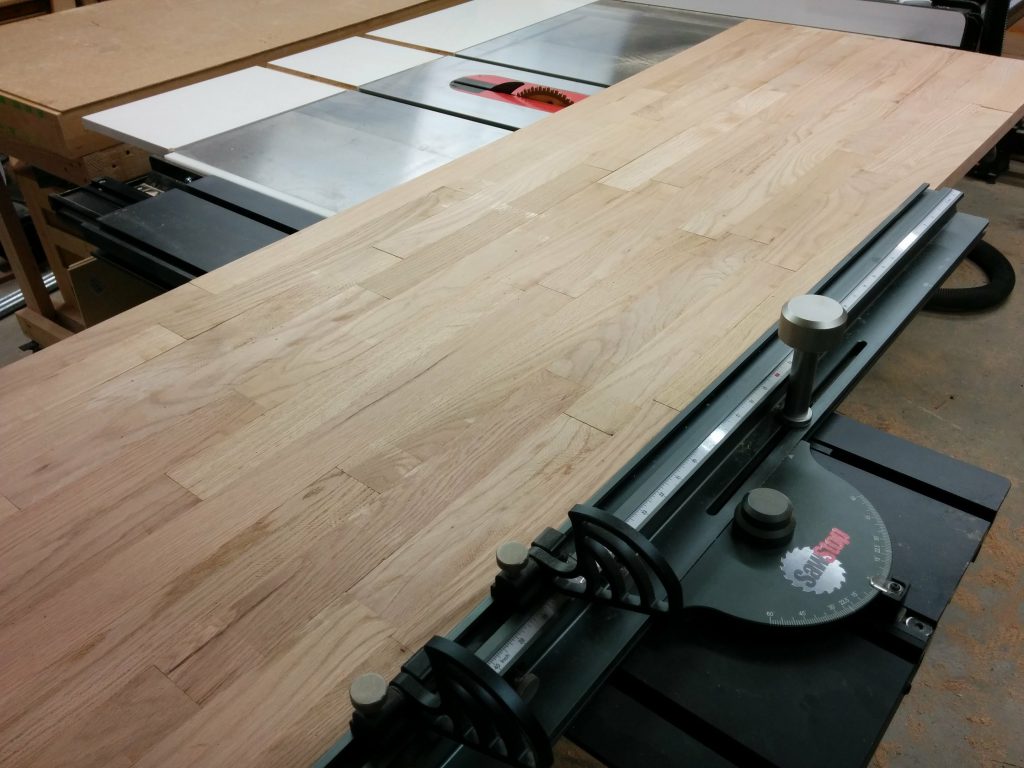
Now it was time to cut everything down to size. I took the glued up benchtop to my SawStop table saw so I could trim off one end.
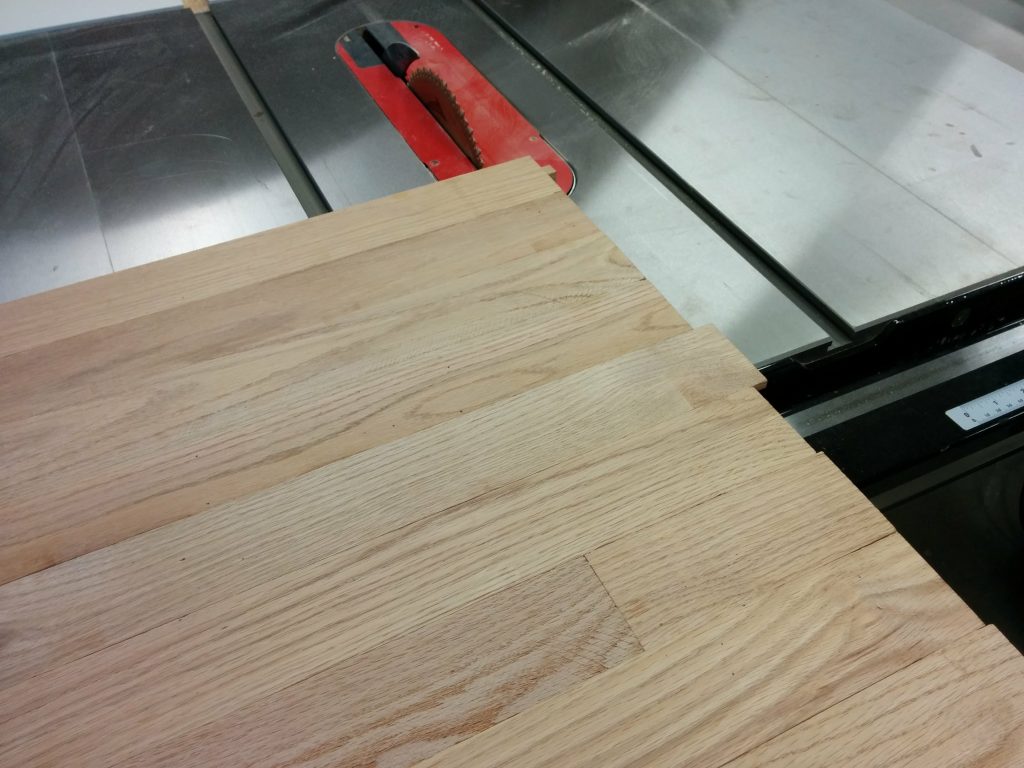
The ends of the workbench will be covered in metal. I’ll get to that in a future article. All I need now is for them to be flat.
I then trimmed off the opposite end.
It looks so much better now that I have trimmed off the excess on the ends.
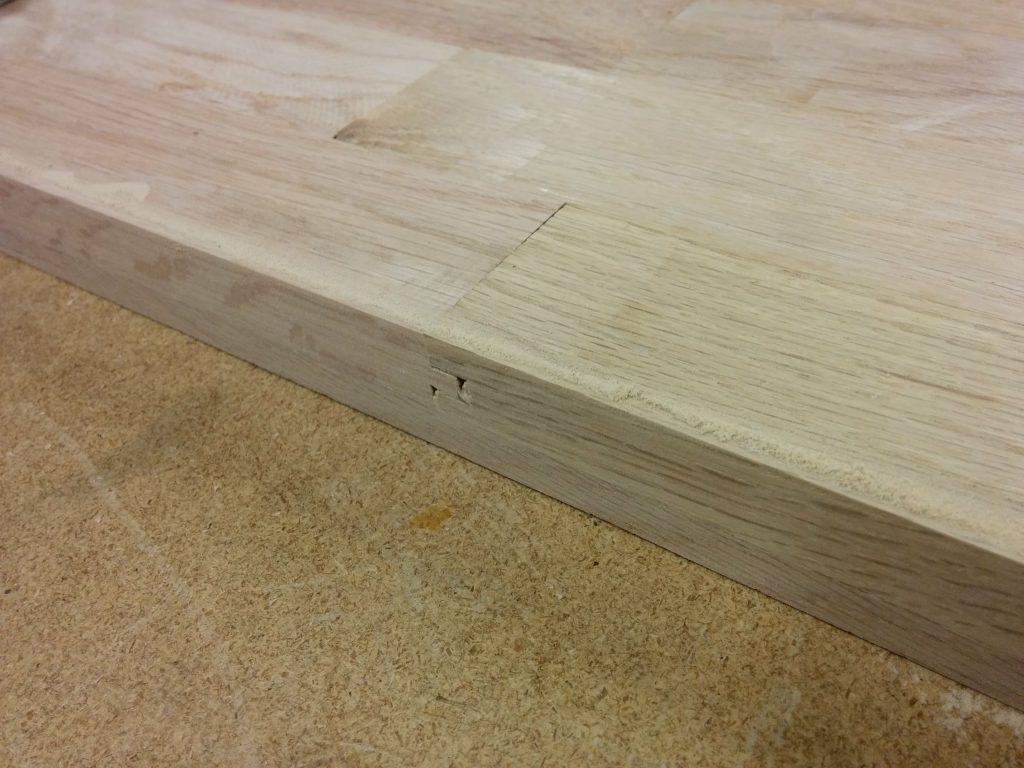
I then trimmed the excess material off the front and the back.
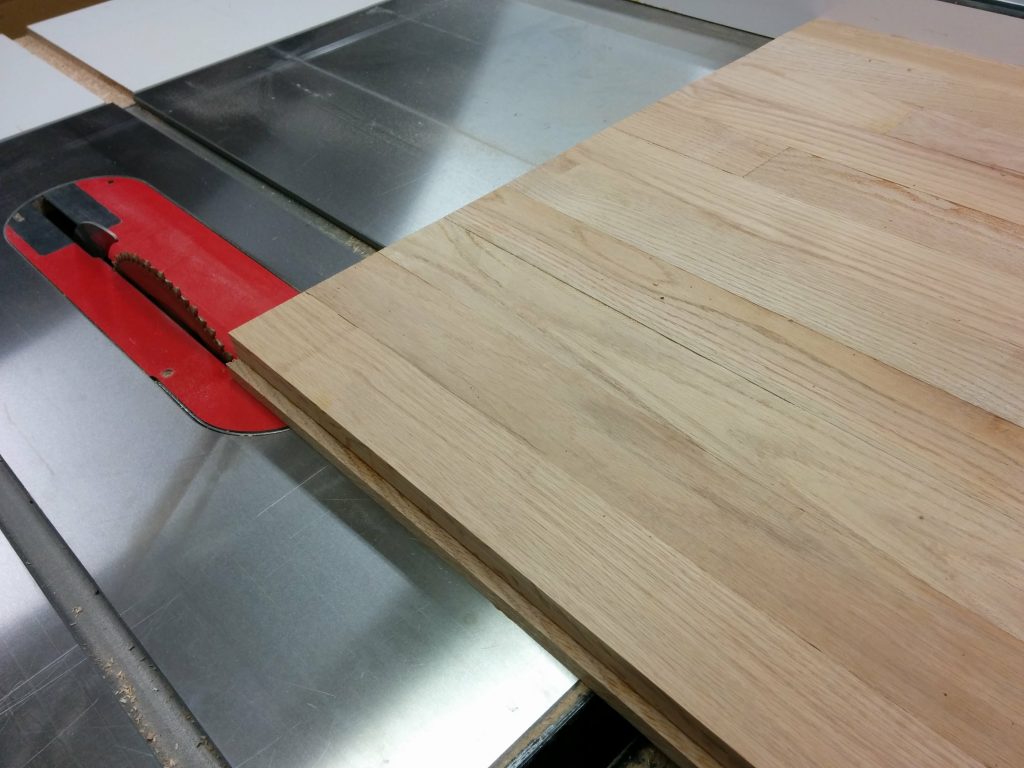
This was the look I was going for.
The benchtop was pretty unwieldy since it was so huge. As a result, the table saw left some burning on the edges.
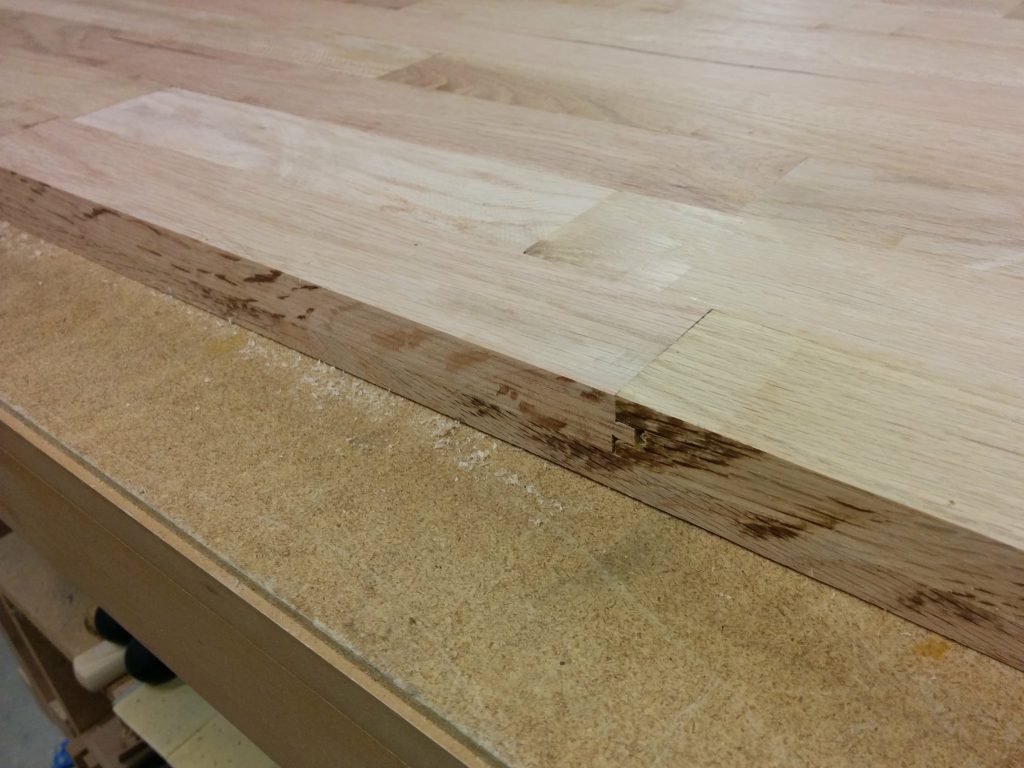
The random orbital sander easily removed the burn marks.
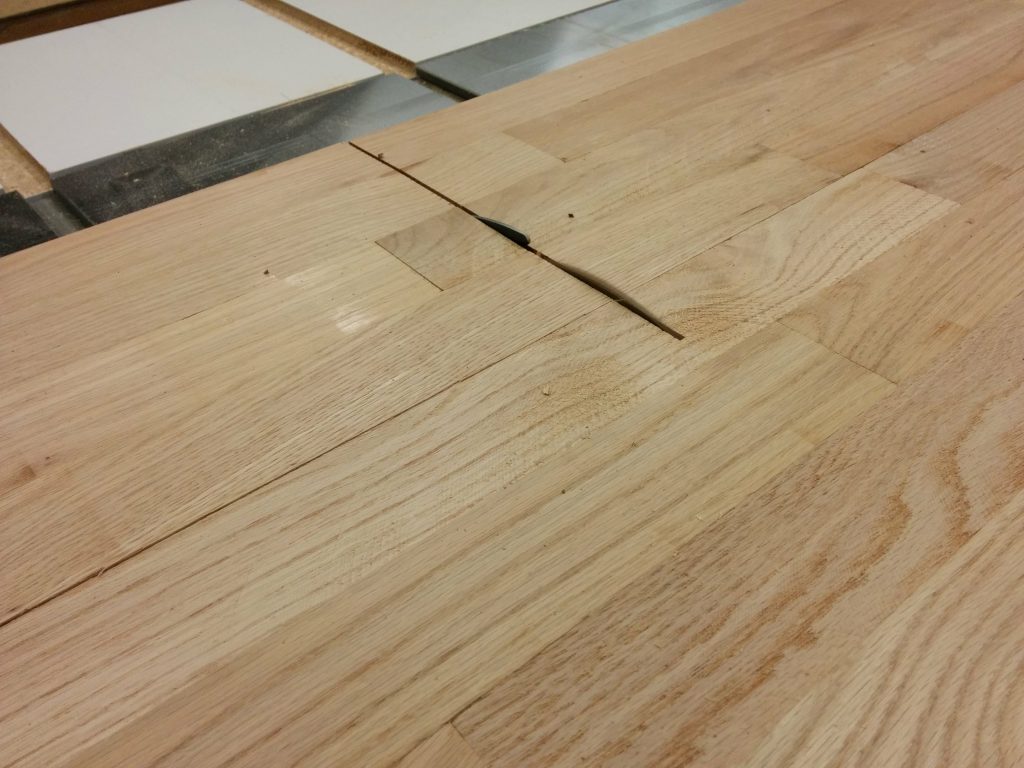
The plan was to turn this into a 5′ long workbench with a 2′ long flip-down wing. I marked the benchtop at 5′.
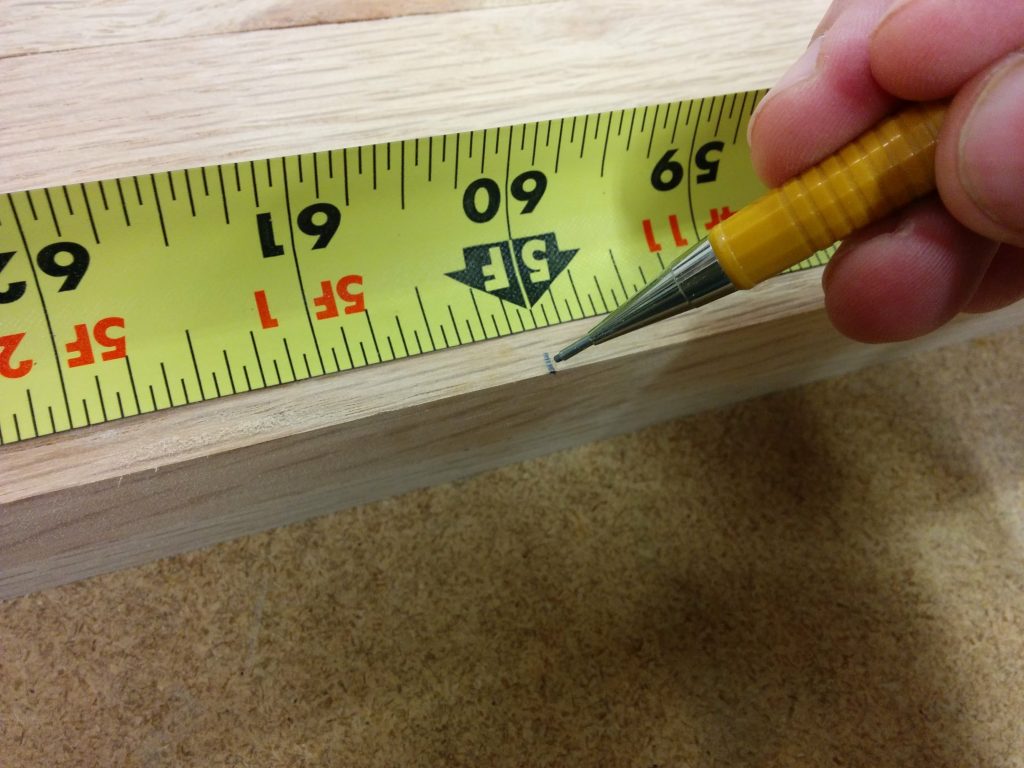
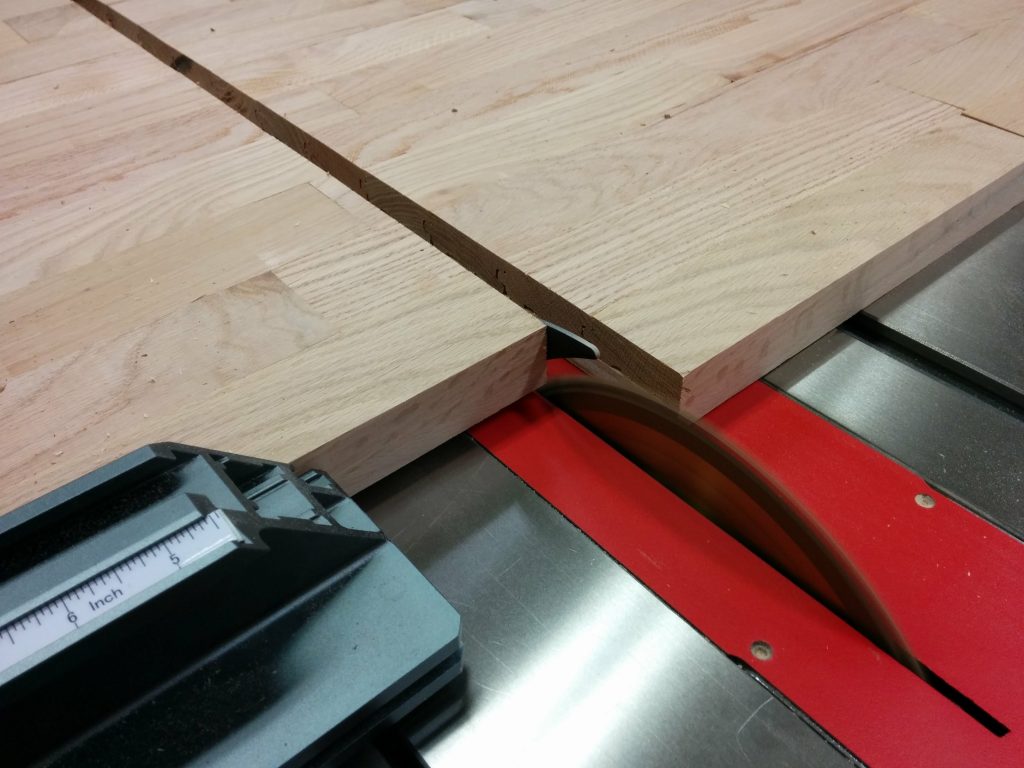
I used my SawStop sliding crosscut table to cut the workbench at the 5′ mark.
The sliding crosscut table makes it very easy to perform this type of cut.
It cut cleanly and didn’t really burn it except for where I stopped pushing the material so I could take the picture above. A little sanding and it disappeared.
The workbench is now cut to the final size and is ready to be finished.

If you have any questions or comments, please leave them below. I’d love to hear from you.
Pingback: Workbench: Part 6 – Finishing the benchtop - TrentDavis.net